October 31, 2021 (Halloween):
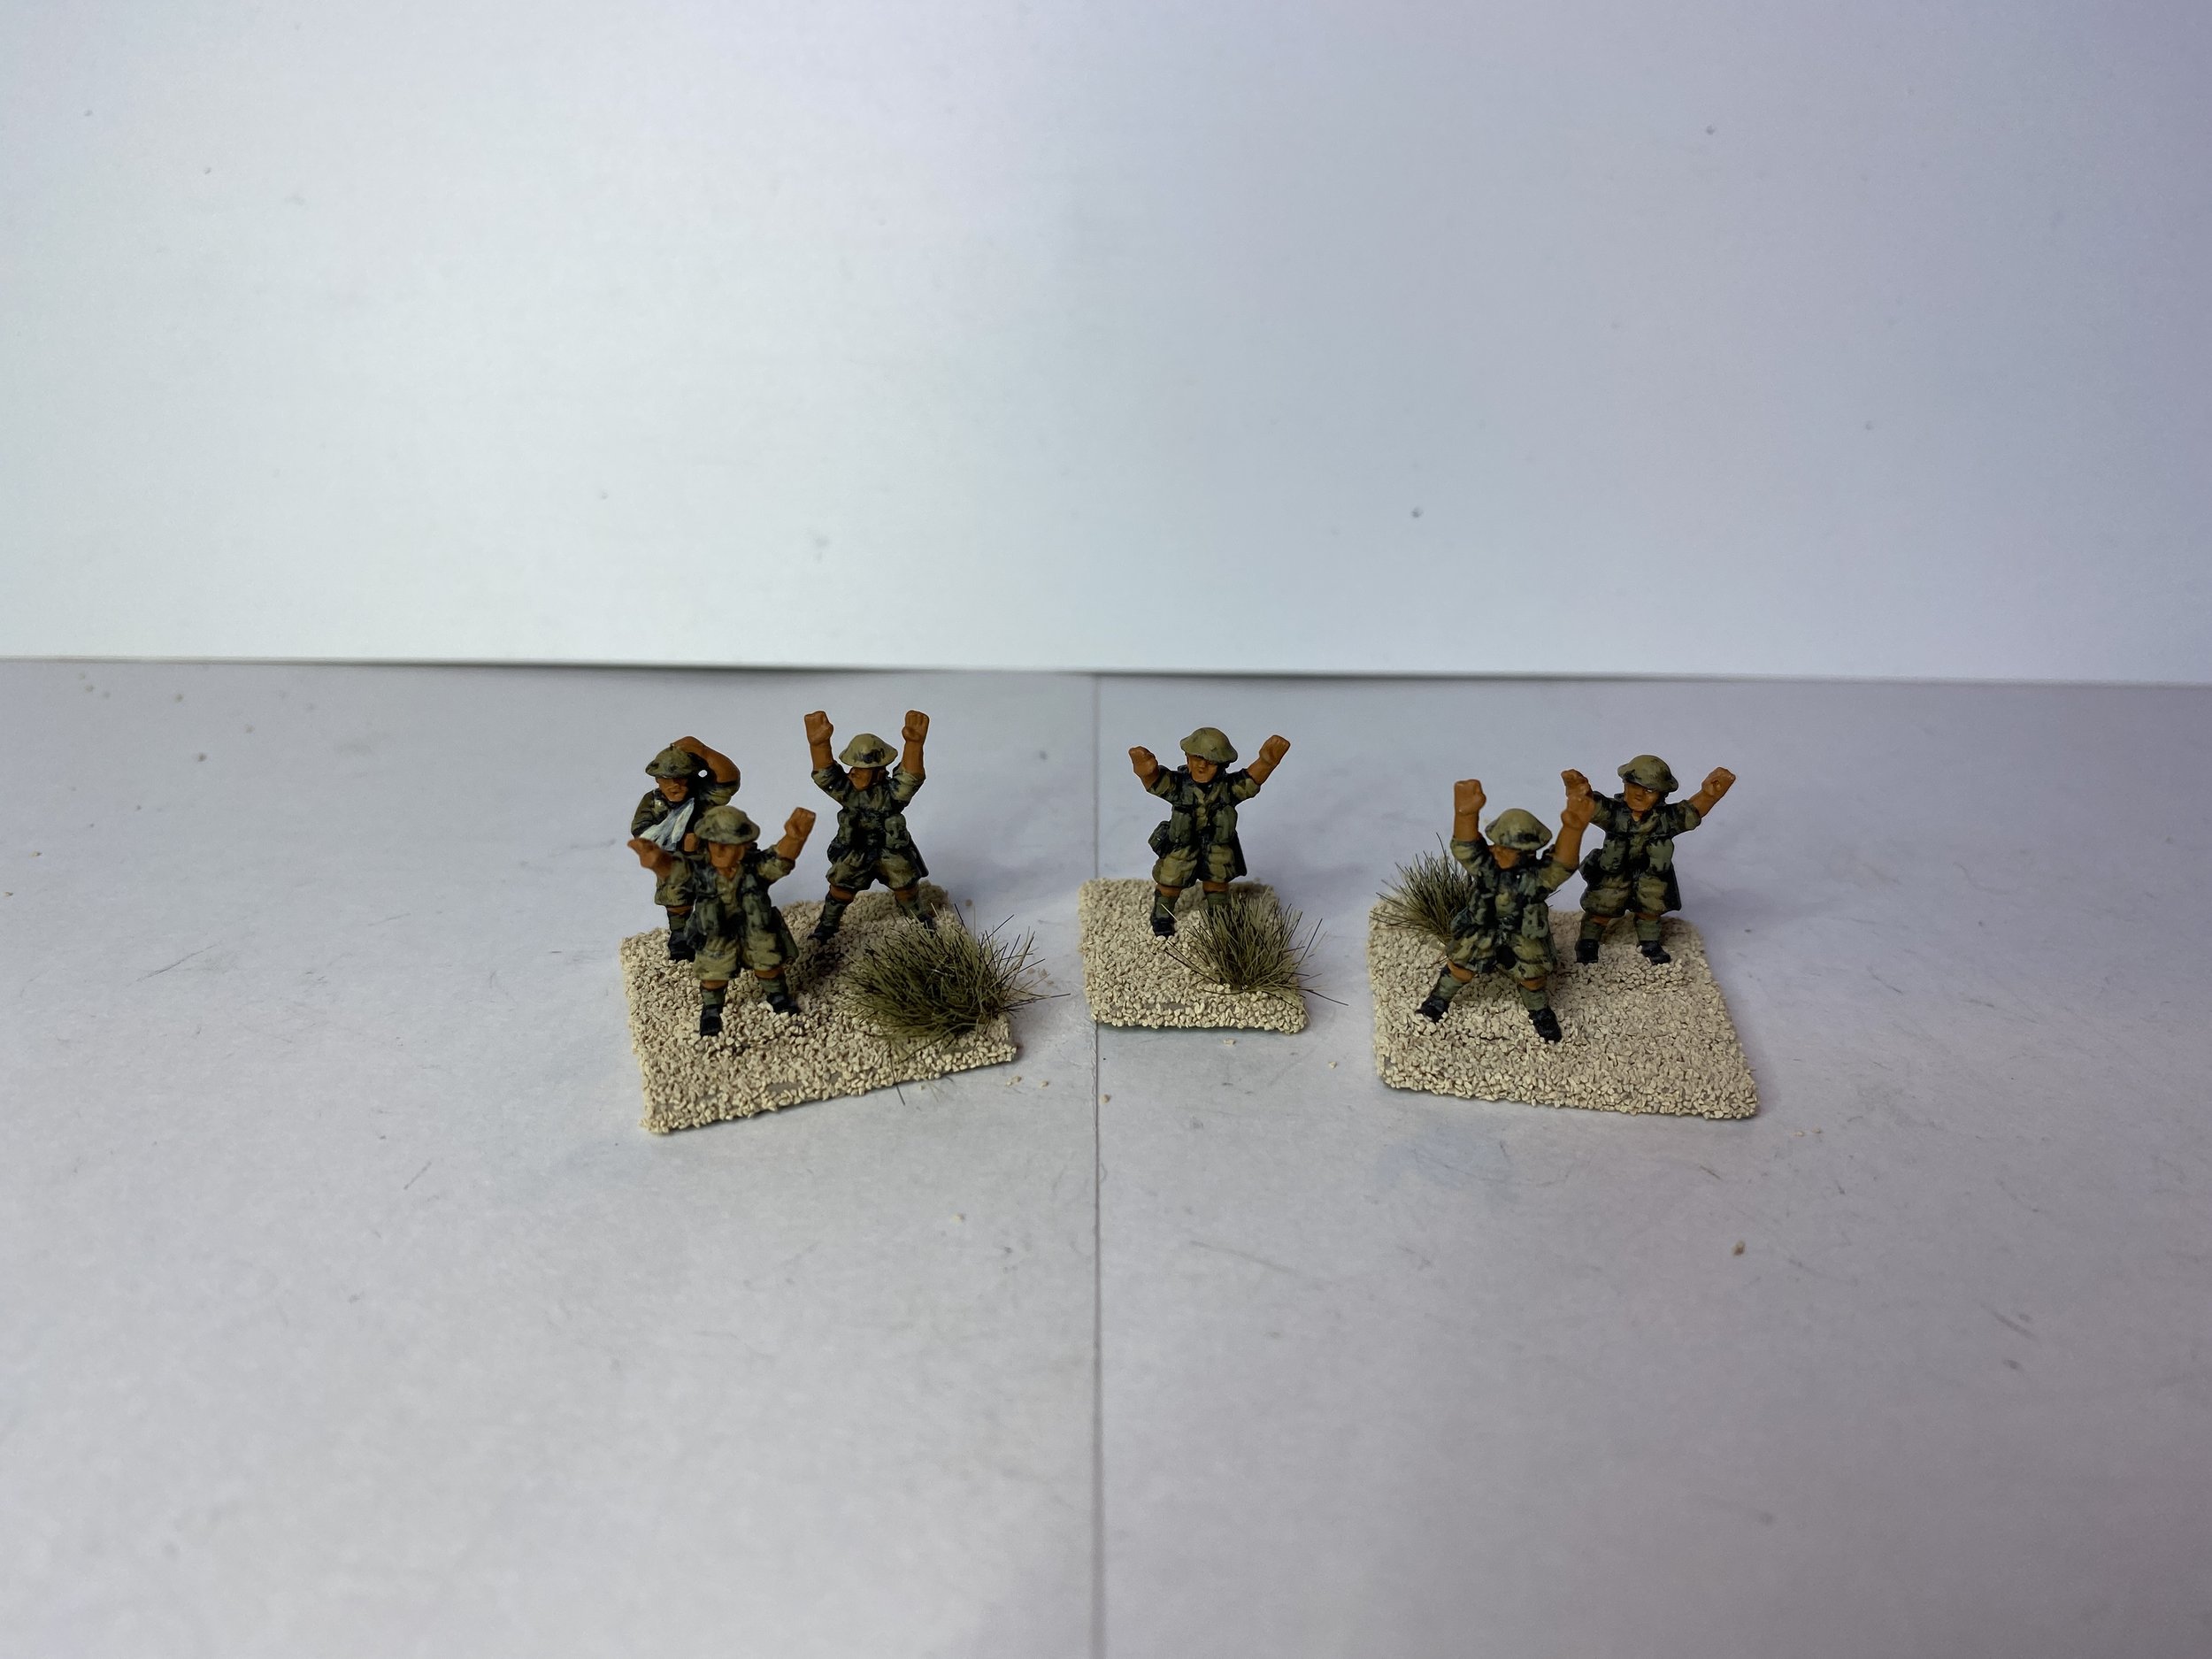
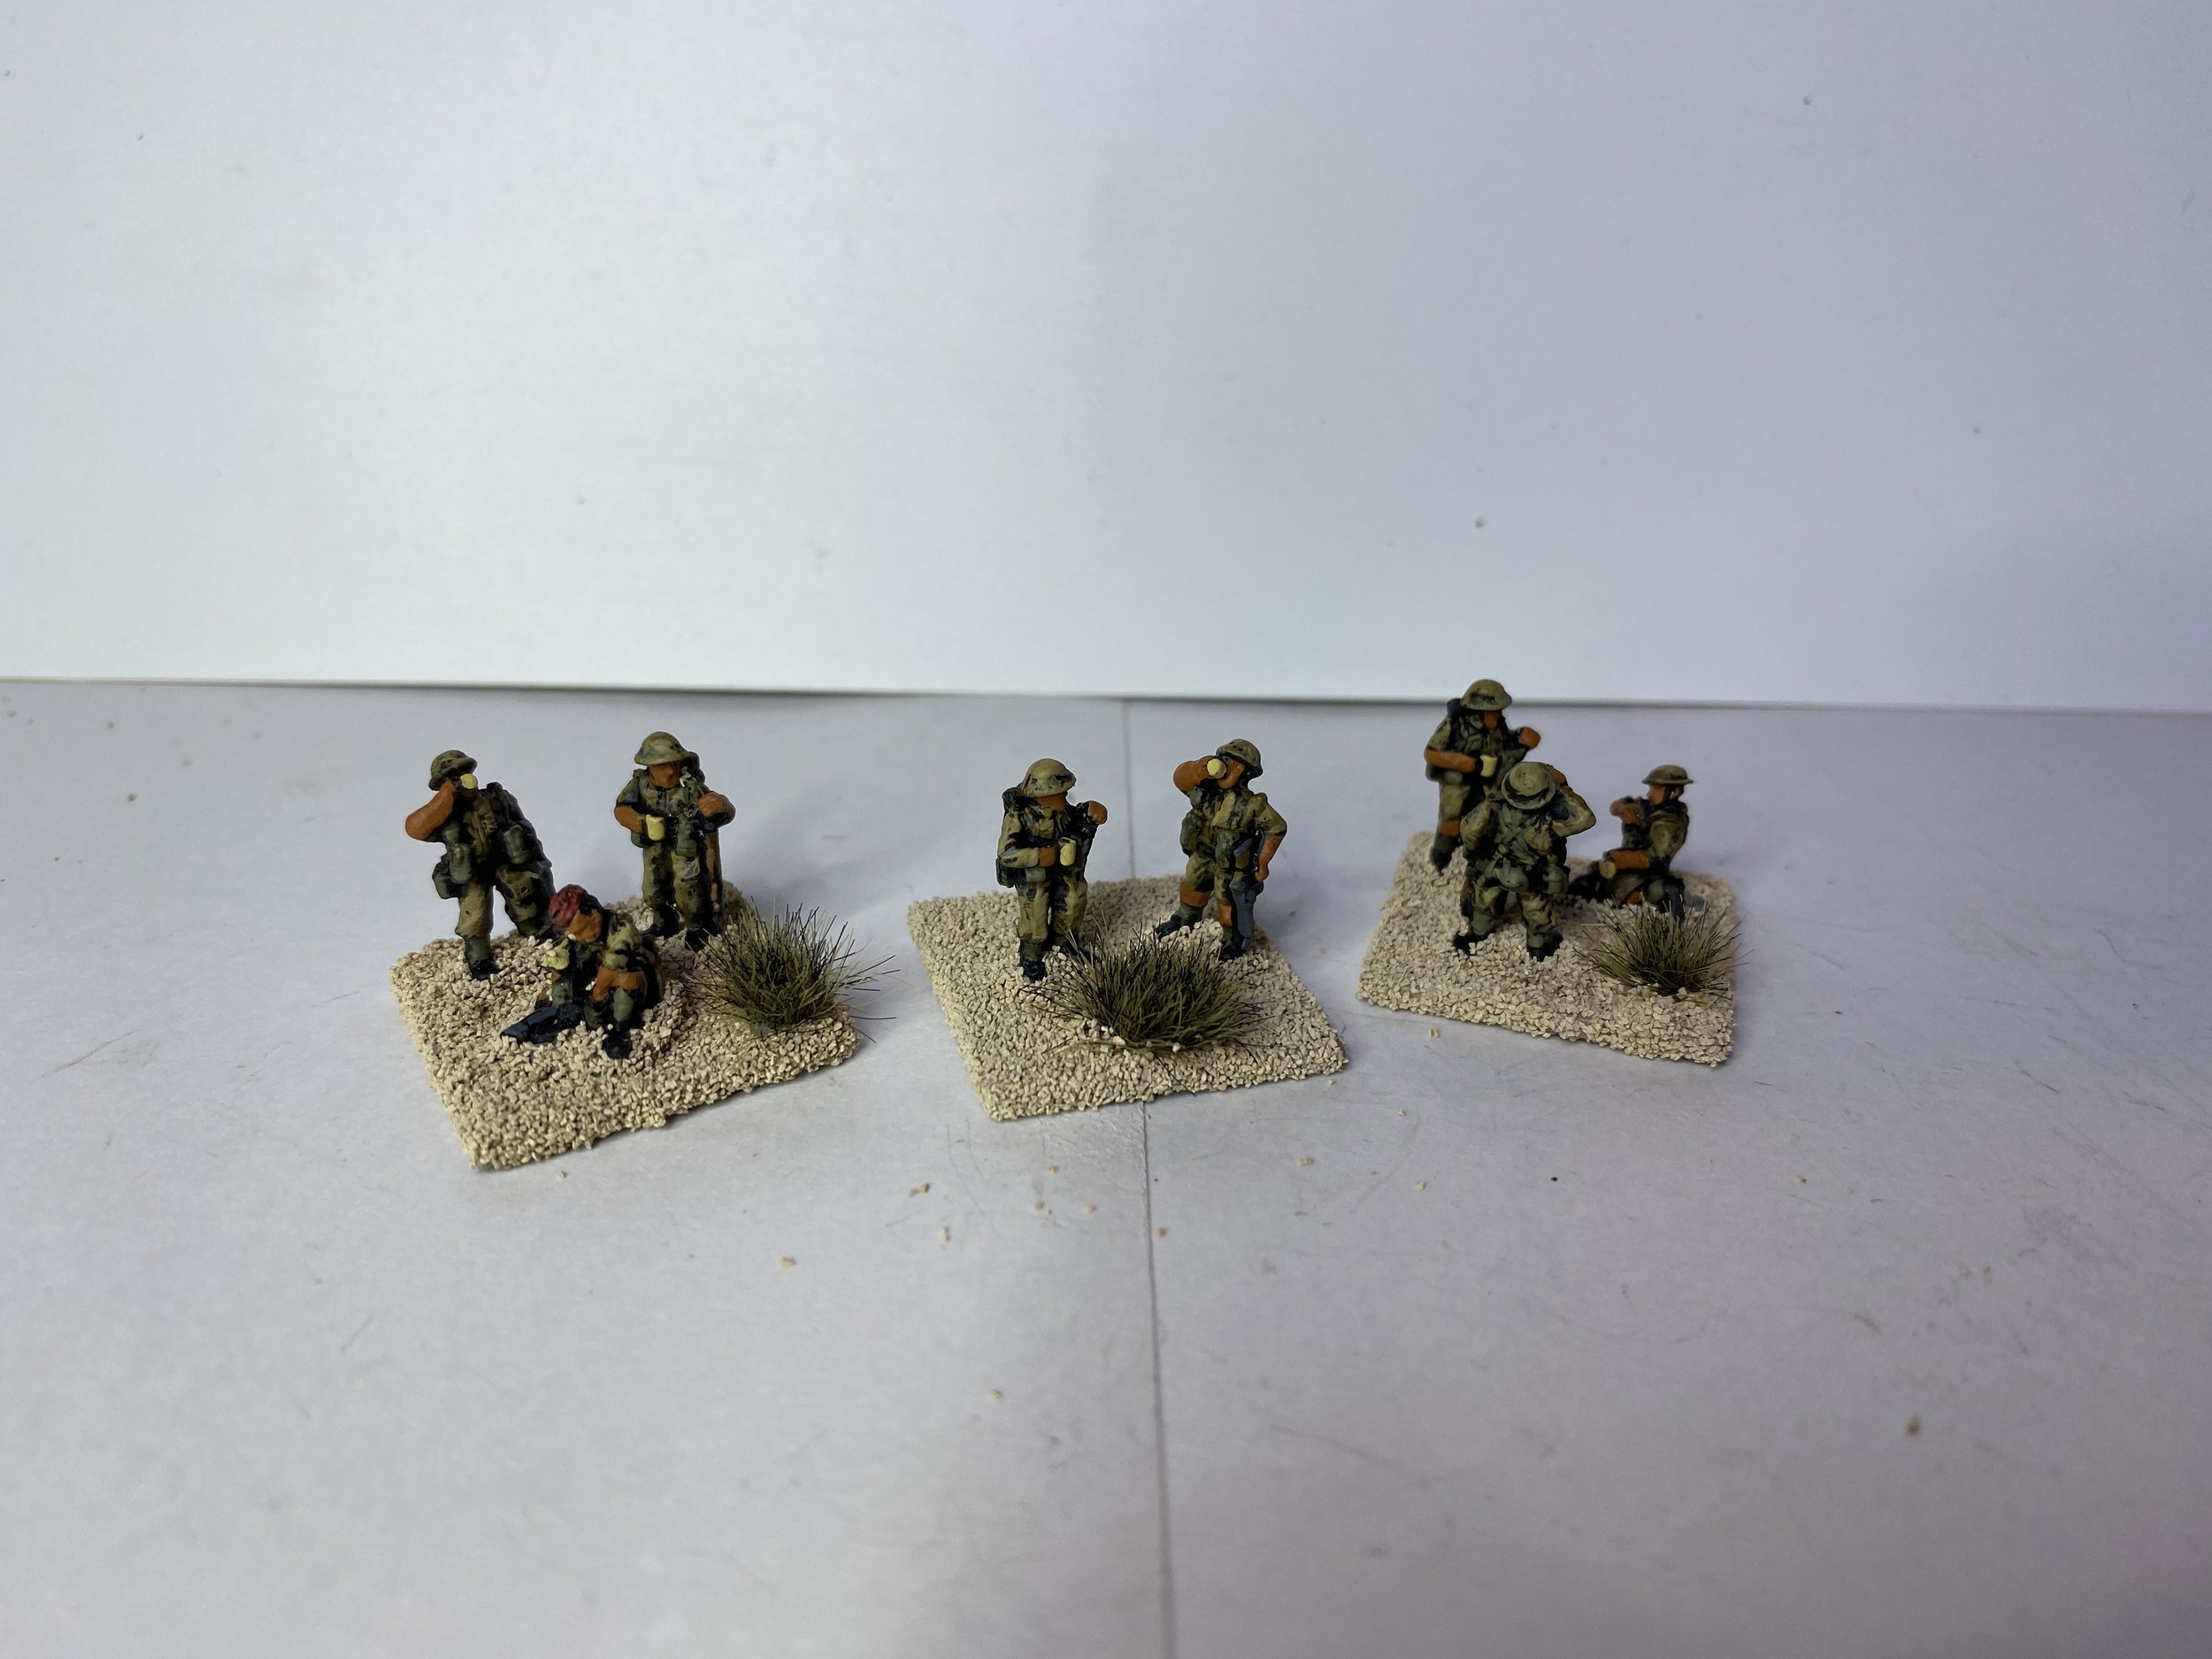
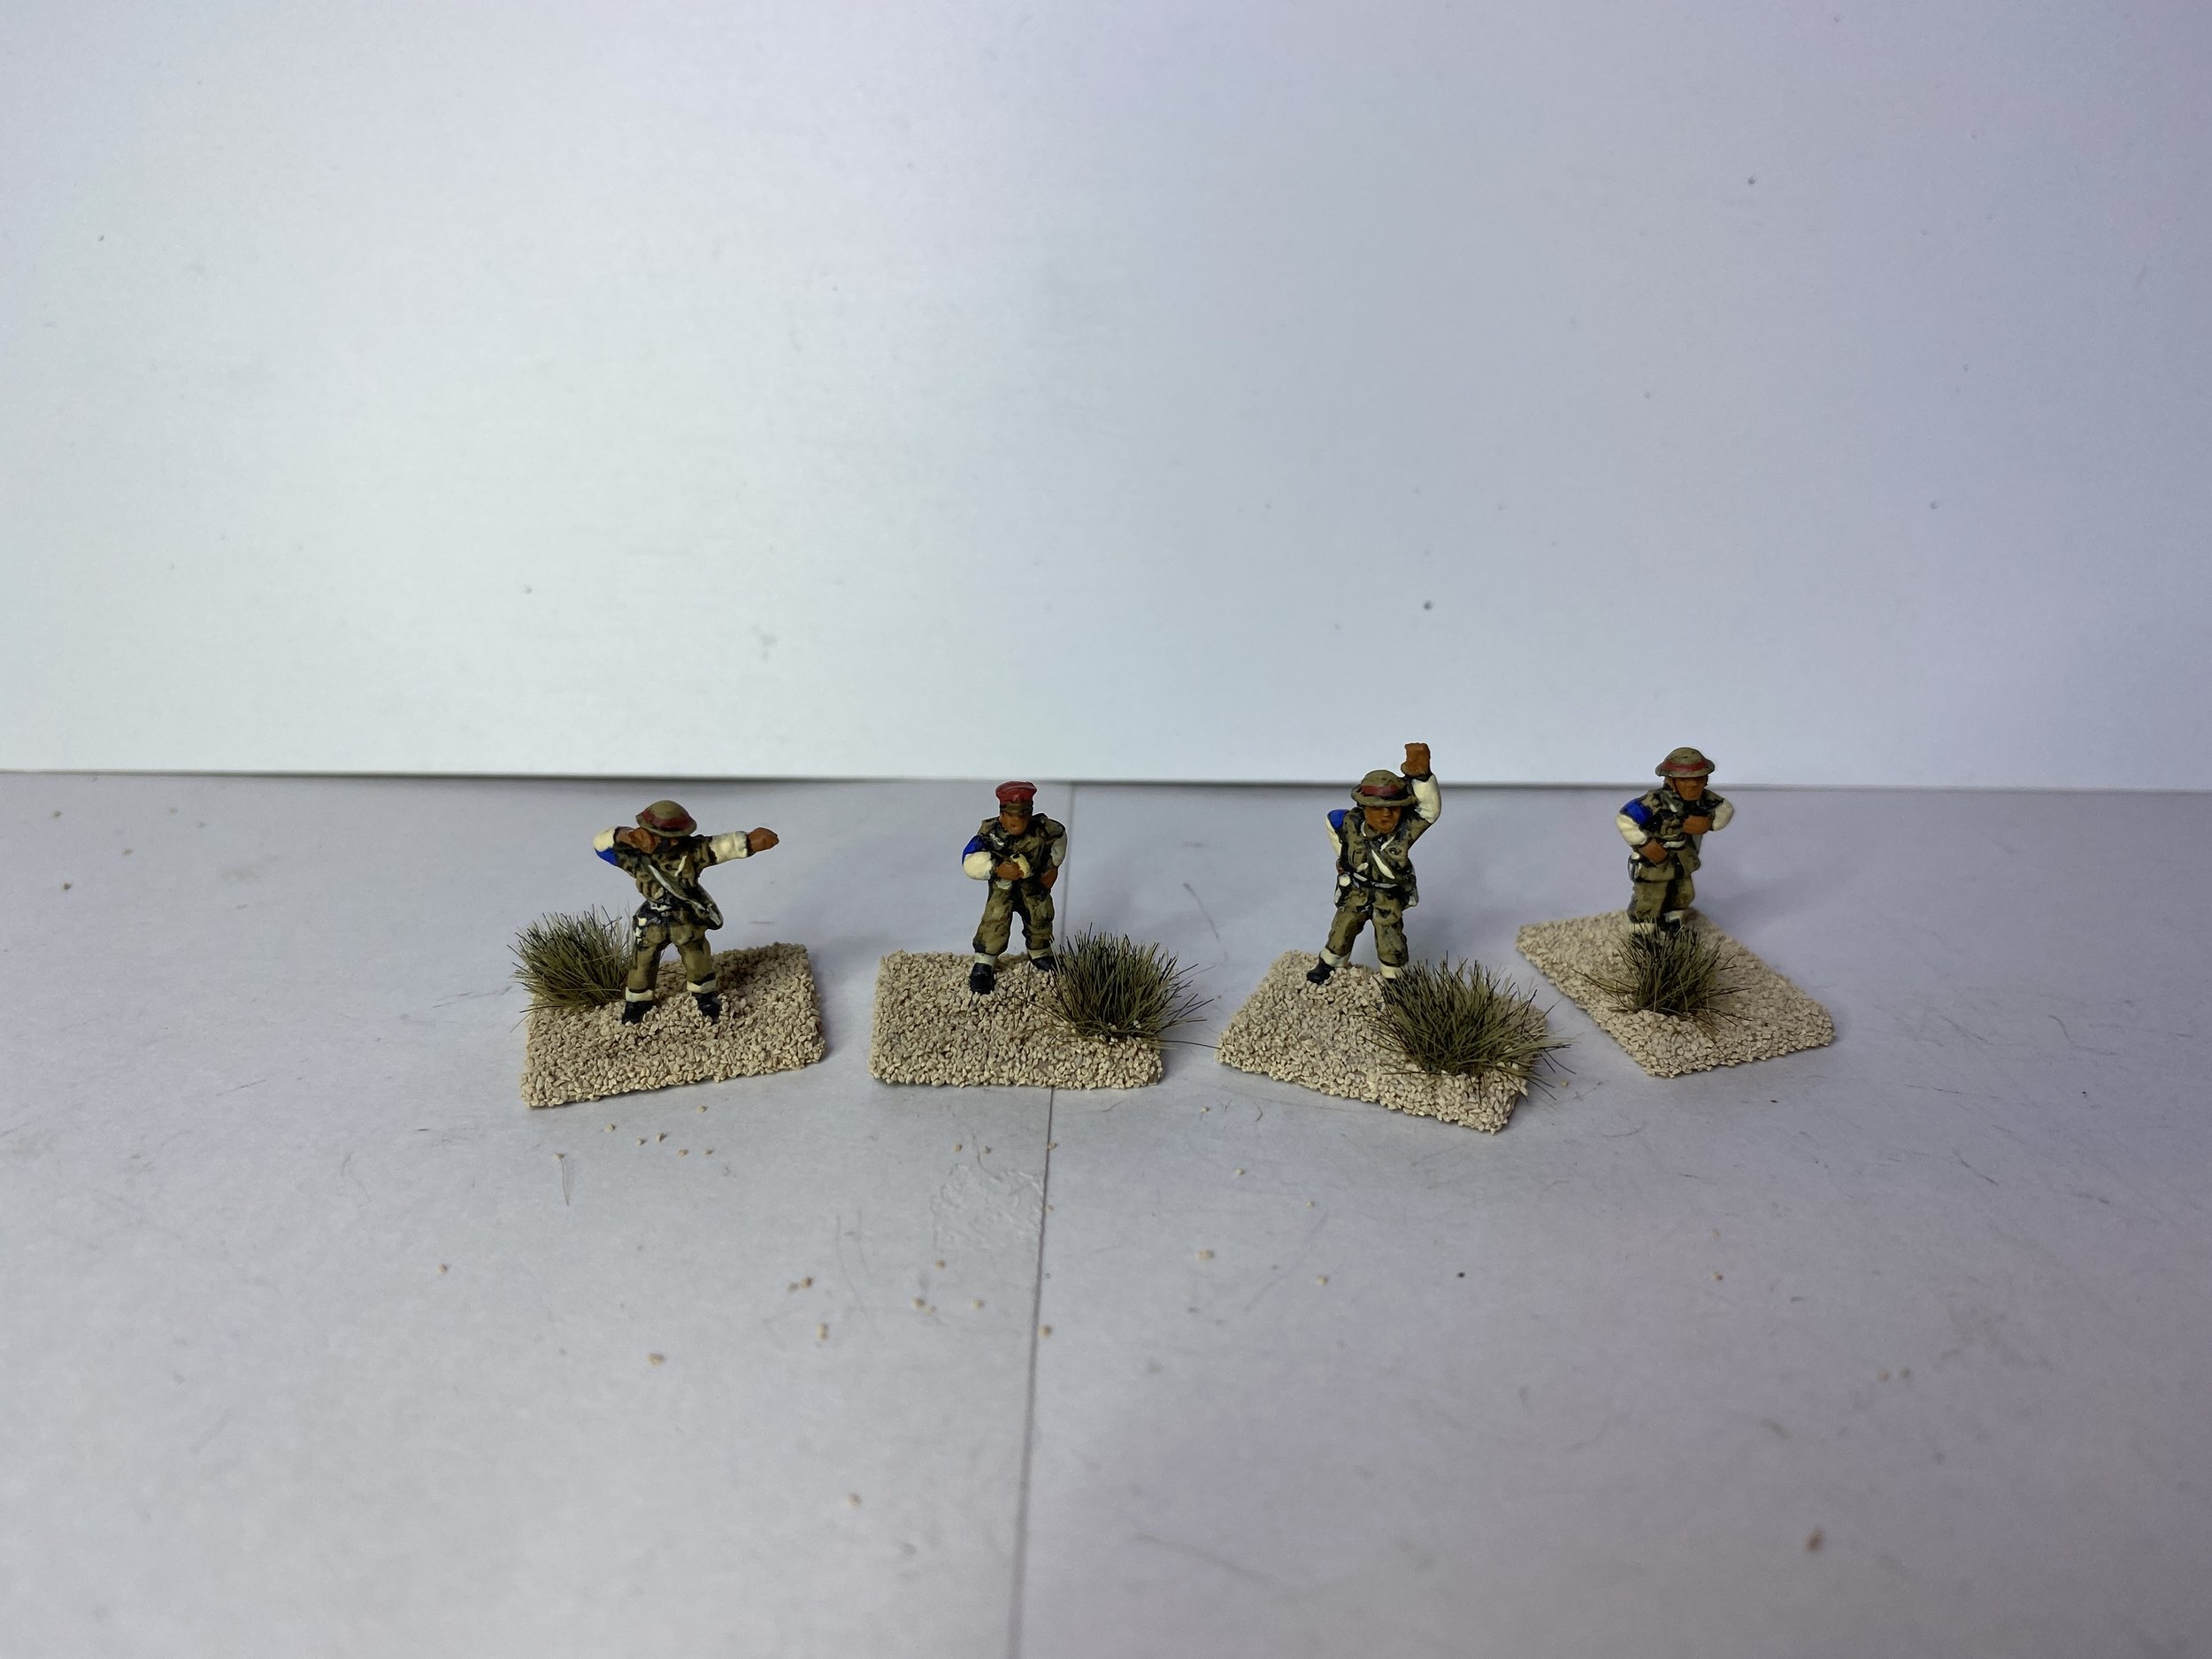
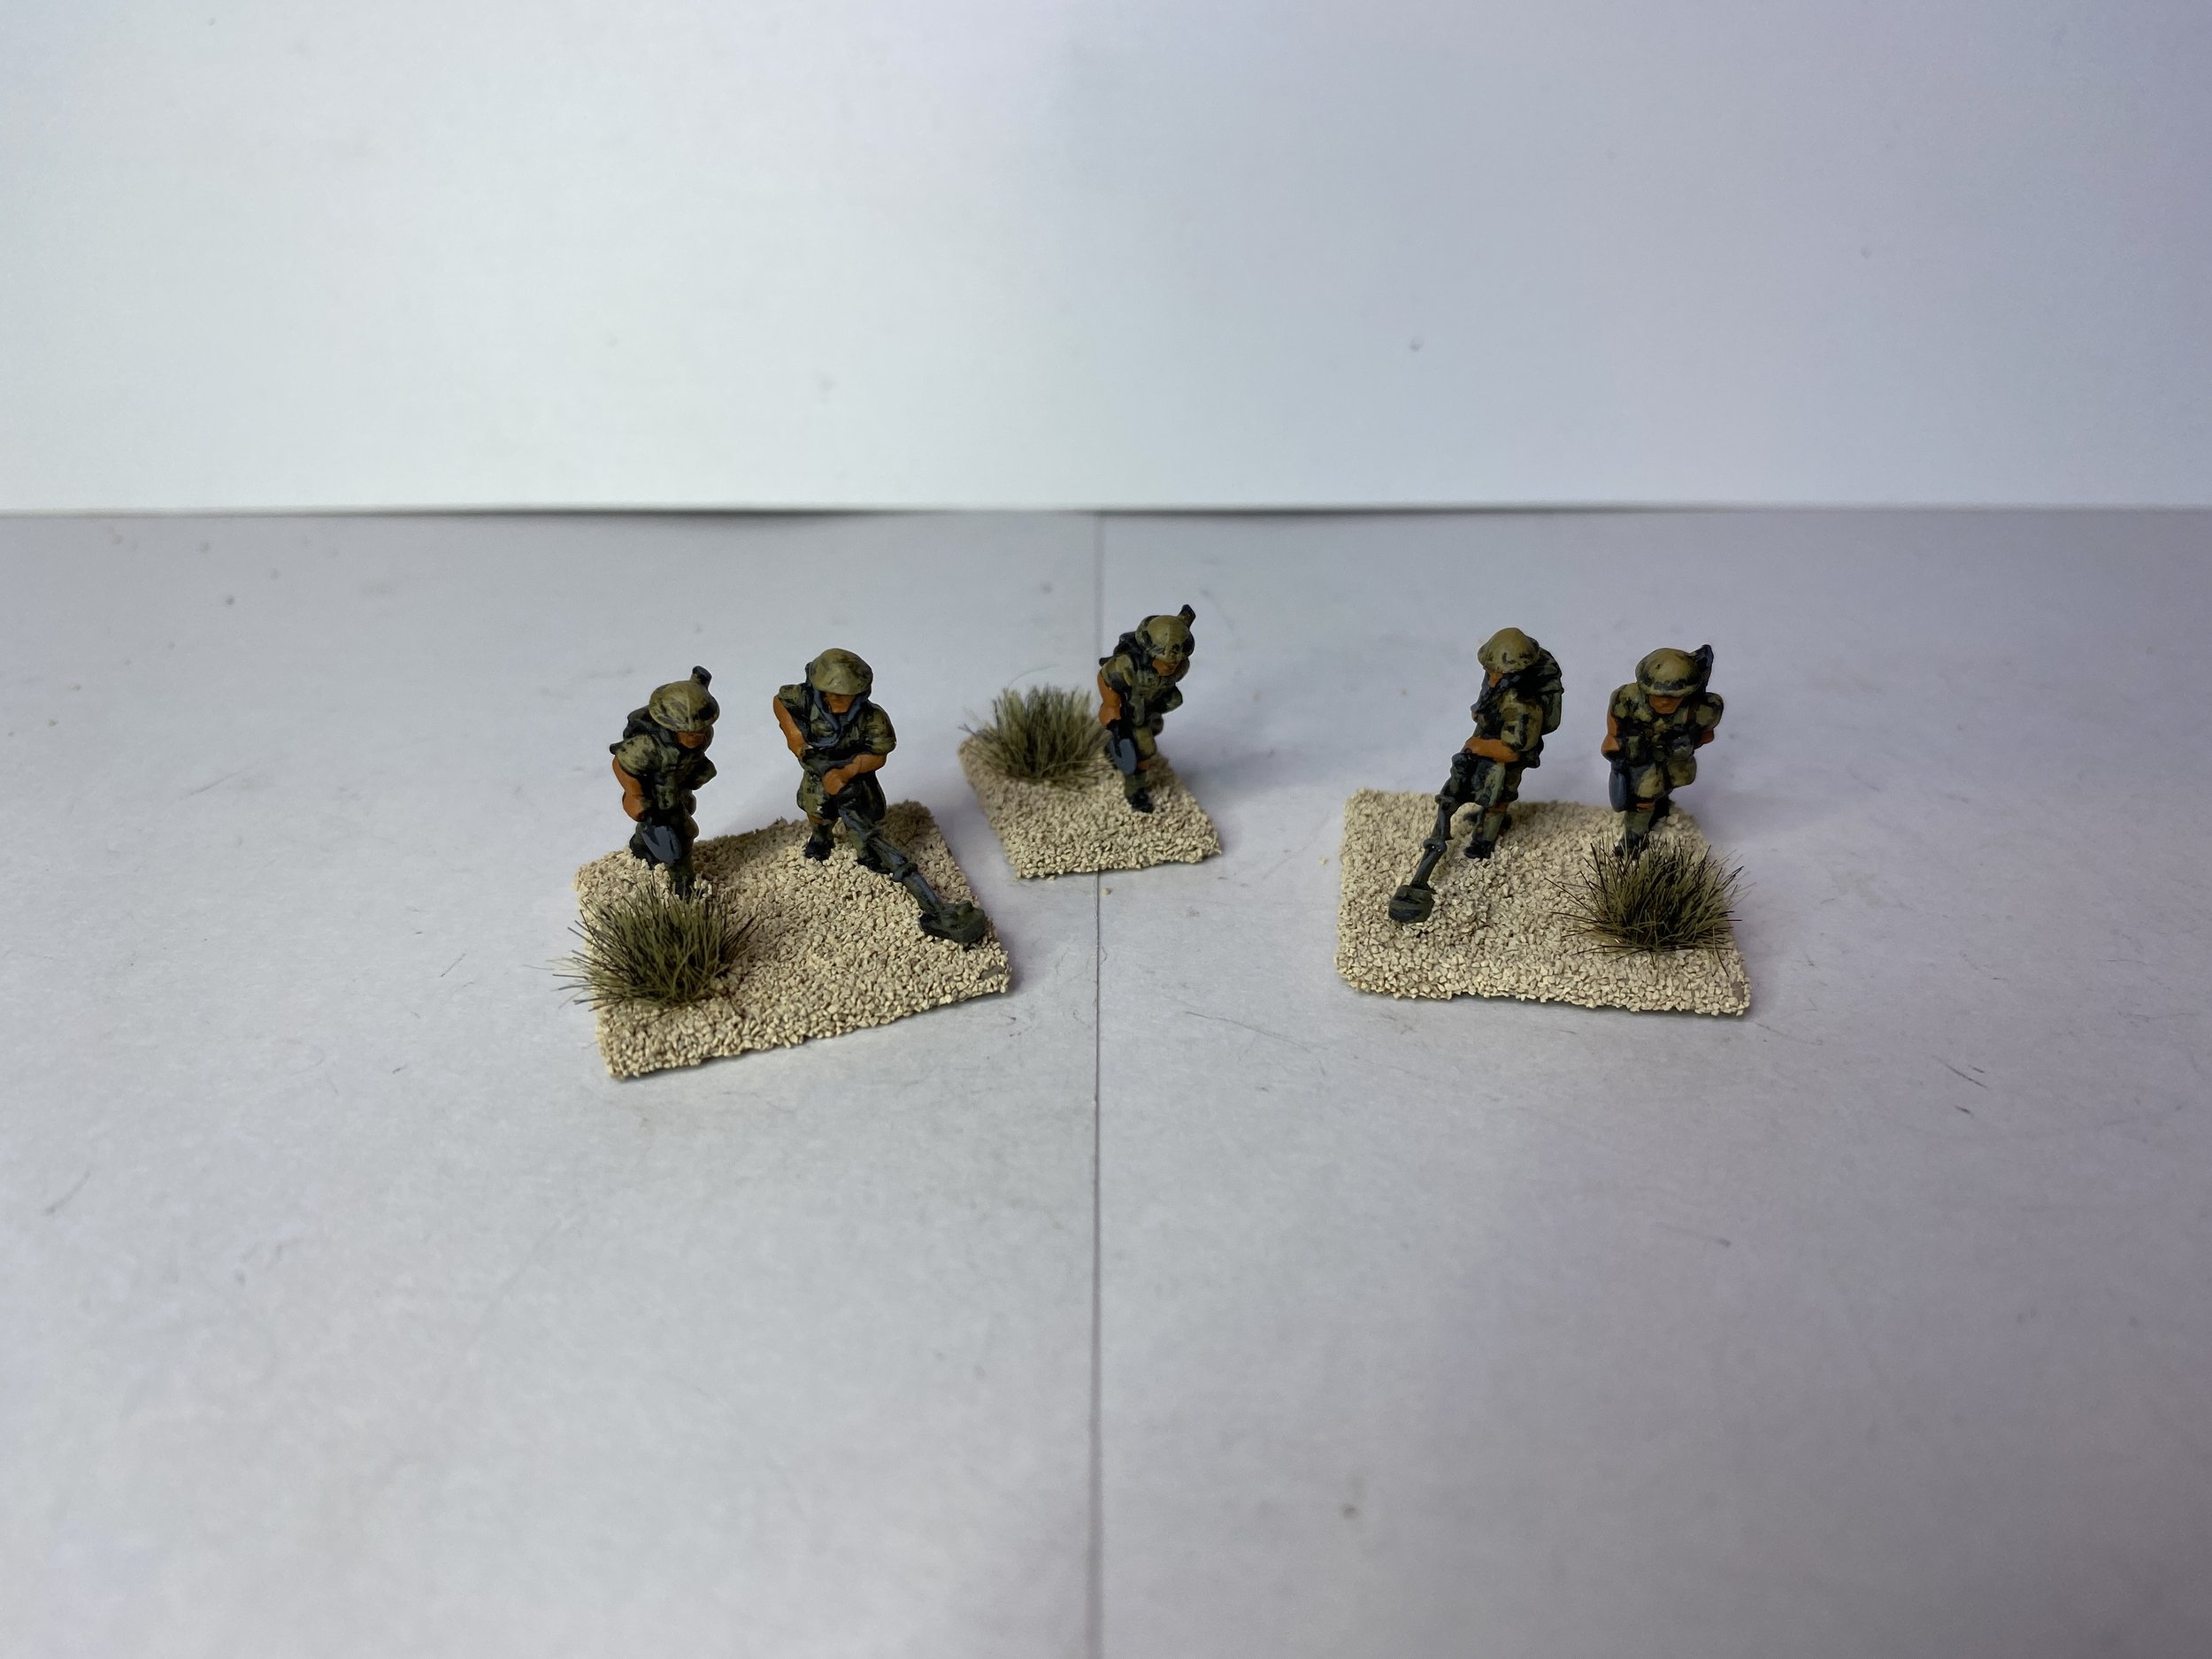
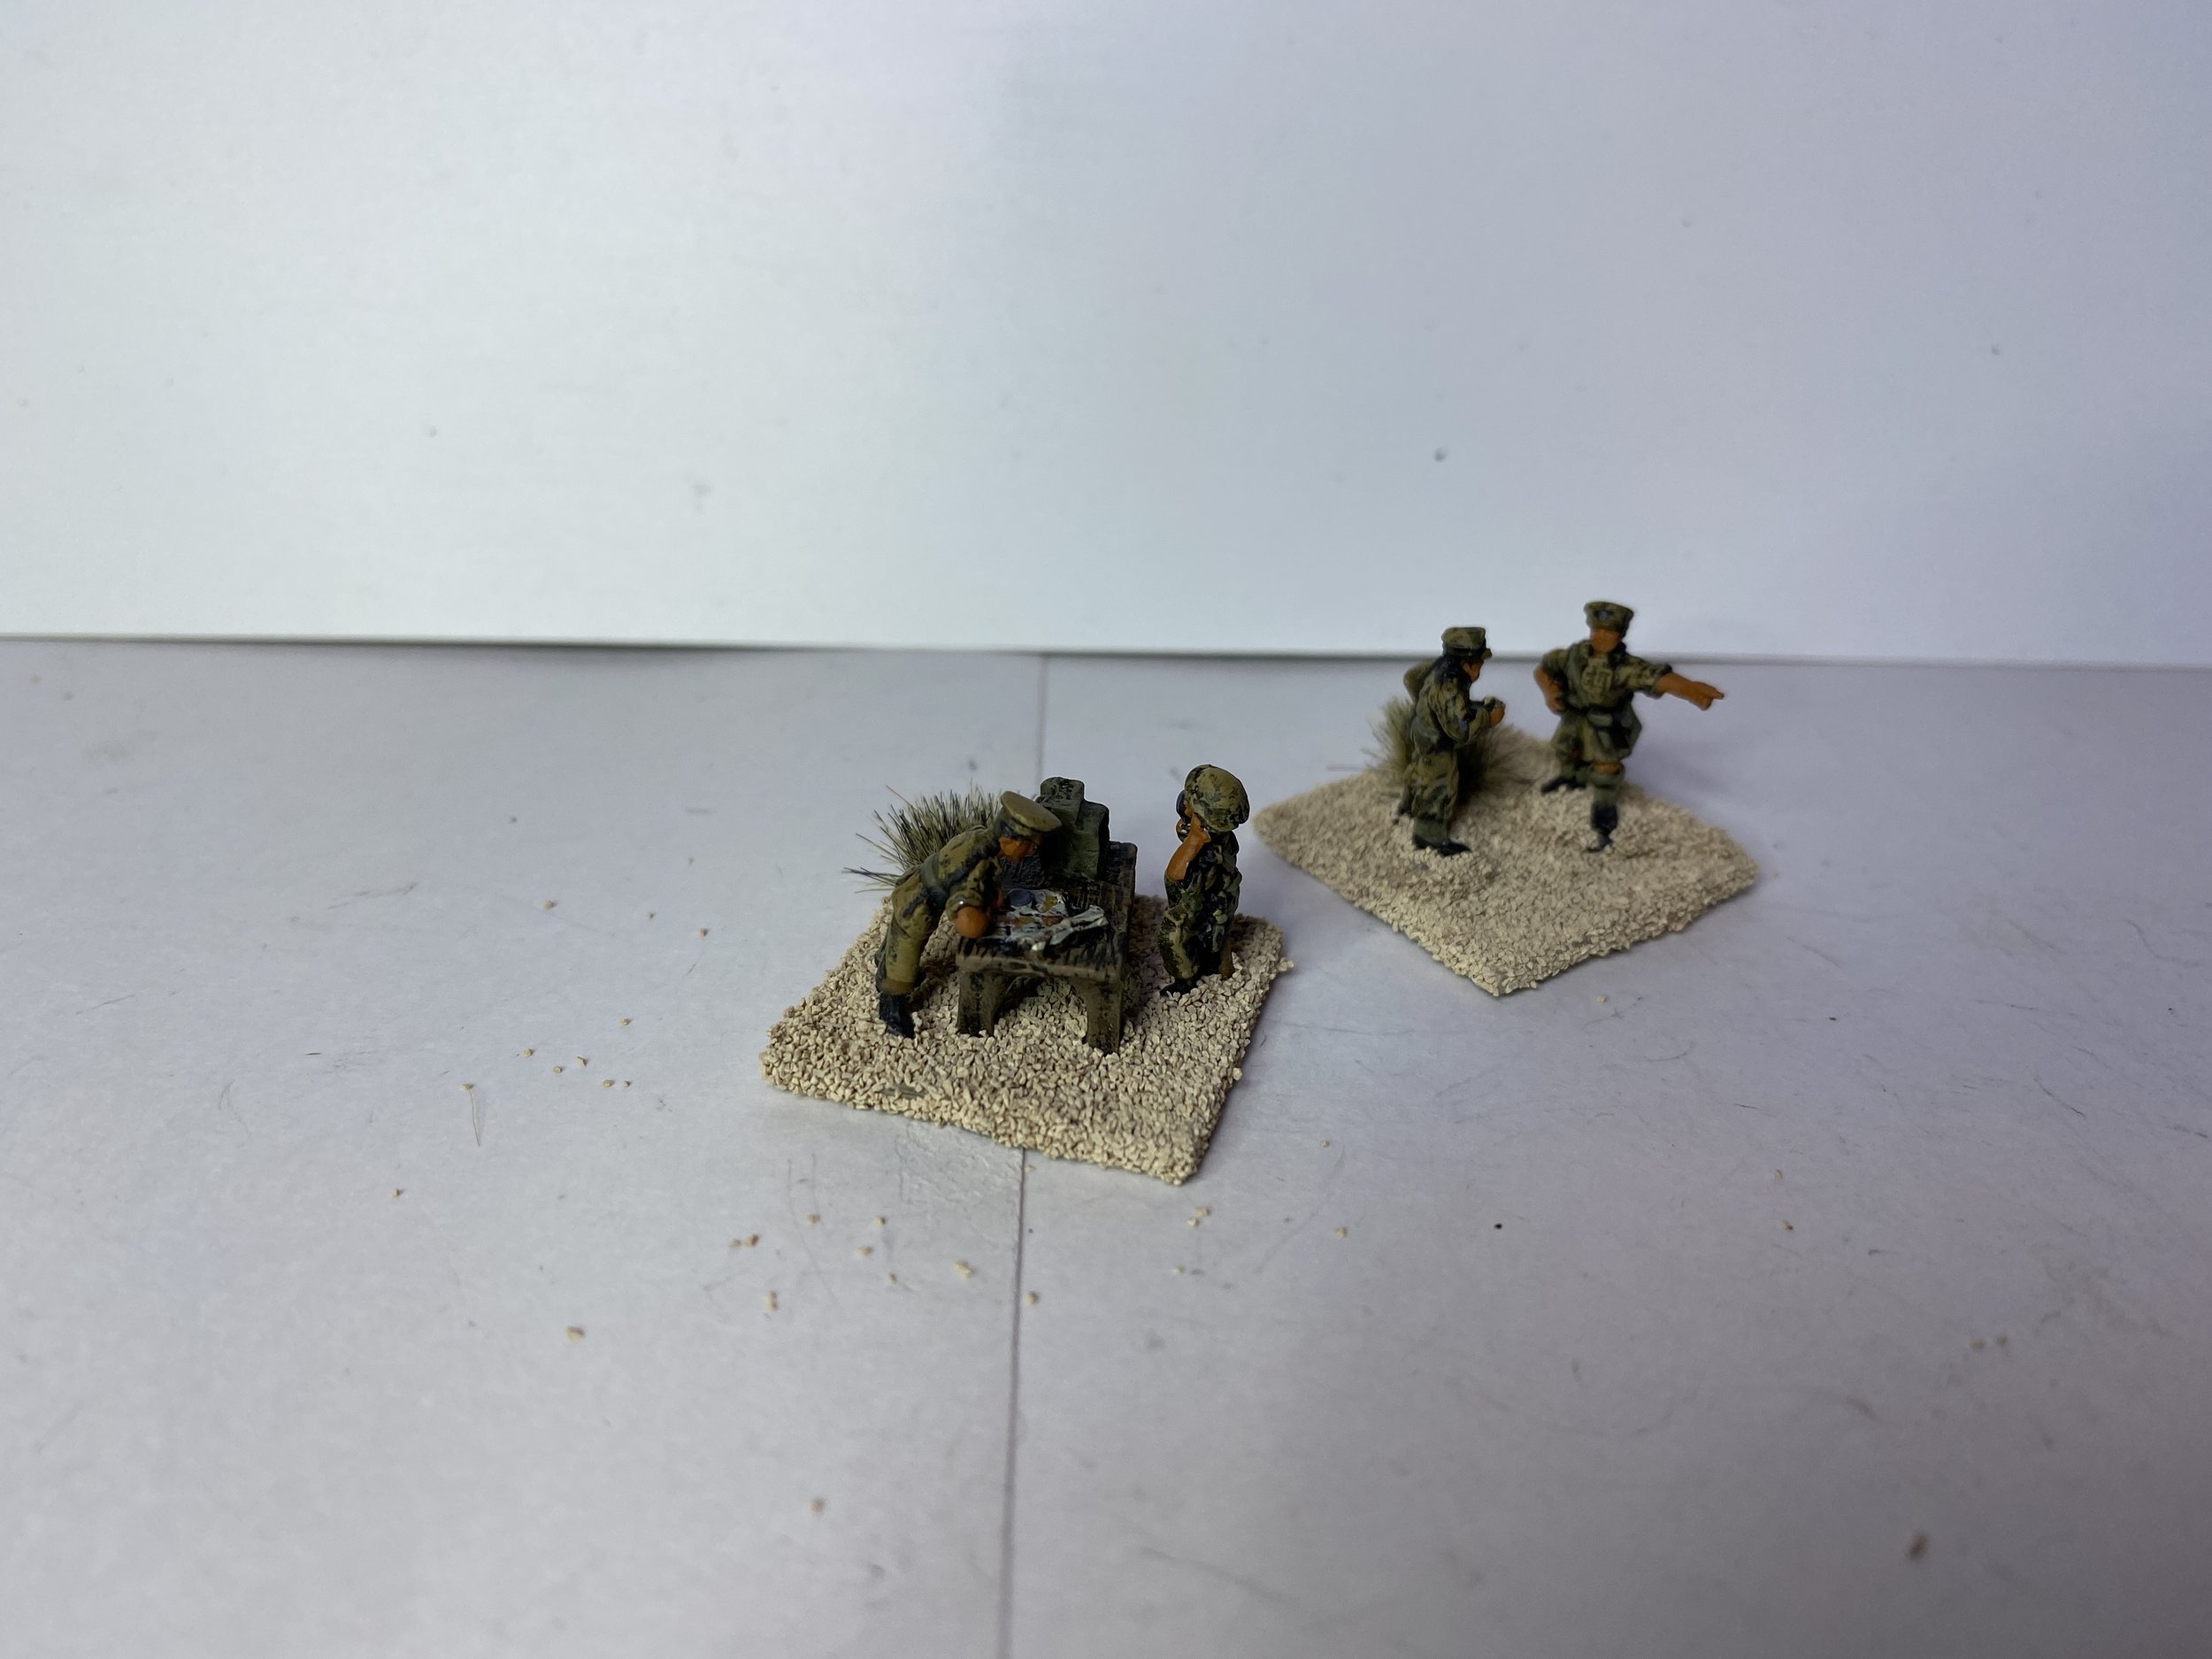
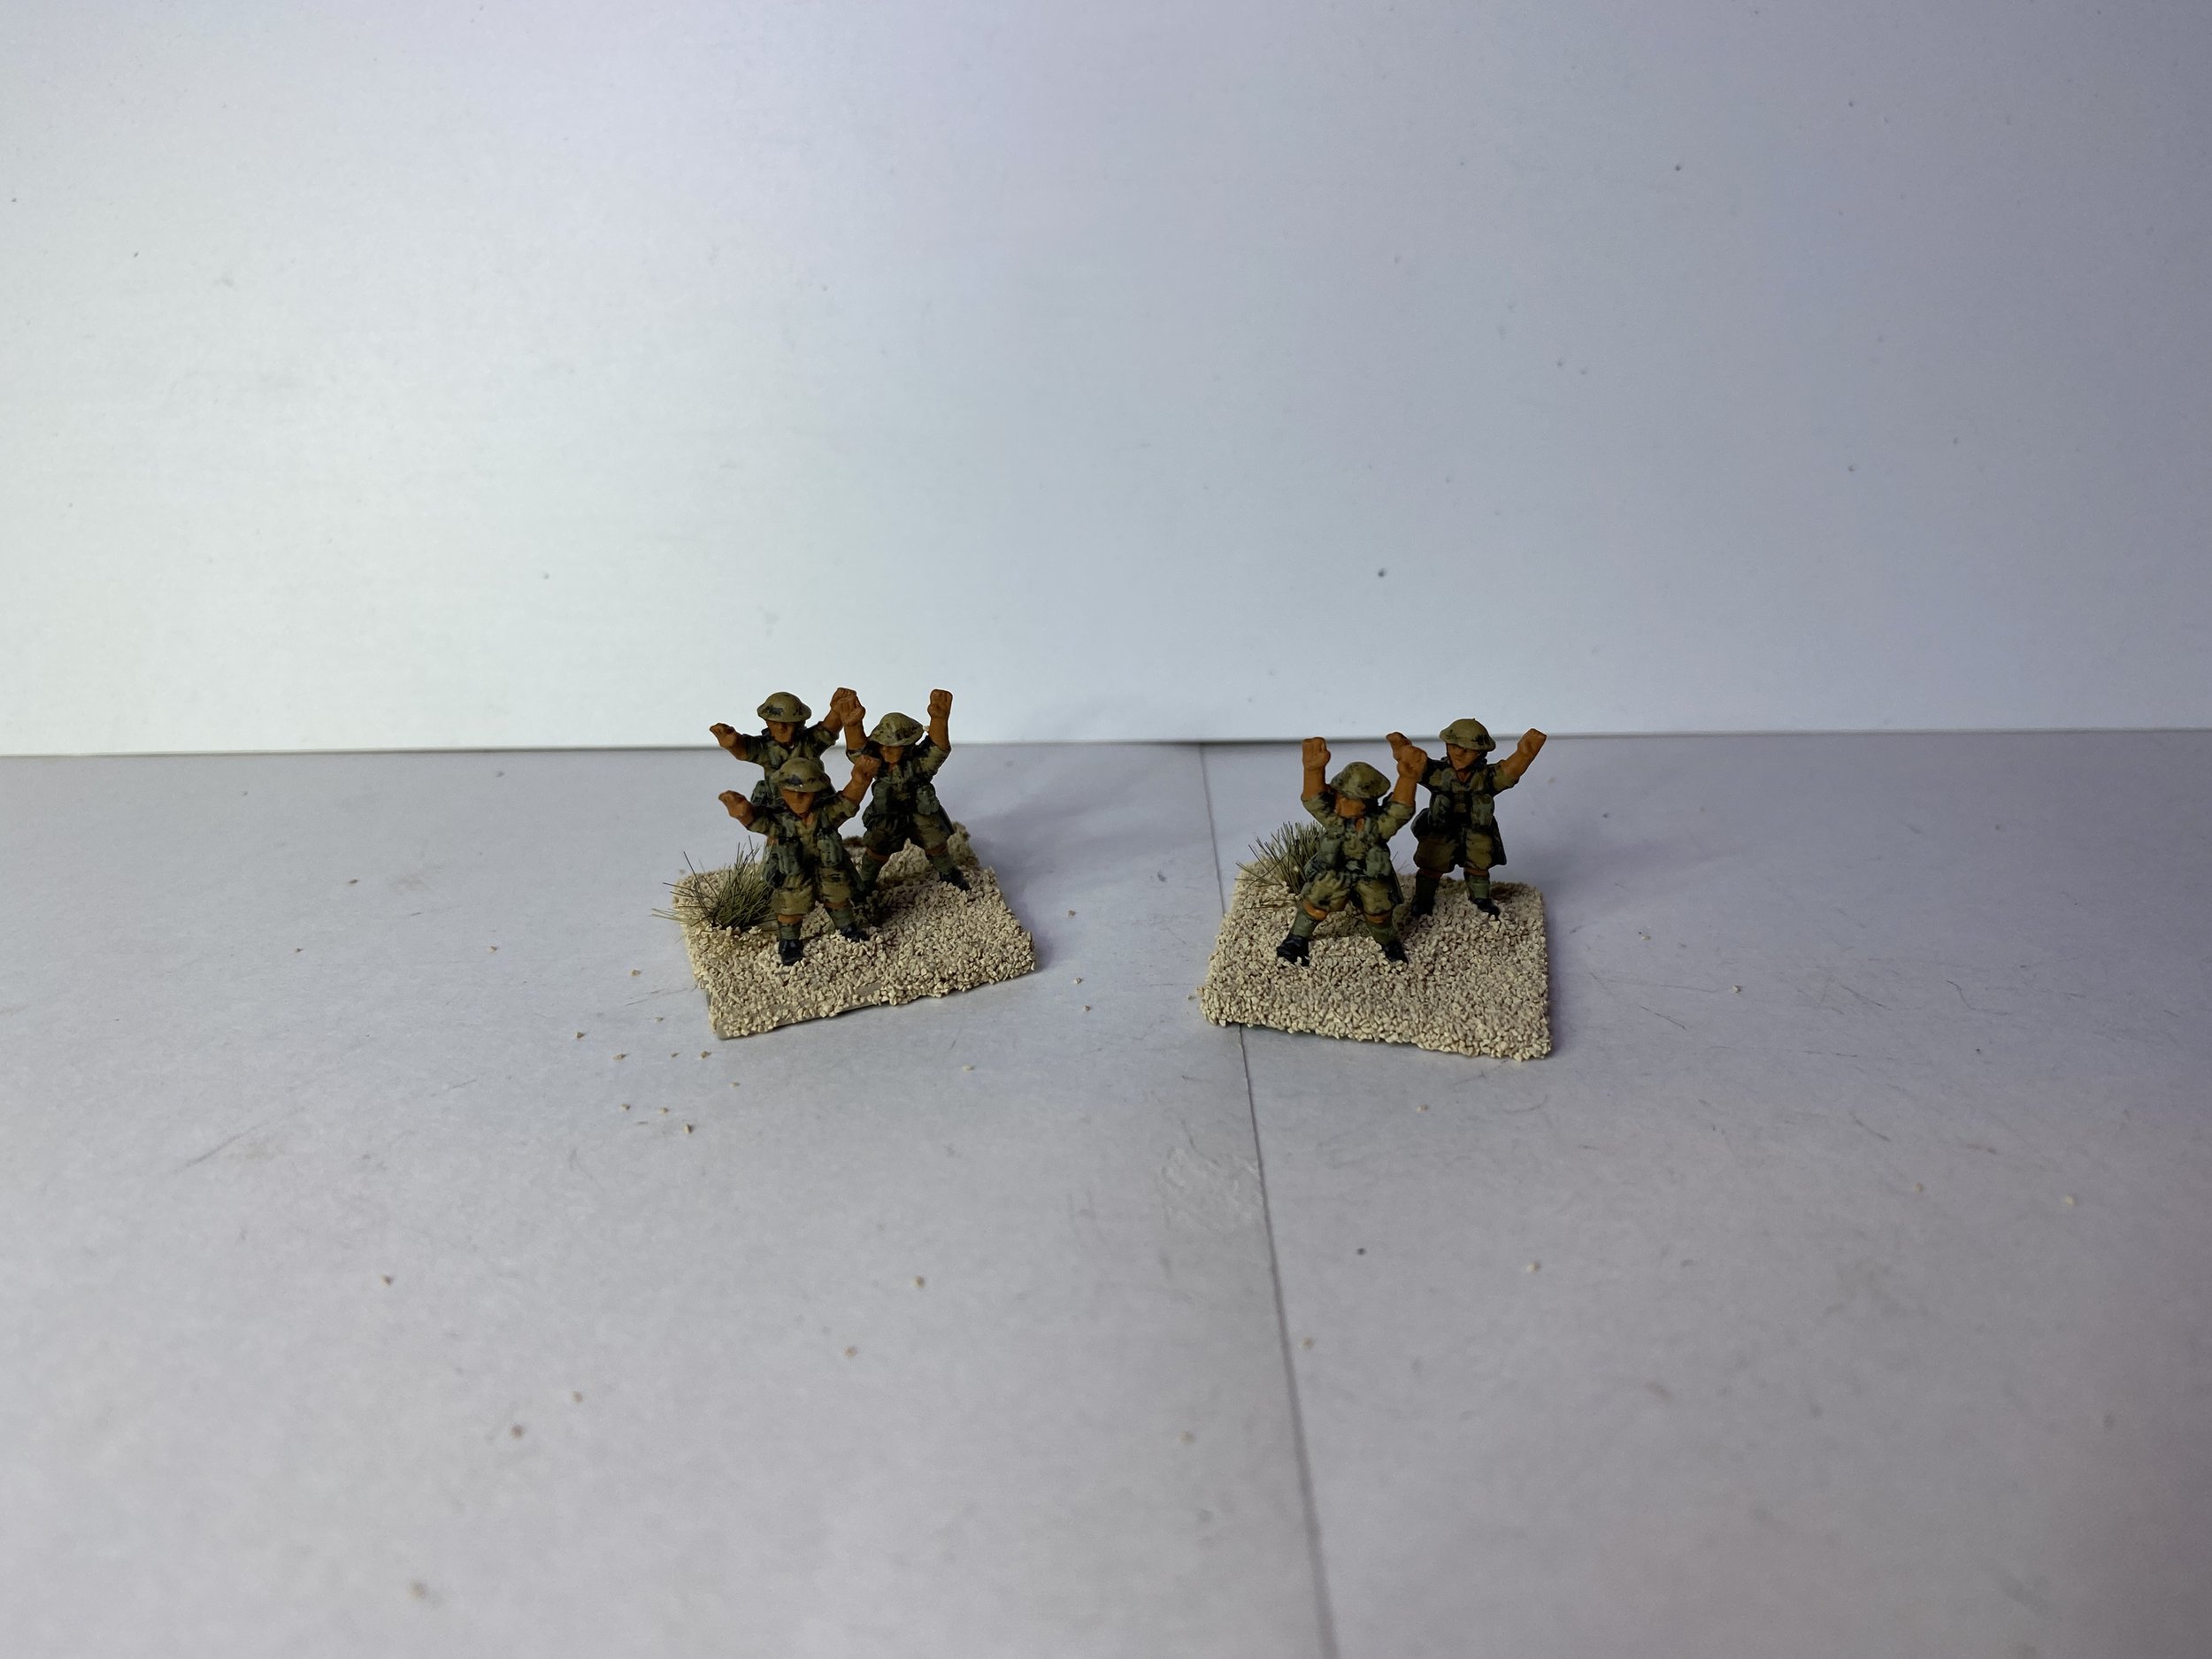
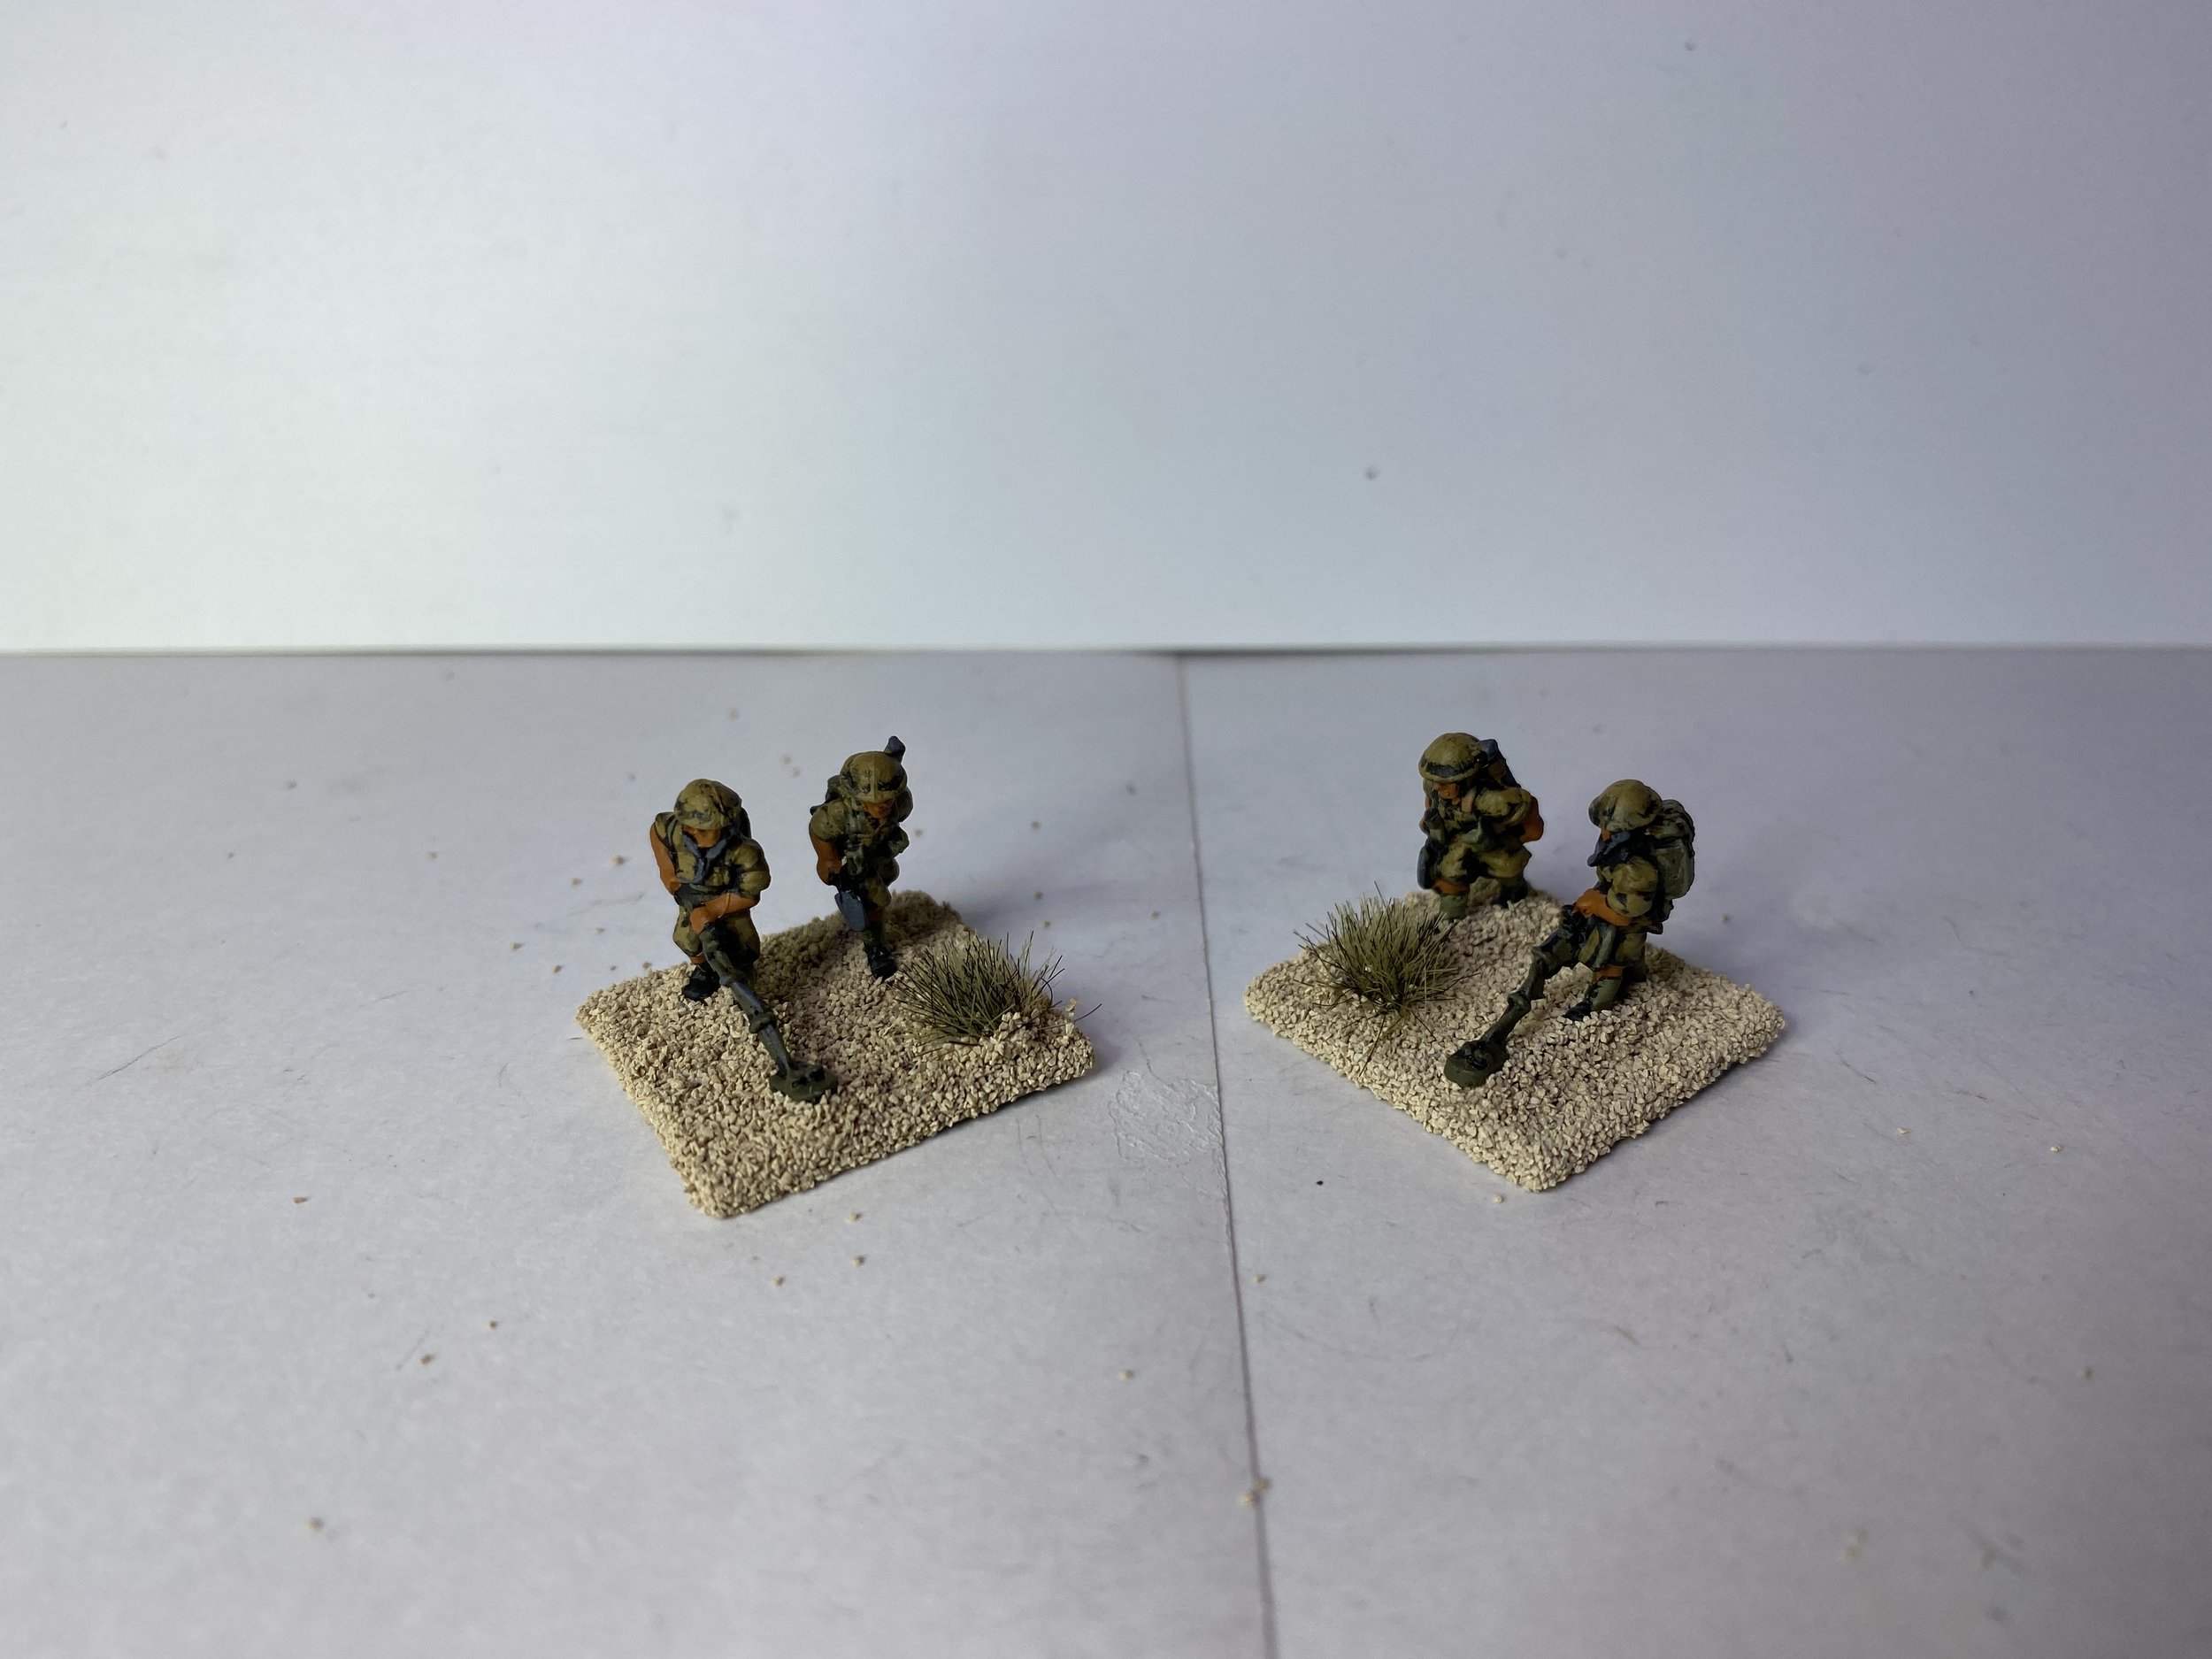
My workbench week began with the painting of British figures… Brits surrendering, Brits having a brew, British field police, British engineers (mine detecting), and some British officers. Most of these figures are Peter Pig but a couple are Flames of War.
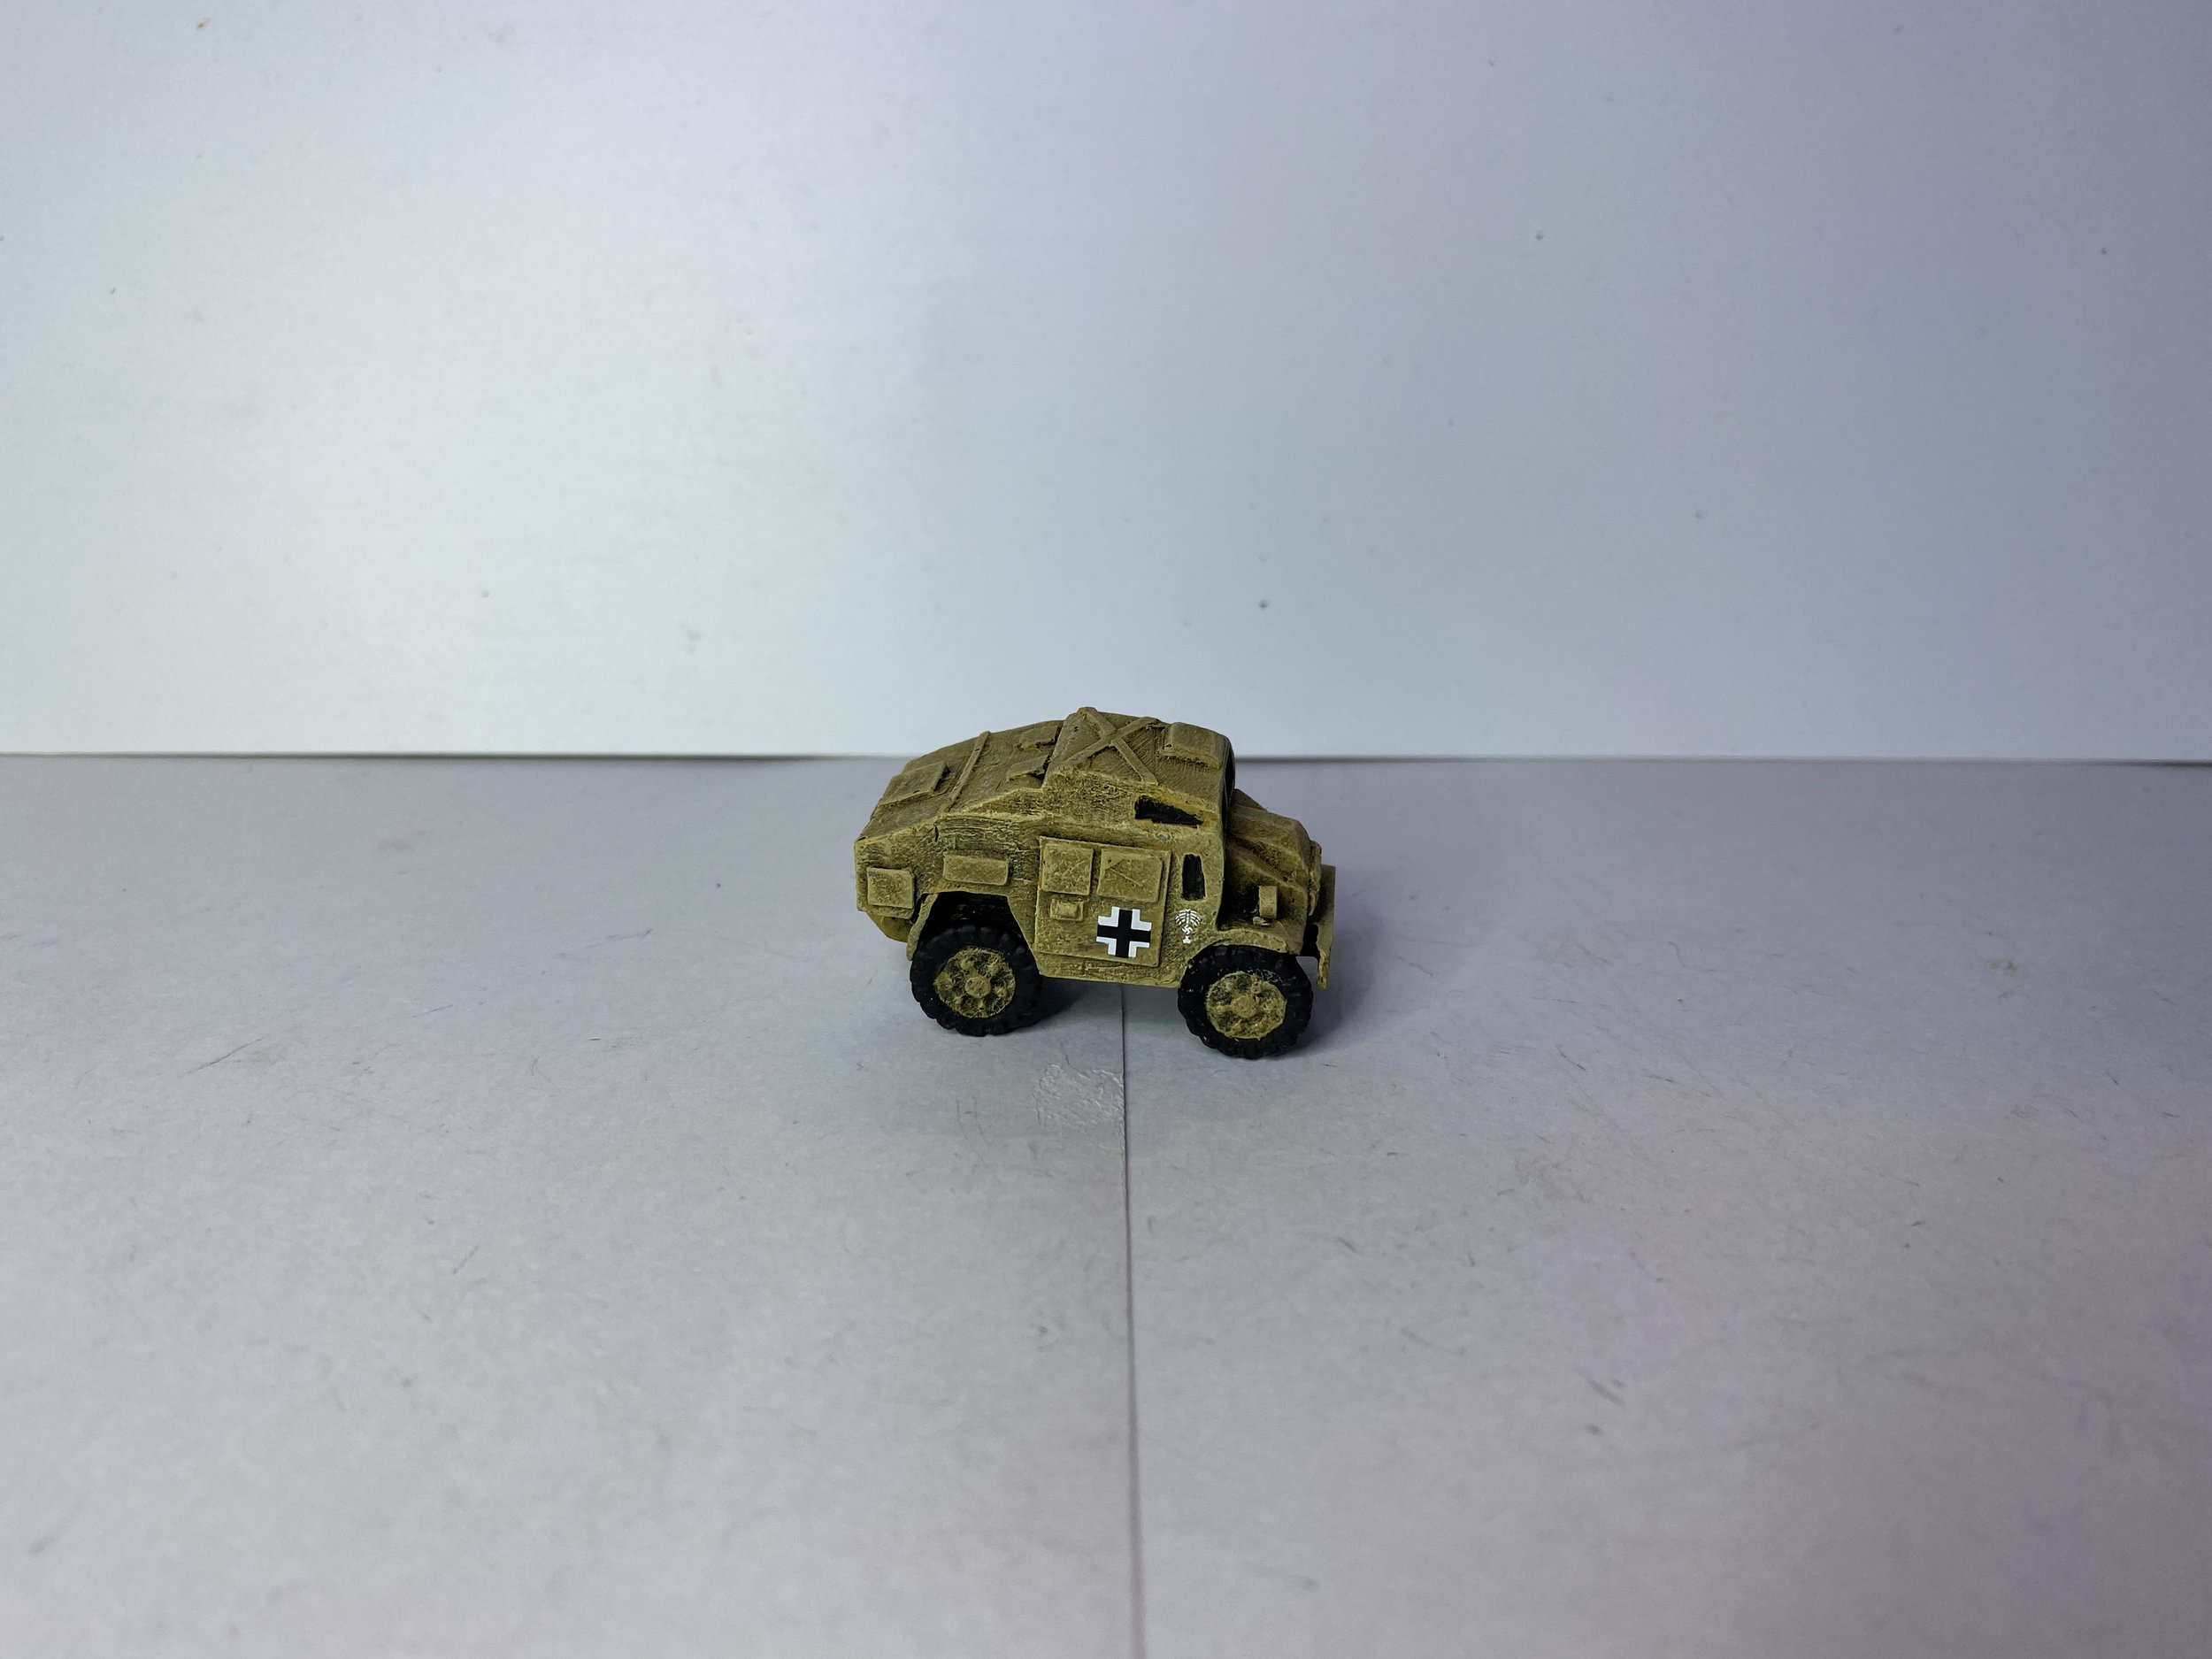
On Monday the mail brought my order from Gaming Models. This had been a nervous wait because I was hoping that they would be size-compatible with my Command Decision and Flames of War. Happily they are. That is going to save me some money. I decided to paint up the two British quads I received from Gaming Models. The Gaming Model pieces are often cruder than the Command Decision and Flames of War in terms of detail which explains the significant price difference, but they are nicely cast and I think they will do the job. The Gaming War British quads appear to be the Morris type and will be vehicles captured by the Germans and put into service towing captured British 25 pdr field guns. Once they were painted, I gave them big German crosses and the DAK palms, and on one I added a German flag for air recognition.
I then returned to my painting and decaling tanks for my 15th Panzer Division, and I completed the first troop of the second company of the 15th Panzer Division.
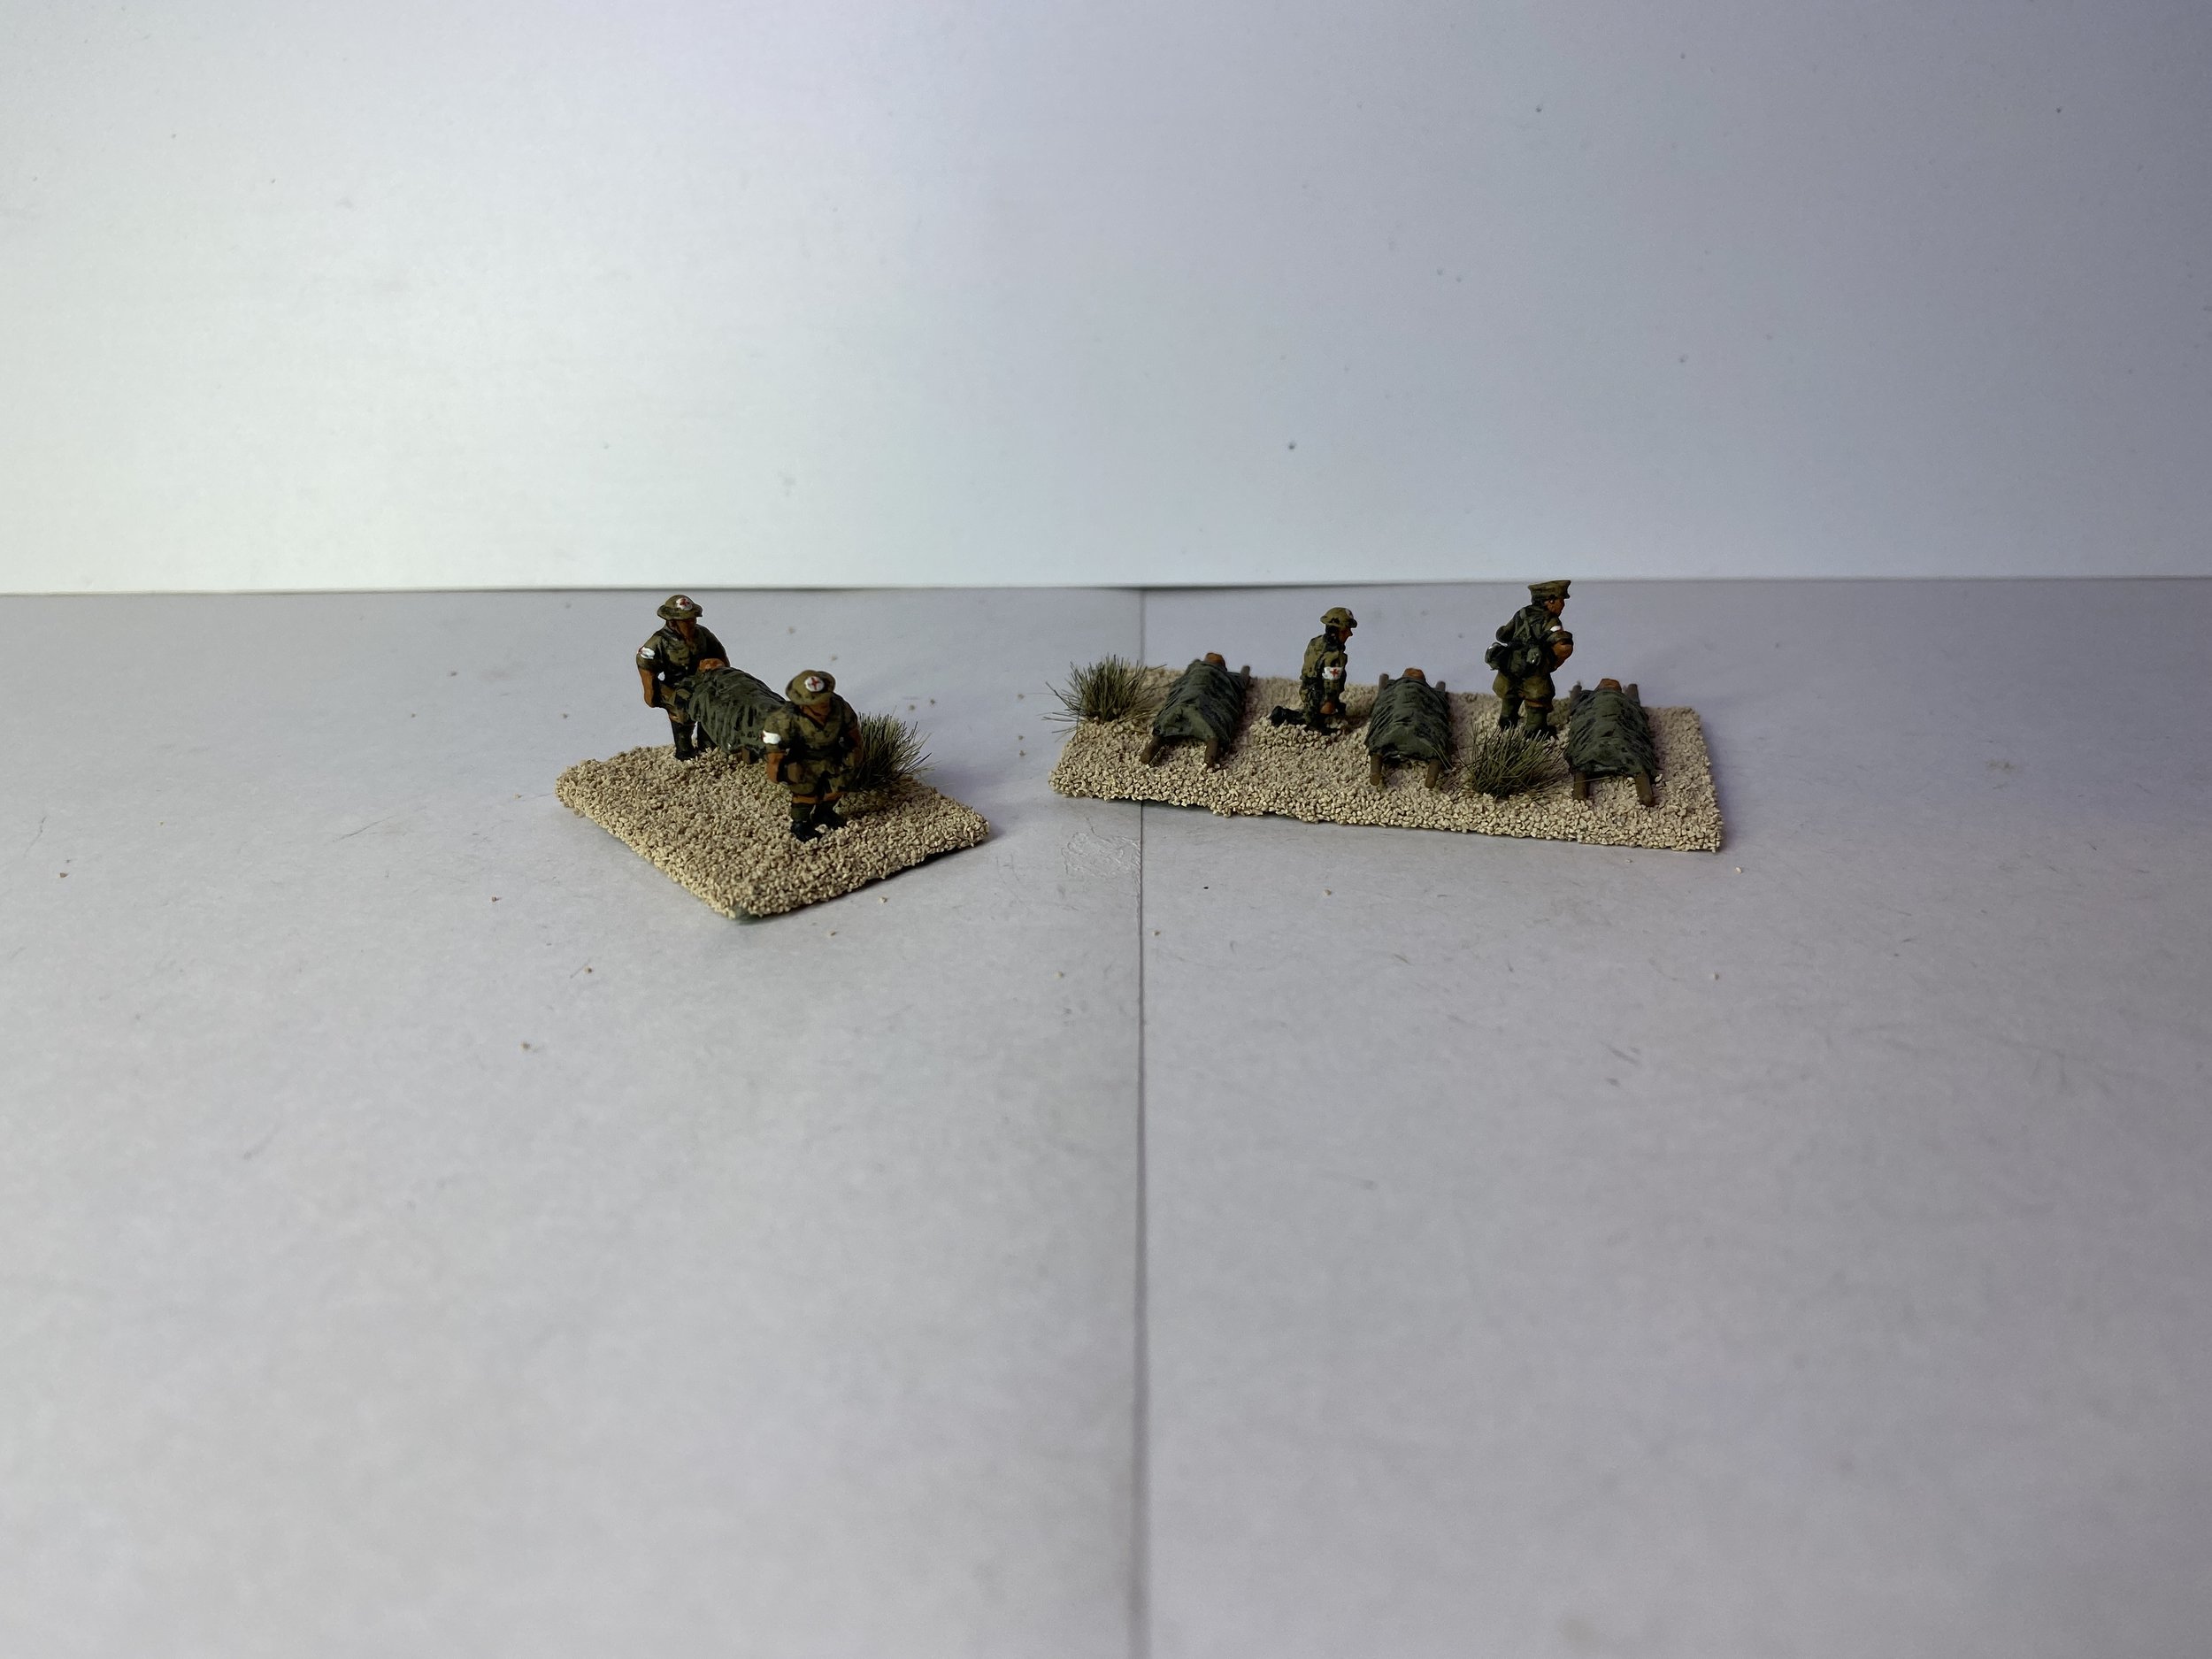
I next turned my attention to doing some additional Peter Pig for my North Africa British. I decided I needed some additional engineers/mine detectors and Brits surrendering. I got those painted up, and decided it was time to do my British field medical unit. The stretcher bearers and wounded are Peter Pig, but they are Germans from World War I. I did some carving on the stretcher bearers’ uniforms to give them a more British desert look, and I also gave them new heads from the Peter Pig Head range (can’t remember the range number). The medic kneeling is a Command Decision artilleryman, and the medical officer standing is a figure I had left over from a Flames of War pack. With those completed I turned my attention to another pack of Peter Pig British surrendering and a pack of engineers with mine-detecting equipment.
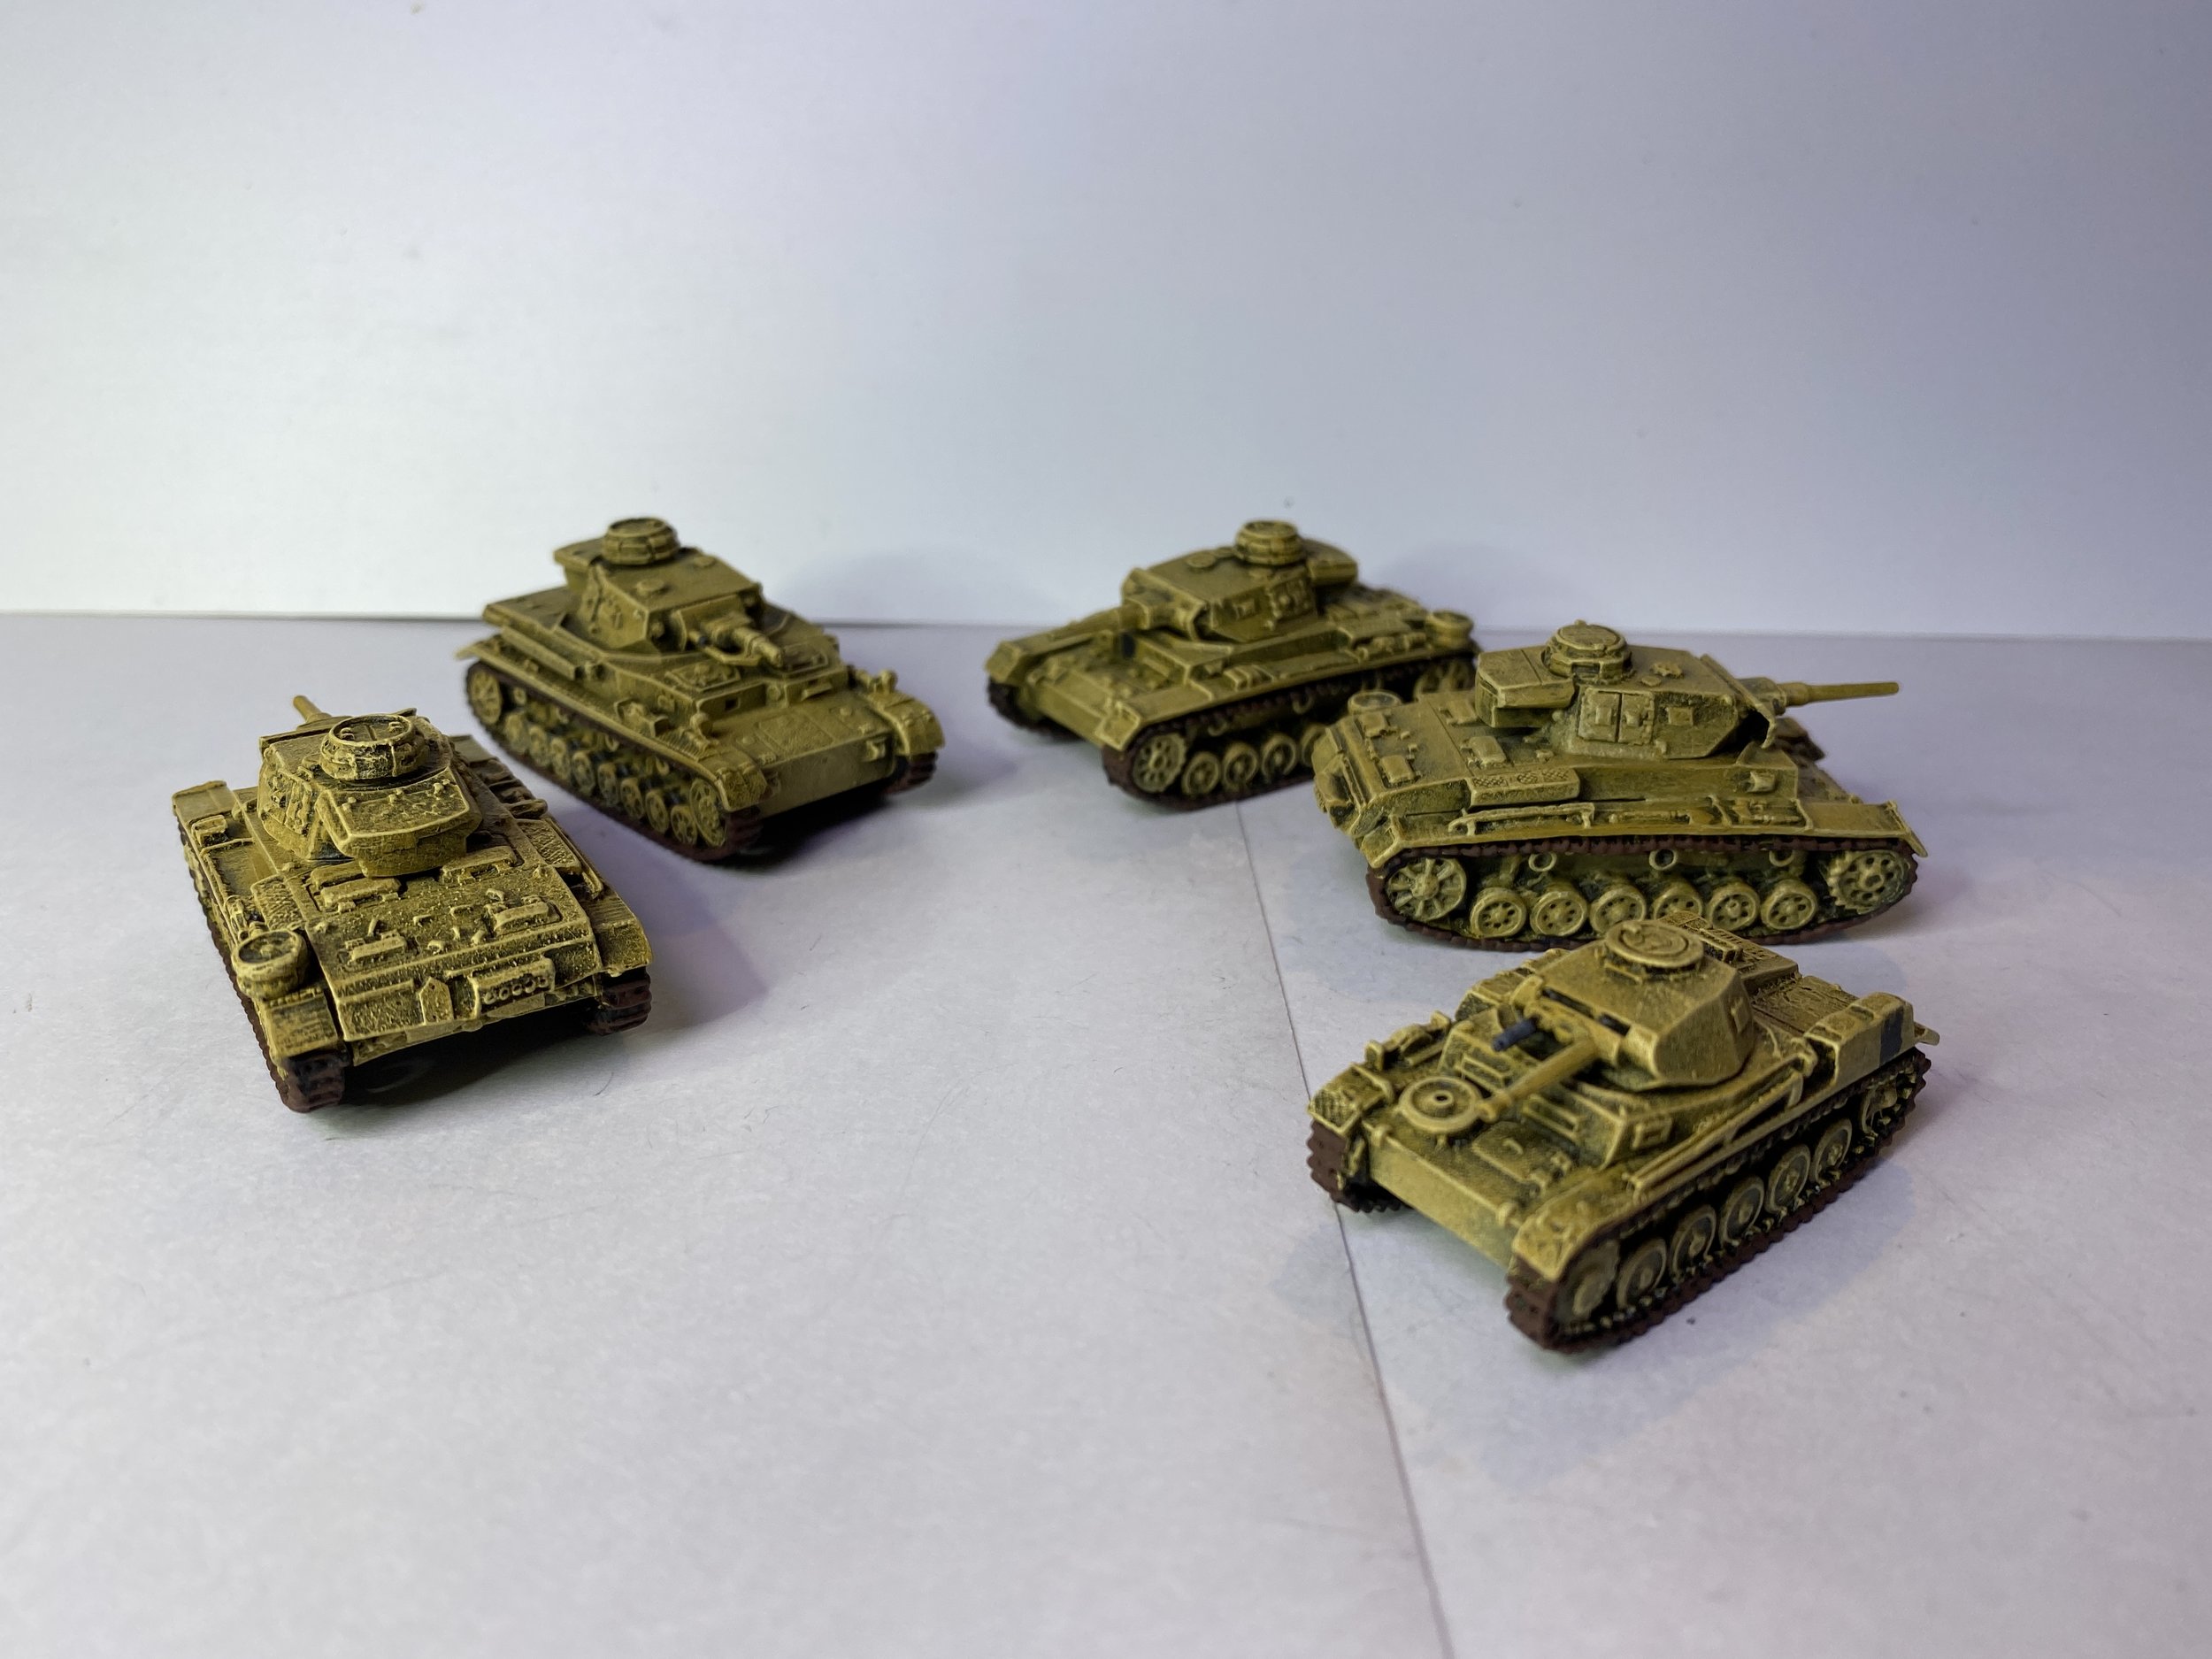
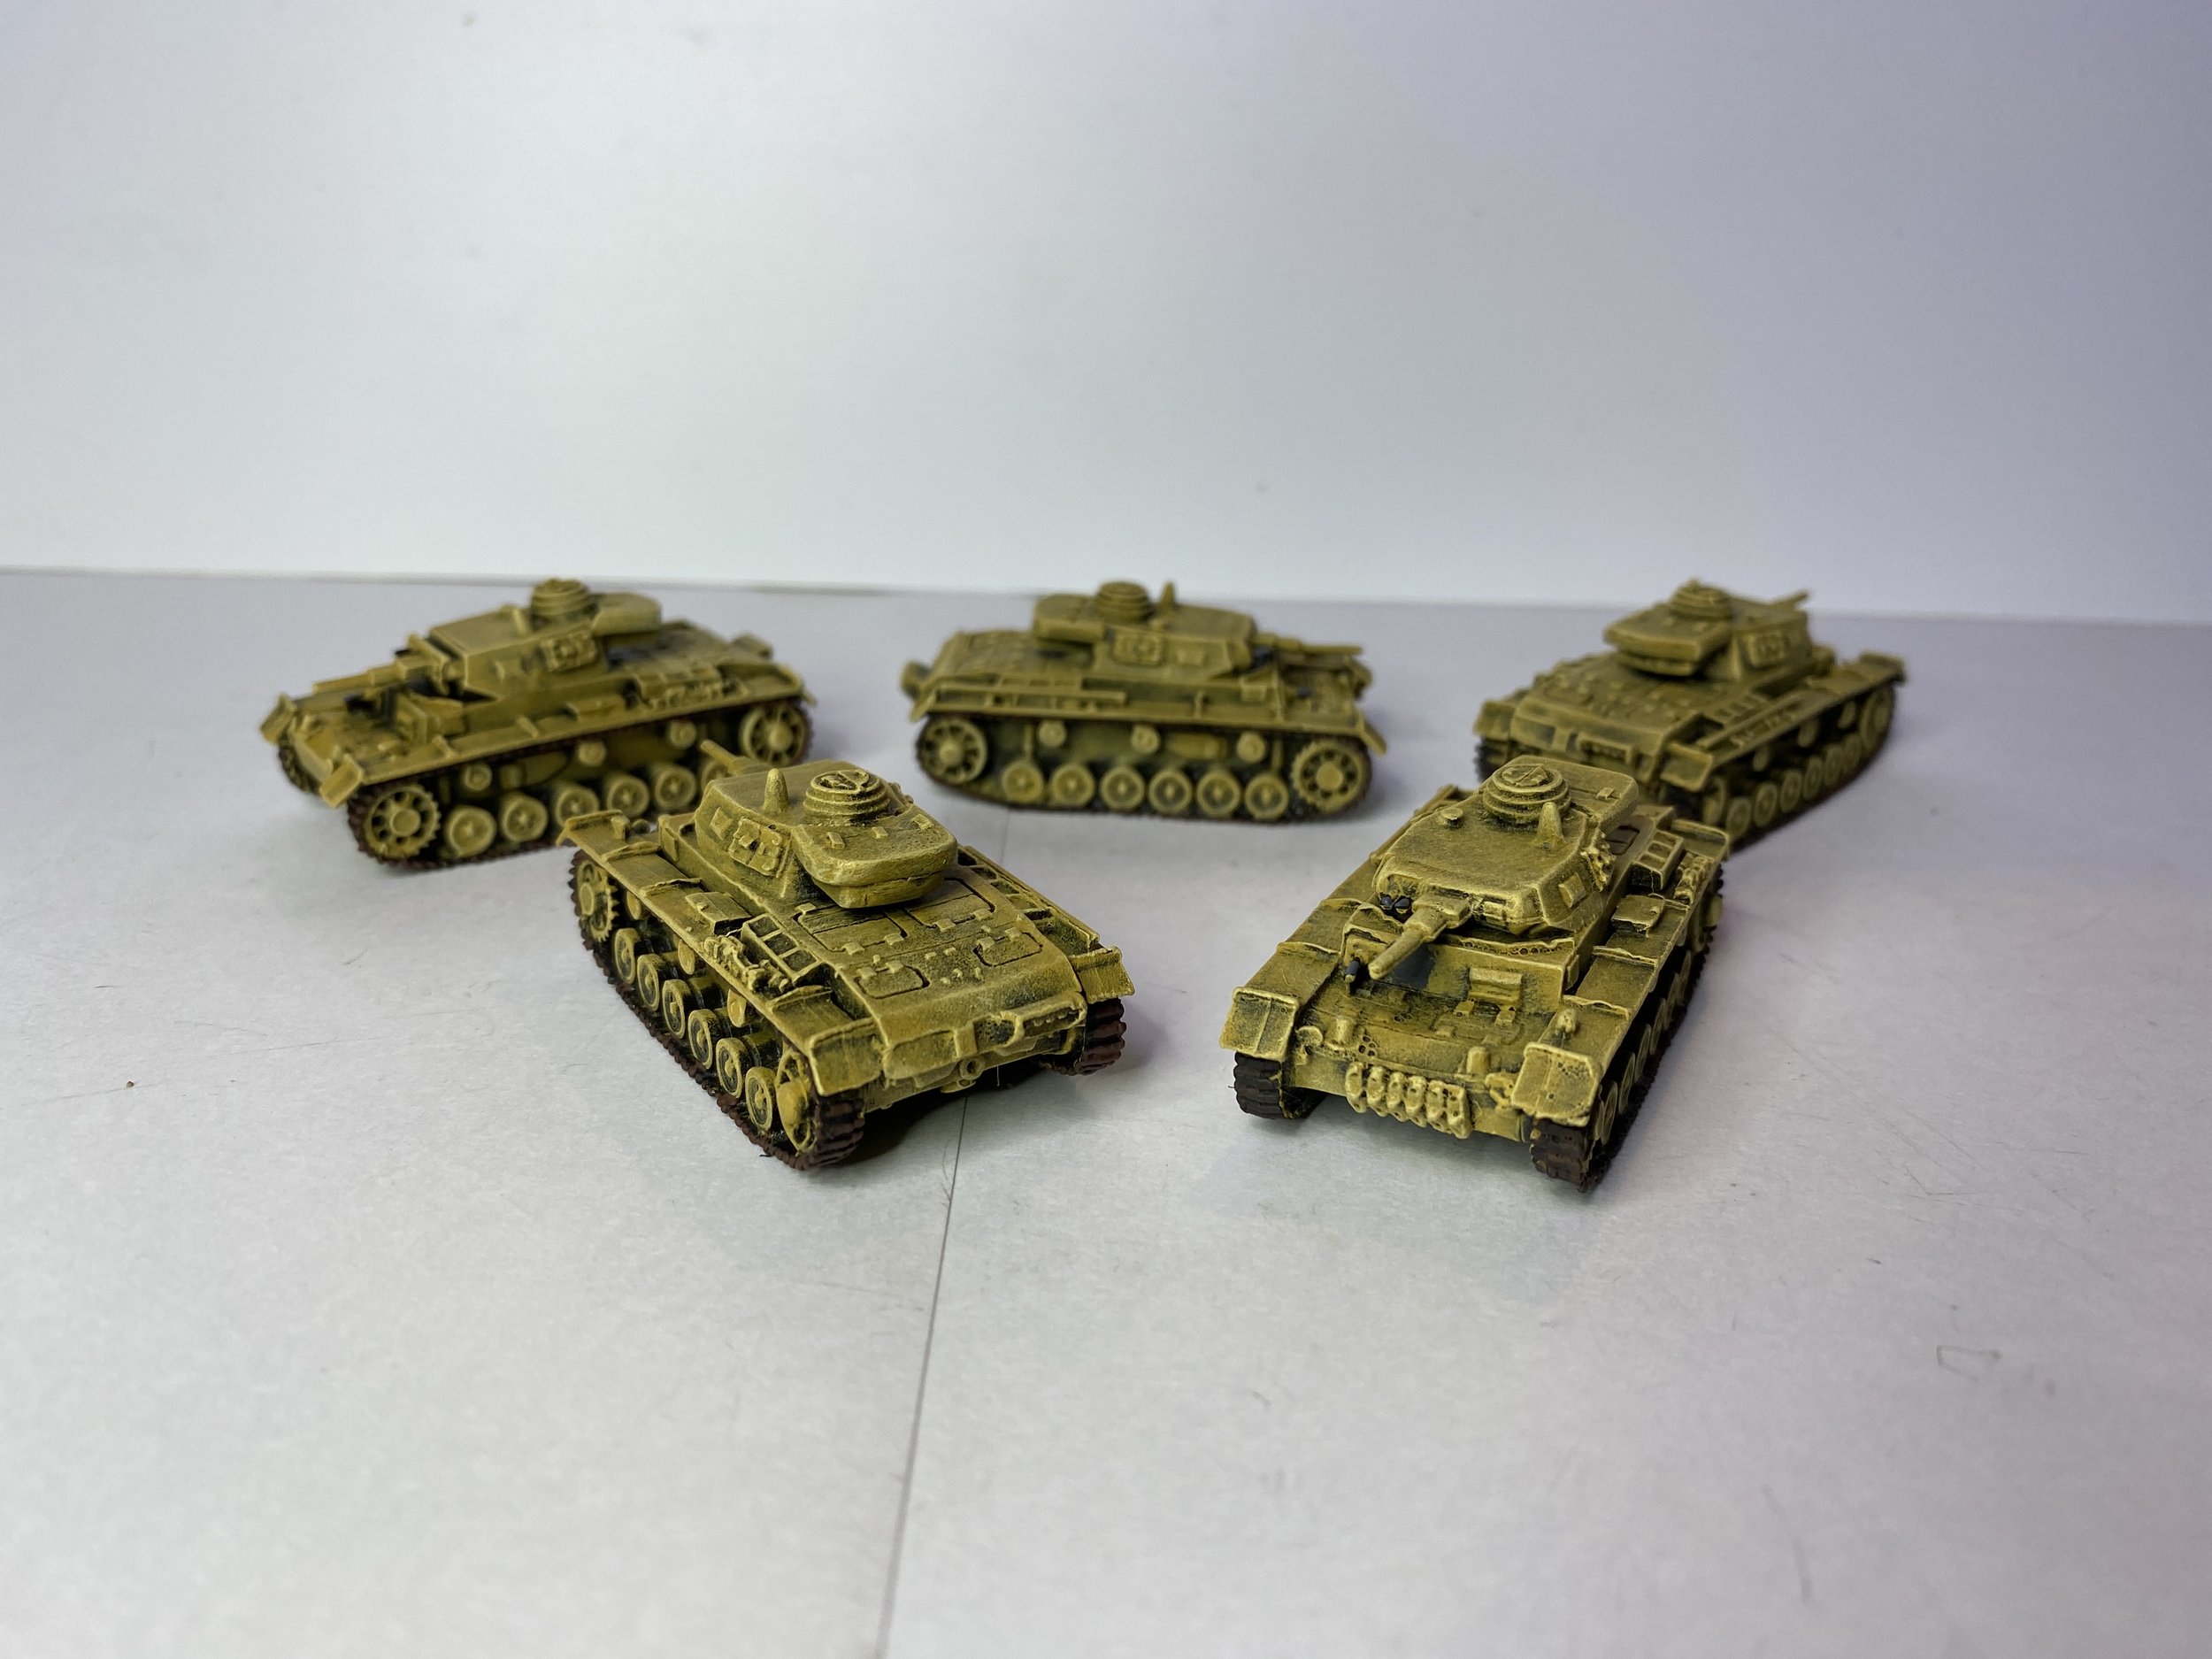
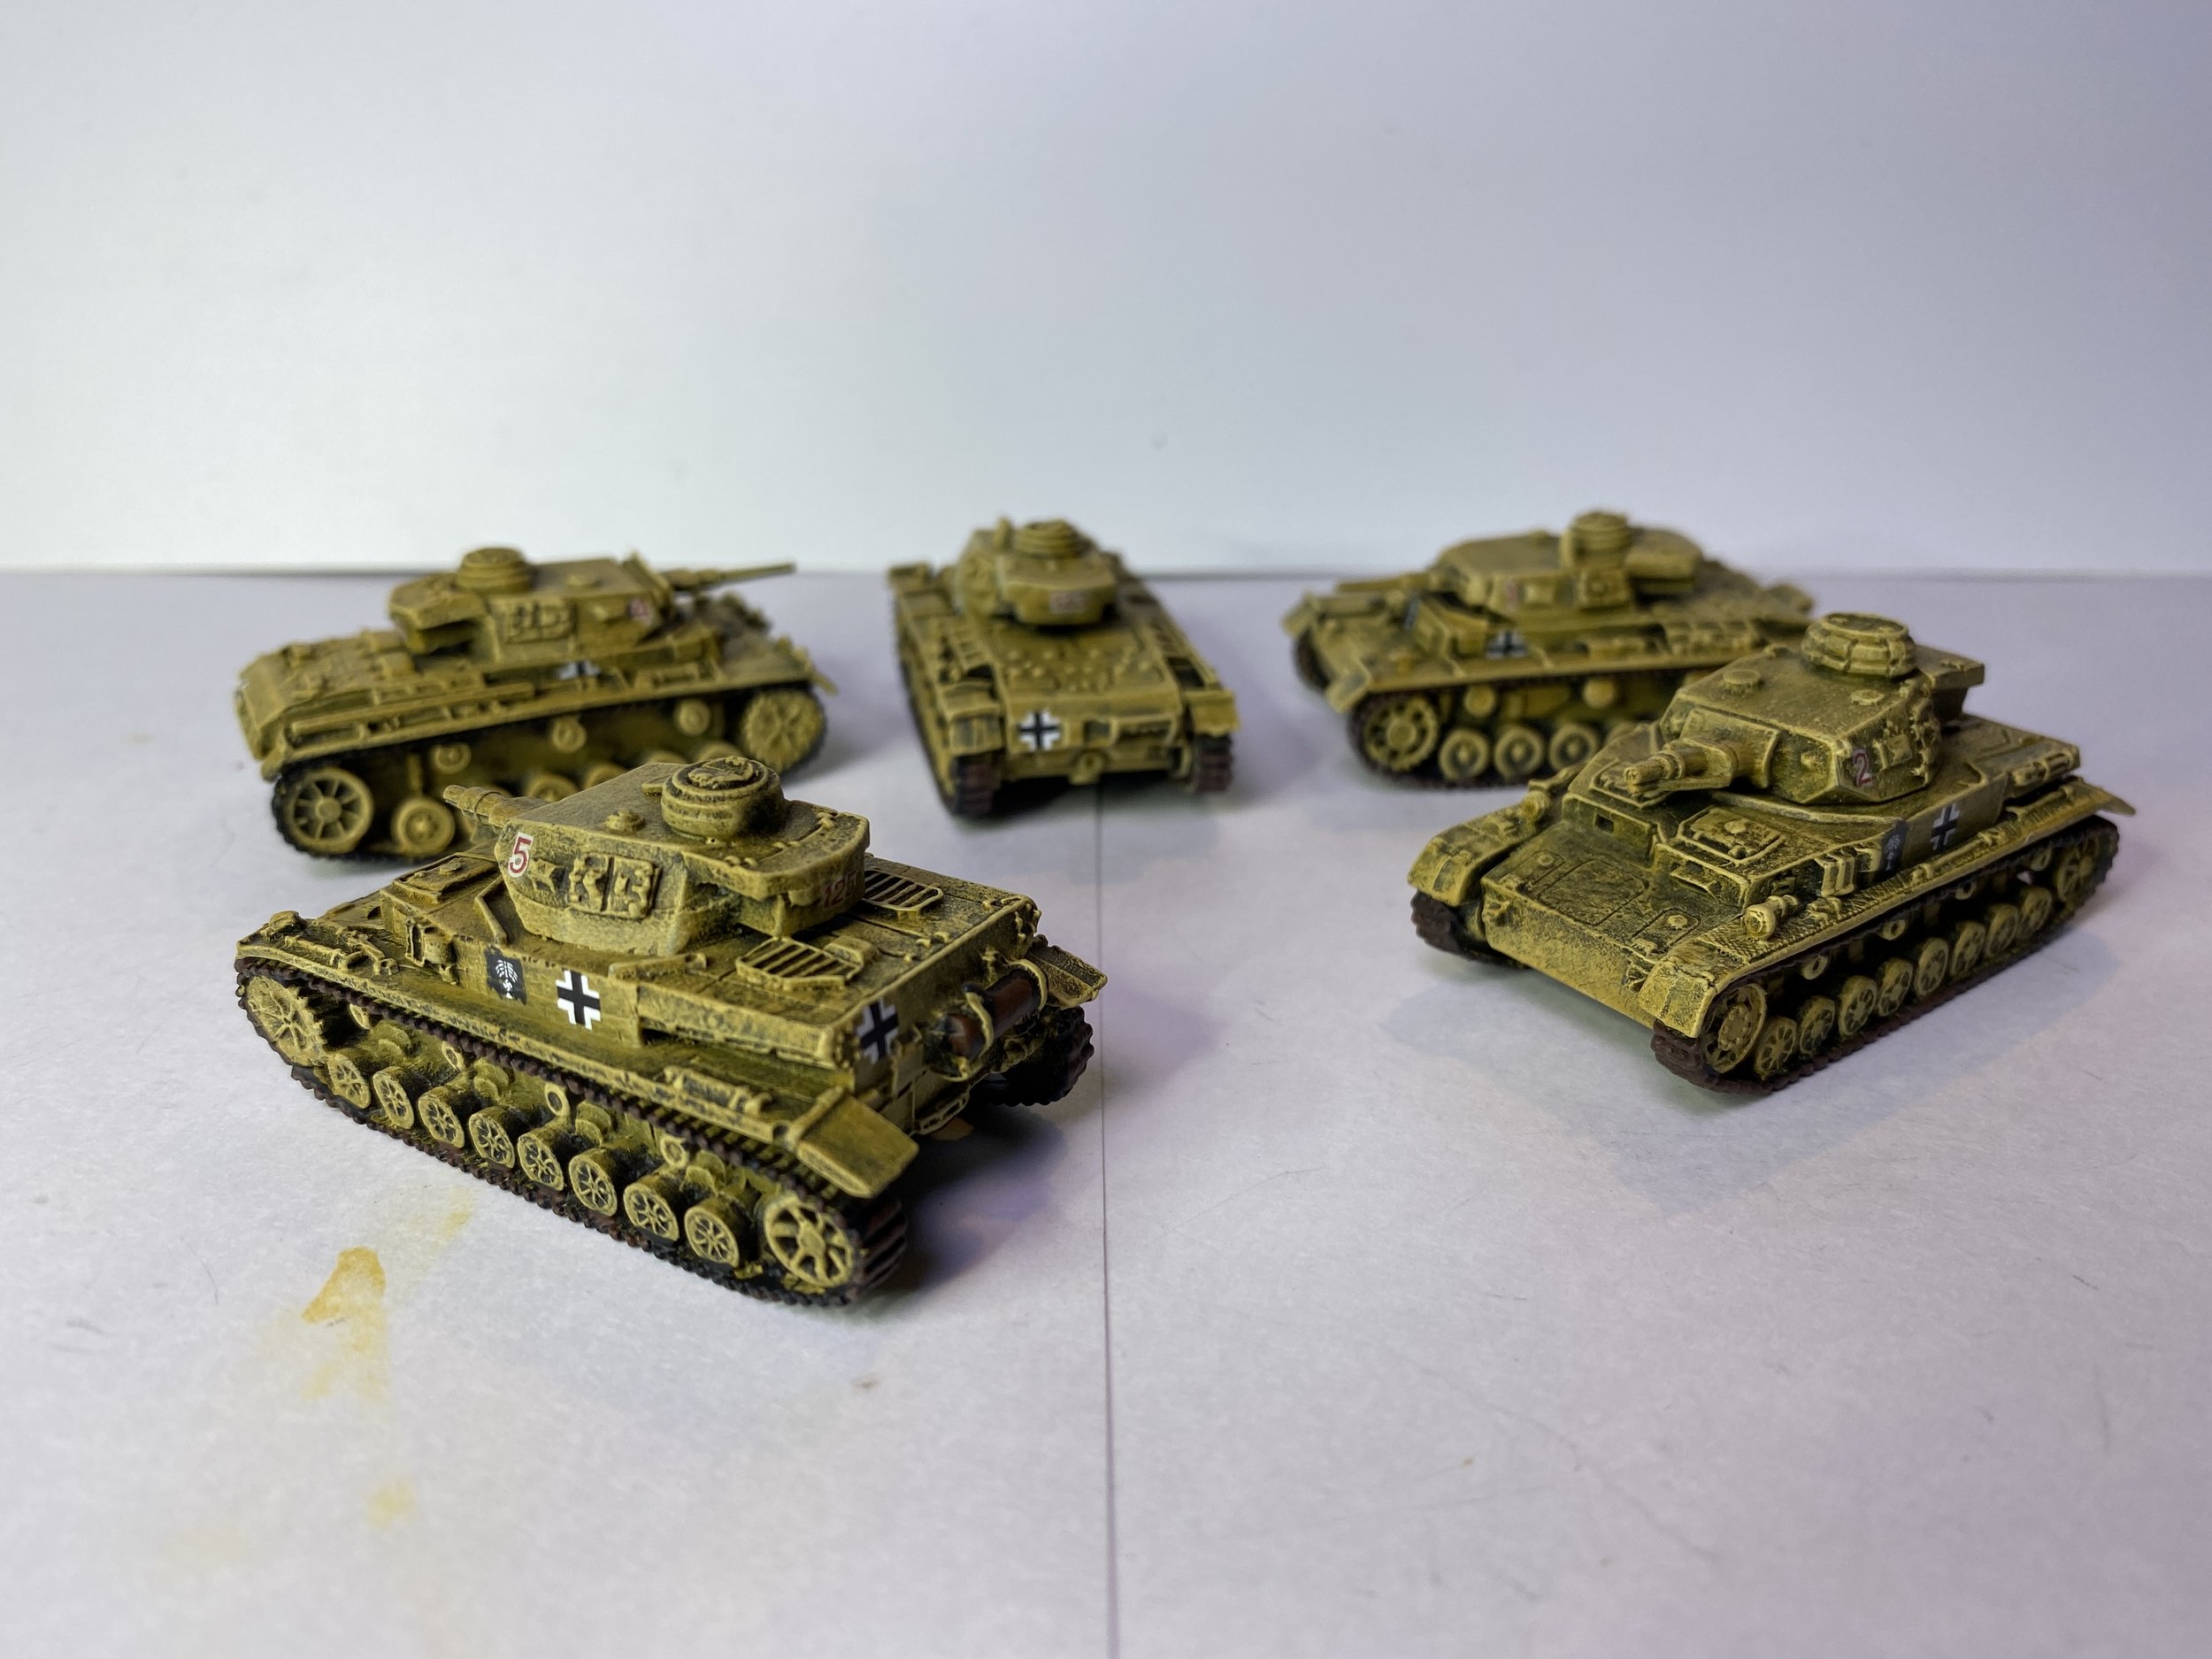
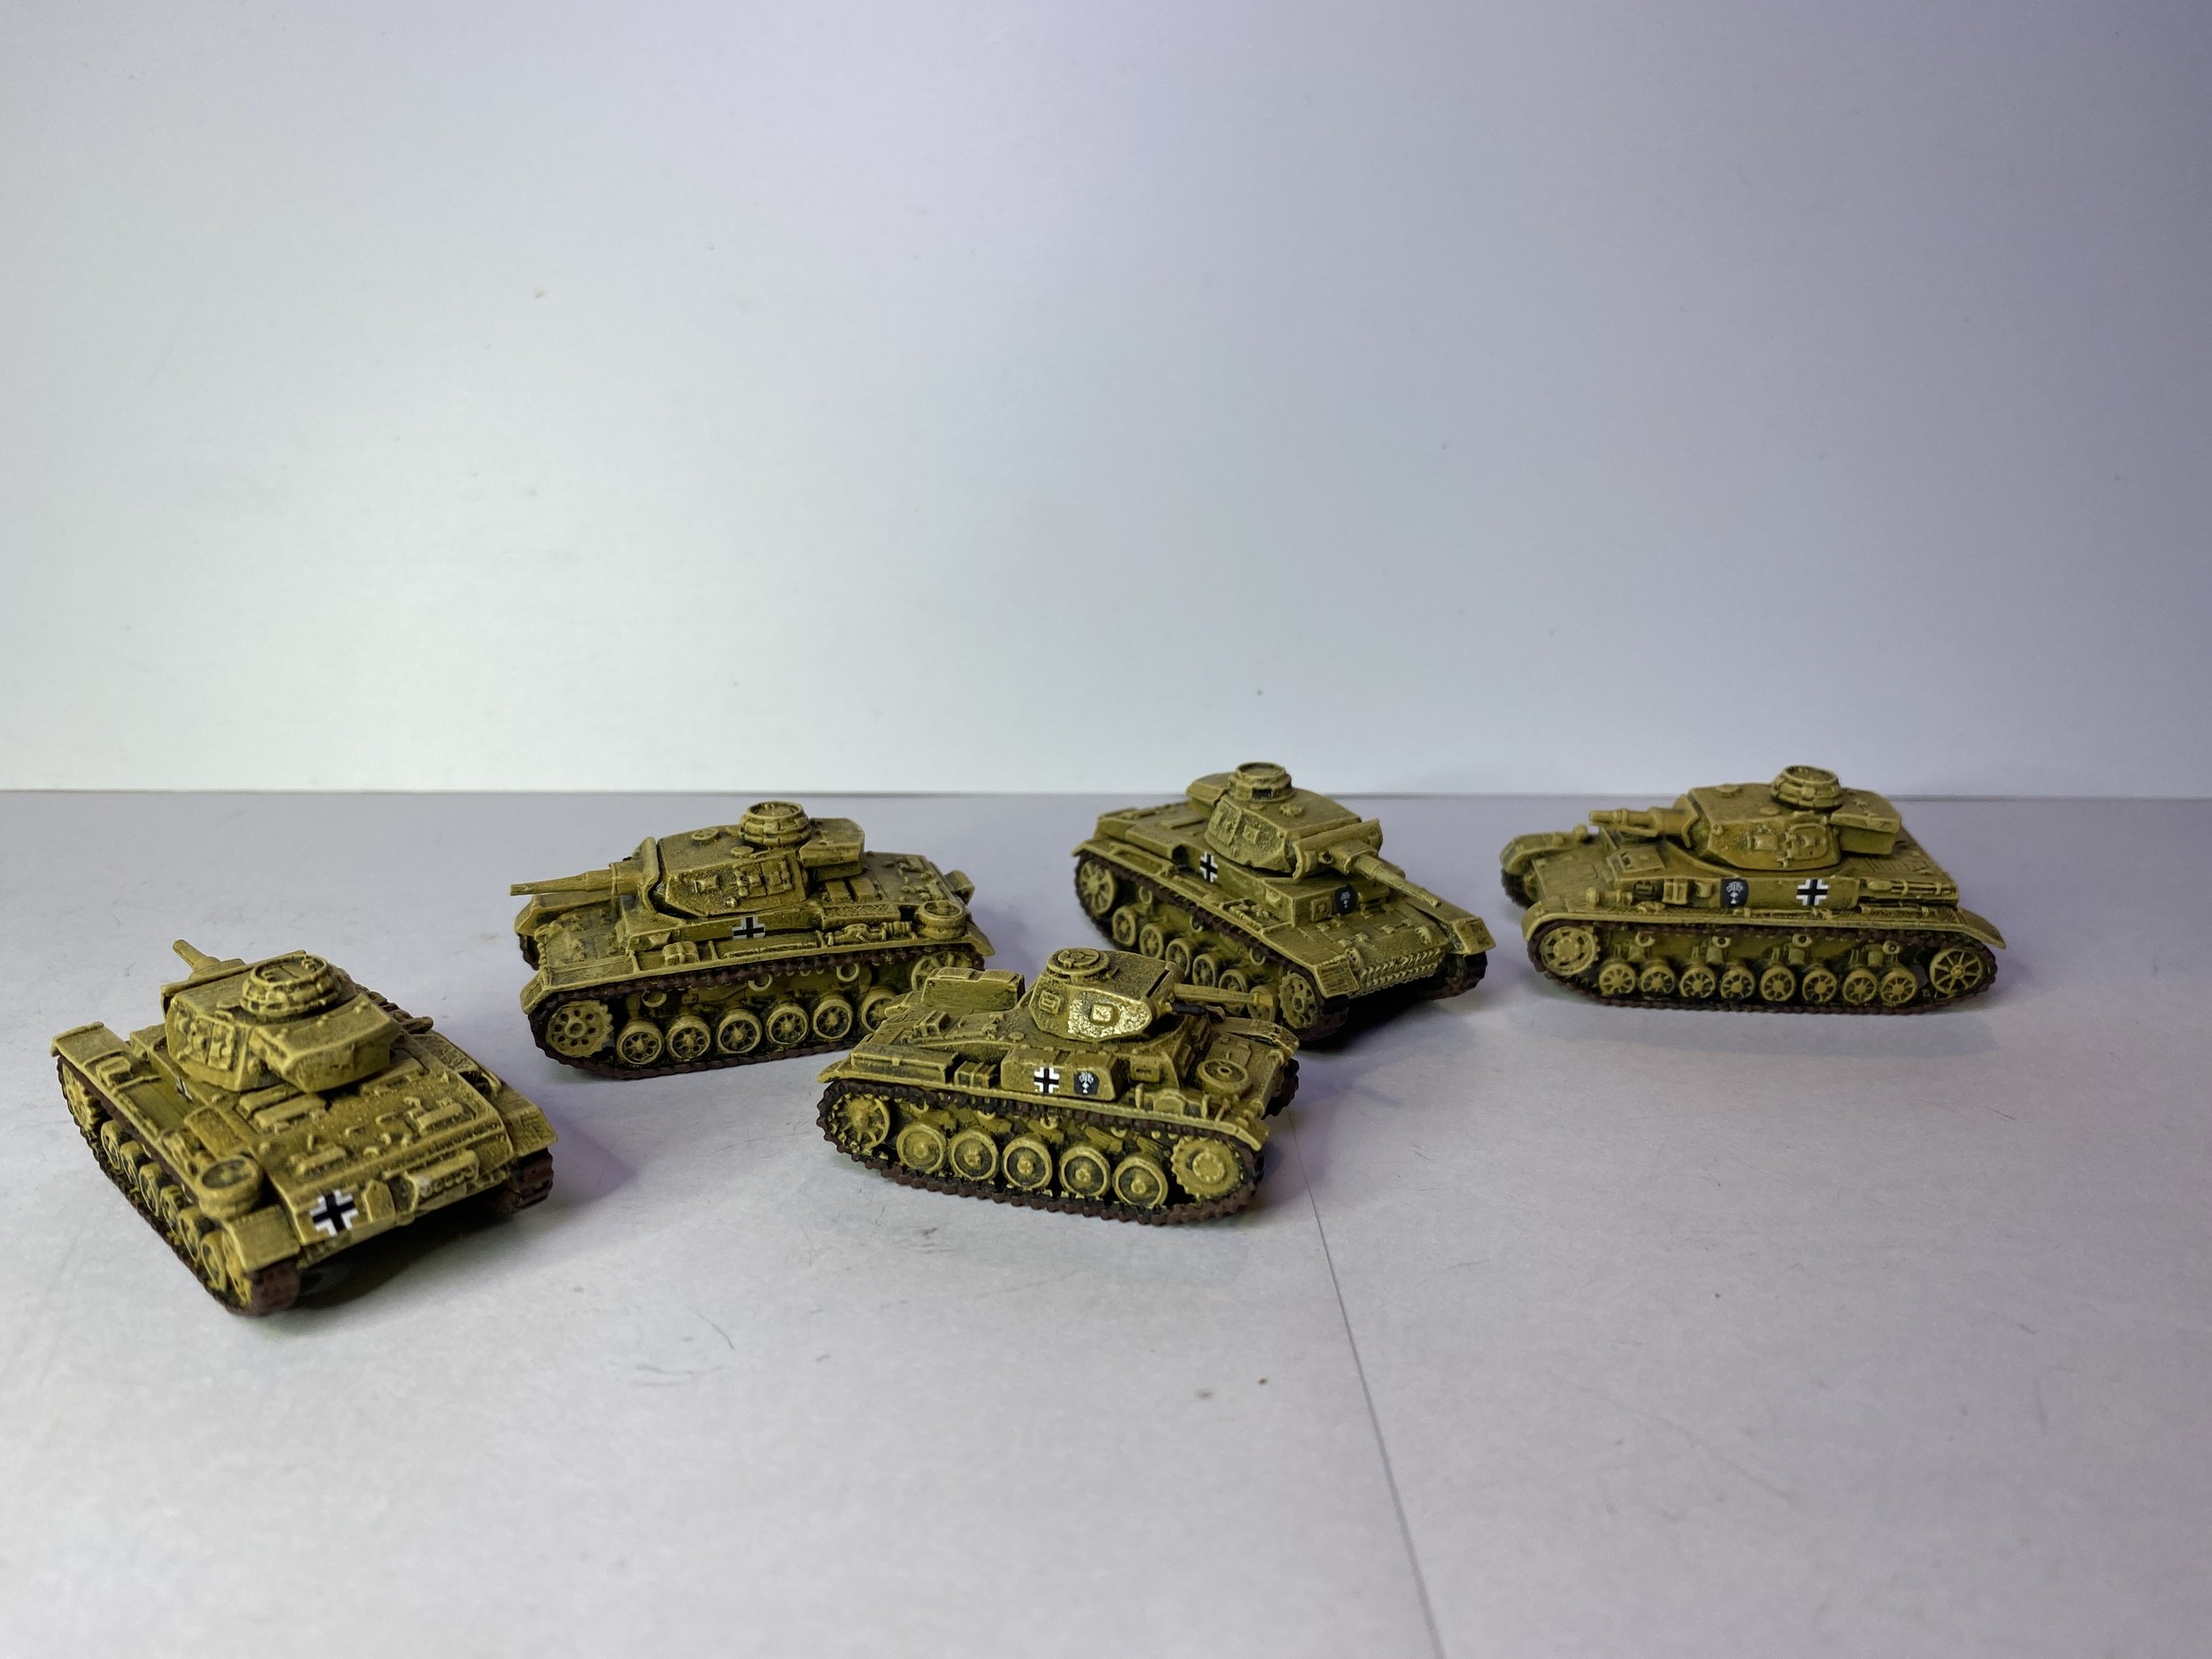
As the week came to a close, I turned my focus to the second troop of the second company of the 15th Panzer Division. I got them painted… one Panzer IV E, three Panzer III Gs and one Panzer II F. They still need their decals.
October 24, 2021
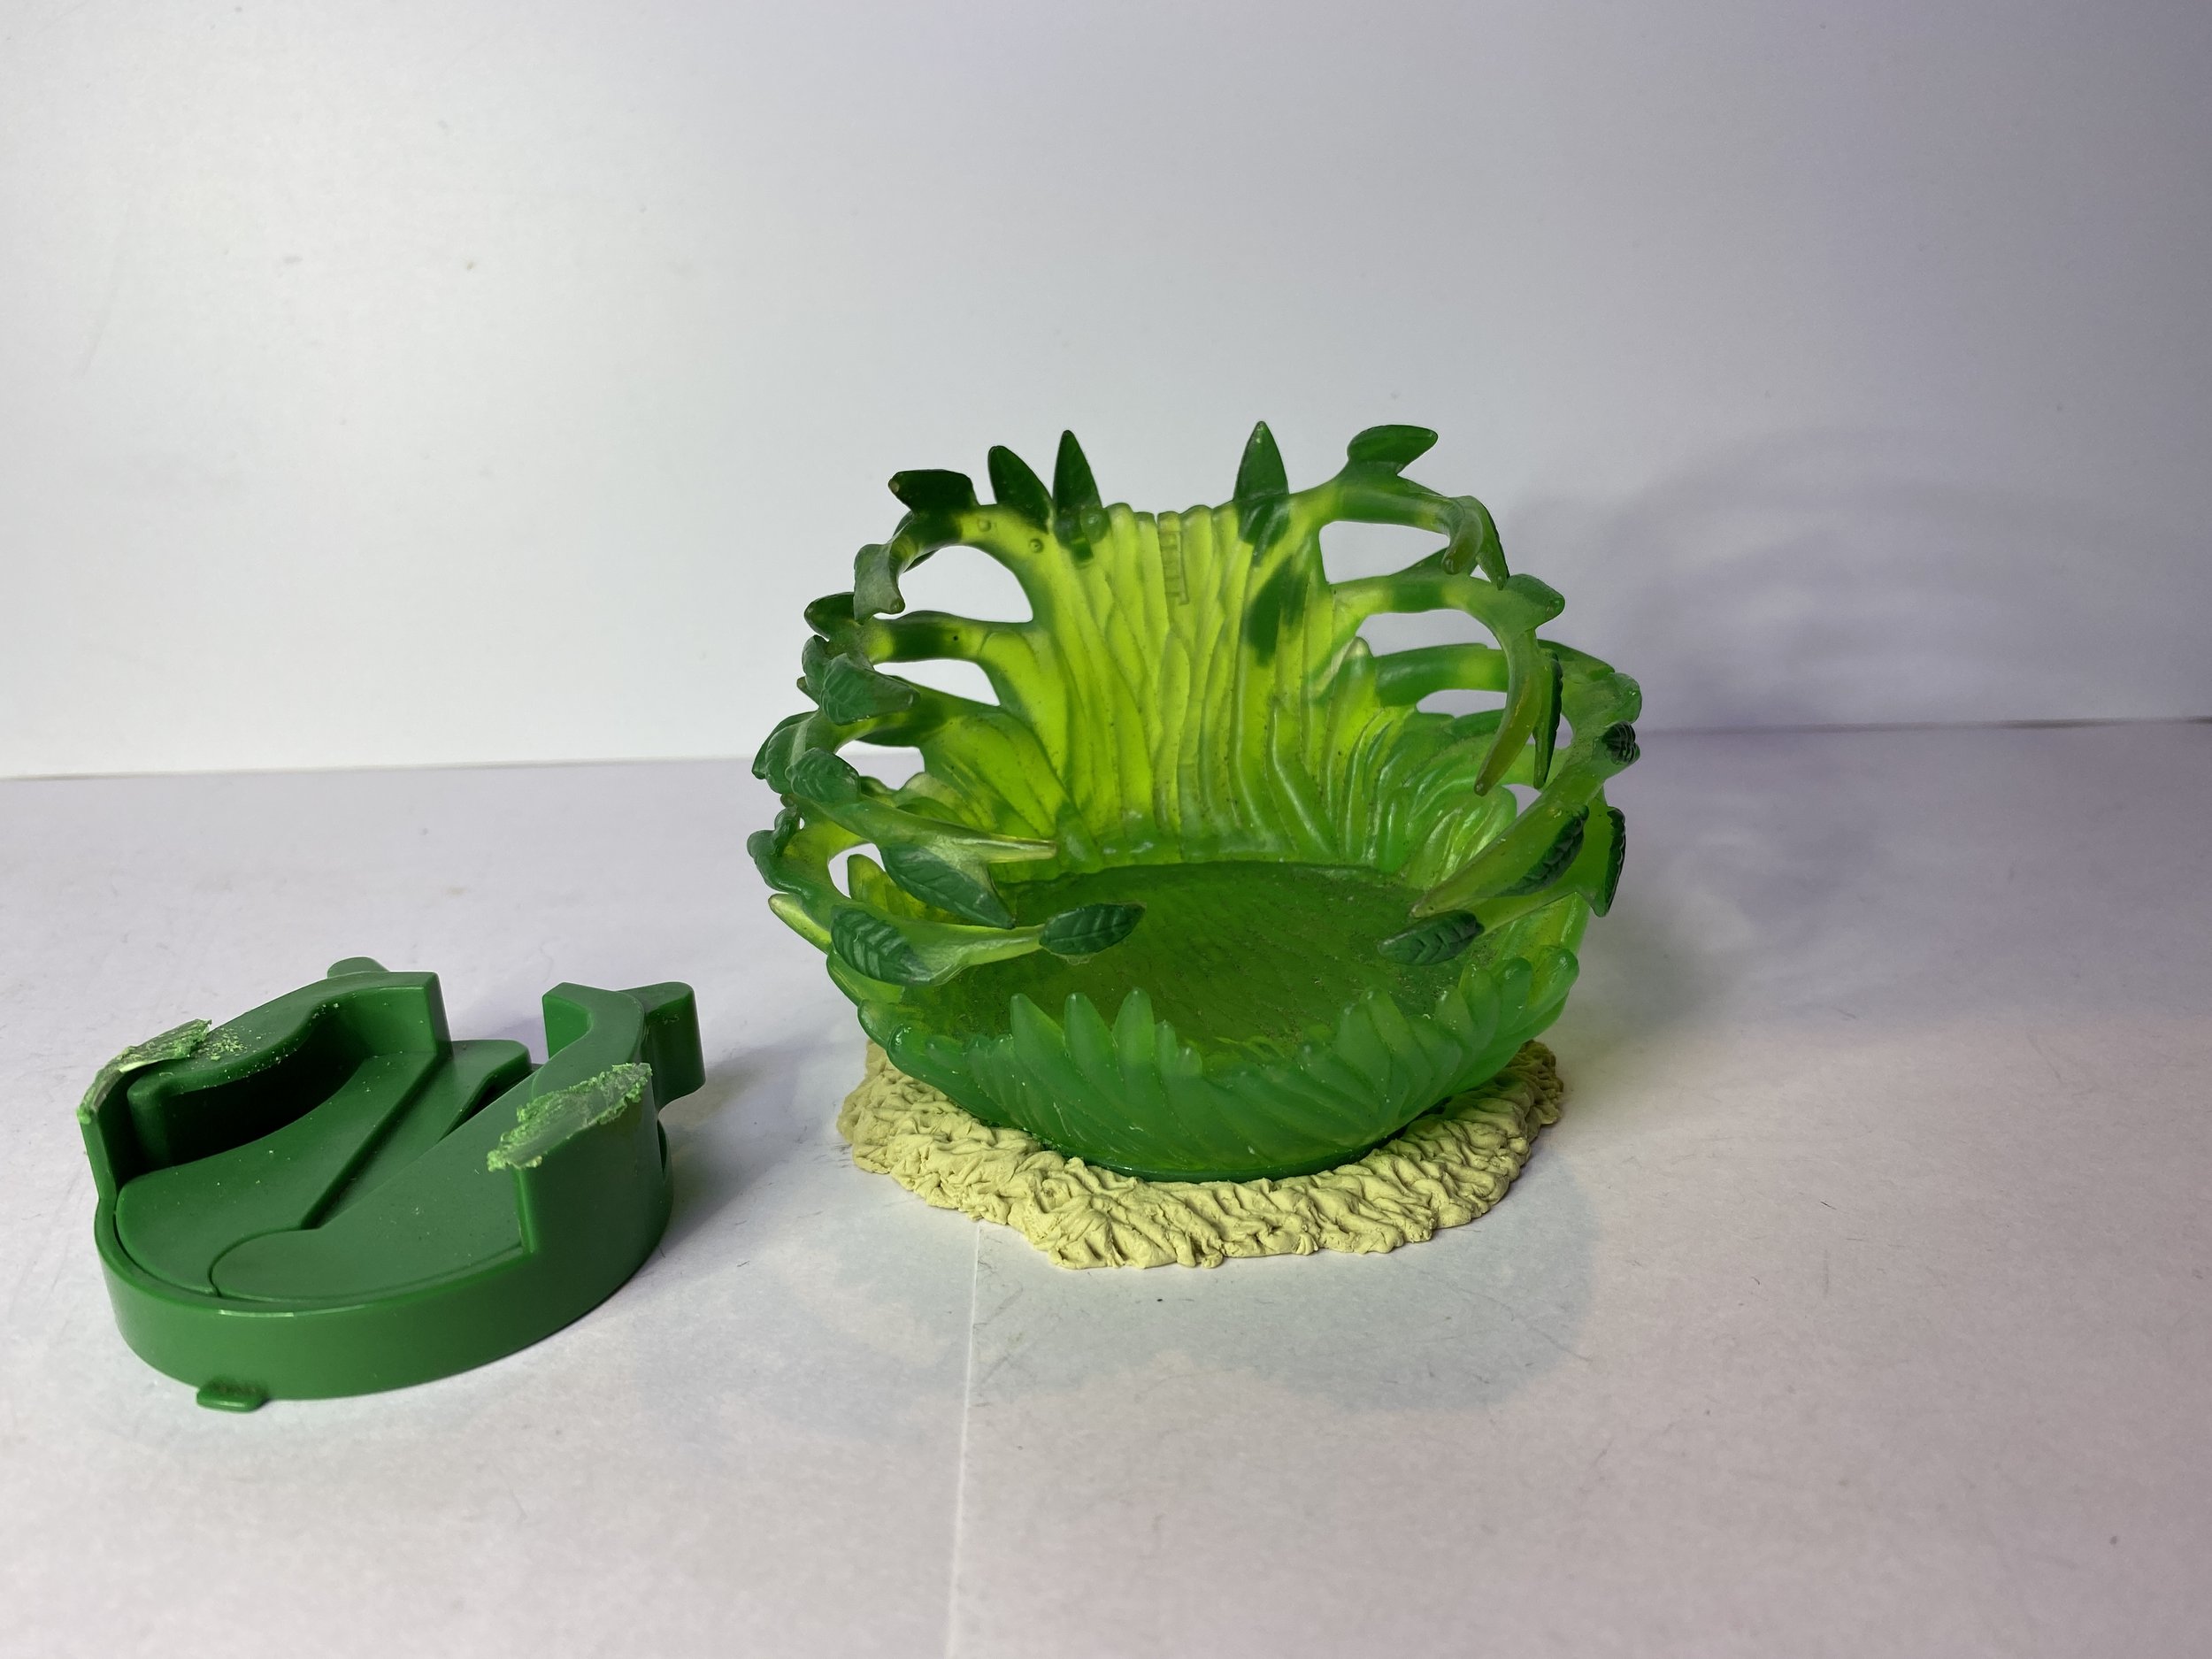
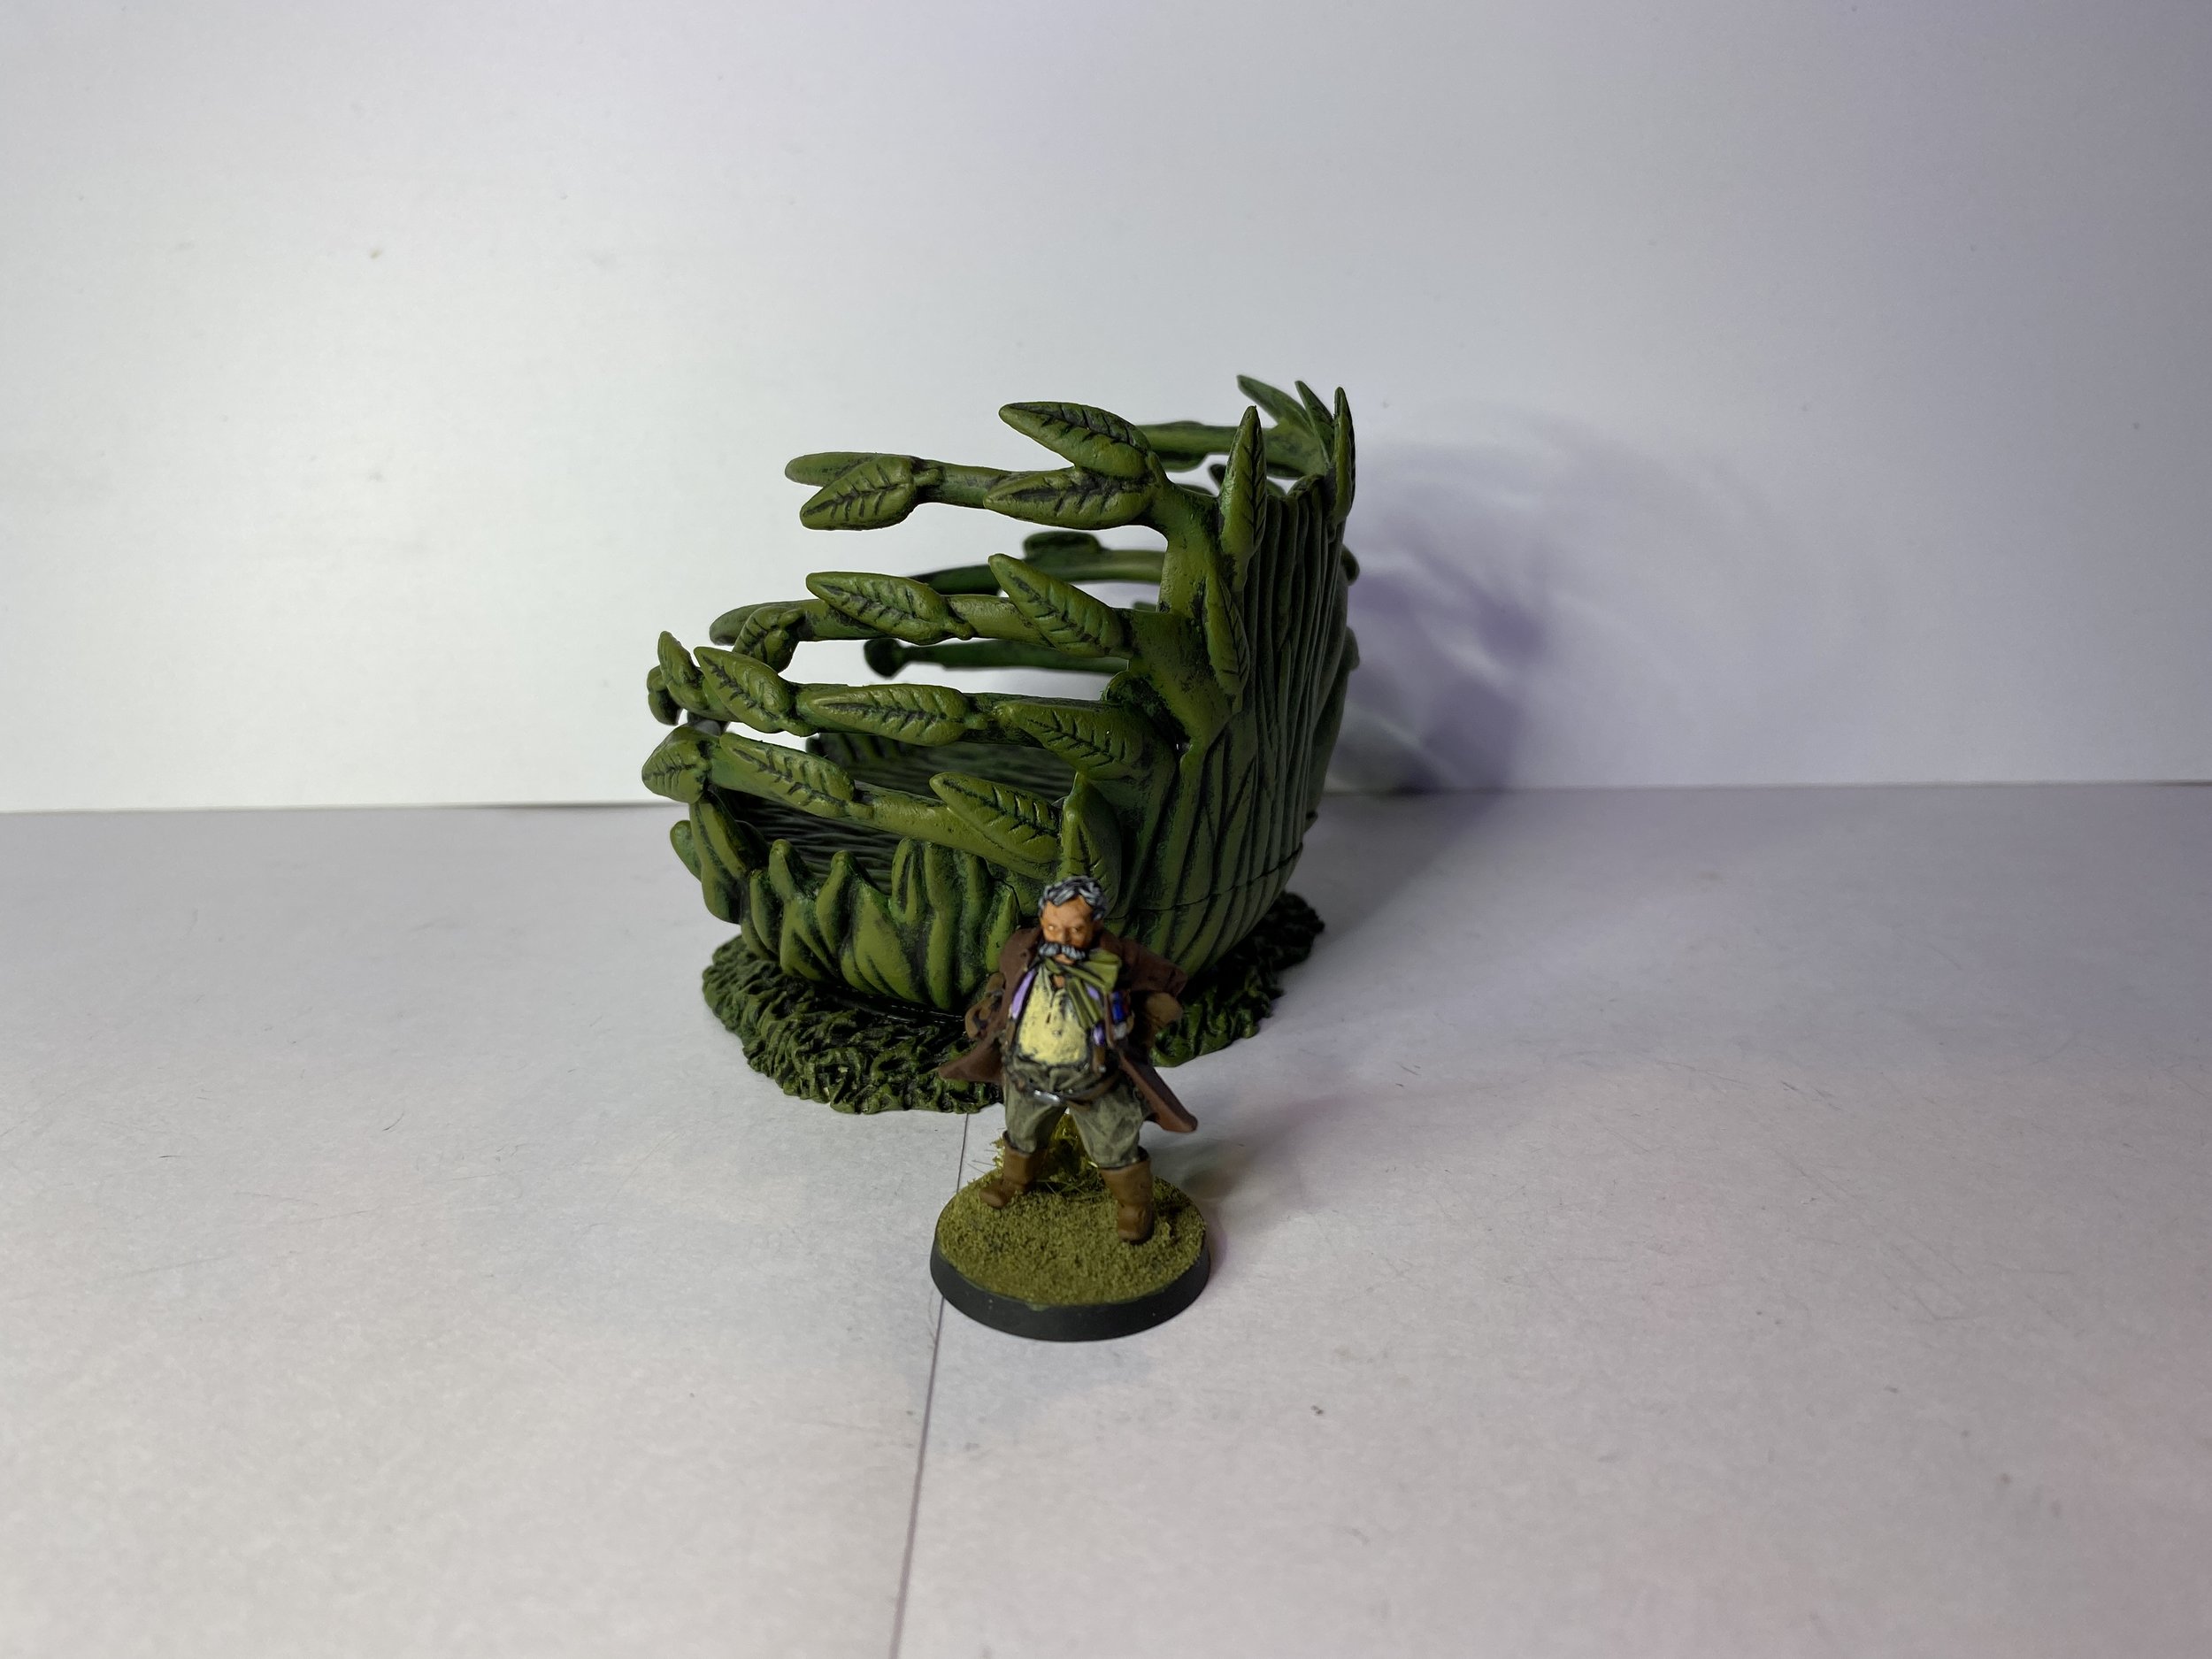
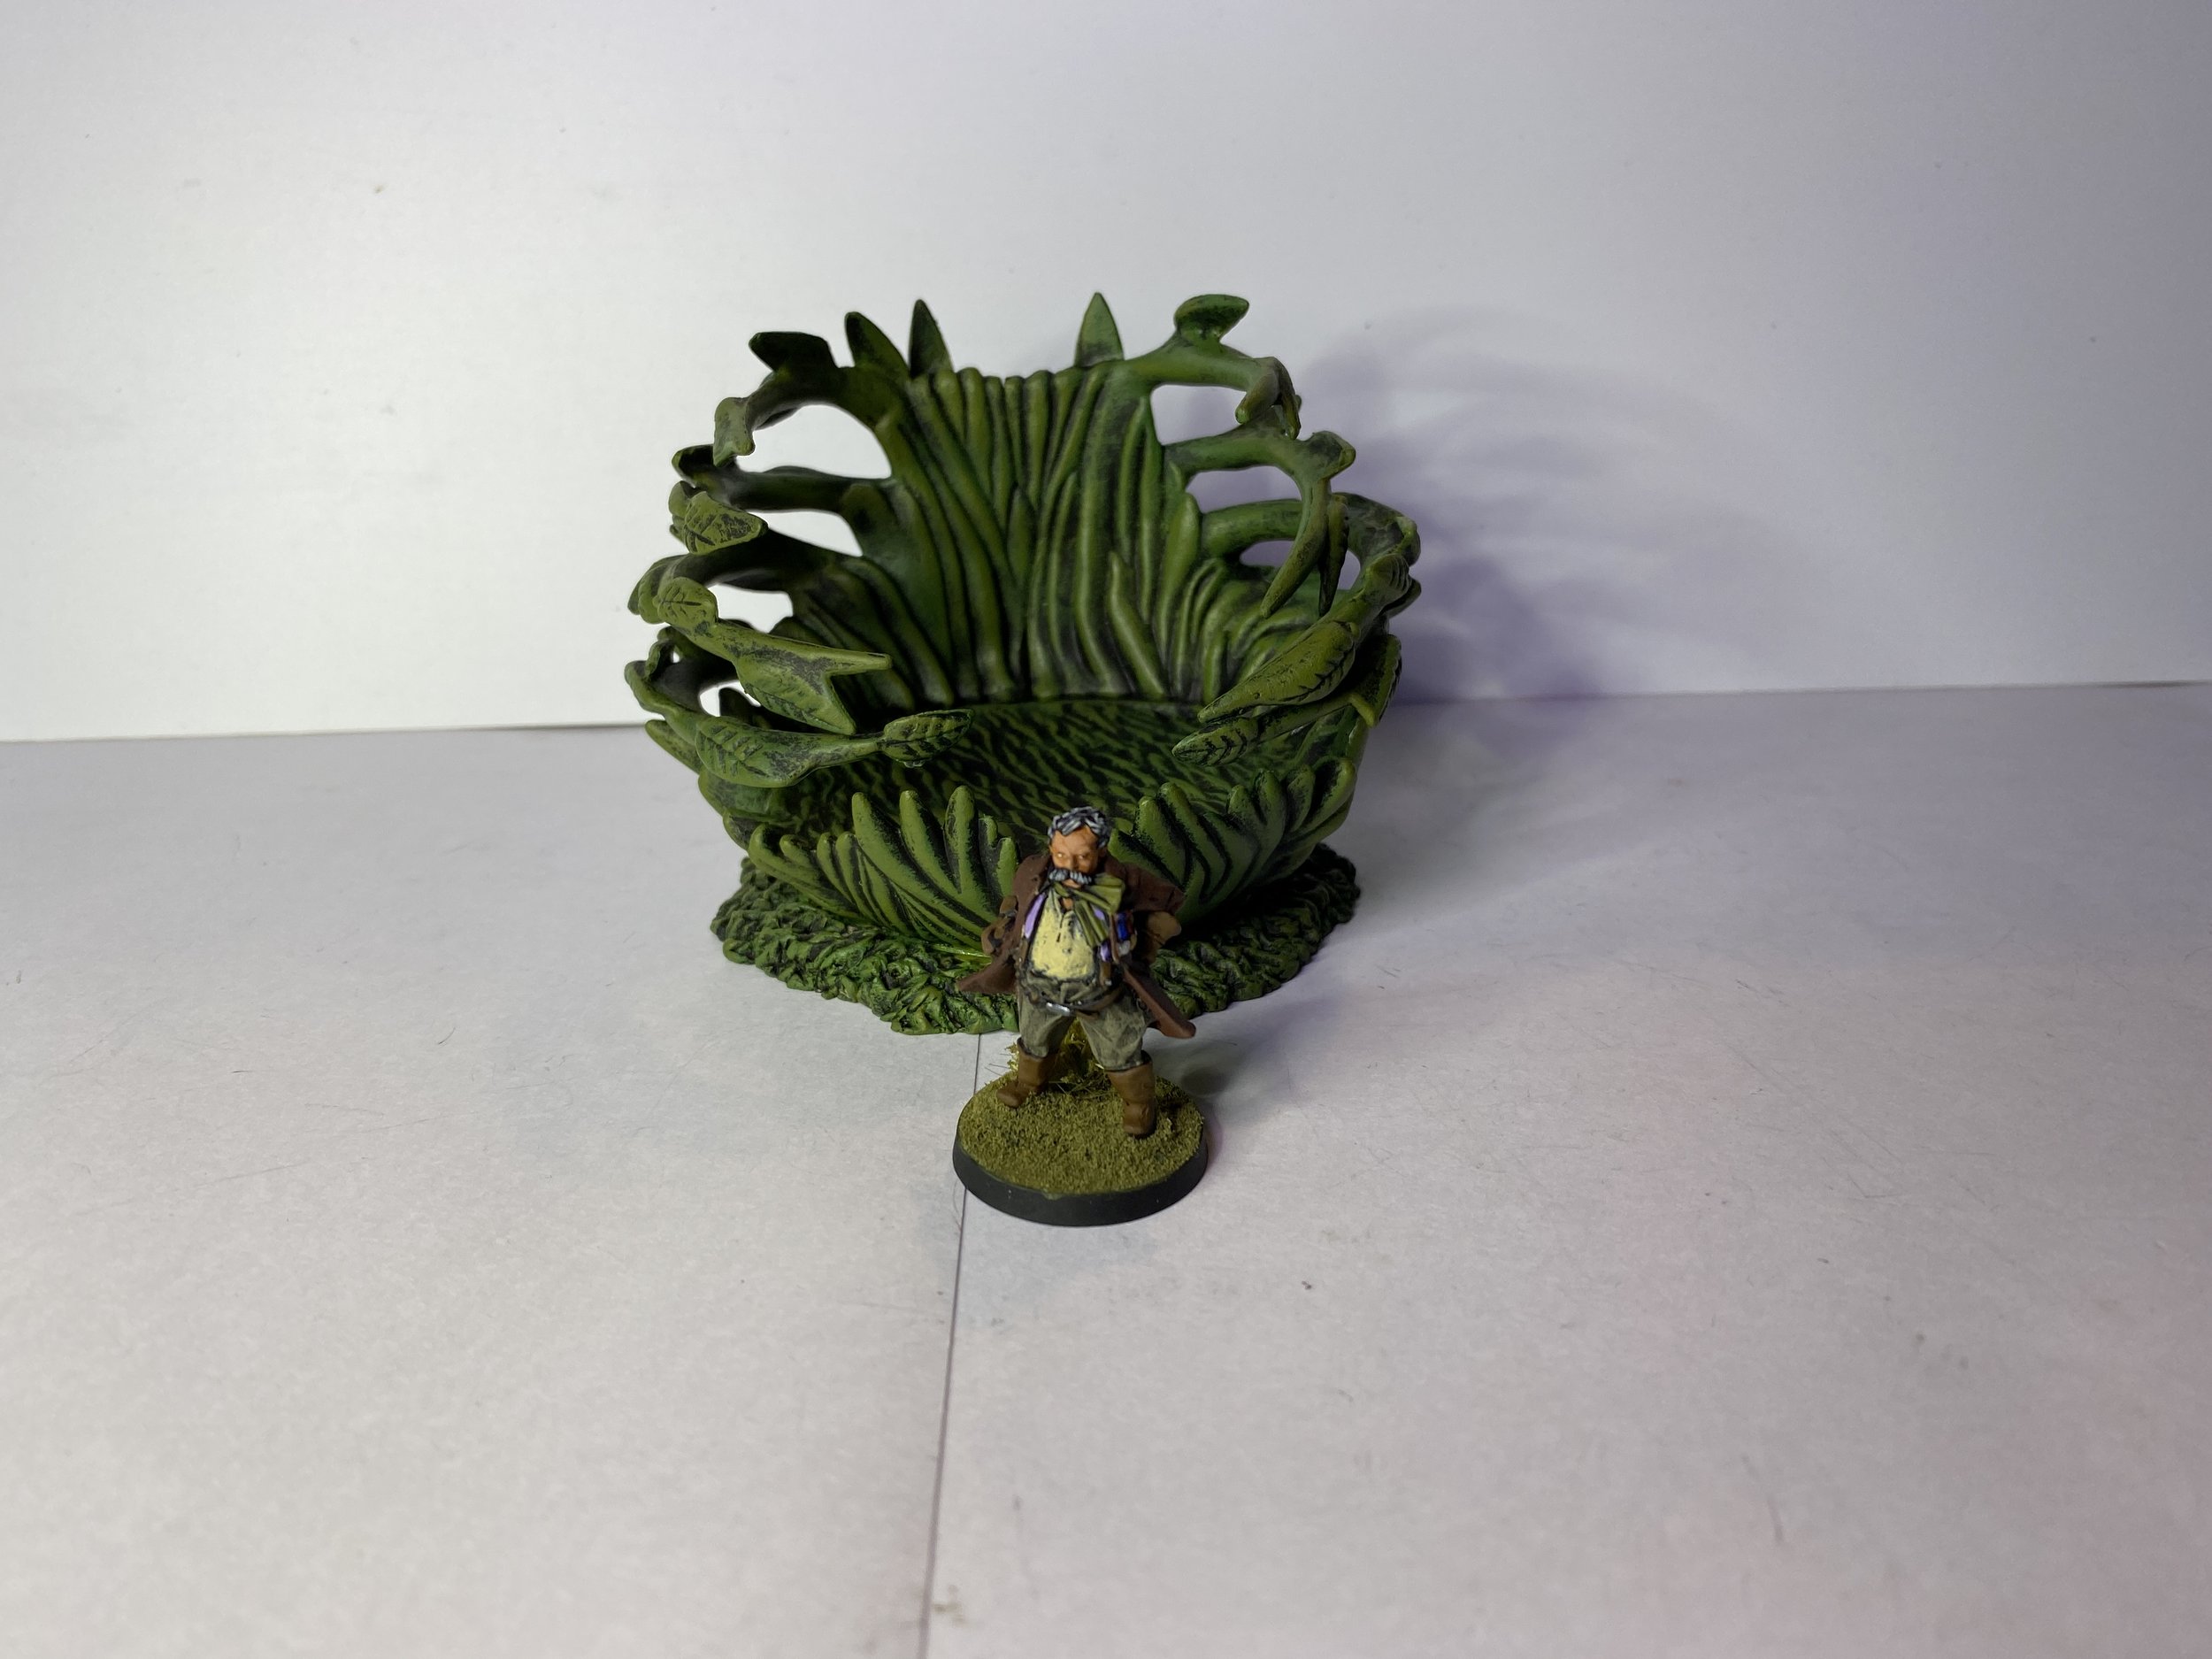
I opened the workbench week by painting the last five of my 15mm Pz. III Es for North Africa. They will be included in my 21 Panzer Division. I then took a little break from the North African campaign and modified and painted a Pokemon broken toy I found at the swap meet during the weekend. I removed it from what was left of its original base and gave it a new base of scored Milliput. Once the Milliput was dry I gave it a new paint job. It was only a dollar, and I love strange plant toys that look like they could be threatening.
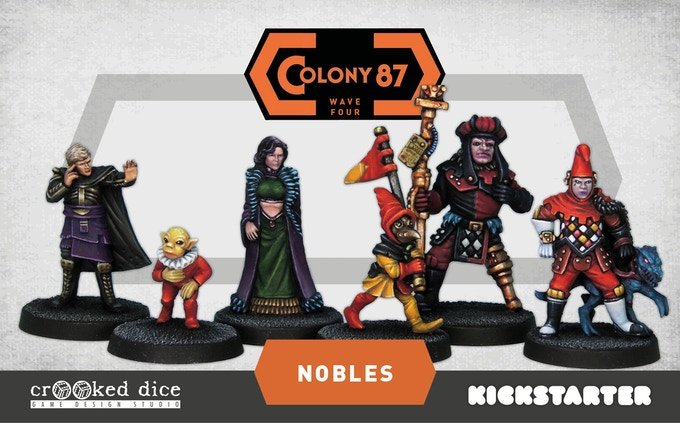
While this note is not directly related to anything happening on the workbench this week, I still want to mention that on Monday of this week I joined the Crooked Dice Kickstarter for the 4th Wave of Colony 87. I own all the figures from the 1st and 2nd Waves and most from the 3rd Wave. As of now I will be getting the Nobles, Market Folk and Civilians from the 4th Wave and hope to add a few more as Add-On’s are unlocked.
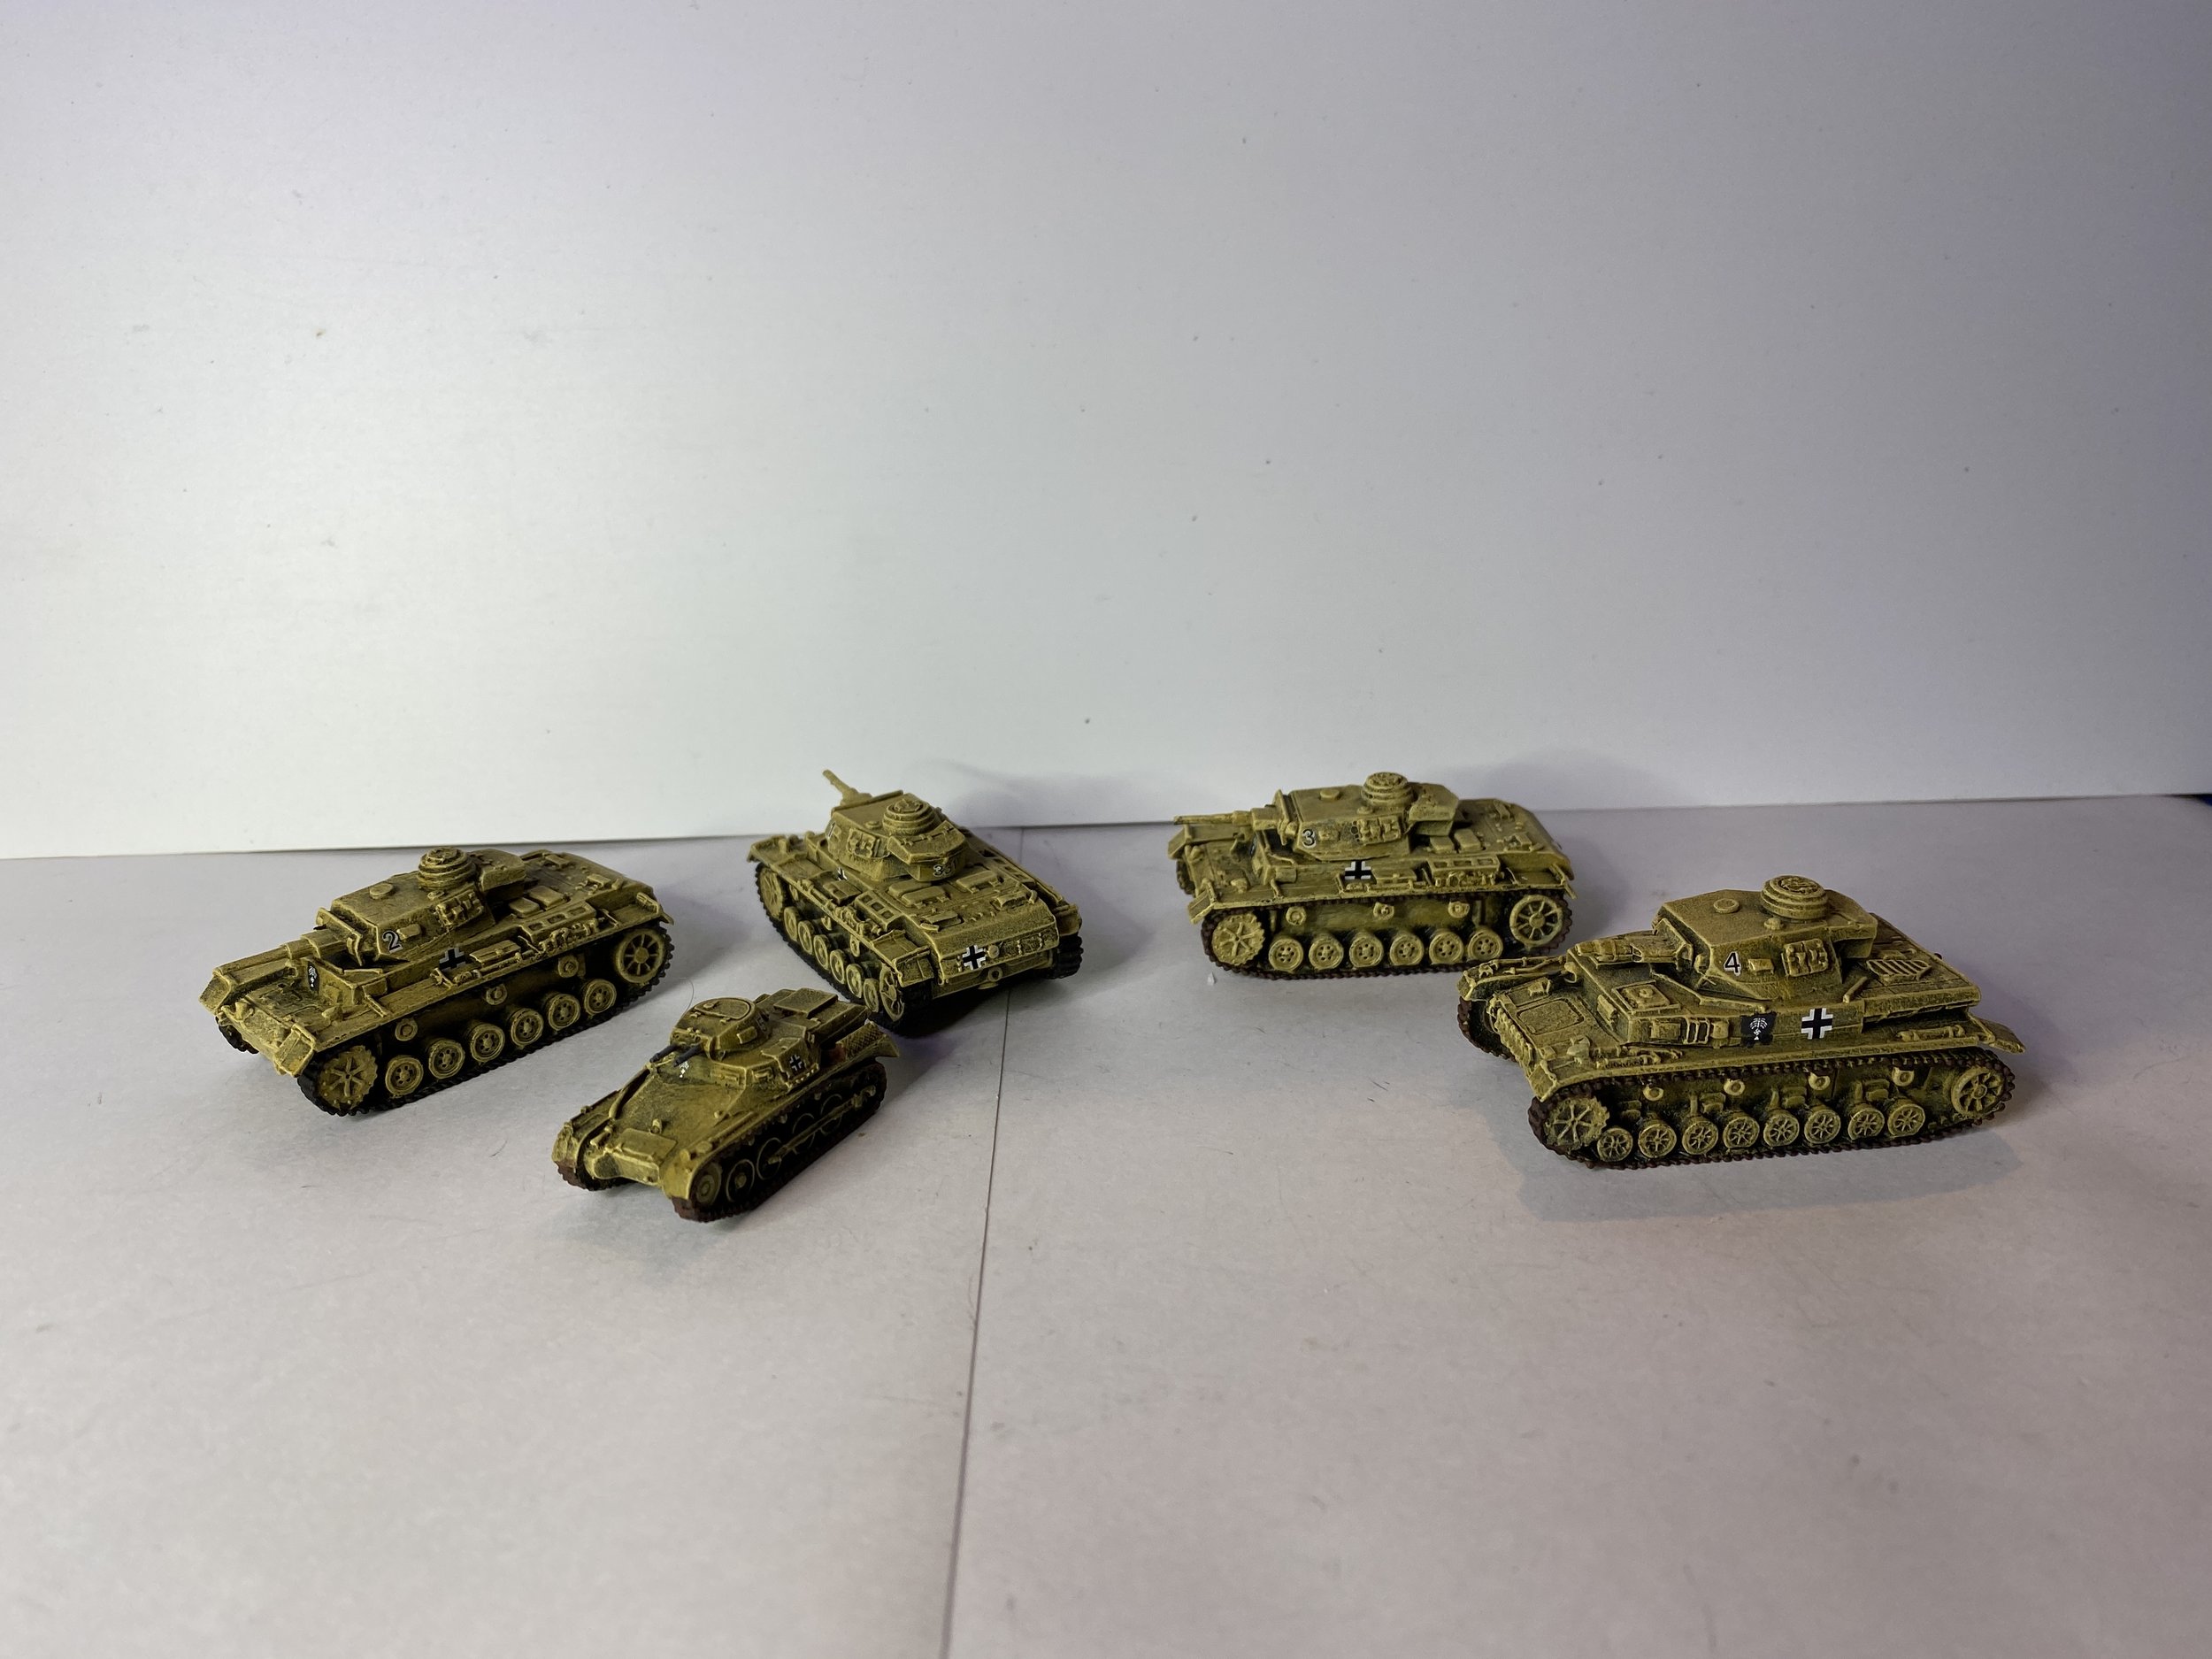
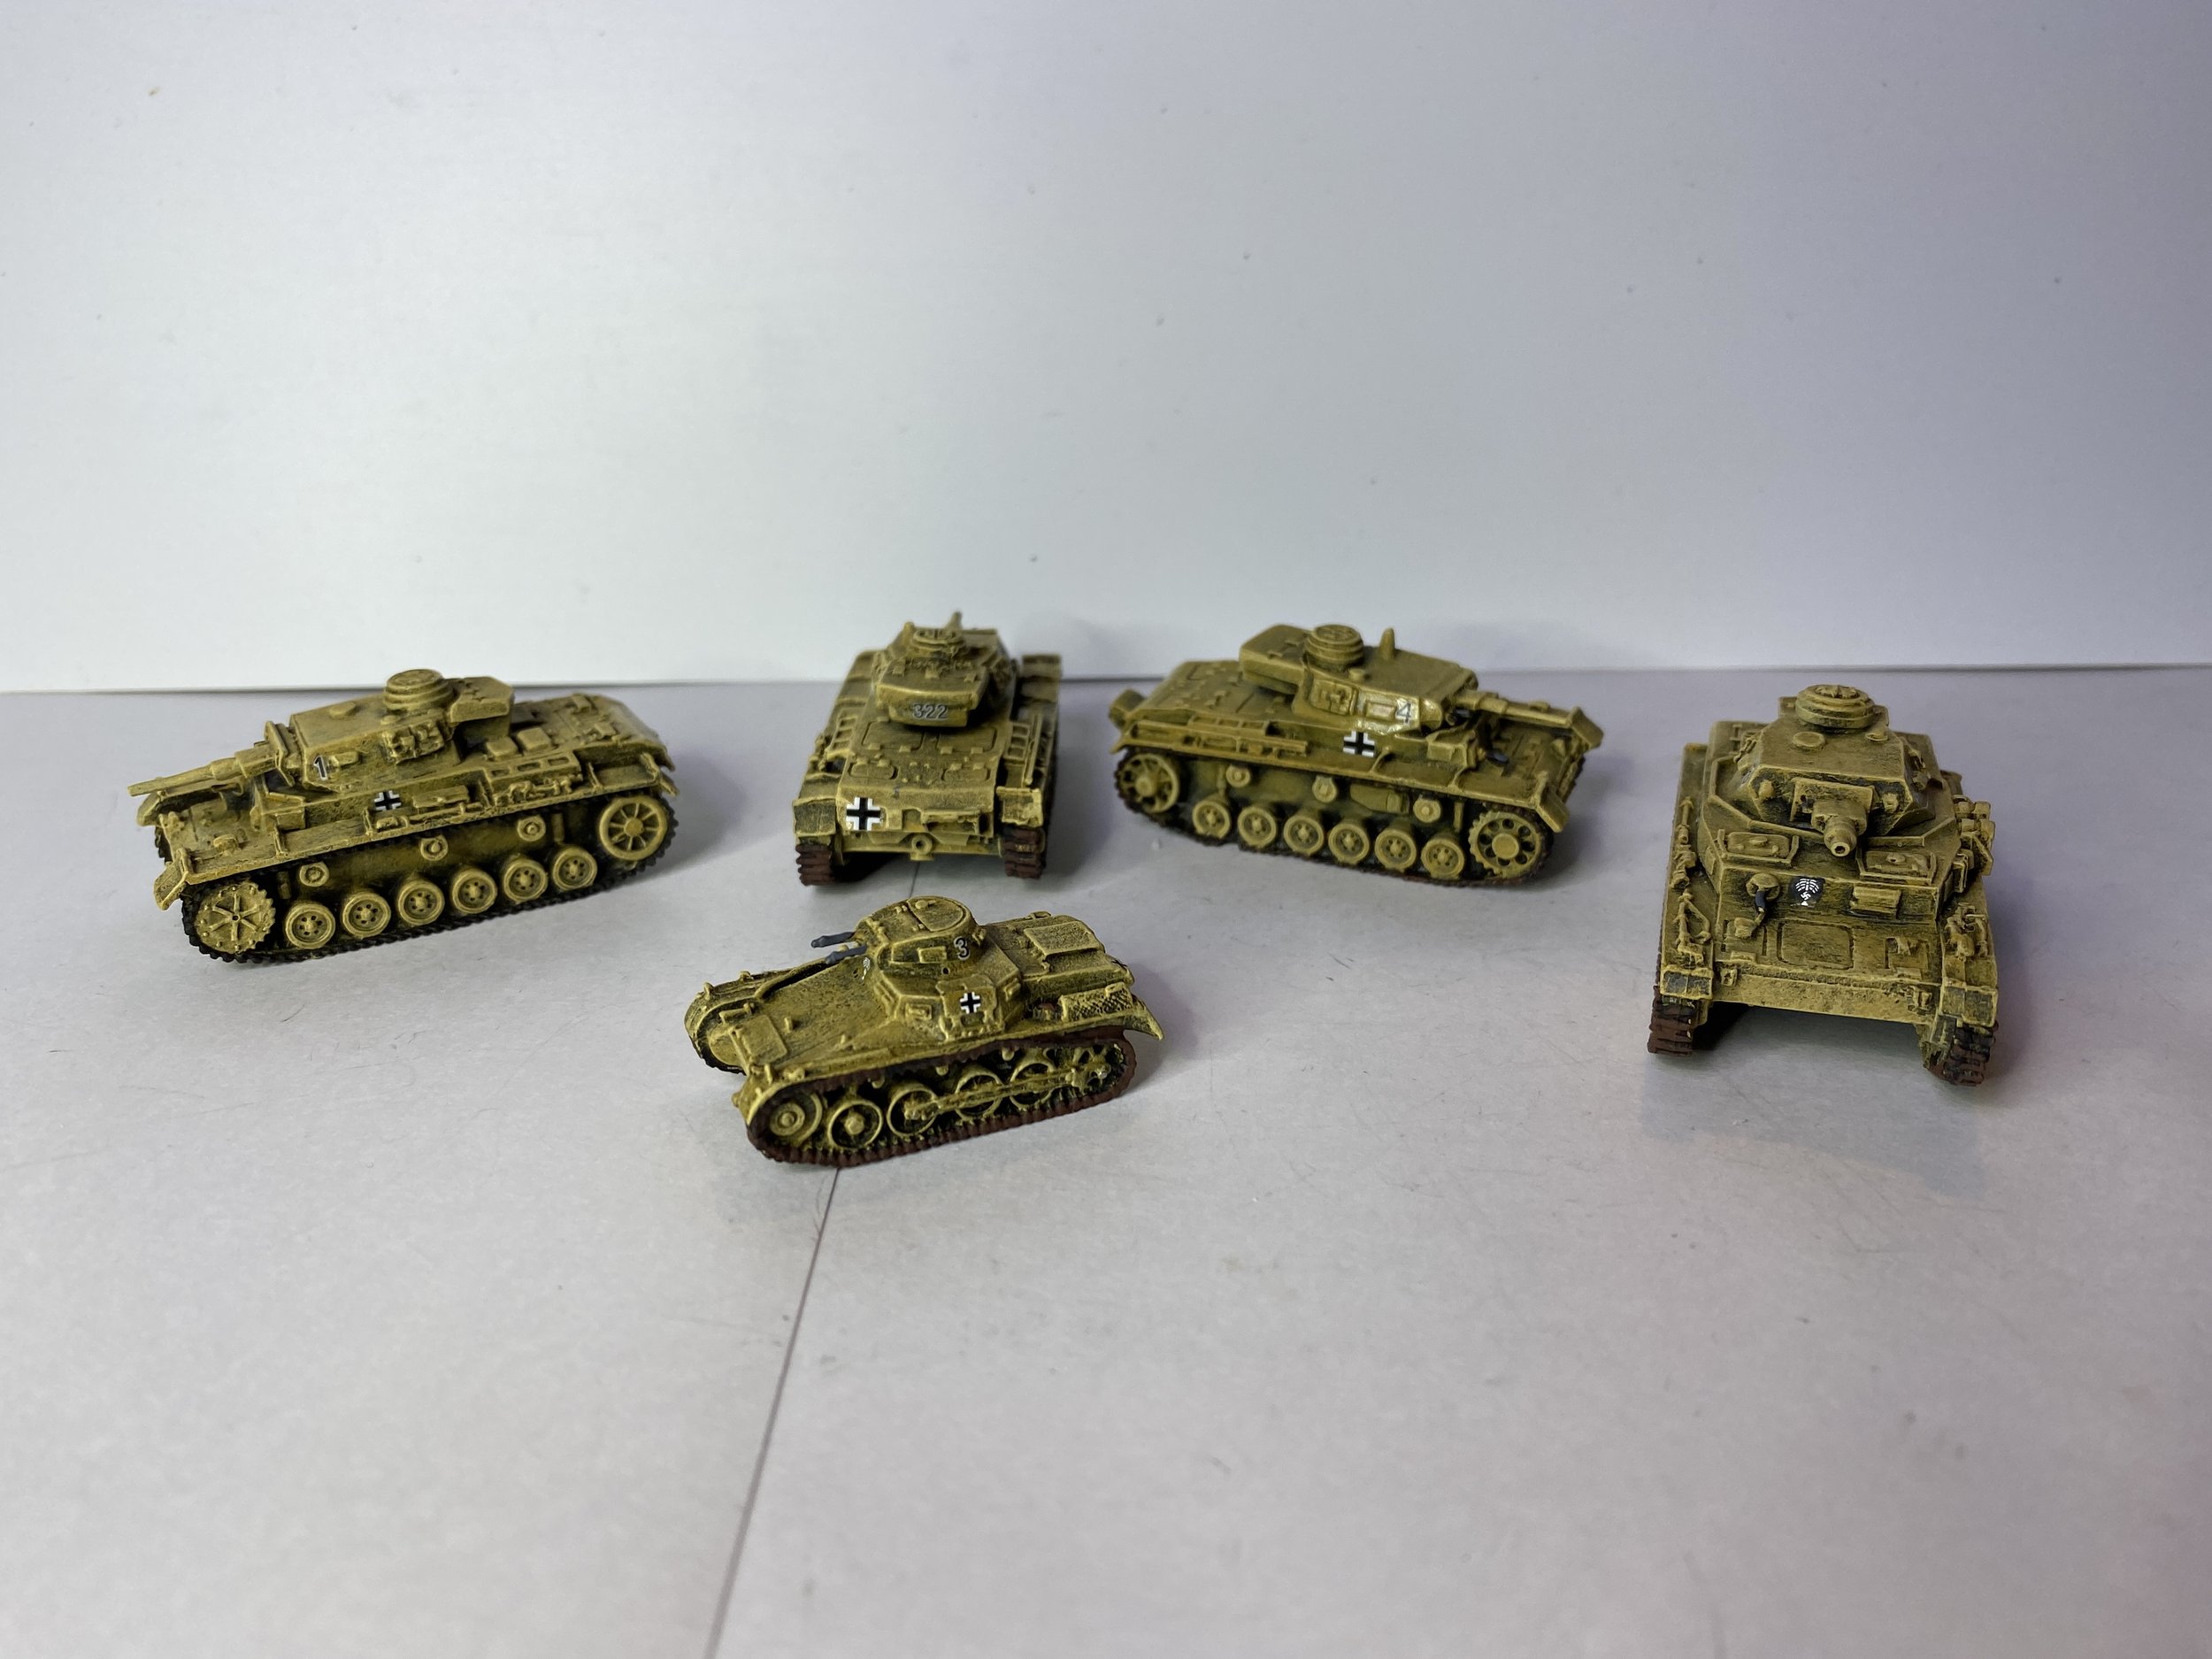
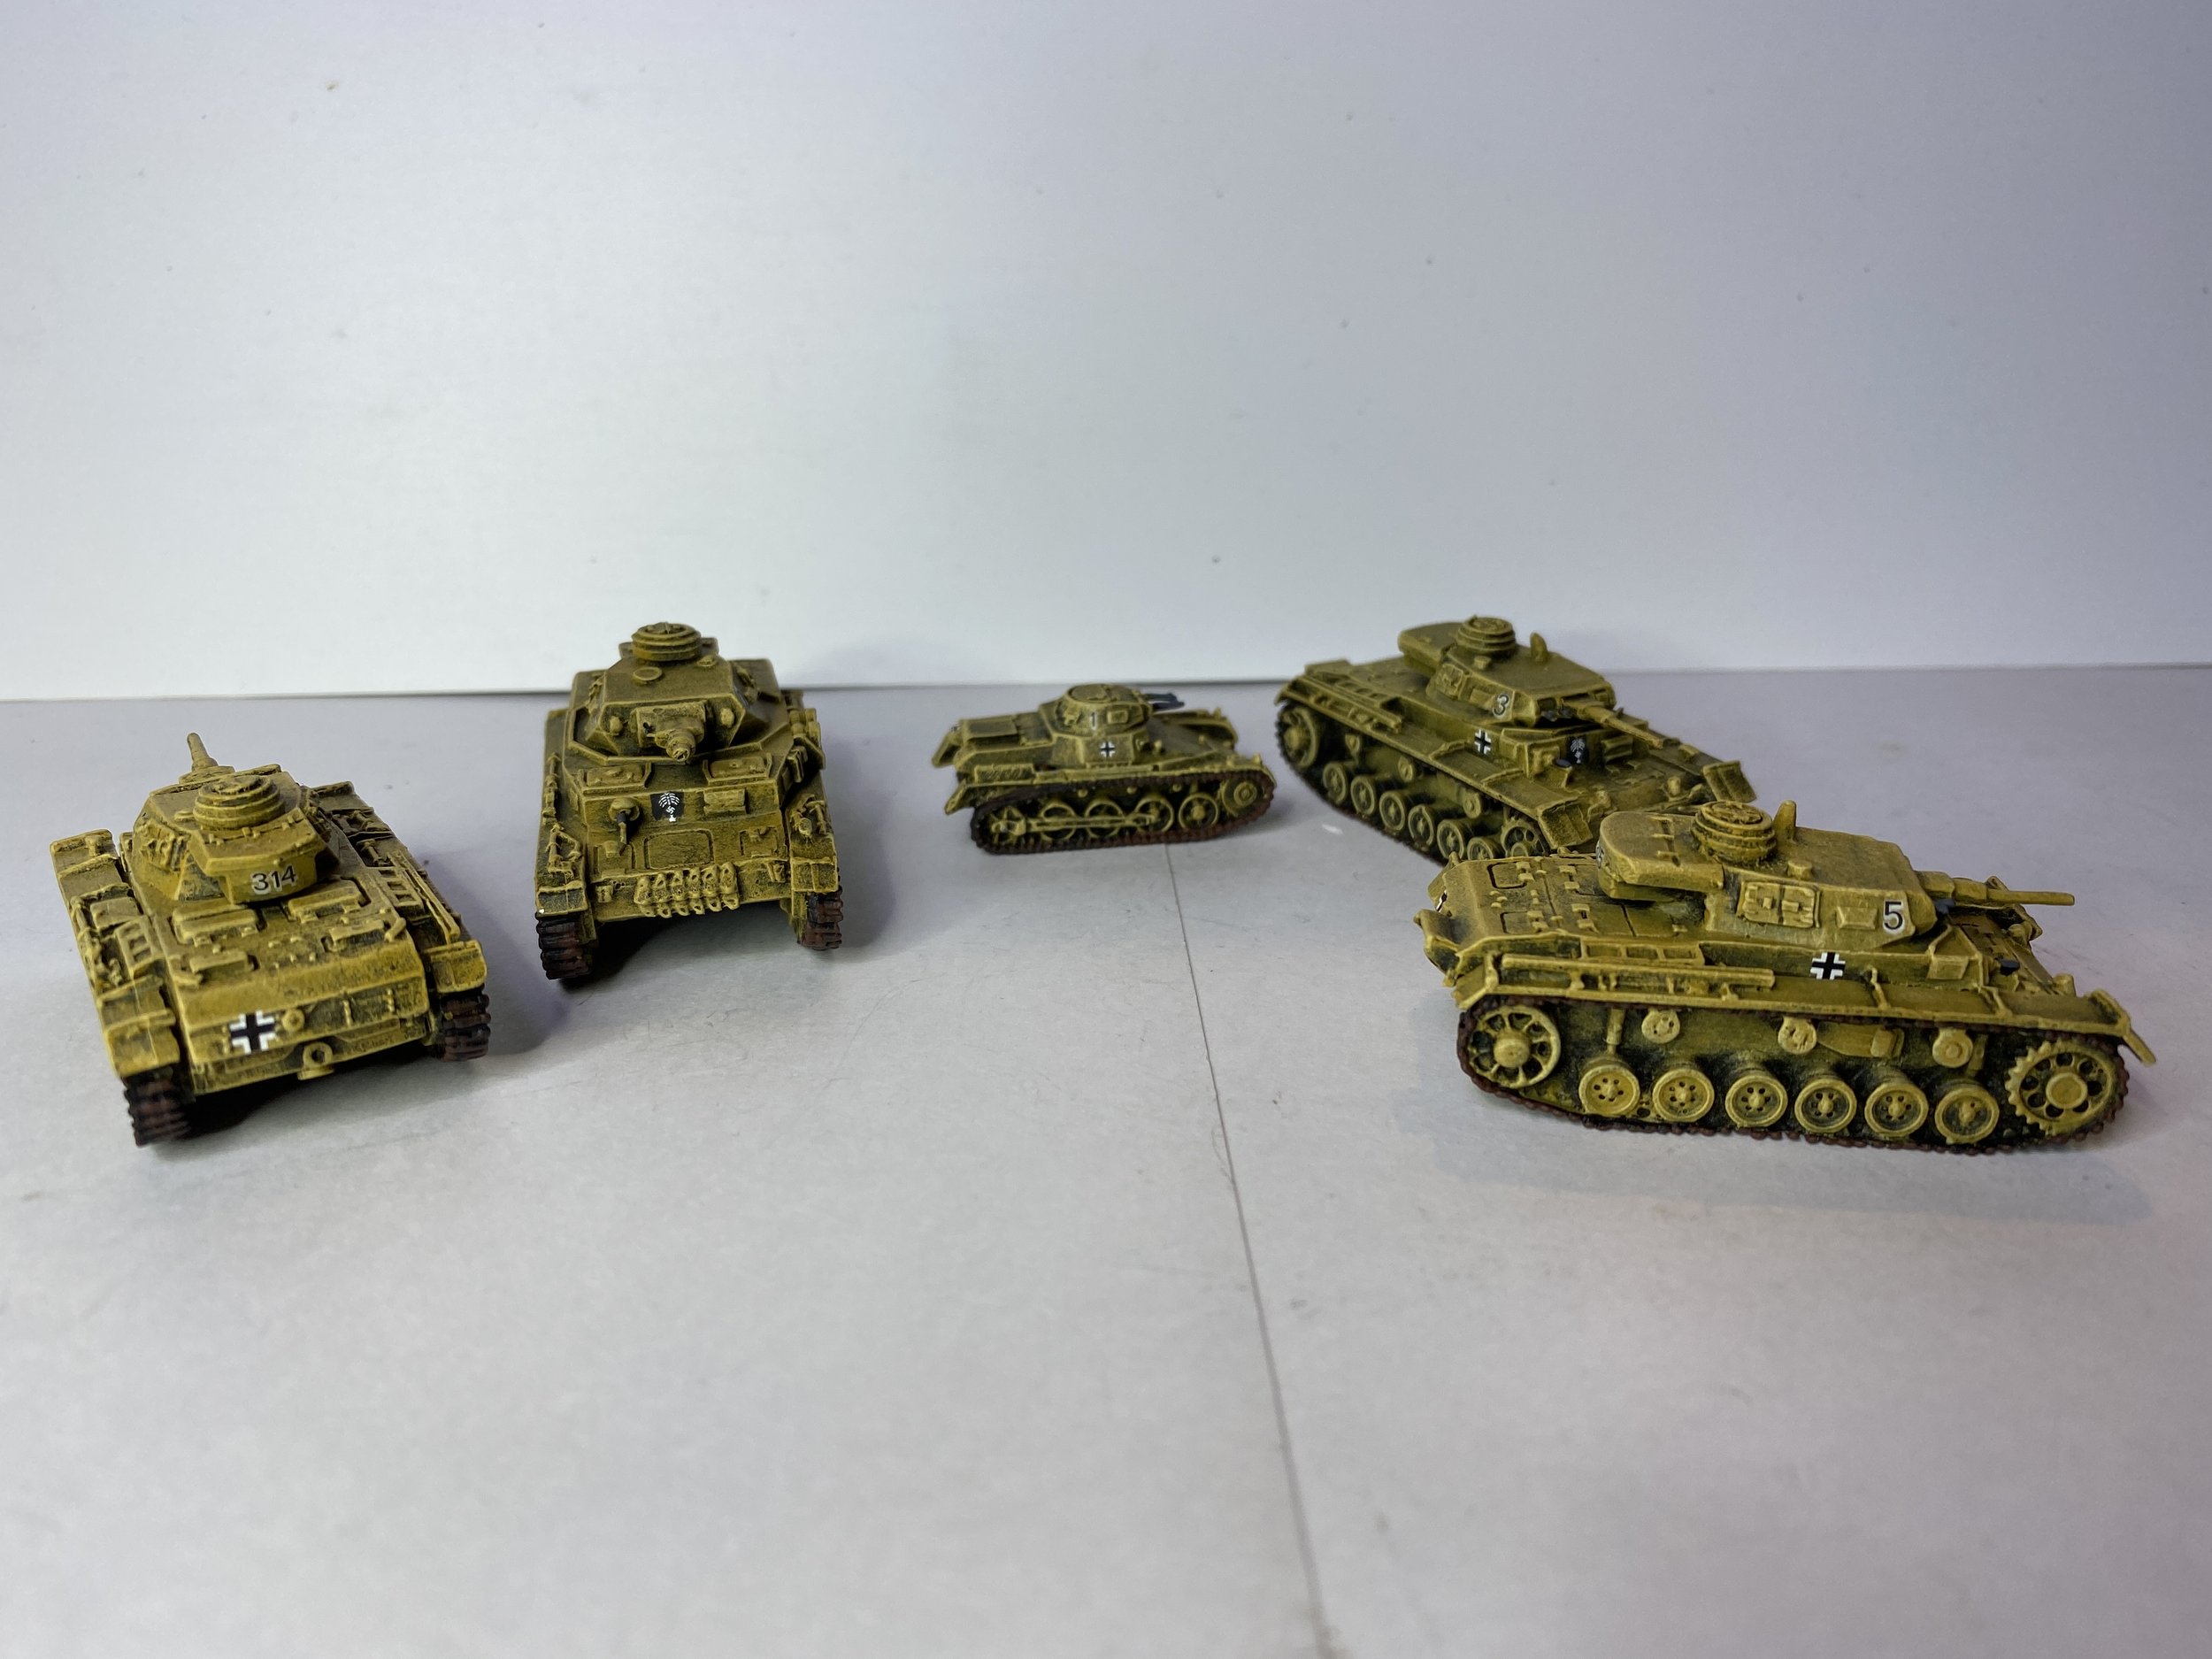
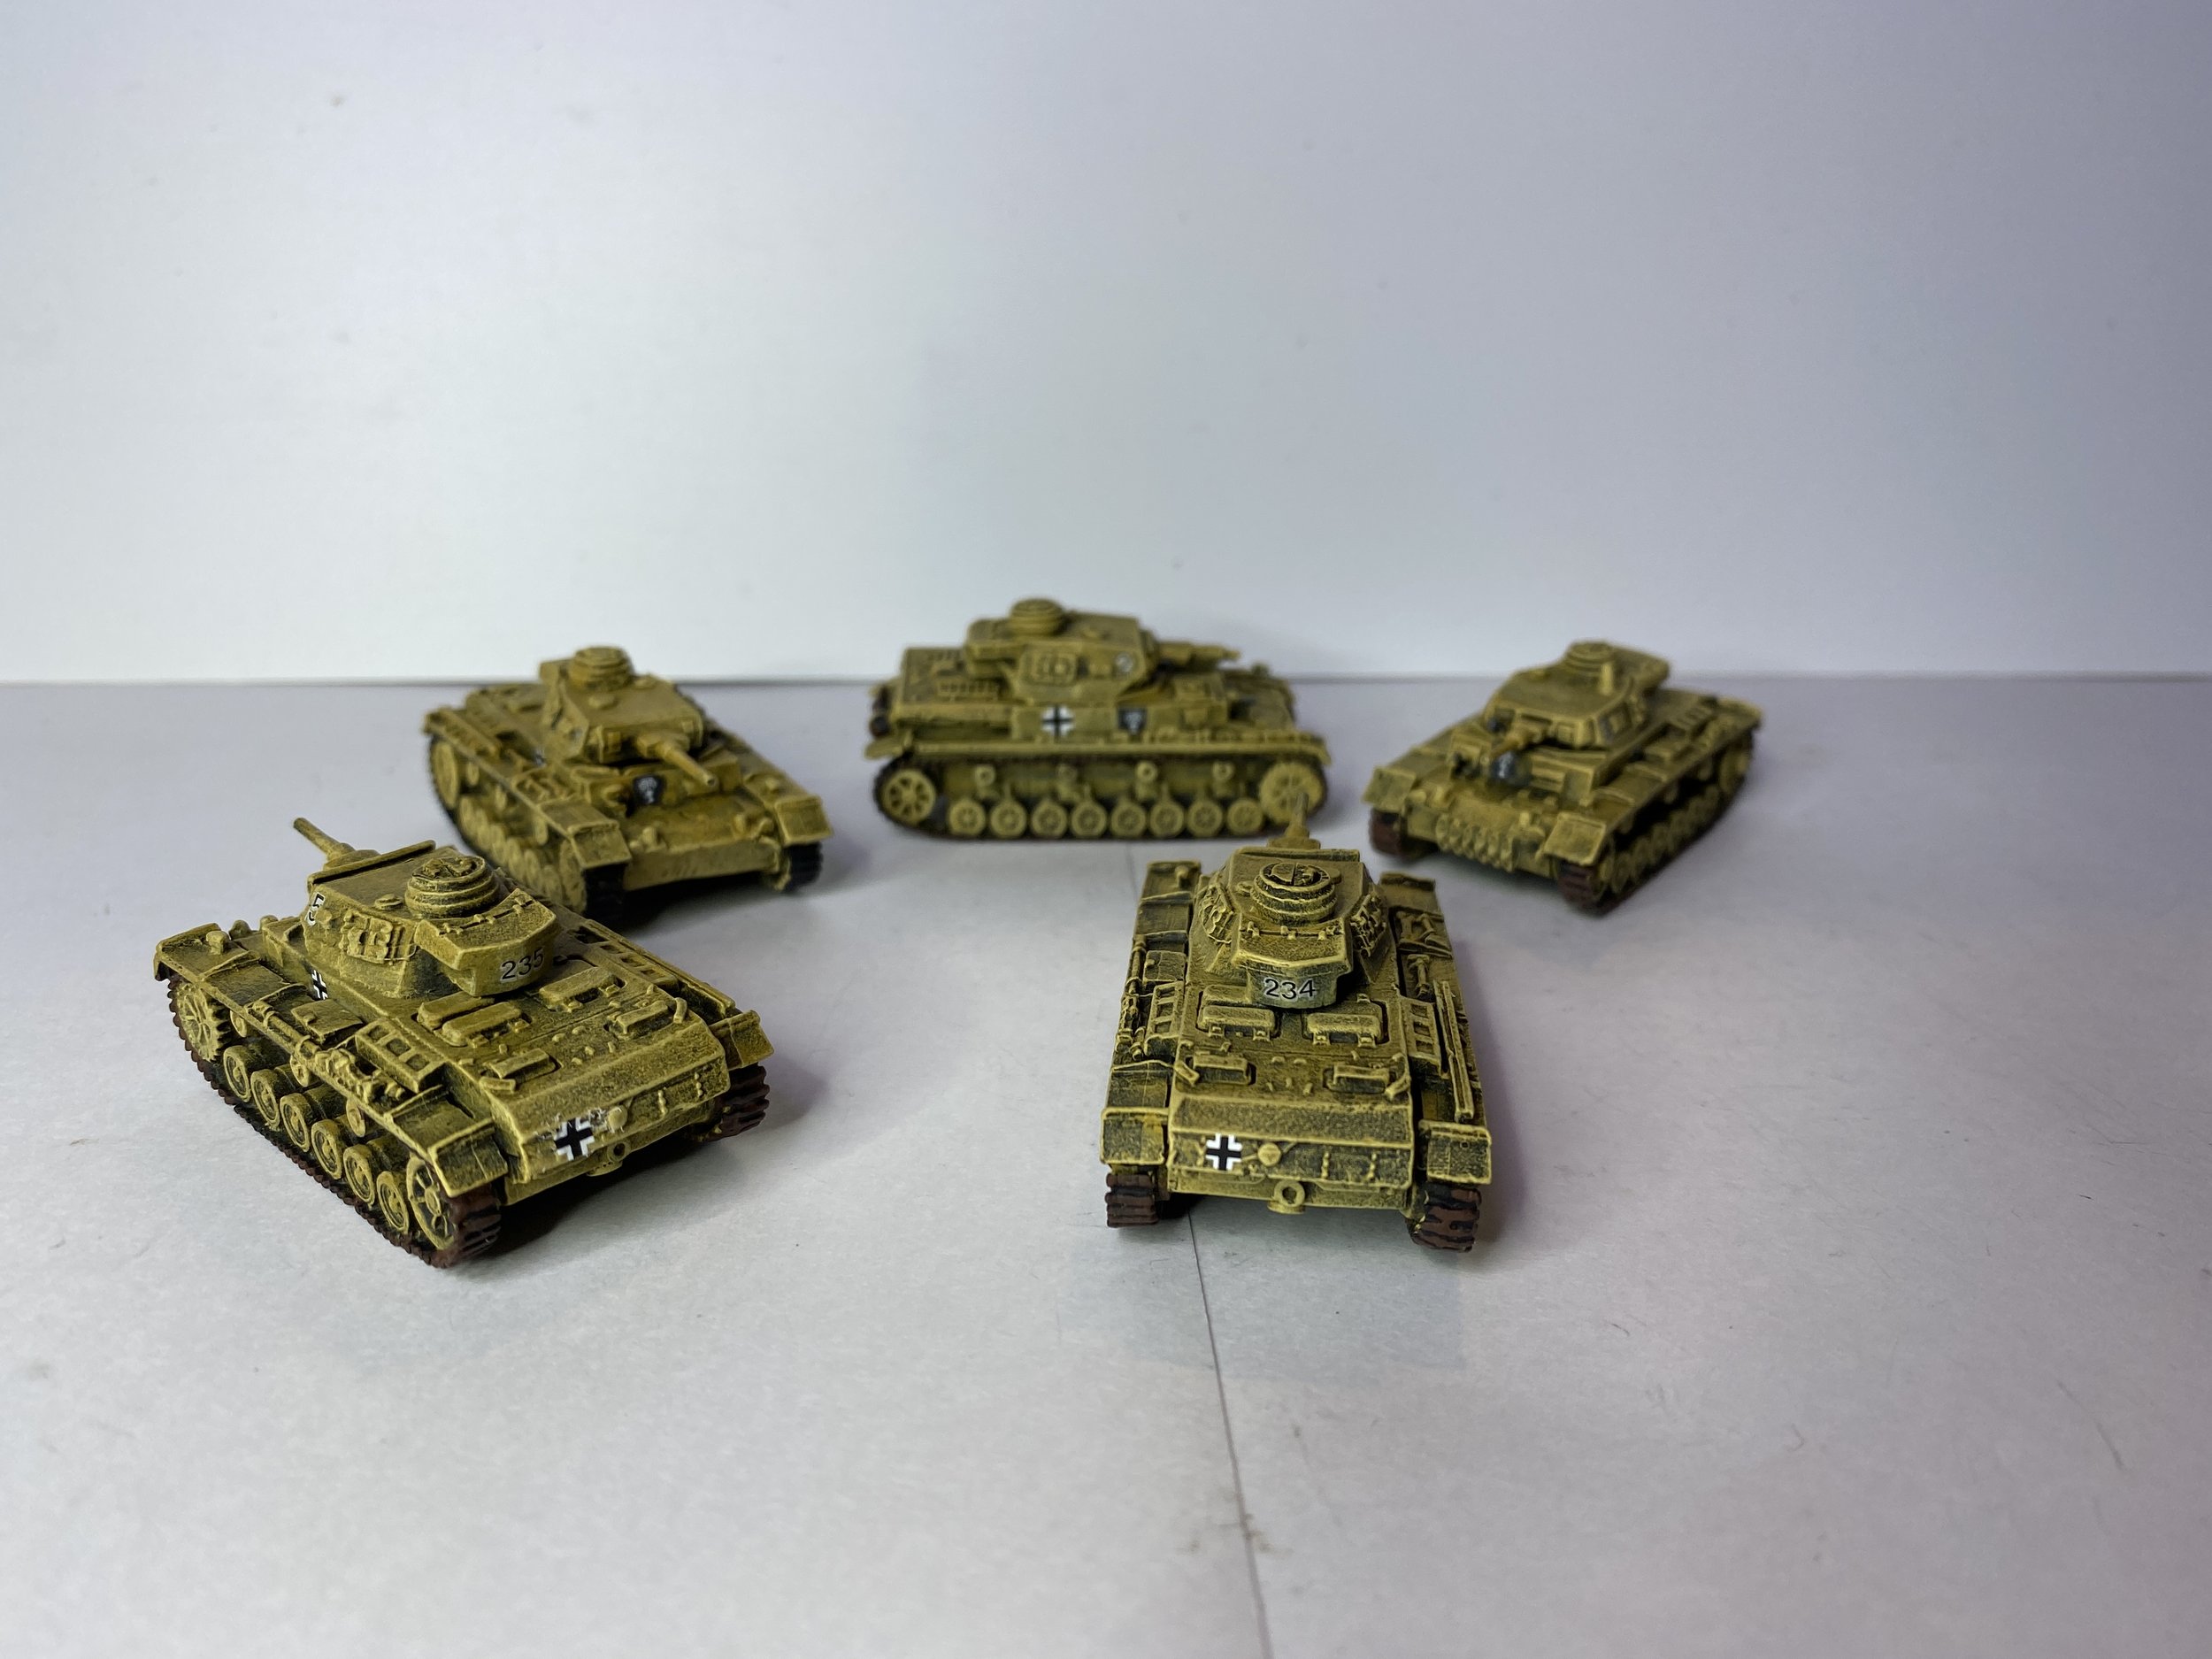
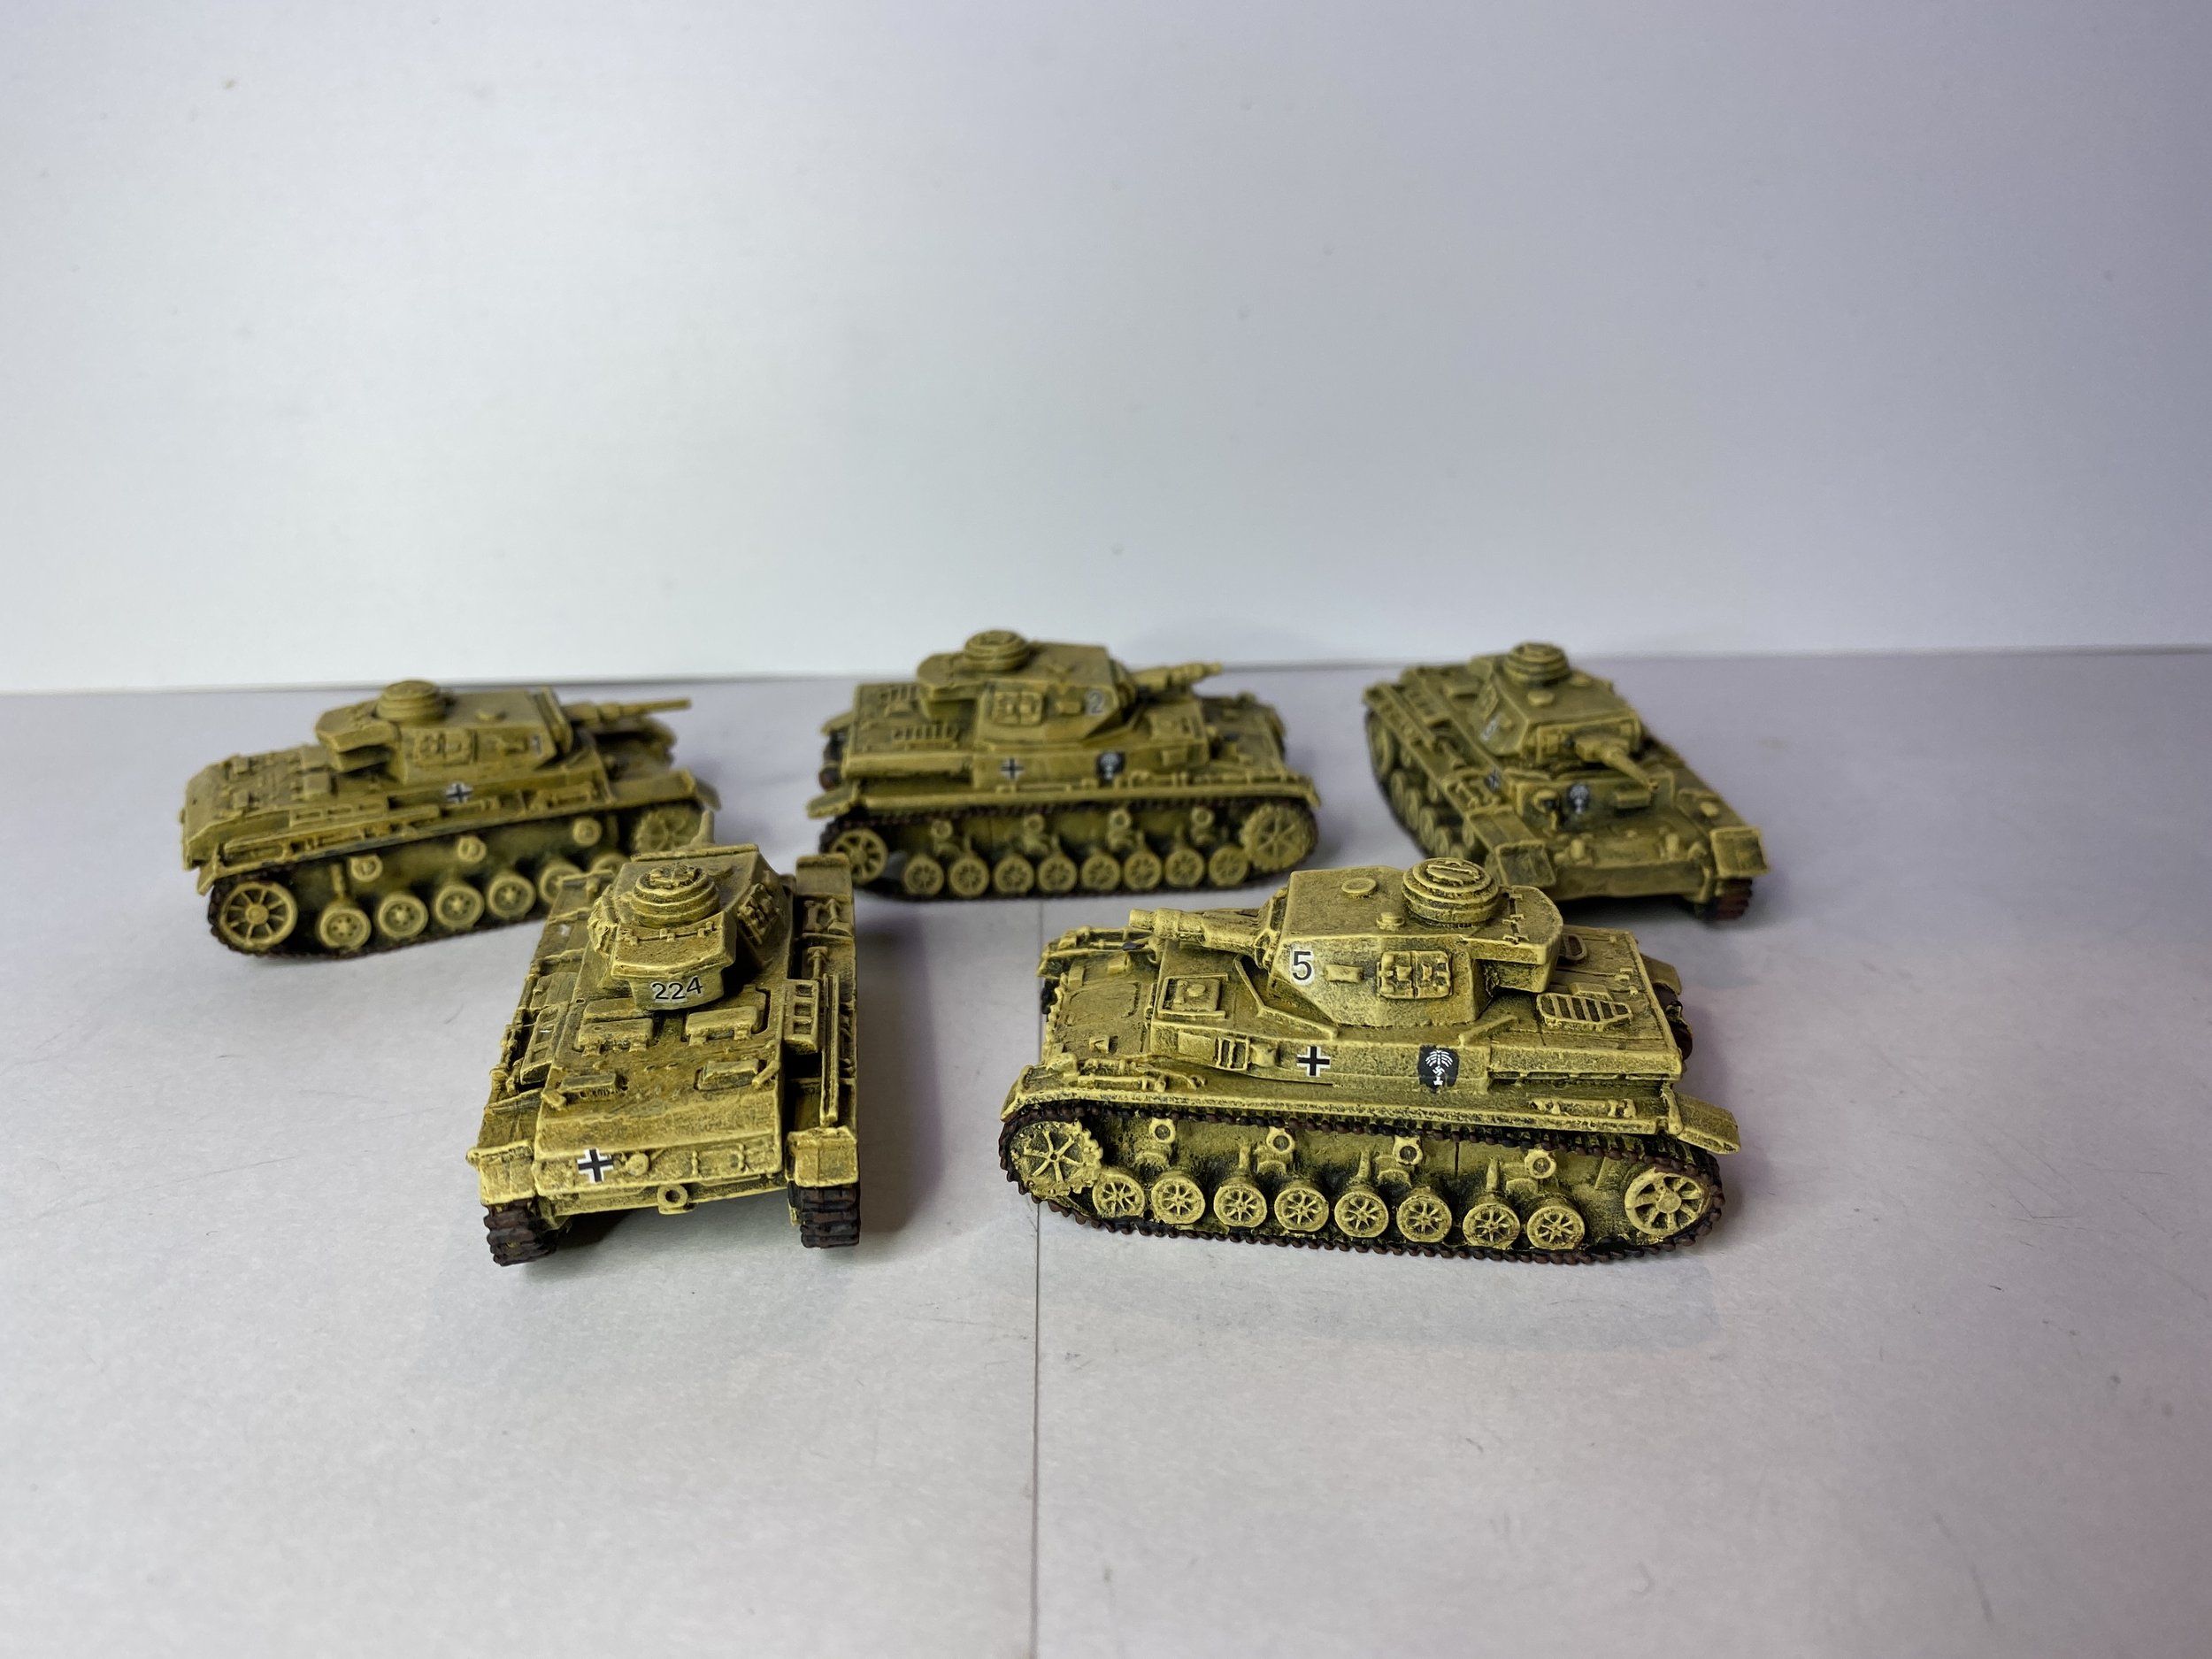
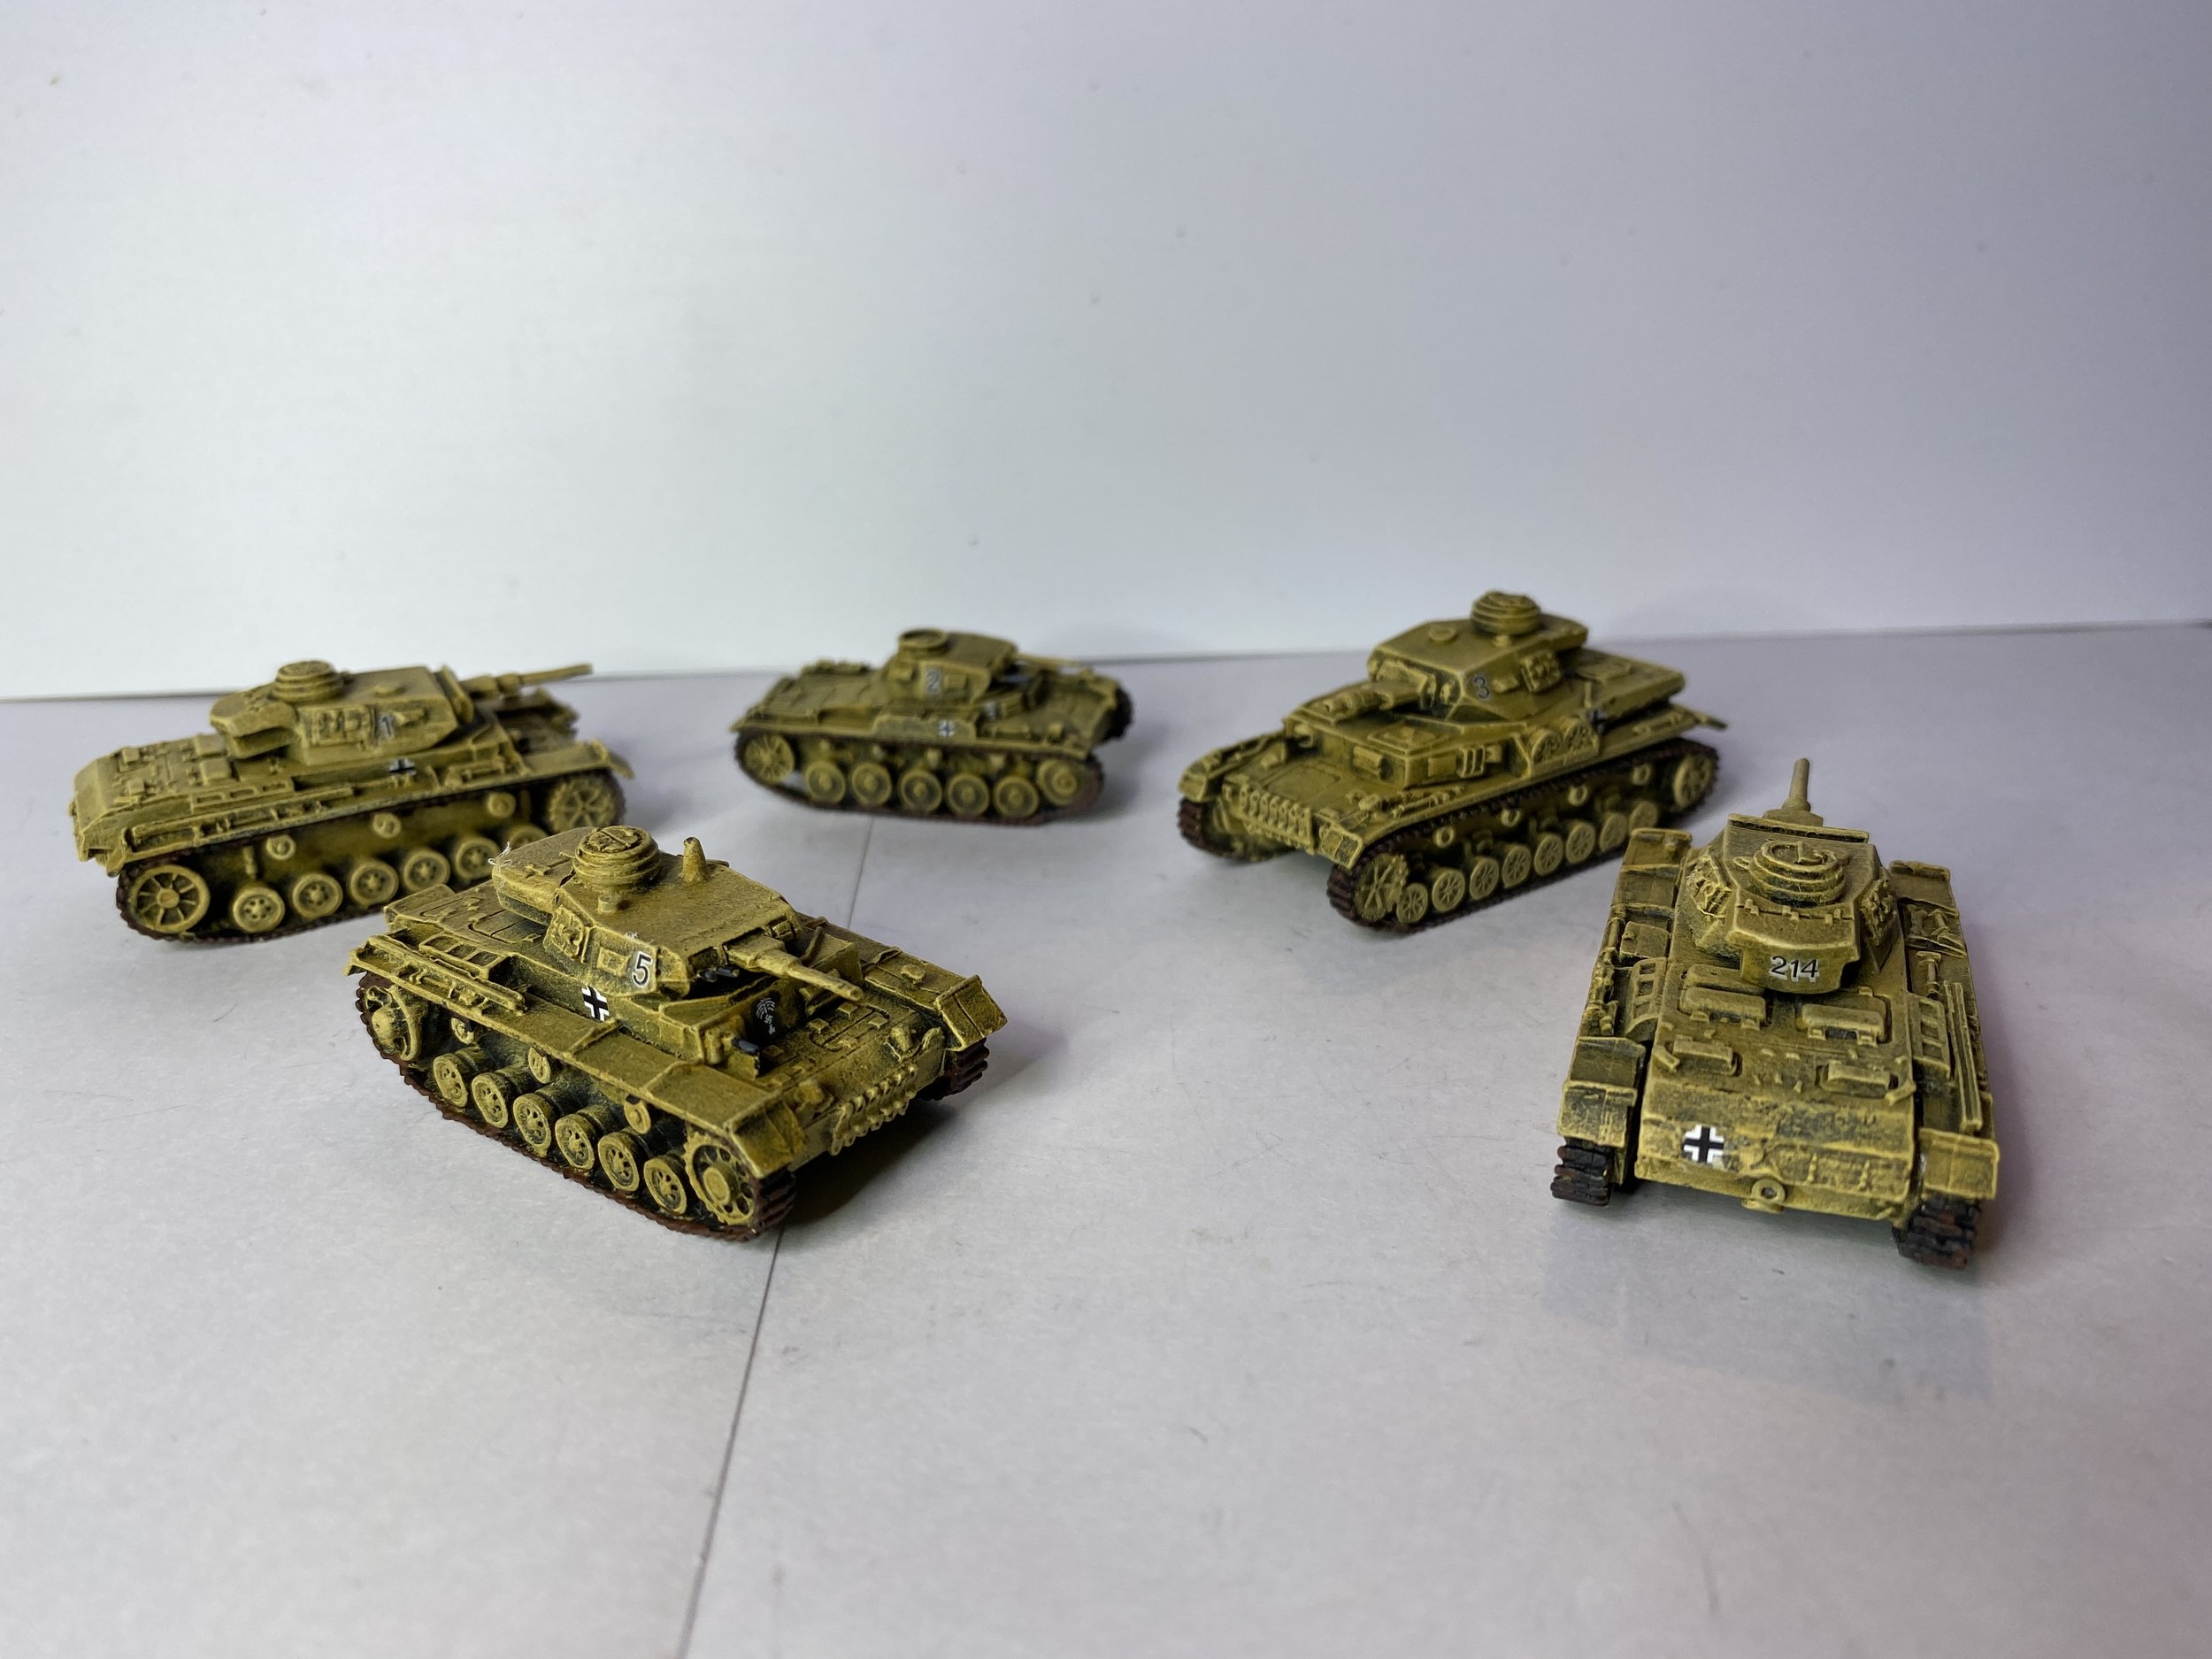
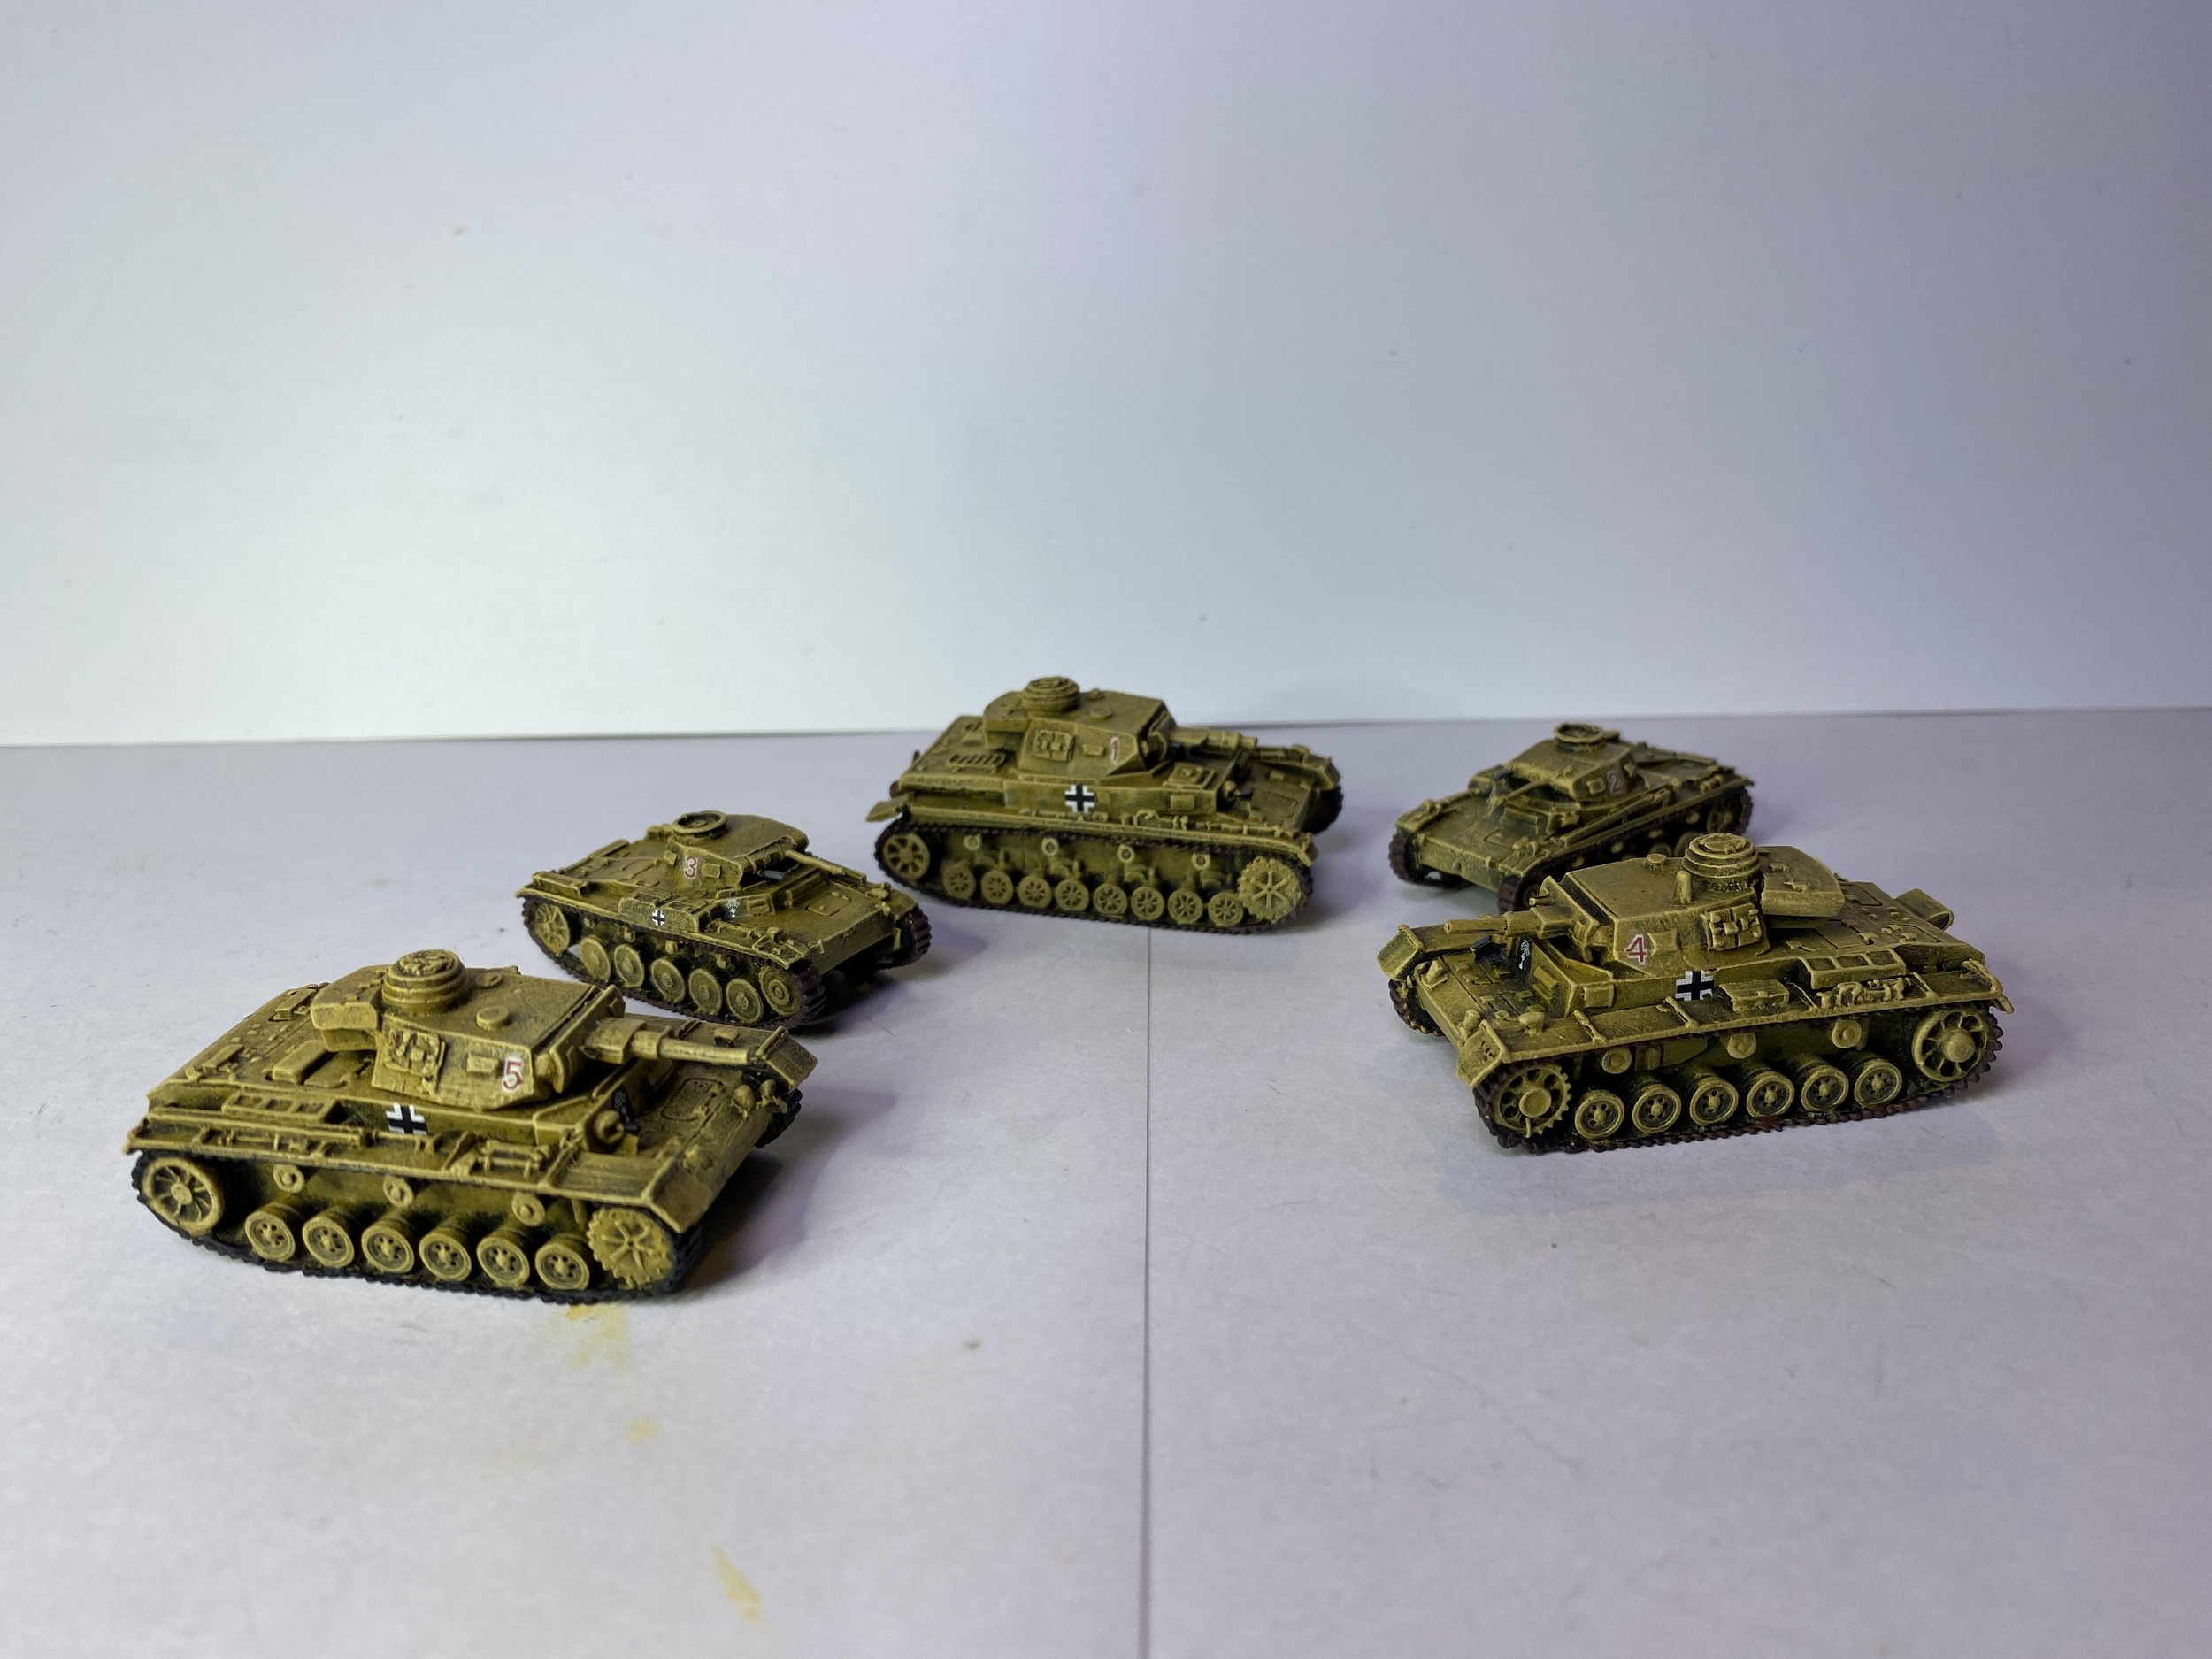
With the Pokemon toy done I returned to my 15mm German tanks. My focus was the adding of decals to the tanks representing my 21st and 15th Panzer divisions. I’m using I-94 decals. They are excellent, but the numbers which are so basic to the look of these German tanks are small and delicate, and the process is slow. The tanks of the 21st Panzer Division are all by Command Decision. Only nine of the tanks of the 15thPanzer Division are Command Decision. All the Command Decision German tanks are now painted. The majority of the 15th Panzer Division will be made up of tanks by Flames of War… those are unpainted as of this week.
In order to keep the 15th Panzer Division easily identified from the 21st Panzer Division, I used black and white numbering on the 21st Panzer Division’s tanks and red and white numbering on the 15th Panzer Division’s tanks.
This week I was able to complete the painting of the first of two 15th Panzer Division companies; two of the three troops of that company had their decaling completed while the third had the cross and palms decals added but the numbering for it will have to be completed in the upcoming week.
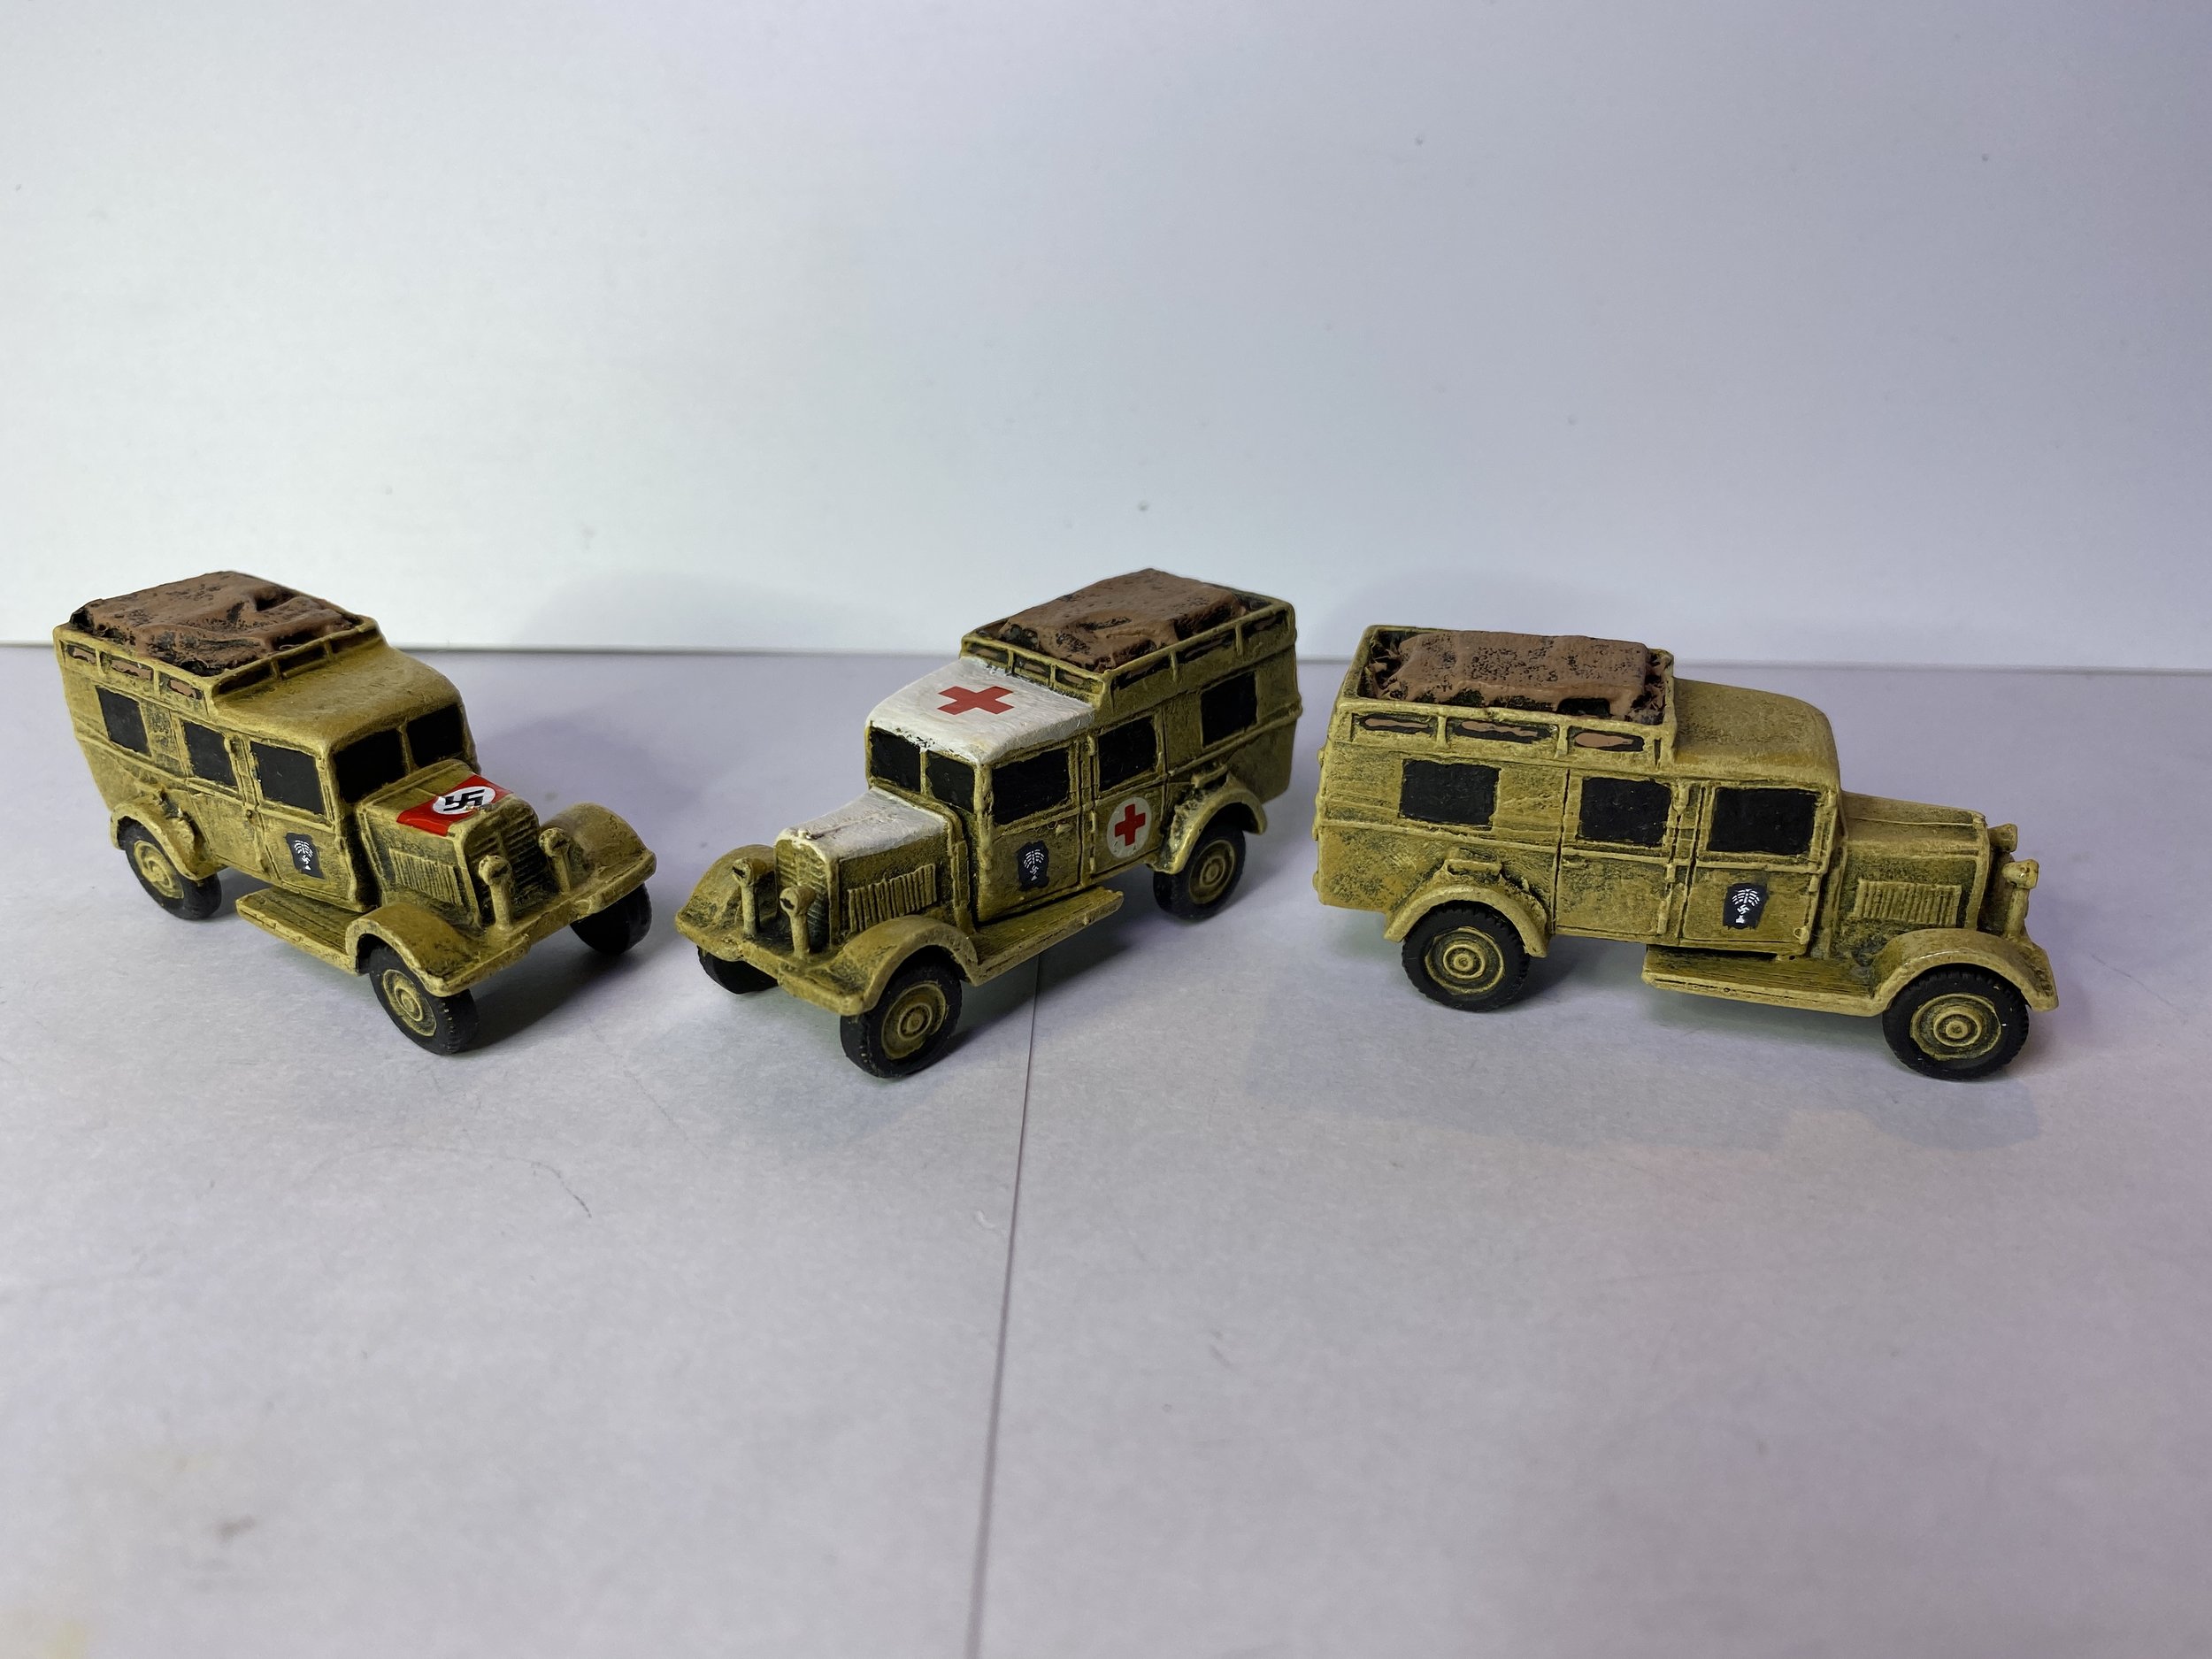
I also painted and decaled three more Granit trucks. These are by Peter Pig and are unique from the ones I did earlier in that they were purchased years ago when Peter Pig was making them in metal rather than resin. They came with empty roof racks which I filled with pieces of Evergreen plastic covered with facial tissue as tarps. I did one of these trucks as an ambulance and the other two as command vehicles.

October 17, 2021
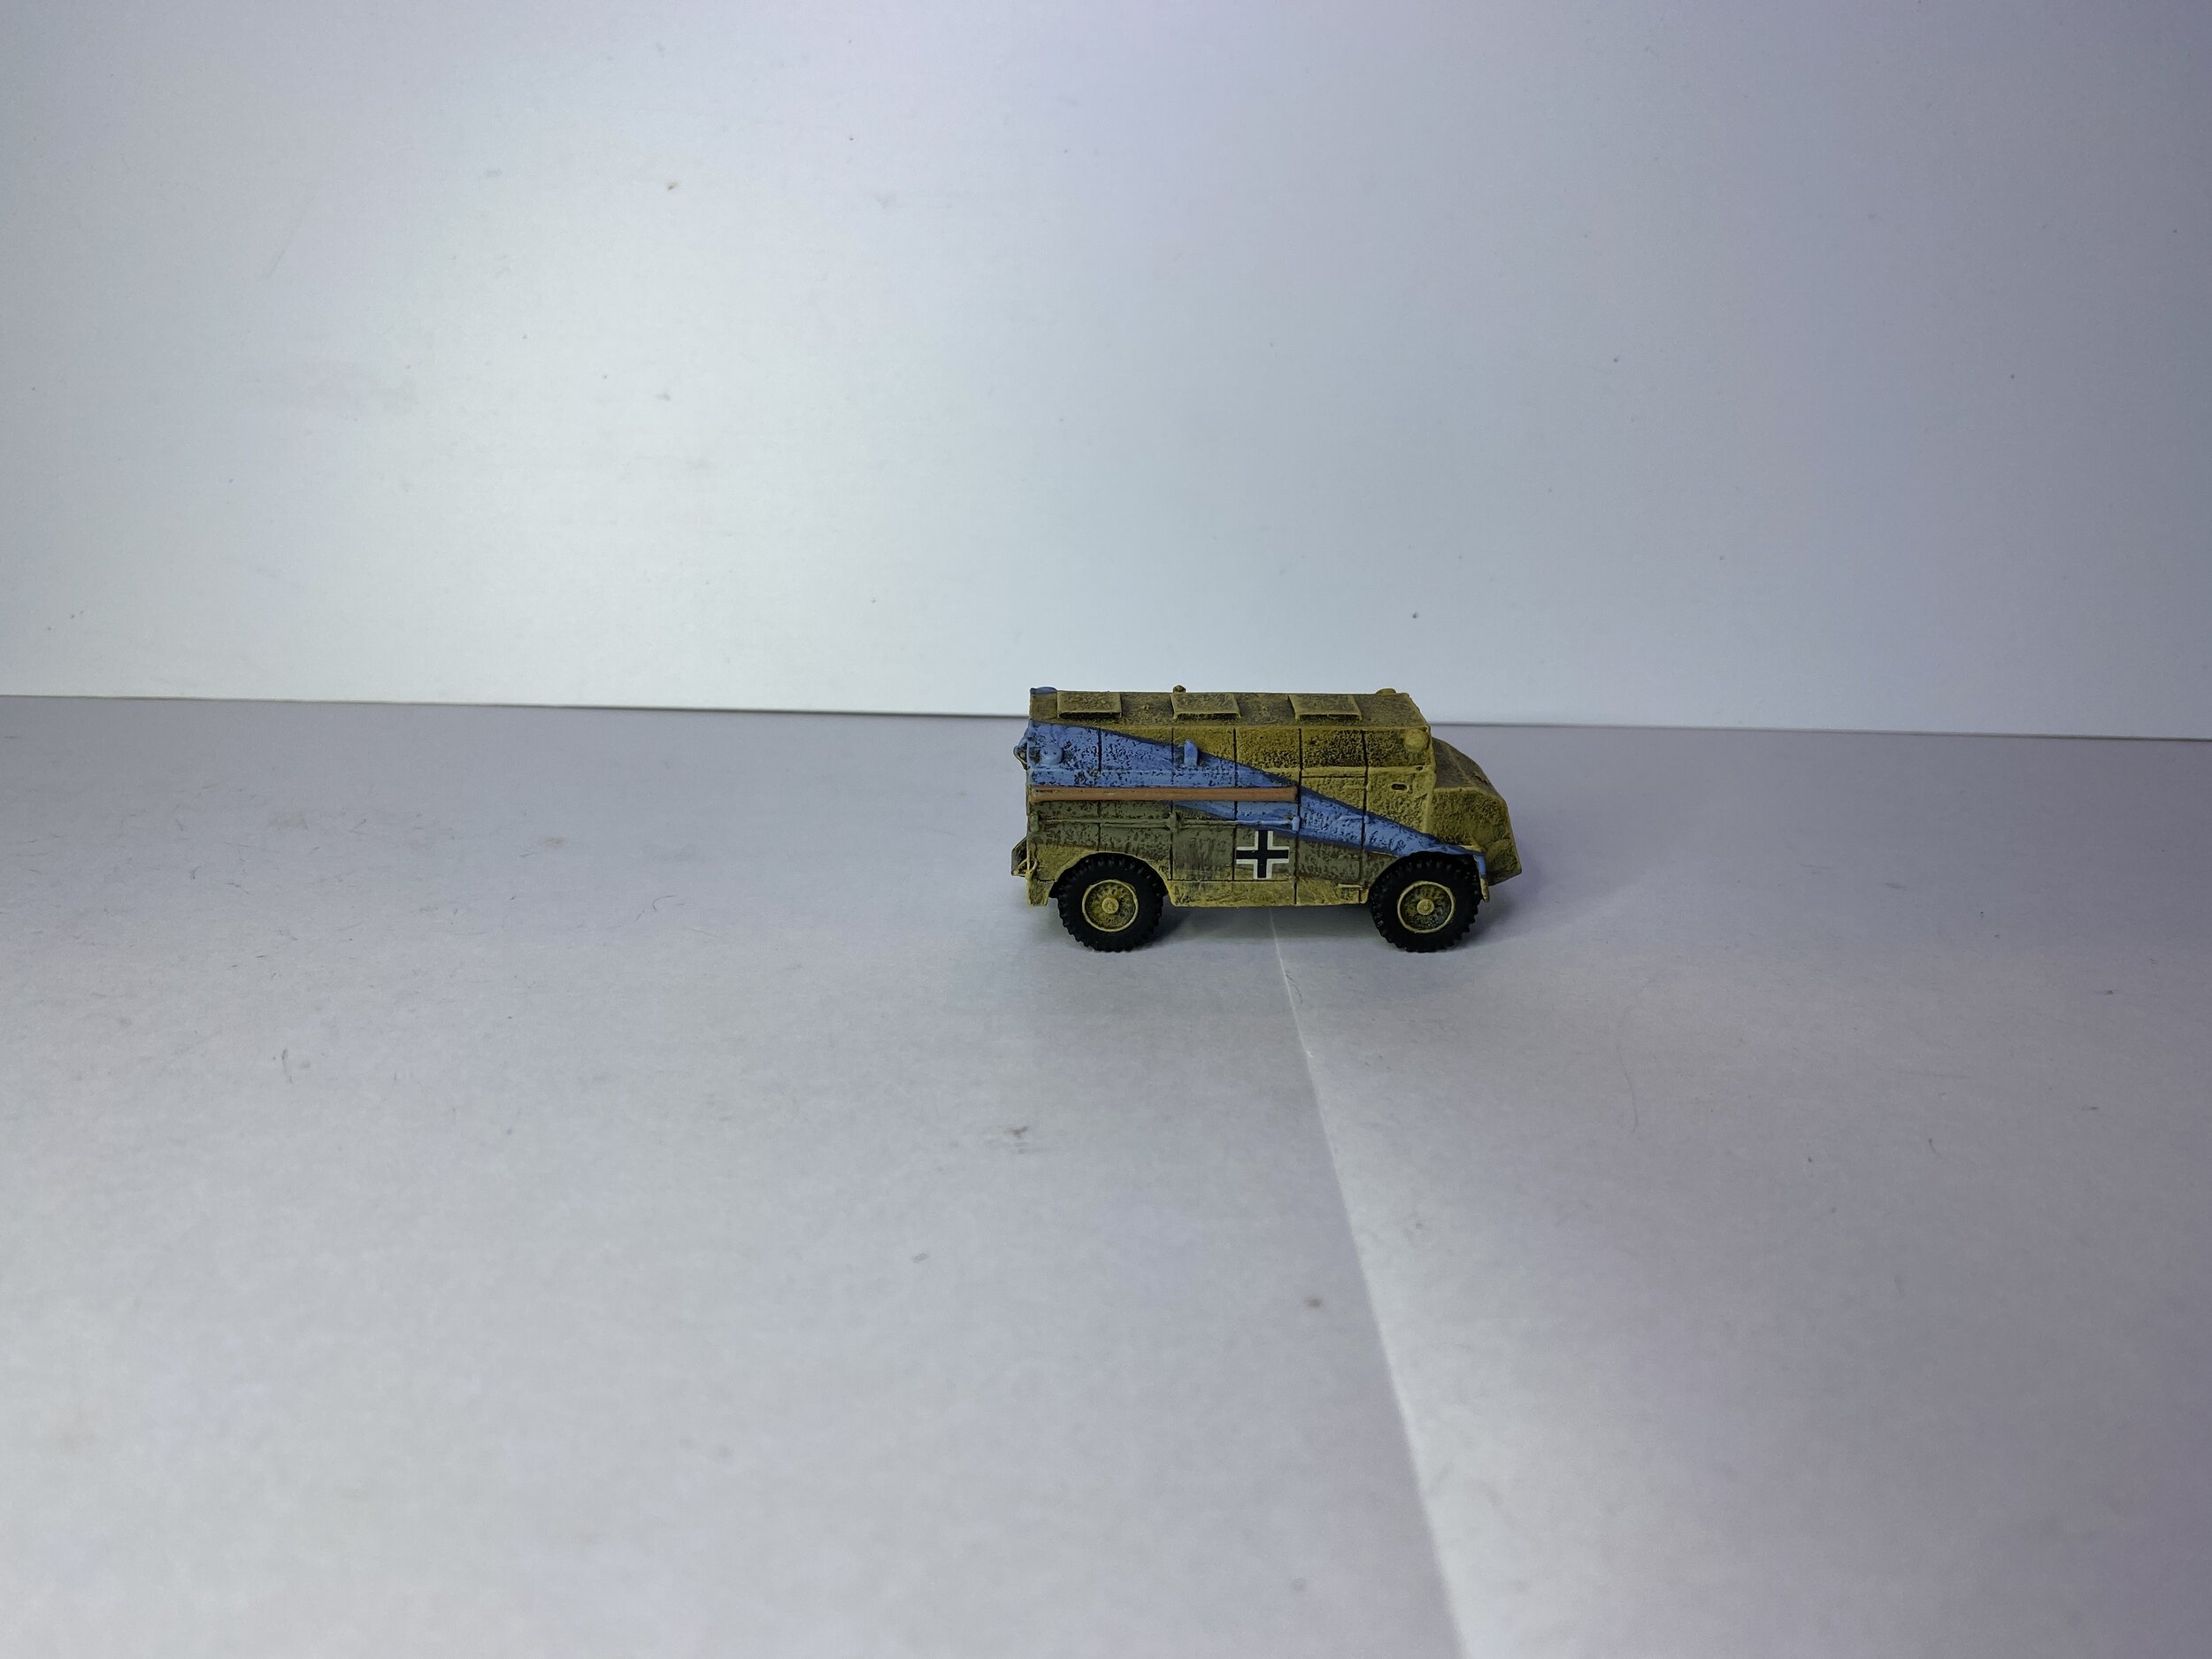
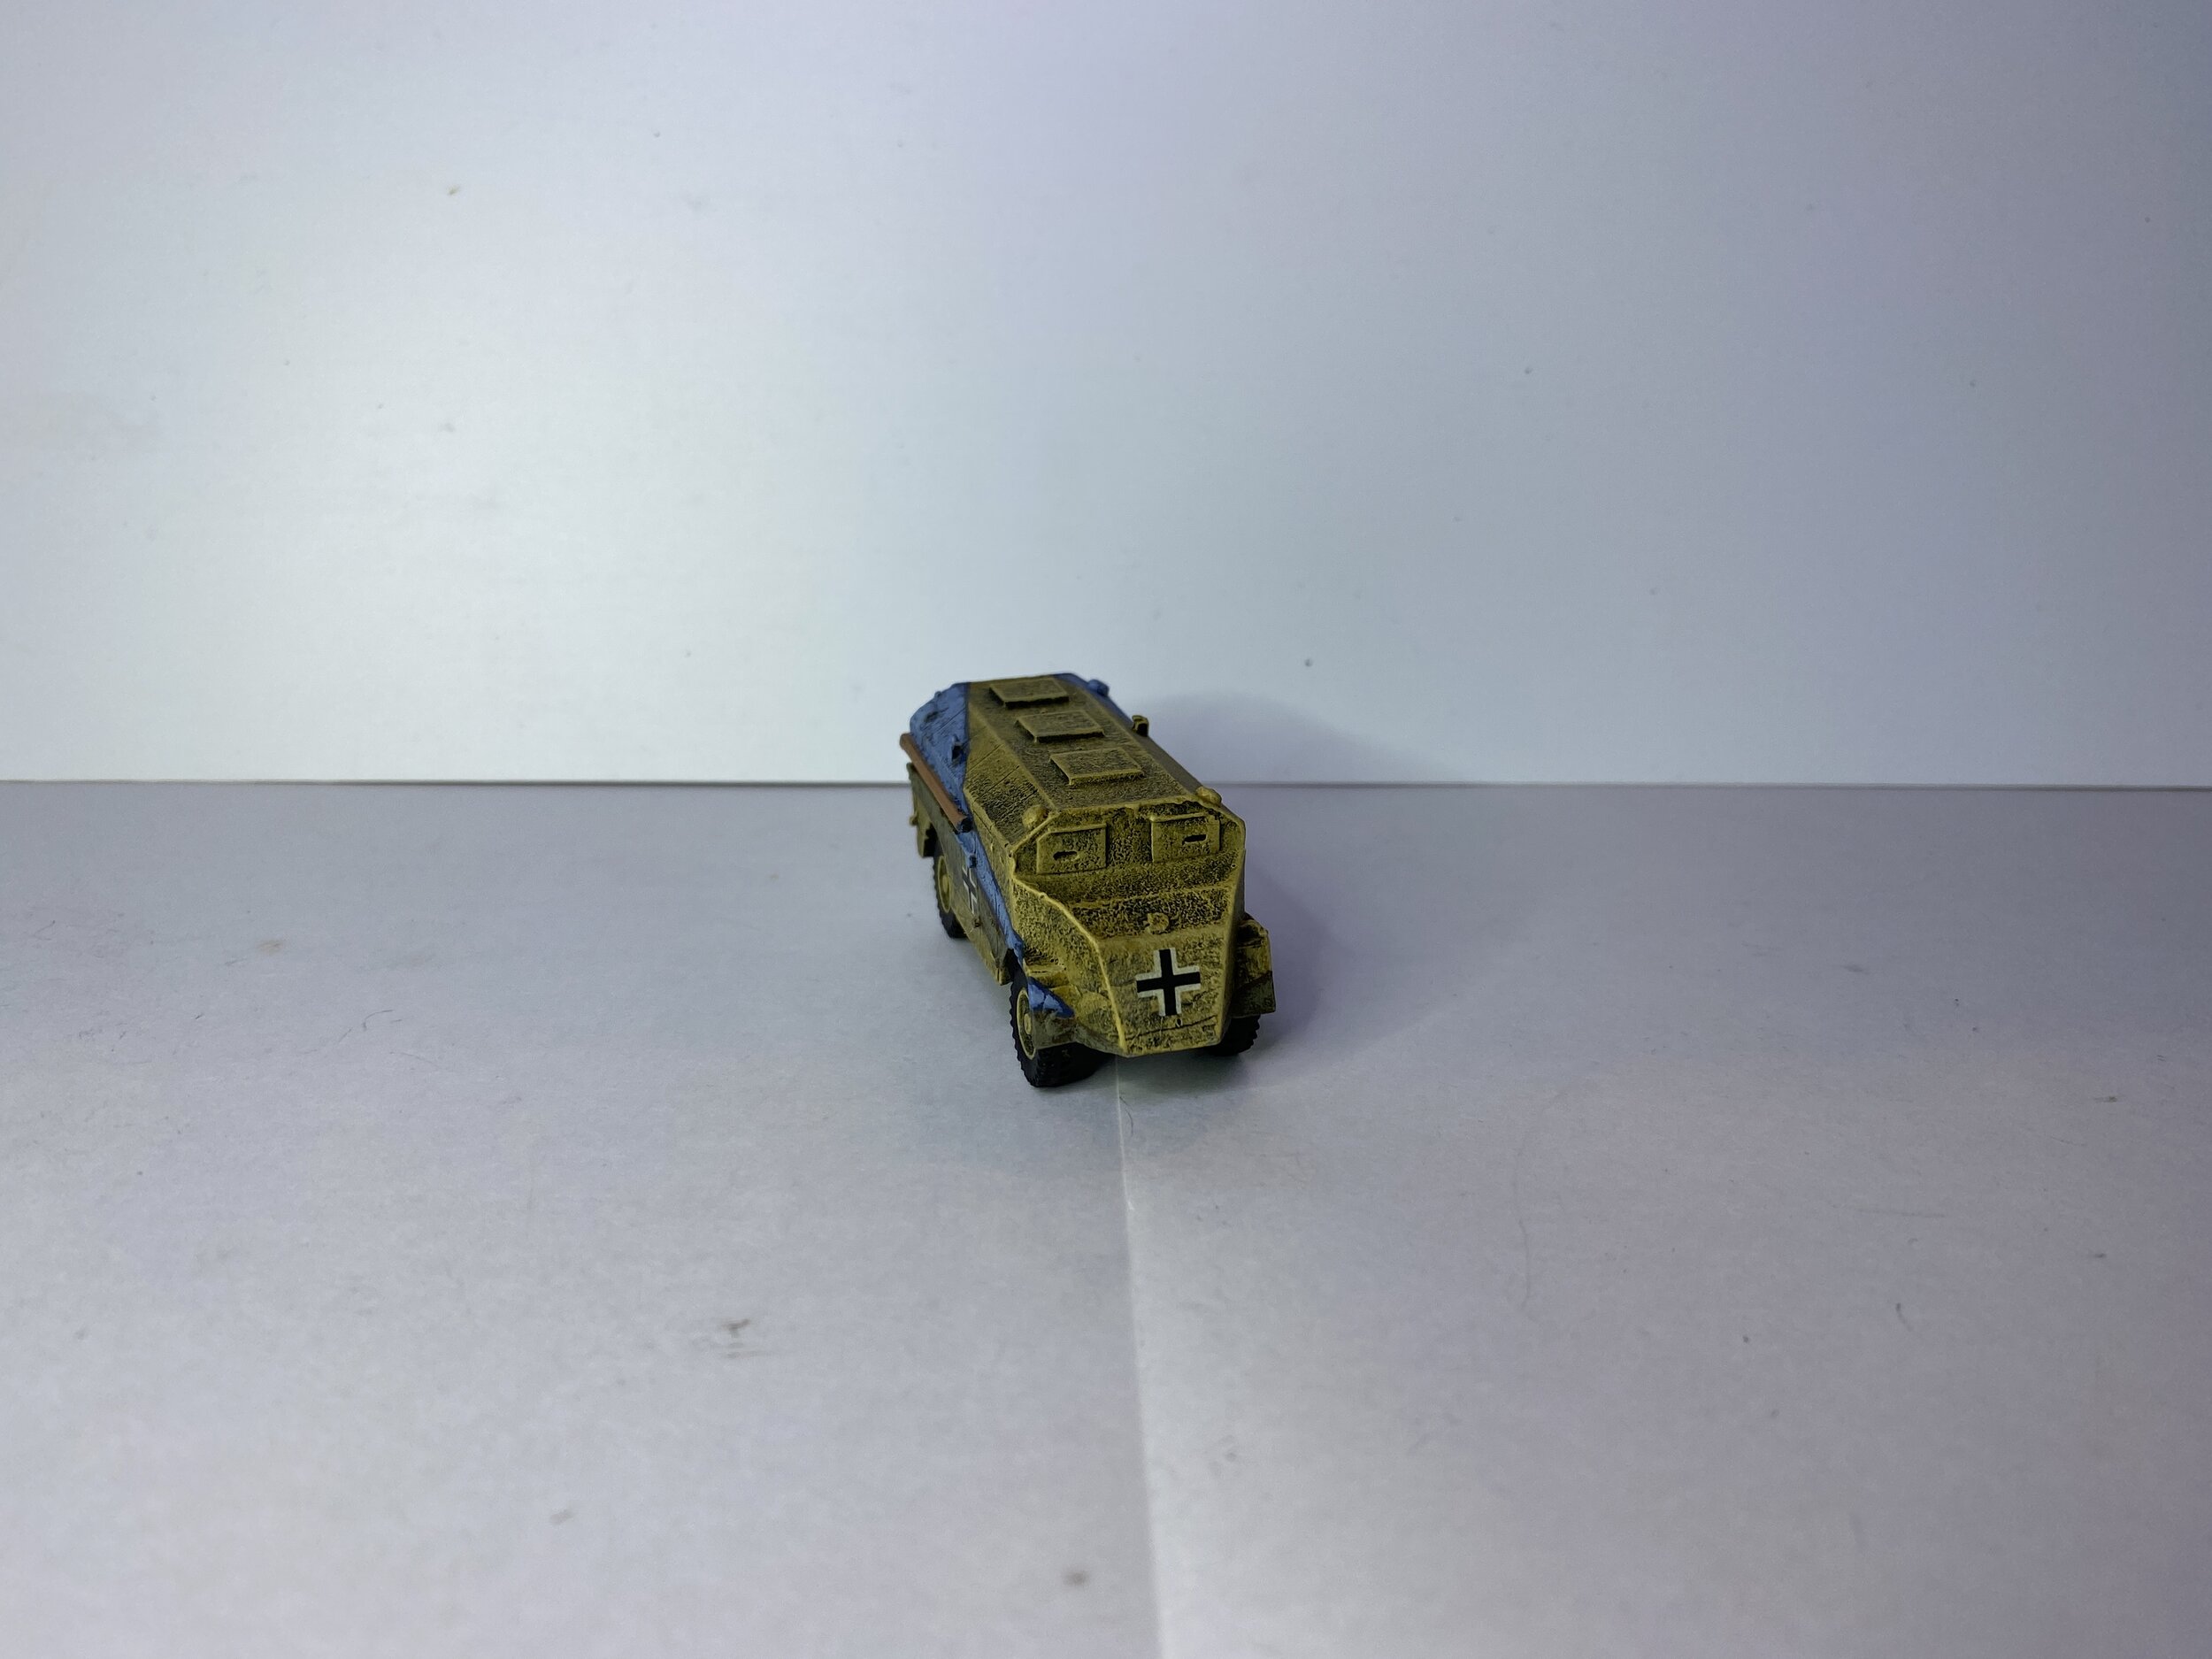
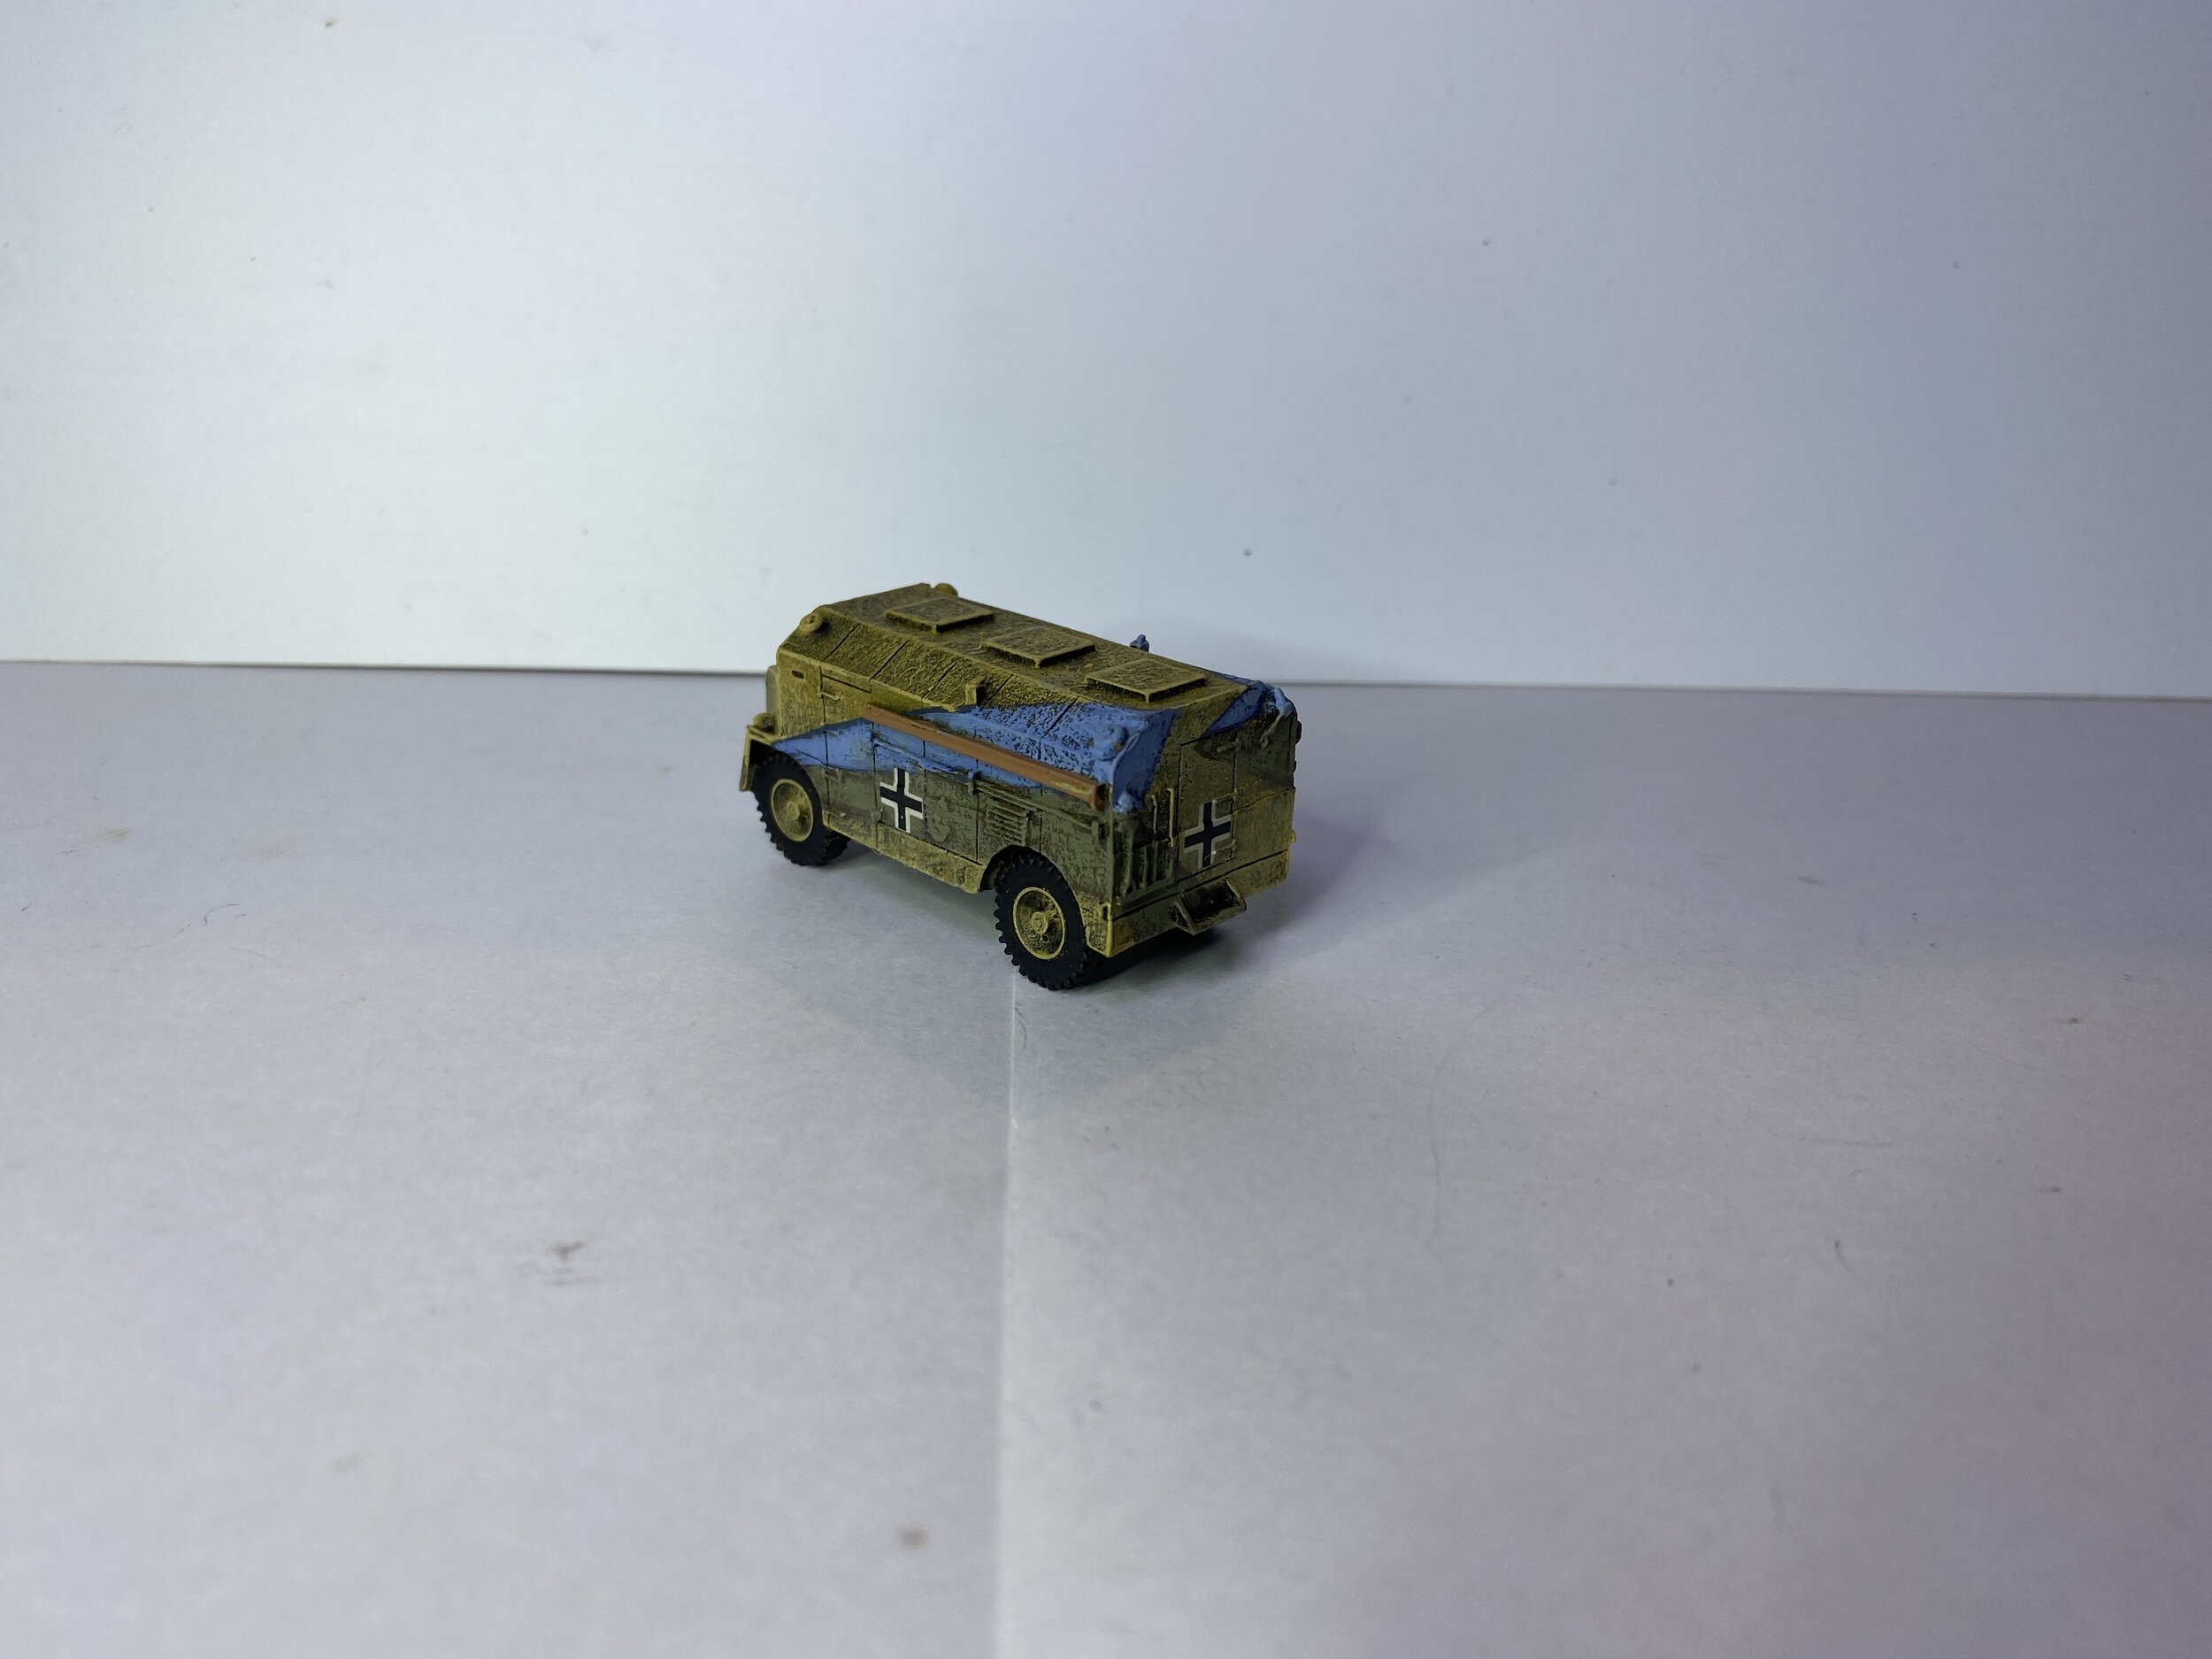
I began the workbench week painting one of Rommel’s Dorchesters. Rommel used two captured AEC Dorchester armored command vehicles that he named Max and Moritz. The one I did for my 15mm collection looks more like Moritz.
With the Rommel Dorchester done and all the German Opel Blitz trucks that I currently have done, I decided to turn my attention to German tanks. I started with a Pz. IV F1 by Command Decision. I foolishly believed this was going to be easy, but quickly discovered I was very wrong. They had made the 75mm gun with the machine gun on the wrong side. Fixing that problem could have been as simple as flipping the gun over, but unfortunately they had slanted the gun mantel in such a way that when flipped the gun pointed to the sky so the rear of the mantel had to be shaved to fit properly. If that had been the only problem, it would have been an easy fix, but a bigger problem faced me. The hatch covers were too thick and too wide so much sanding and cutting of these tiny pieces was required… it was hell.
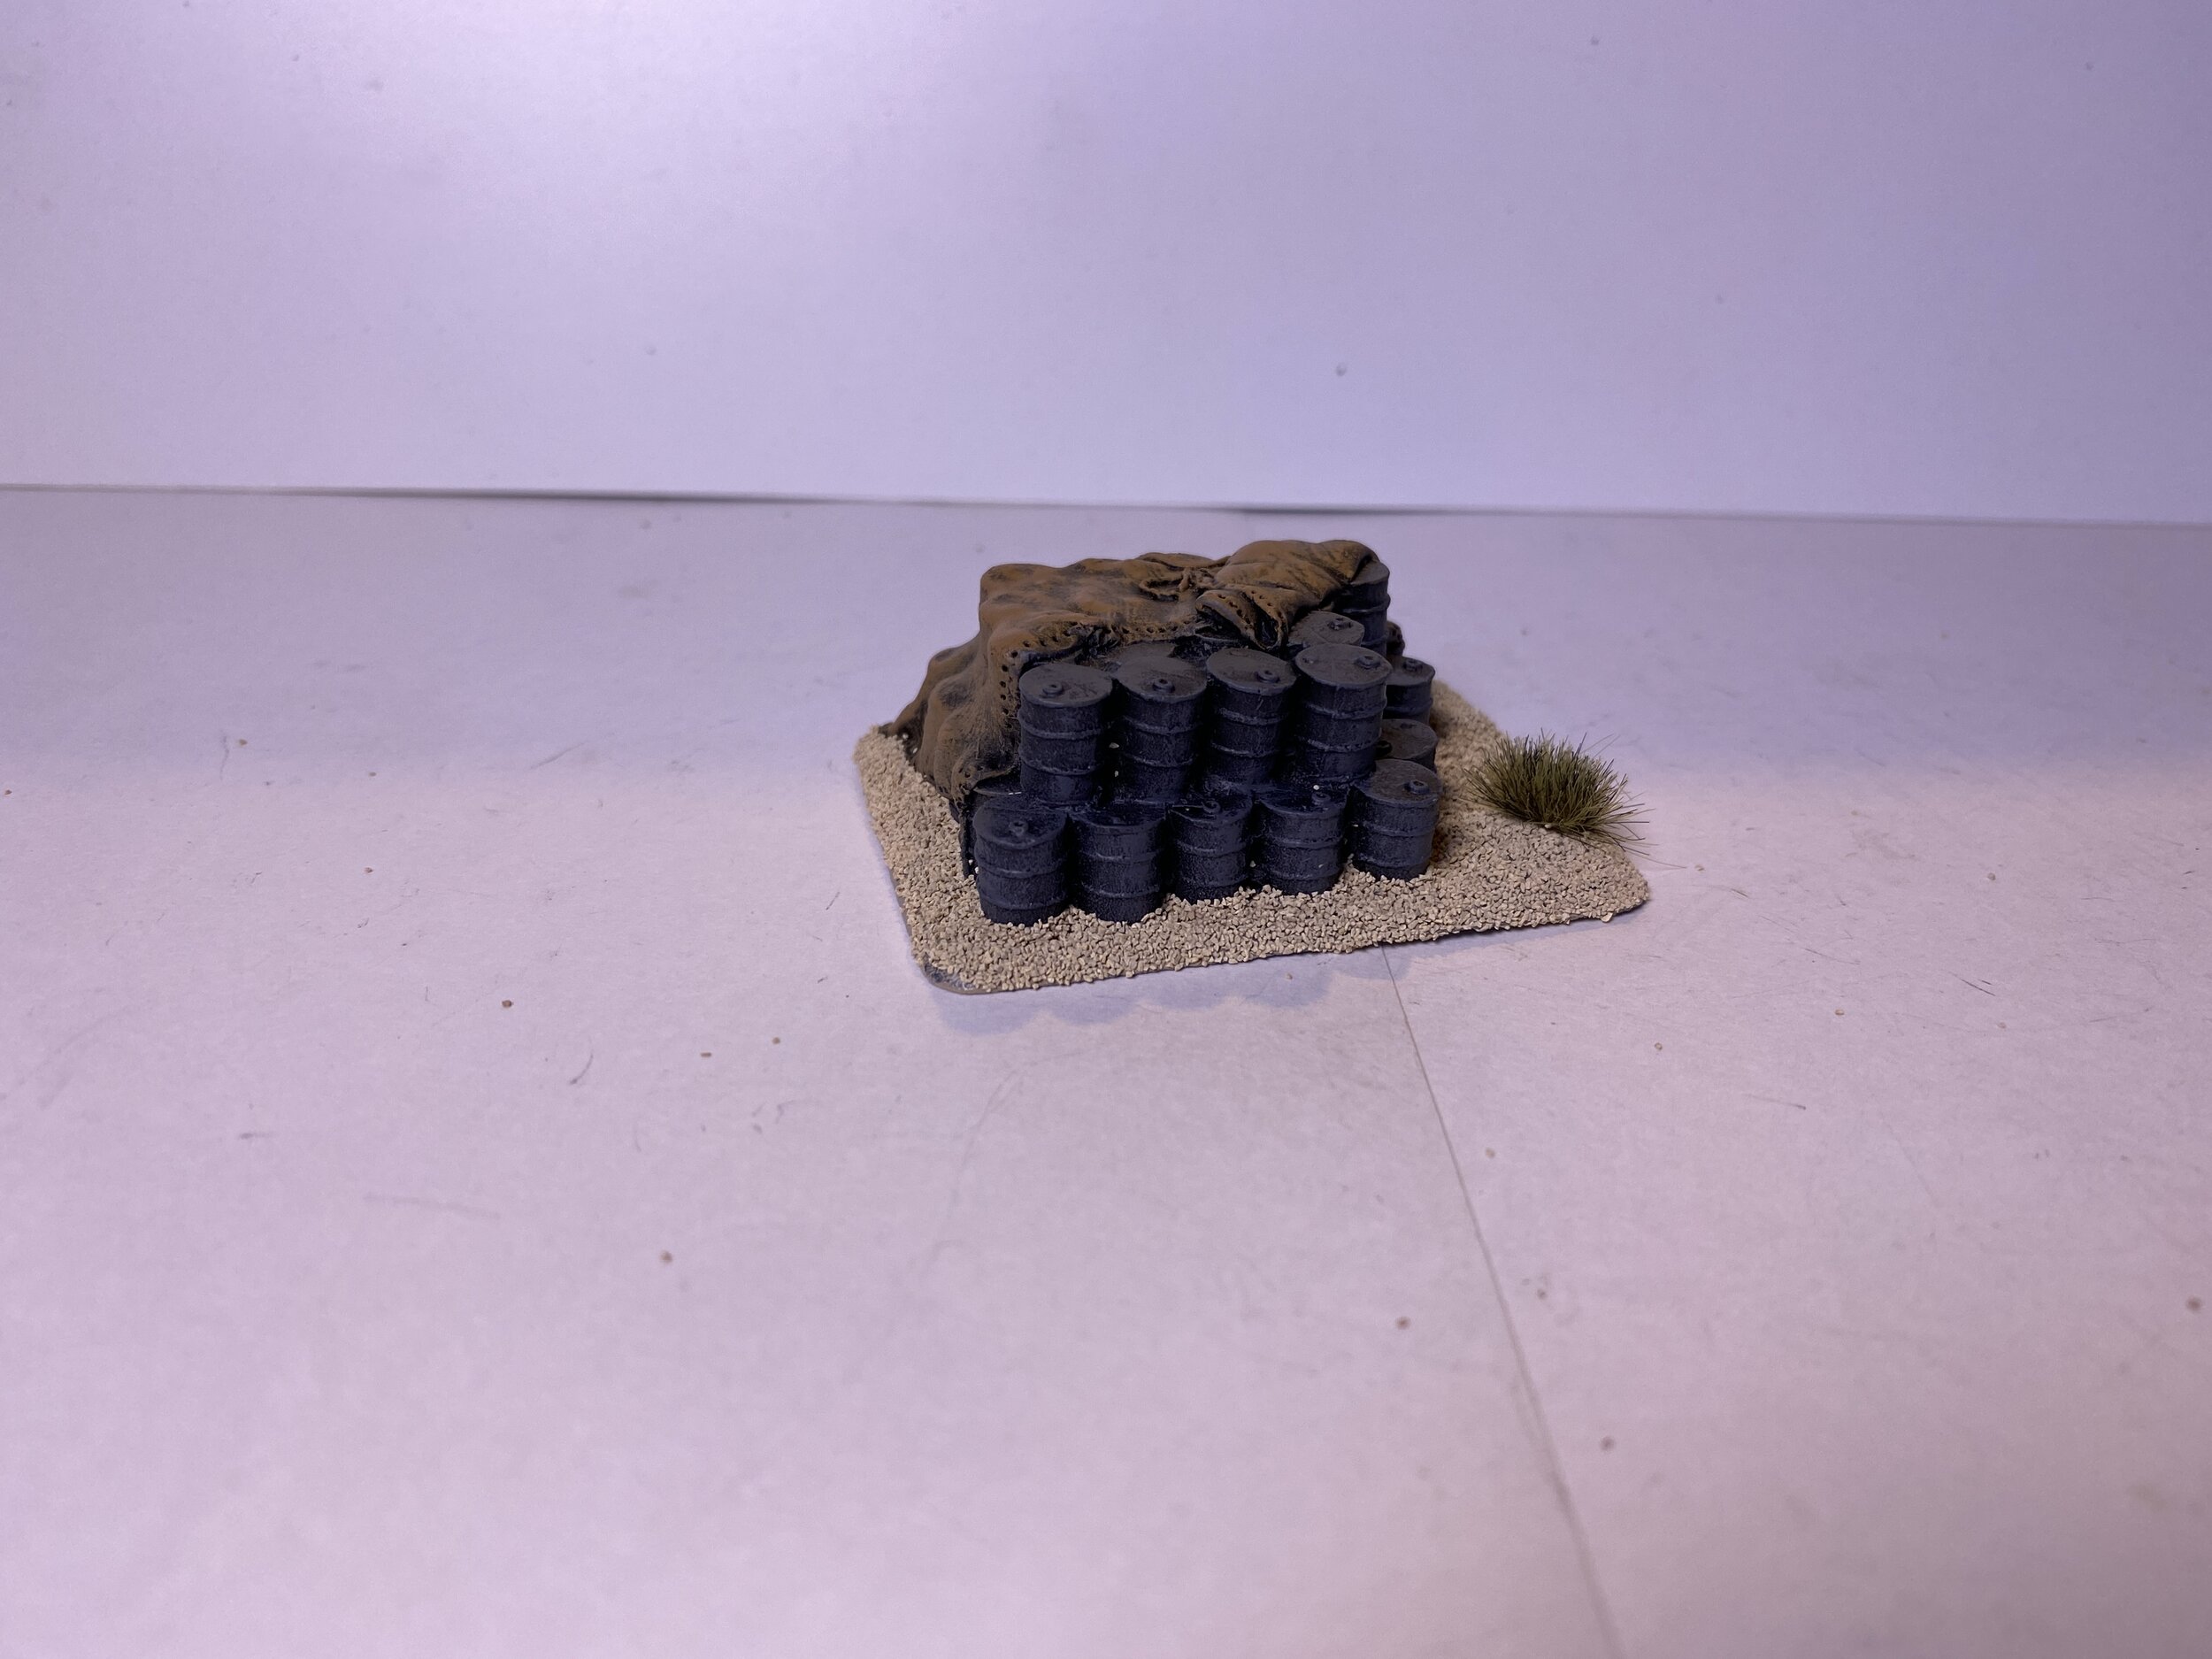
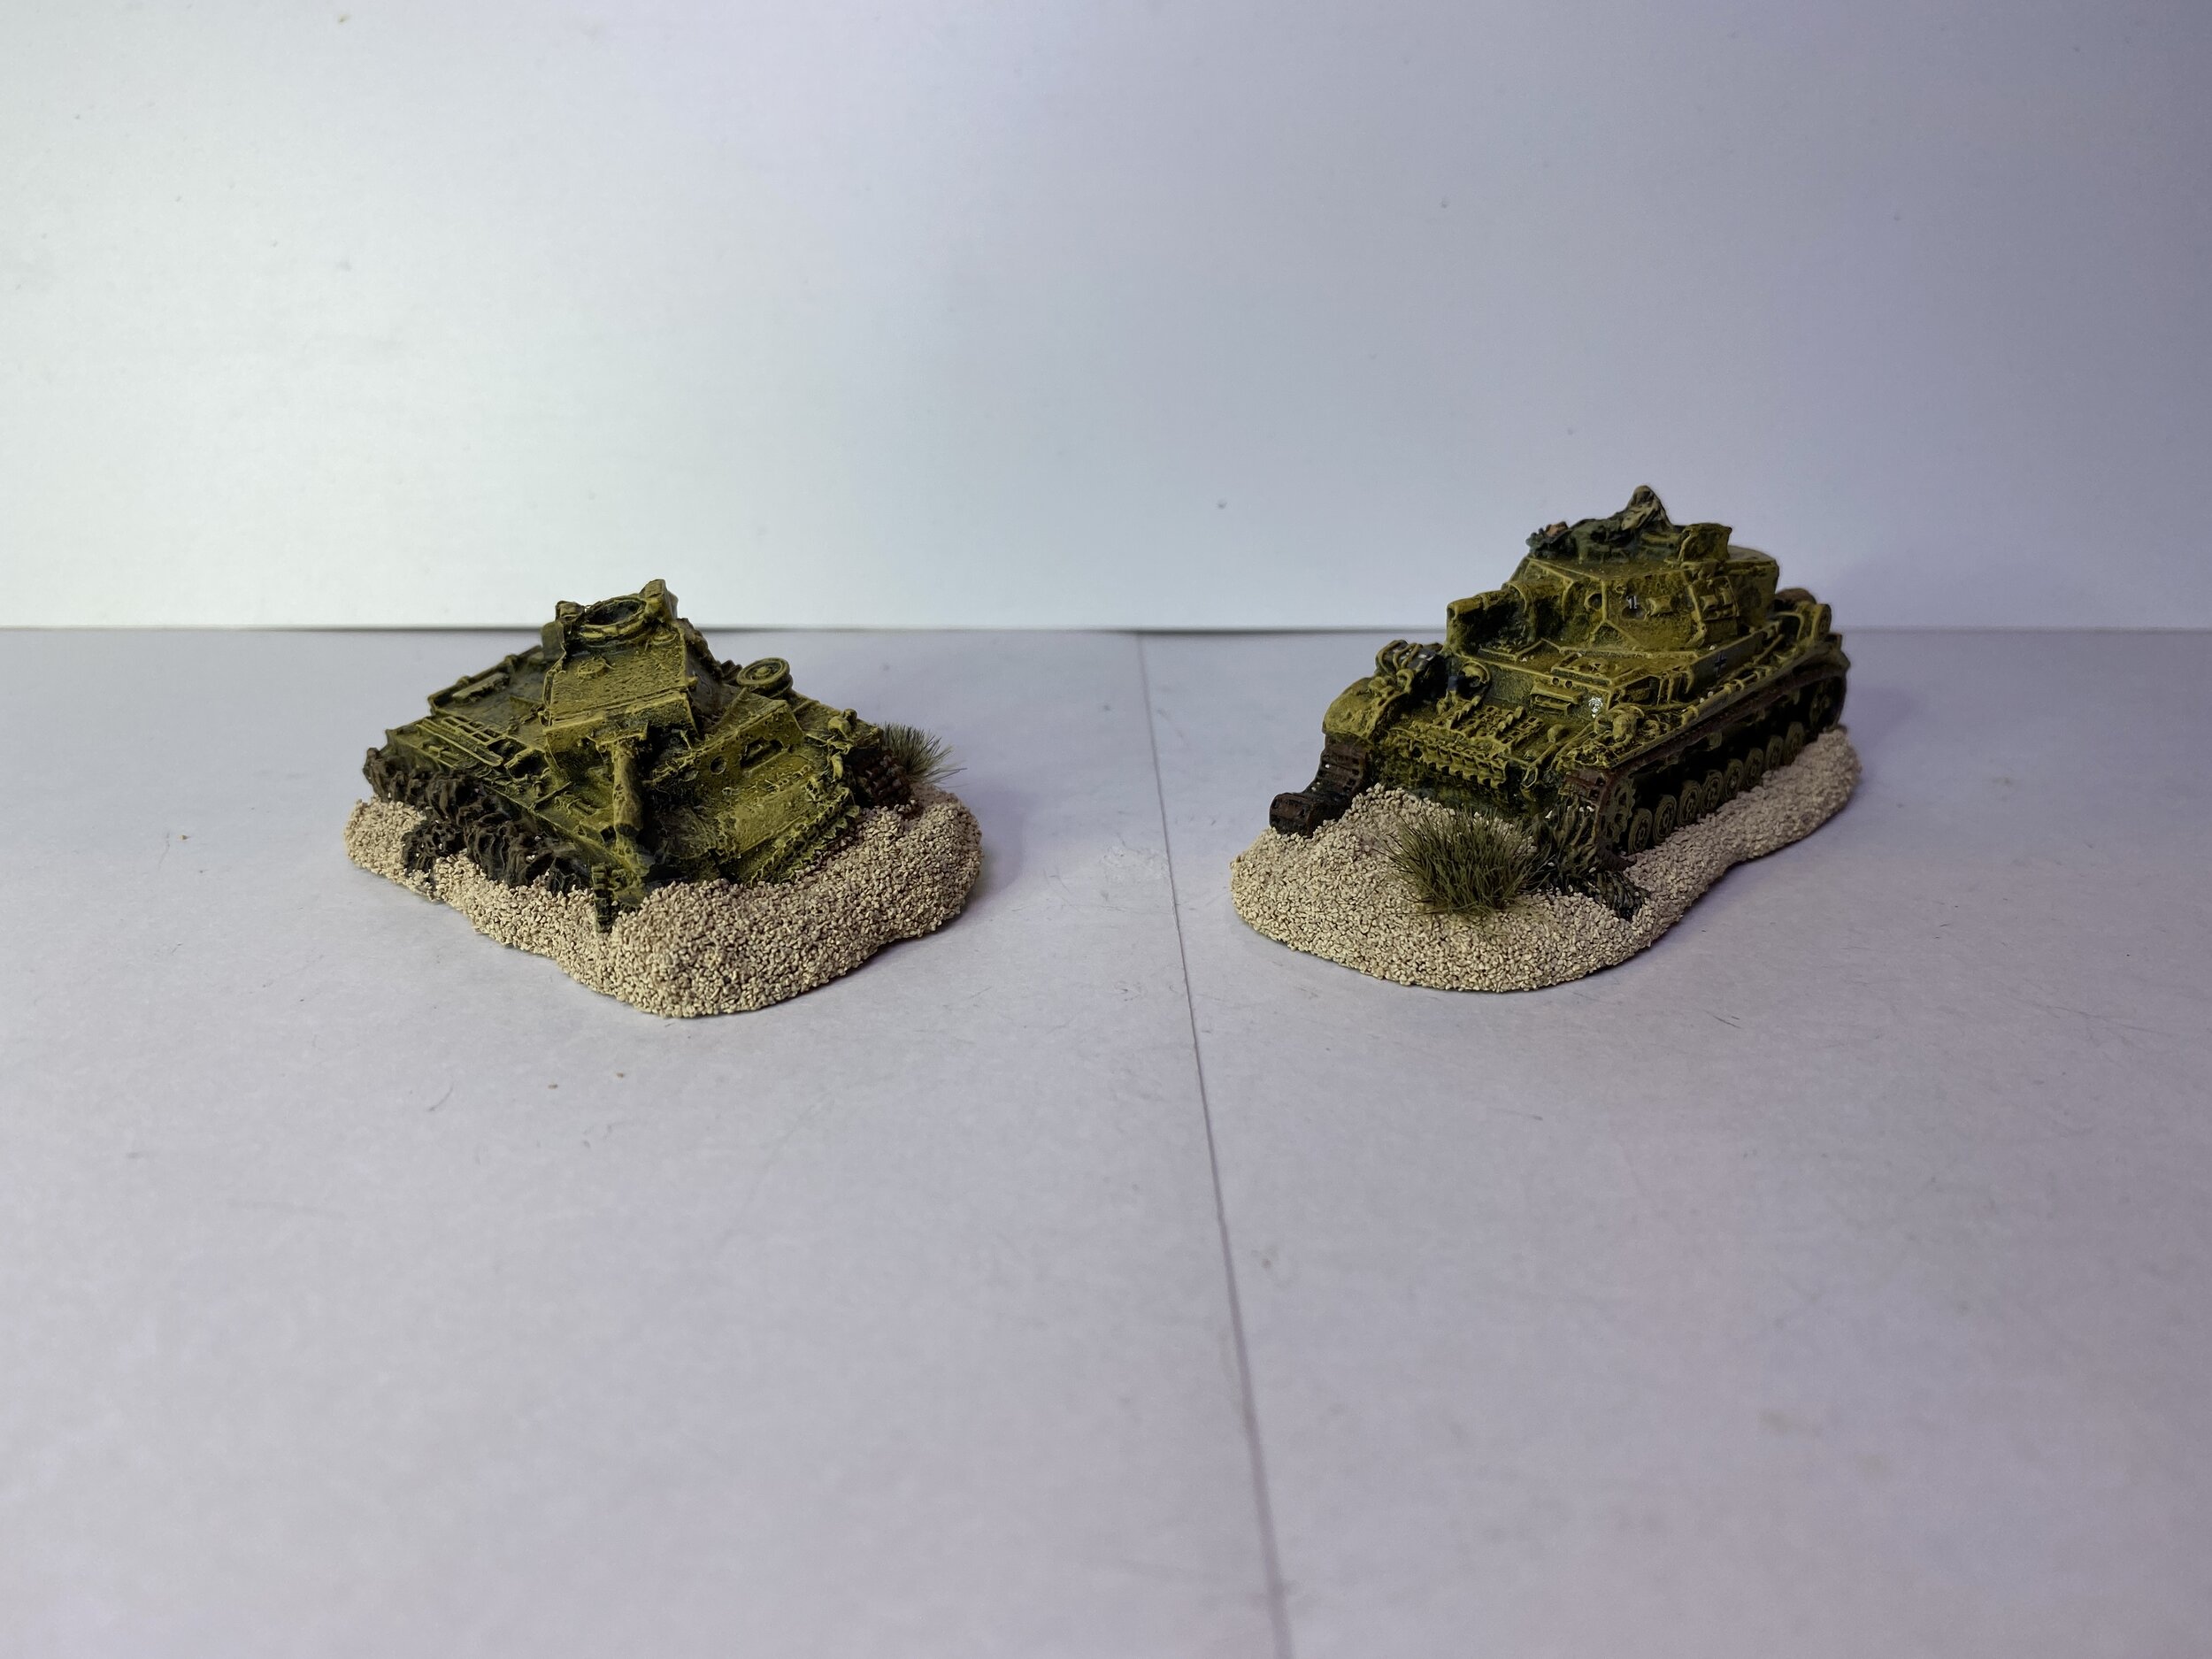
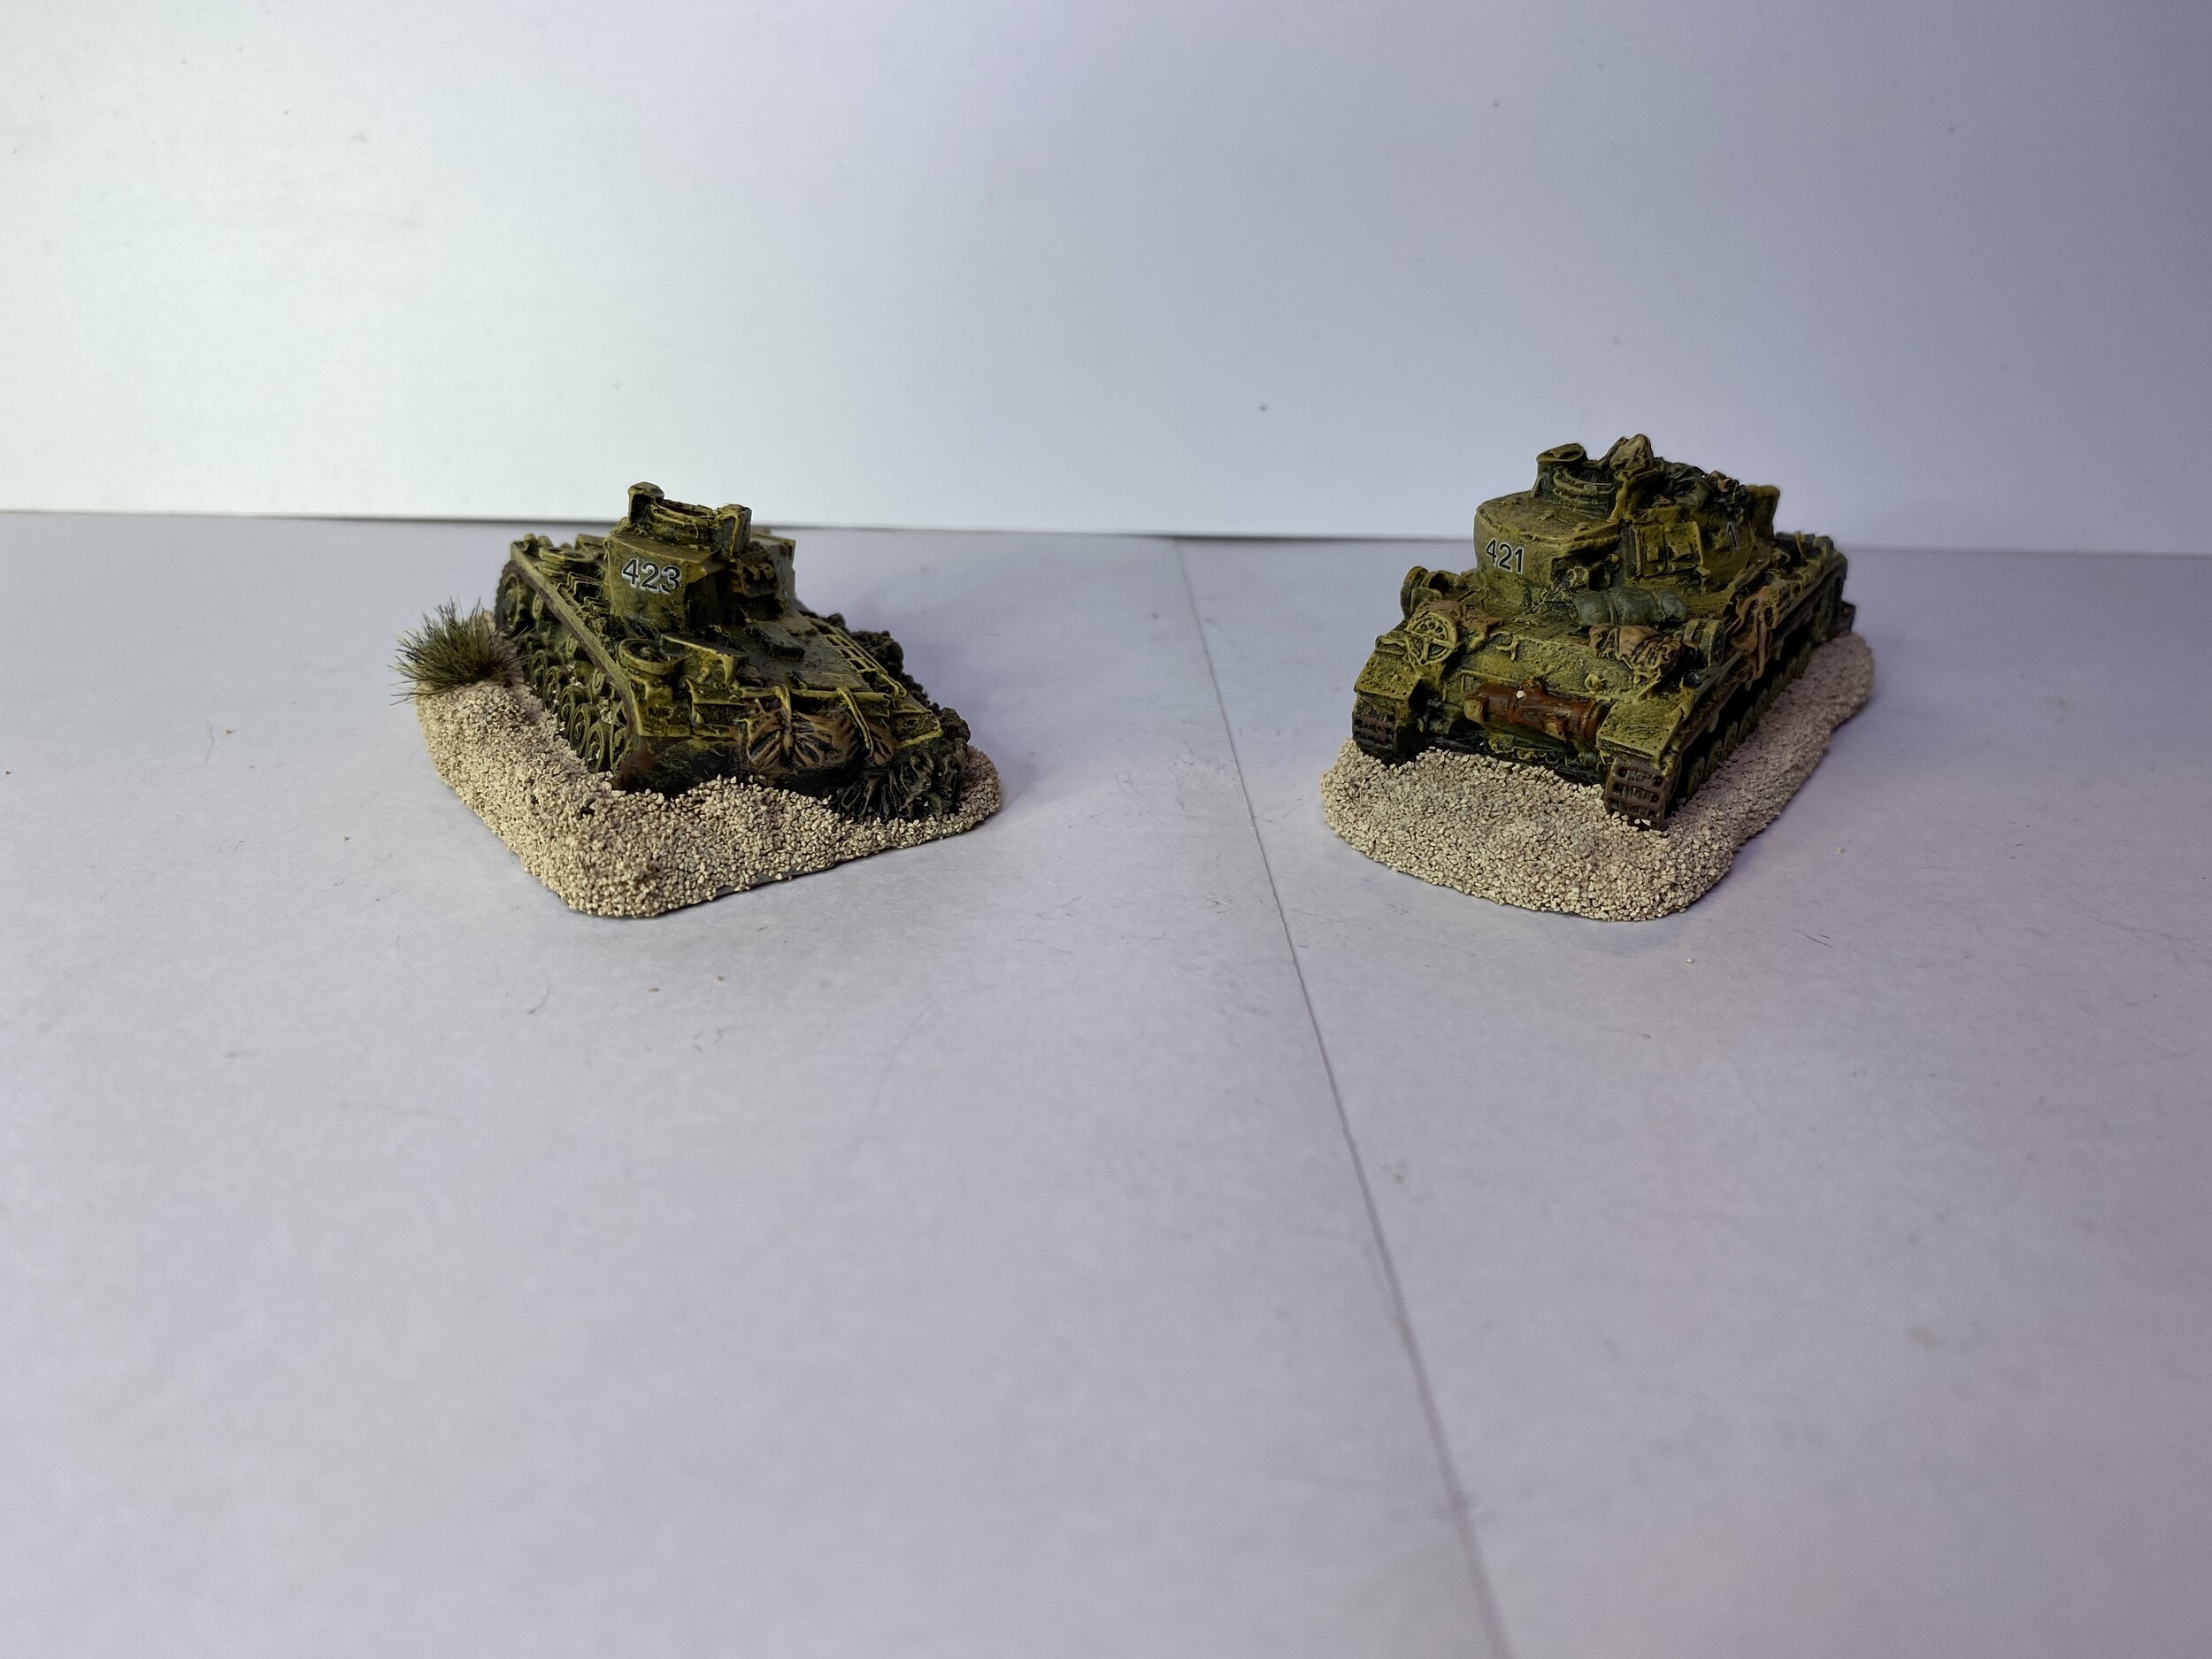
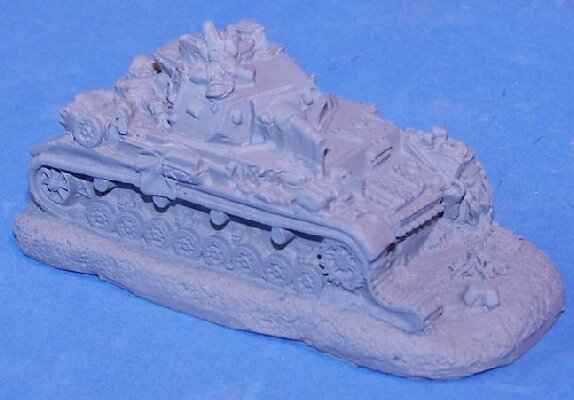
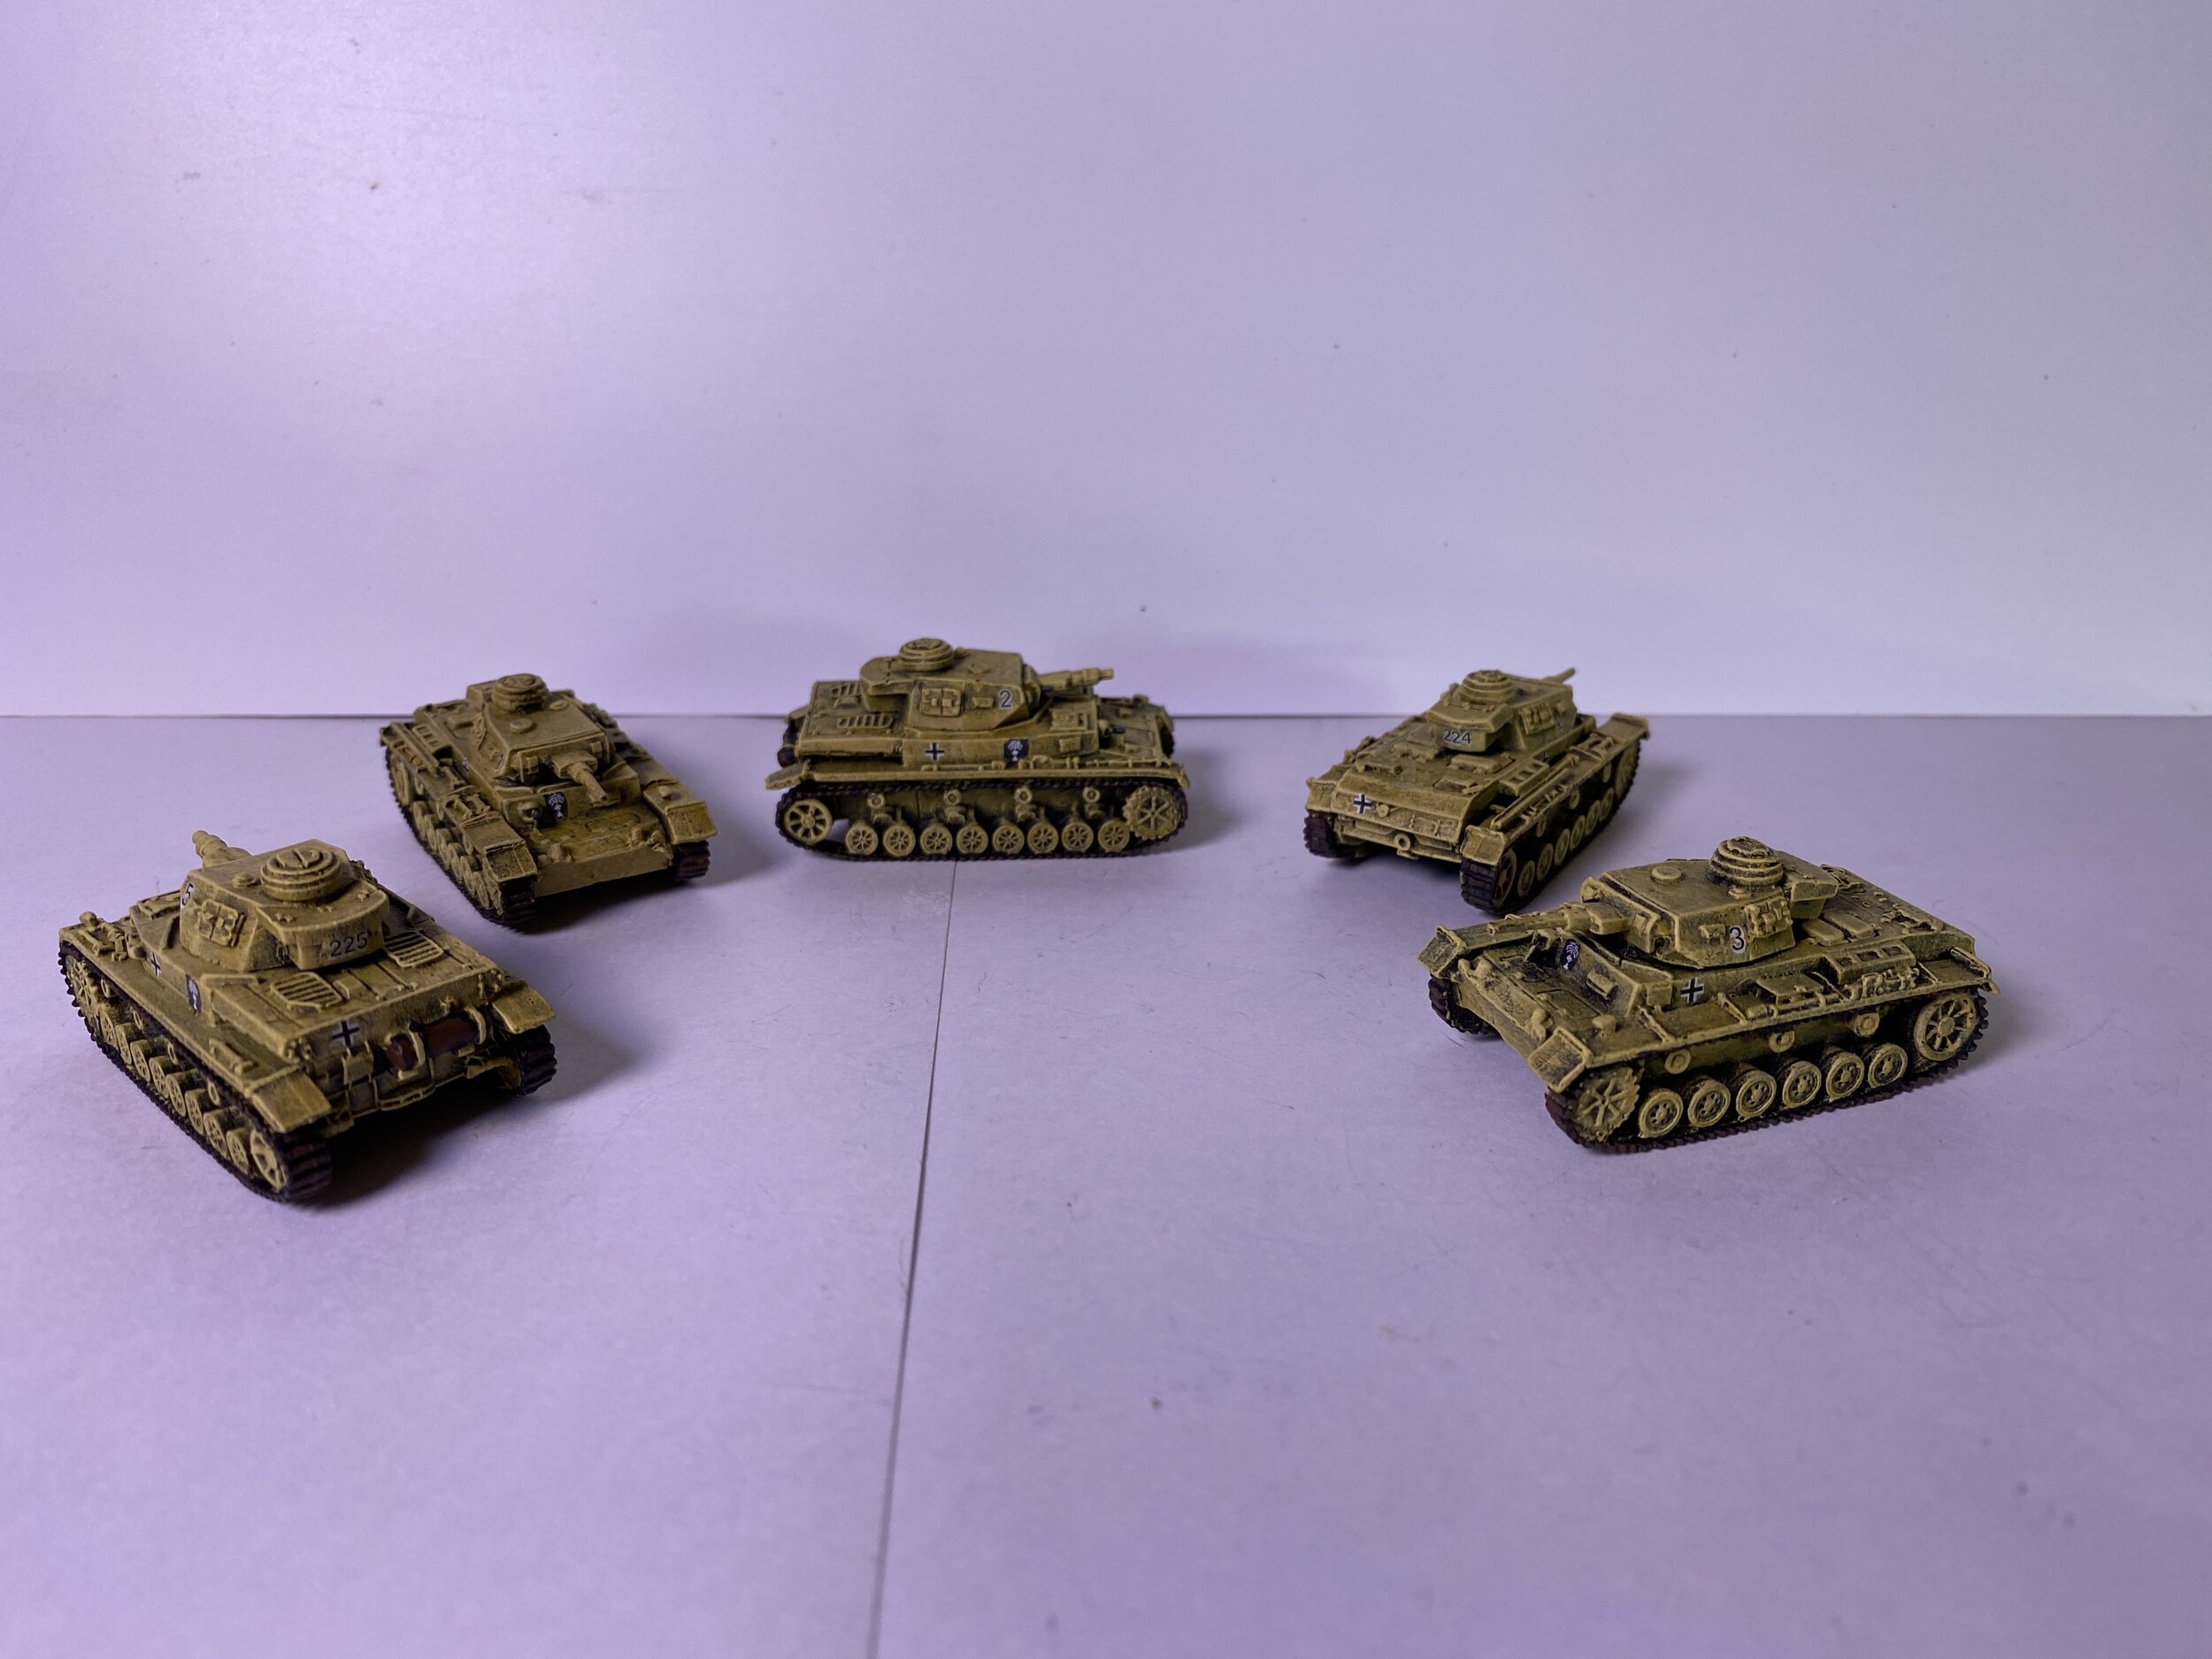
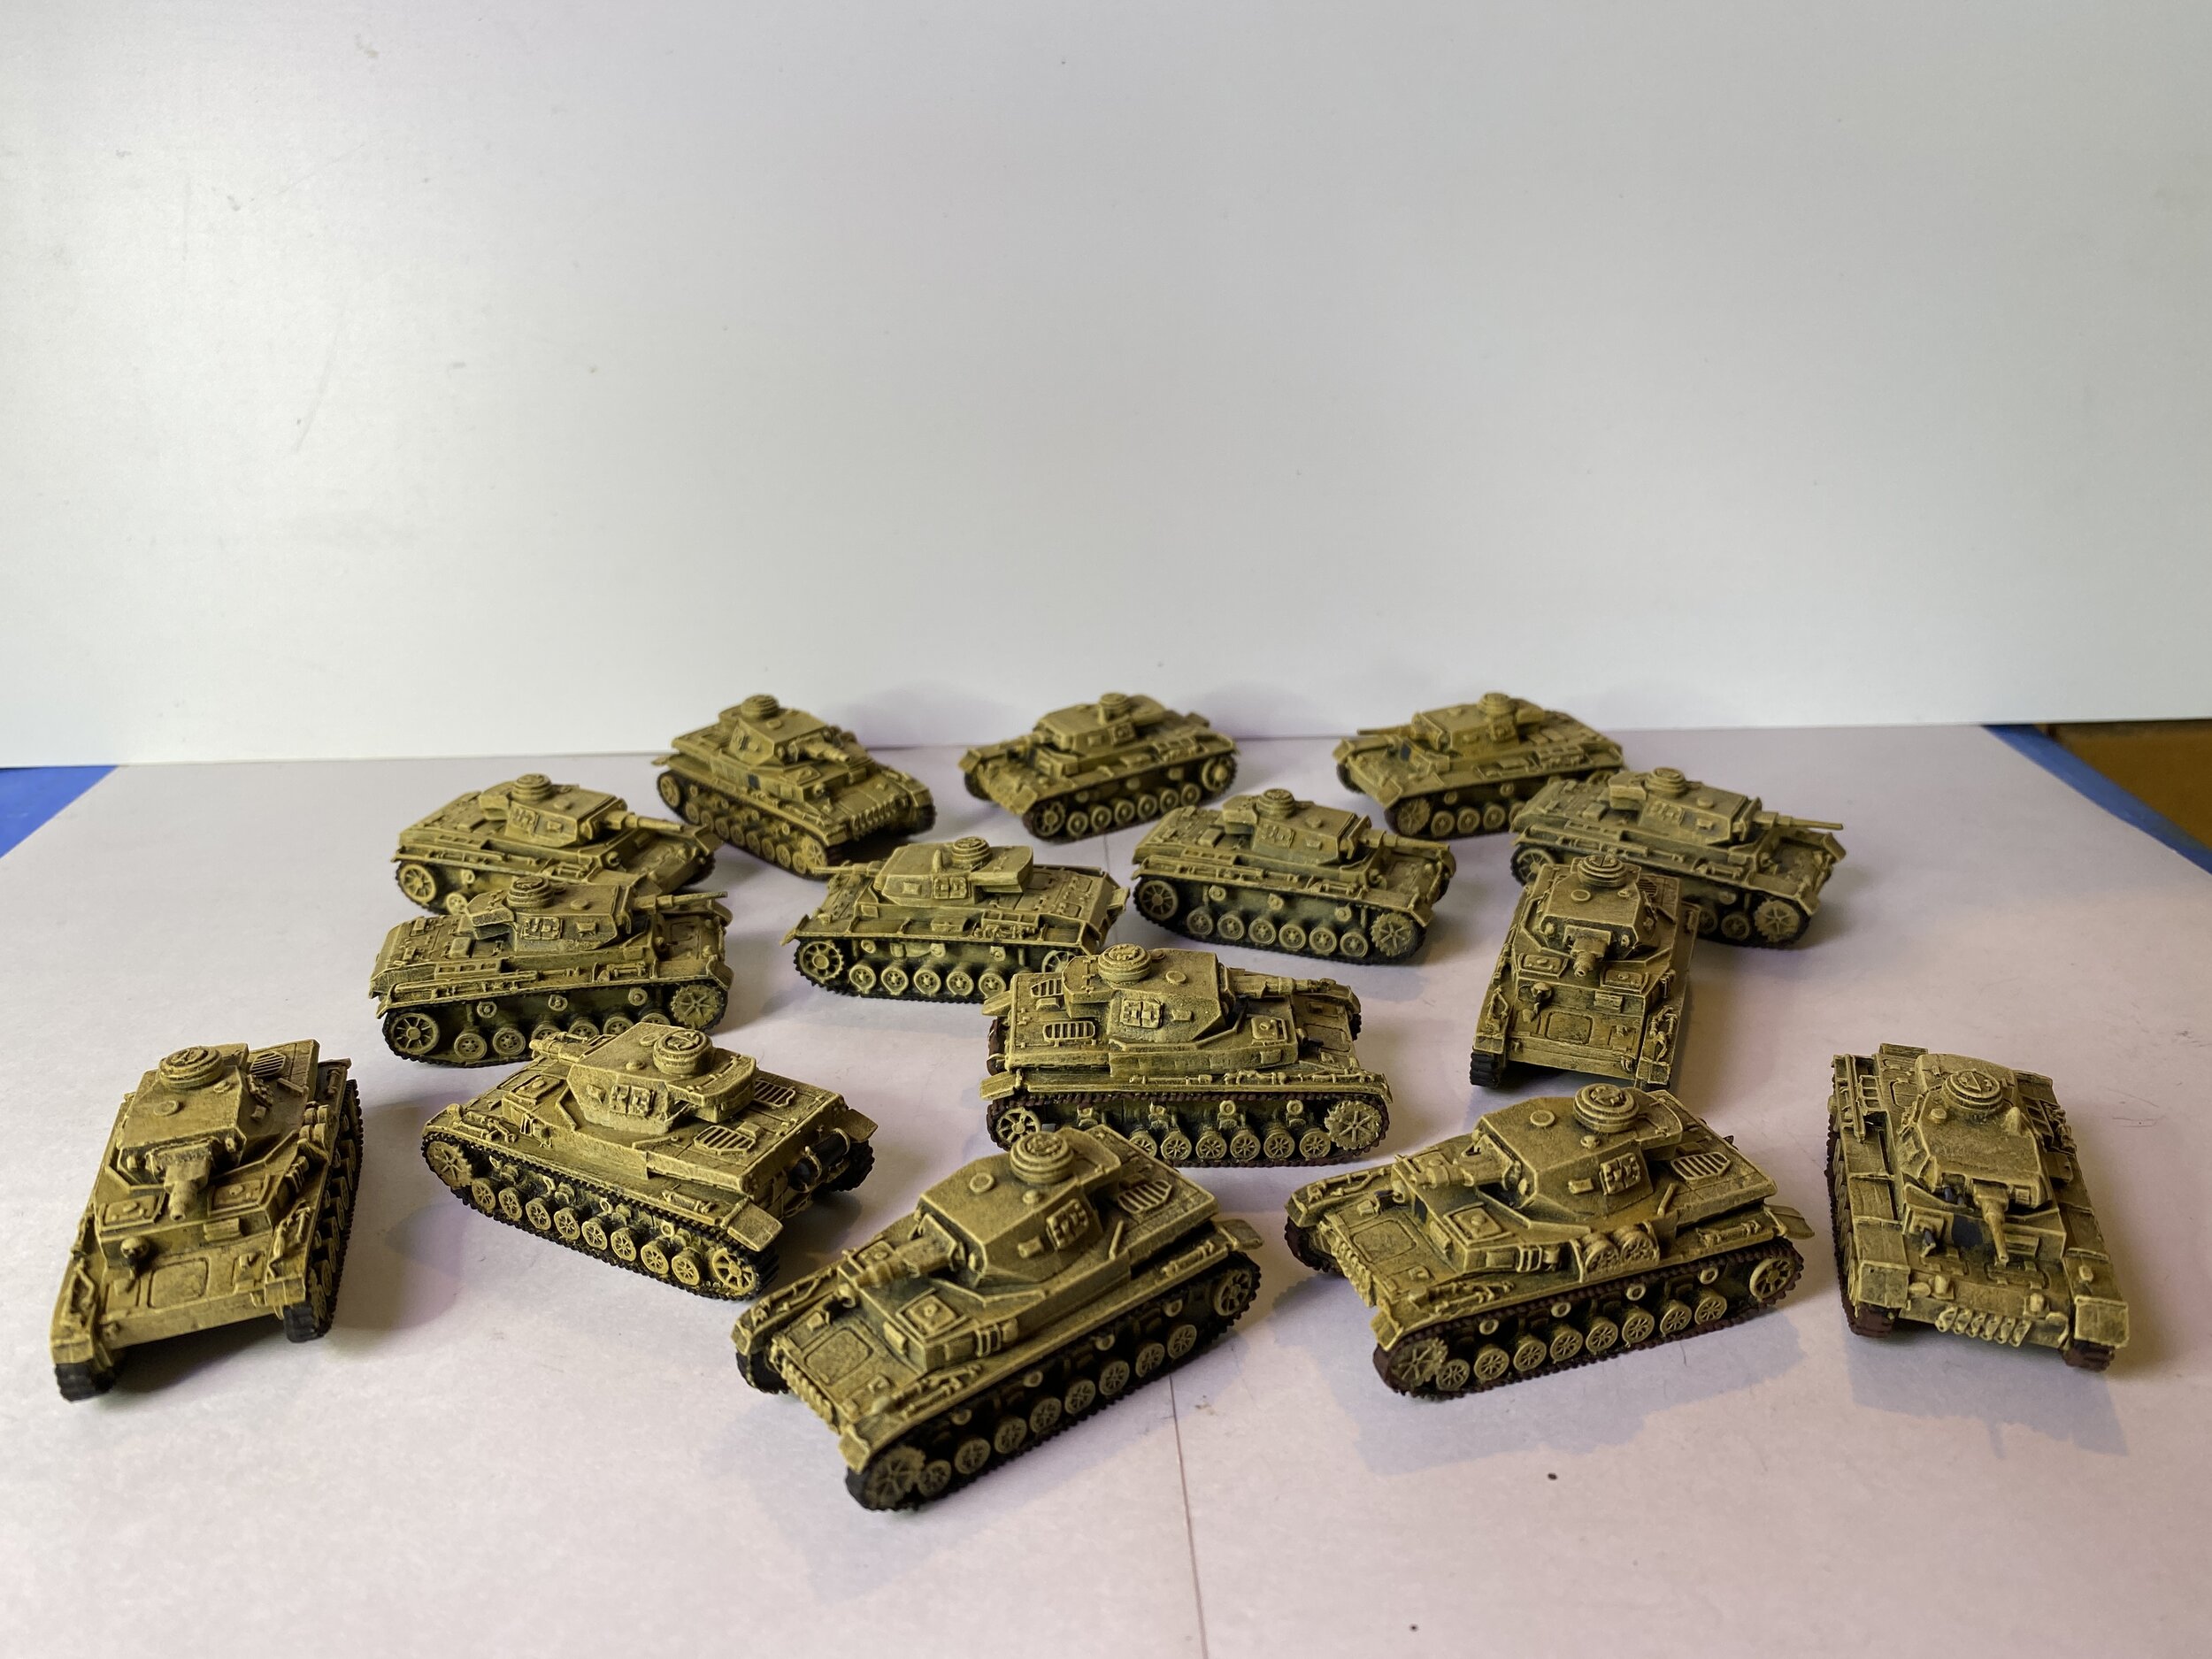
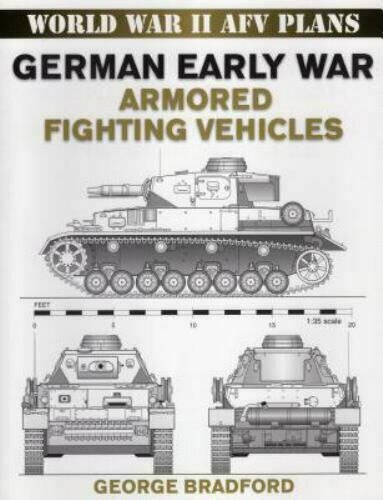
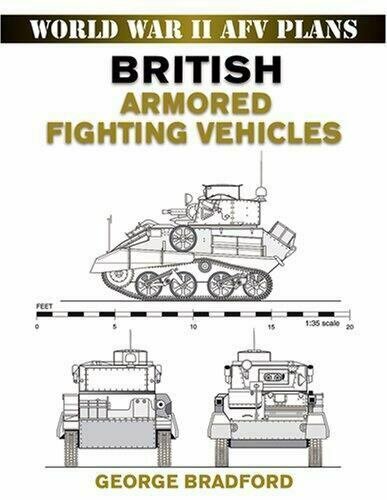
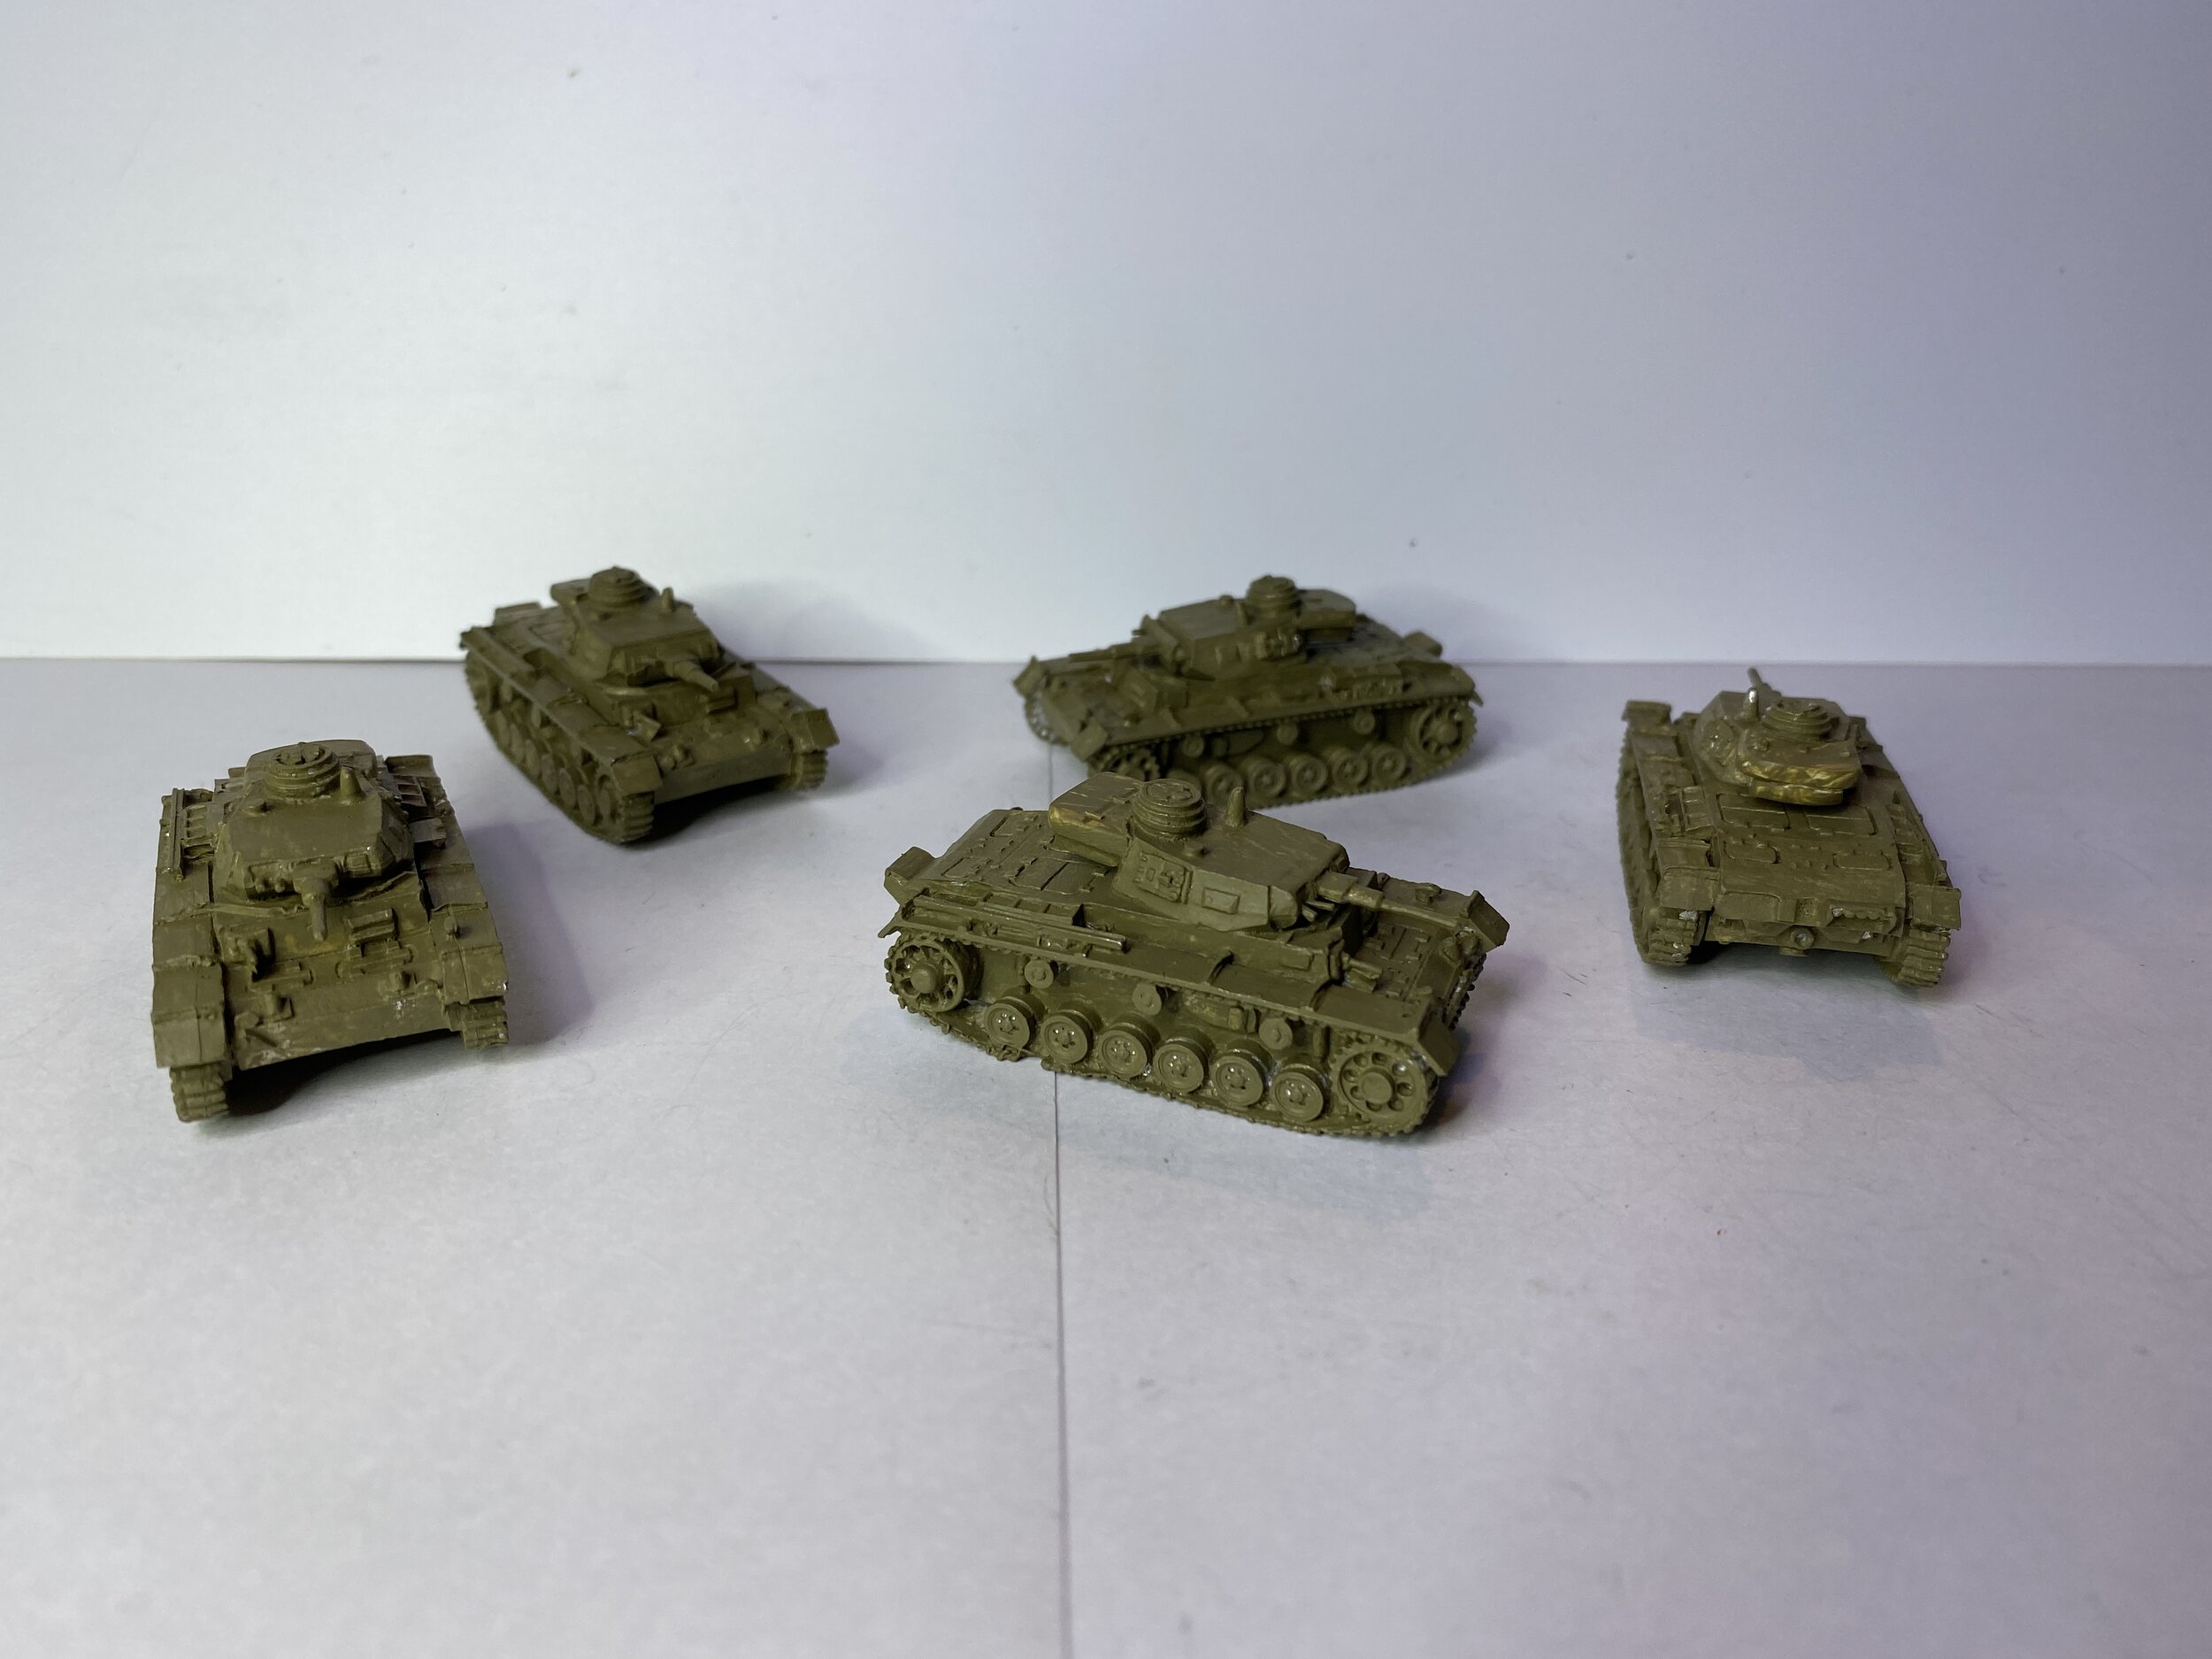
Once I got over being pissed about the Command Decision hatches for the Pz. III and Pz. IV, I got rolling on putting the forces together… got a real assembly line going. I owed a lot to the George Bradford books entitled World War II AFV Plans. They were a great help in providing the information I needed to make sure the tanks were put together properly since they came with no instructions. I completed the construction and painting of 27 of these tanks, and the construction of another 12 that require painting. I completely finished five of the German tanks including decals. But the first German tanks I painted were not by Command Decision; they were the Pz. III and Pz. IV wrecked tanks from Peter Pig… both resin. I carved off a few bodies that seemed to me to be too small. I left one on the Pz. IV because he was hanging out of the hatch and removing him would have caused too much damage to the hatch. I added a few I-94 decals which is what I plan to do on all my German tanks for North Africa.
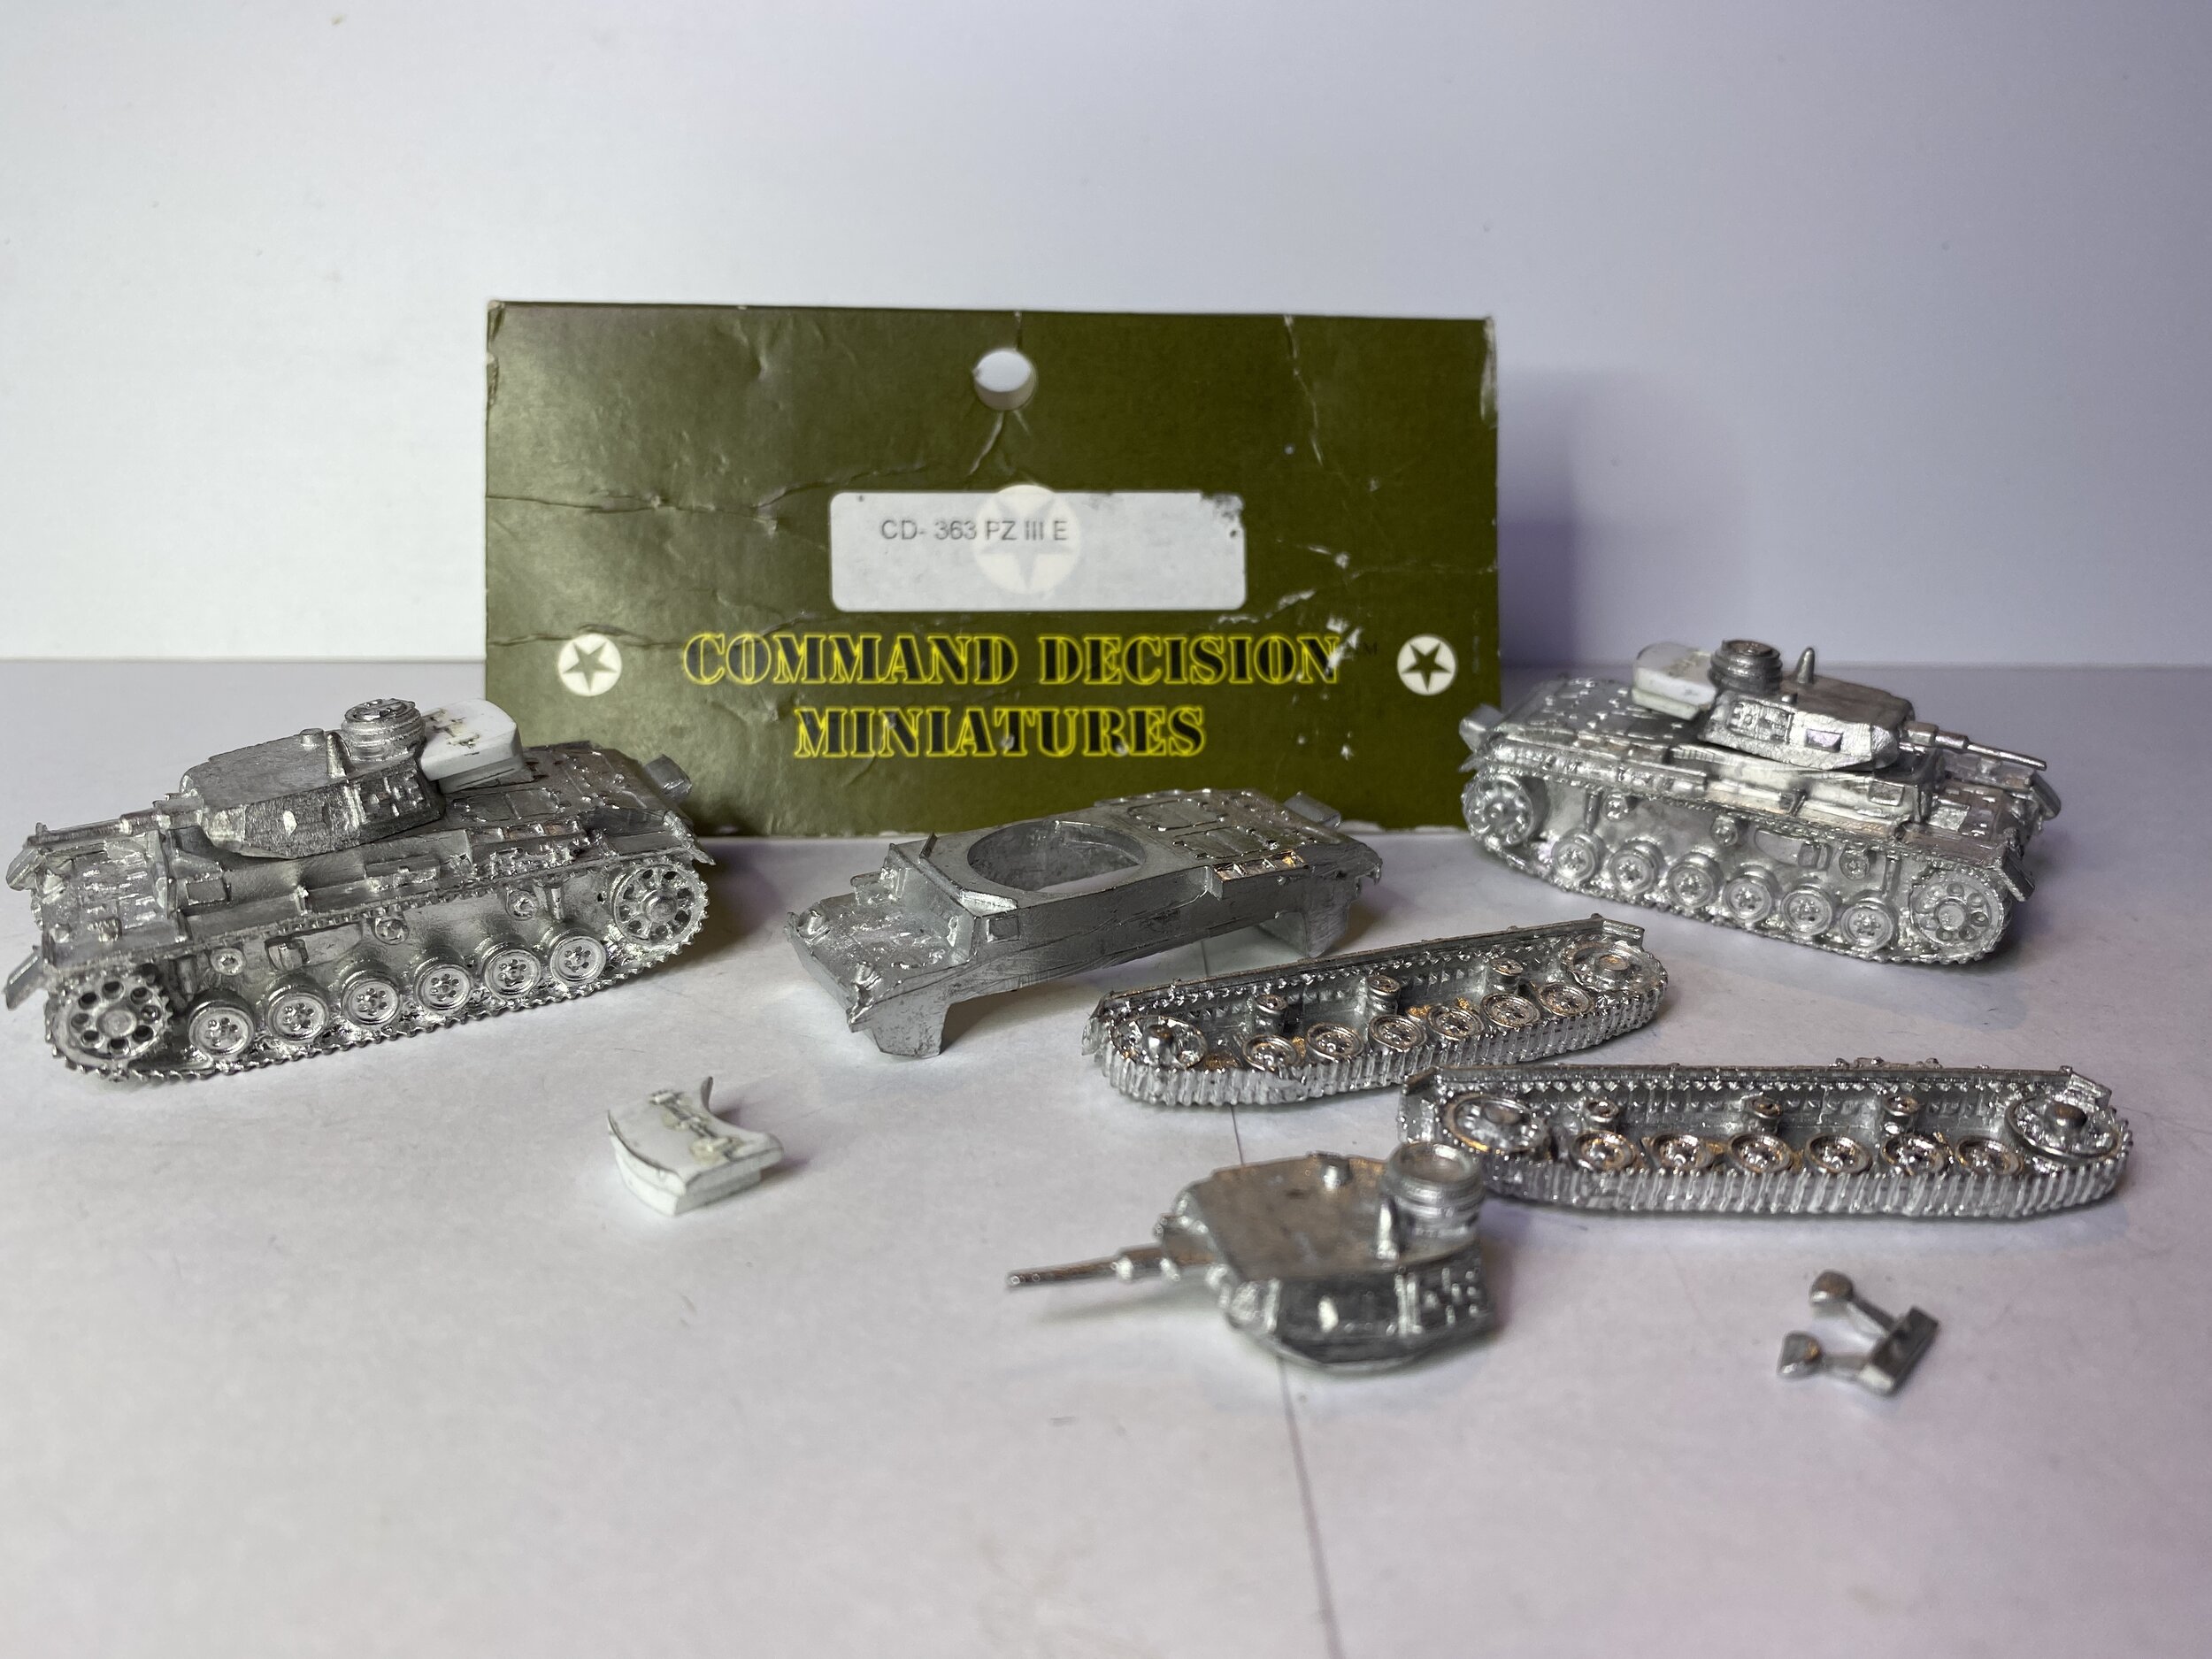
As a result of a WIKIPEDIA piece on the Panzer III which supports the contention of General Fritz Bayerlein that at the time of Operation Crusader the German tank force included Pz. III with the 37mm gun as their main weapon (The Rommel Papers), I have decided to include in my collection several Pz. III E tanks with the 37mm gun. I have modified the Command Decision Pz. III E by giving it a storage bucket/compartment at the rear of the turret which was common on Pz. III and Pz. IV tanks in the period following the fall of France. To do this I made those compartments out of Evergreen plastic.
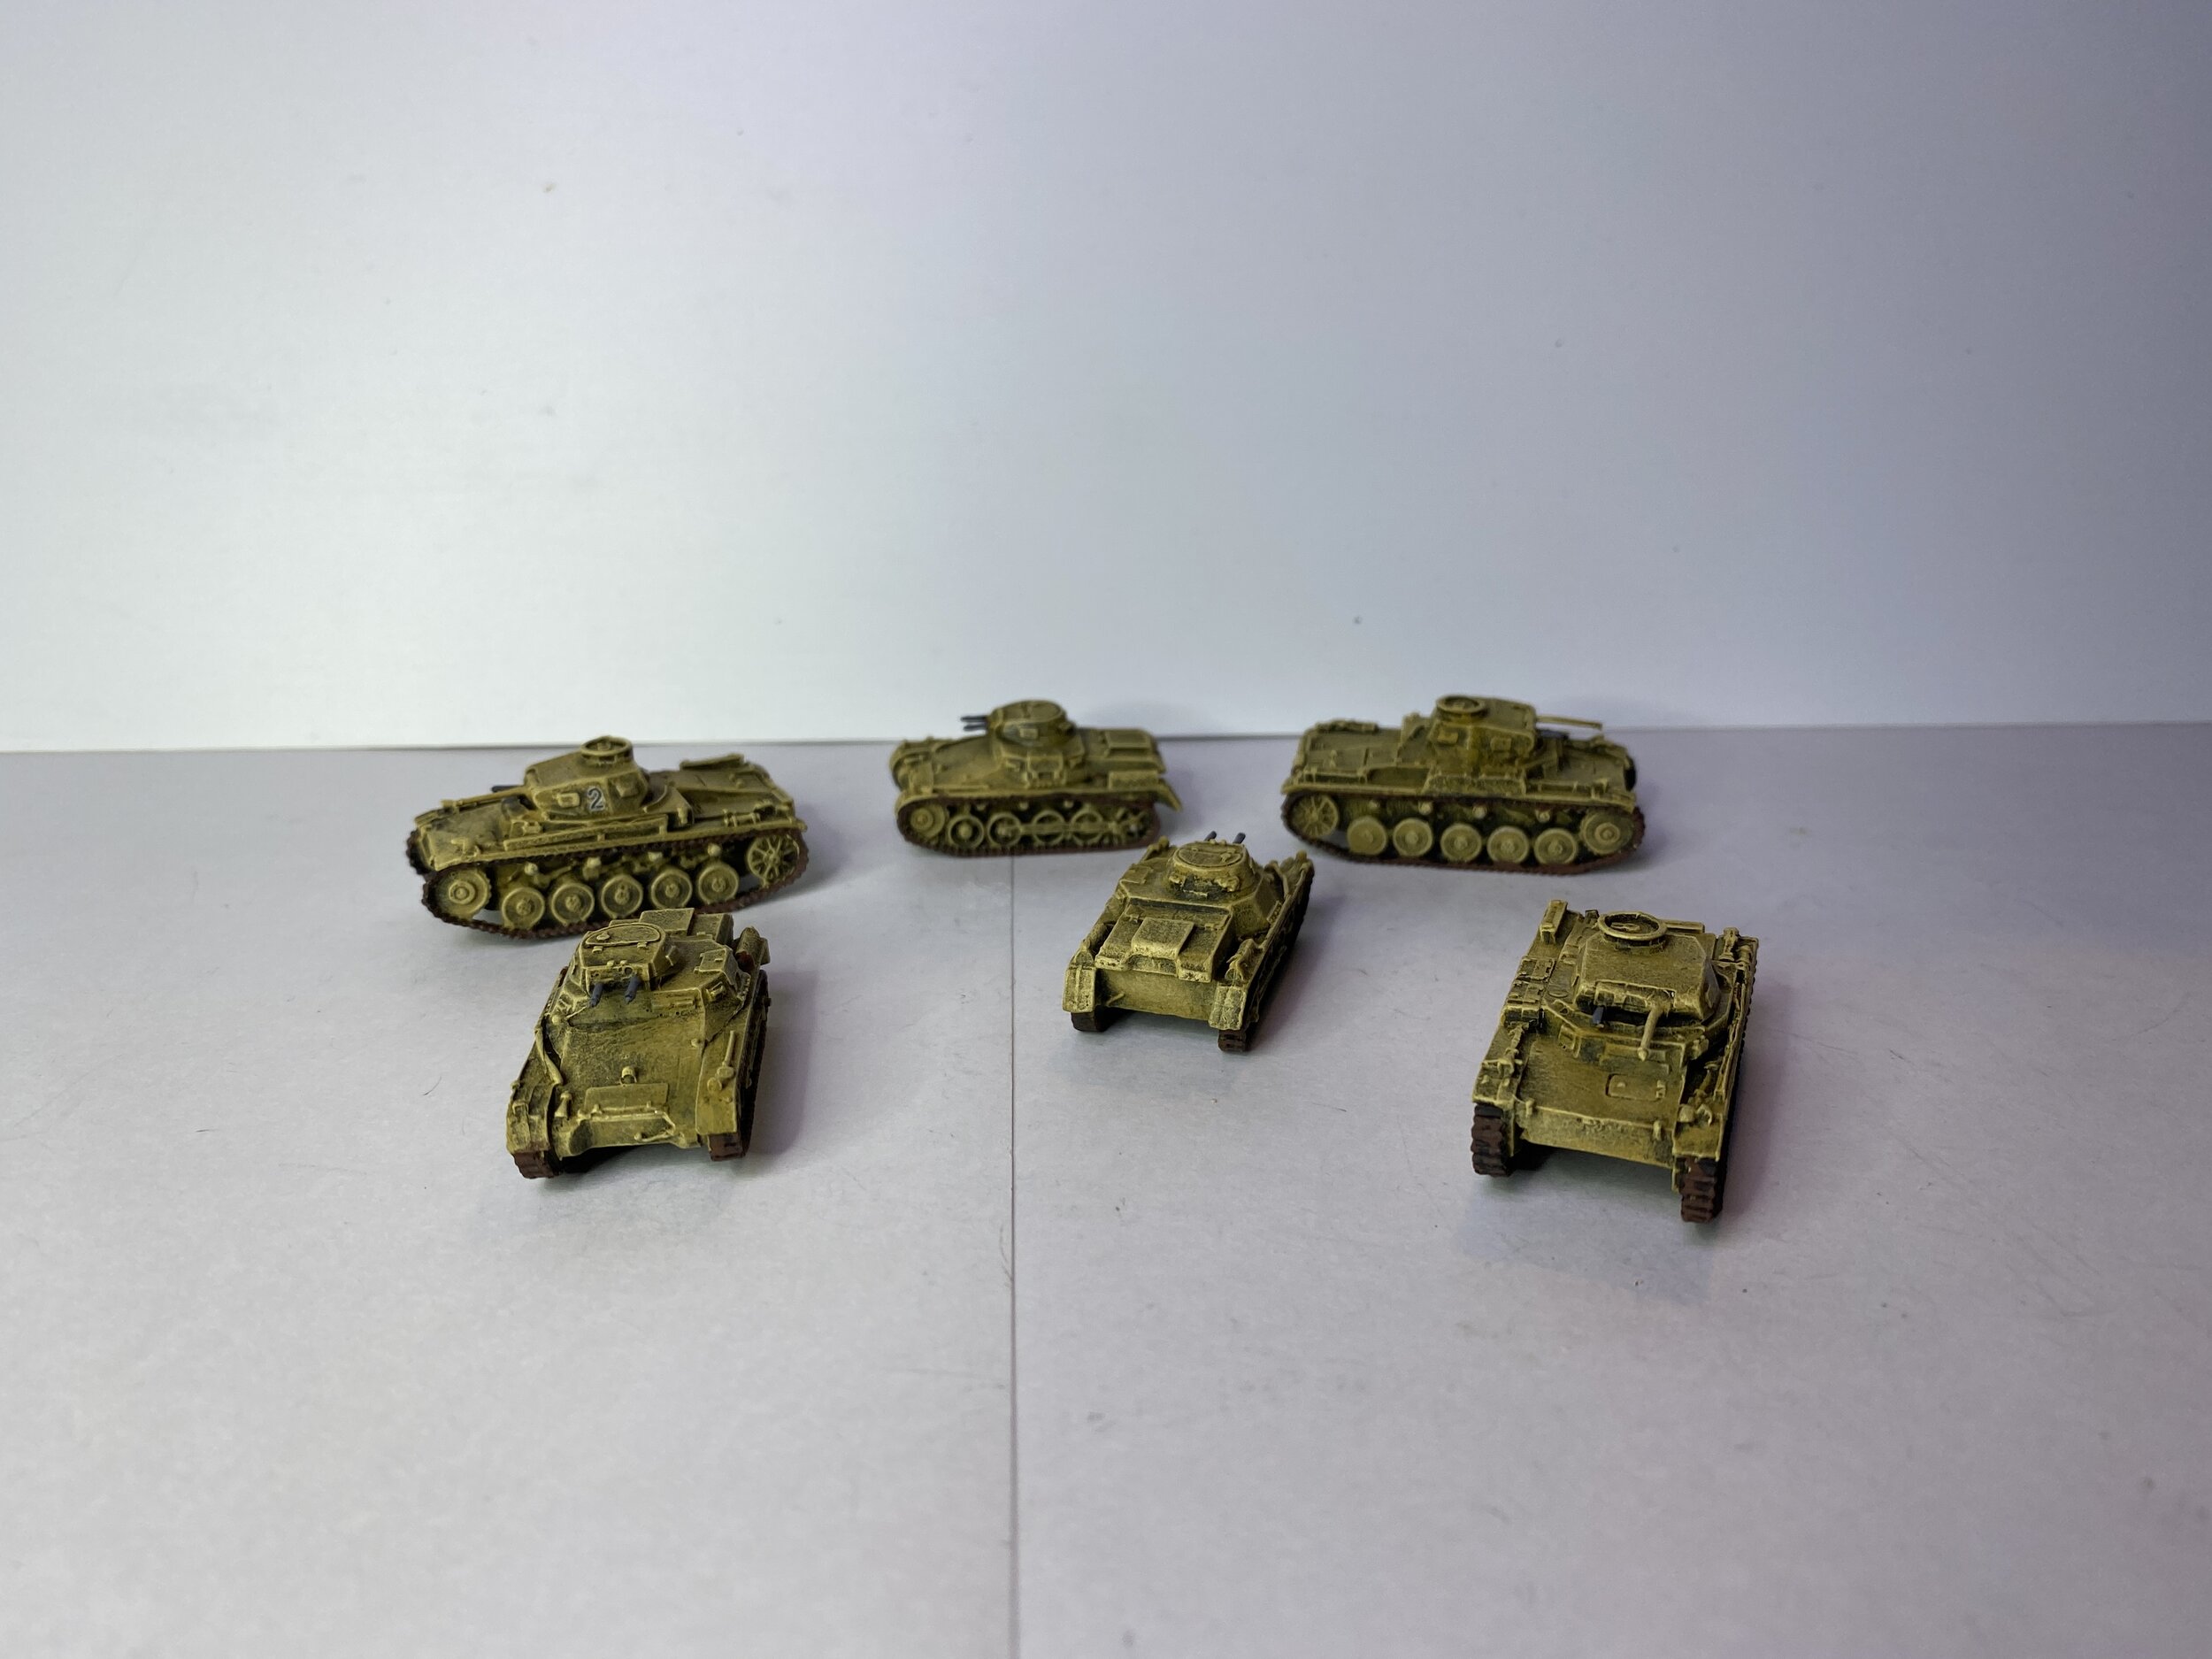
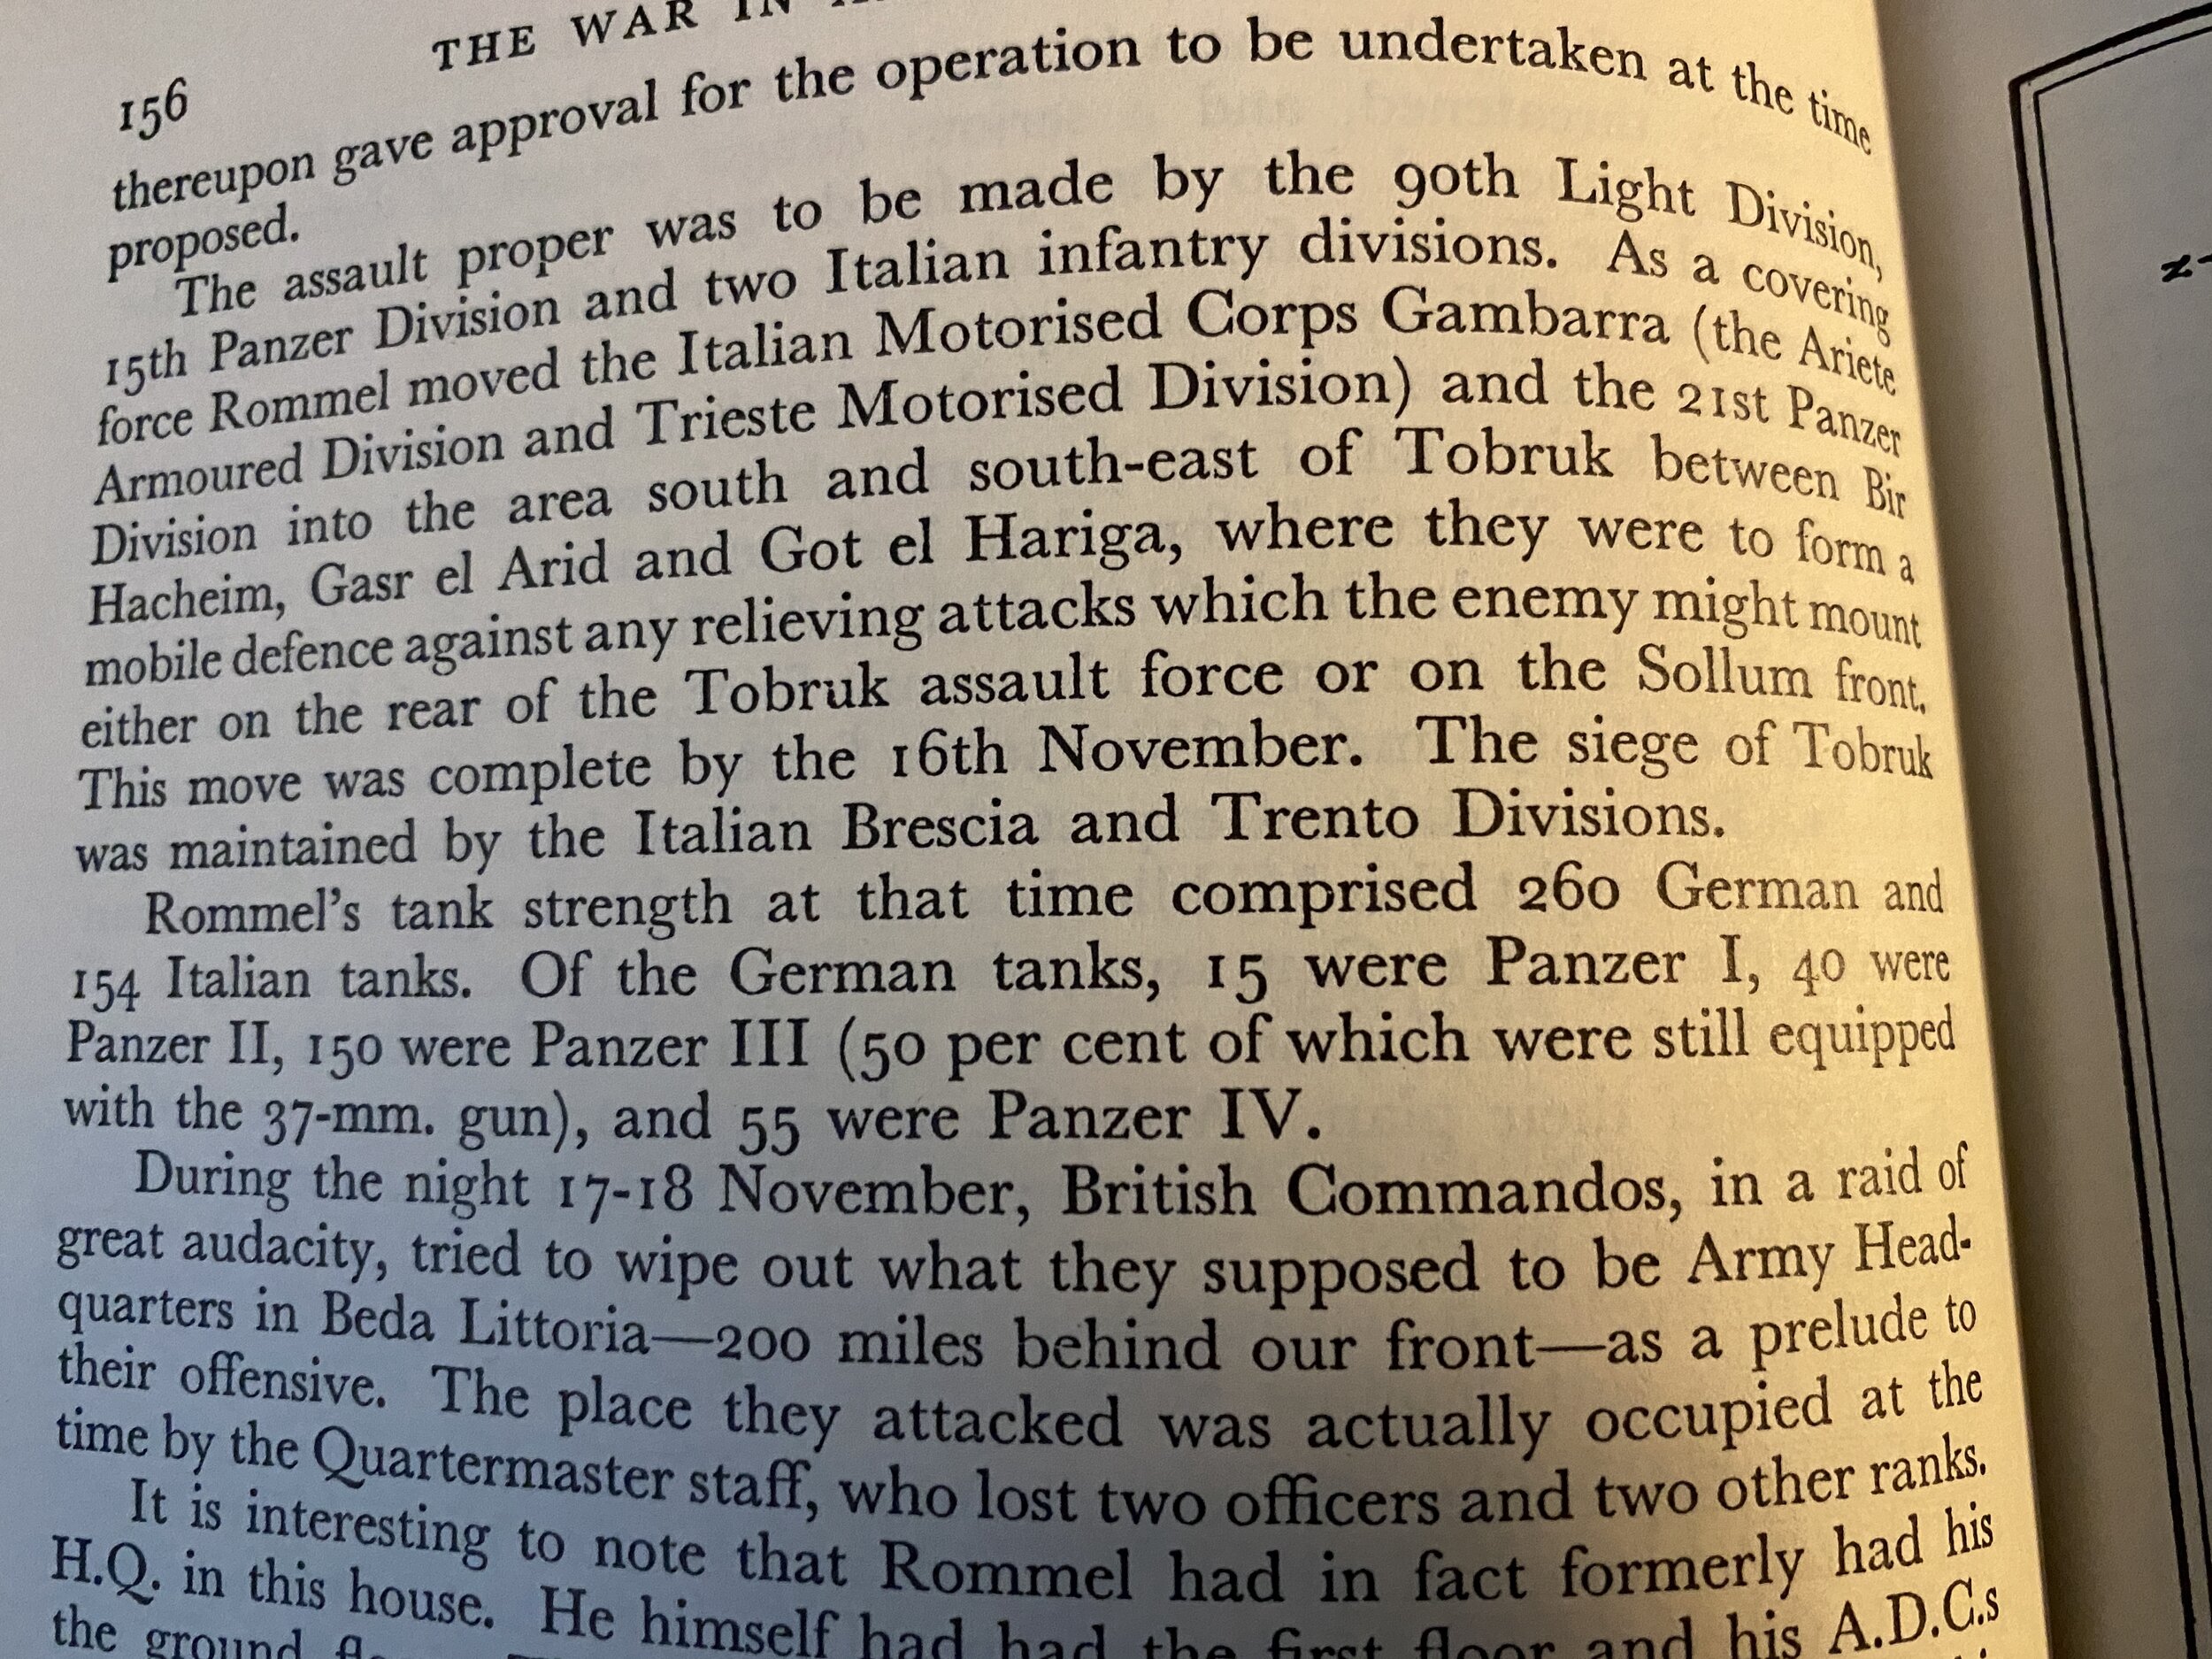
By the close of the workbench week, I had put together 39 Command Decision German tanks for North Africa. Nine of those were Pz. IIIs with 37mm guns, three were Pz. I and three were Pz. II tanks. Five of the Pz. III Es (37mm guns) were primed but not painted; 10 were completely done including decals, and 24 were completely painted but needed their decals added. Assessing what I have by way of German tanks, it looks like I will be doing two companies of the 21st Panzer Division/four troops each made up of 5 tanks per troop… black and white decals. The 15th Panzer Division will be two troops from one company… red and white decals. I haven’t started work on the tanks of the 15th Panzer yet. The week was well focused, and a lot was accomplished.
October 10, 2021
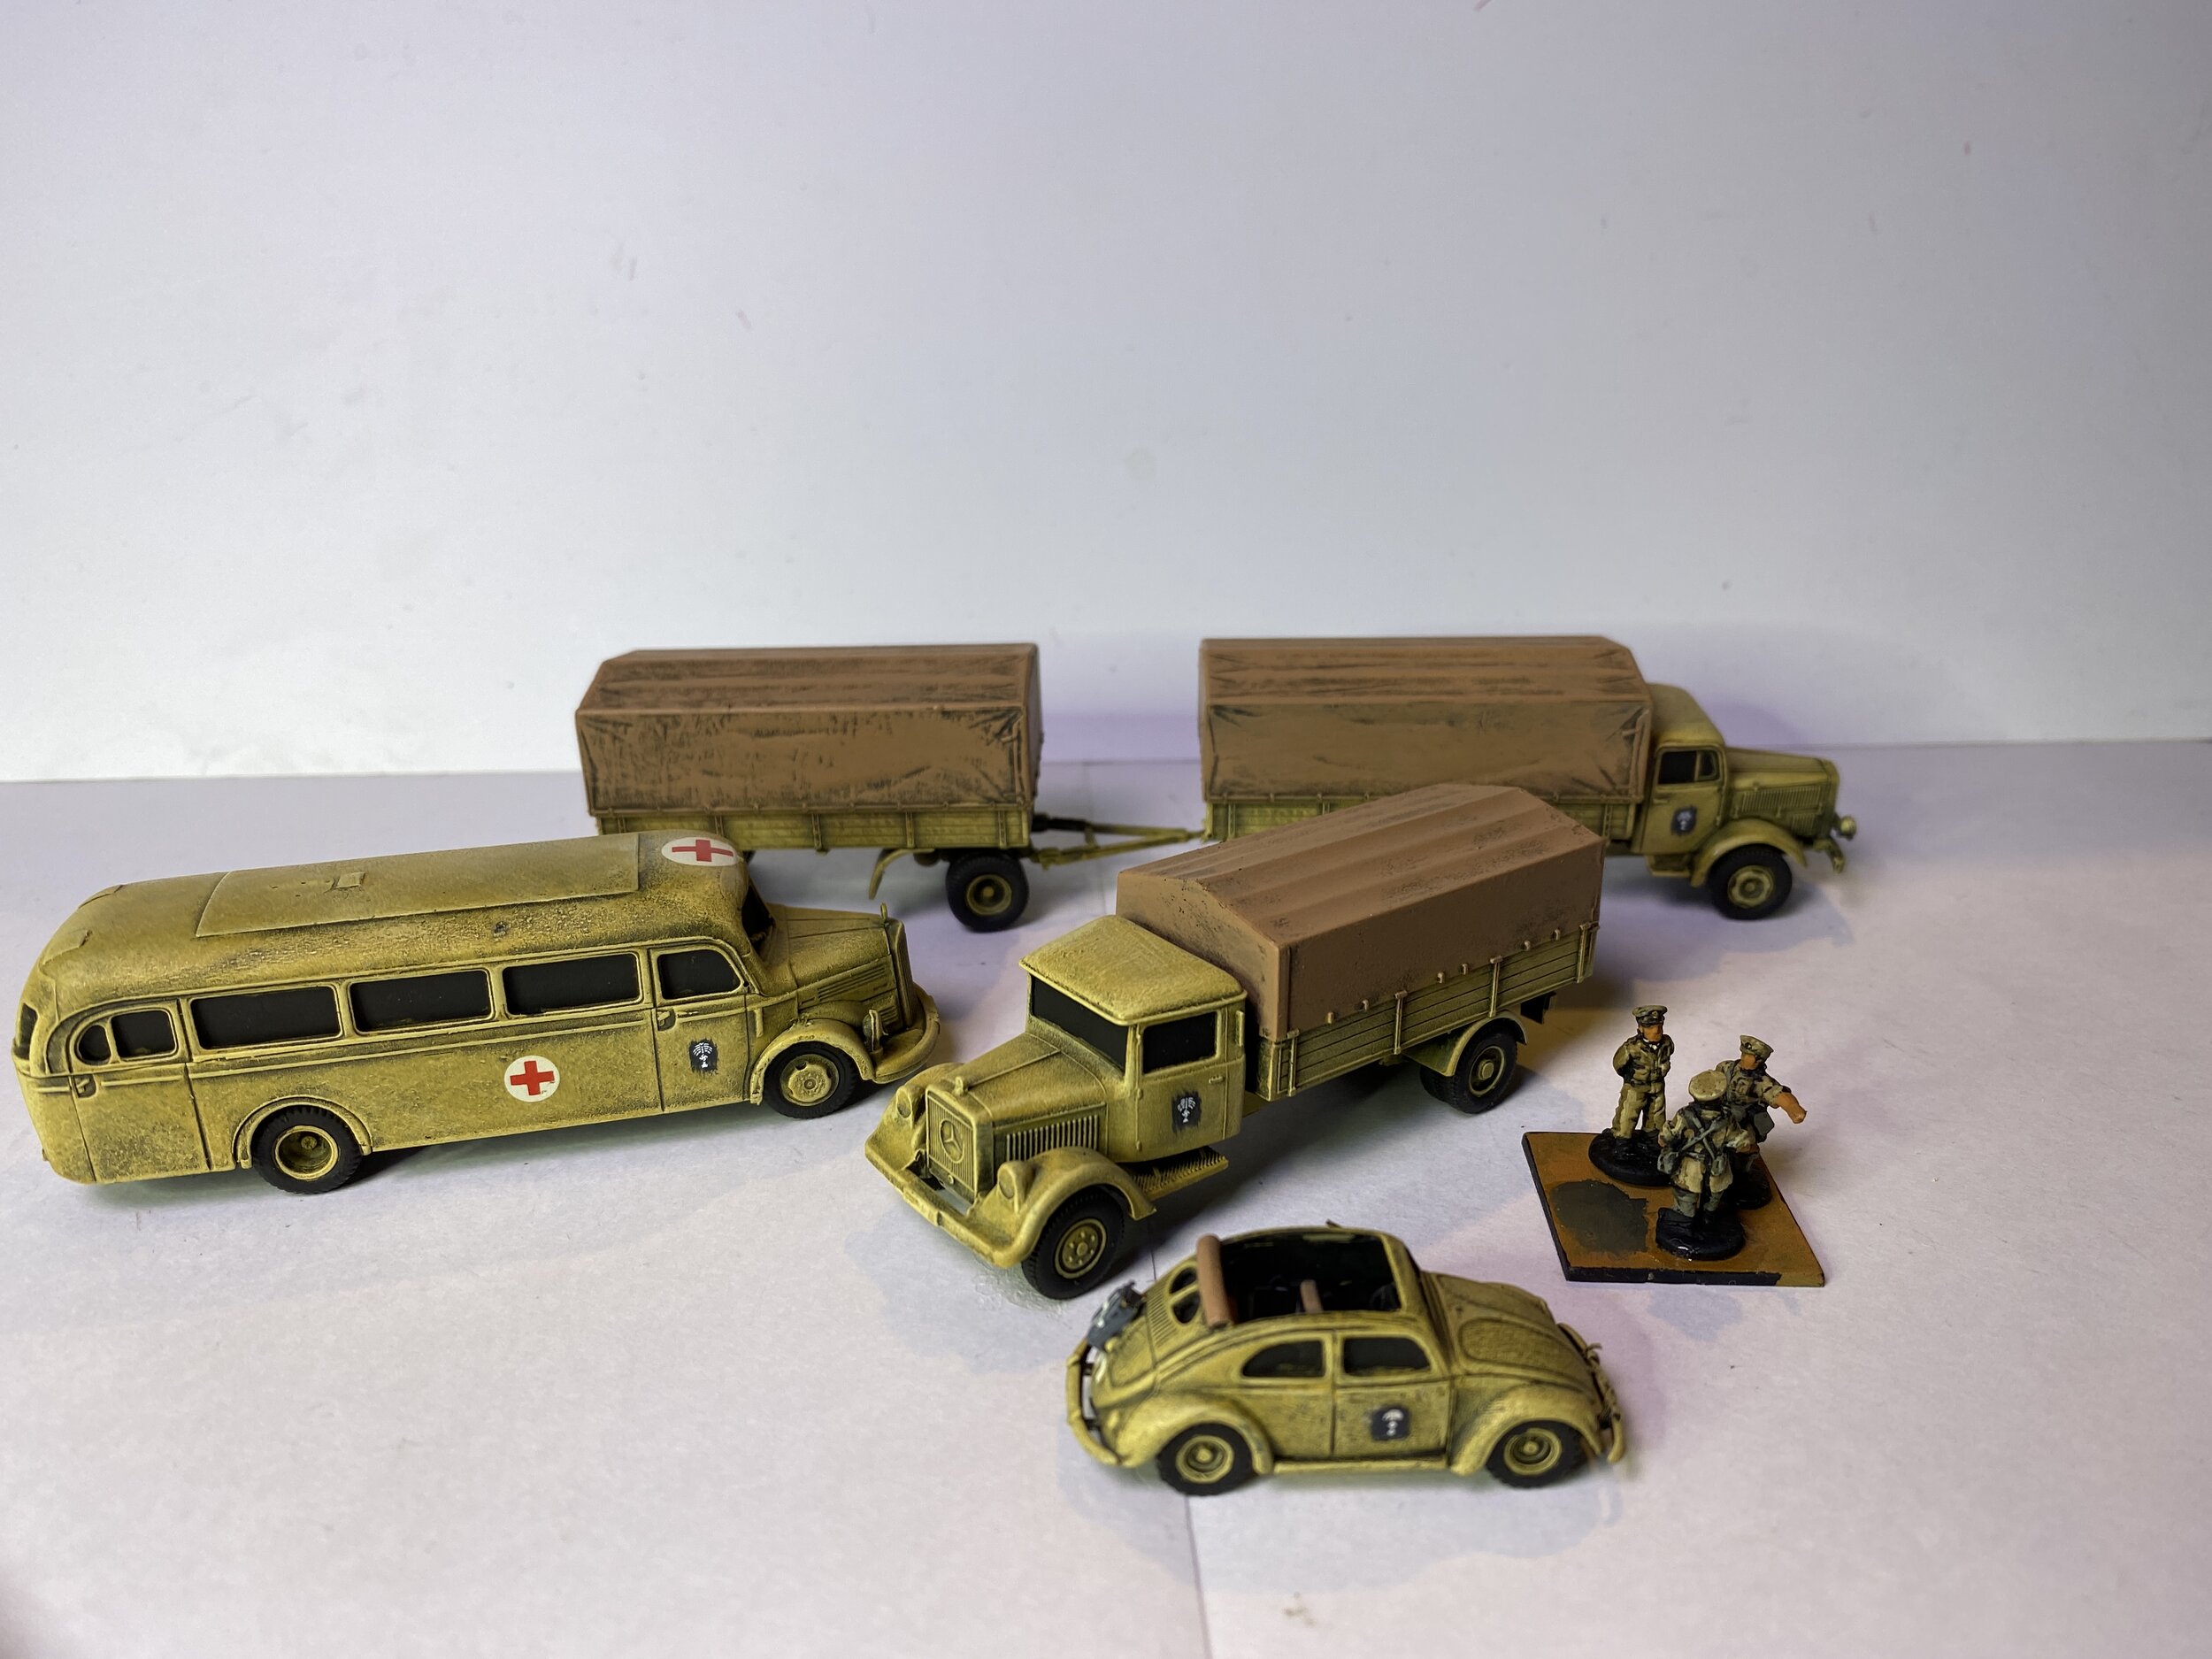
I began my week at the workbench painting HO scale vehicles that I will be including with my German North Africa forces. These are plastic trucks and a VW by Wiking, Busch, and Roco. They painted up well and are very compatible with 15mm as indicated by some British figures I included in the picture for purposes of scale.
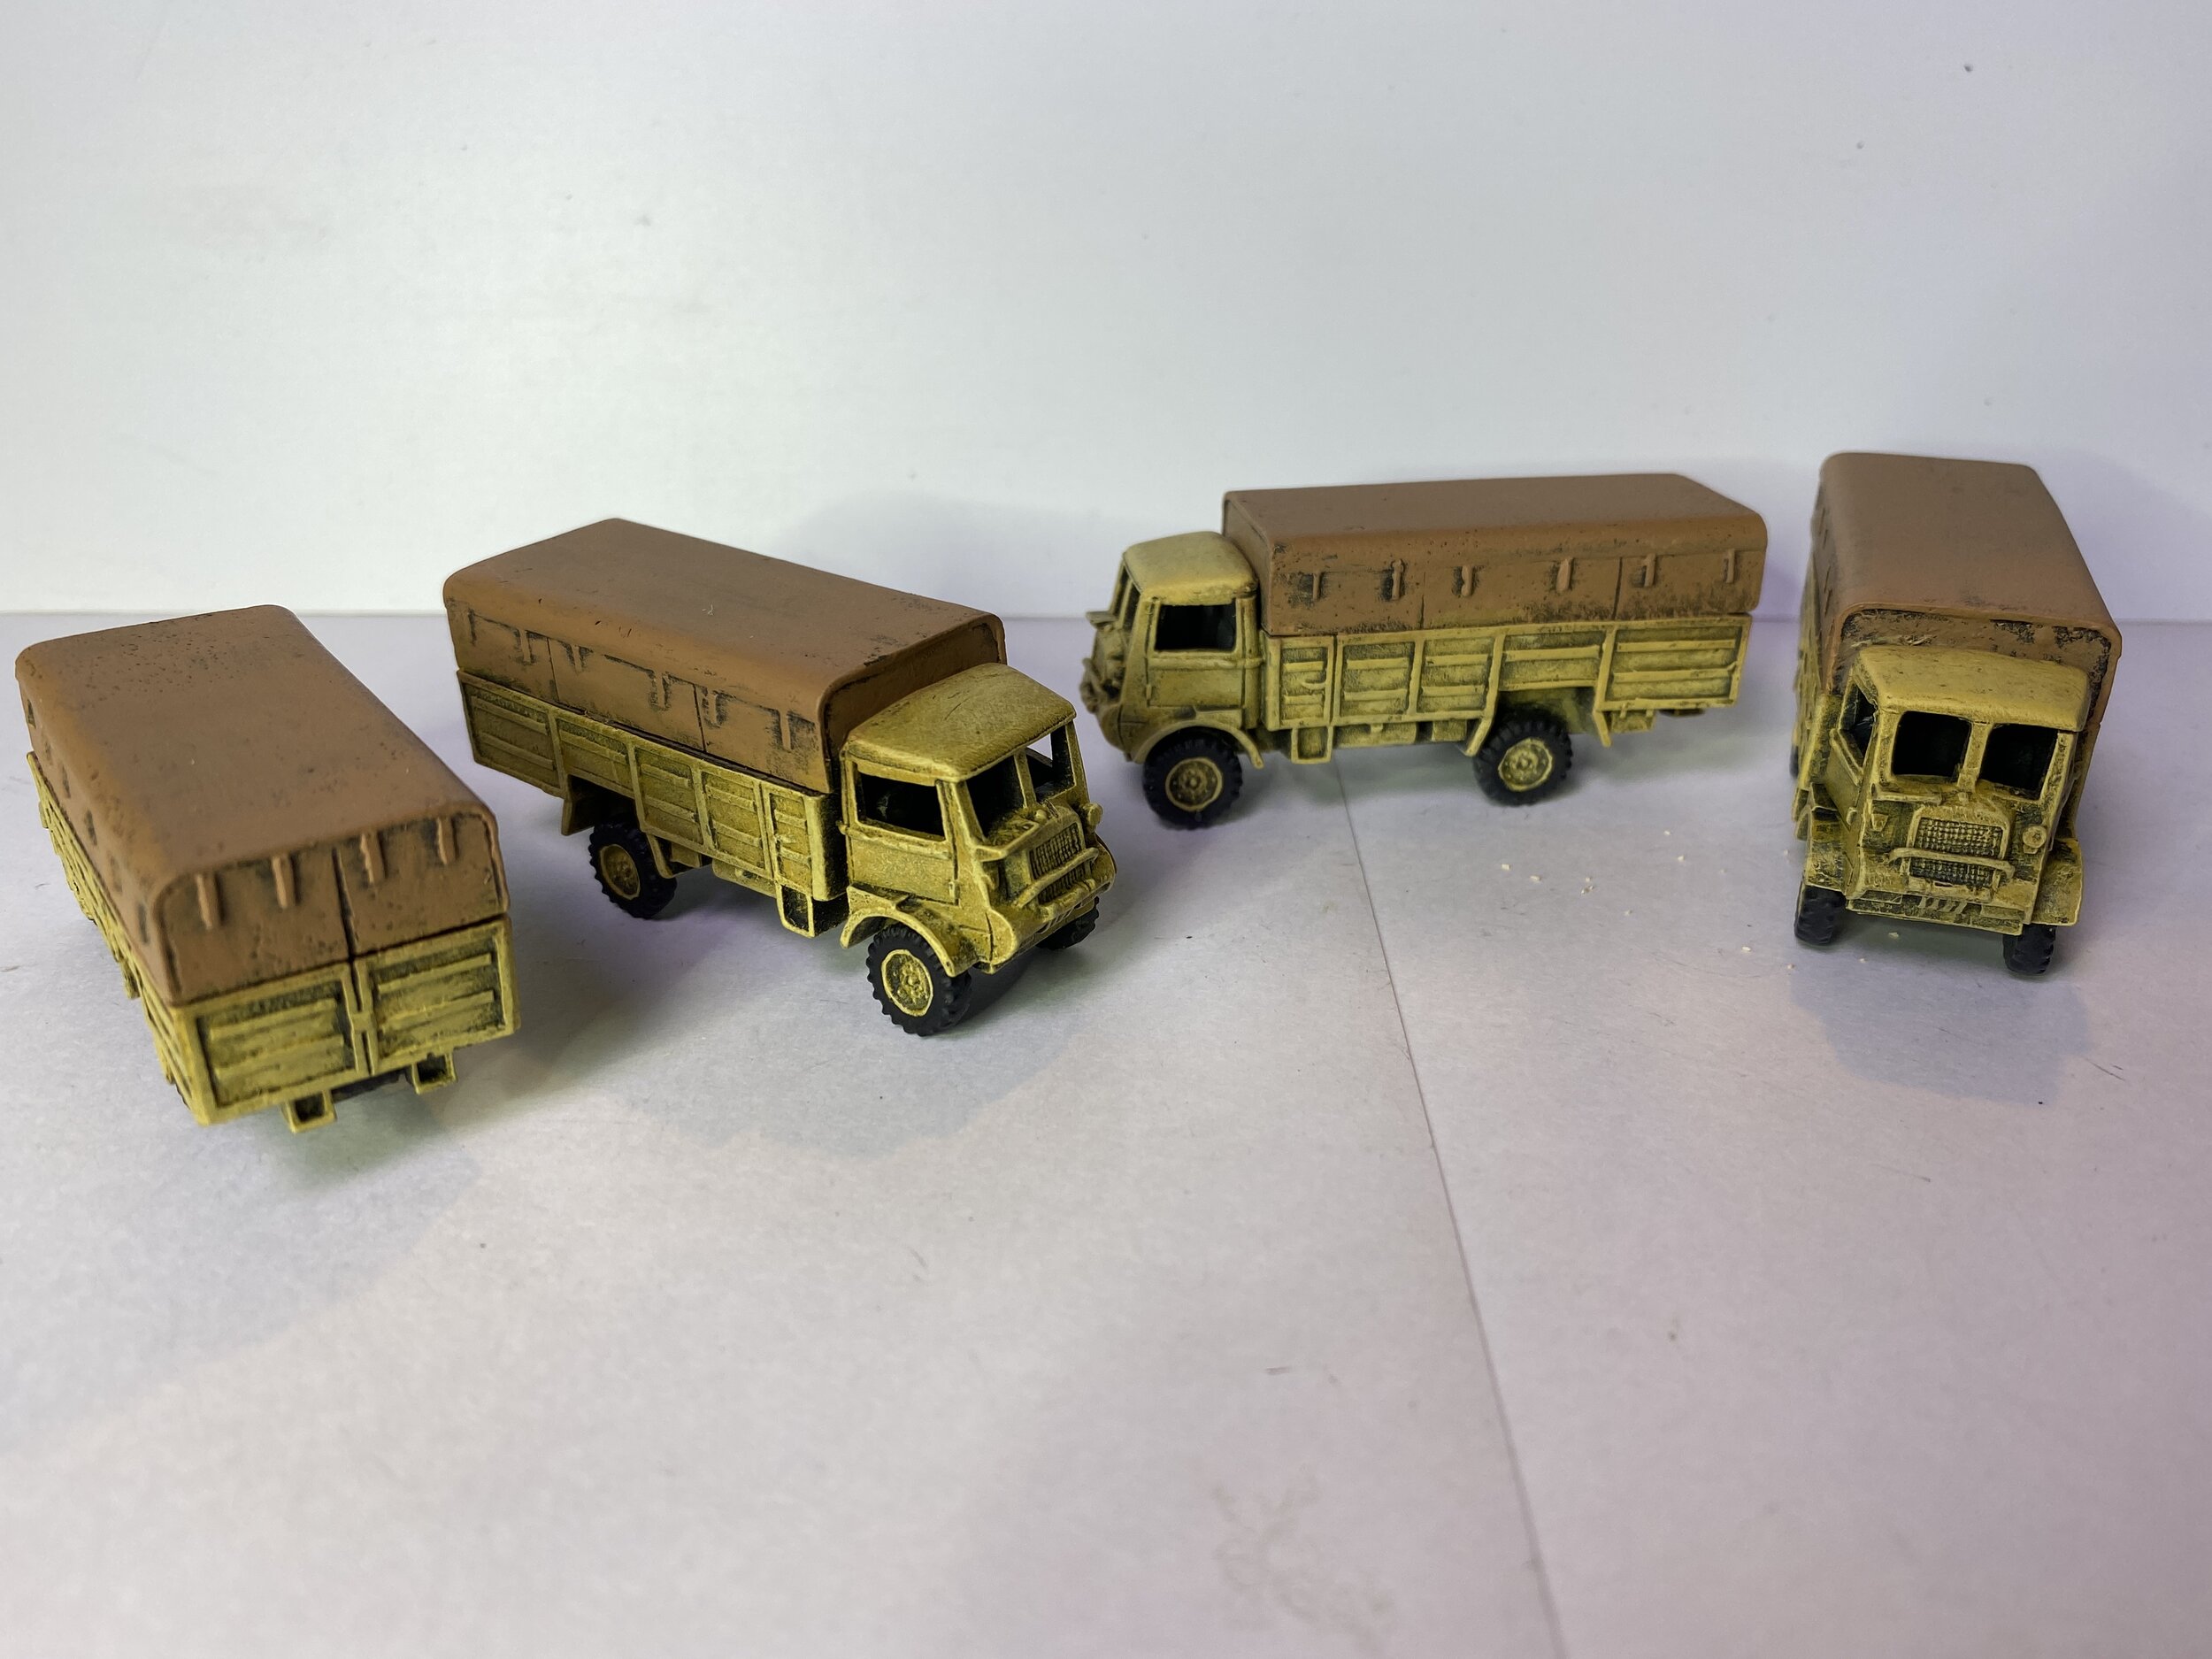
Next on the agenda were four Flames of War Bedford QLT 3-ton transport trucks. I was originally going to include them as captured vehicles used by the Germans, but I think I will be keeping them with the British.
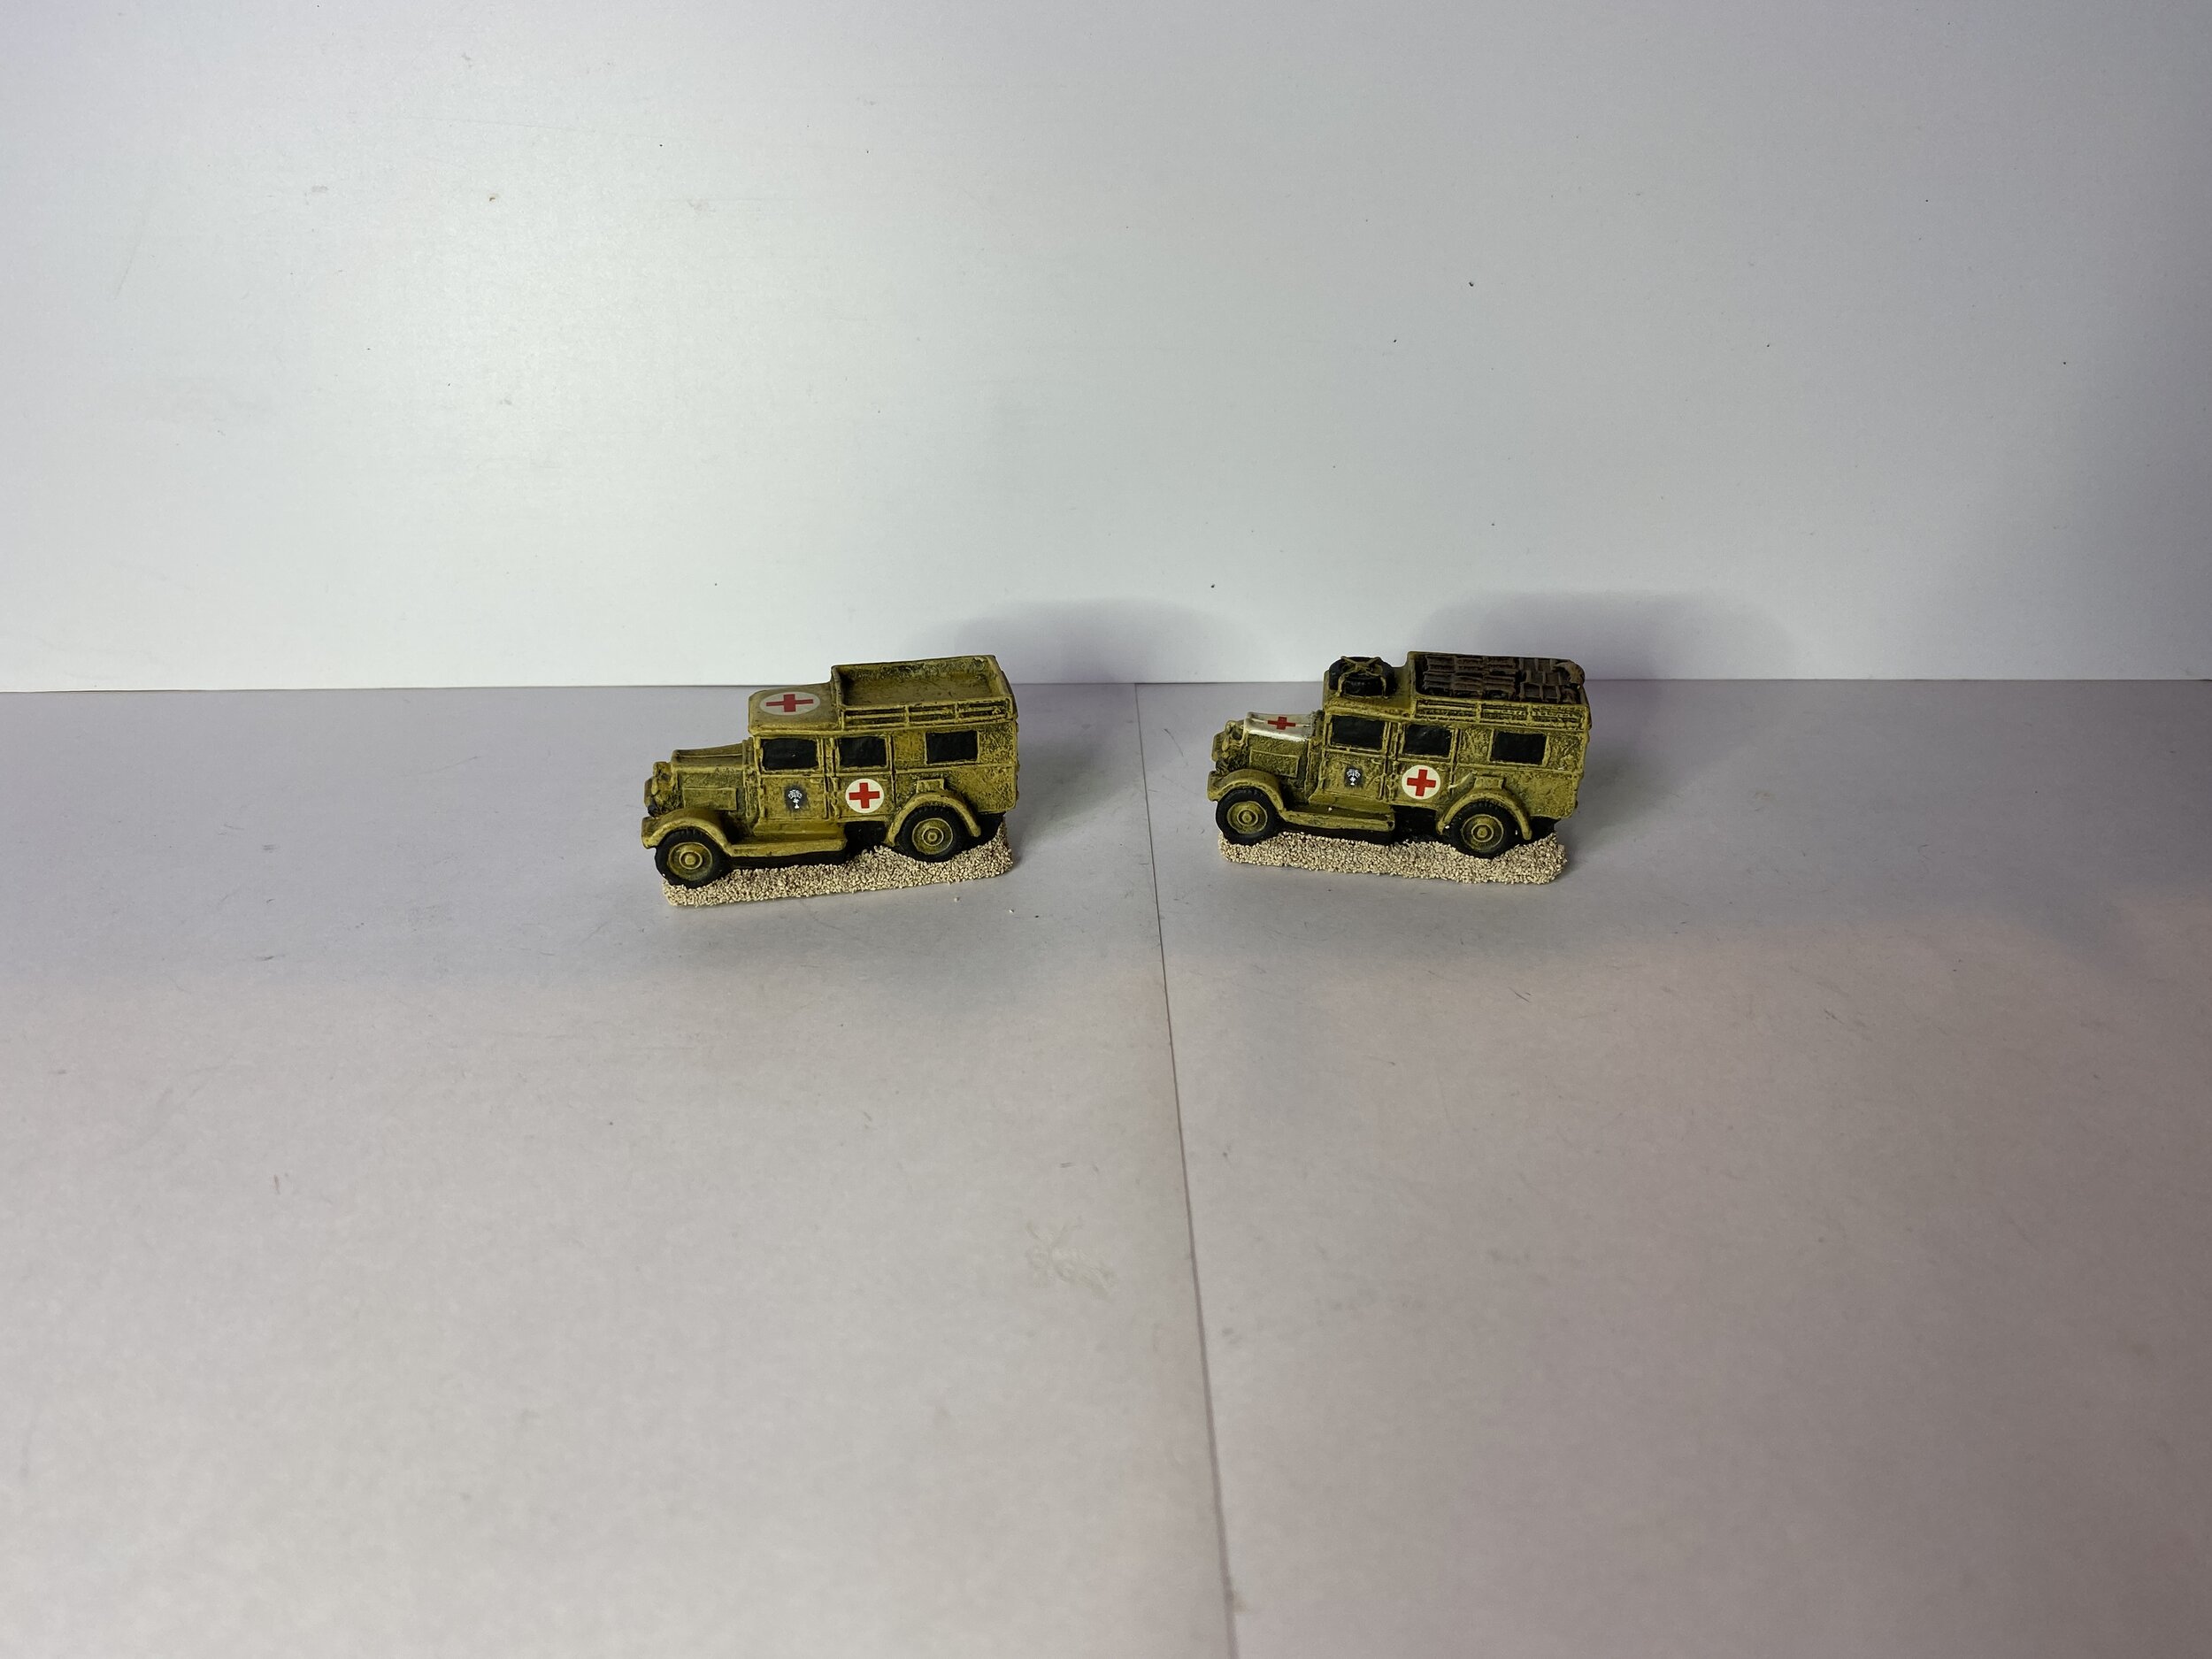
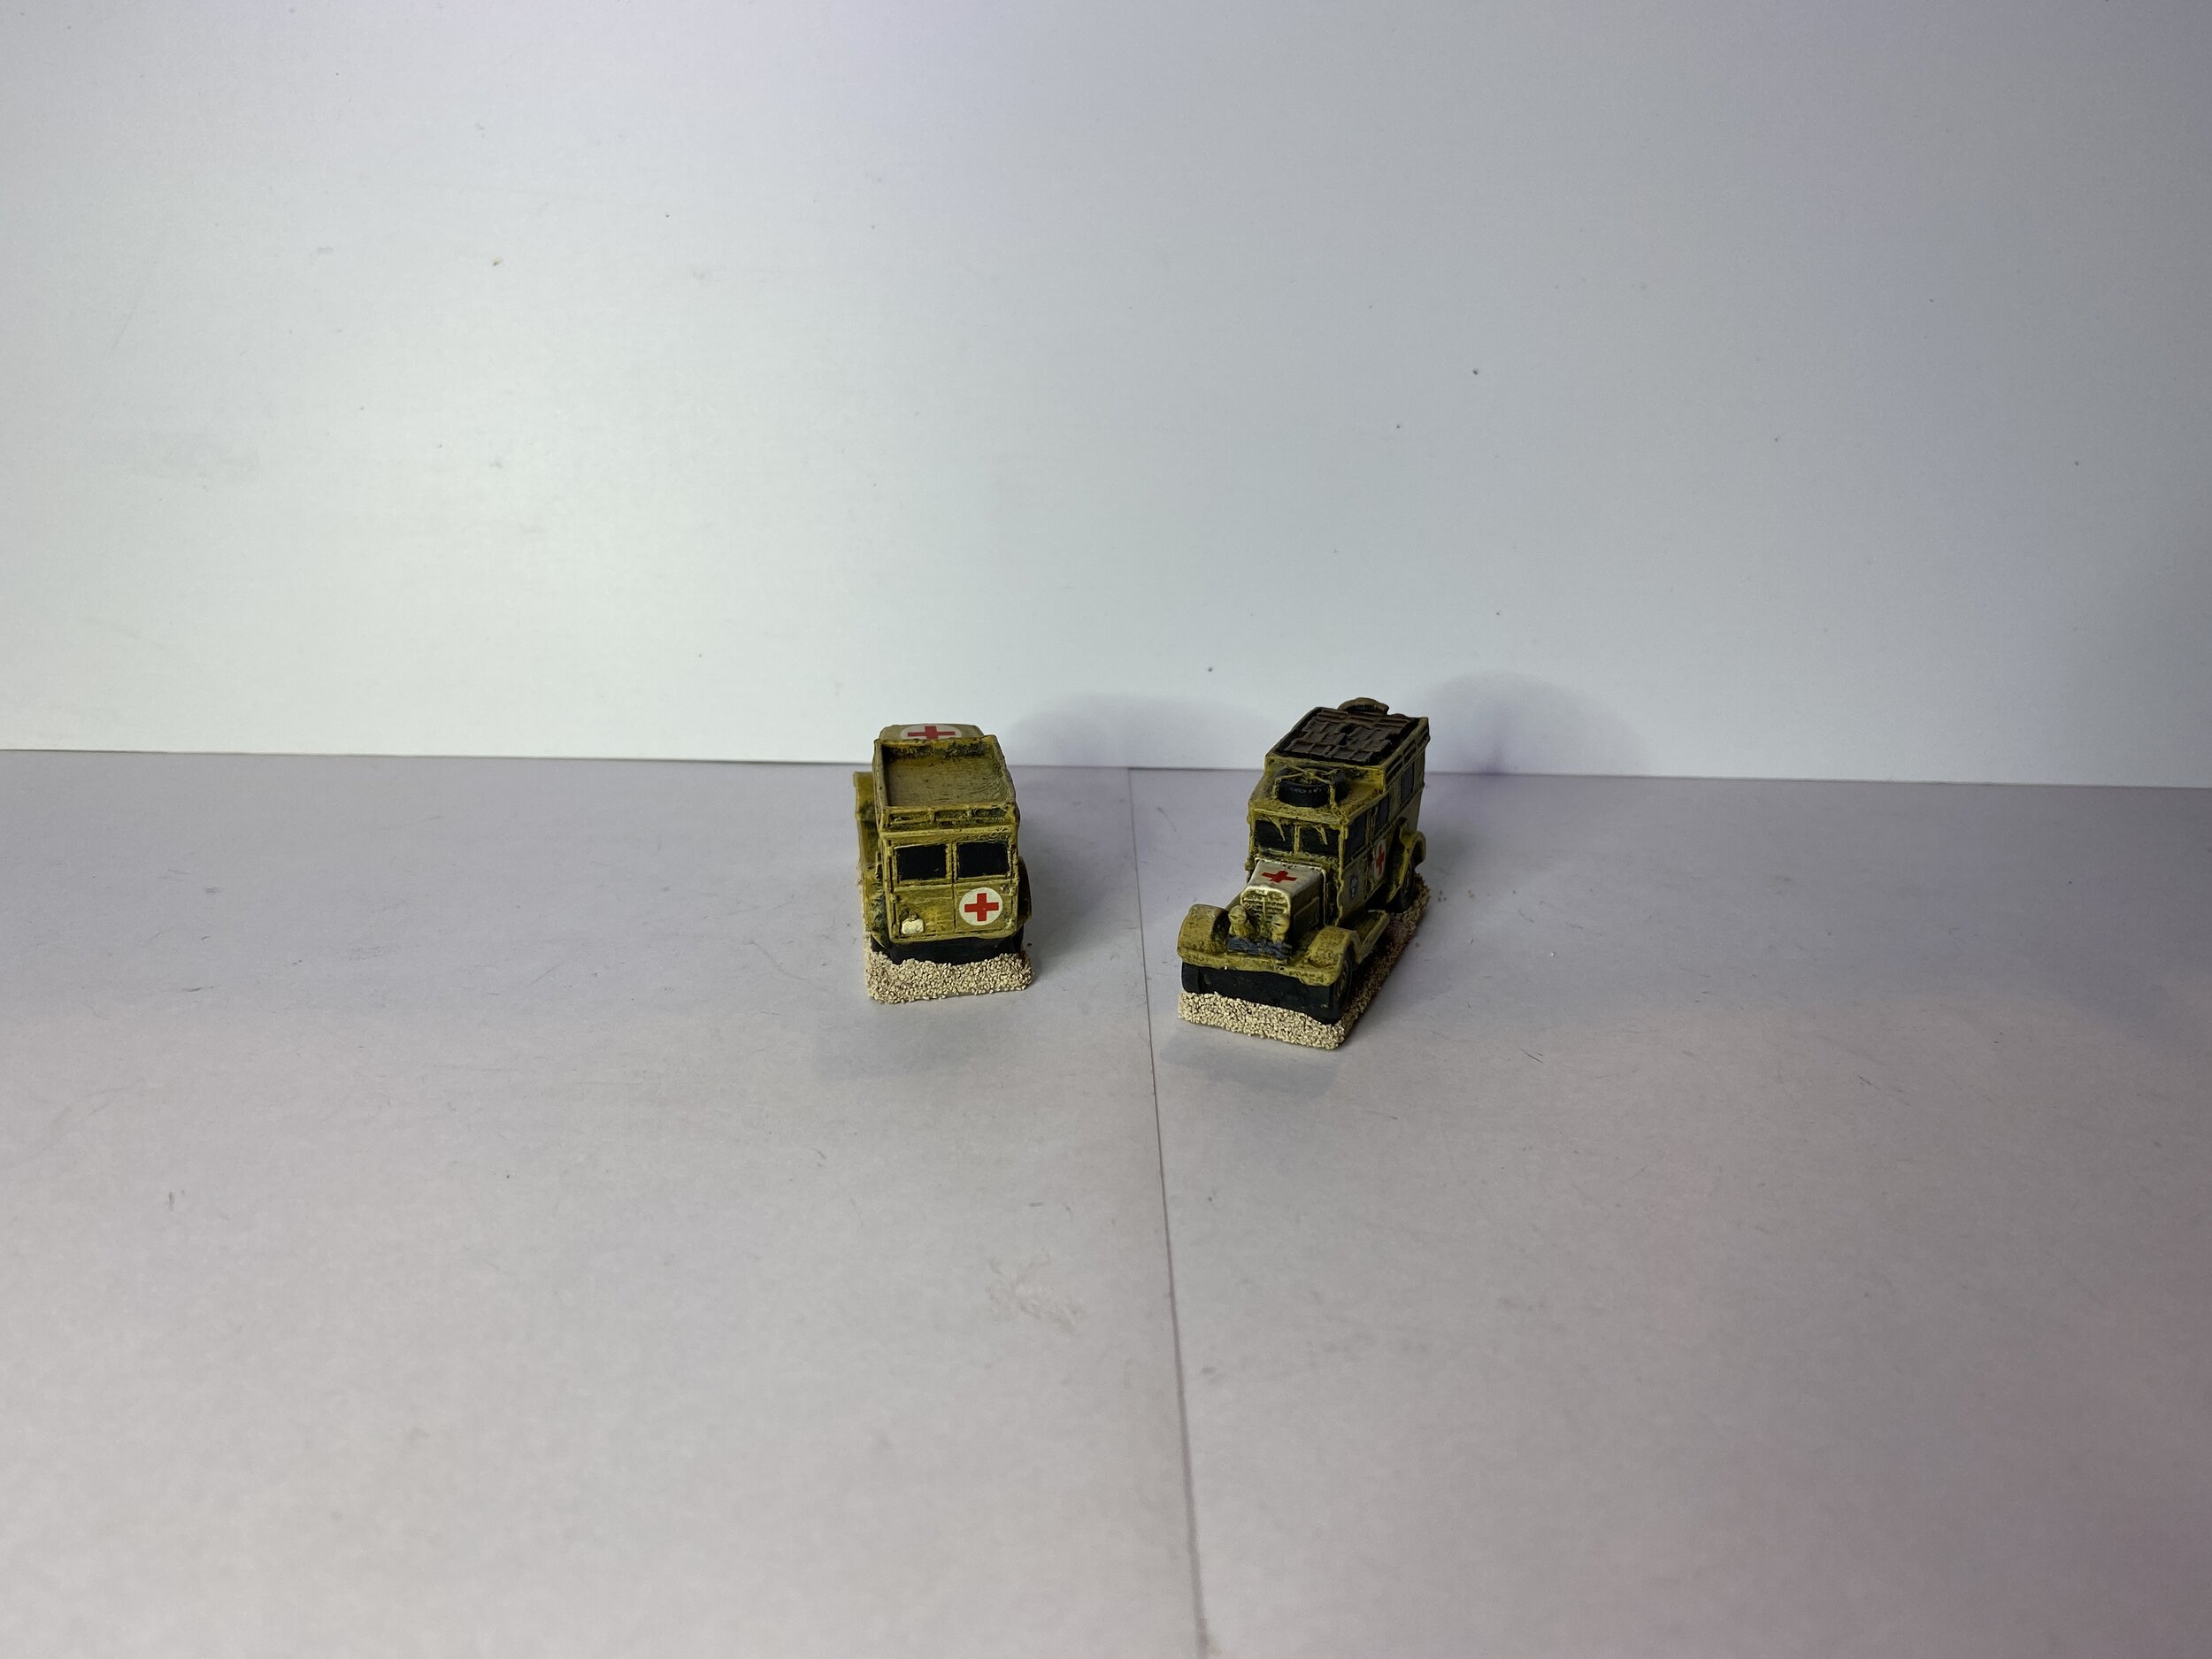
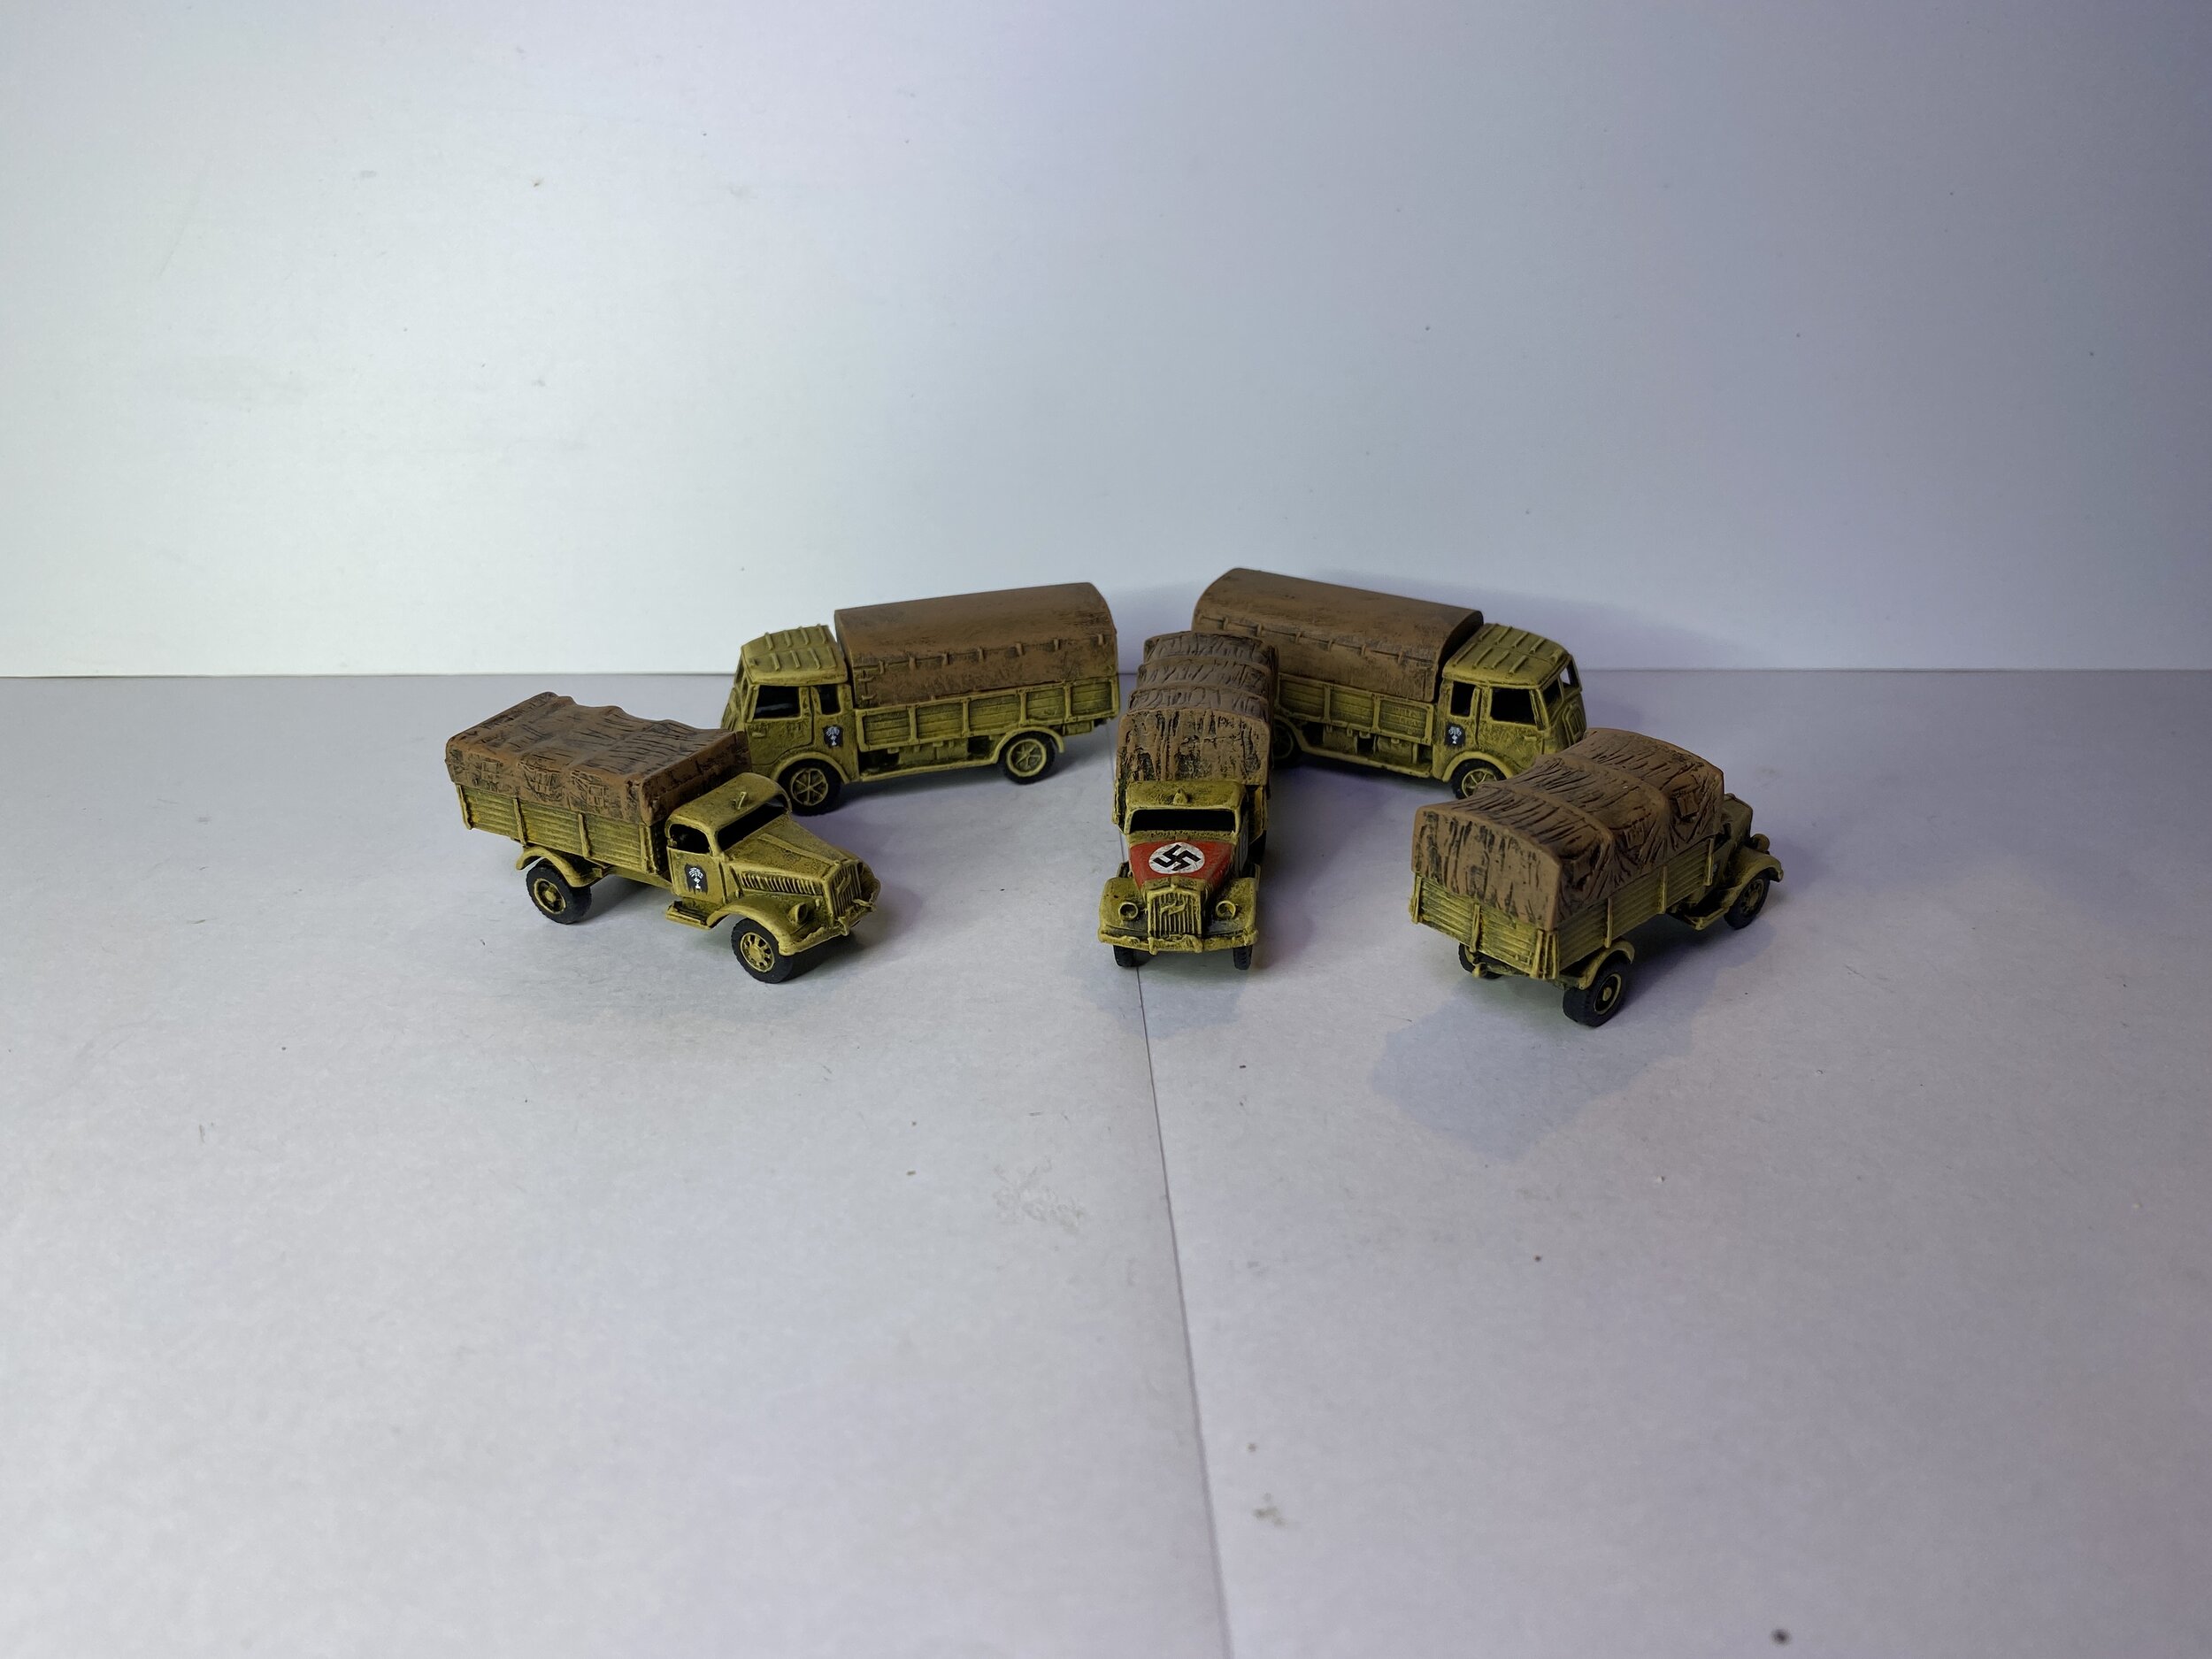
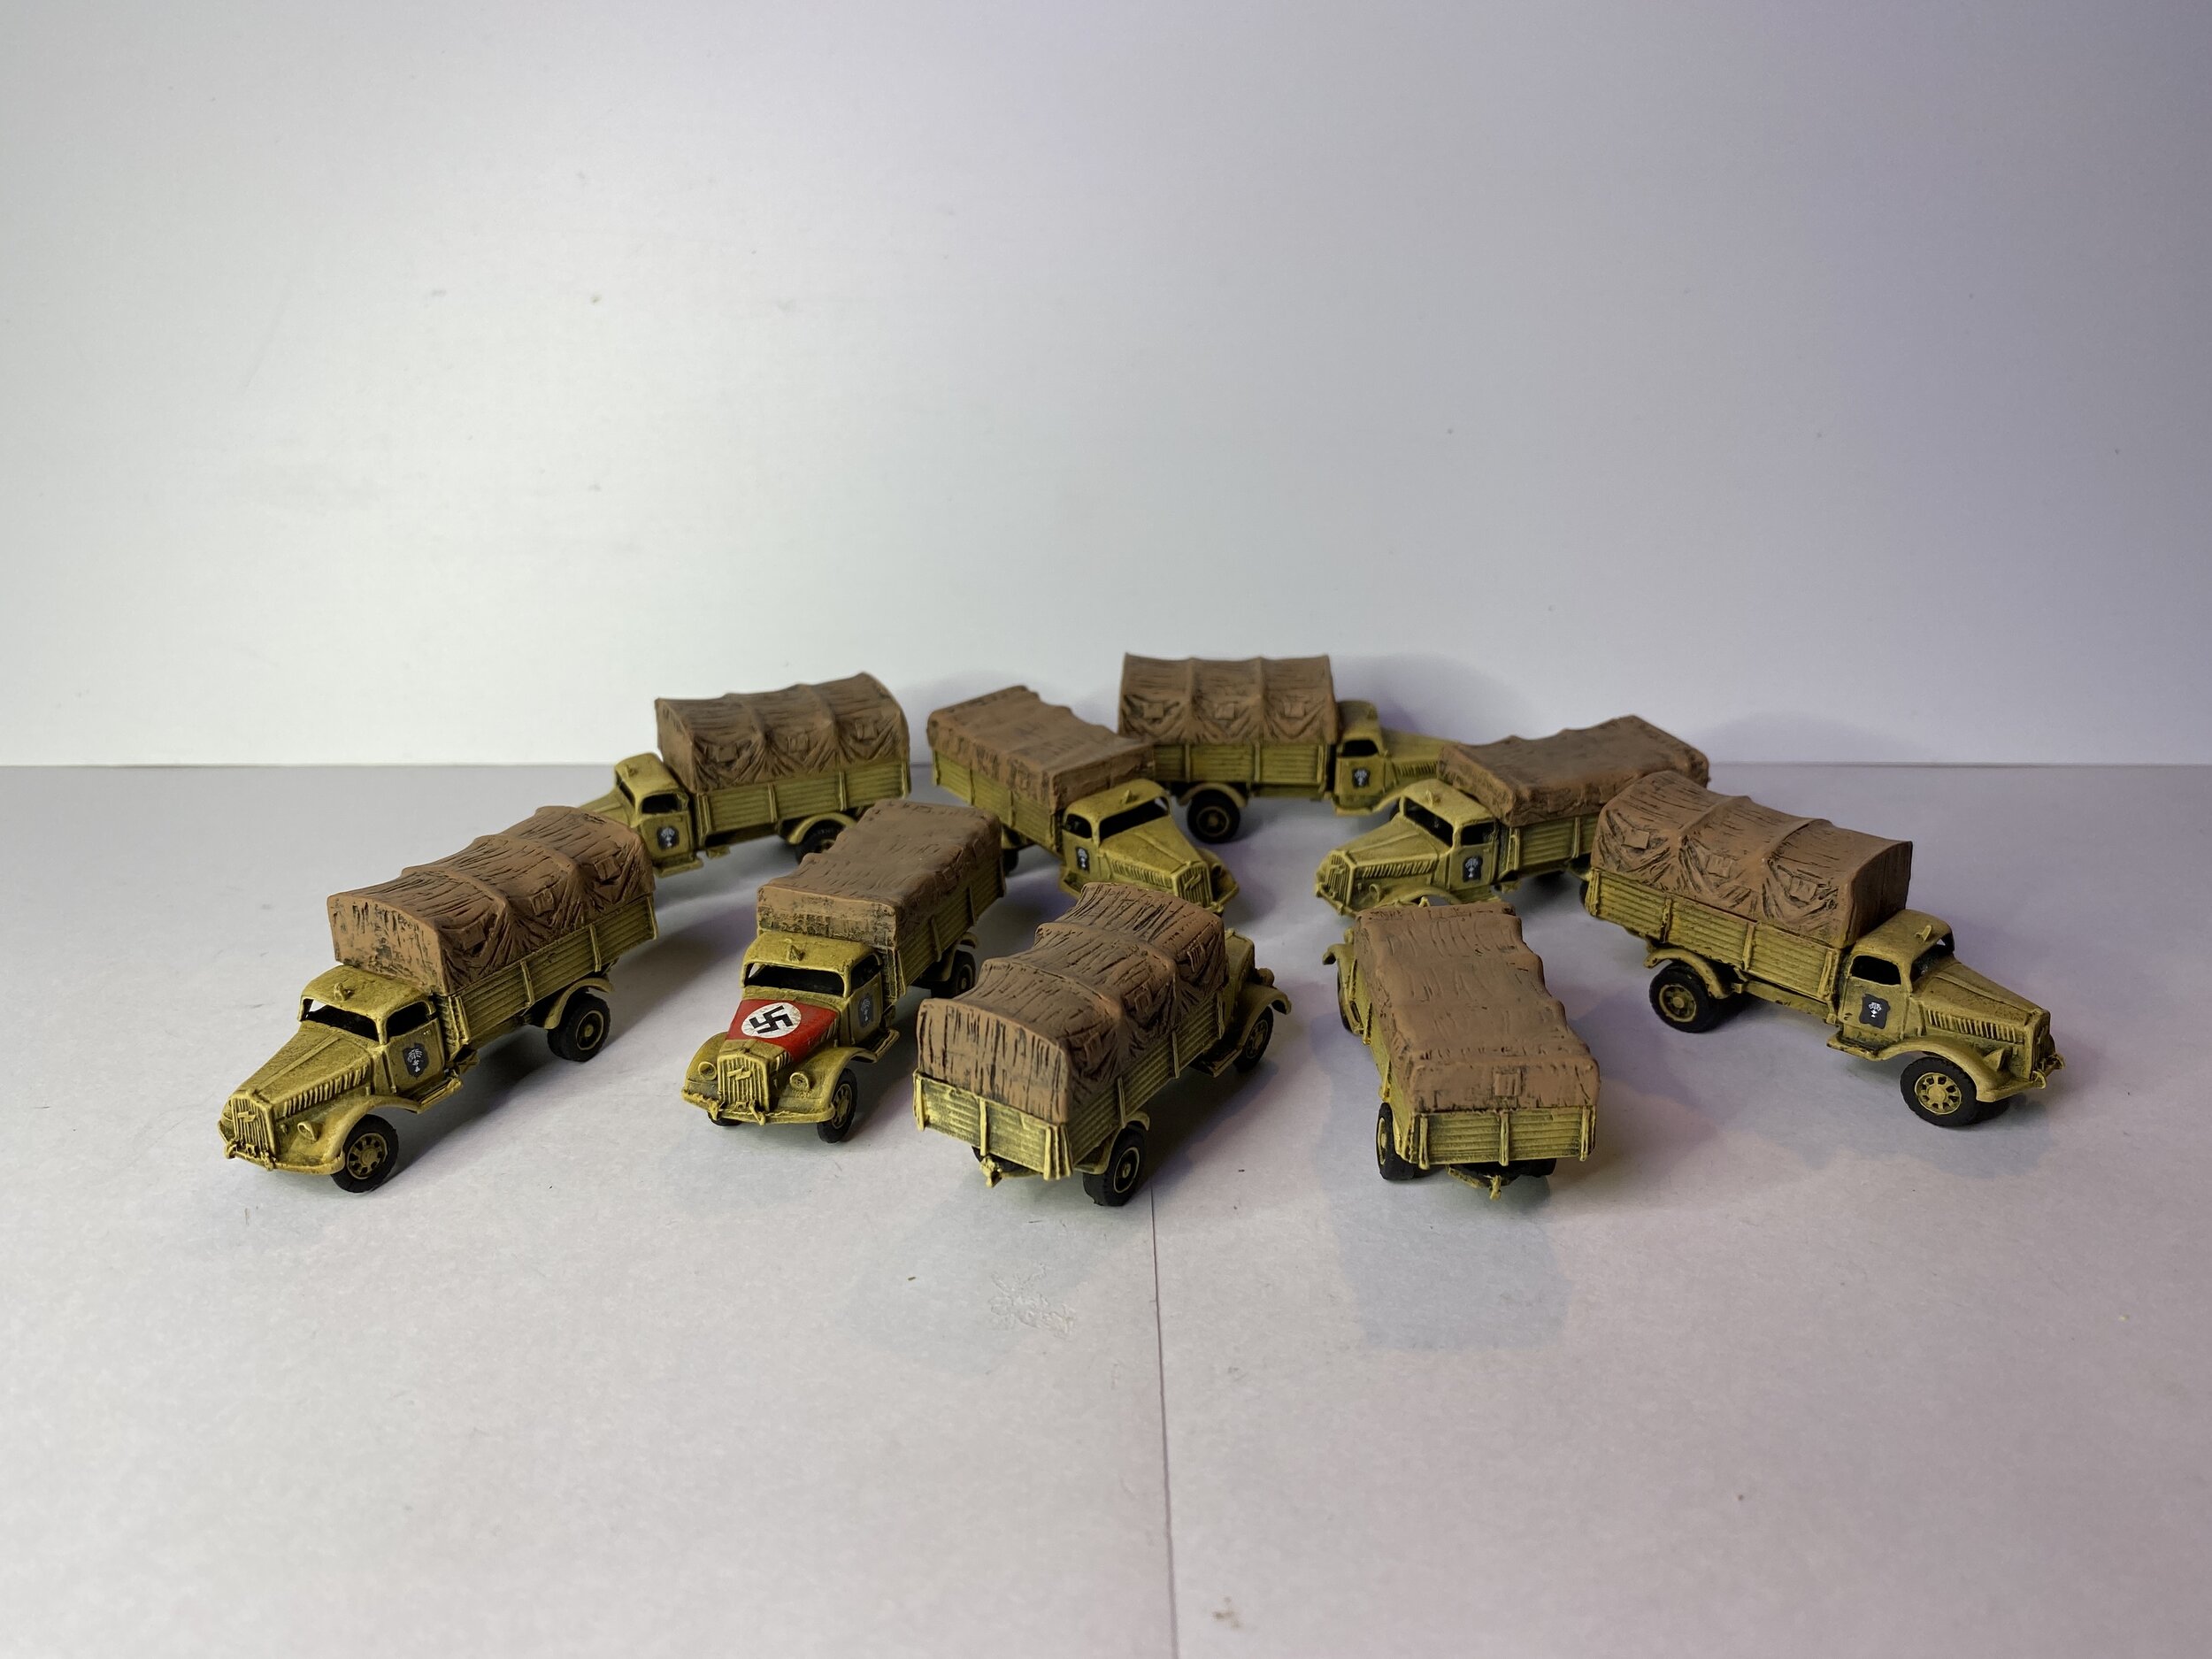
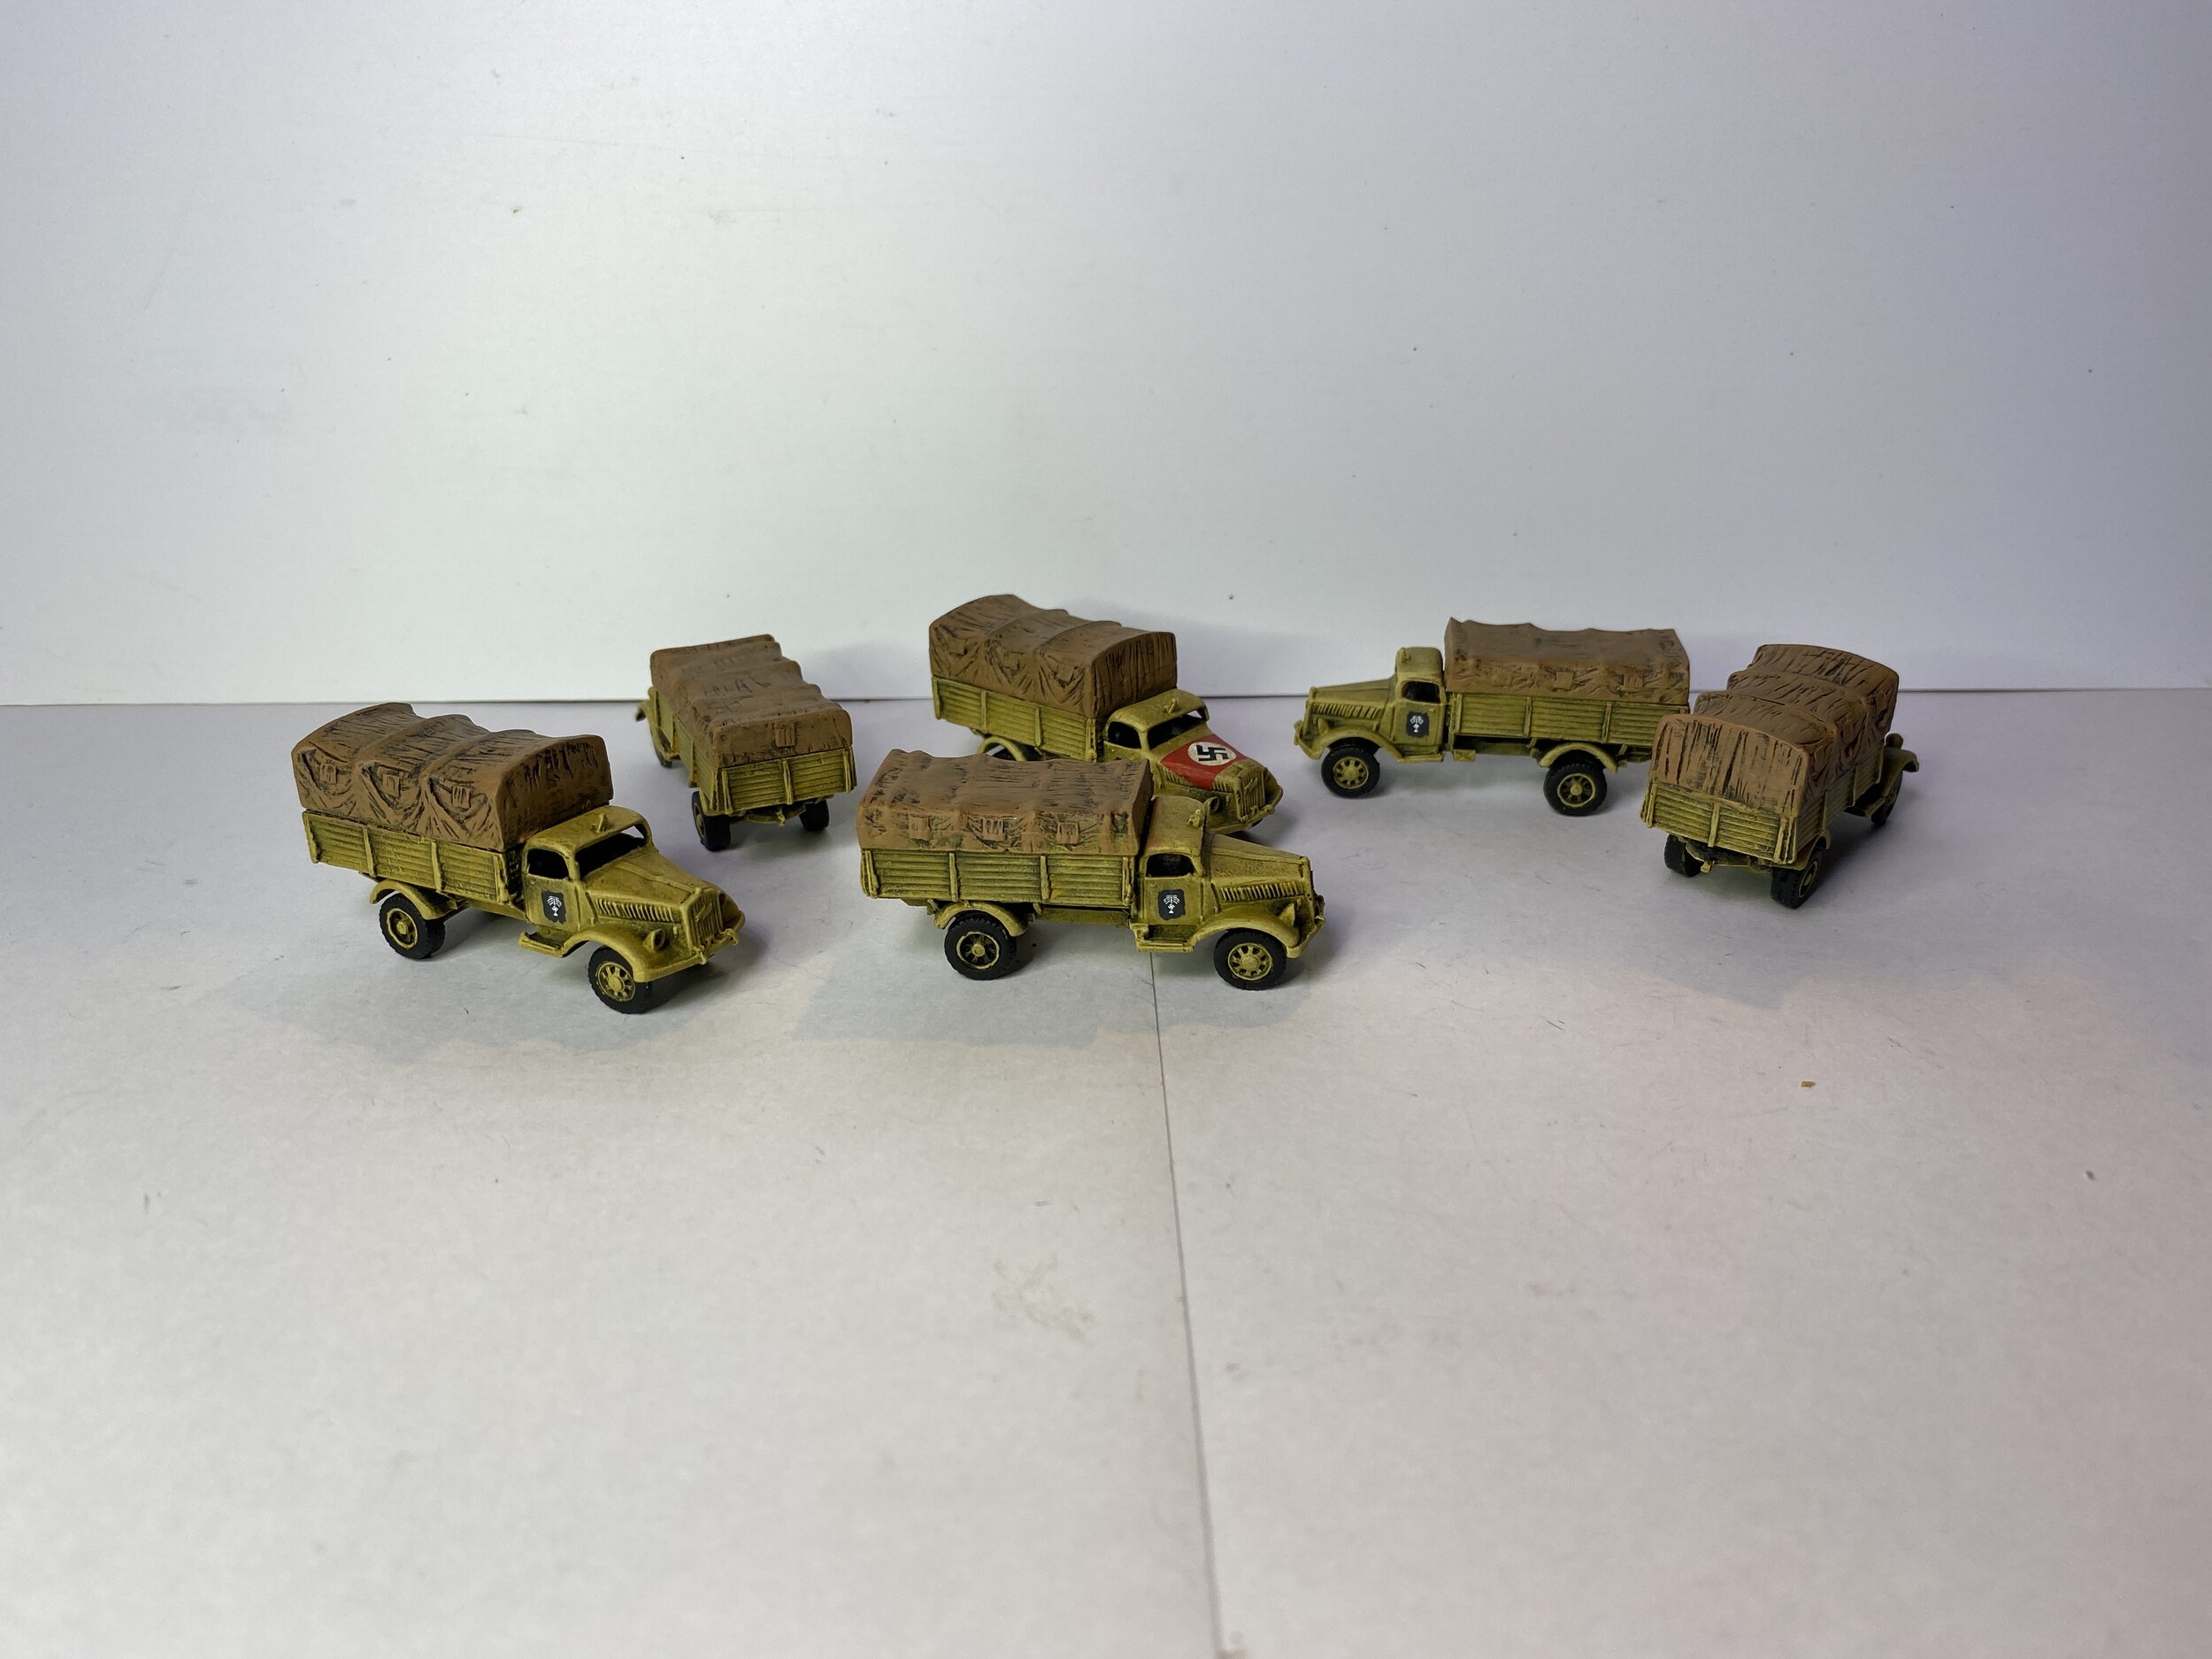
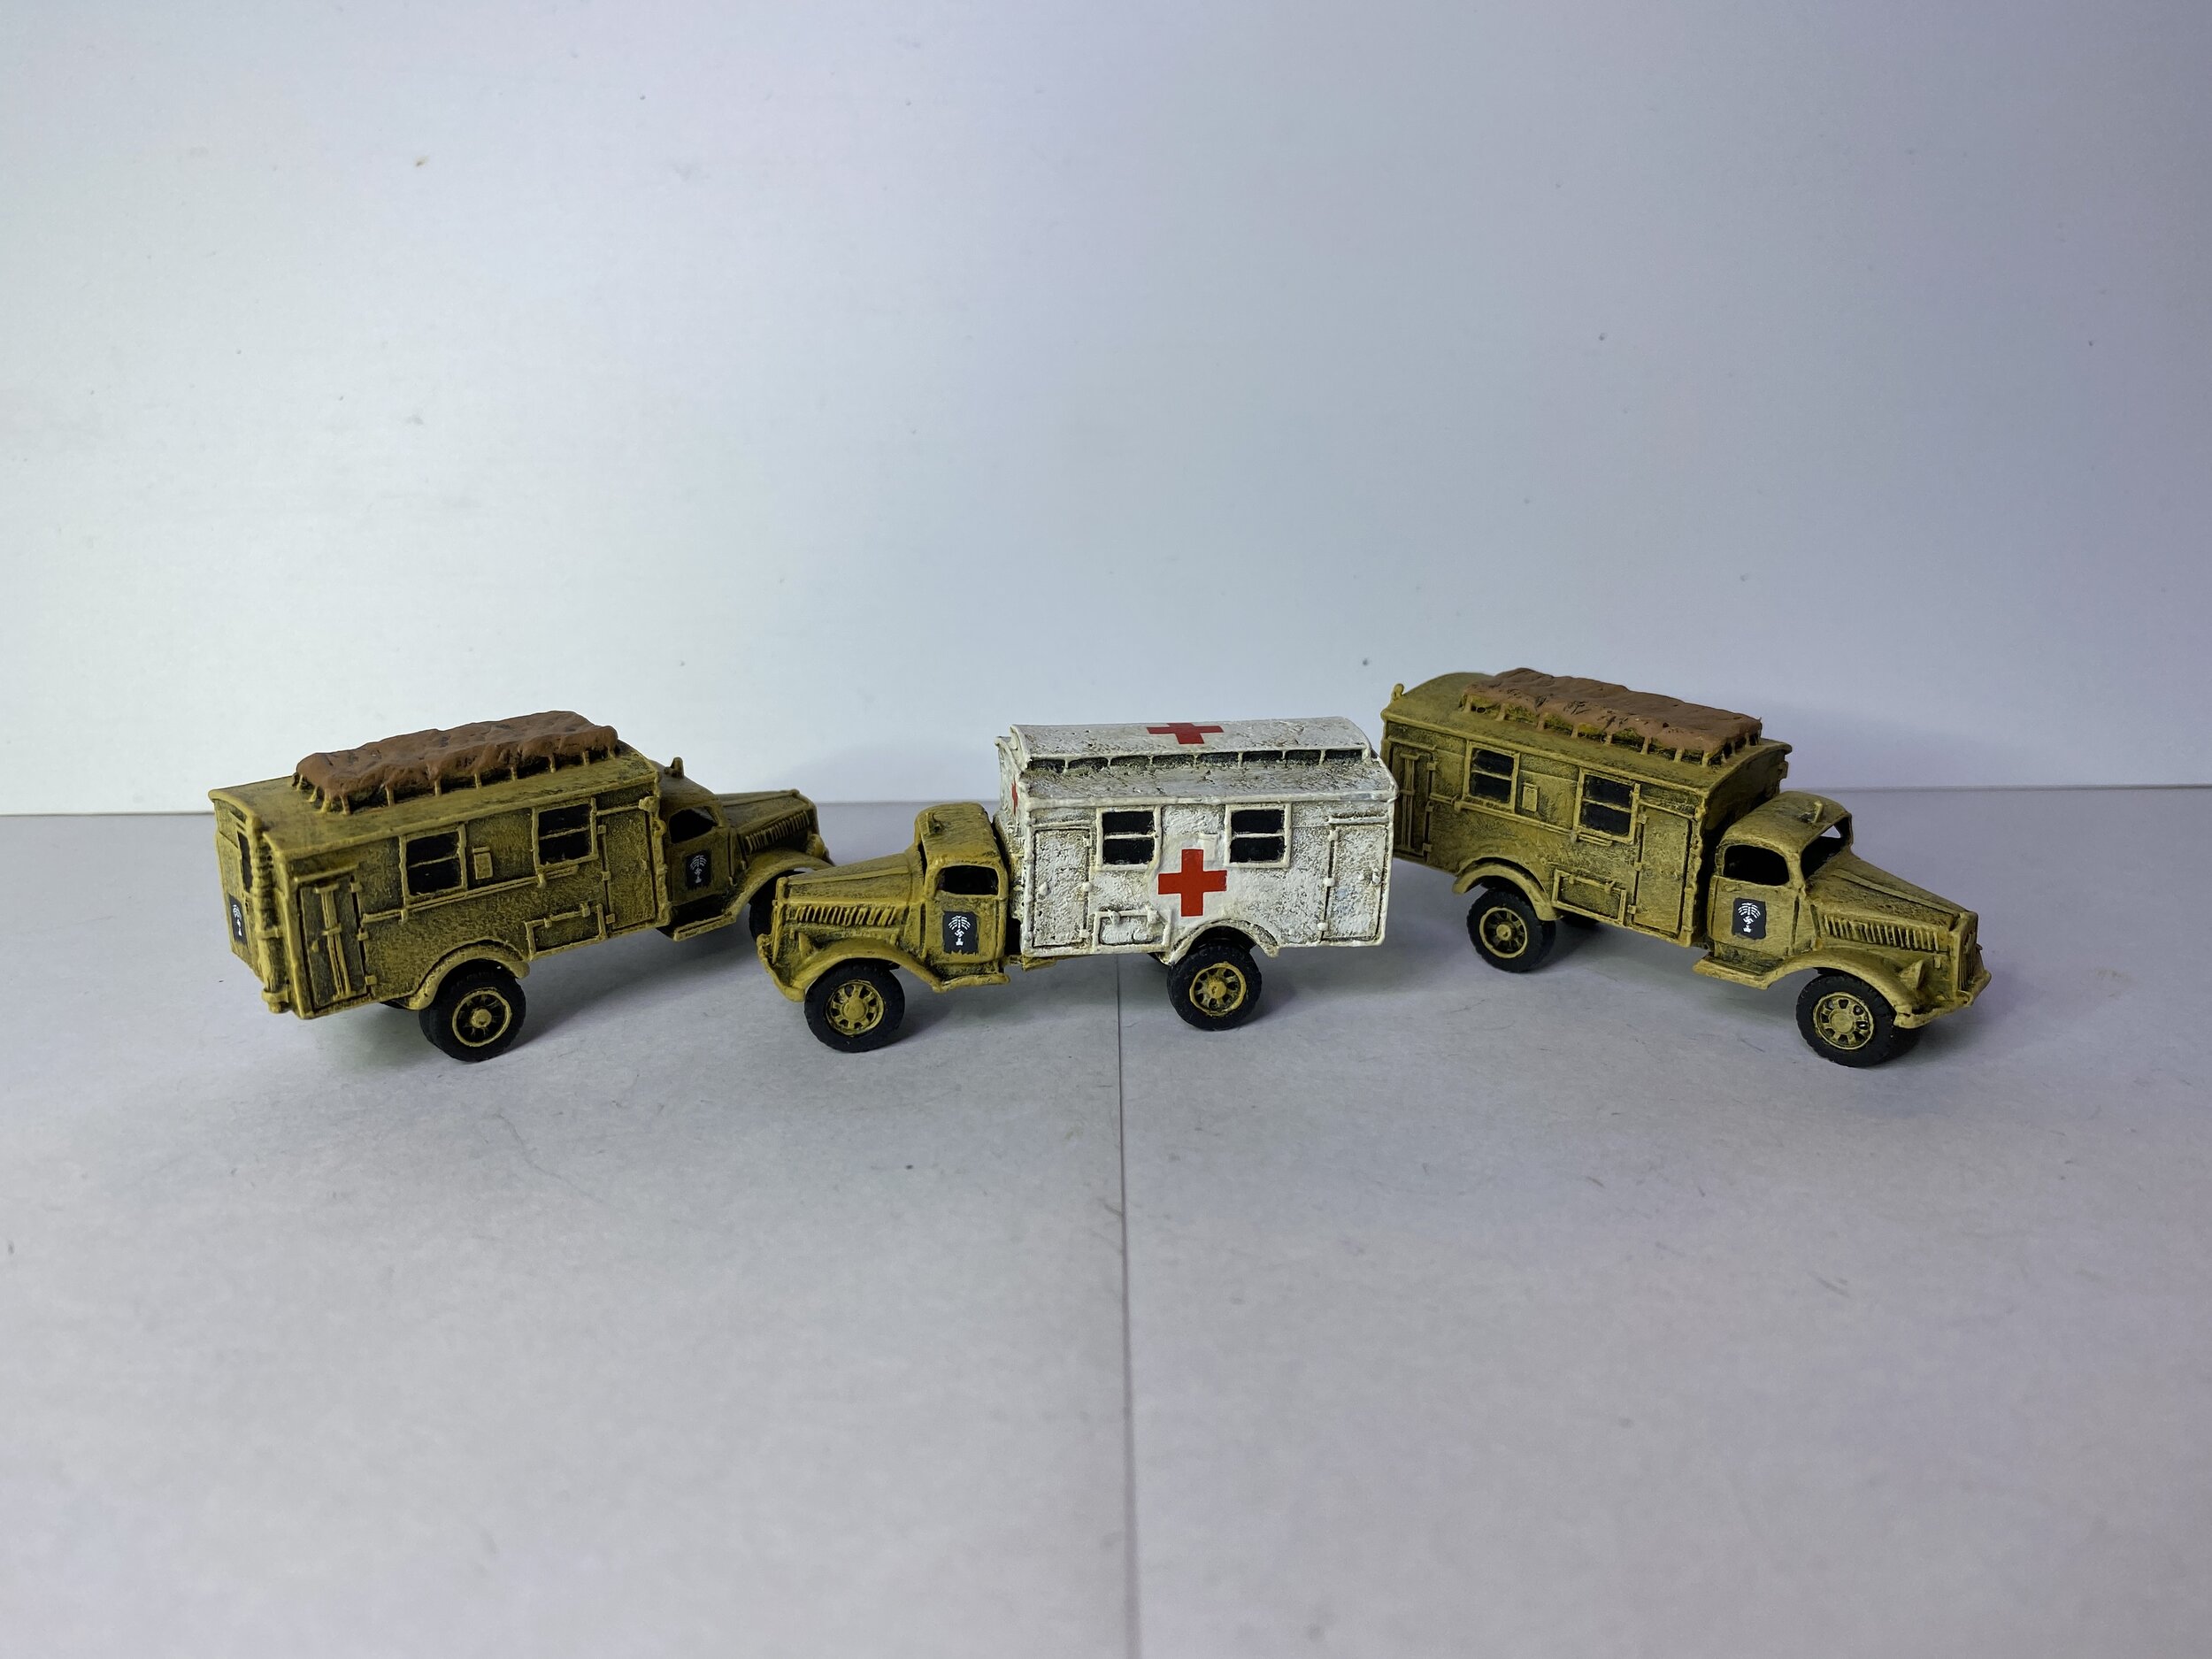
The rest of the week was all German. I began with two Peter Pig Granit ambulances. Those were followed by two Renault transports I am including with the Germans as vehicles captured during the fall of France in 1940. Flames of War made a collection of early war vehicles that included those of France. They removed those vehicles from production just as I was becoming aware of Flames of War and these two Renault trucks are all I have of that long out-of-production line of vehicles. With the Renault trucks completed I turned my attention to my Command Decision Opel Blitz trucks. I painted 18 of the 3-ton transport trucks, 3 of the 1 ½ ton transport trucks, and 3 of the utility box Opel Blitz trucks… 2 in the form of radio trucks and one in the form of an ambulance.

October 3, 2021
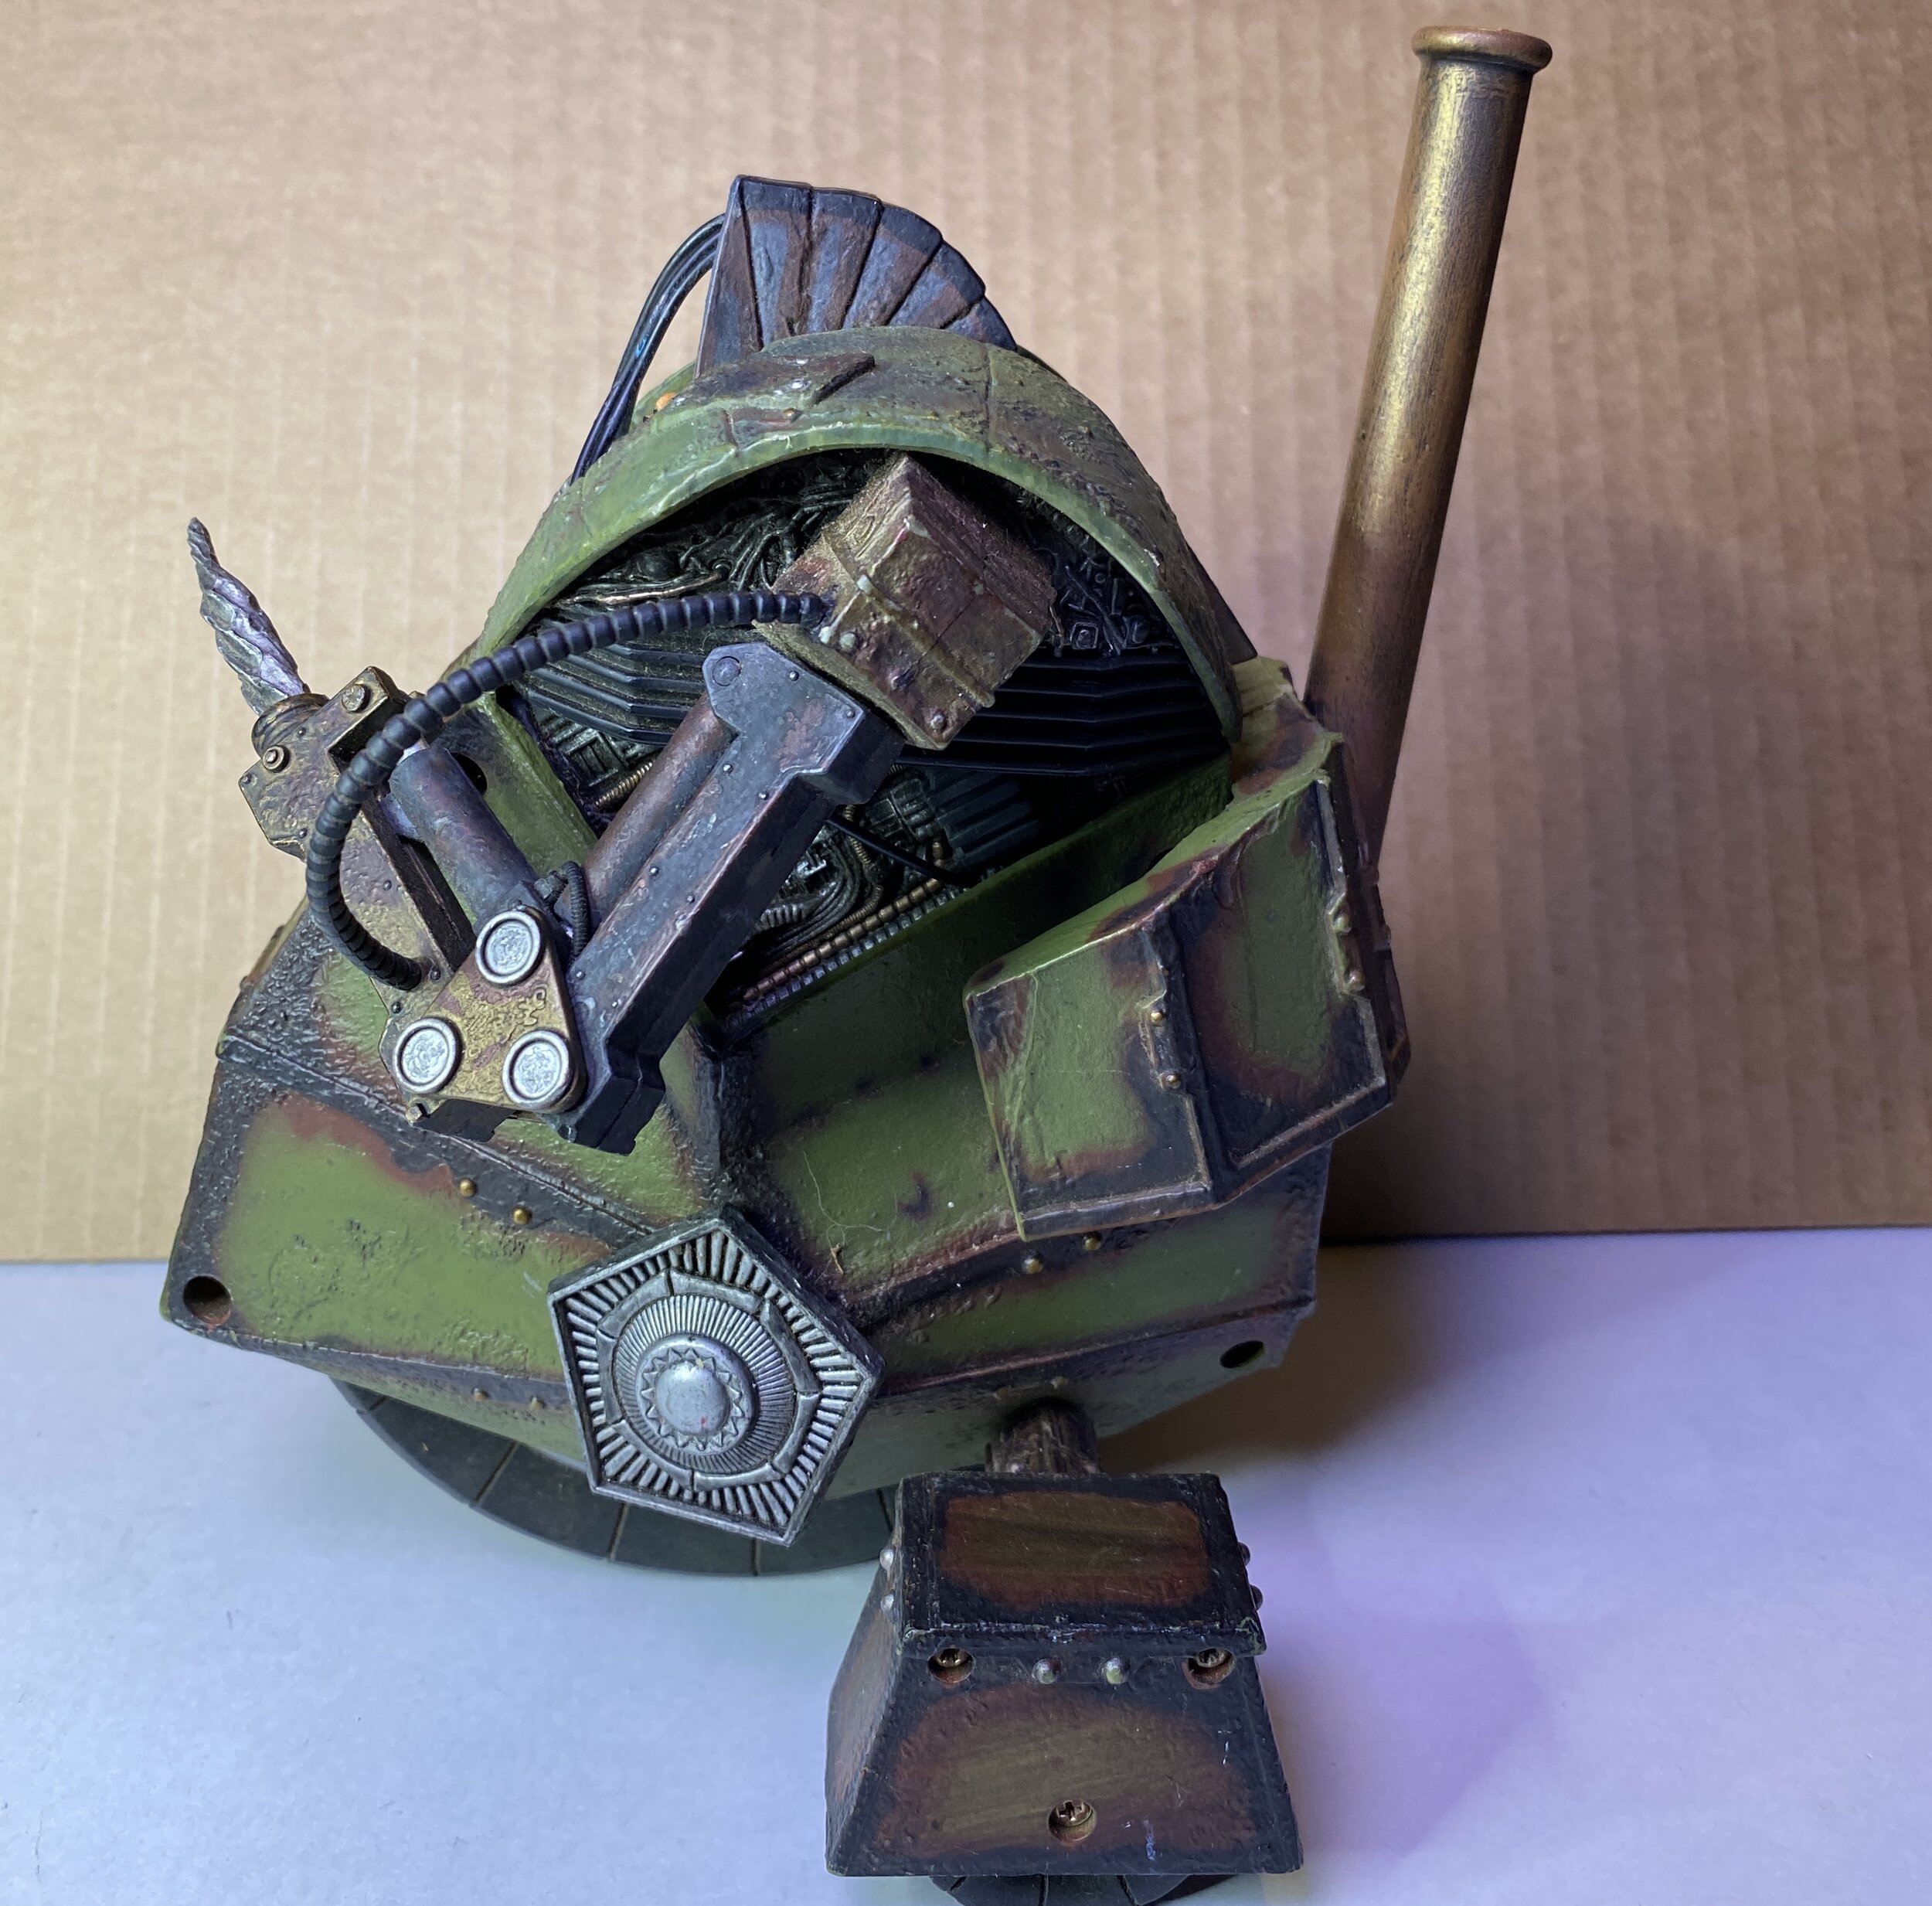
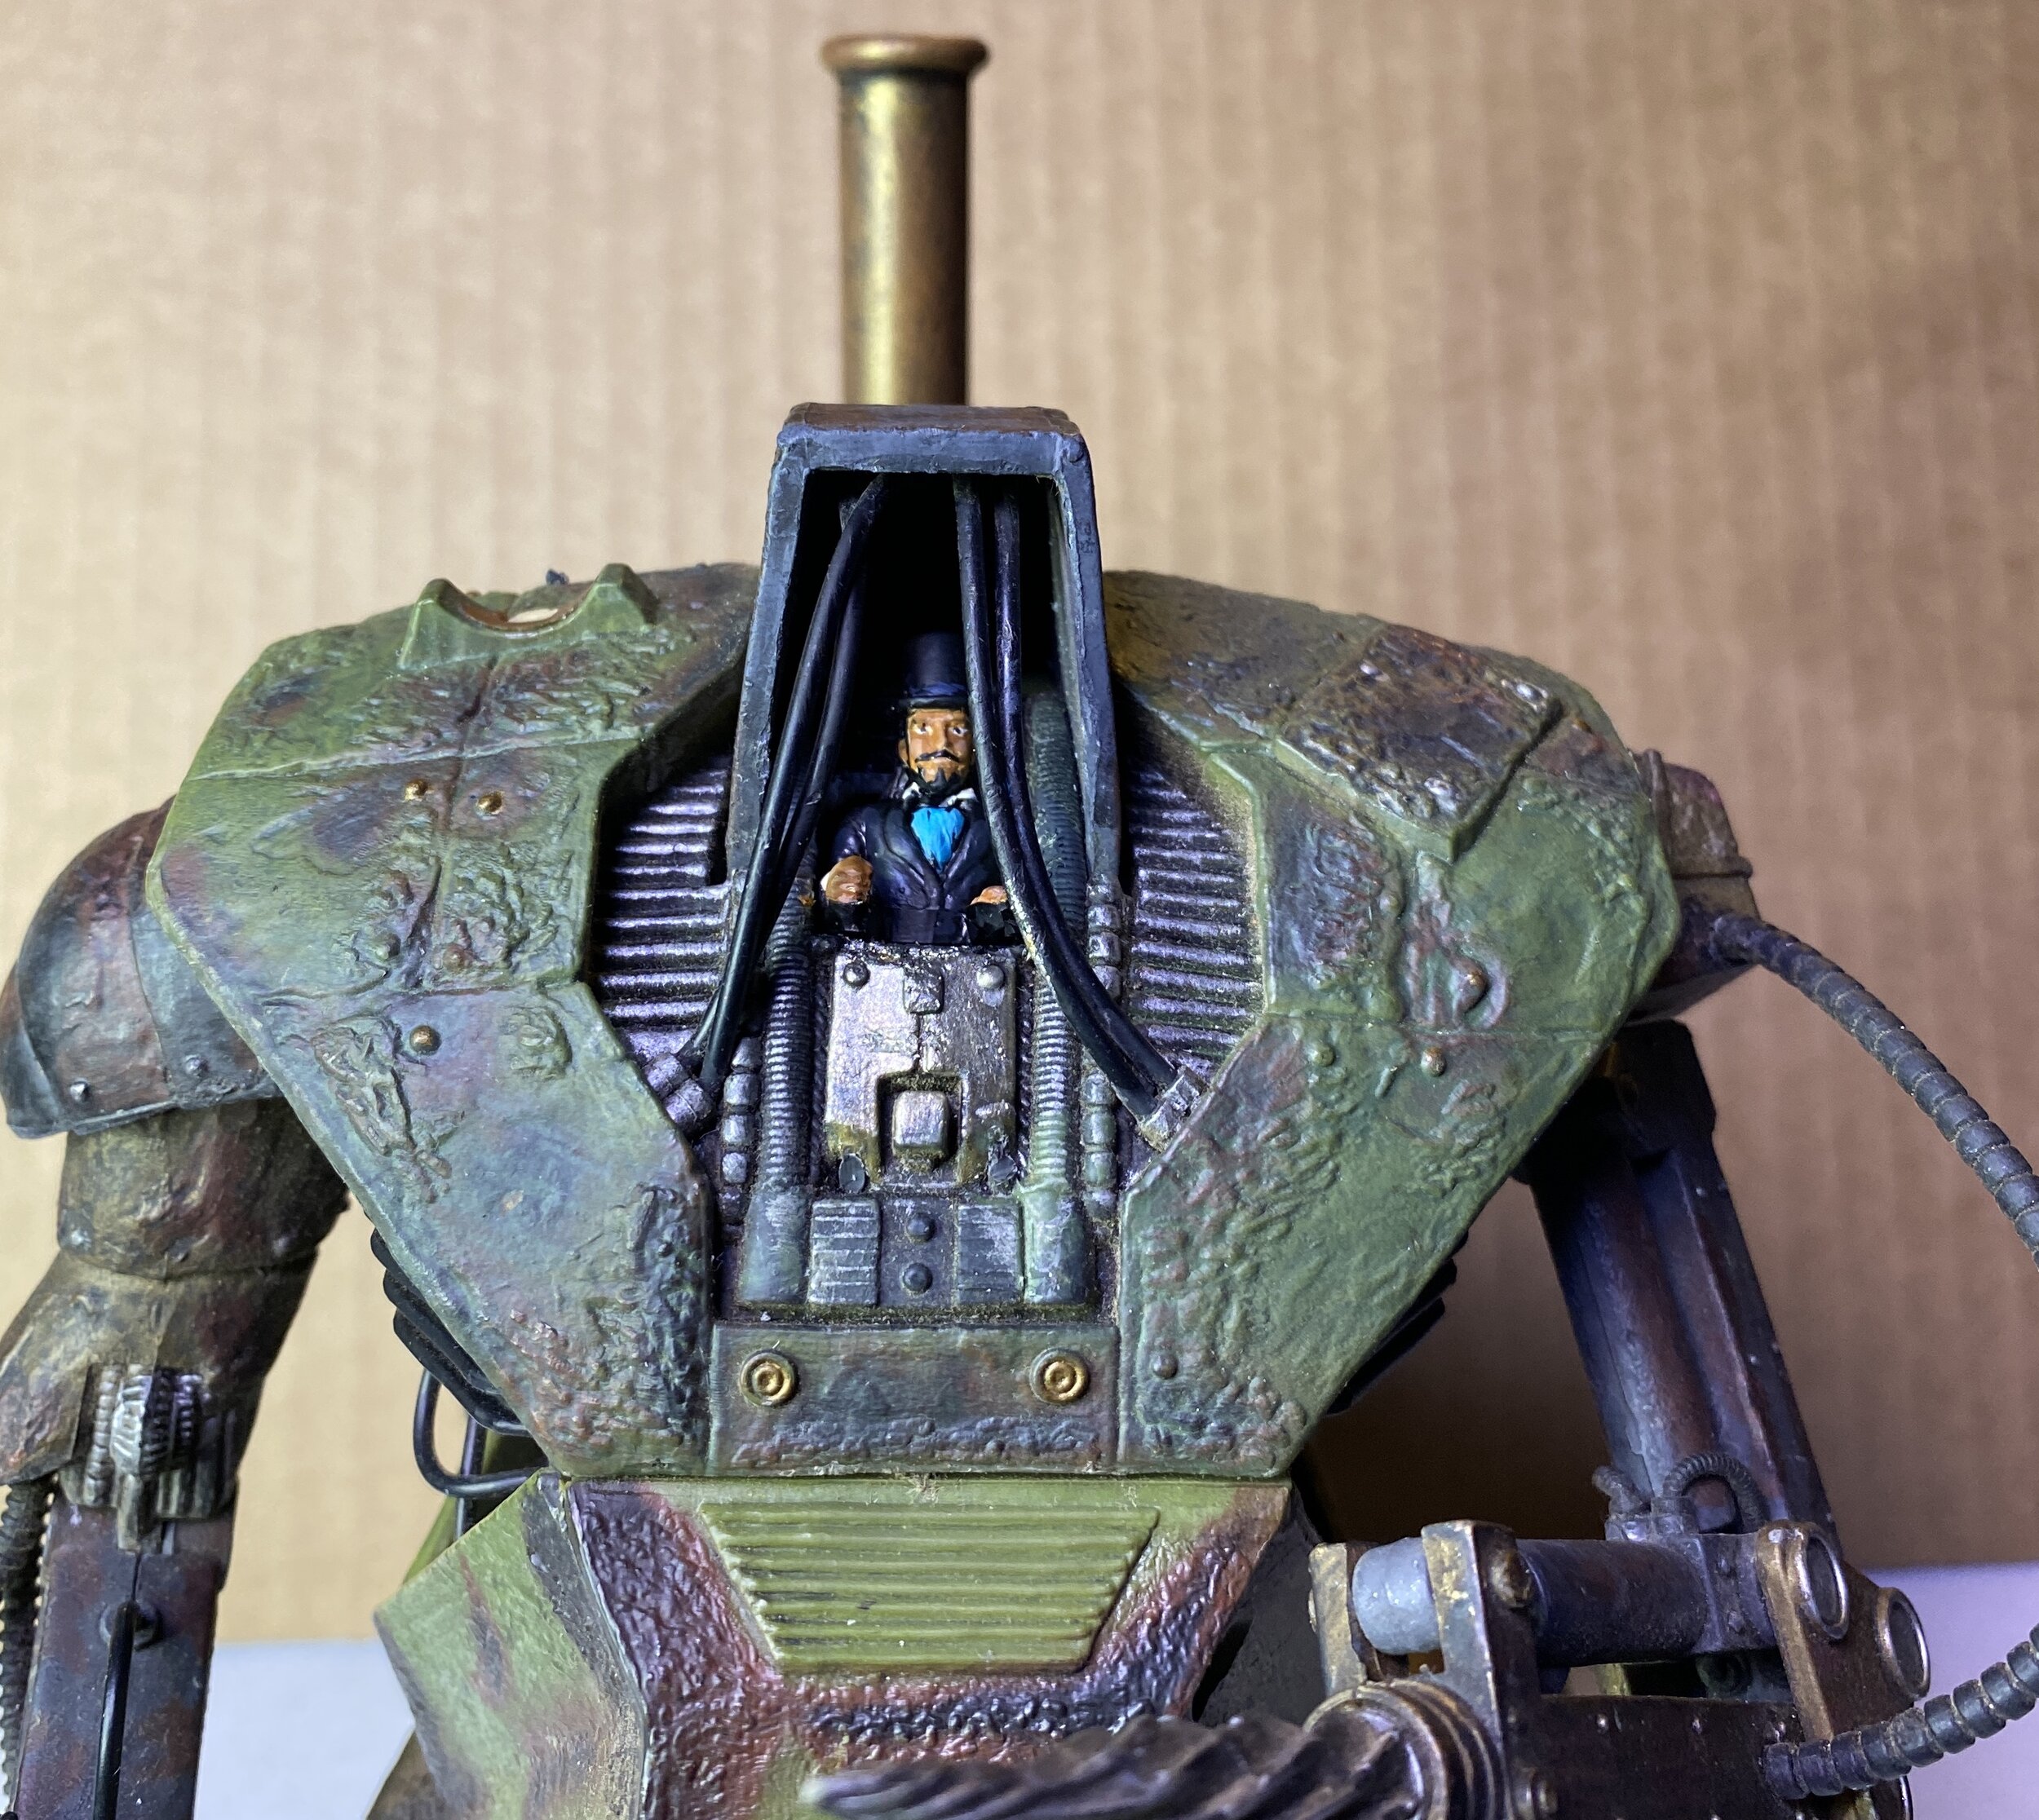
I’ve actually moved faster on my Juggernaut repurposing than I had planned. Sometimes the desire to see if it can be done drives the project ahead. Yesterday I removed the original large head that filled the space from what is now the machine’s control room and replaced that head with the Happy Meal Dr. Arliss Loveless… that was a tough fit, but I got him in there. When that was done, I constructed a smokestack because I intend this to be a steampunk war machine. I made the stack using Evergreen plastic. Today after painting a number of pieces for my 15mm WW2 North Africa project (a project I’ve been working on since June), I got the urge to paint the Juggernaut’s new smokestack, and that led to putting some paint on Dr. Loveless as well. I’ll probably revisit Dr. Loveless. He was too hard a fit to remove for painting so I painted him in place; a hard place to move a brush around in. I’ll probably go back and do a little more work on his paint when I’m not tired.
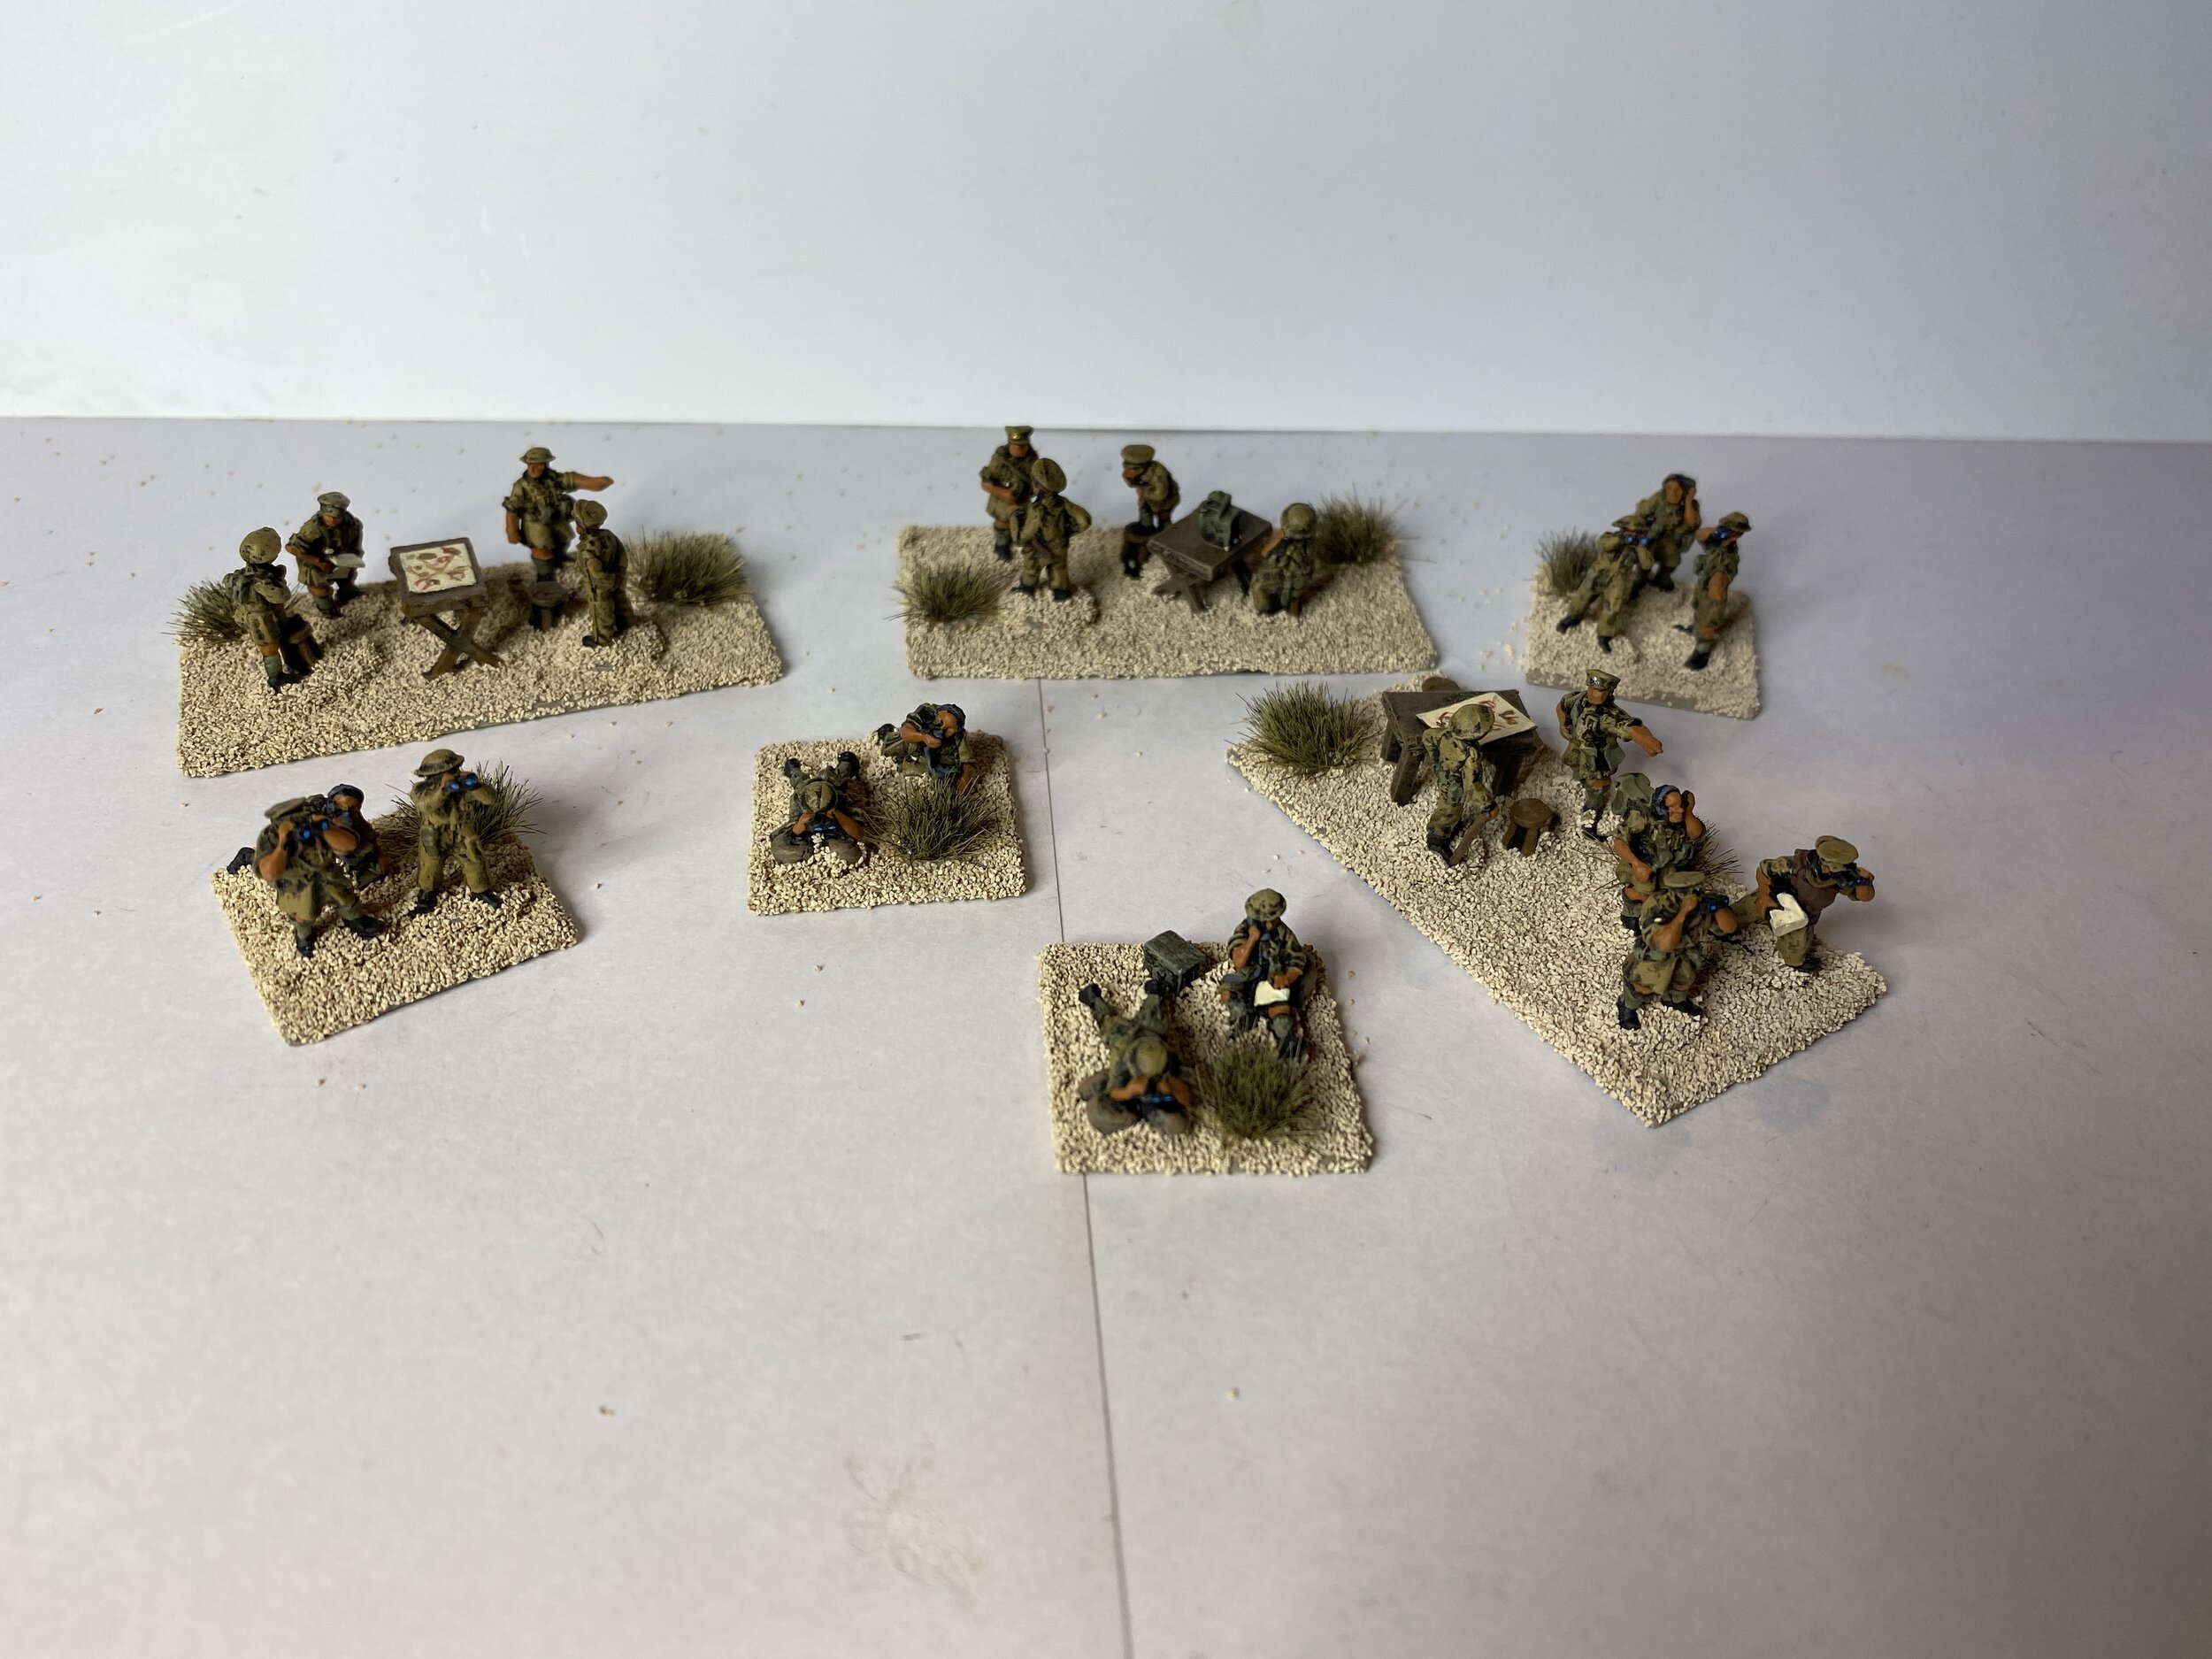
Returning to my real project, I selected, painted and based the British figures that would serve as command groups and observation teams for this project… 23 figures in all on 7 bases. That brings my work on the British forces to an end for a while. I still have a number of pieces of British equipment and figures on order, but until they arrive, I will start work on my German equipment for North Africa.
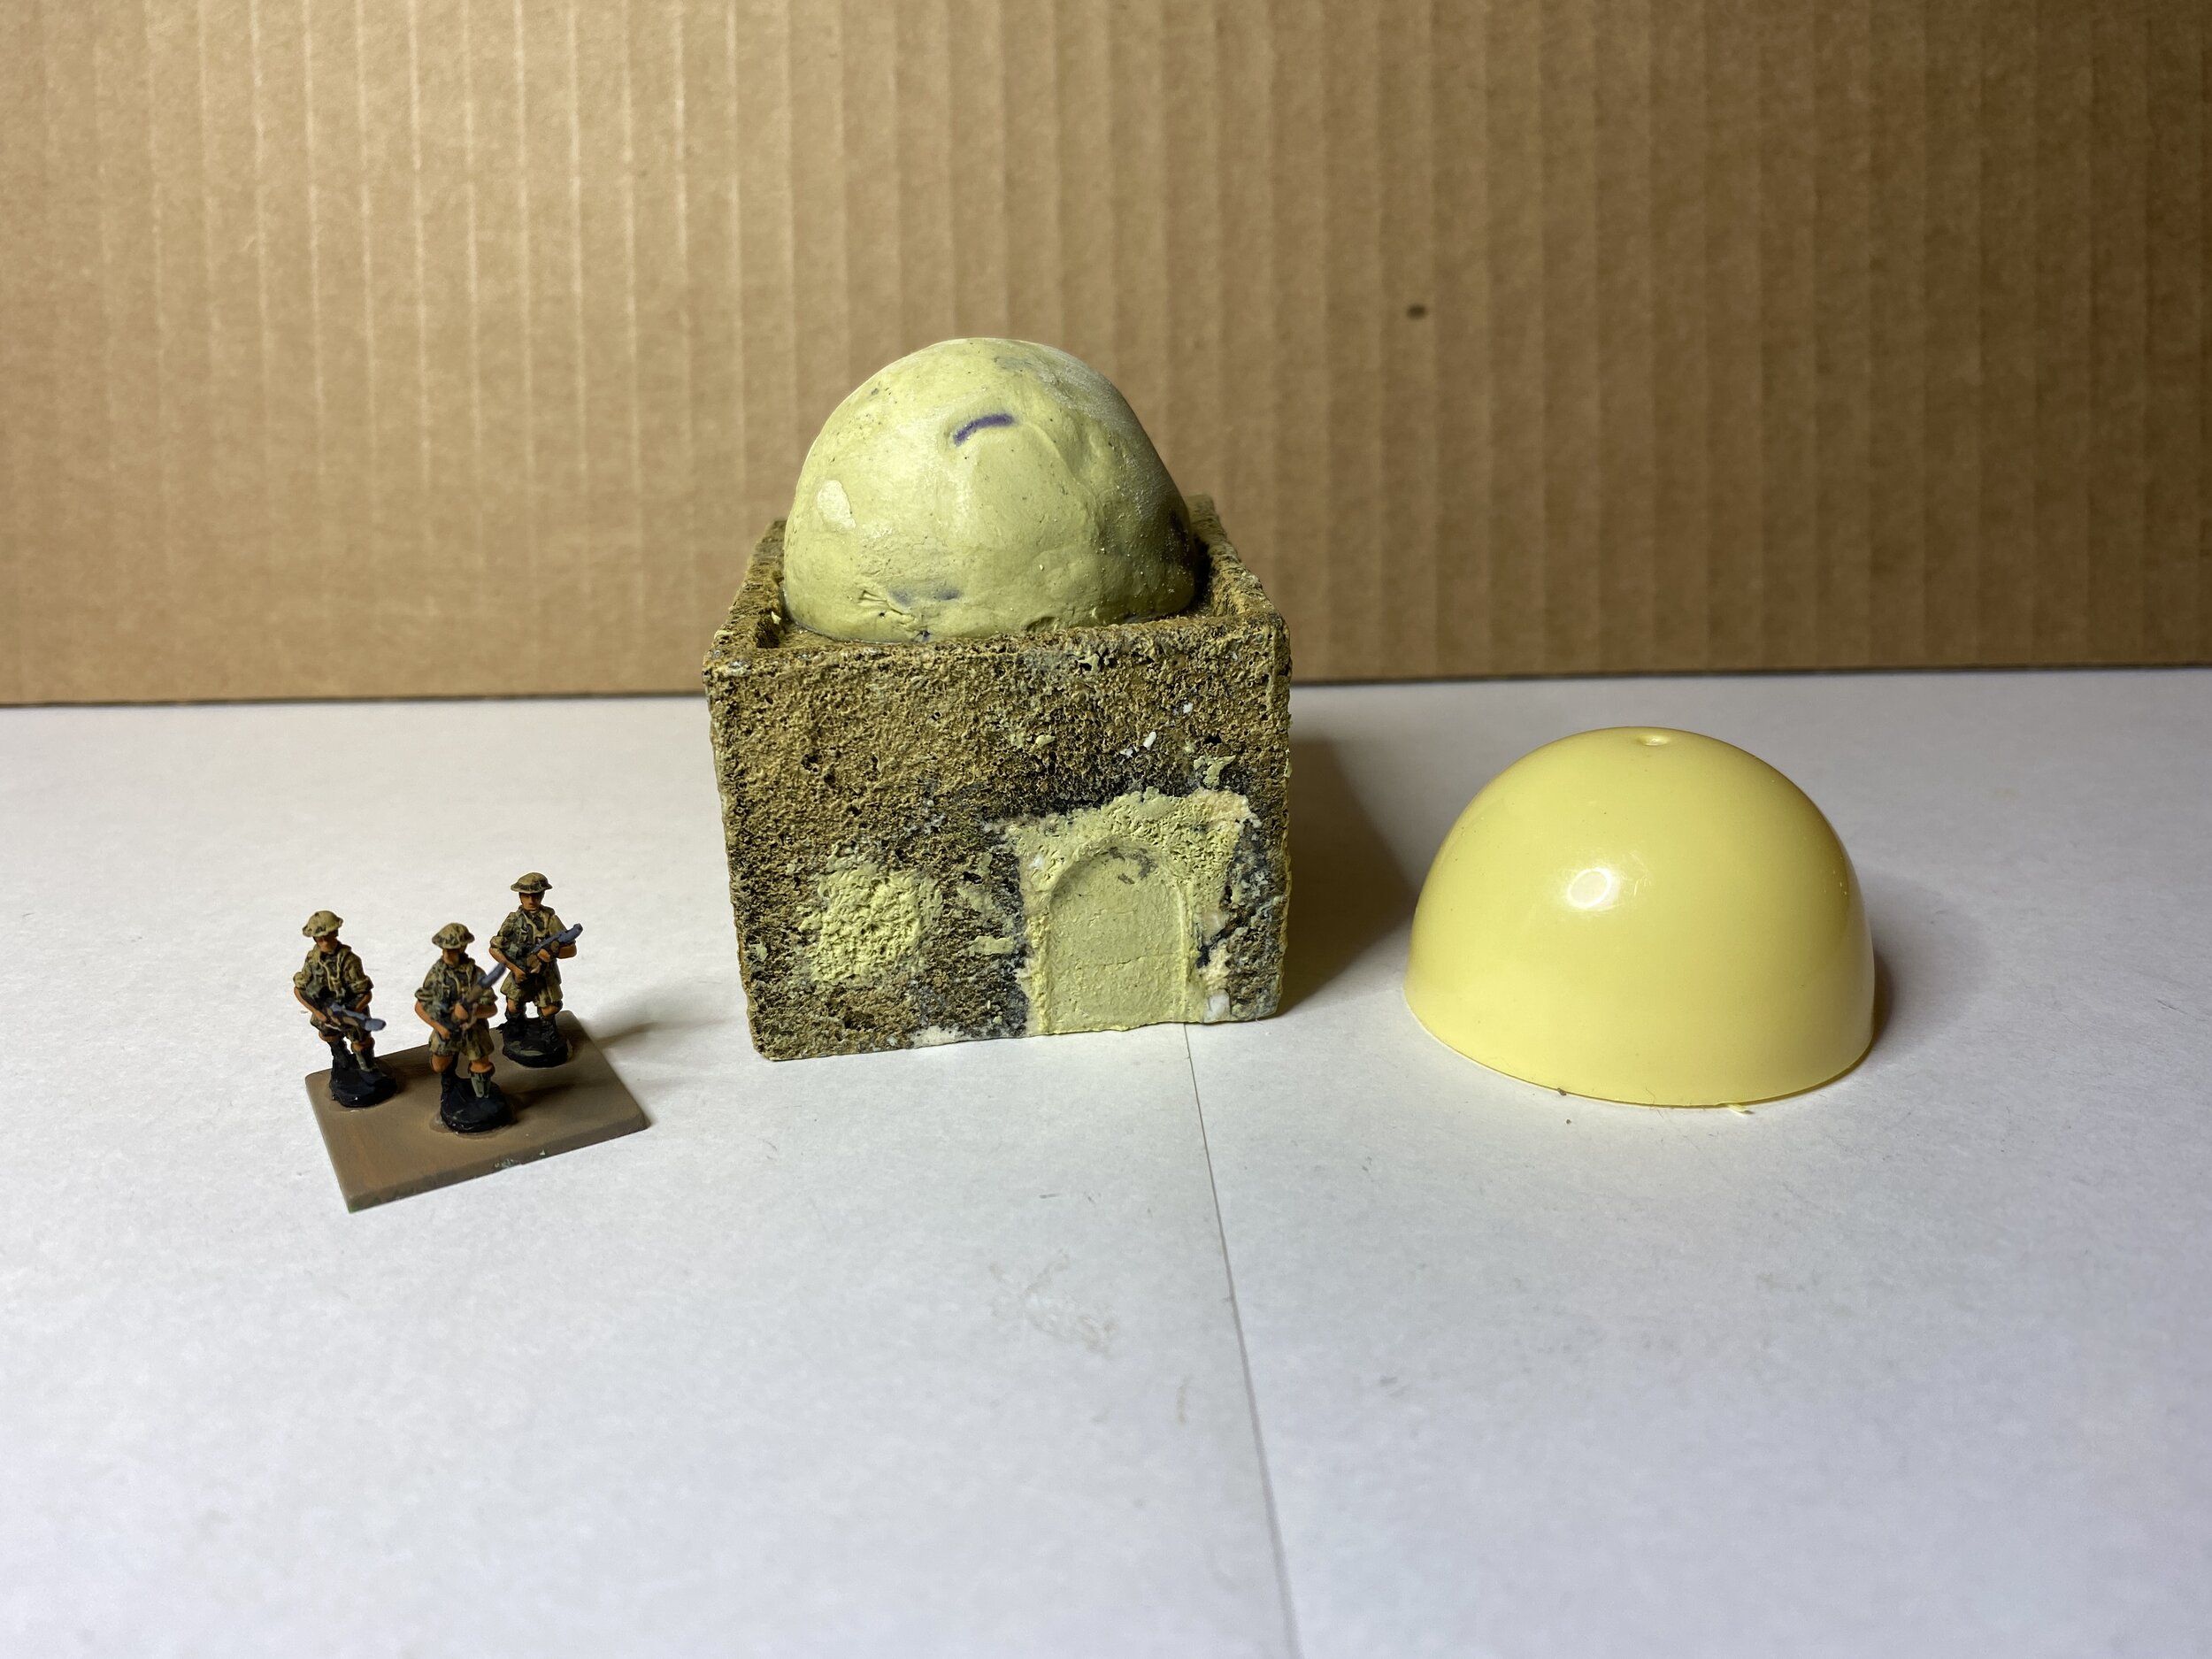
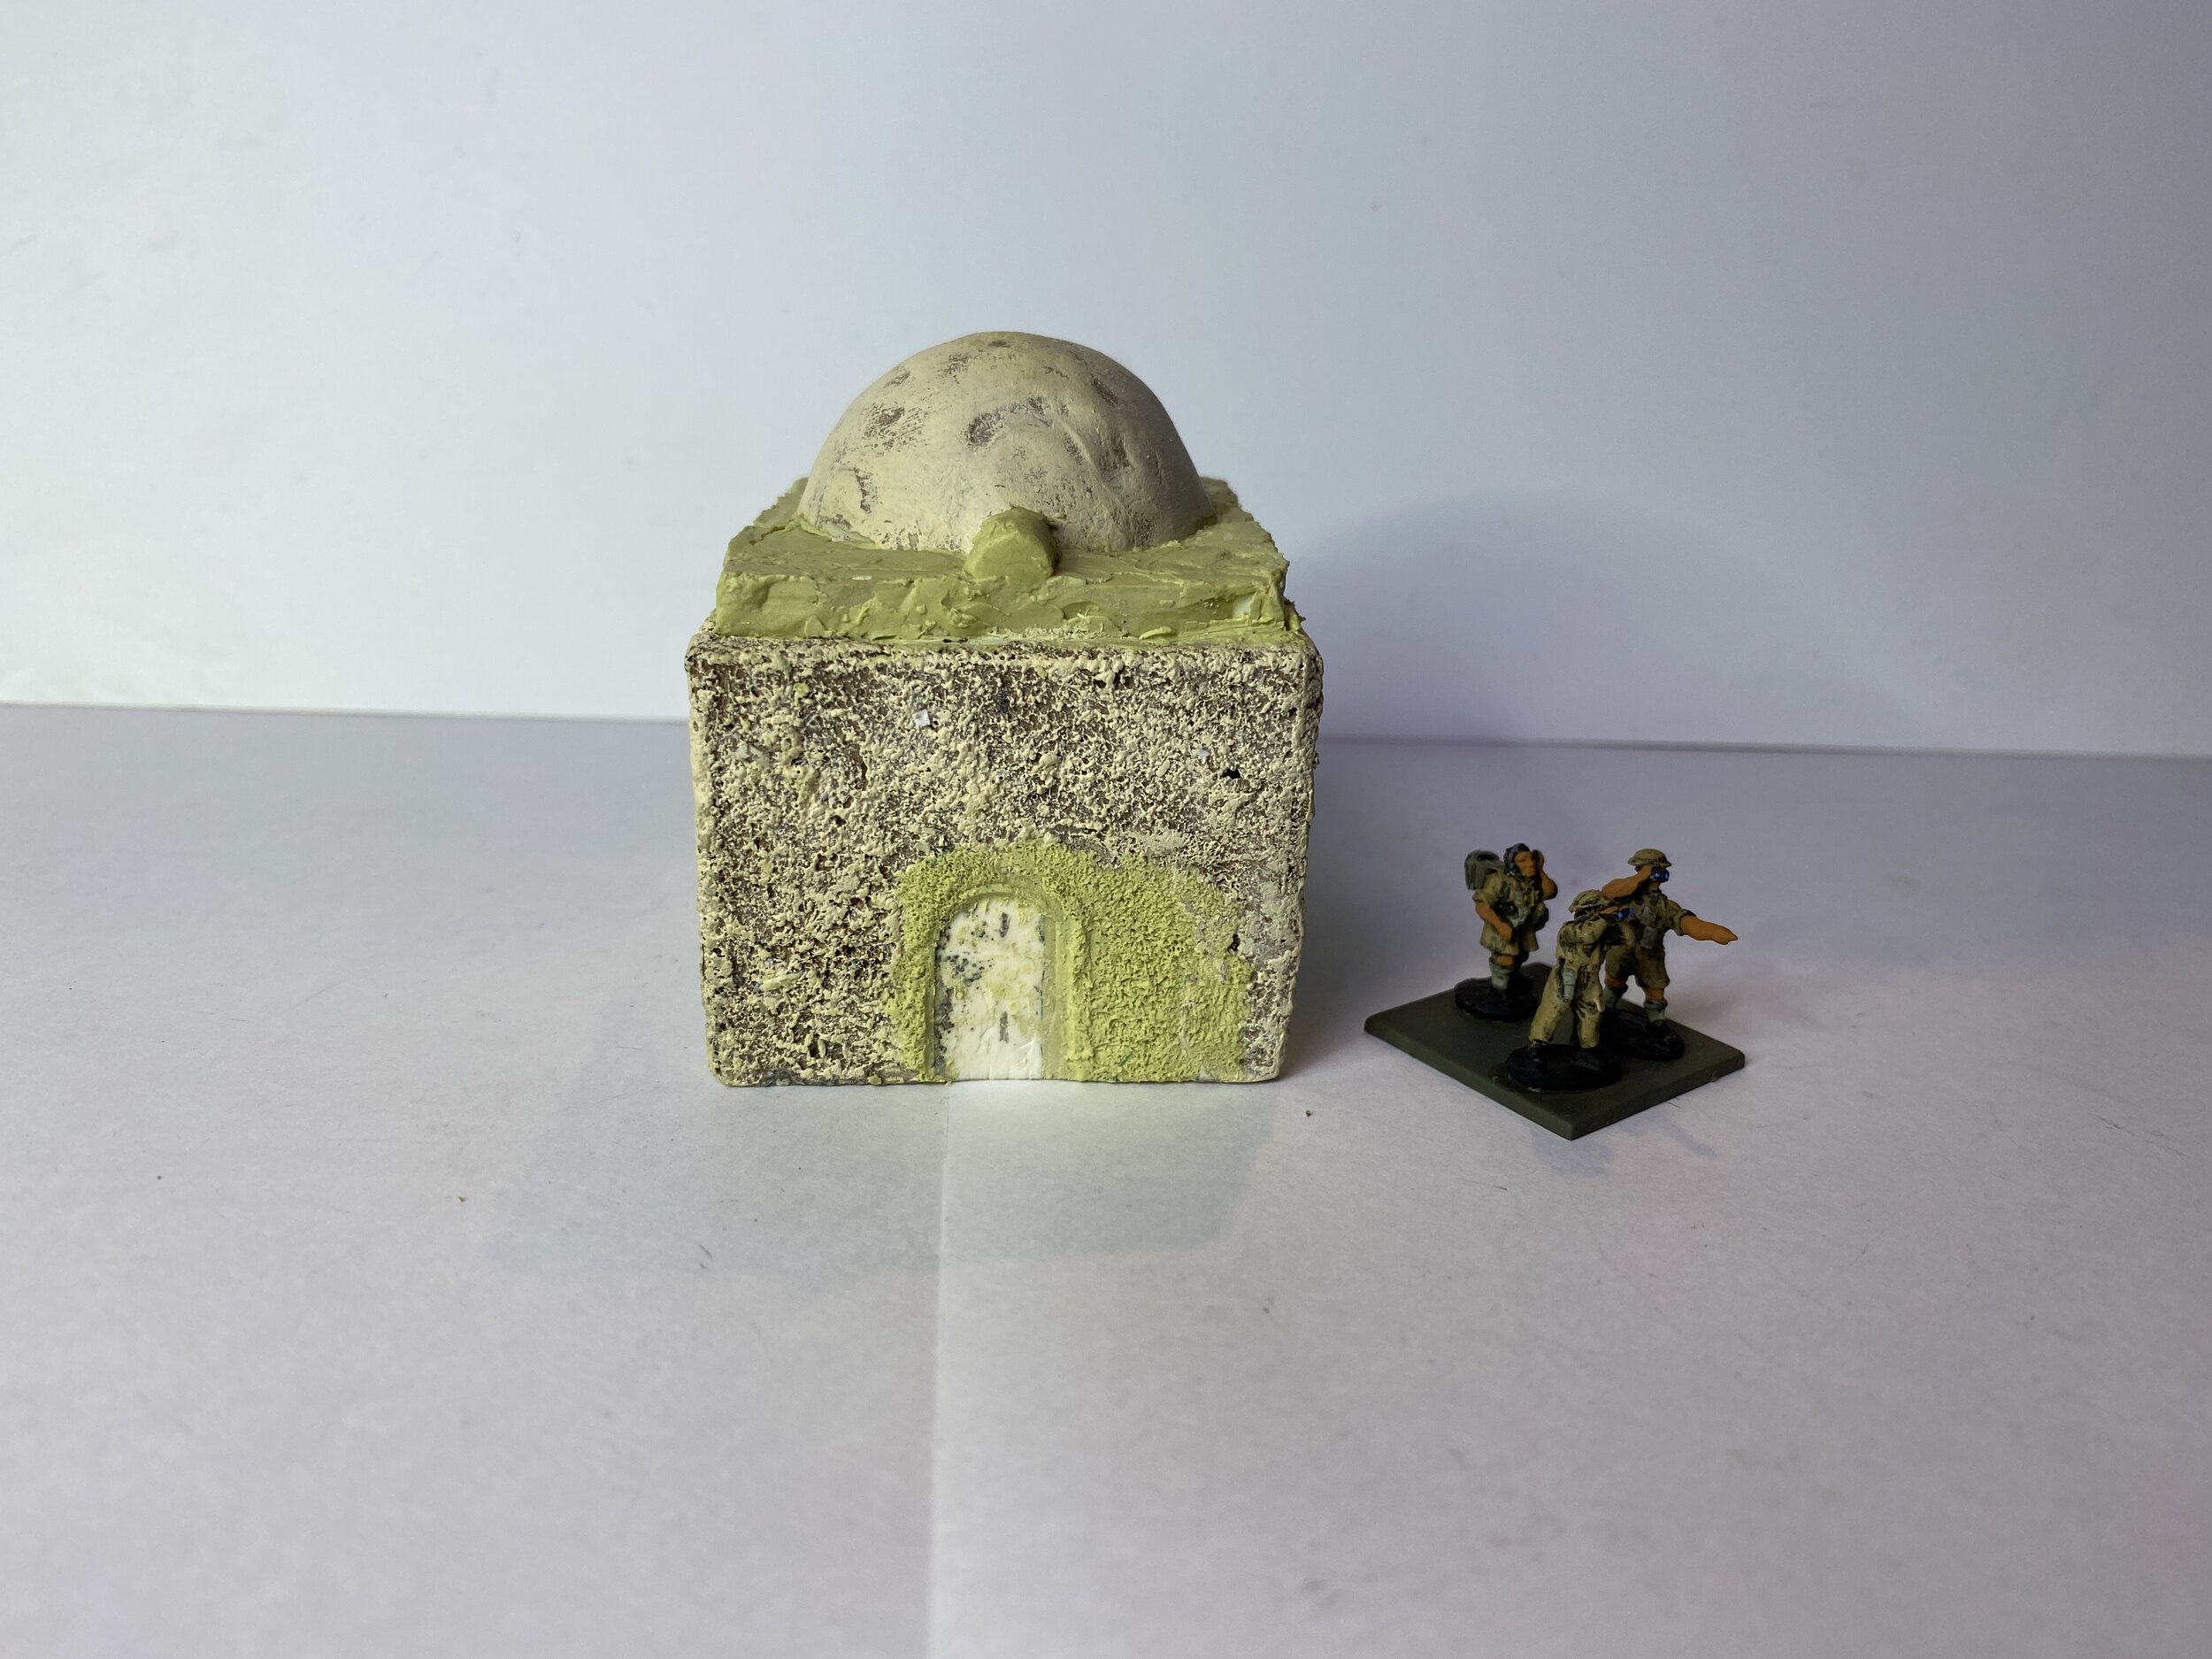
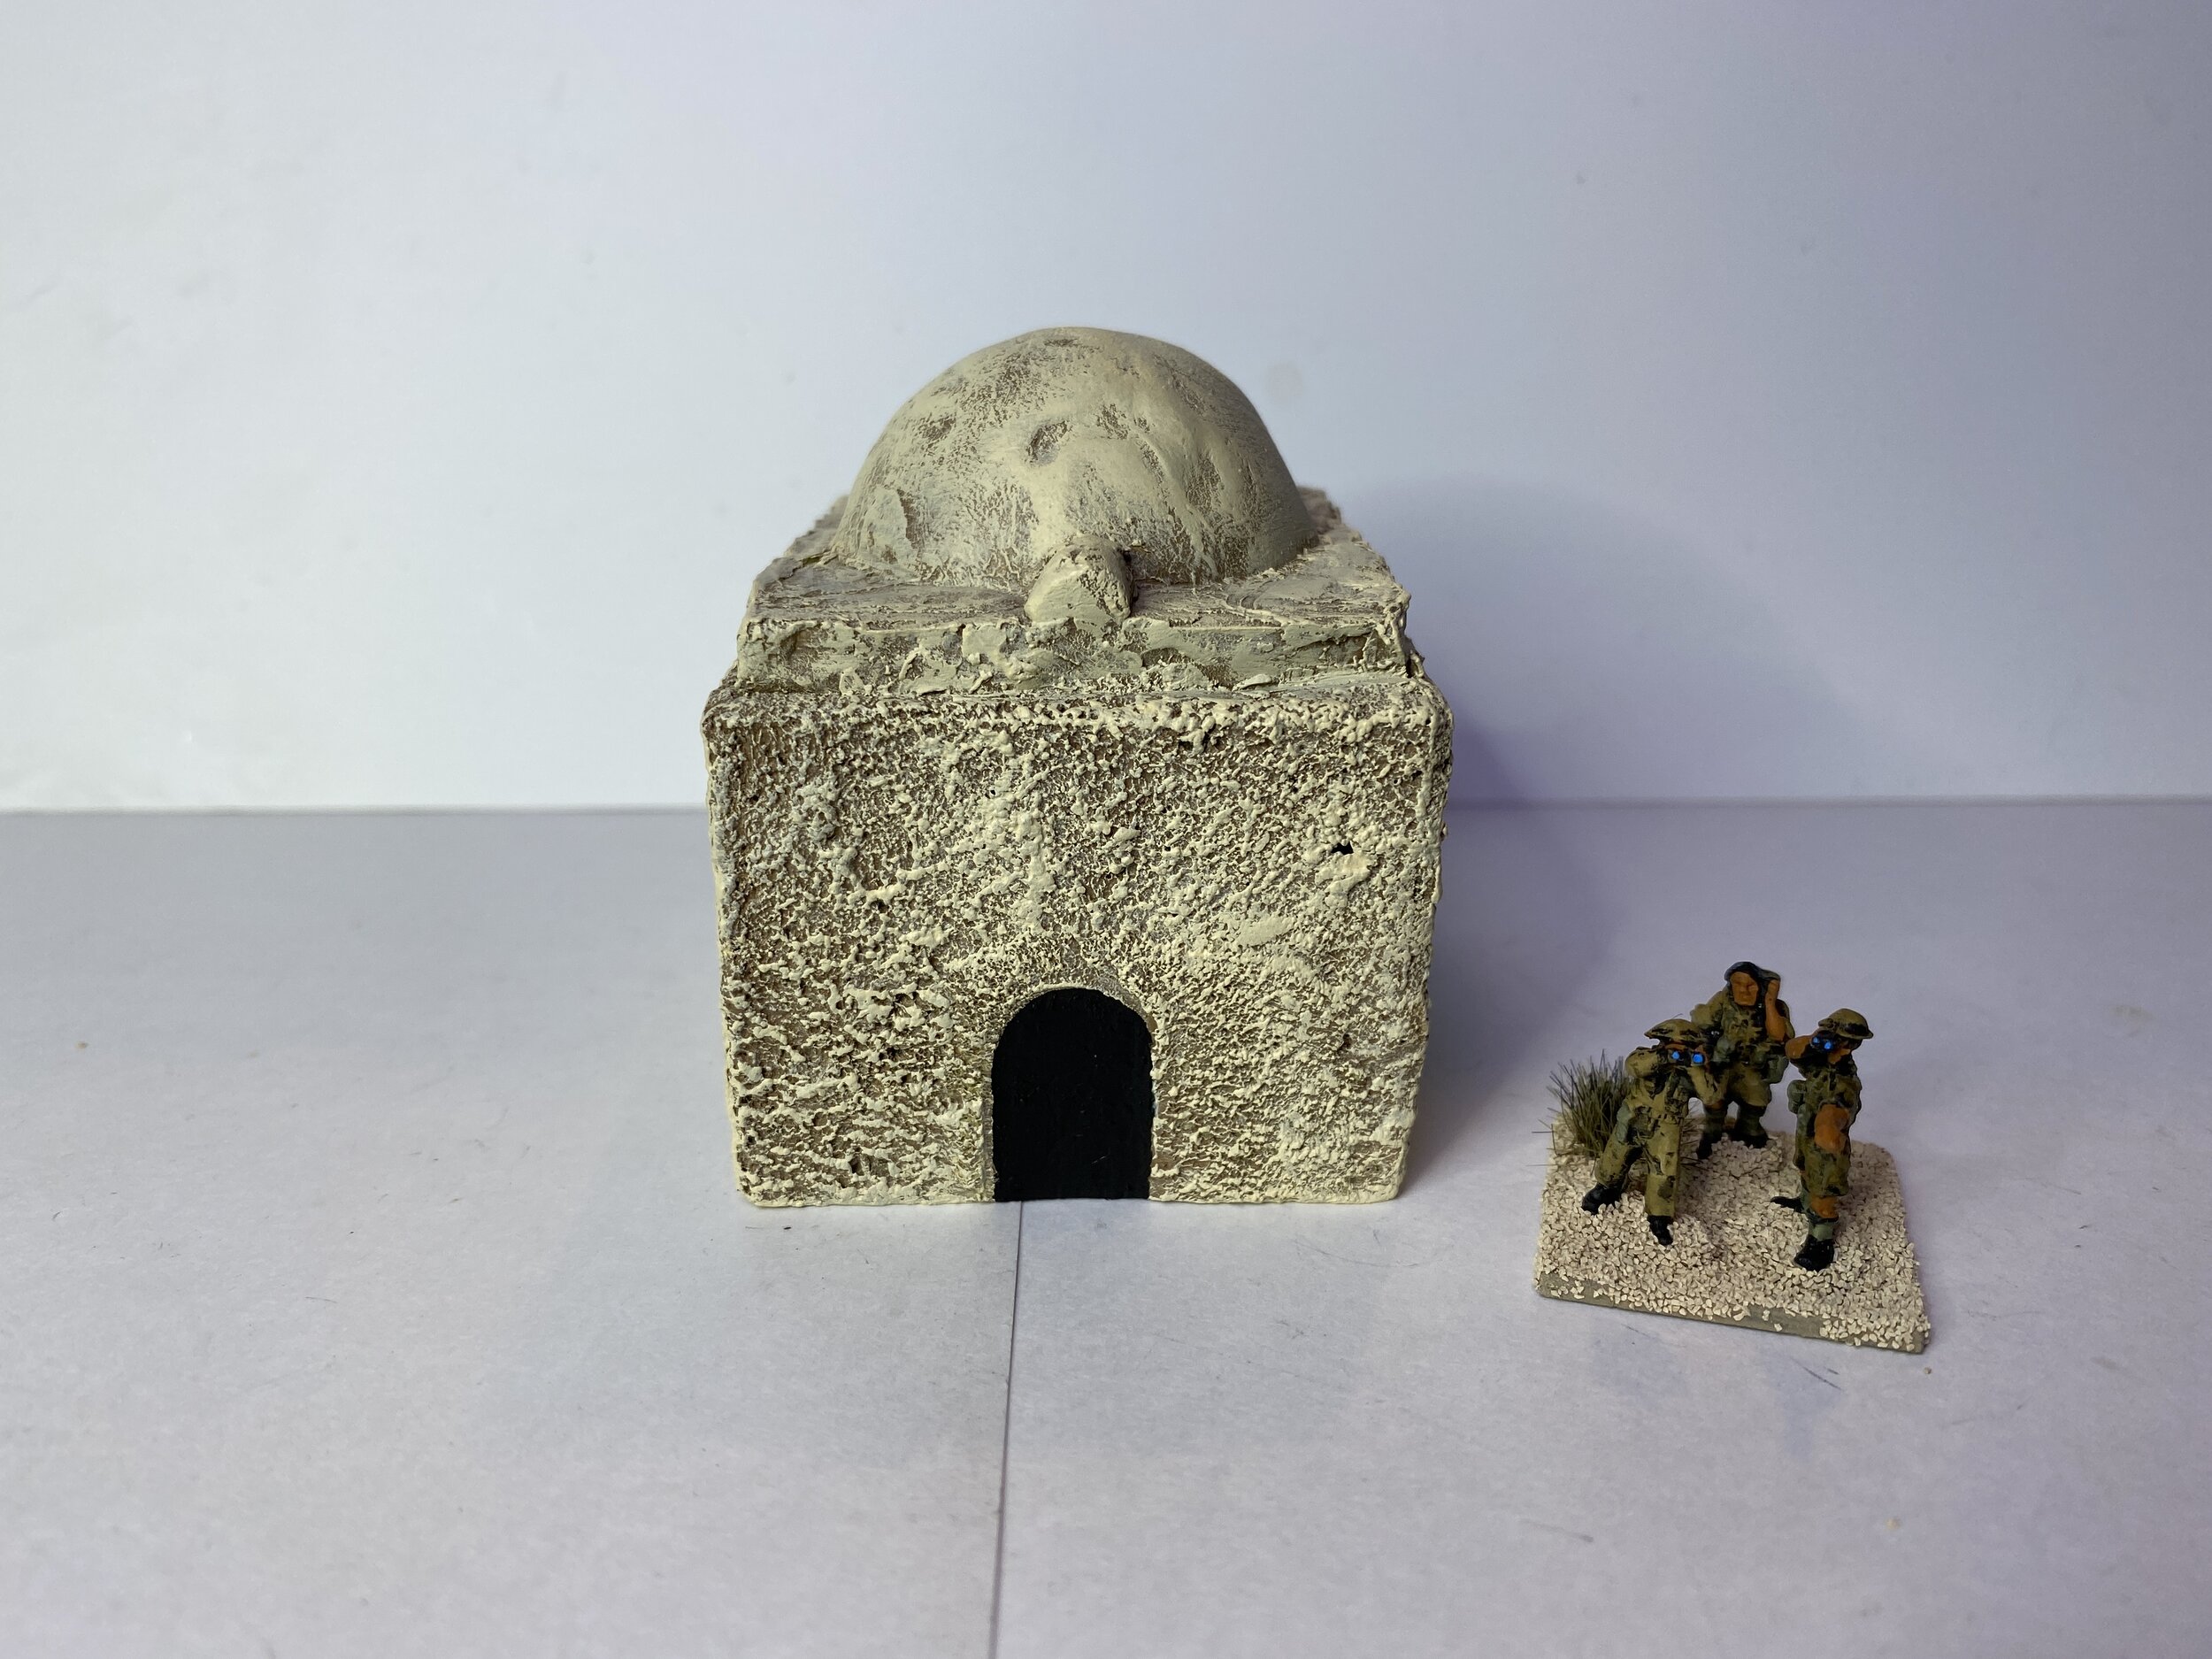
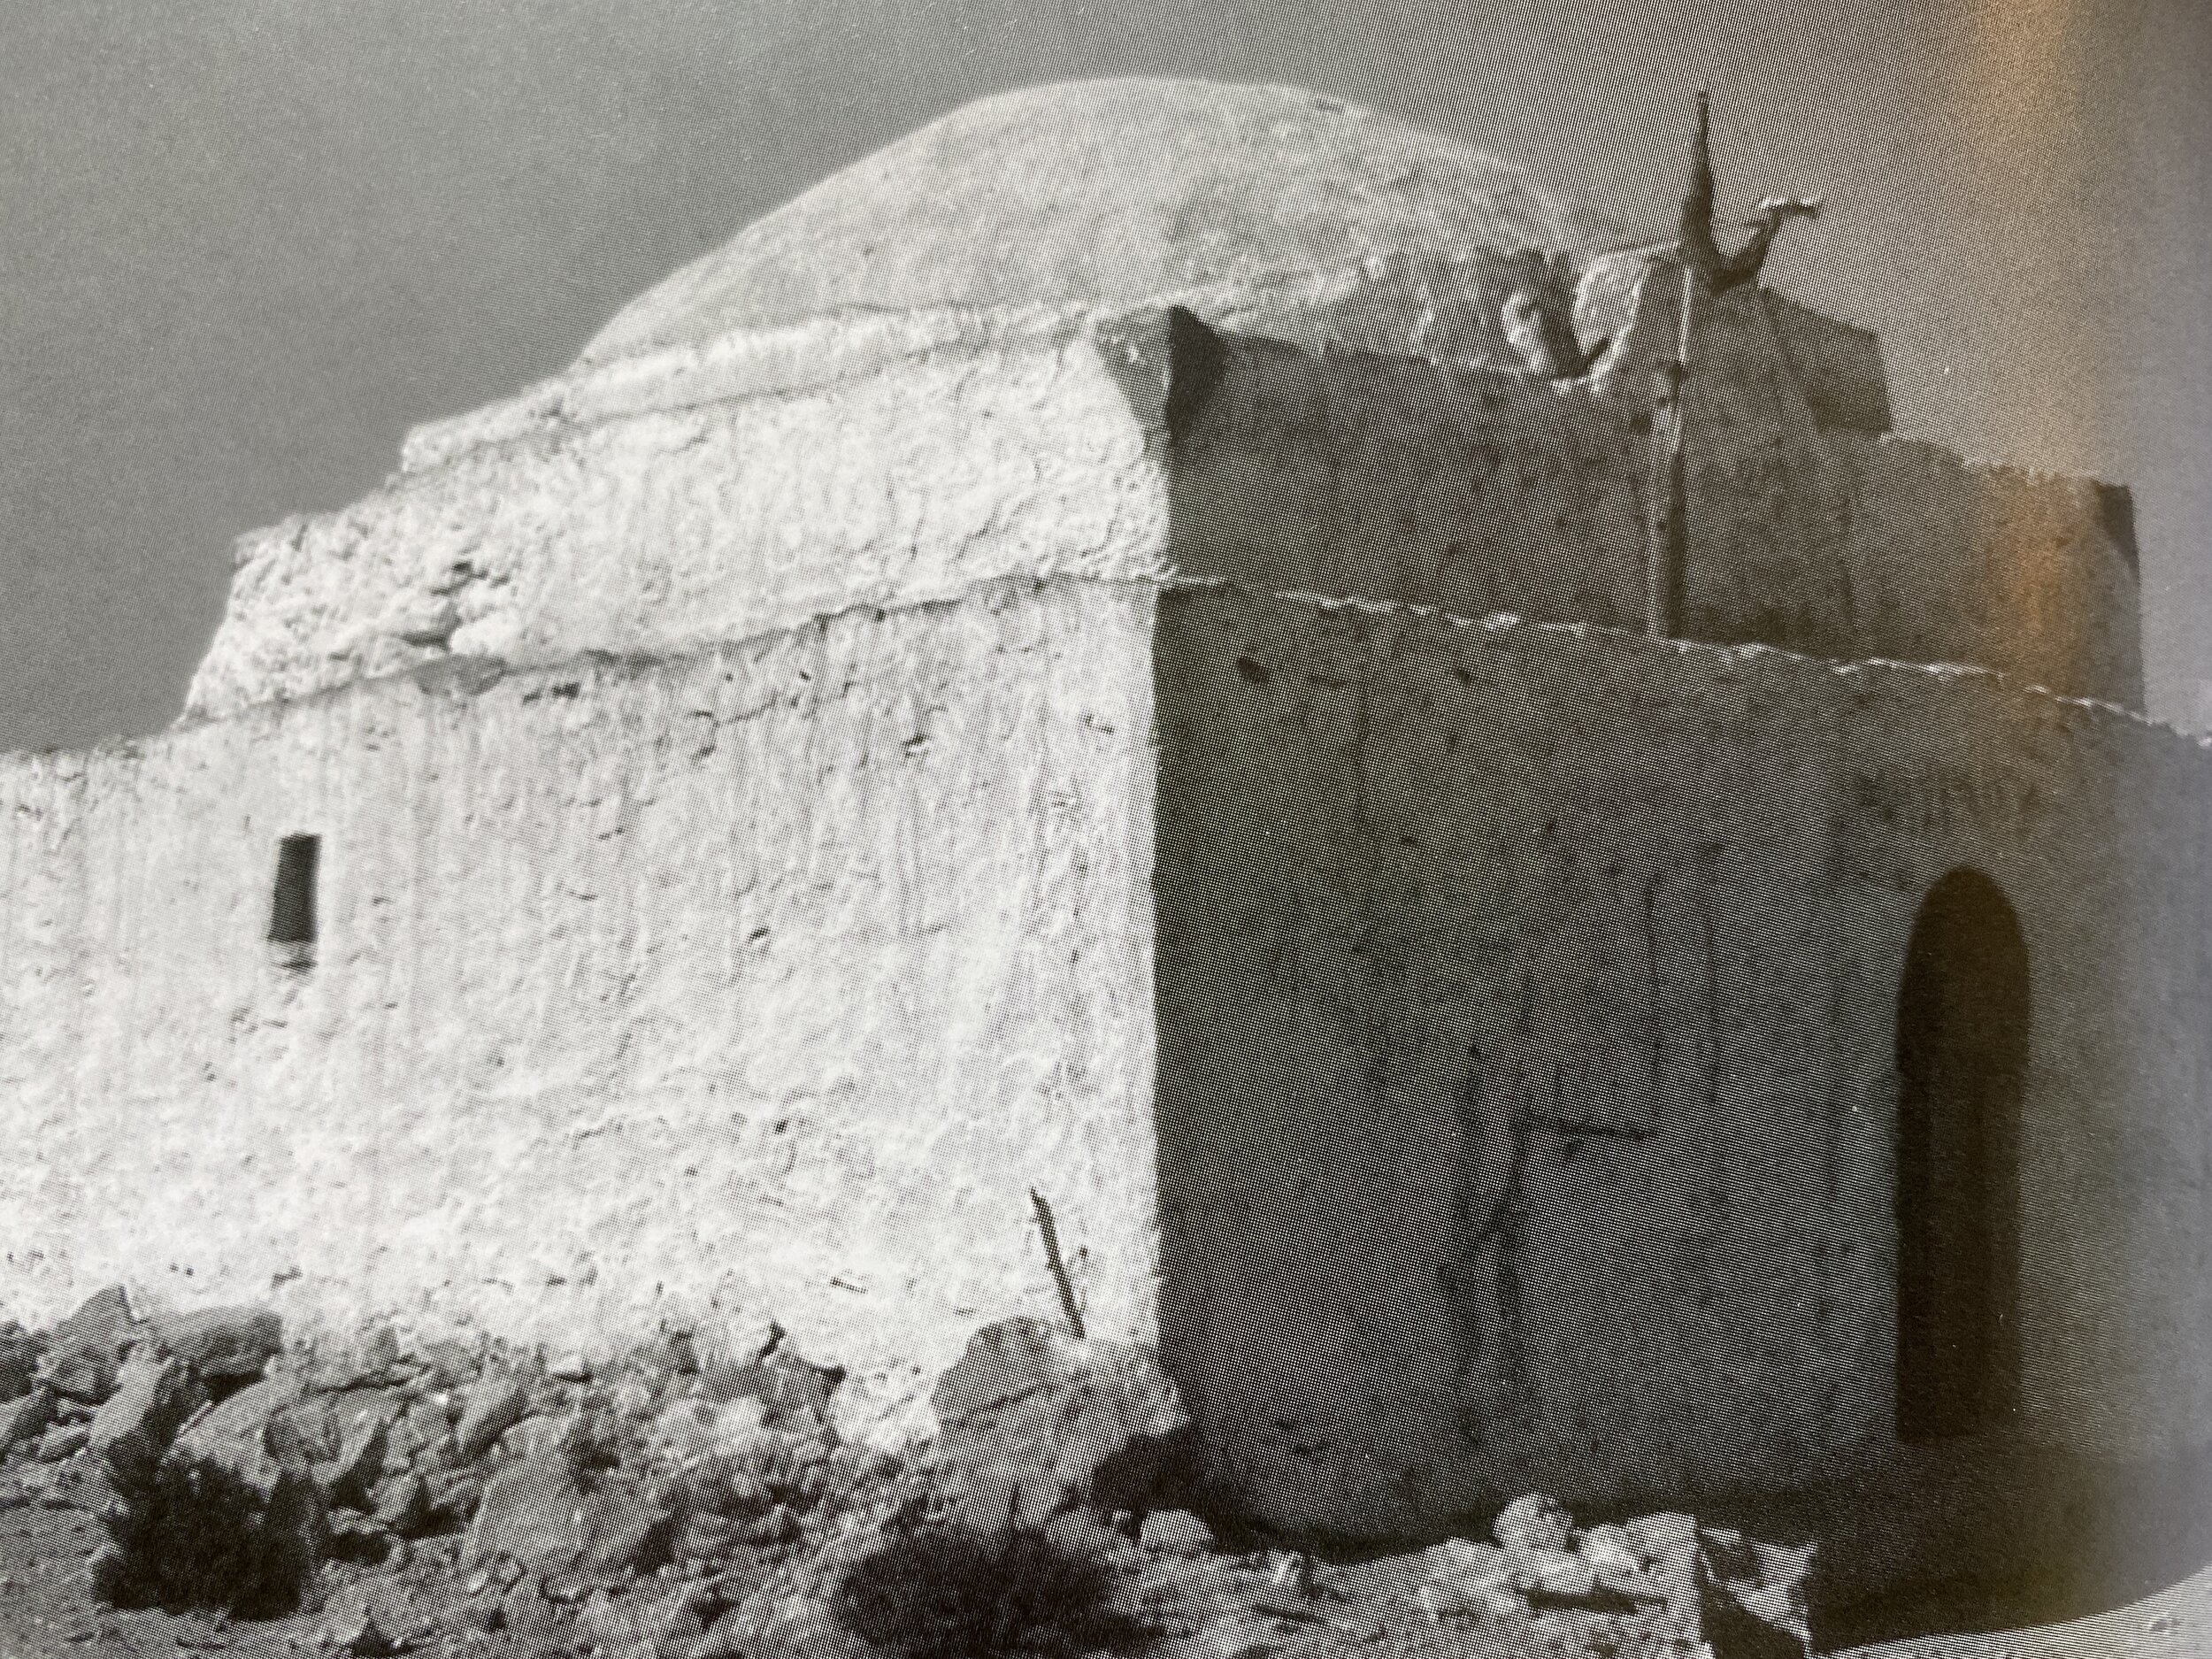
The only prominent structure on the Sidi Rezegh battlefield is a mosque that serves as the tomb of an “Arab saint.” Since one of the three campaigns I am focusing on with my 15mm North Africa collection is Operation Crusader and the Battle of Sidi Rezegh is a major element of that campaign, I needed that mosque. To the best of my knowledge no manufacturer makes that mosque in 15mm, so I decided to put together a simple representation of the mosque using a 15mm stucco Mexican or Middle Eastern building that I had not used with previous collections. It is a square building. It had a rectangular doorway that sits to its left front of the building and a window next to the doorway. It also had wooden roof supports extending out of two sides of the building. I decided to see if I could use it as my mosque. Initially my idea was to cut off the roof supports, round the top of the doorway and put a dome on the roof and that would be it… all done. For a dome I used the larger/rounder end of a plastic egg. I covered it with Milliput… not too smooth. I made the top of the doorway arched and hid the window with Milliput that I scored using the brush end of an old toothbrush. I then gave it a paint job, and I was done. But this week I was unhappy with it. The real mosque has the door in the center and the dome is sitting on a raised square base. That wasn’t true of mine. So I built the dome’s new base around the existing dome (egg) using Evergreen Plastic and Milliput. That had the added benefit of lowering the height of the dome. I added a small arched detail at the front of the dome and above the door (I have no idea what it is) using Milliput. I cut a new doorway in the center of the building, hid the first doorway under scored Milliput and gave the second doorway a rounded top. The paint job was simple. Painted the building Vallejo Earth Tan; let it dry and then dry brushed the entire building with Vallejo Pale Sand. The building is not perfect but it’s a fair representation, and I am much happier with the new version.
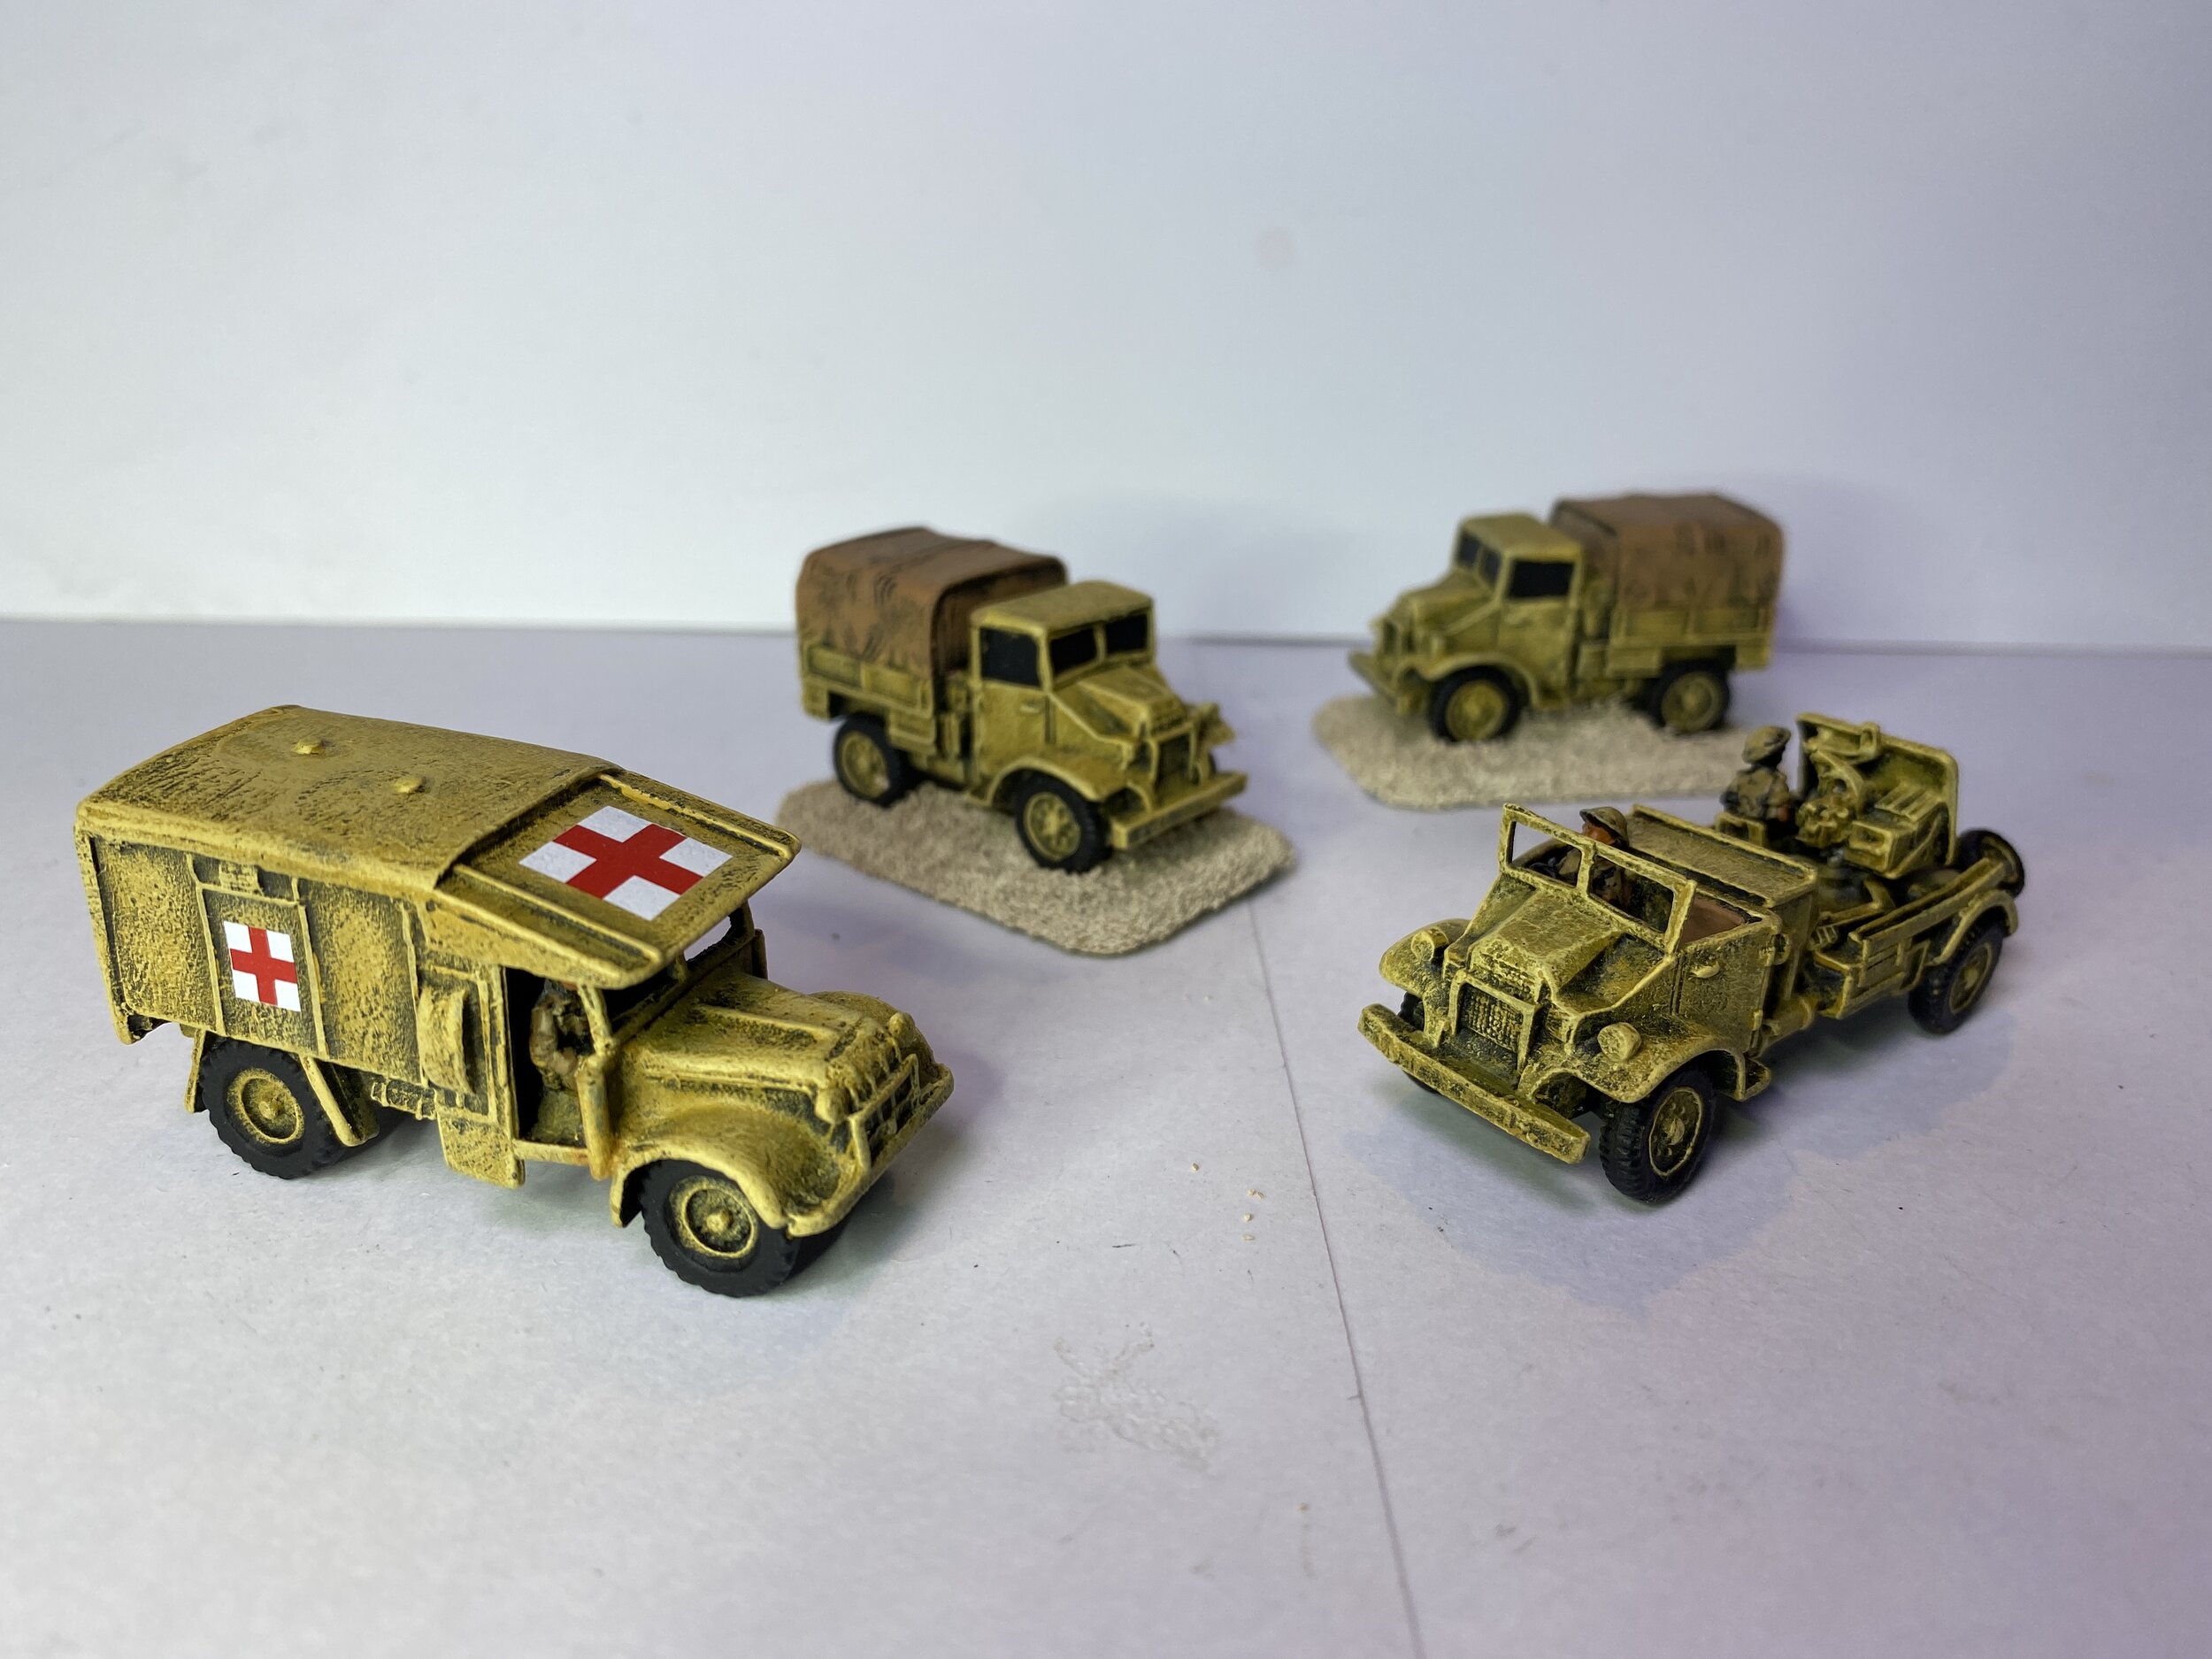
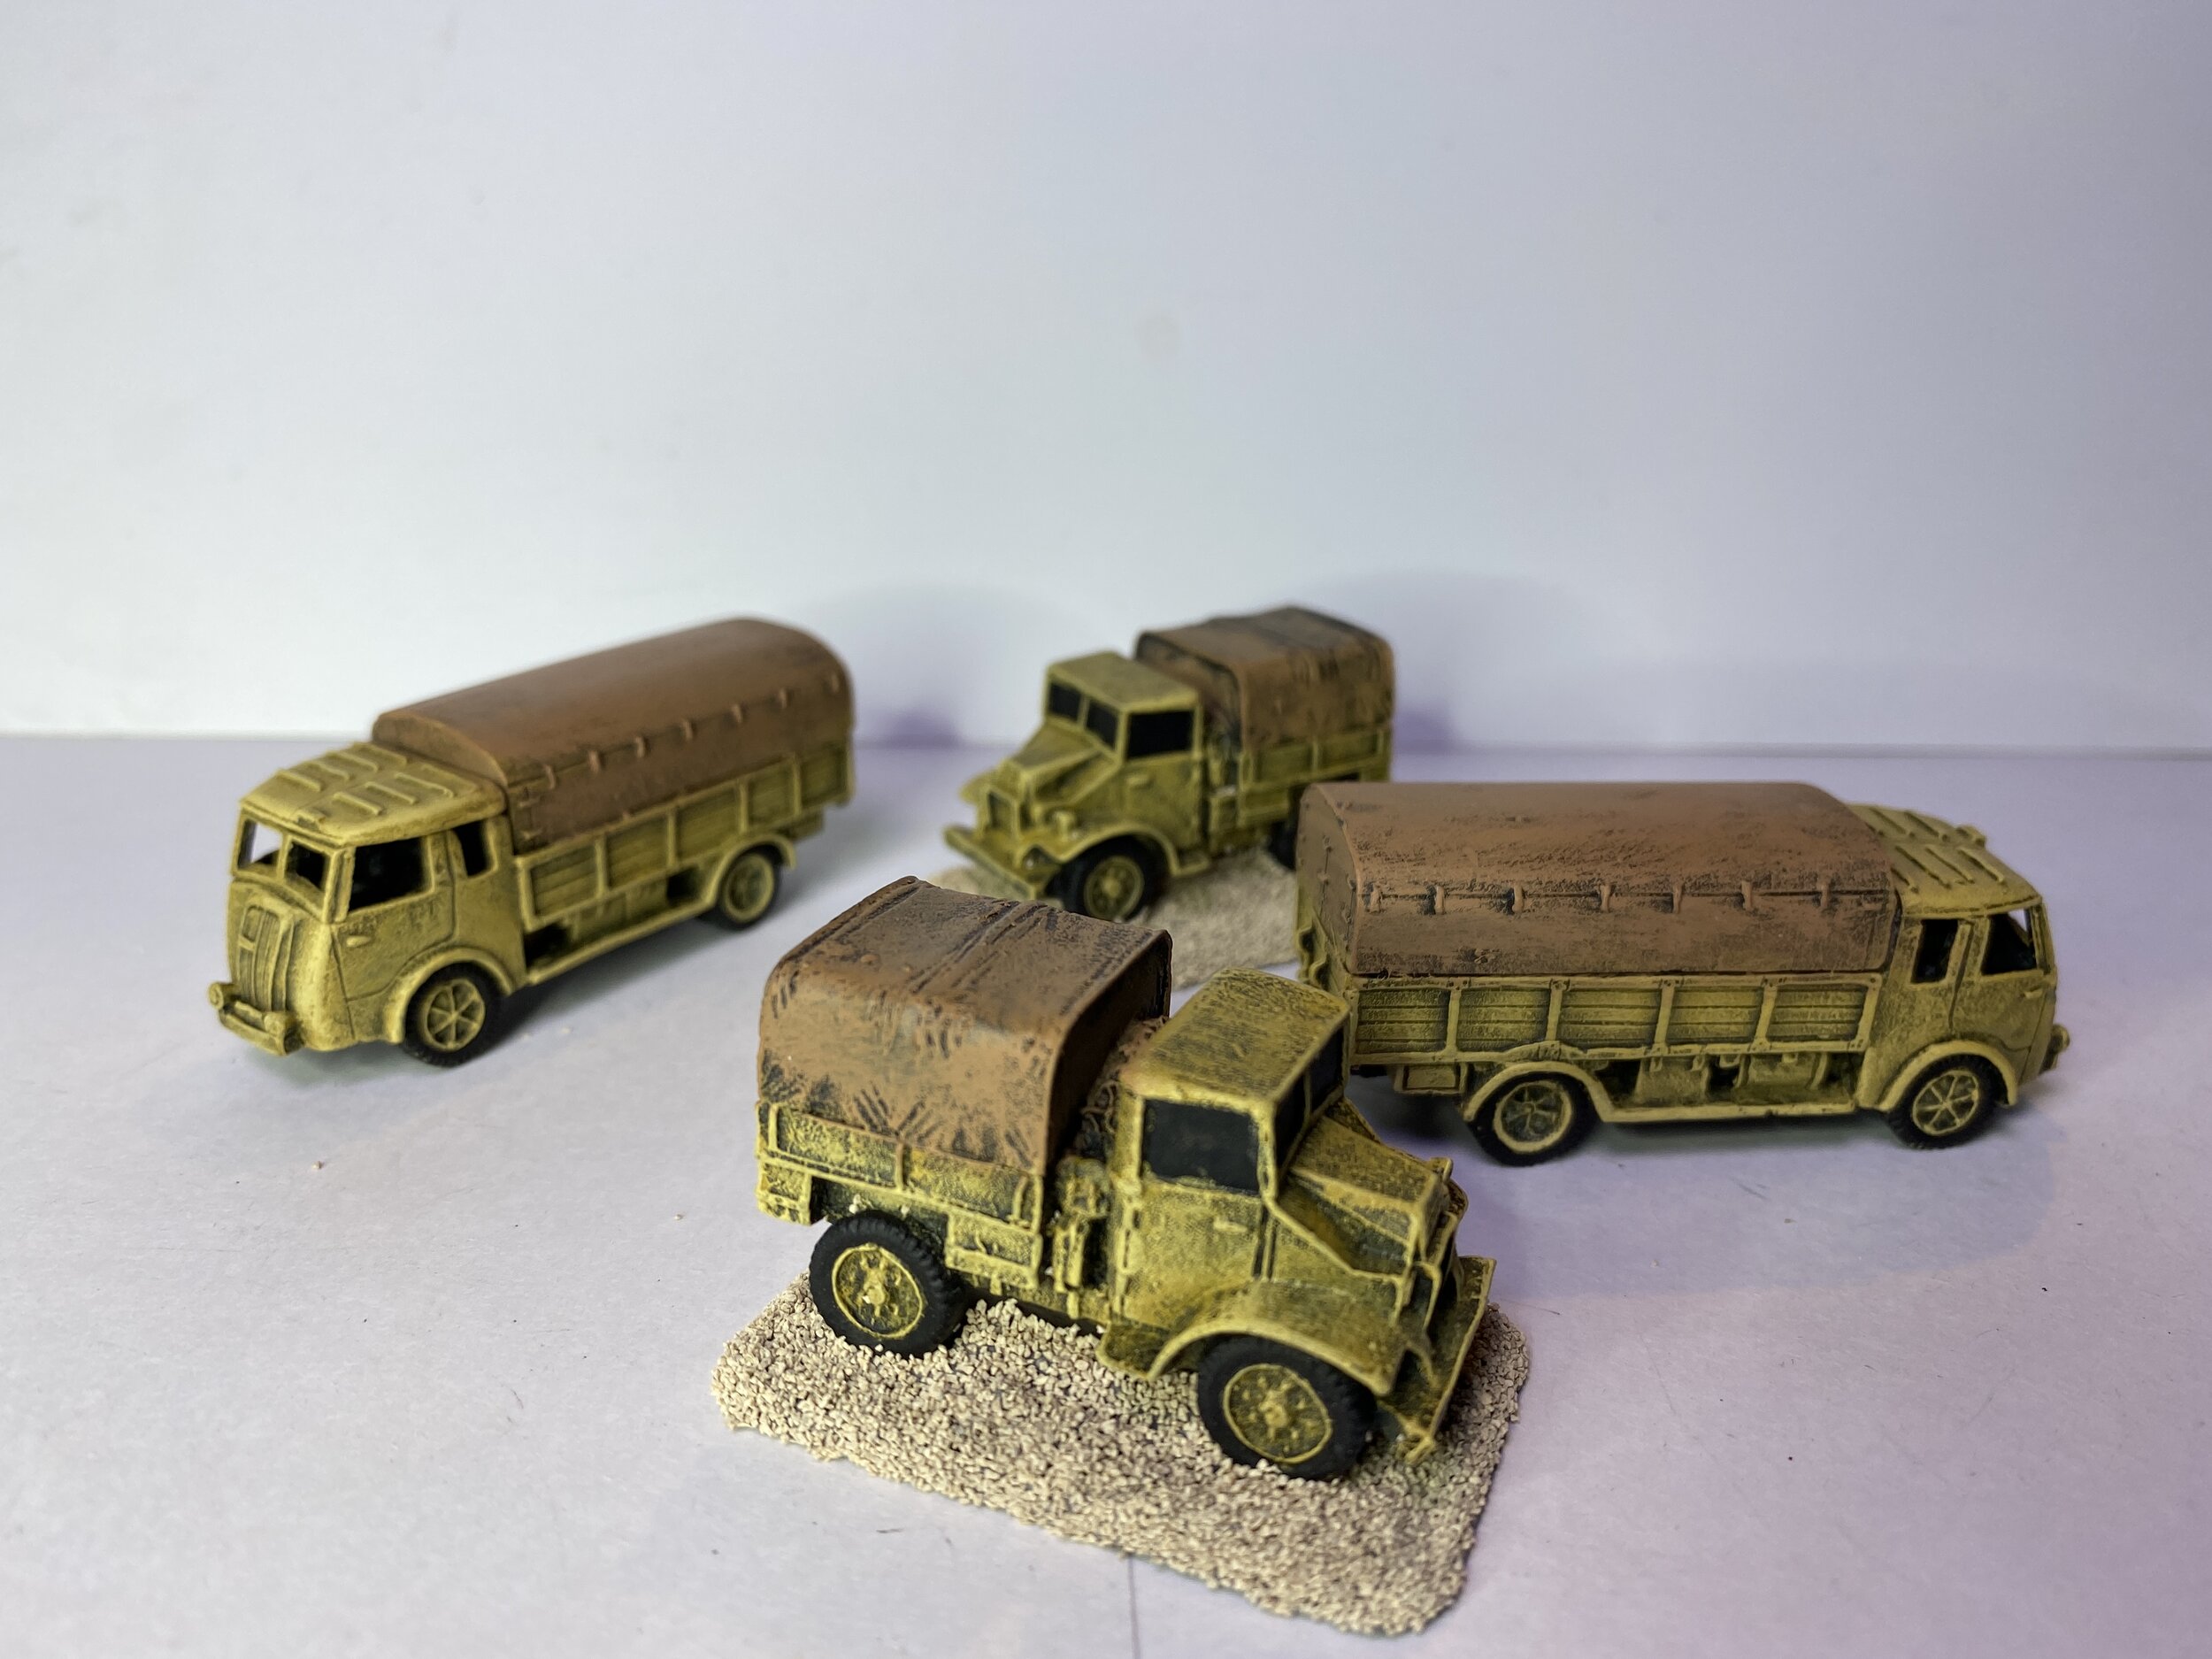
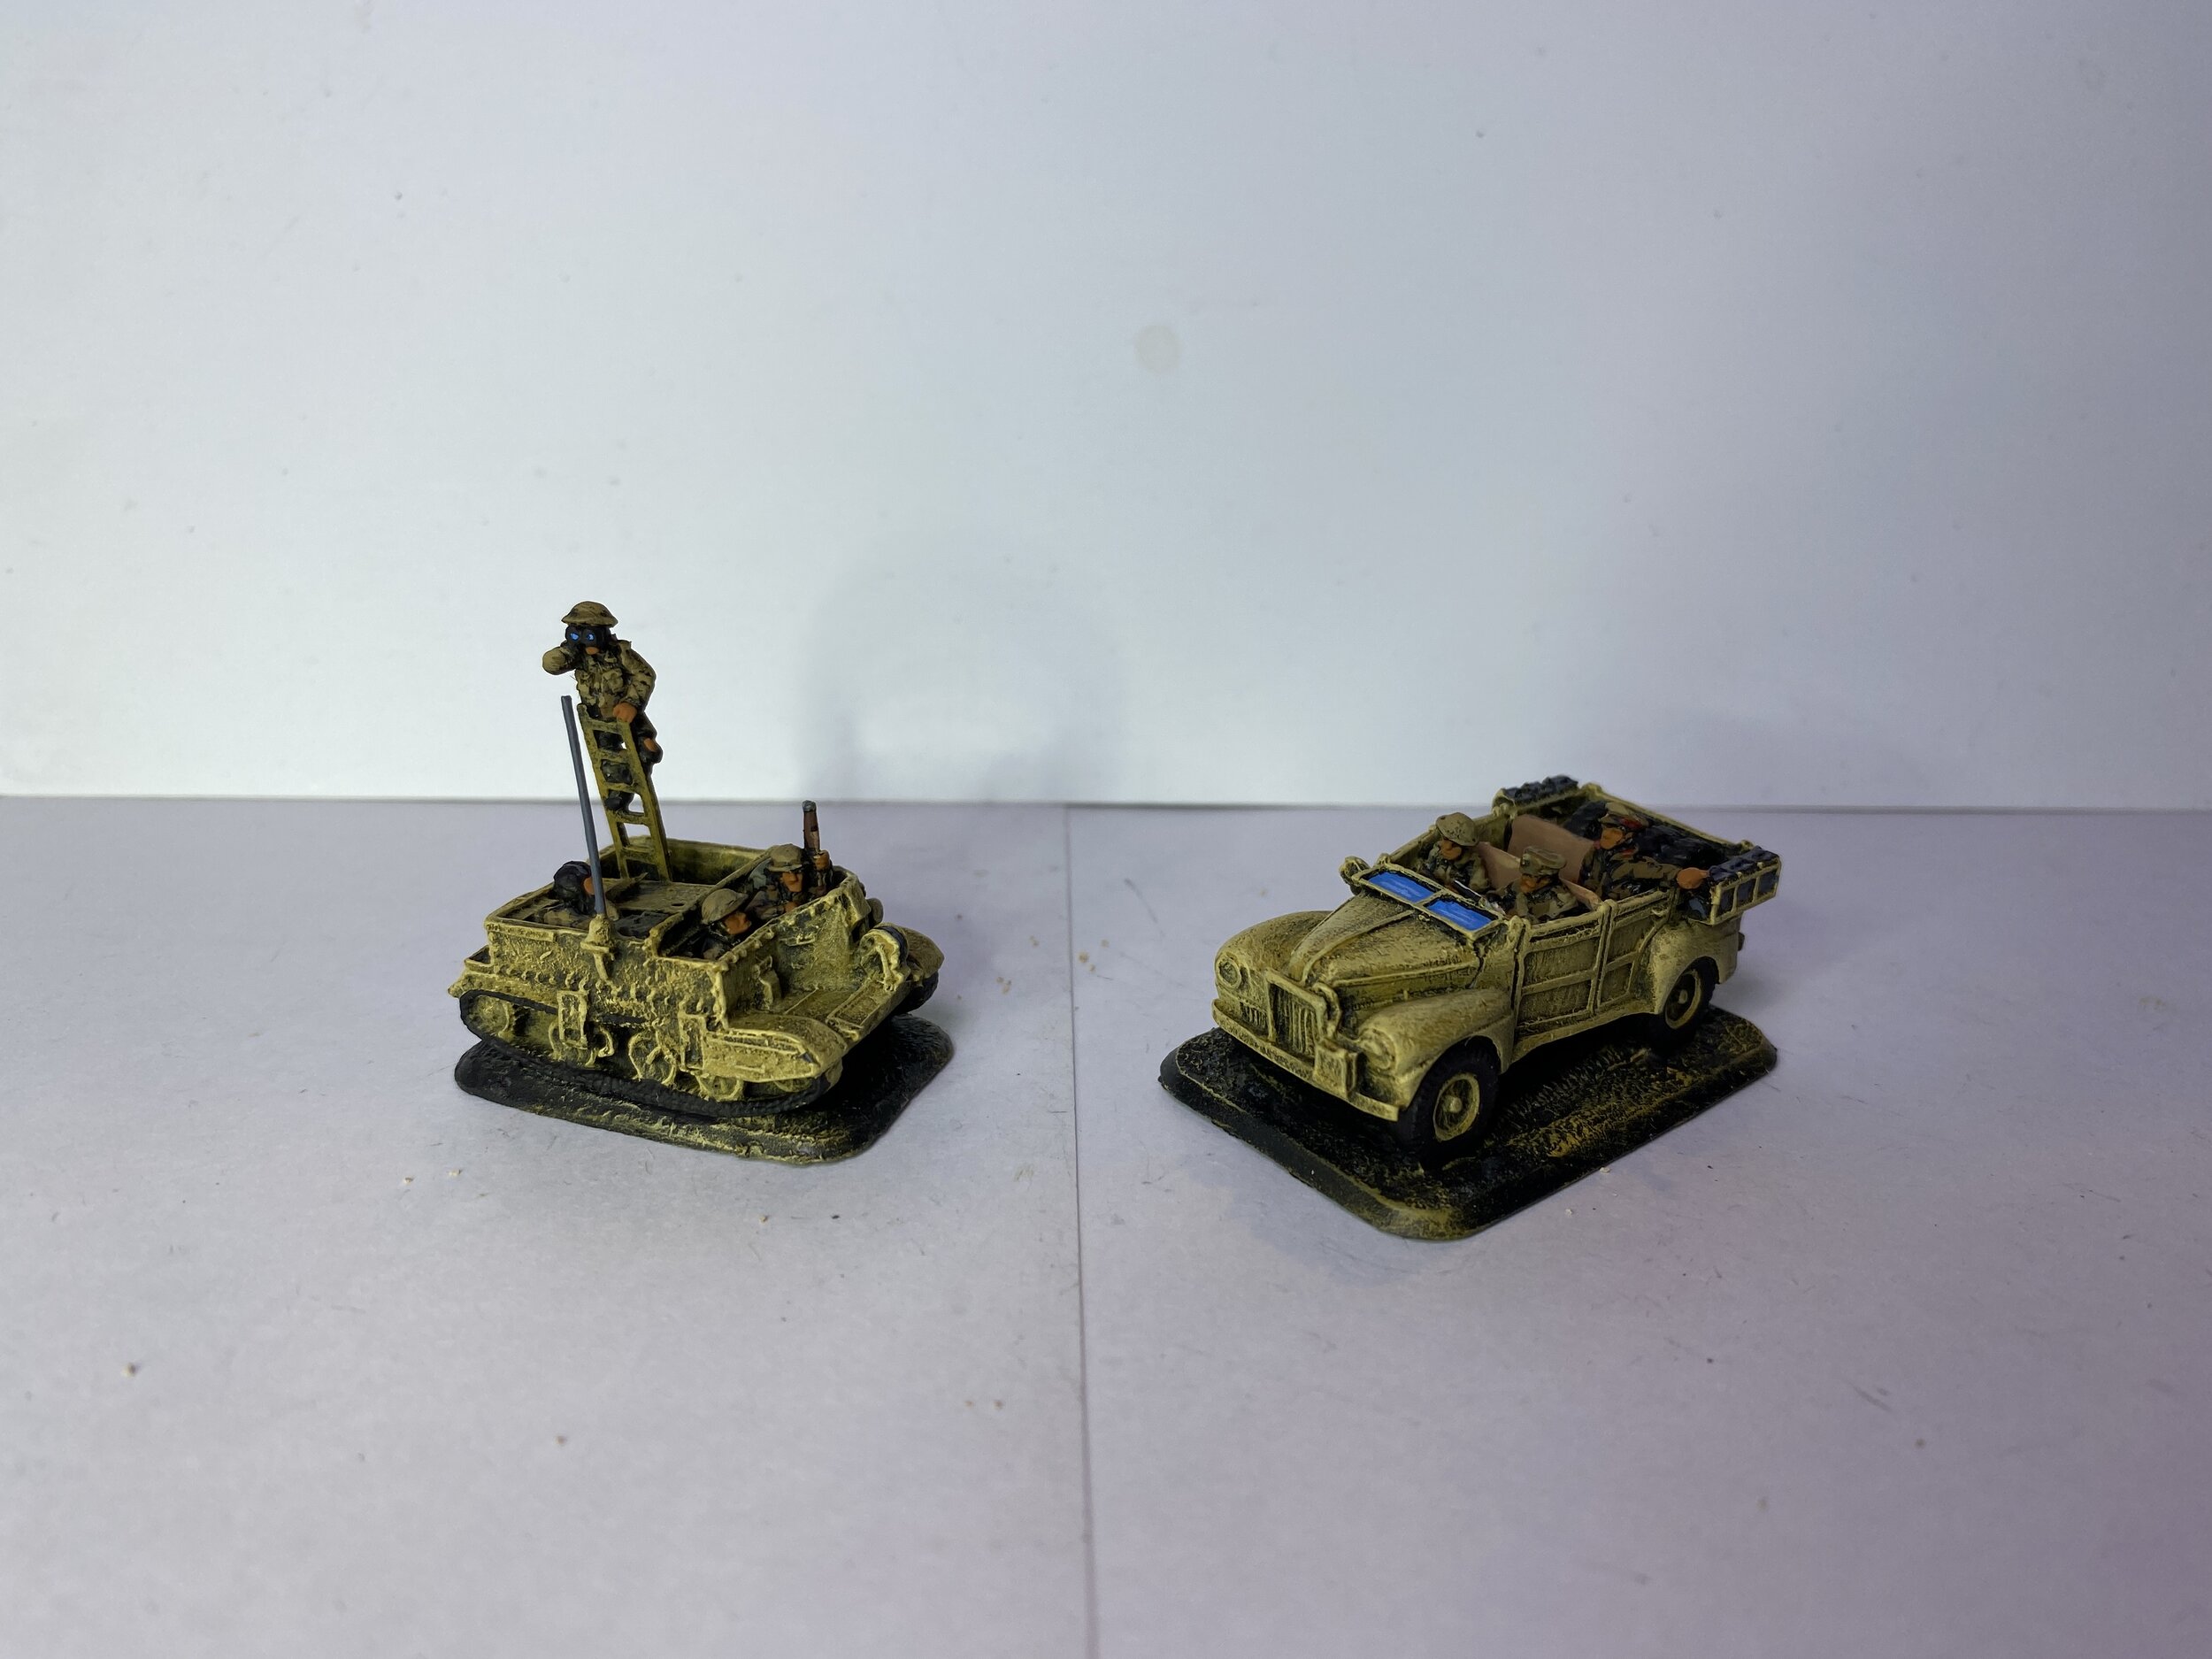
With the last of the British forces that I have for my WWII North Africa collection completed (15 Mk VIBs are on order from Peter Pig by way of Brookhurst Hobbies), Wednesday evening I began unpacking the German figures and equipment for the next stage of the project. Almost all of this stuff was purchased and packed up 17 years ago, so I got a very happy surprise when I was going through my German stash and found that I had mistakenly packed four Flames of War British blister packs in with the Germans, and these are packs I really was happy to see... Quad Tractors, CMP 15 cwt trucks, 2 pdr. portee and the Brigadier Jock Campbell hero pack. To the best of my knowledge none of these are currently available since FOW has shifted to the plastic sets. I also found one more Quick Reaction Force Austin ambulance that I opened and put together right away. On Friday and Saturday I painted the above mentioned British vehicles and put decals on the Austin ambulance. I also painted two Flames of War Renault AGR heavy trucks that will see service with the Germans as will two of the British 15 cwt trucks. I will be putting decals of the DAK palm emblem on the Renaults… maybe on the 15 cwt trucks as well. The Jock Campbell car and observation universal carrier are painted but the base cover remains to be done.
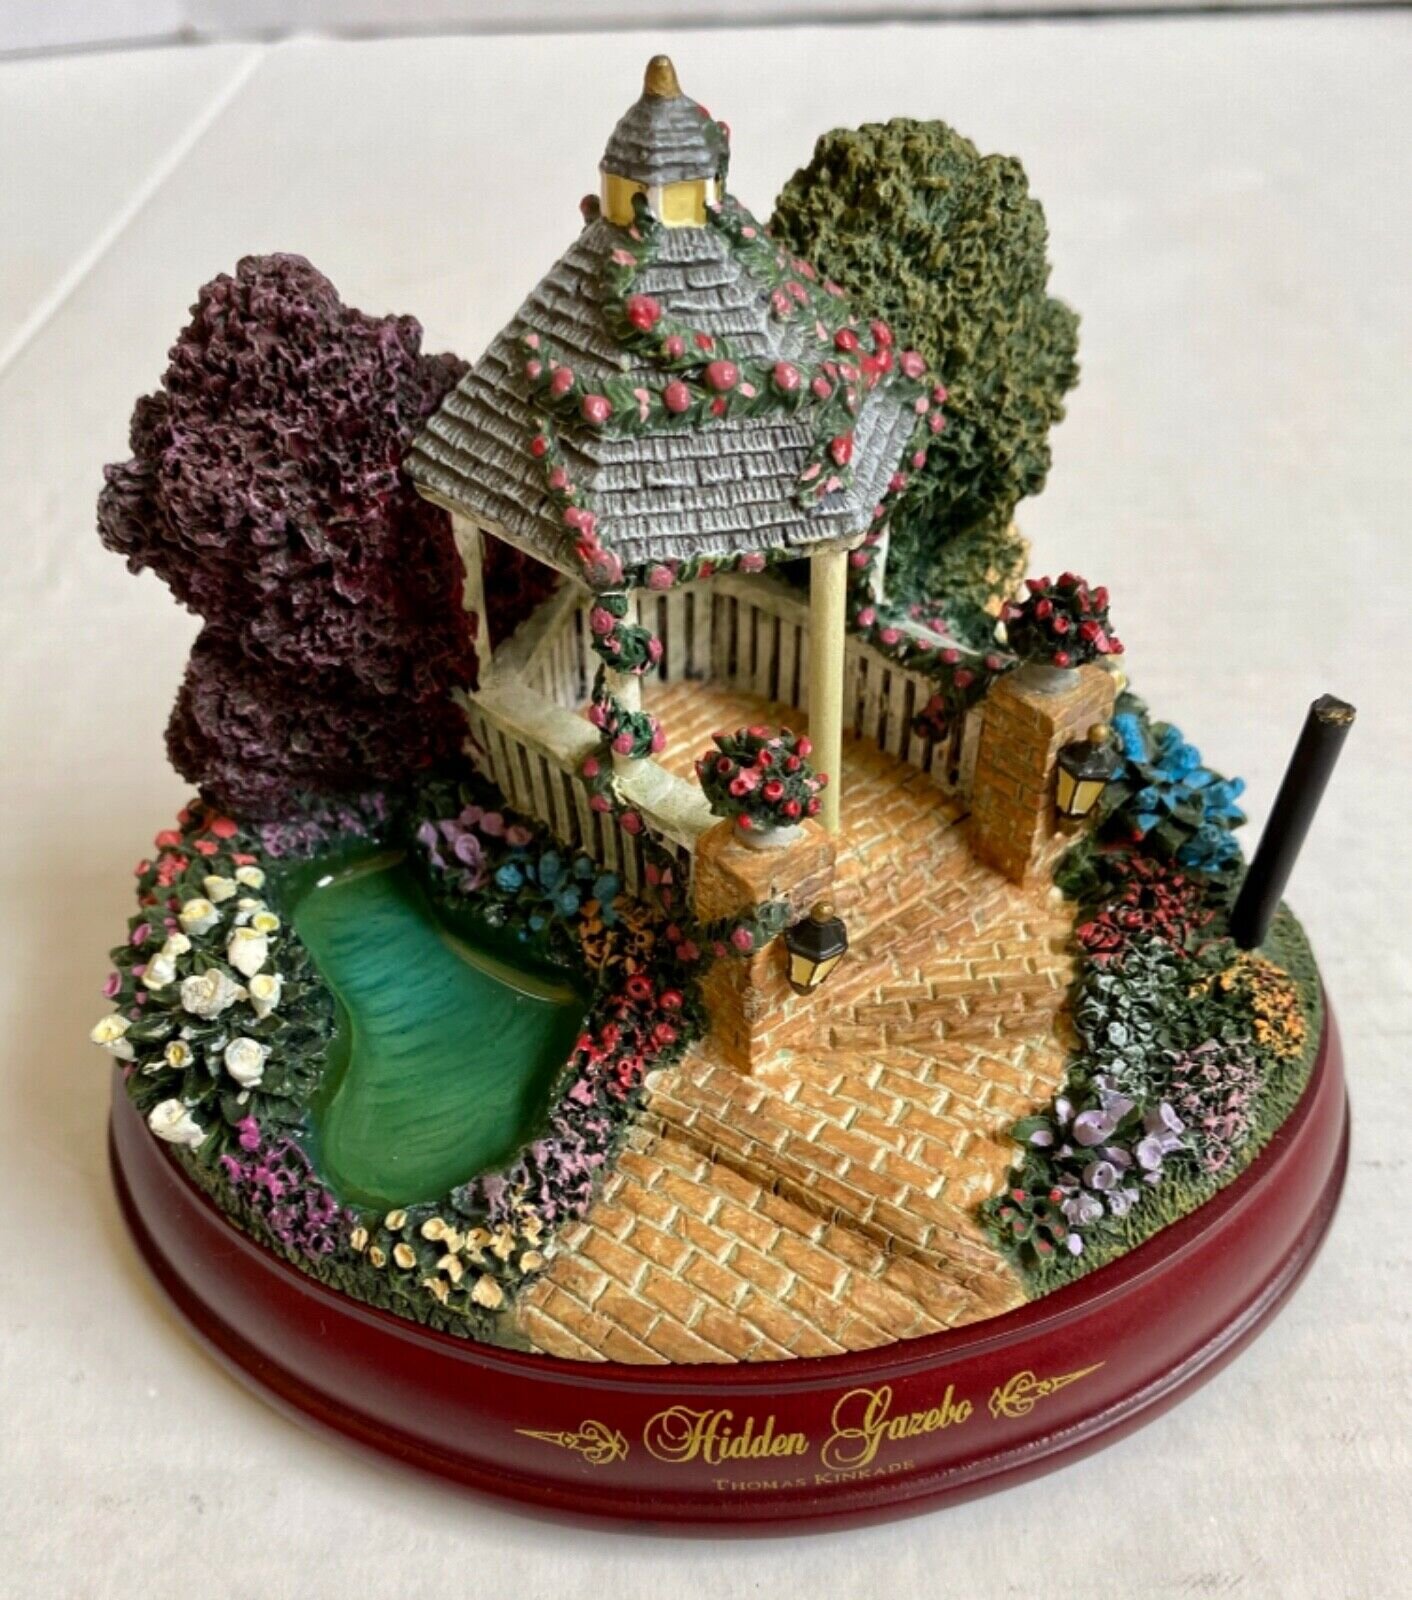
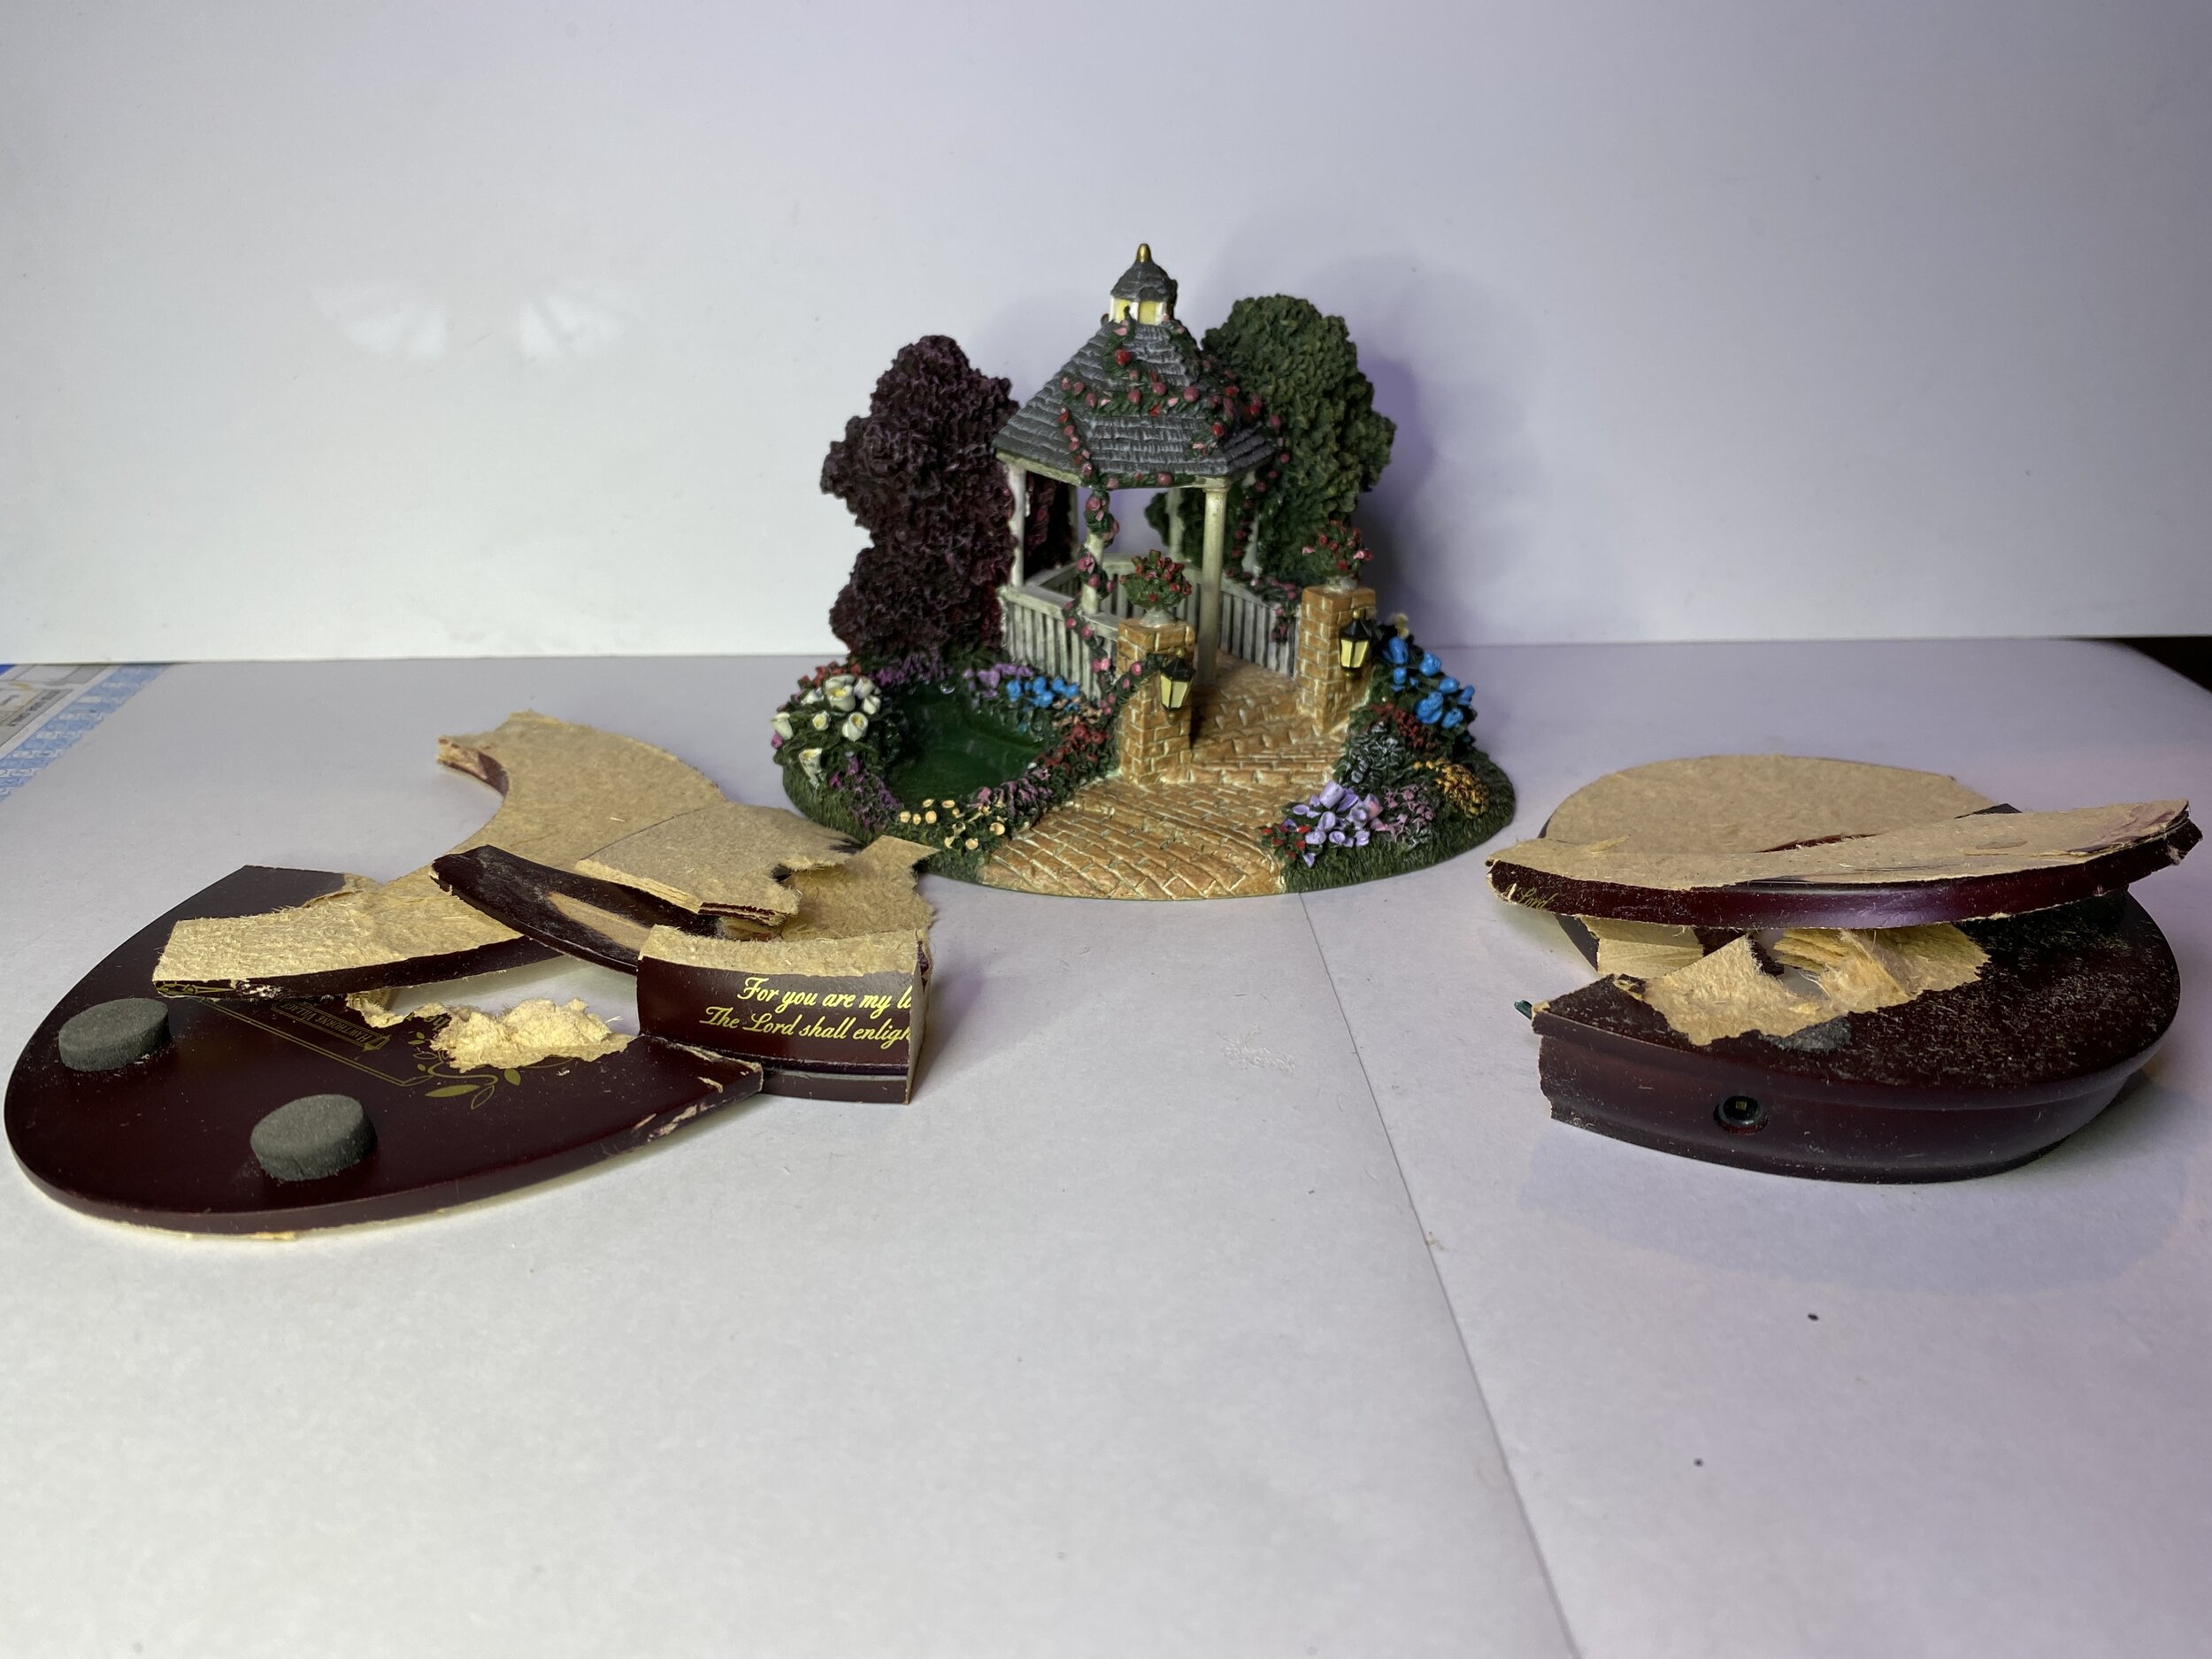
At the swap meet on Saturday I picked up a really nice piece of Hawthorne Village terrain… the Hidden Gazebo. It’s sized well for use with 15mm and HO and will be used with my HO scale Norman Rockwell Murder collection. It took me nearly an hour to remove its fake wooden base, and throughout the process I was not sure I wasn’t going to ruin it in the removal, but it came out okay. It had a couple of chipped places when I bought it. I’ll paint those. The lamp post broke during the base removal but I was planning to remove it anyway… a gas lamp was appropriate for the 1950s/1960s setting it will be part of. I’ll fill the hole left by the lamp post with Milliput and add some paint, and it will be great.
