Workbench Monthly Archive: JUNE 2019
June 30, 2019
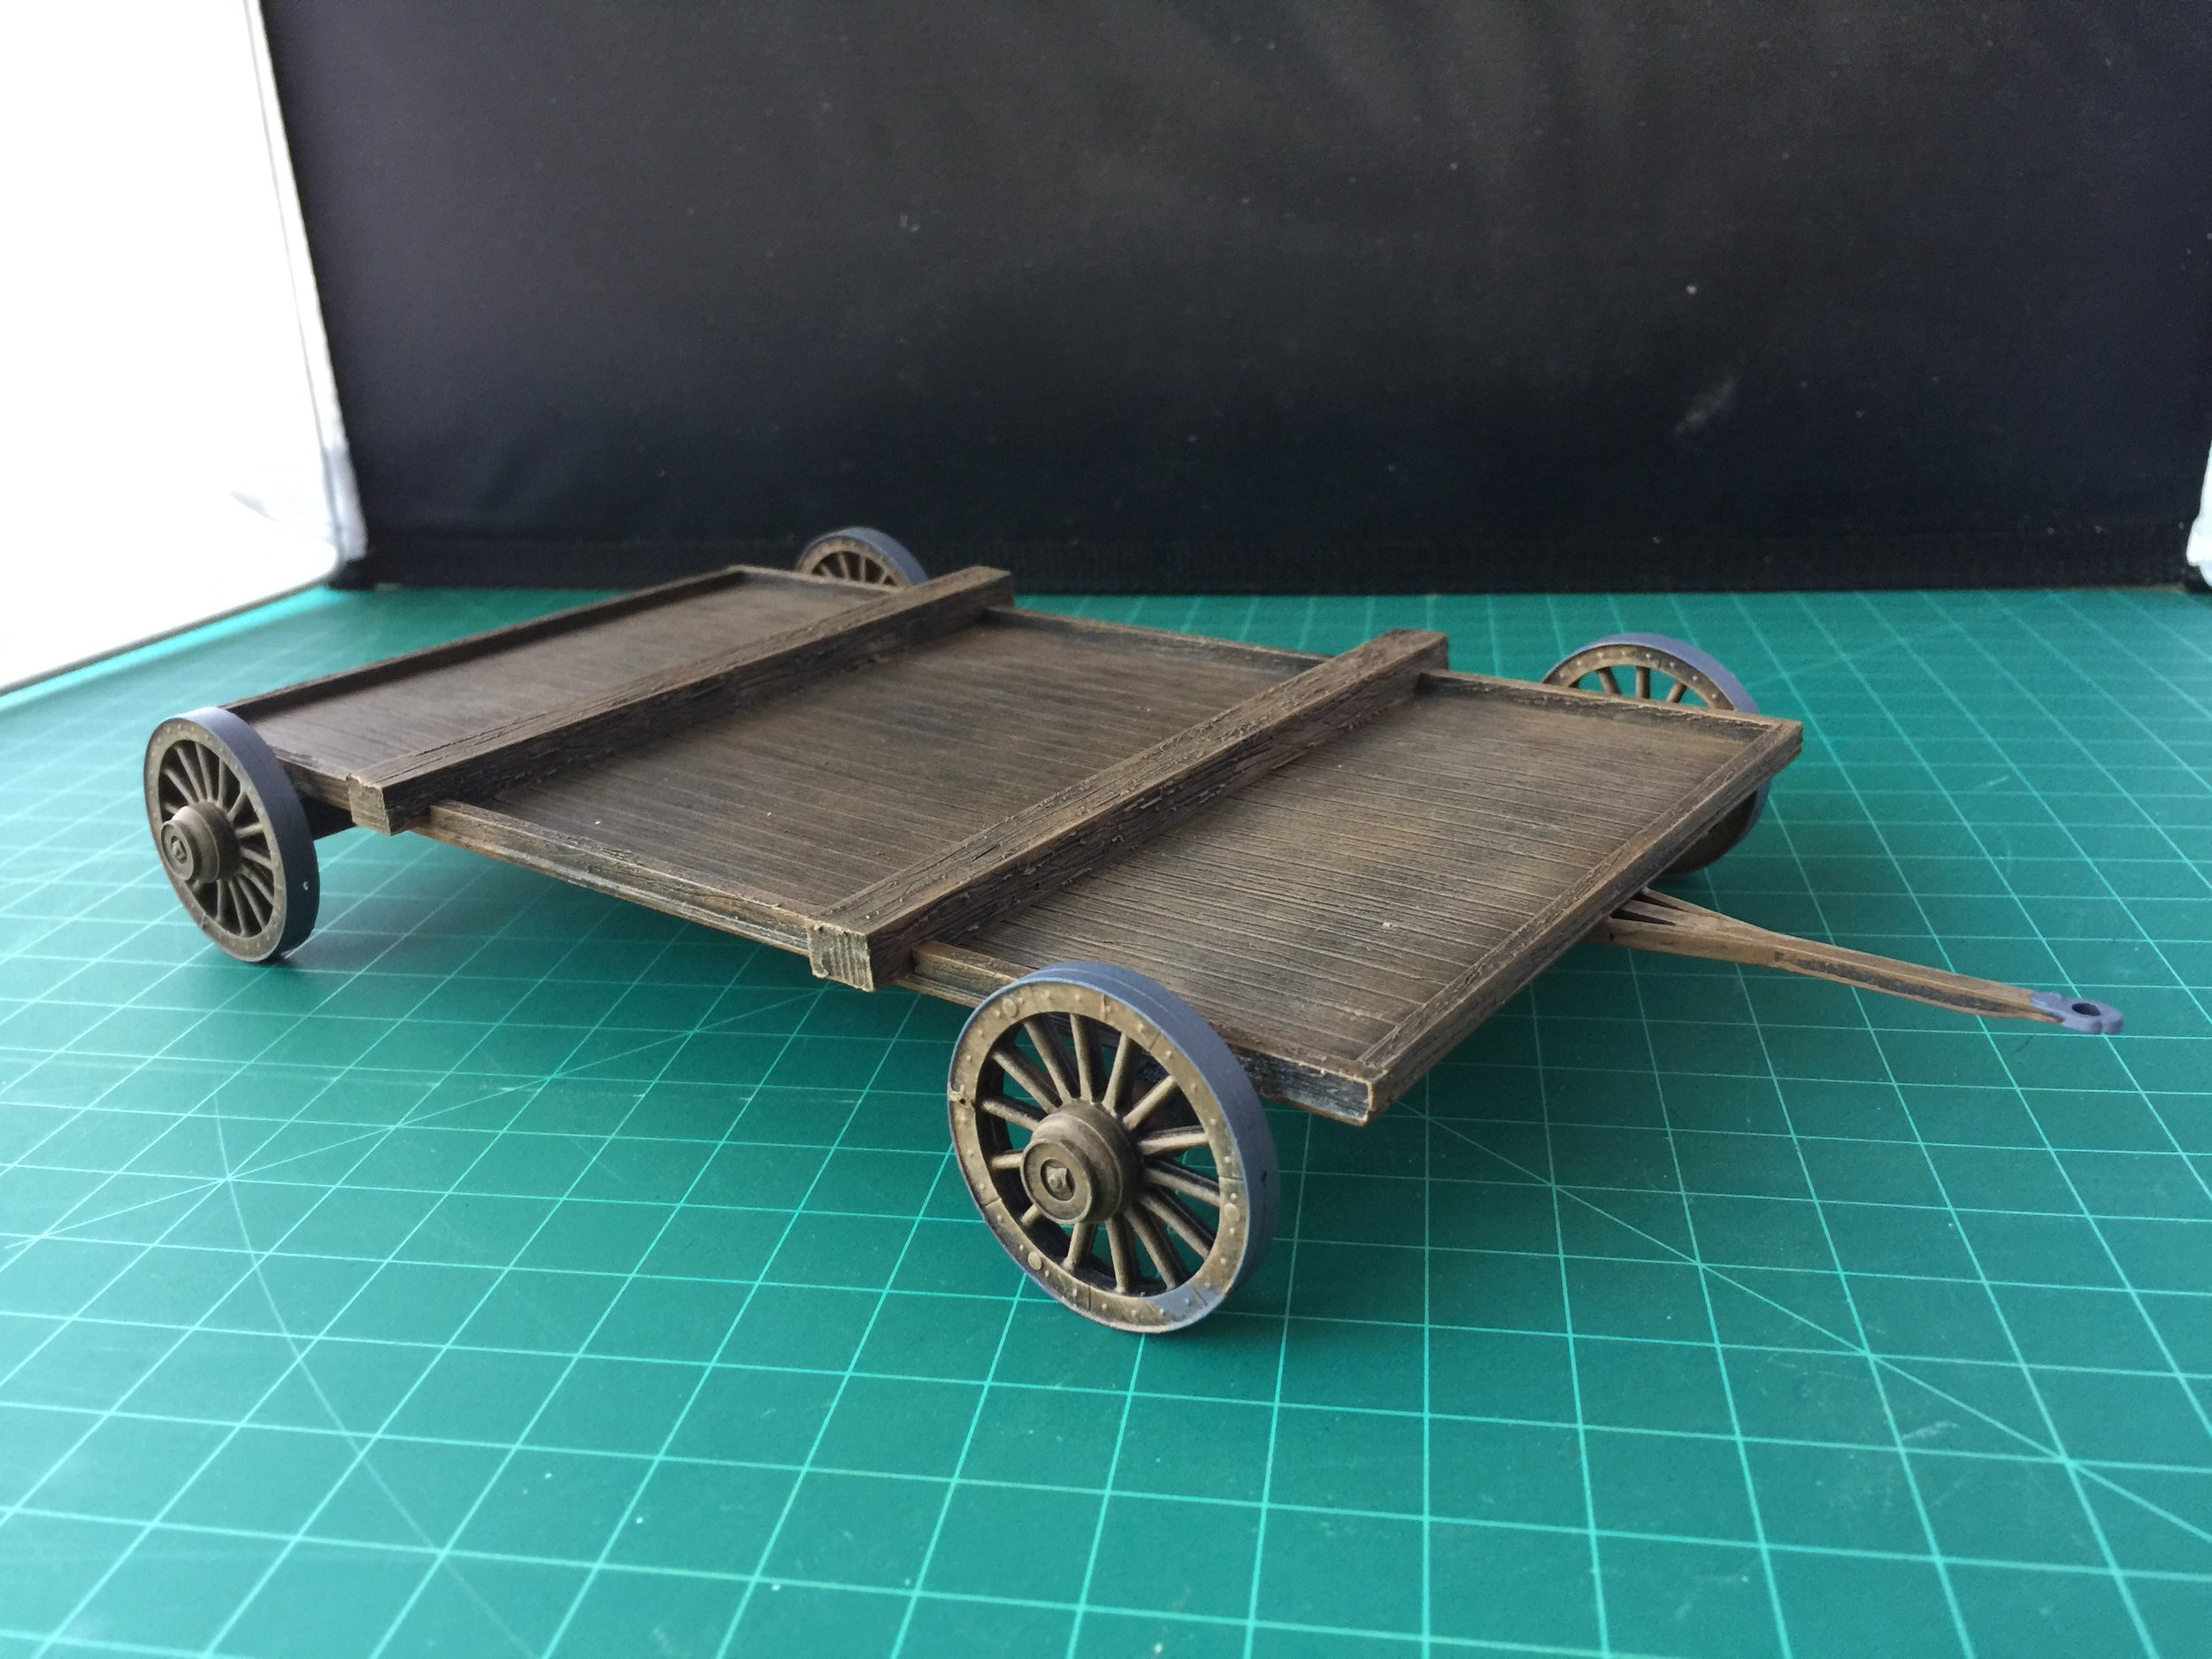
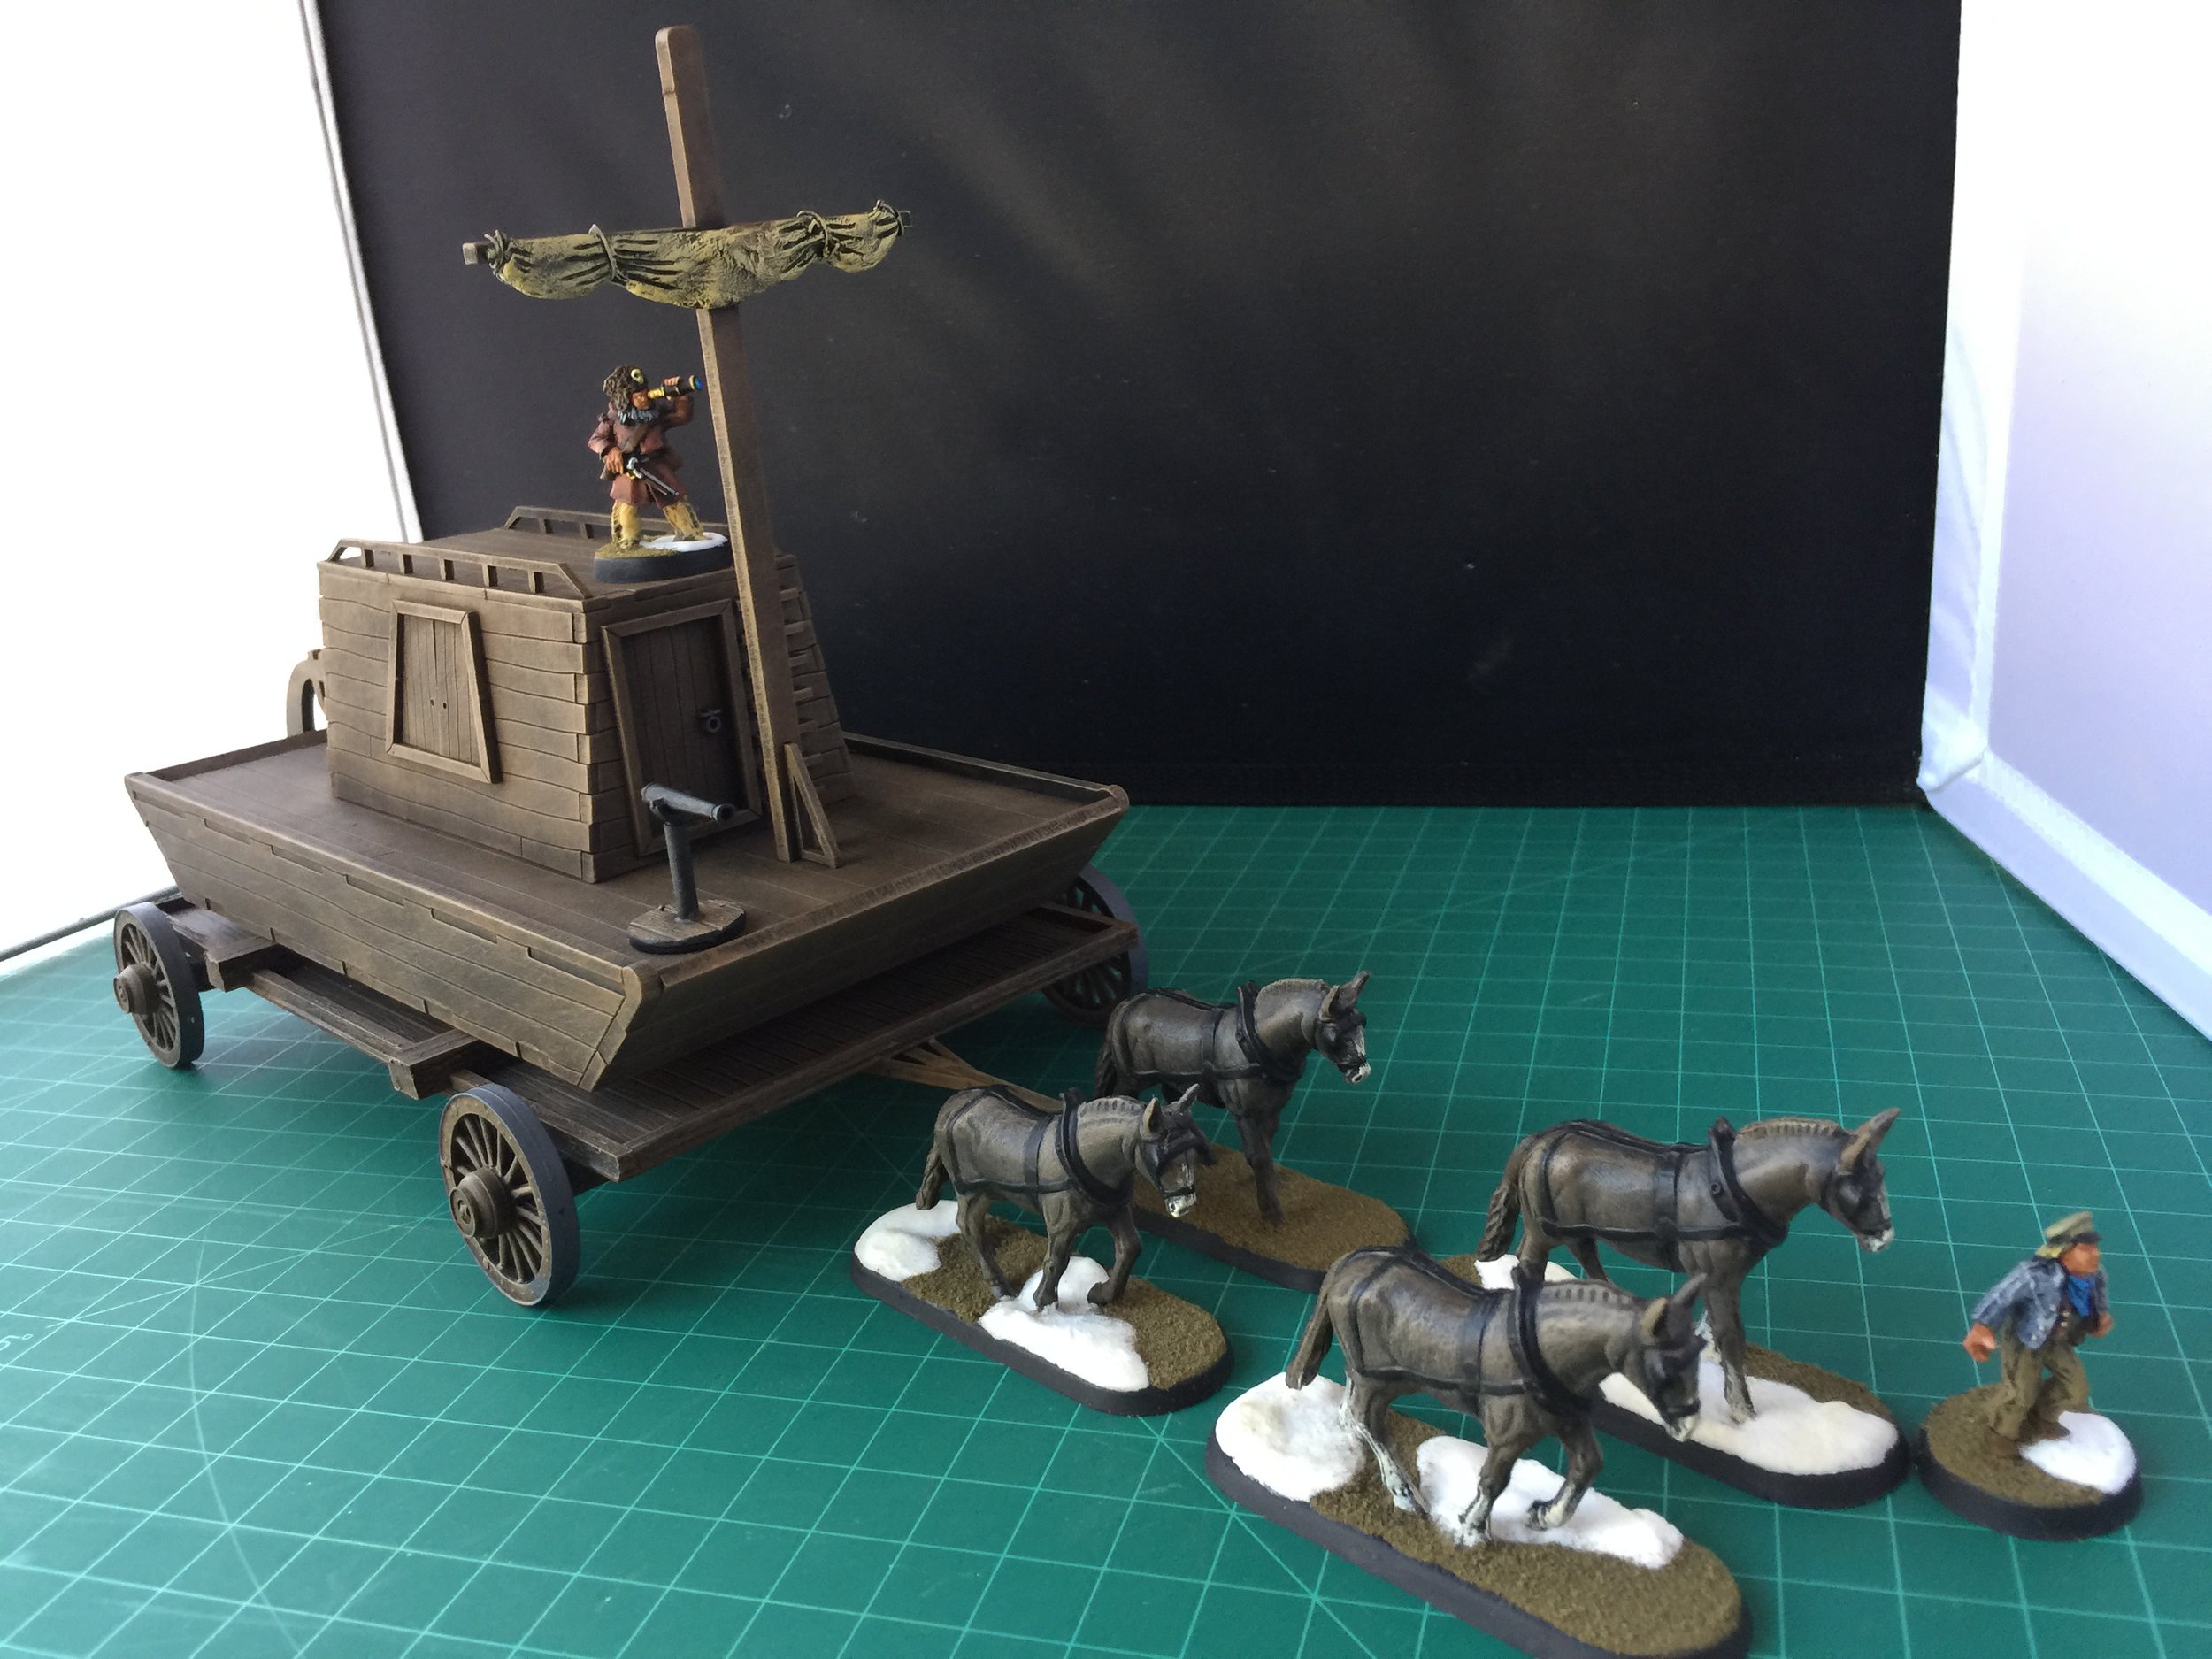
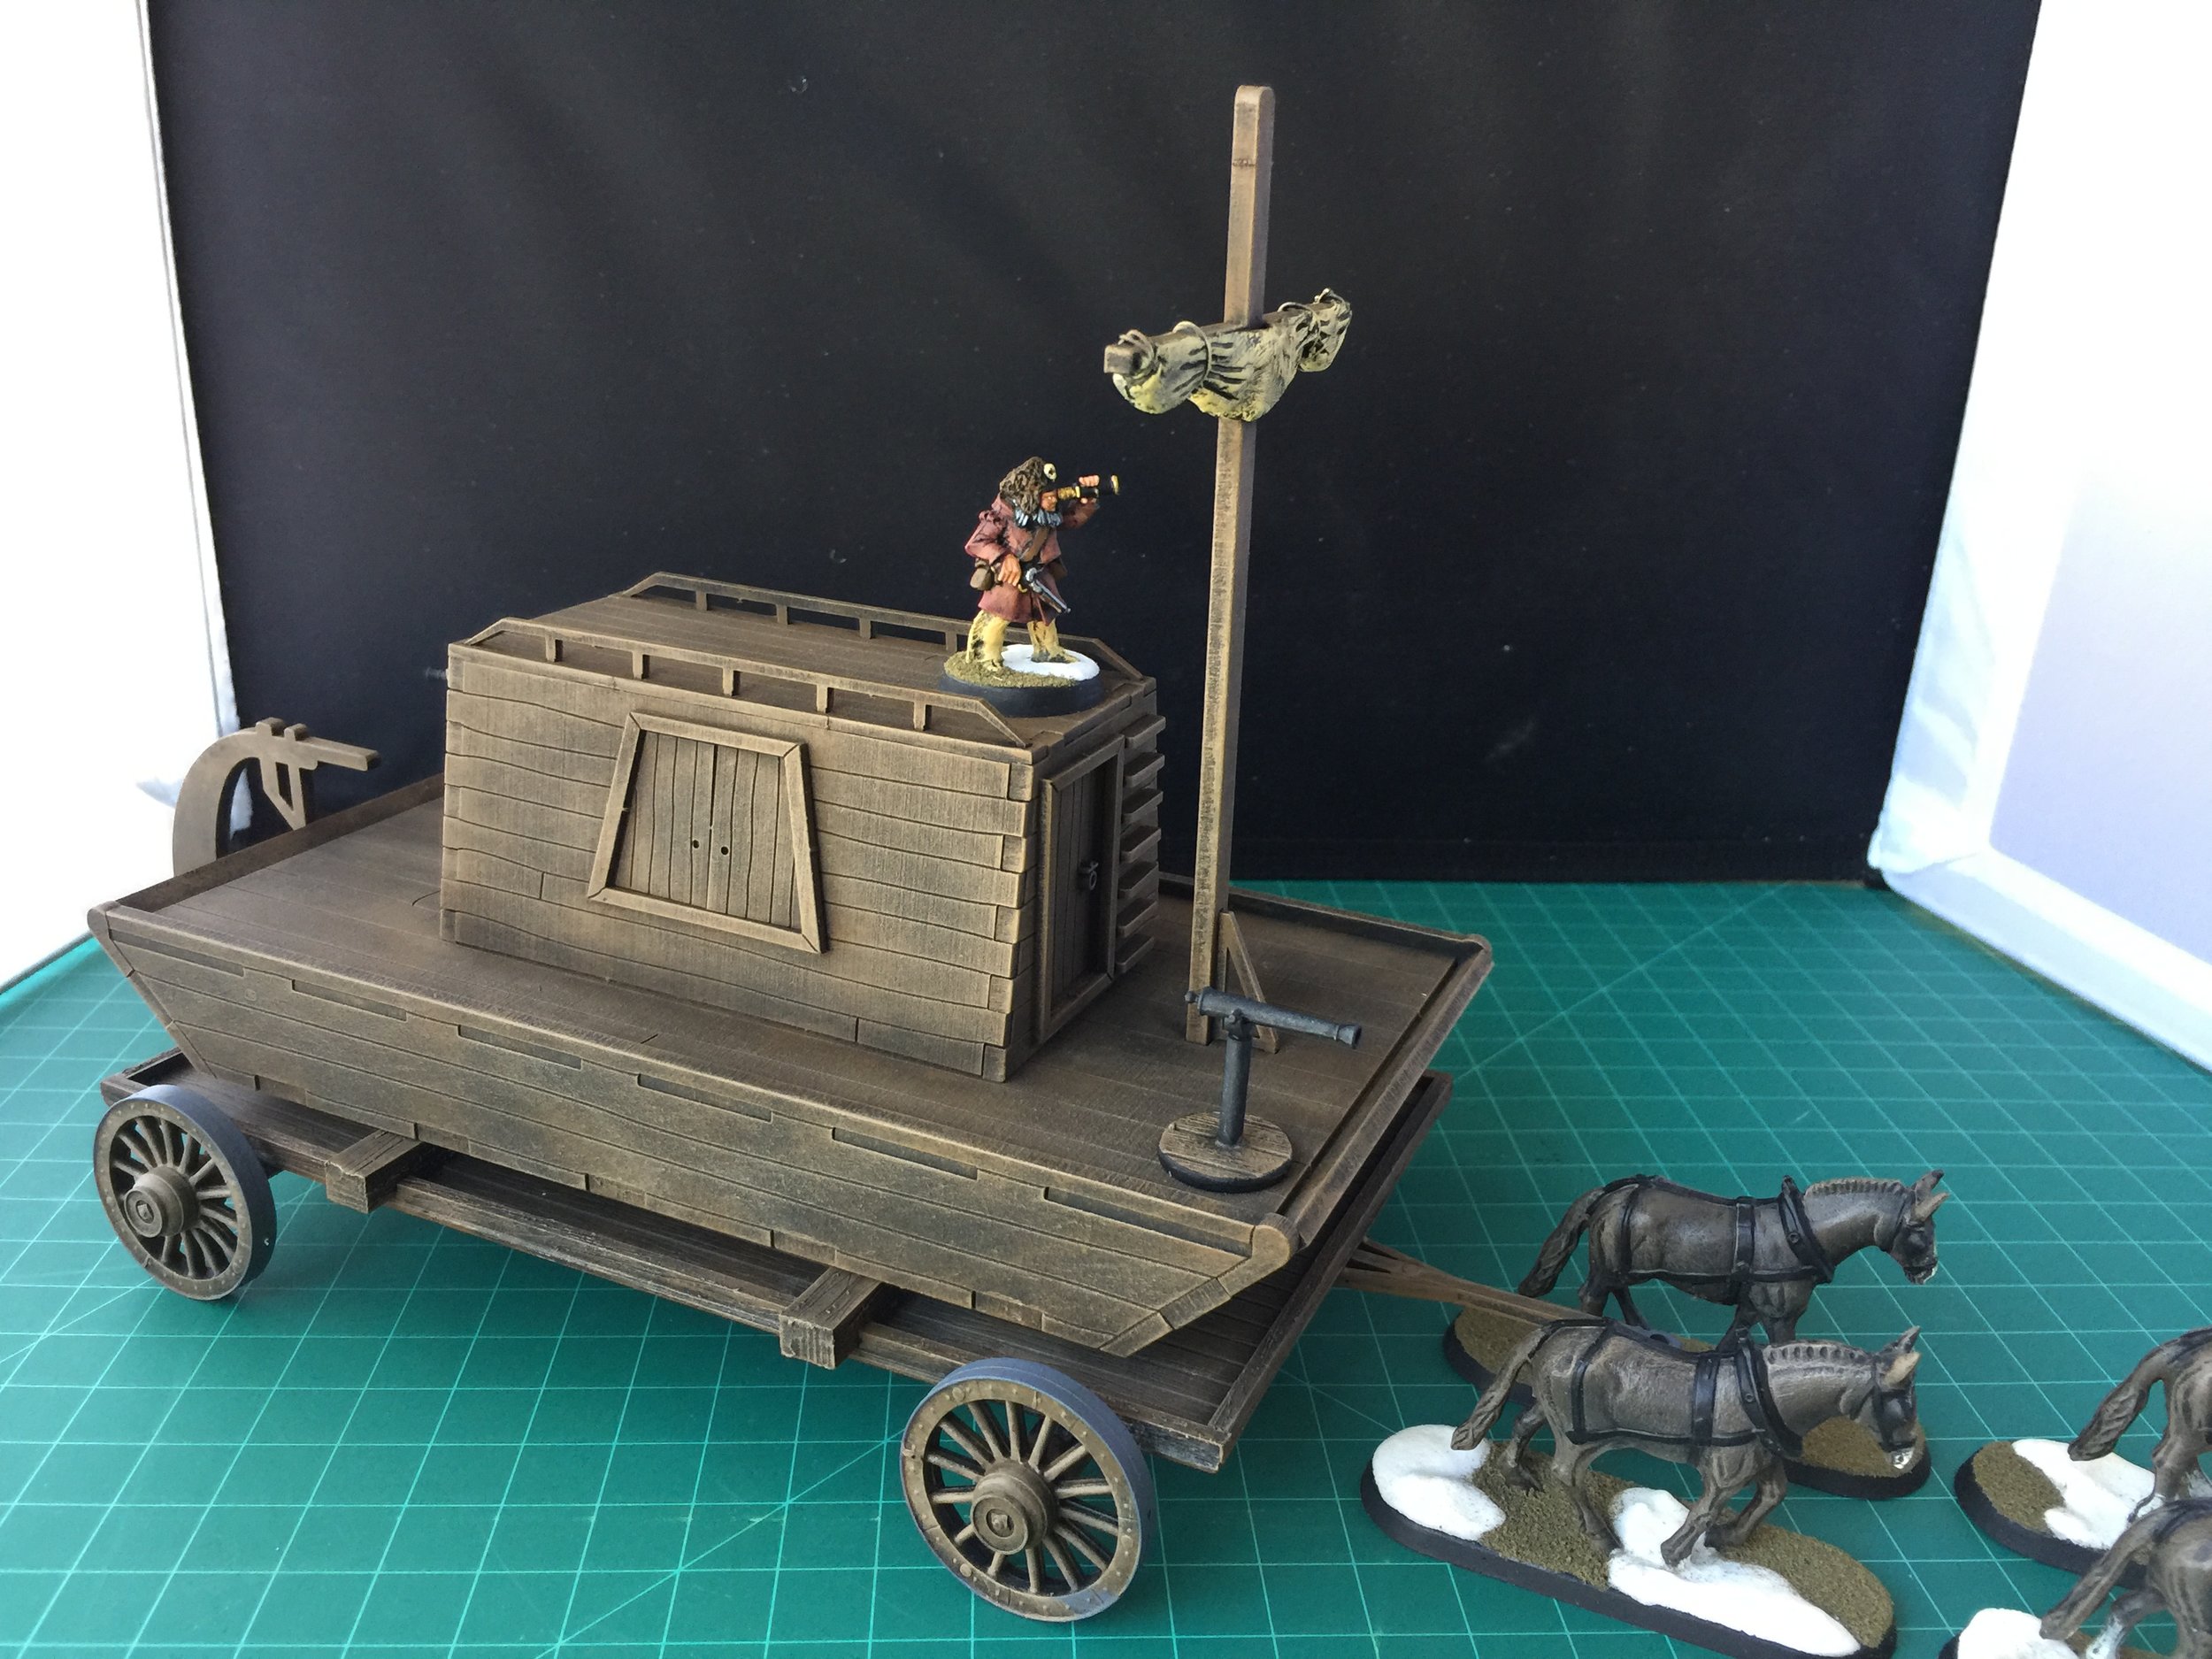
The week began with the construction of the wagon that will carry the keelboat for my mountain men. I got this idea from the film Man In The Wilderness that came out in 1971. In that film, the expedition led by John Houston carried their keelboat over land and dry riverbeds on two flatbed wagons set one behind the other. My problem in trying to replicate this had to do with the size of my keelboat. It is 4” across the beam and the hull is about 8” from bow to stern. Two wagons set one behind the other to carry that size boat would have looked silly. Each wagon would have had a bed that was shorter than it was wide. Consequently, I decided to make a single wagon using Evergreen plastic and parts from the old 20-mule-team Borax model. In real life my wagon wouldn’t be functional, but for the purpose of this project it will do just fine. Once the wagon was complete I gave both the wagon and the keelboat paint jobs, and then put together two swivel guns for the boat… one to go on the deck near the bow and one on the deck near the stern. I’m not positive, but I think the guns are by Eureka.
The wagon is being pulled by ten mules taken from the 20-mule-team Borax model. I got that model (in pieces… some broken) from one of the clerks at Arnie’s Trains who was clearing out his garage of the unneeded and unwanted and when he saw the Borax model he thought I might be interested. I was… very interested because despite its condition it still had all the parts I needed, and he was only asking $5. The mountain men figures are from the Foundry Old West 28mm line of figures… I included them in the picture for scale.
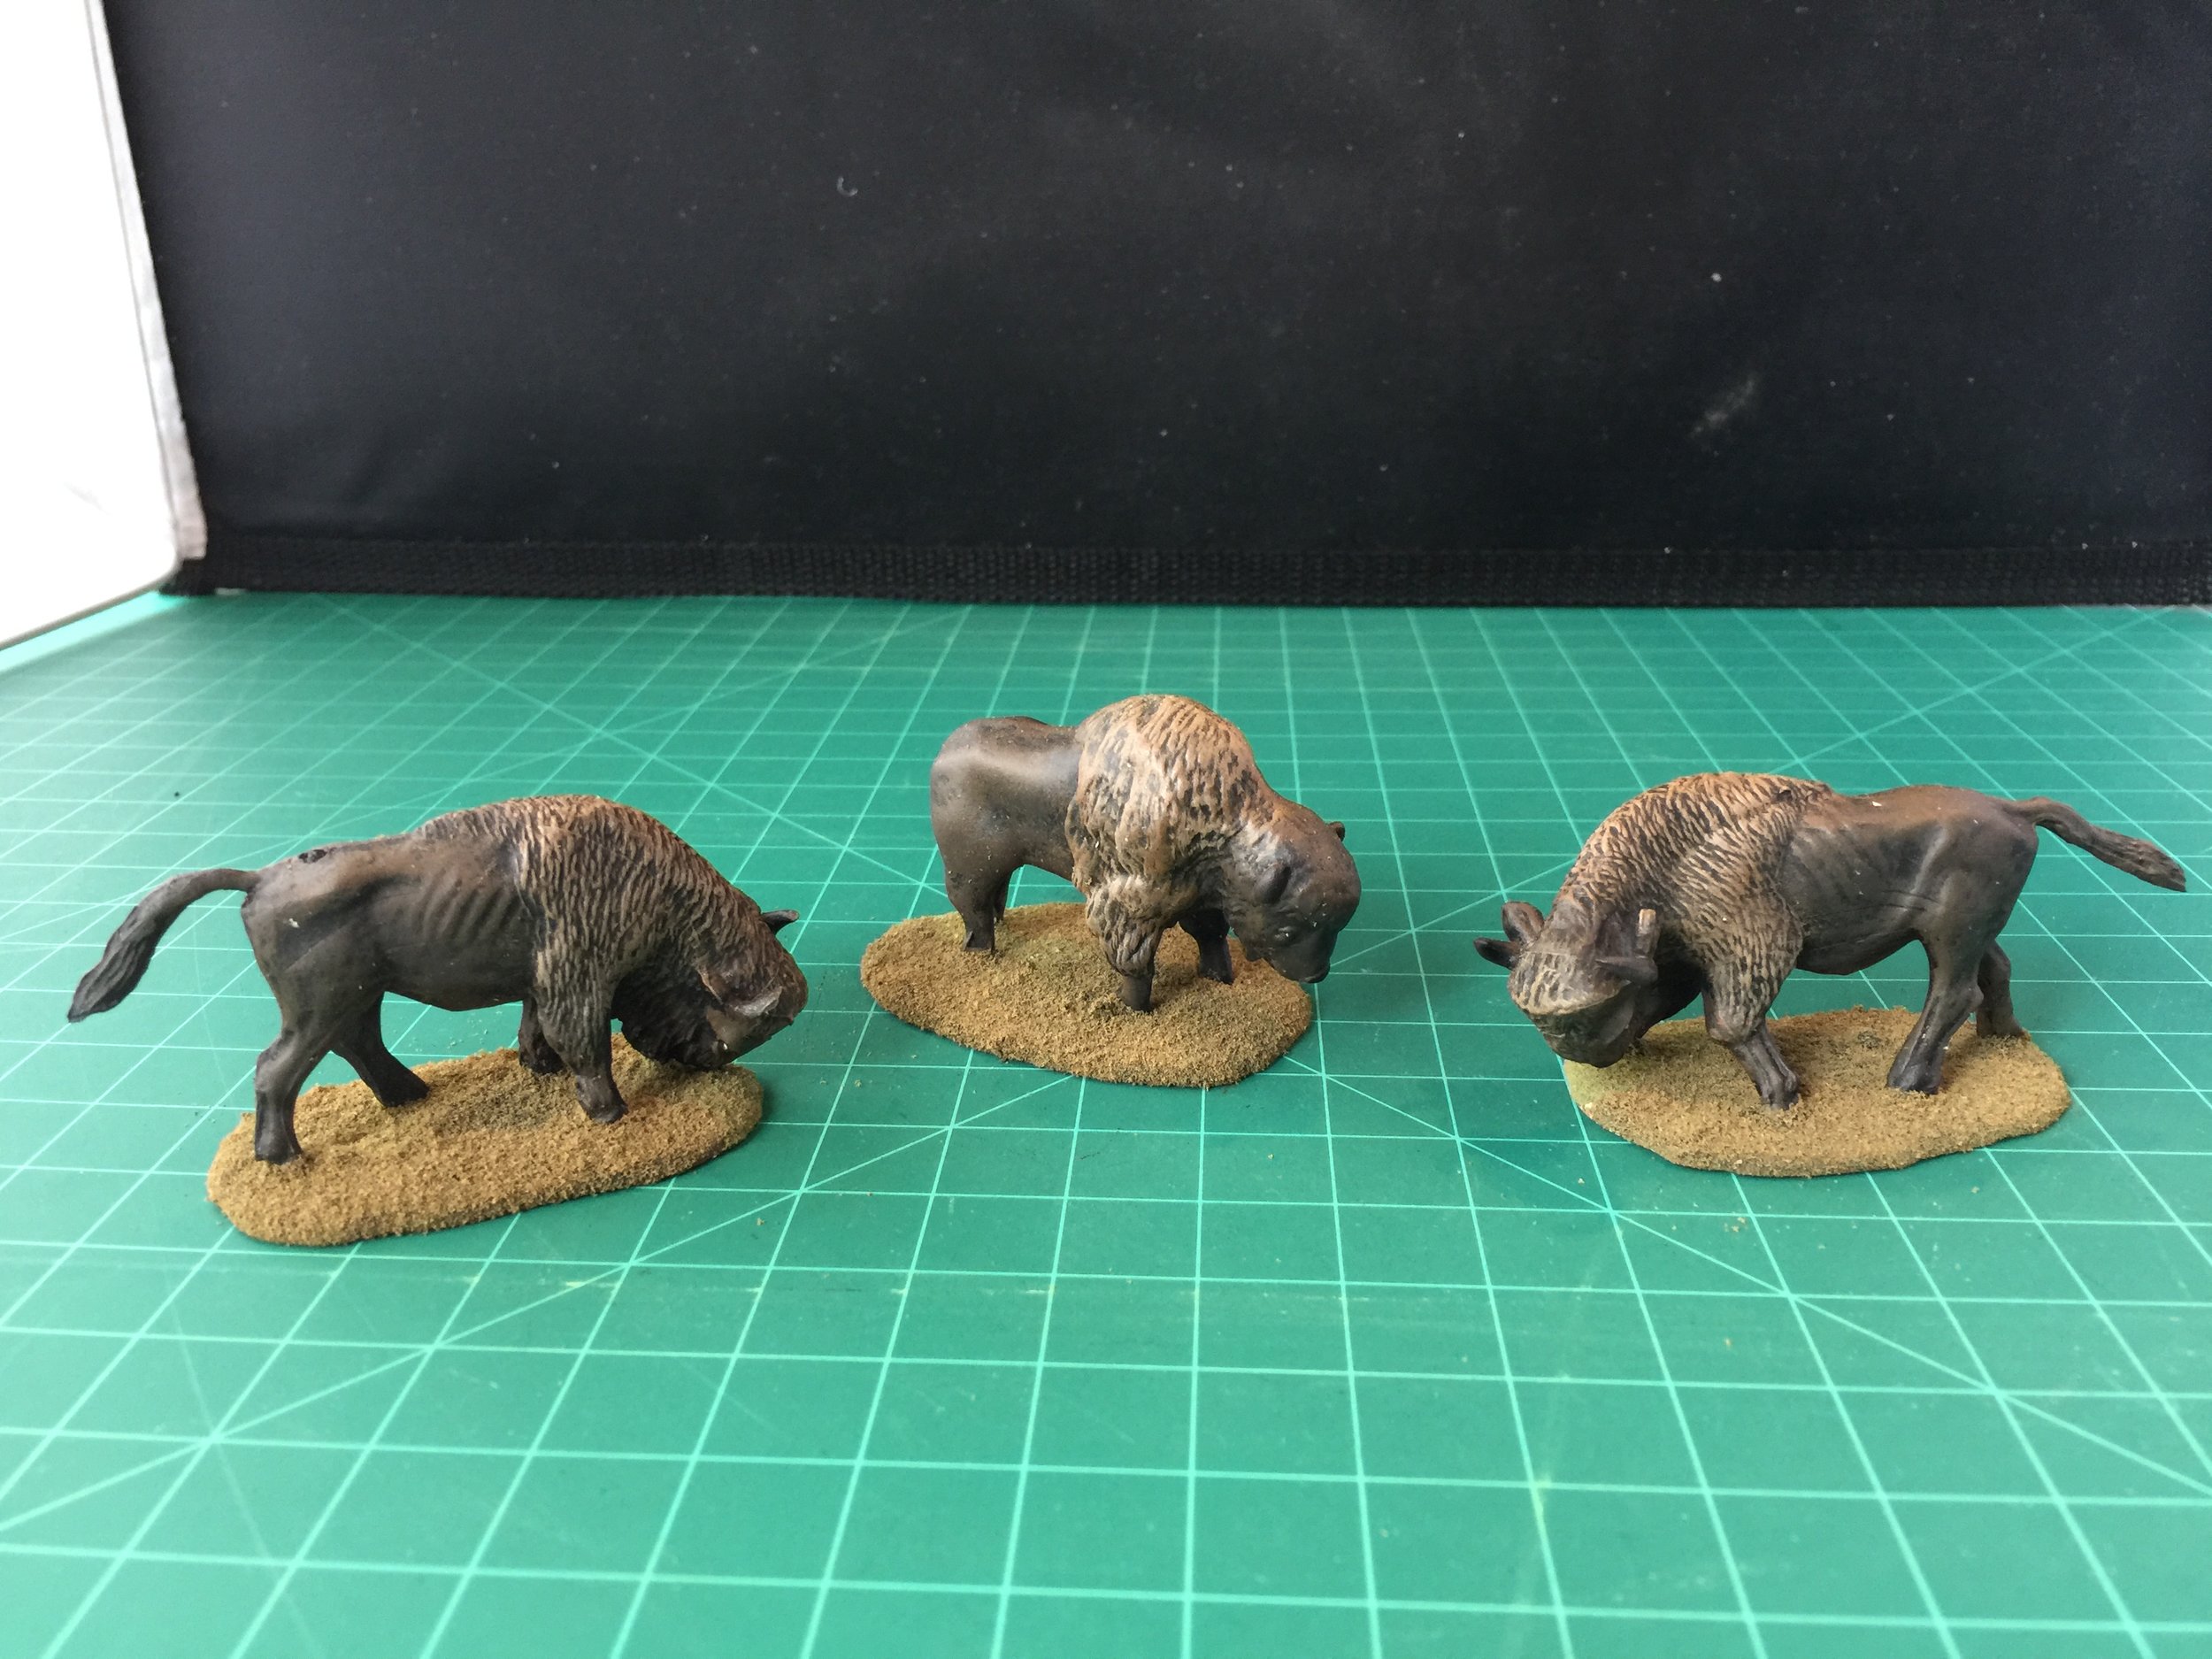
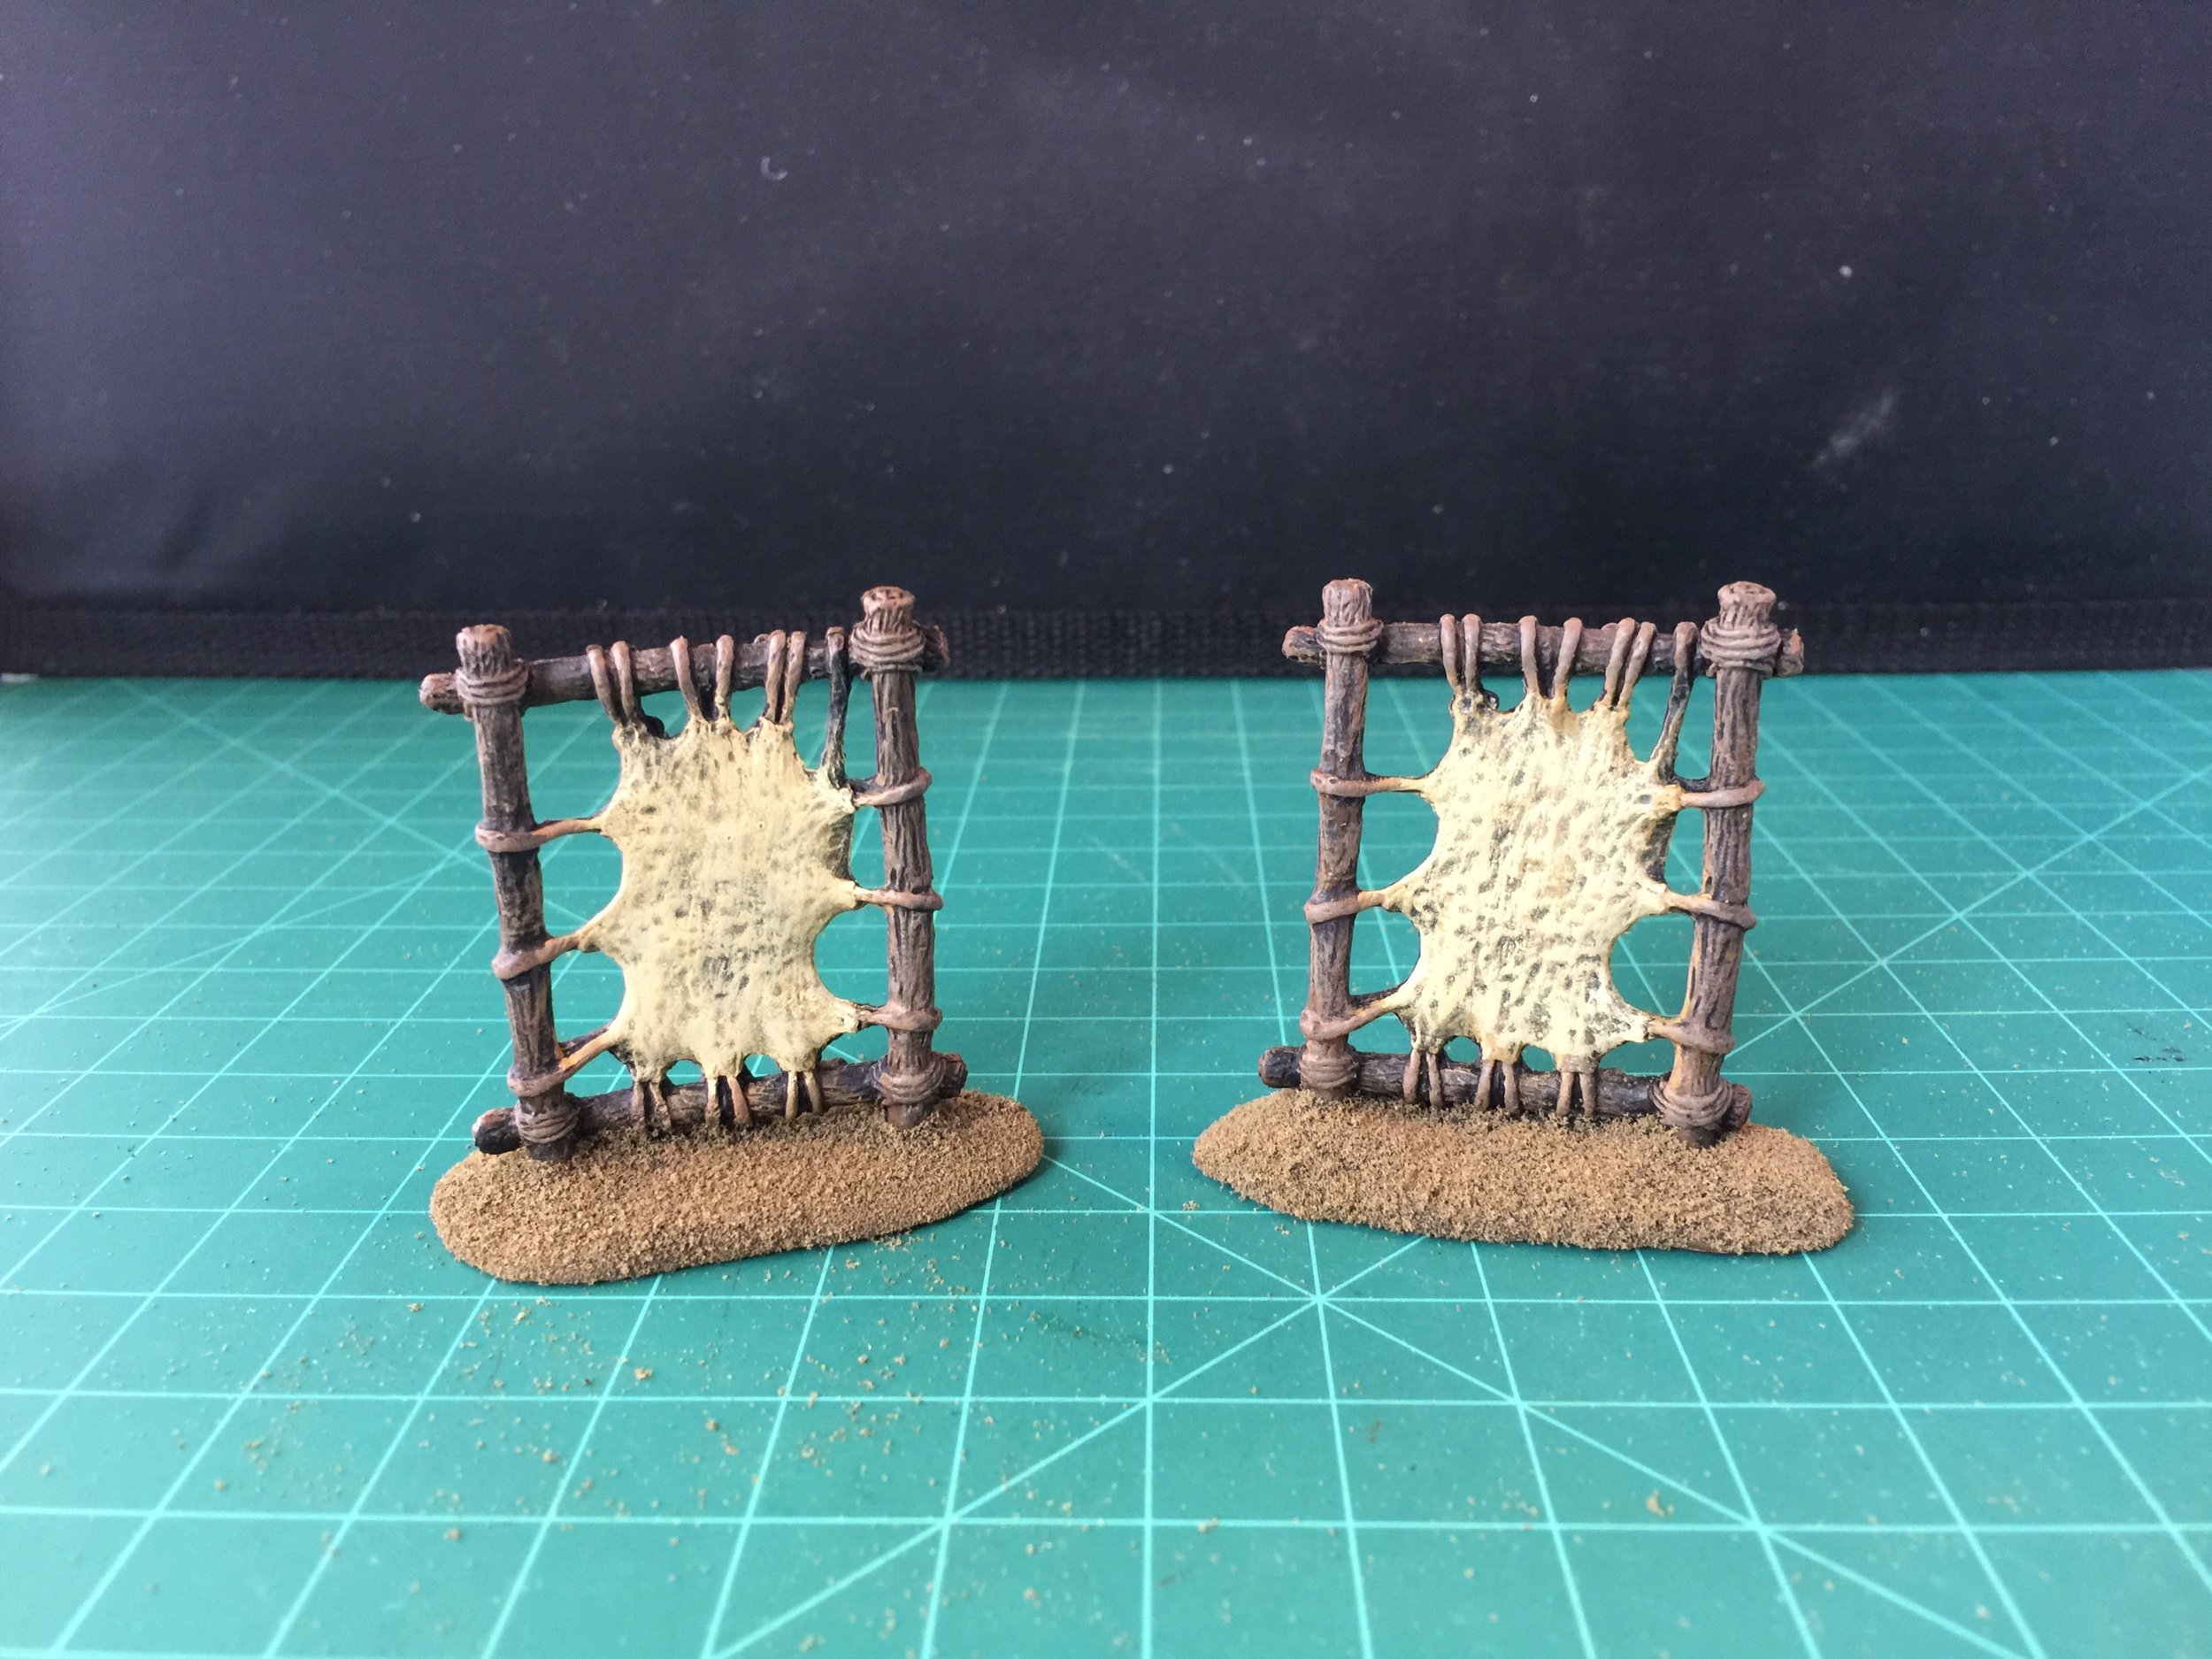
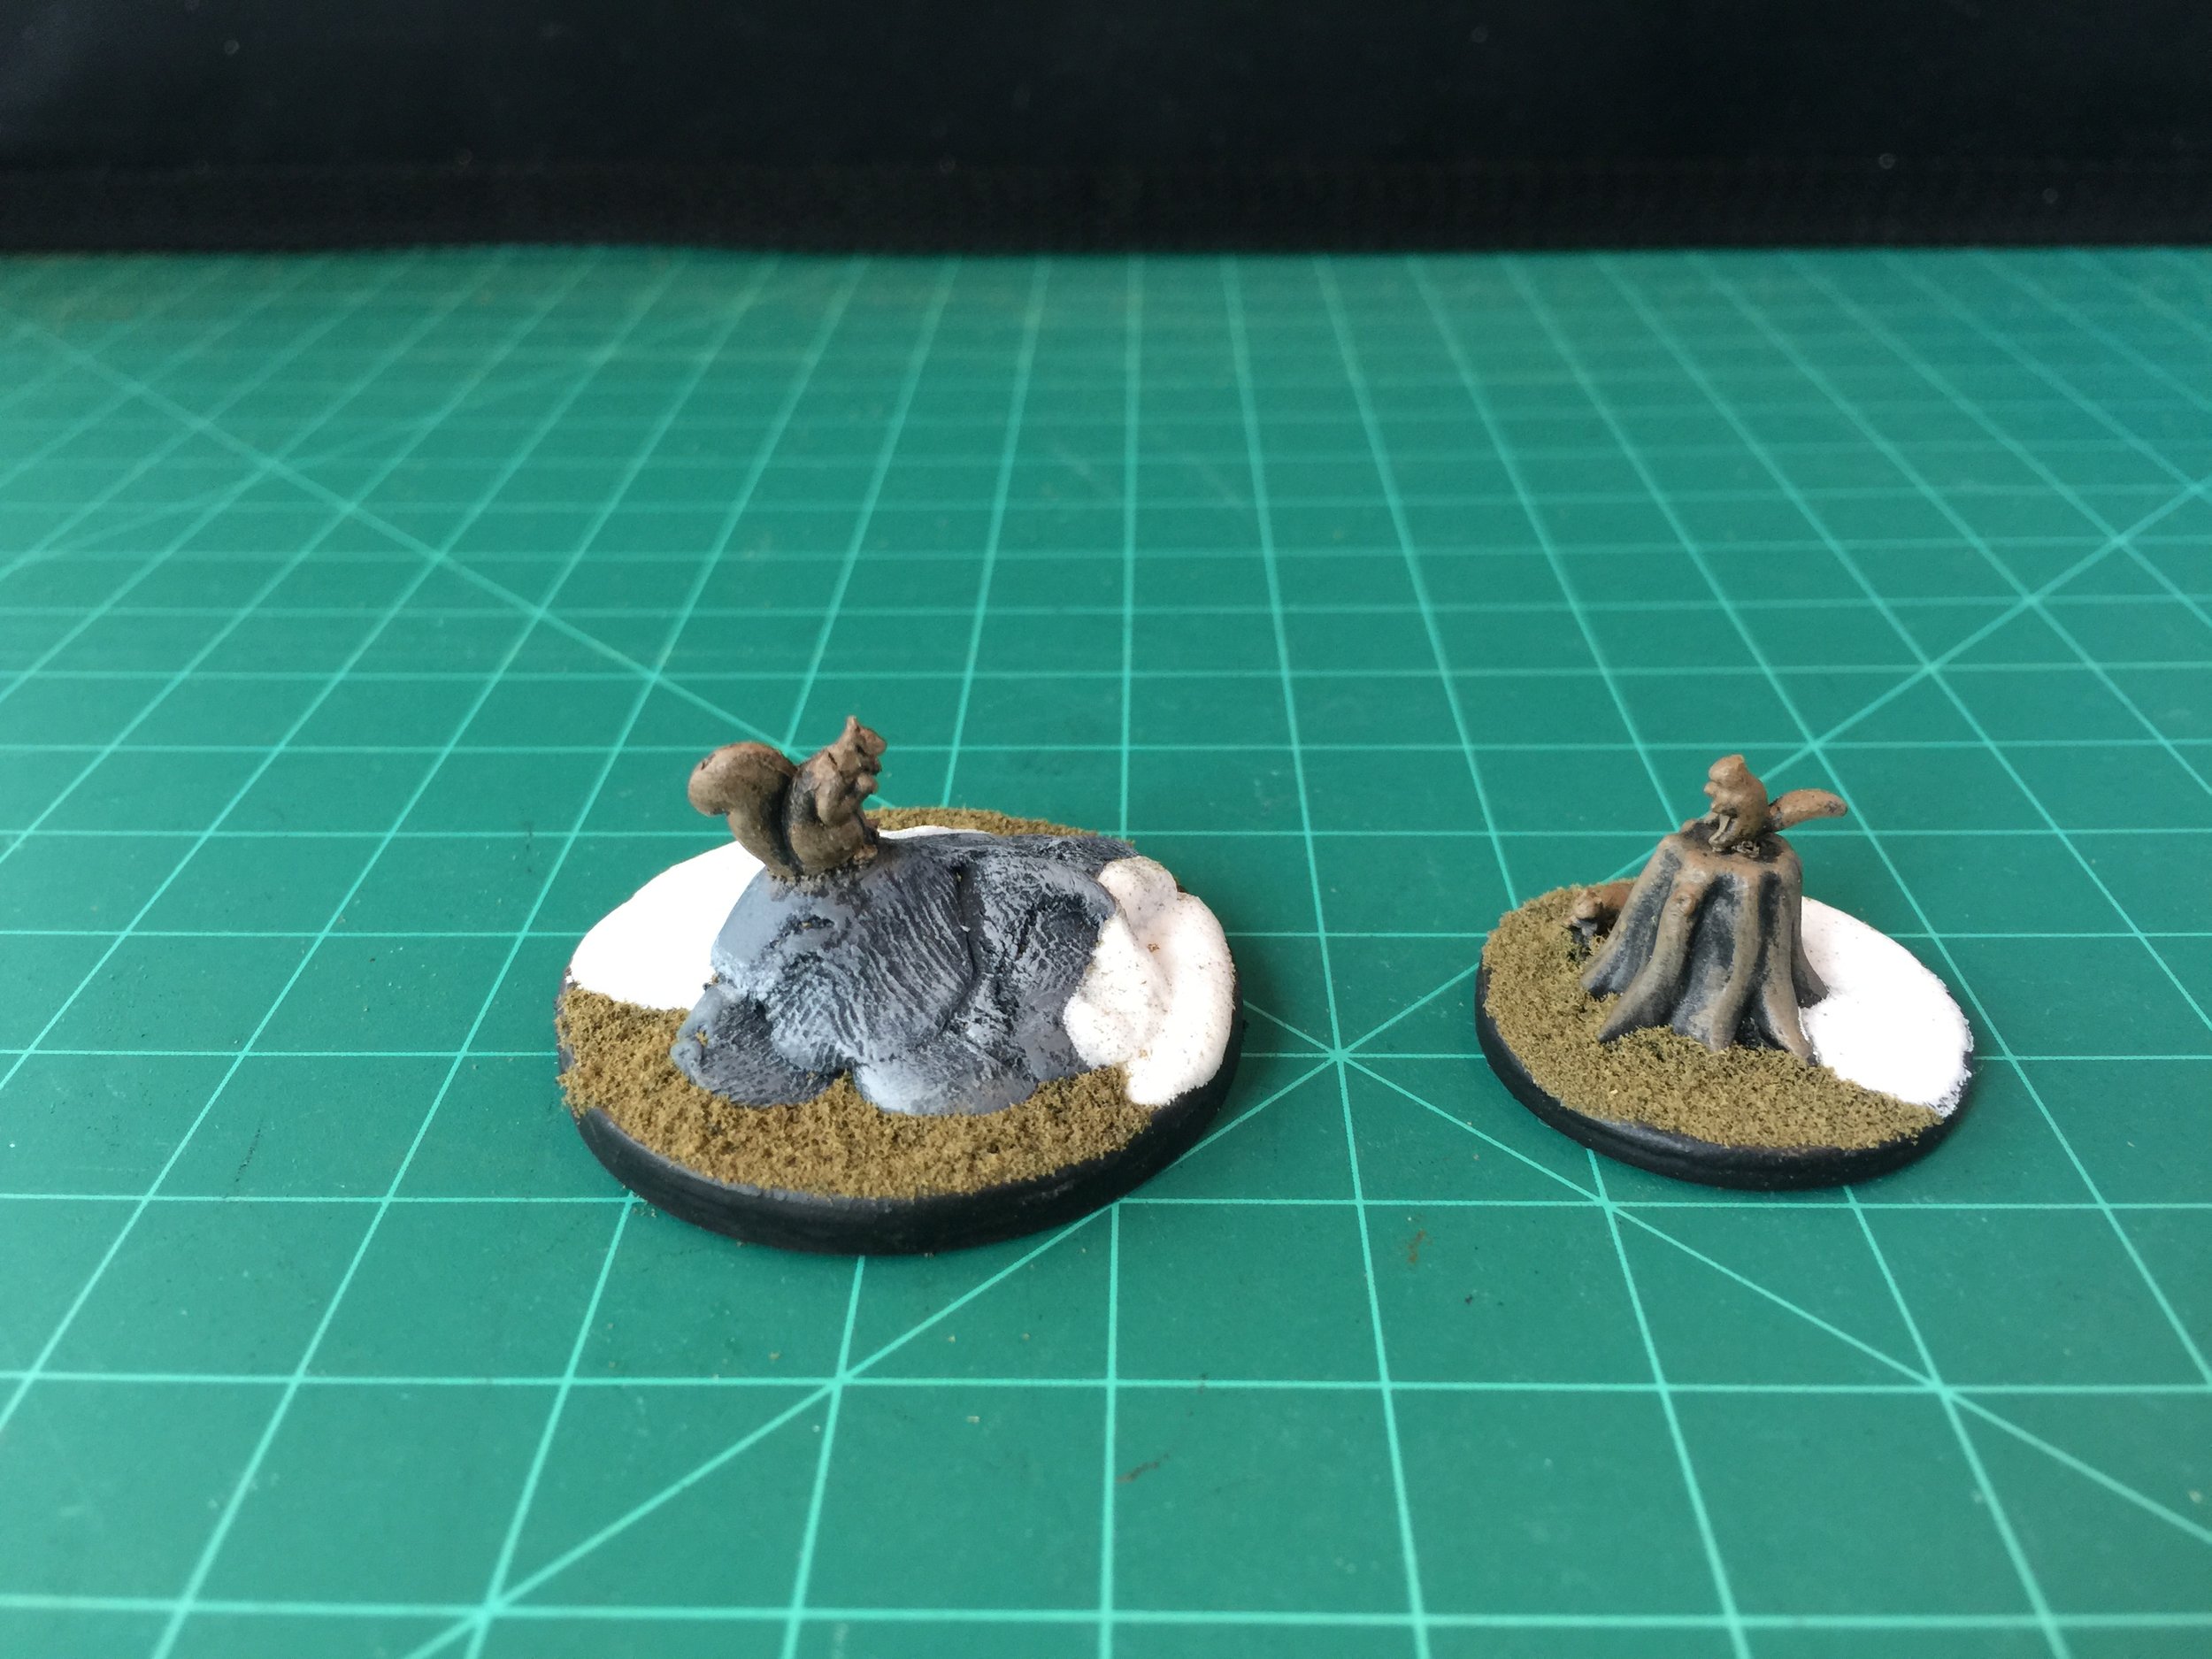
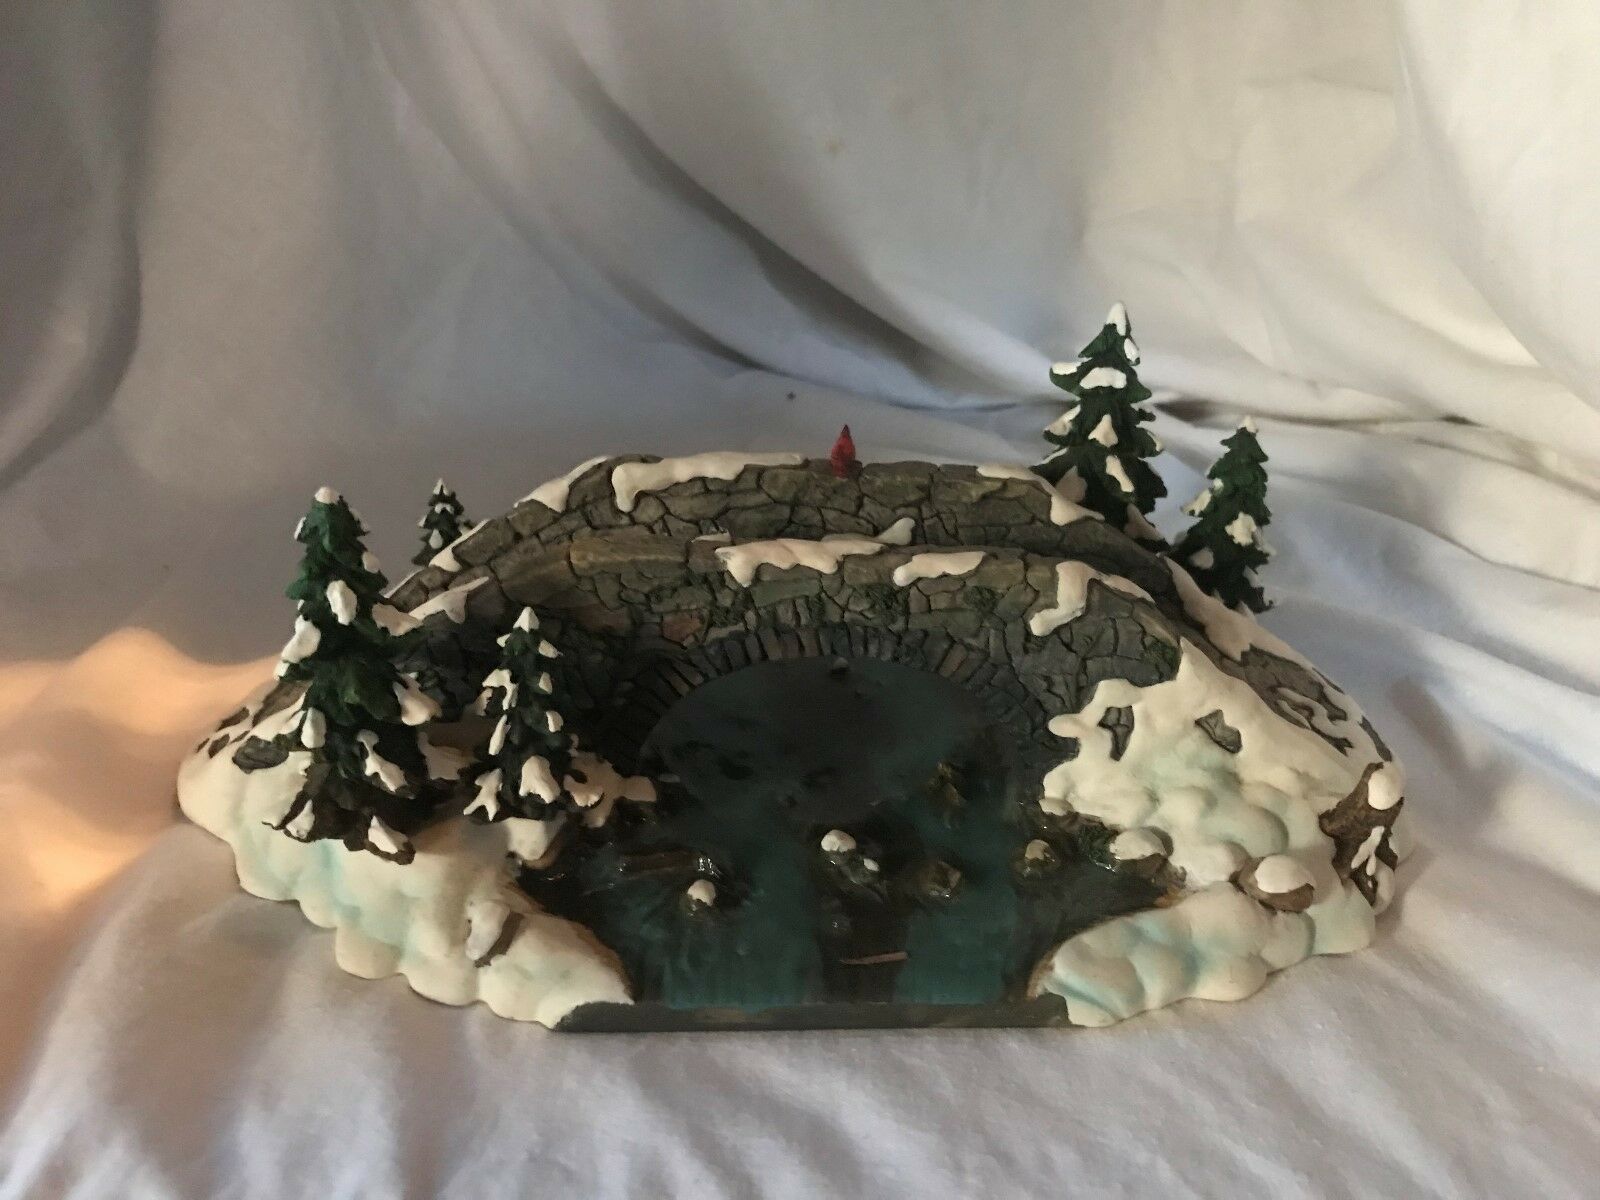
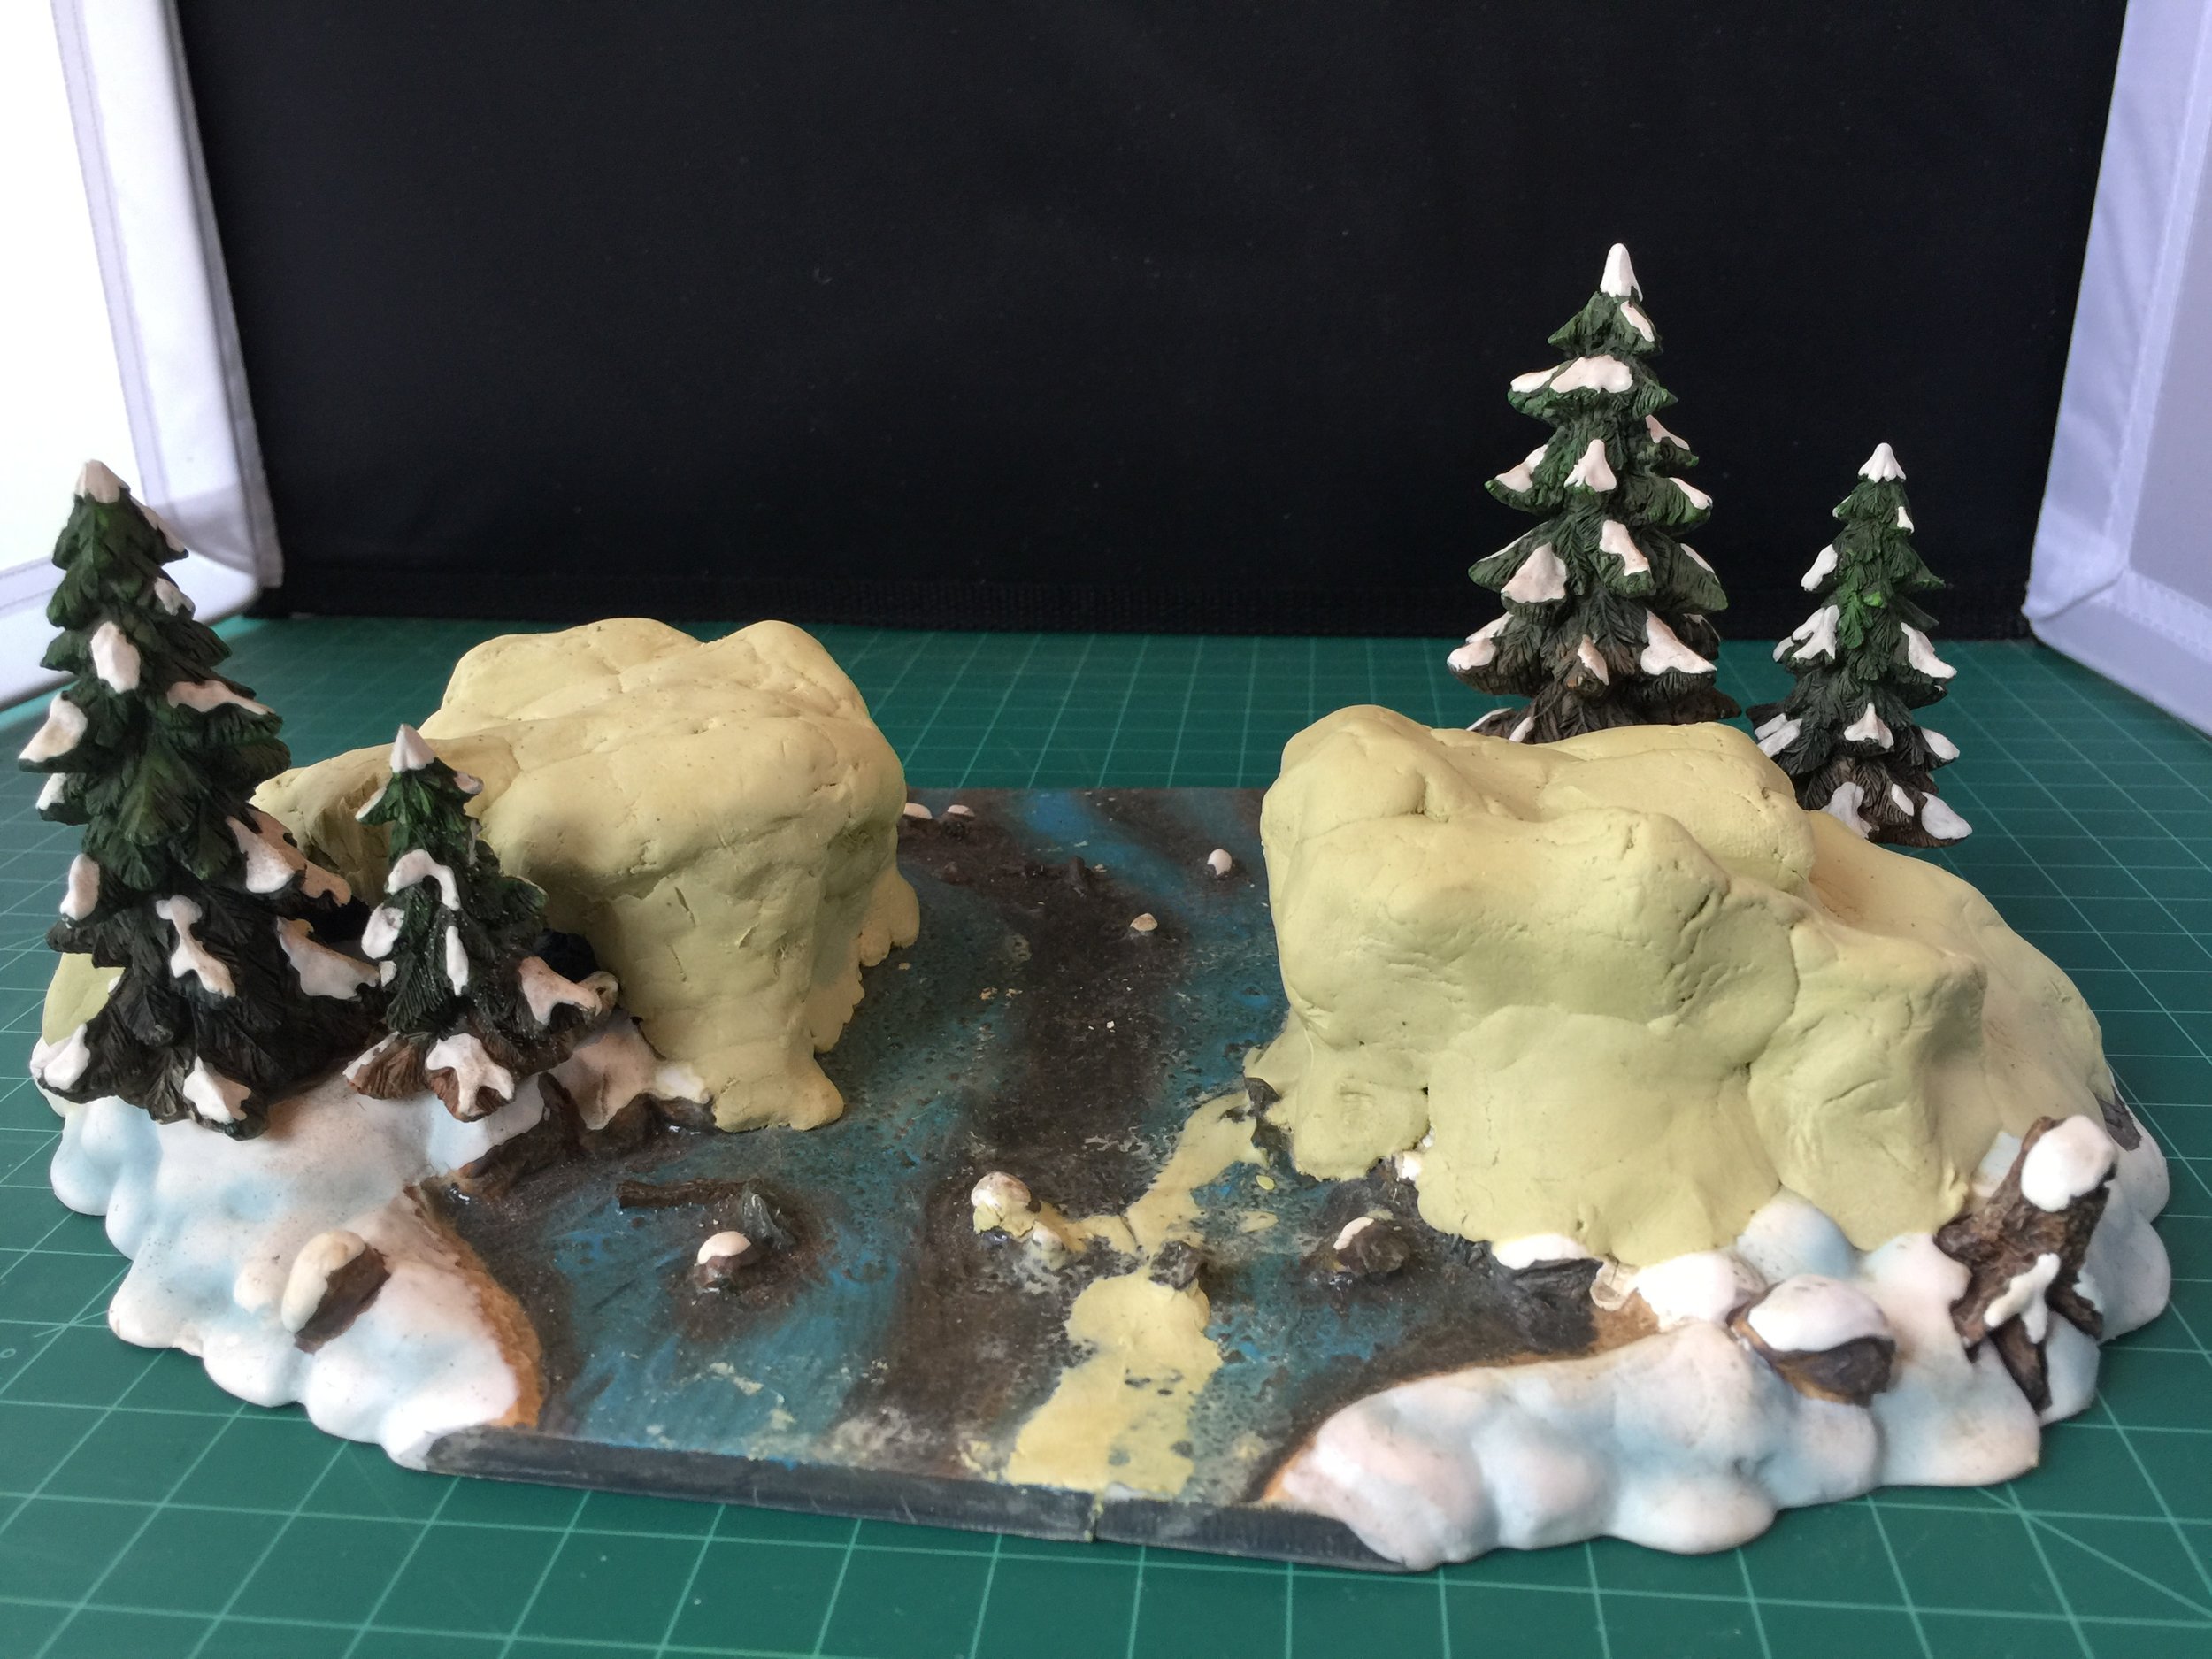
On Friday I painted three buffalo I picked up at the swap meet over the years for about 50 cents each plus a couple of squirrels by Heroclix. I also based and painted two drying hides for my Indian village. They were also cast-off toys I found at the swap meet and probably also cost about 50 cents each. With those done I looked to dealing with the first of the stream sections I will be working on for my mountain men collection. These sections are all by Dept. 56 and all were found at the swap meet for $5 or less per section and that made them real bargains based on the asking prices on eBay. The first section I have taken on is one that came with a stone bridge. Because a stone bridge would be completely out of place in the wilderness, the Yellowstone region in the 1820s, I had to get ridge of the bridge. The Dept. 56 stream sections are made of very hard resin. I initially tried sawing the bridge away, but that would have taken forever so I simply hit it a few times with a hammer. That removed most of the bridge and also unfortunately split the river from end to end, but it was a clean break which I glued back together and strengthened using Milliput in the shape of rock. I hid what remained of the bridge under two Milliput rock outcroppings on each side of the stream. With the modification of this section of stream I should have more than enough Dept. 56 stream to stretch the 5 feet of table I need to cover.

June 23, 2019
The workbench this week will end early… on Friday. That is because I will be setting up the Dr. Who collection on Friday in preparation for its weekend photo session.
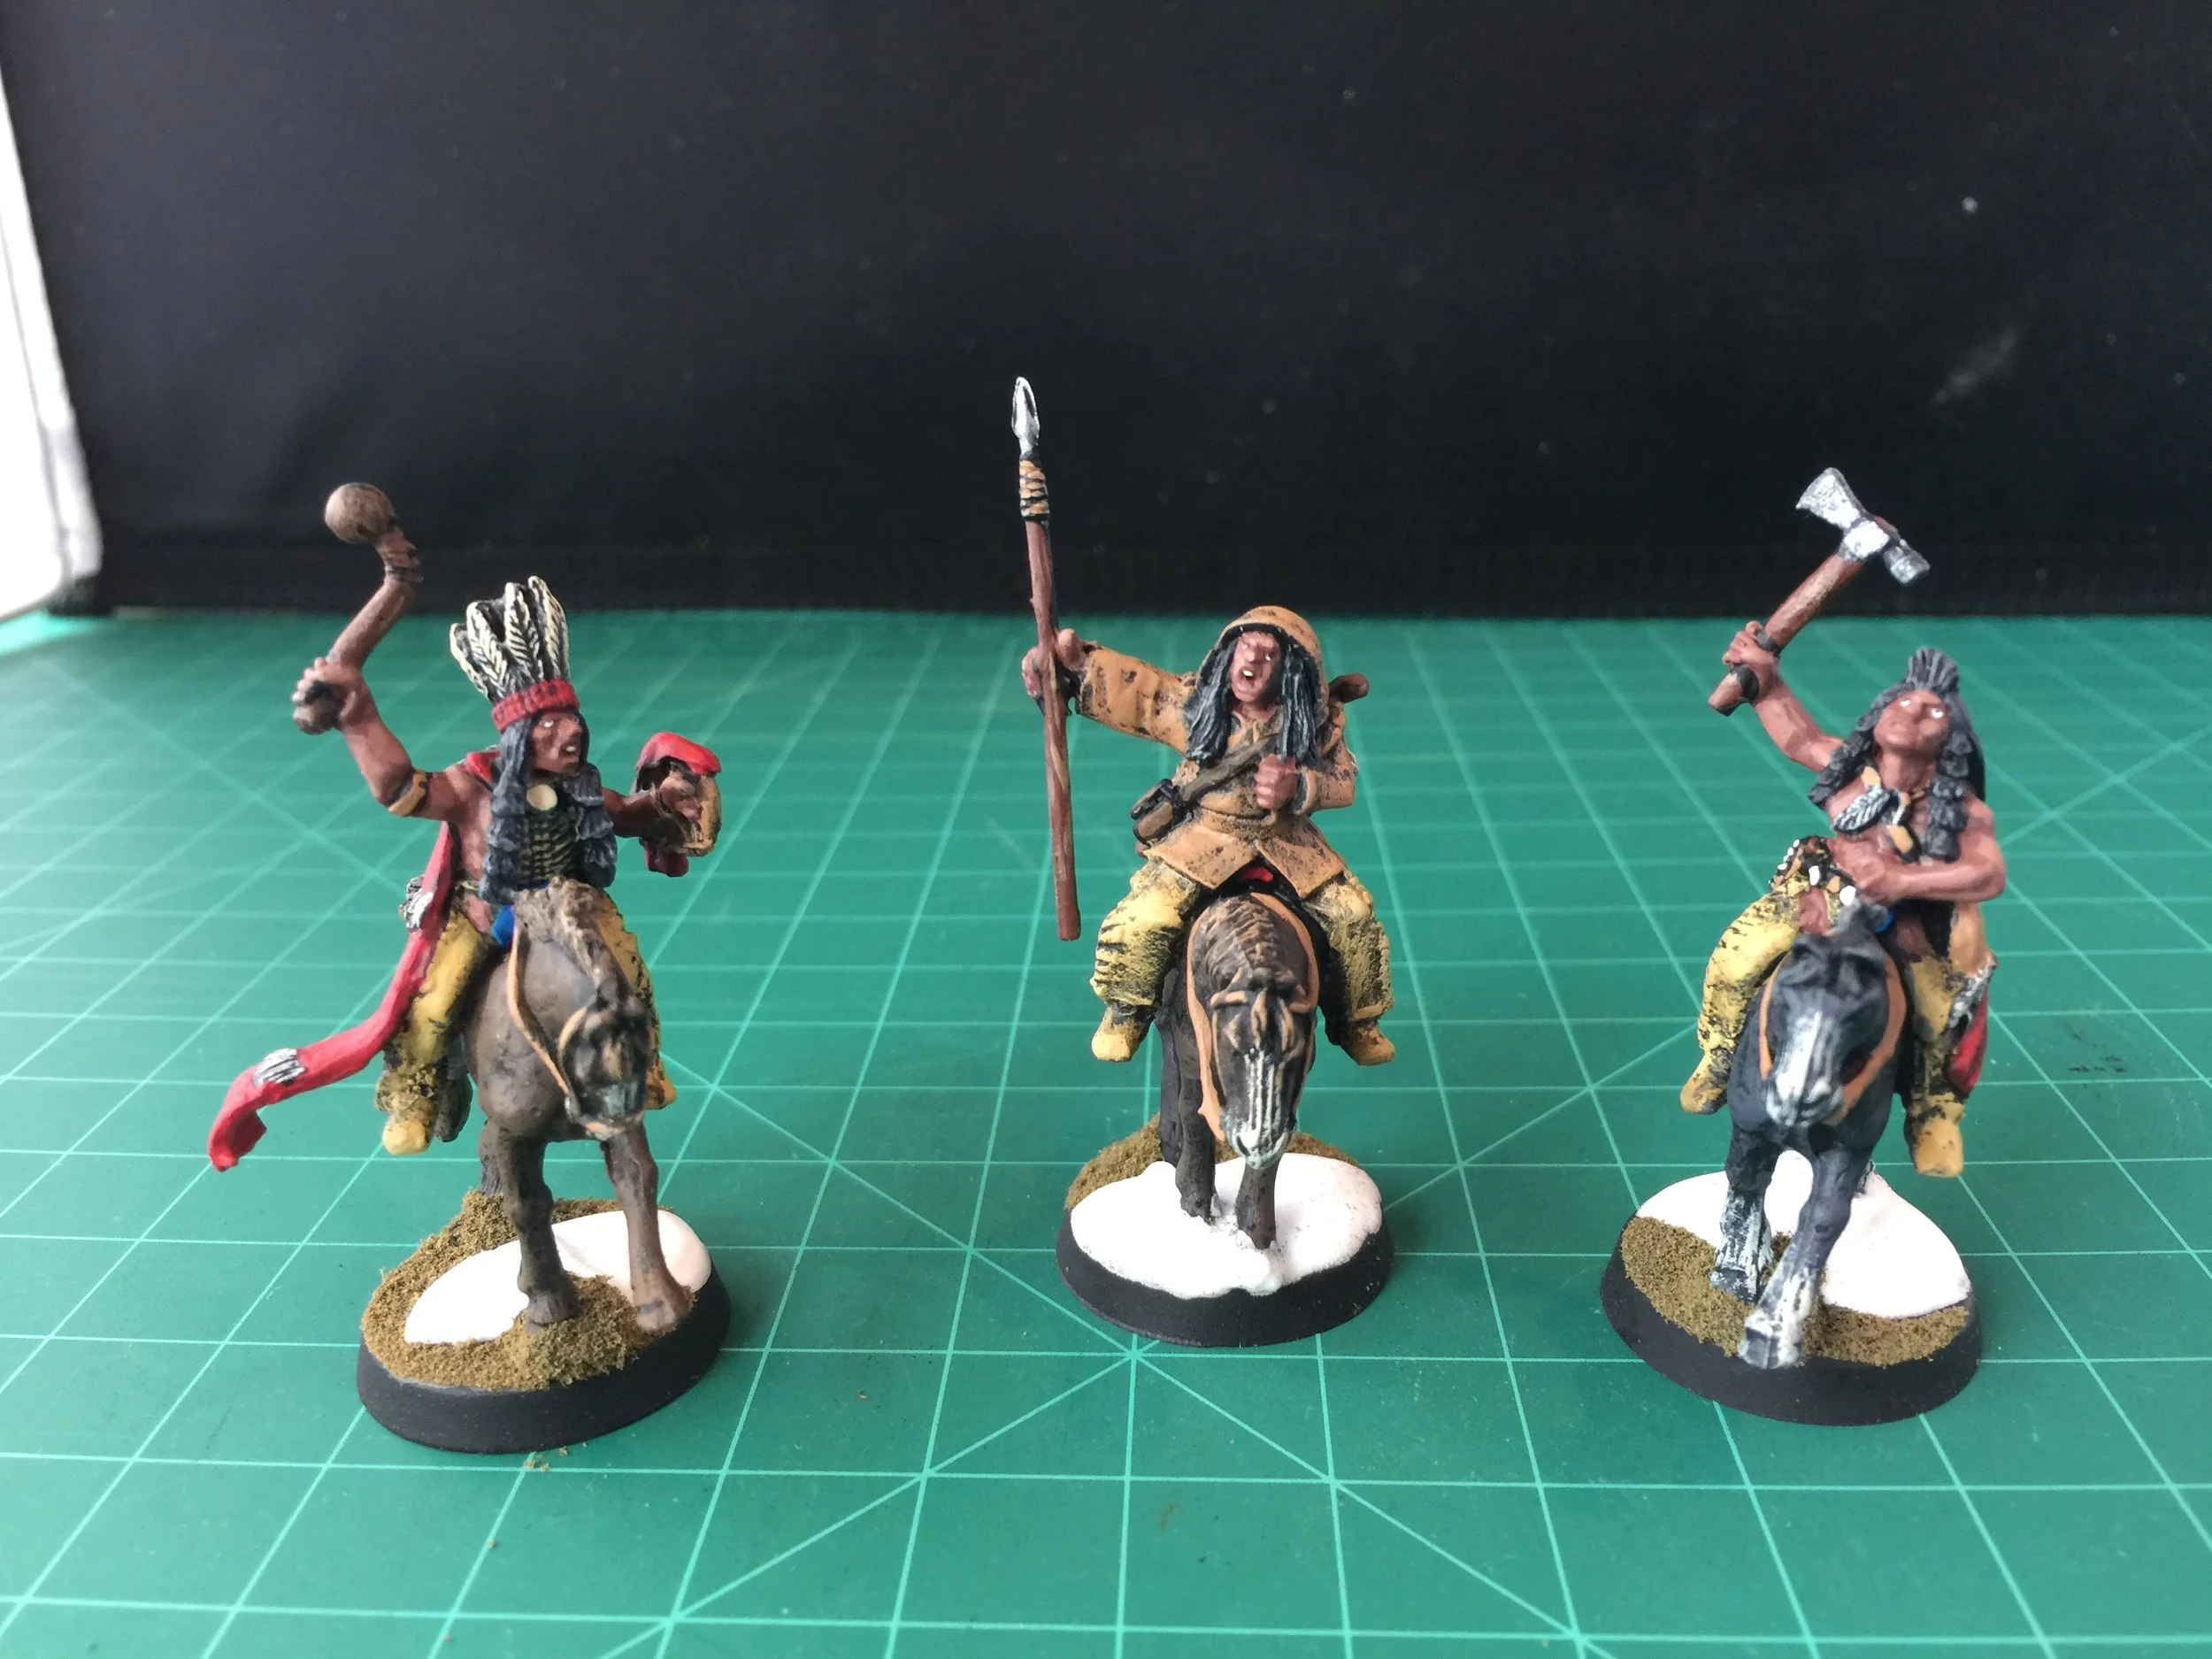
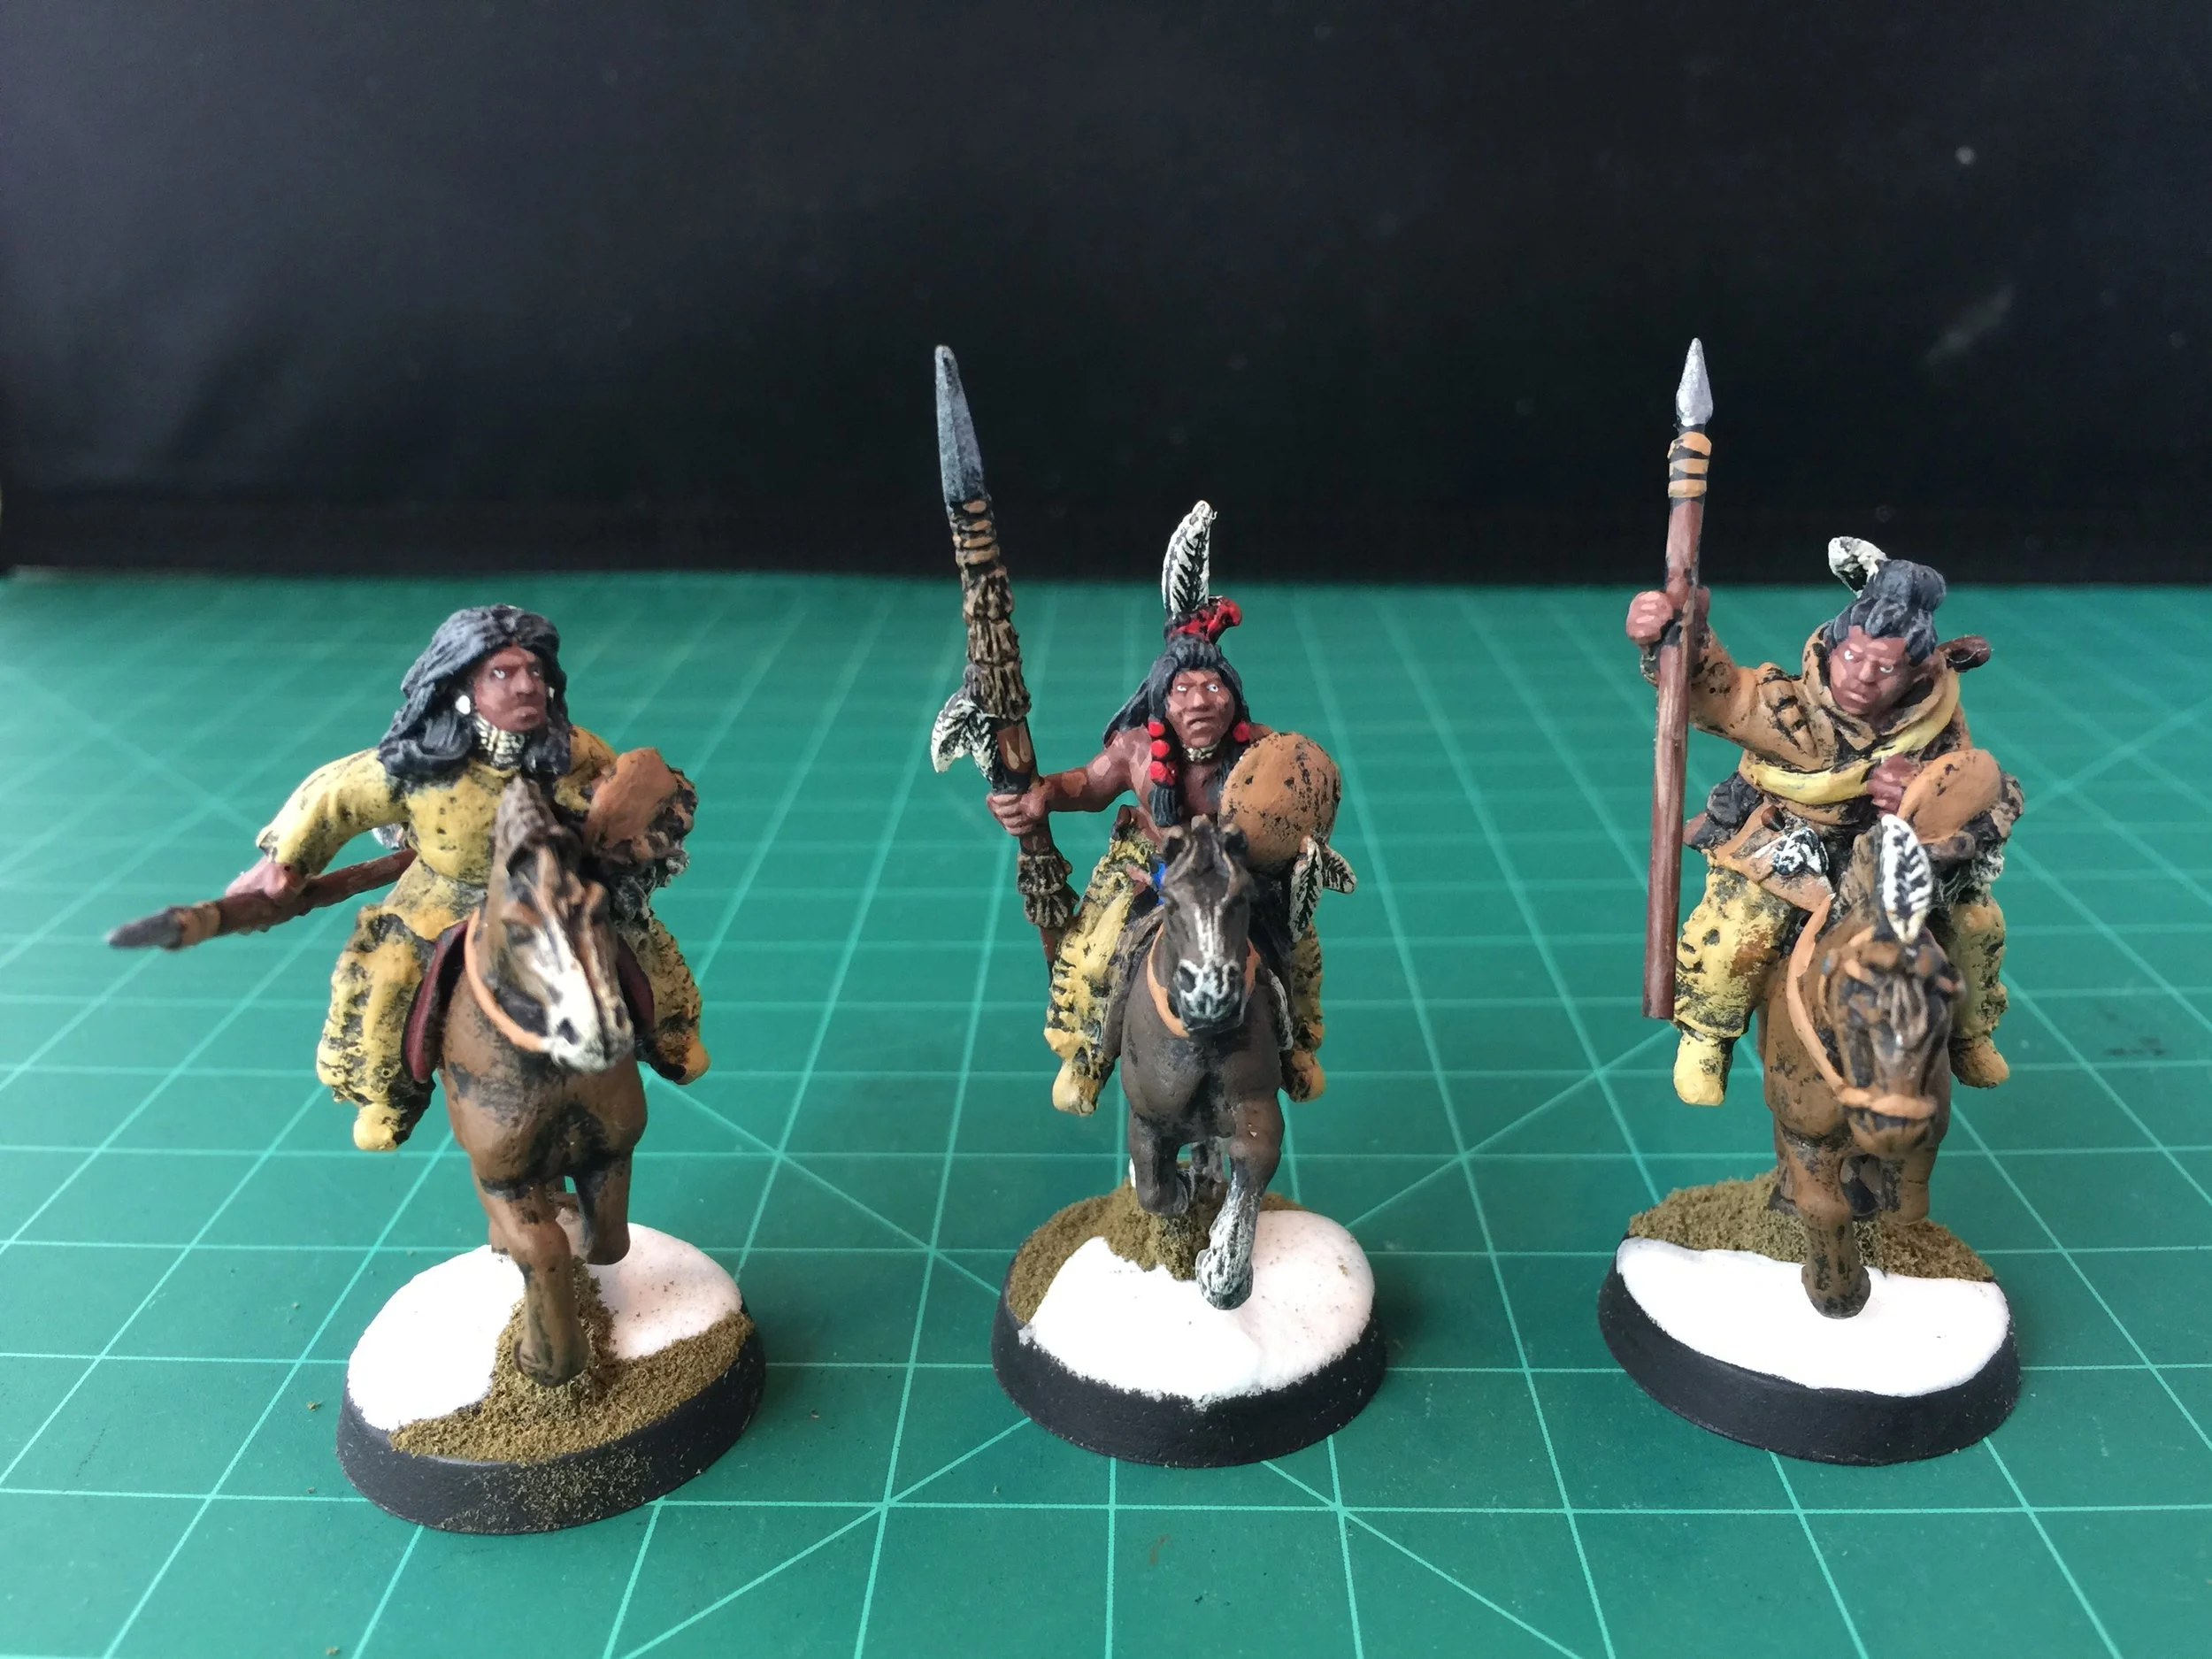
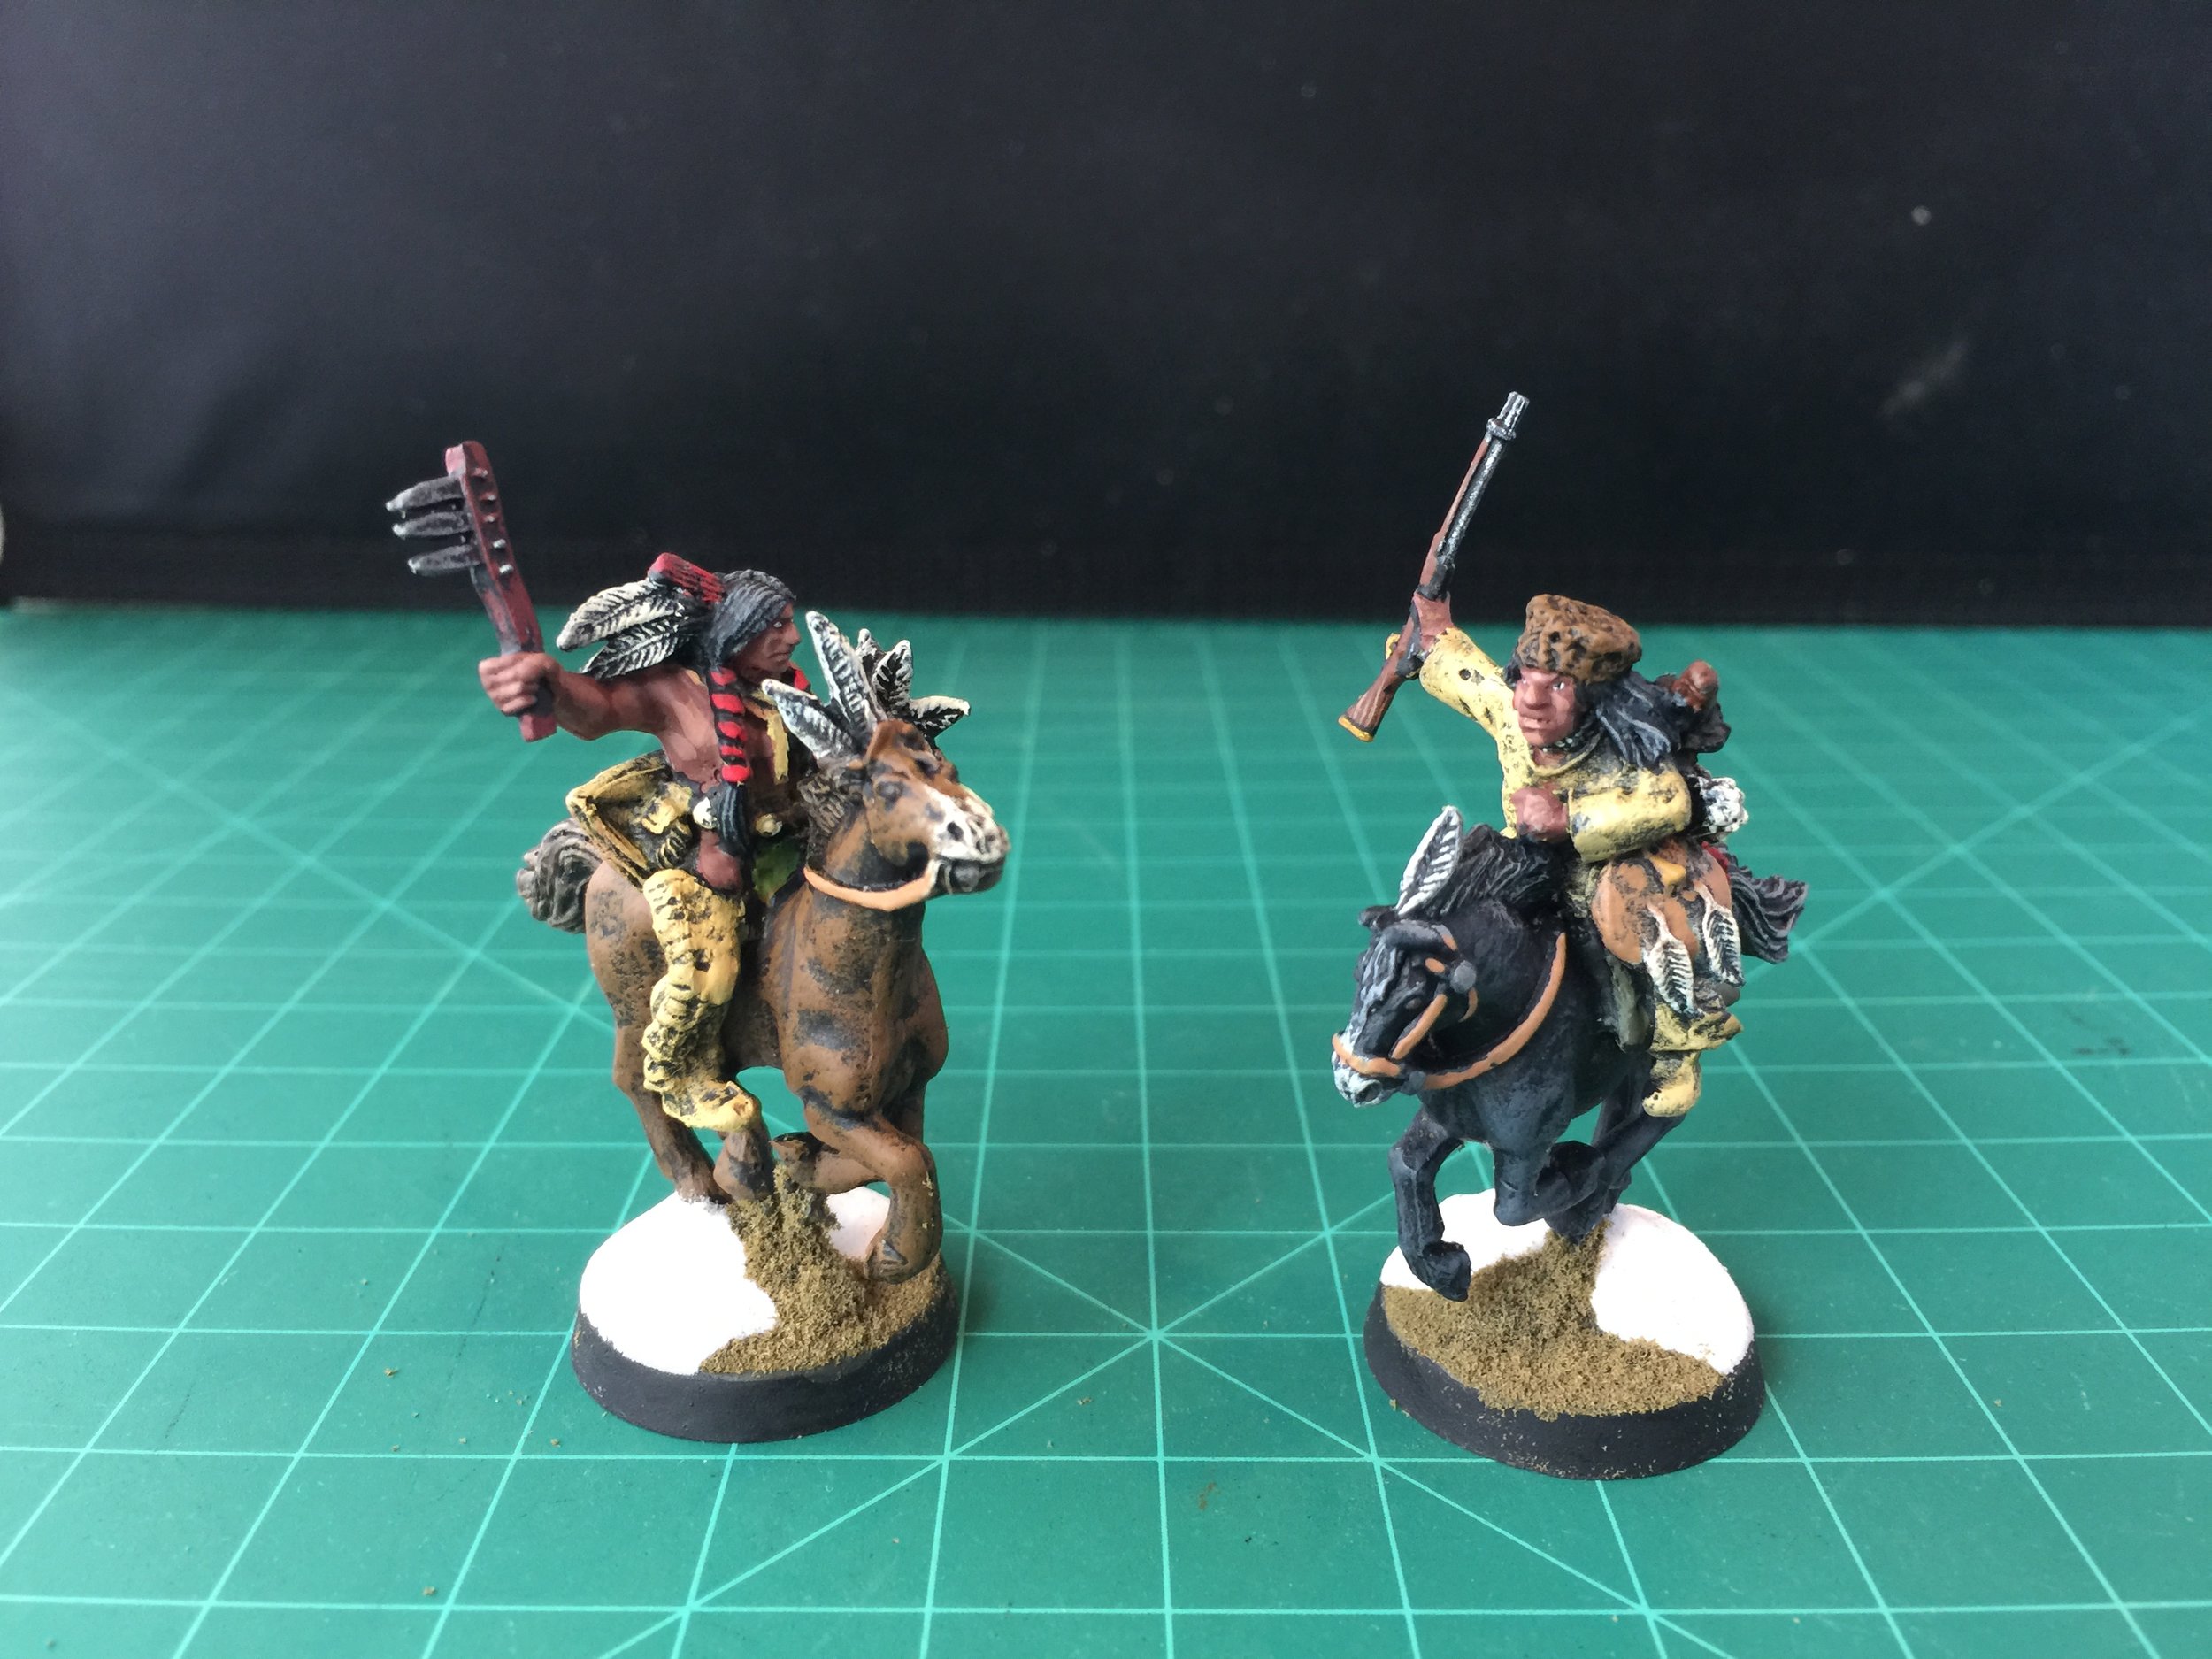
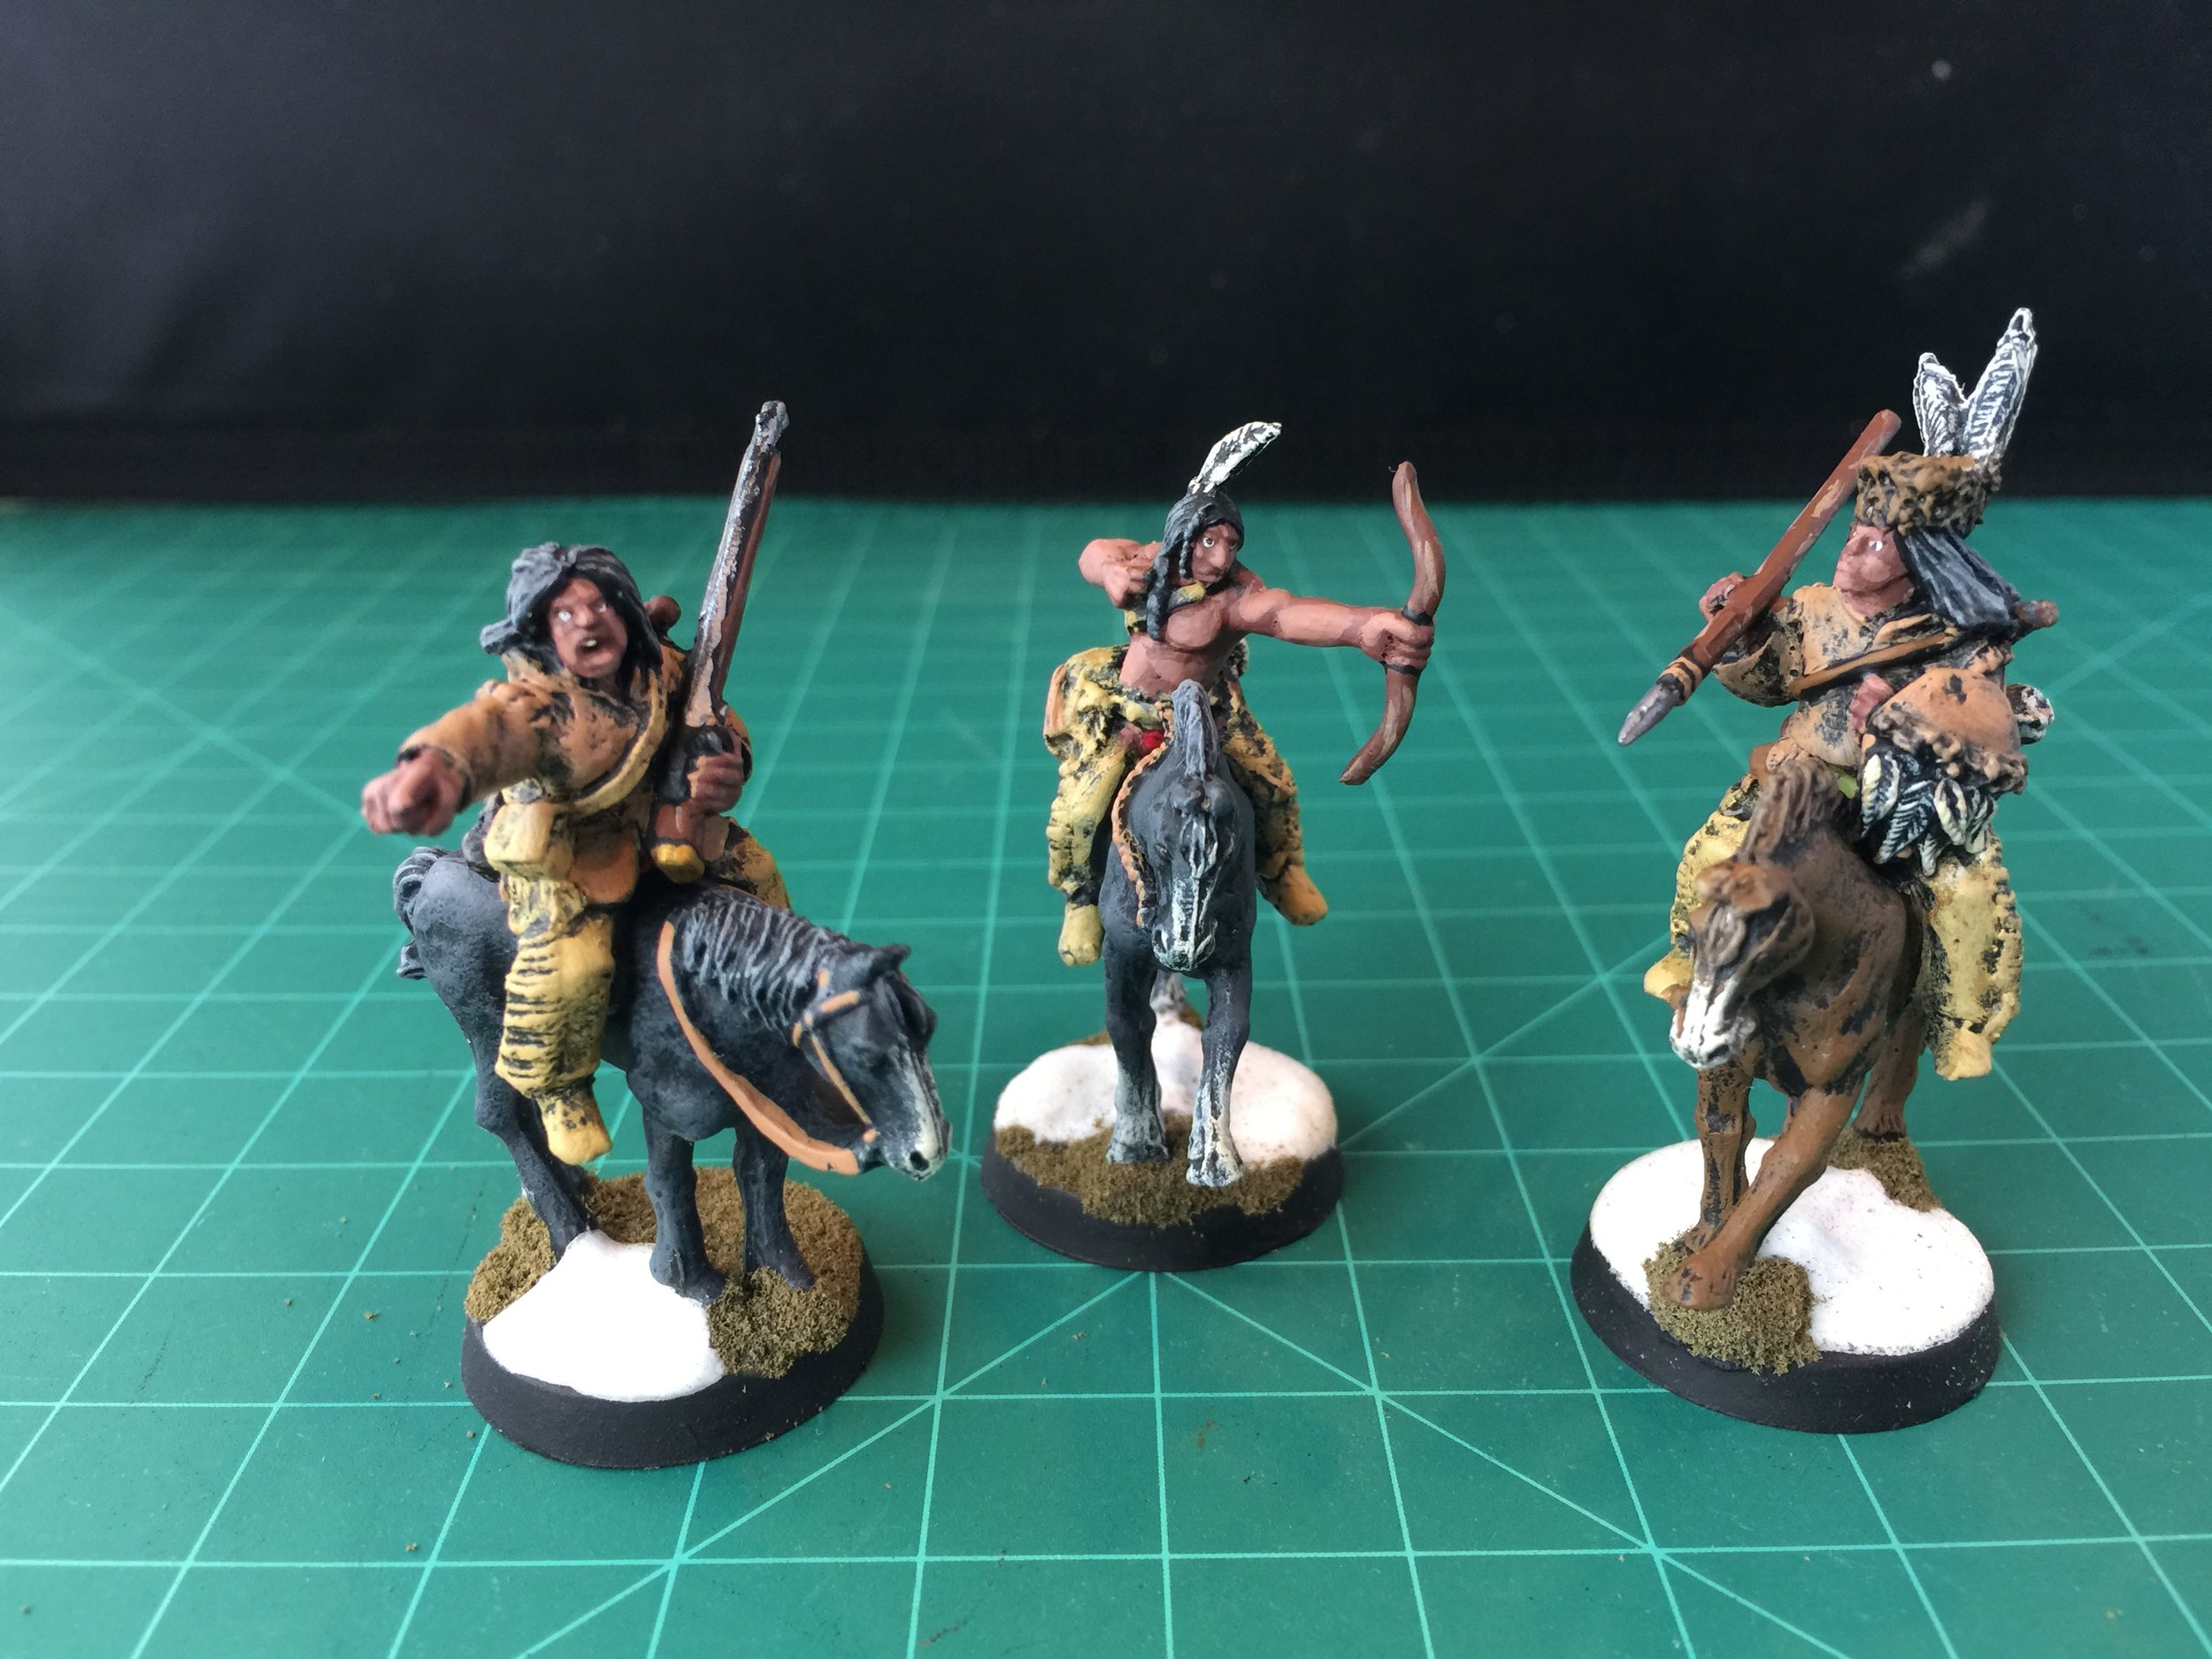
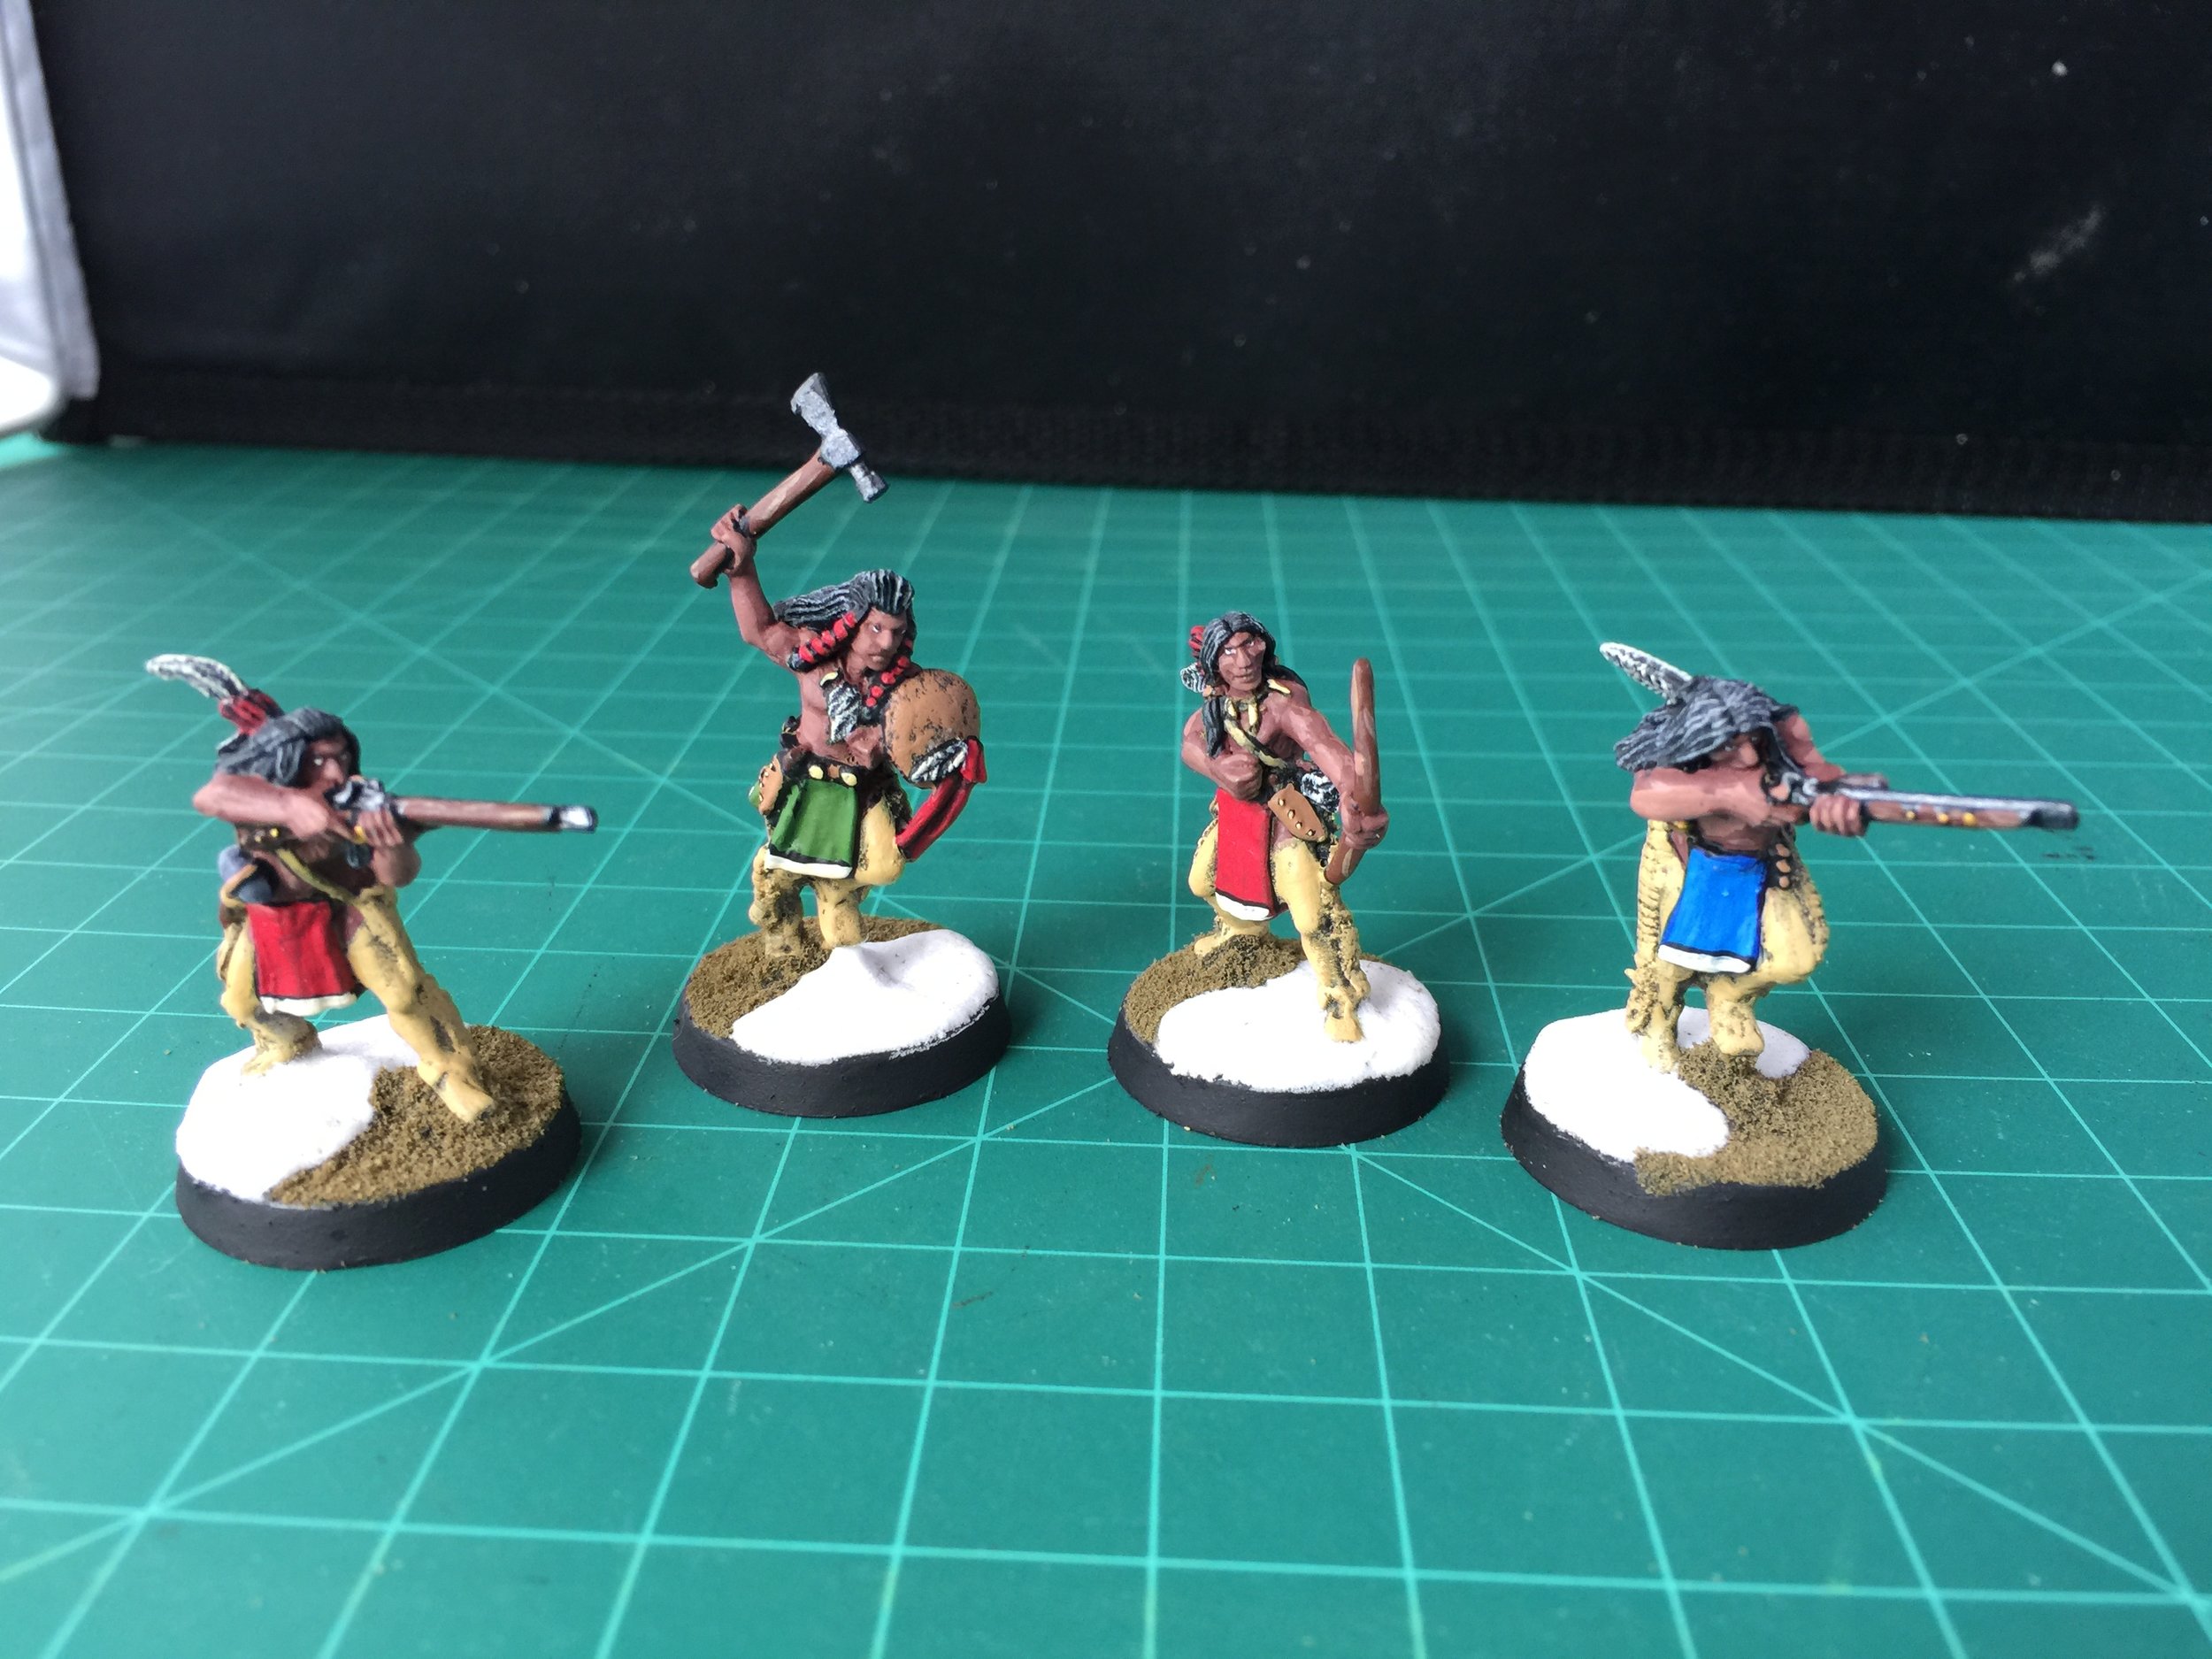
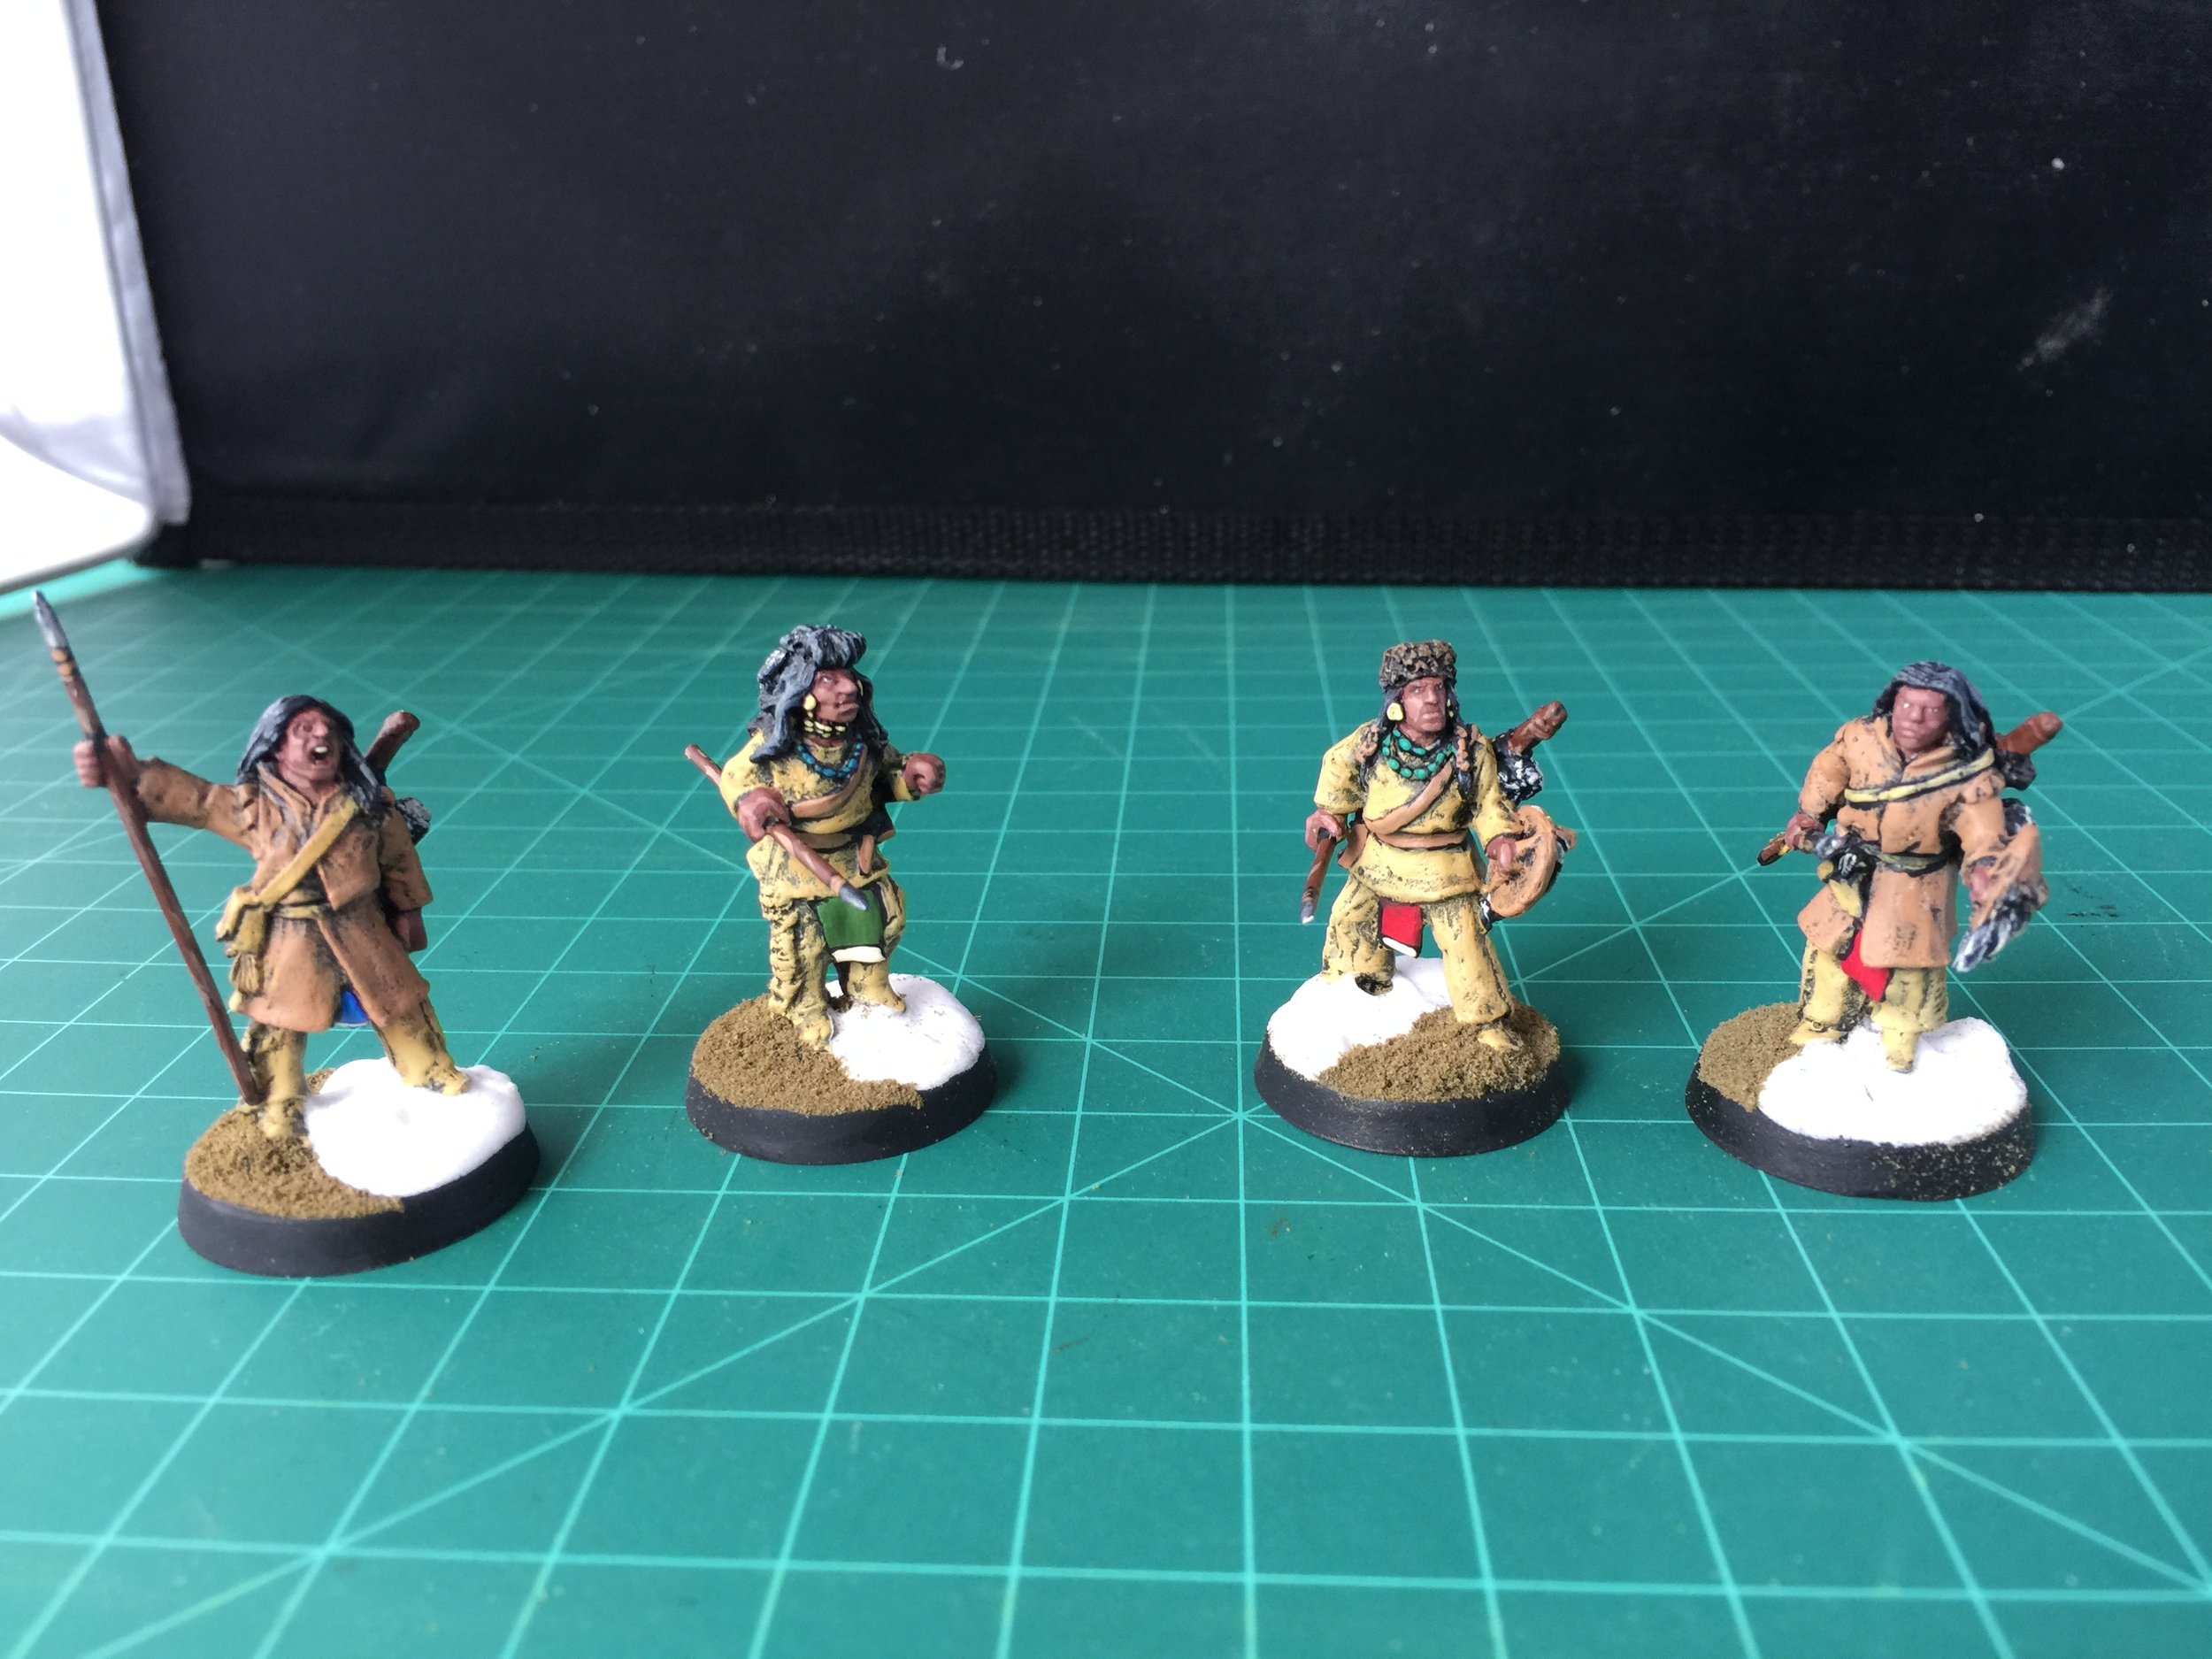
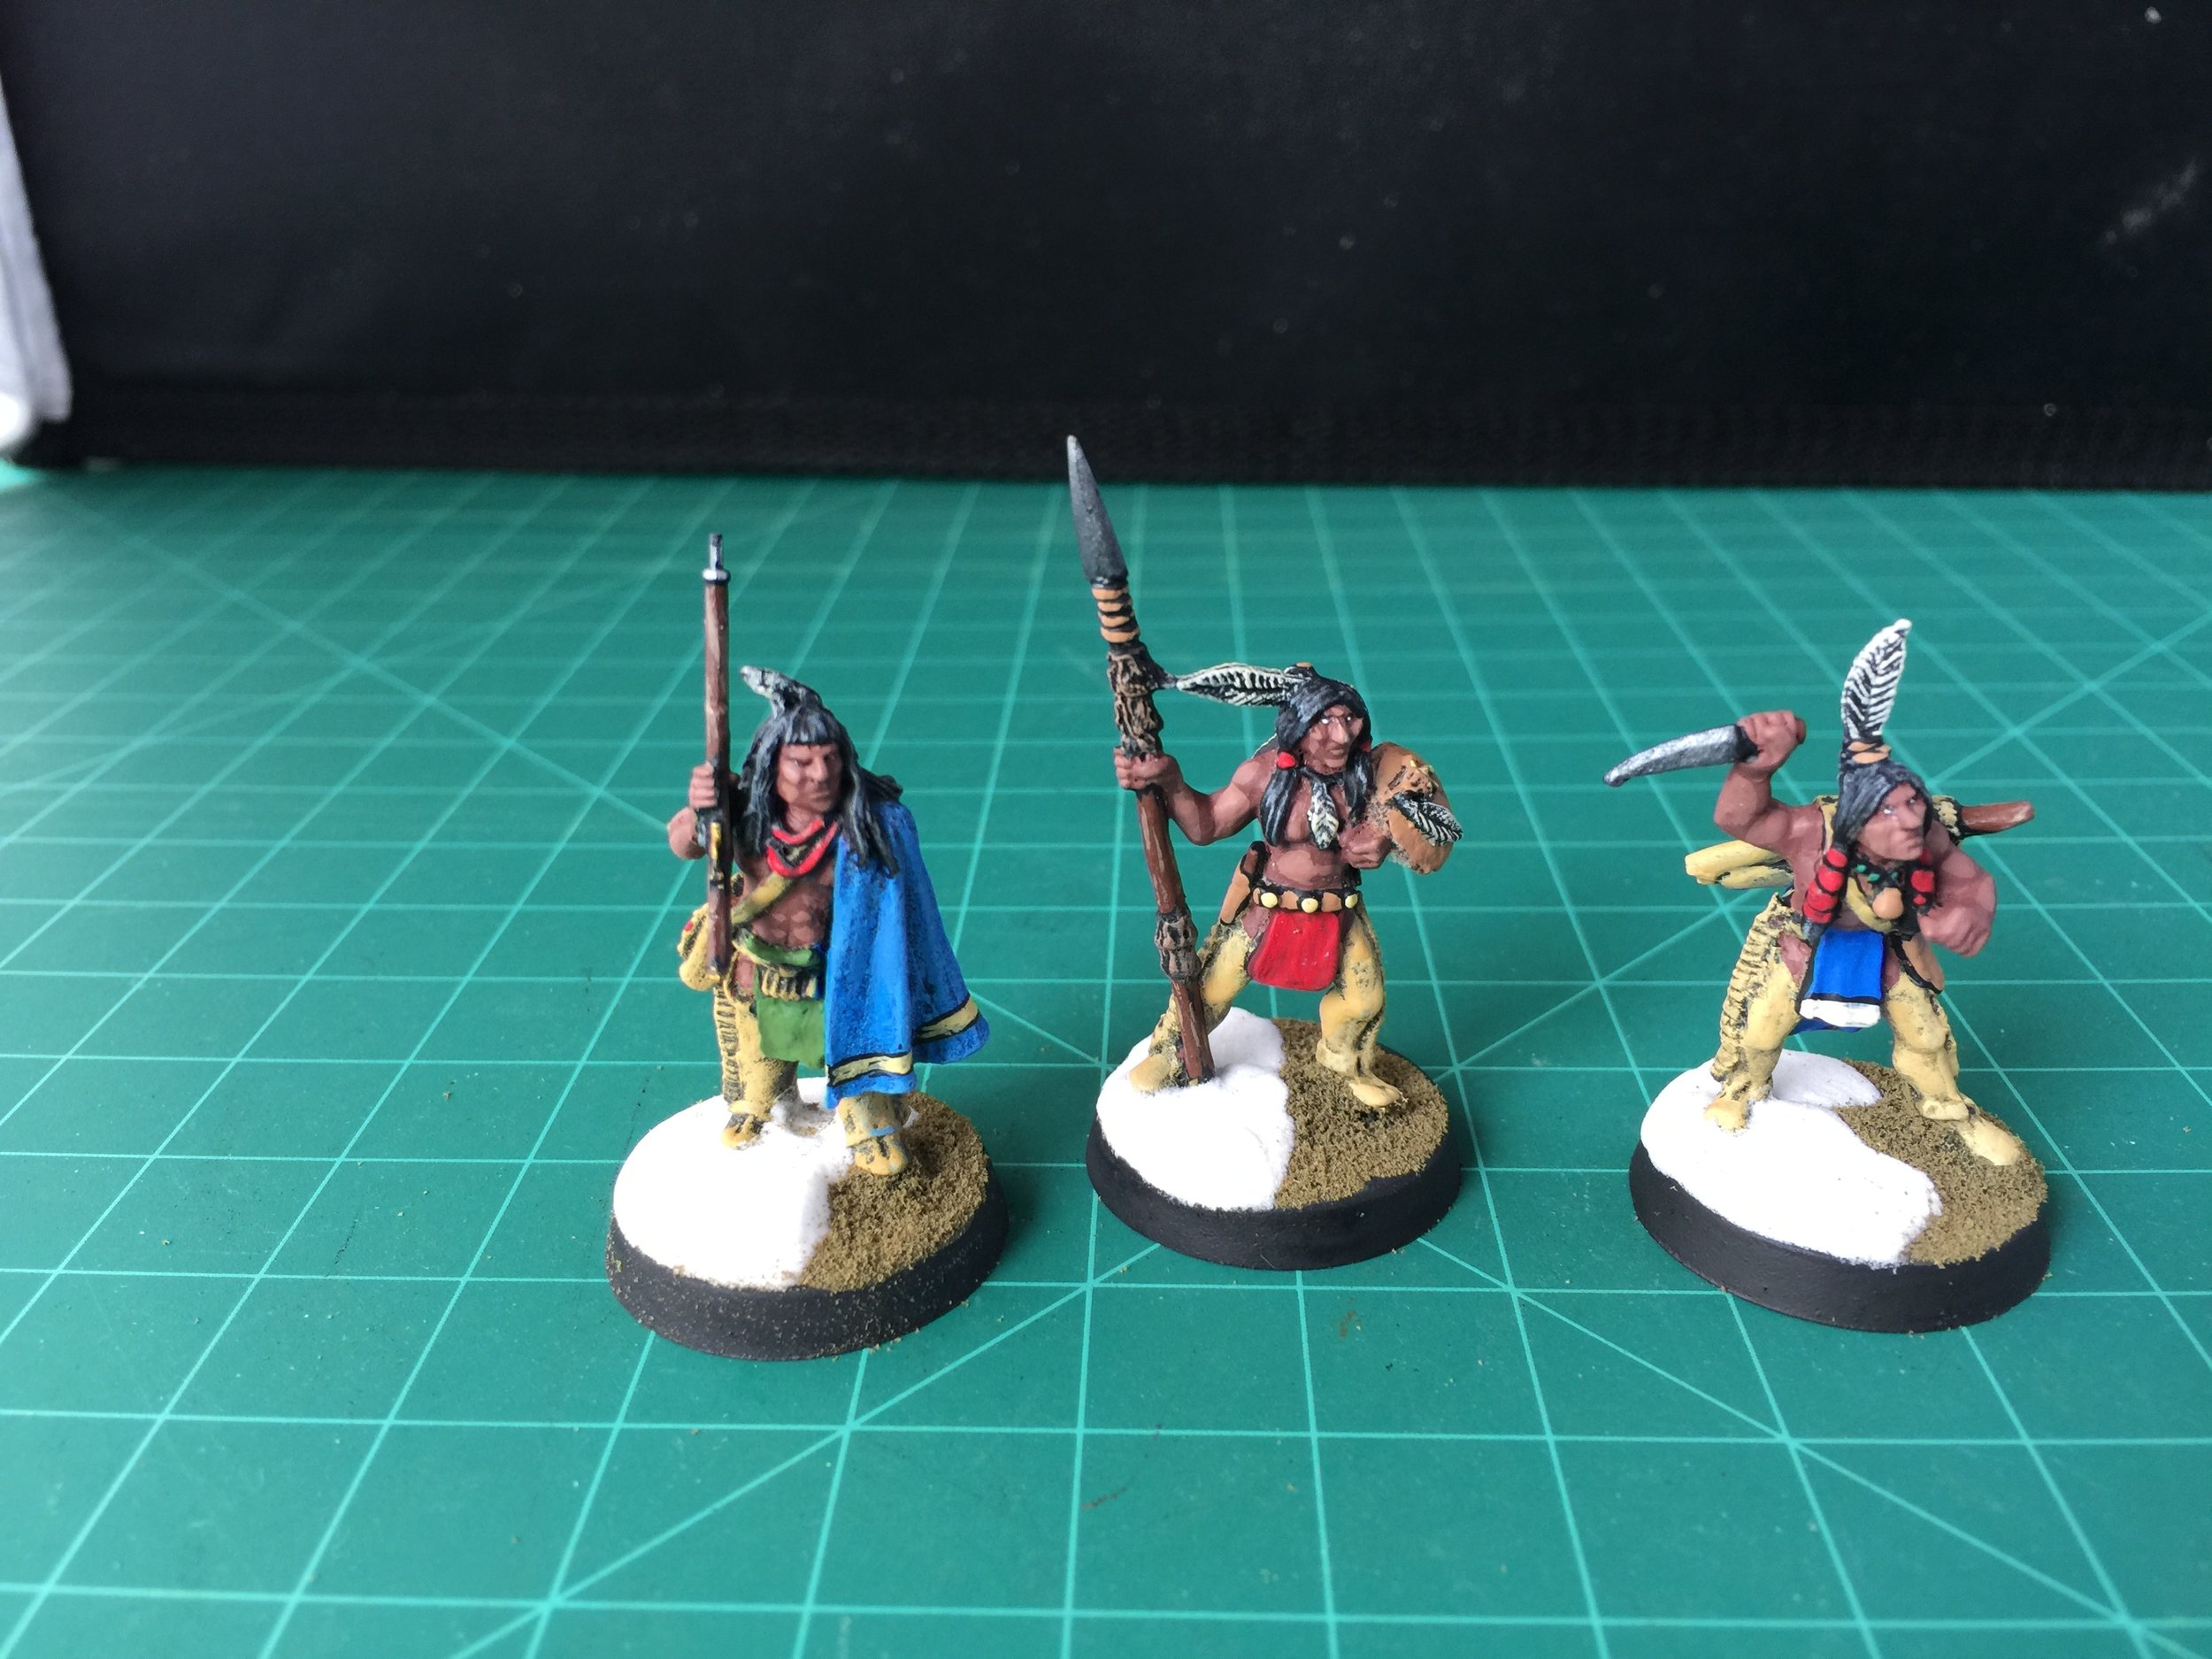
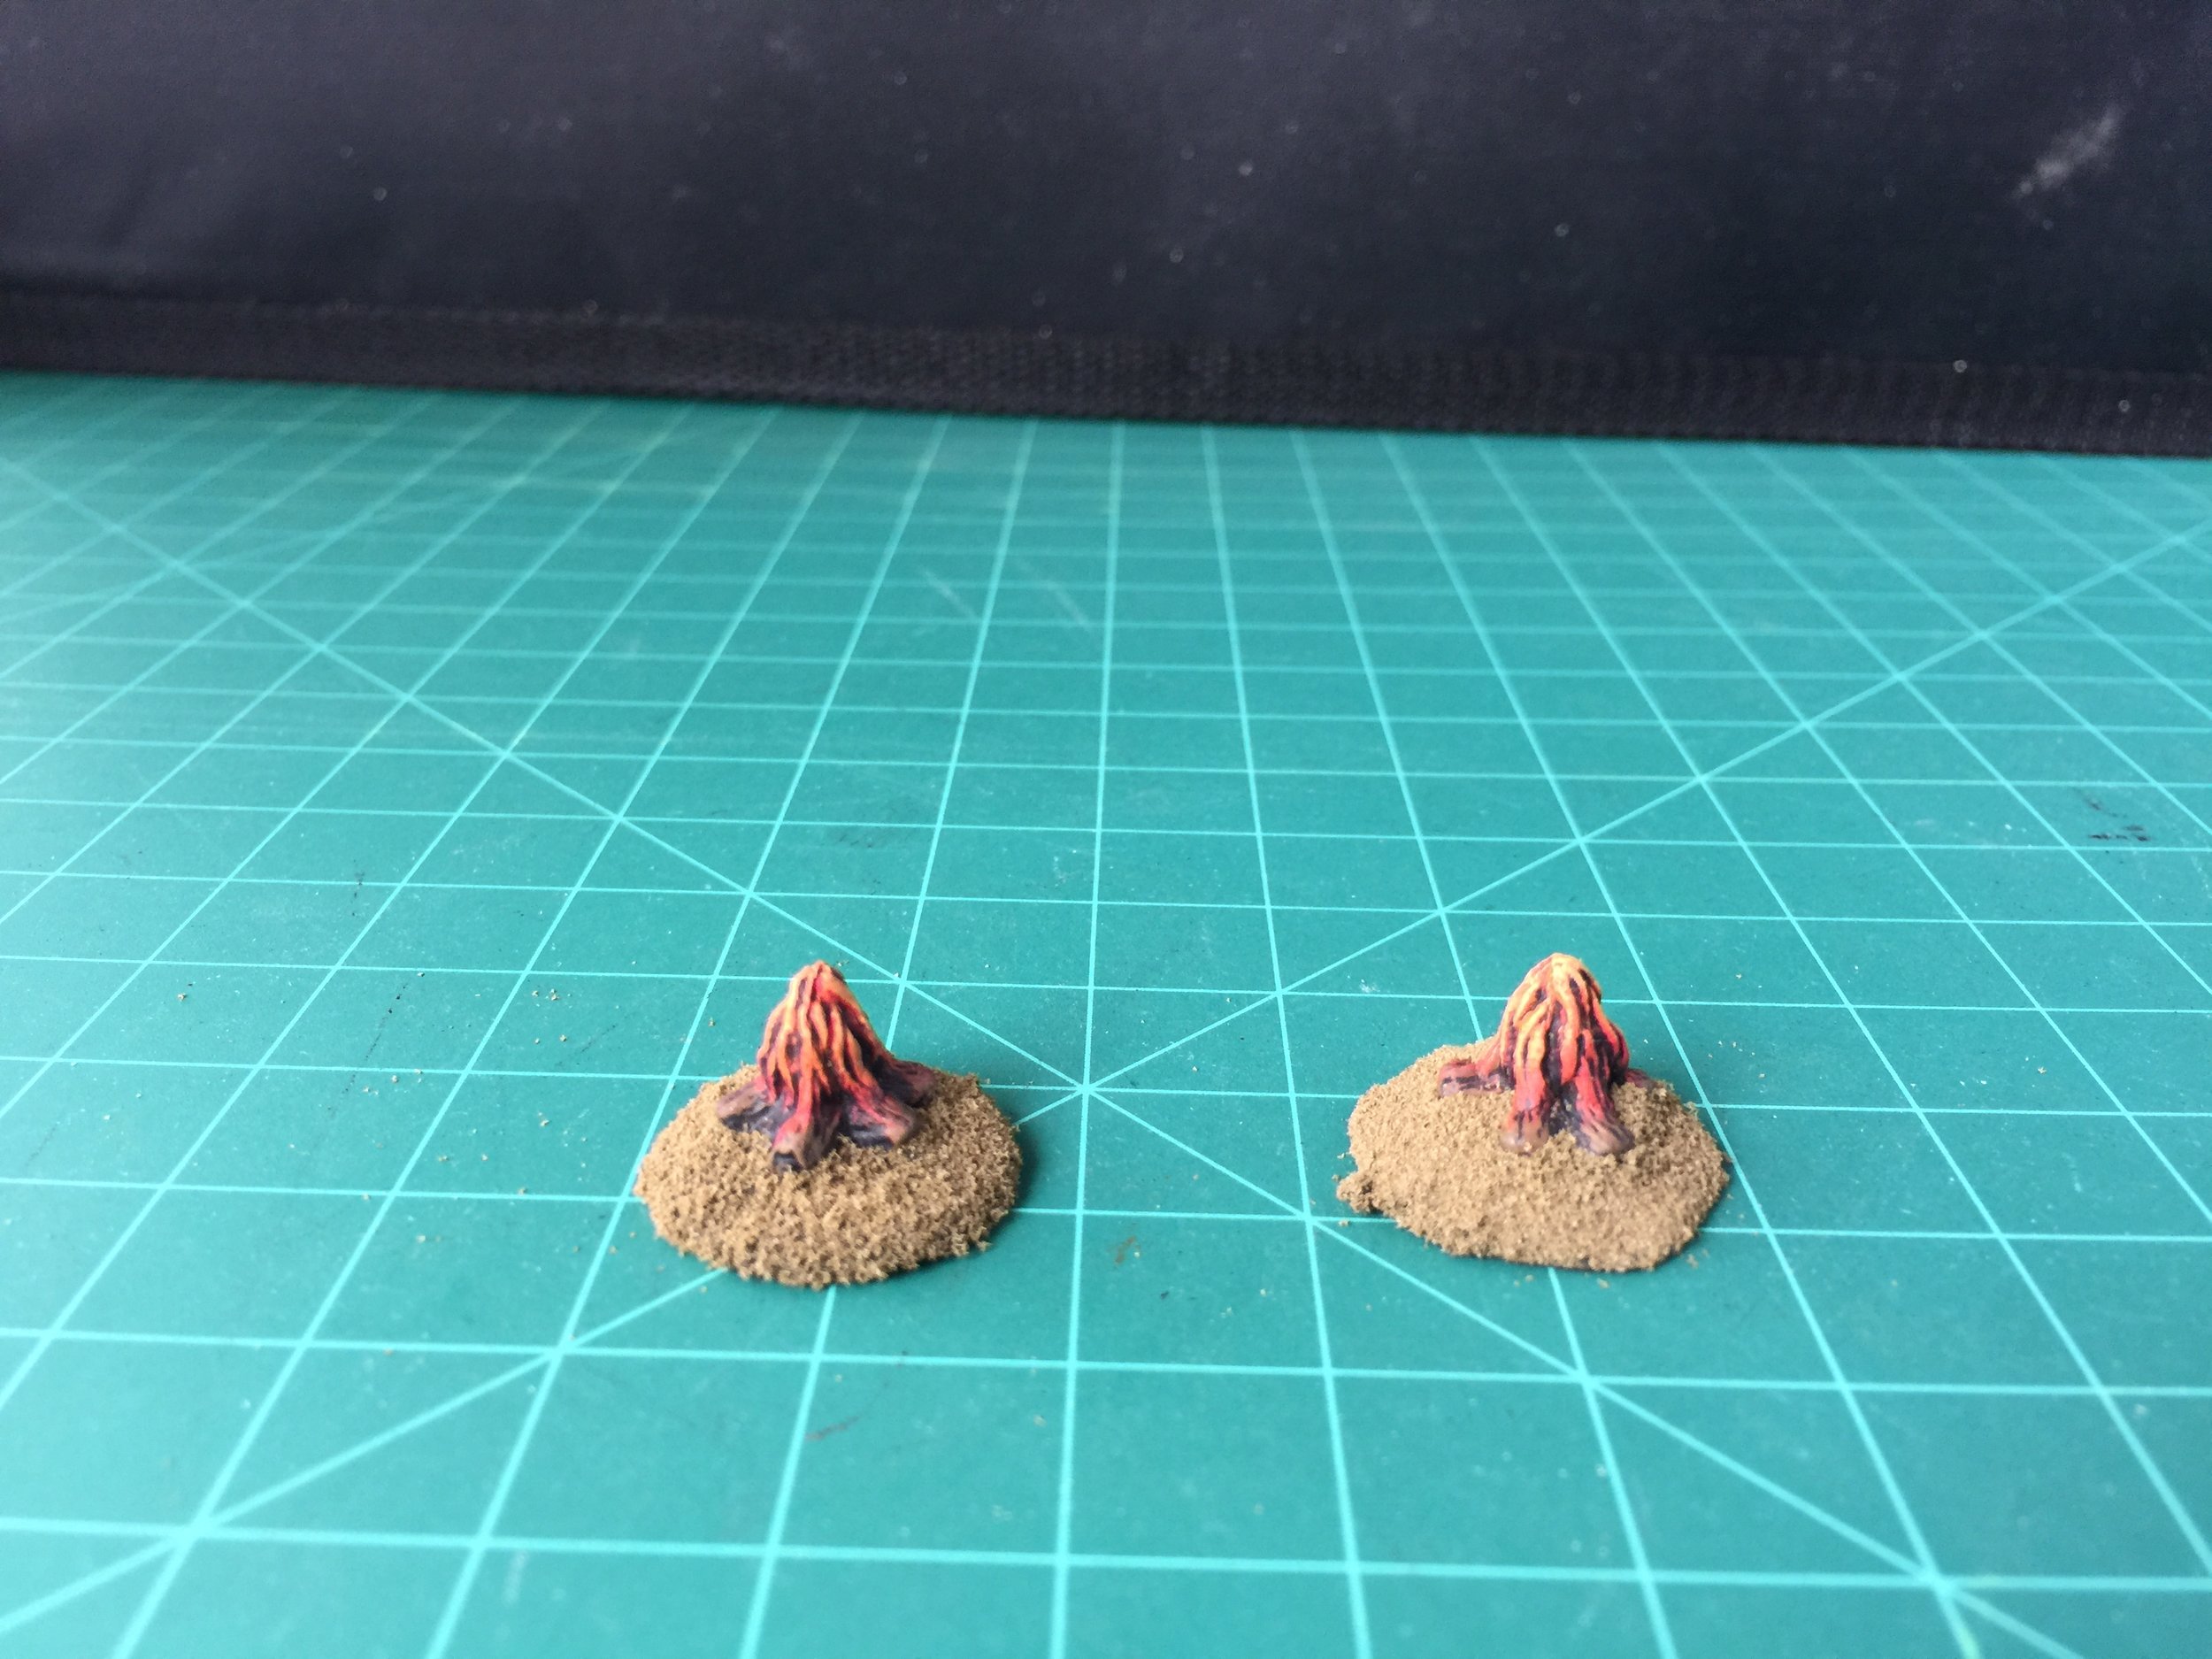
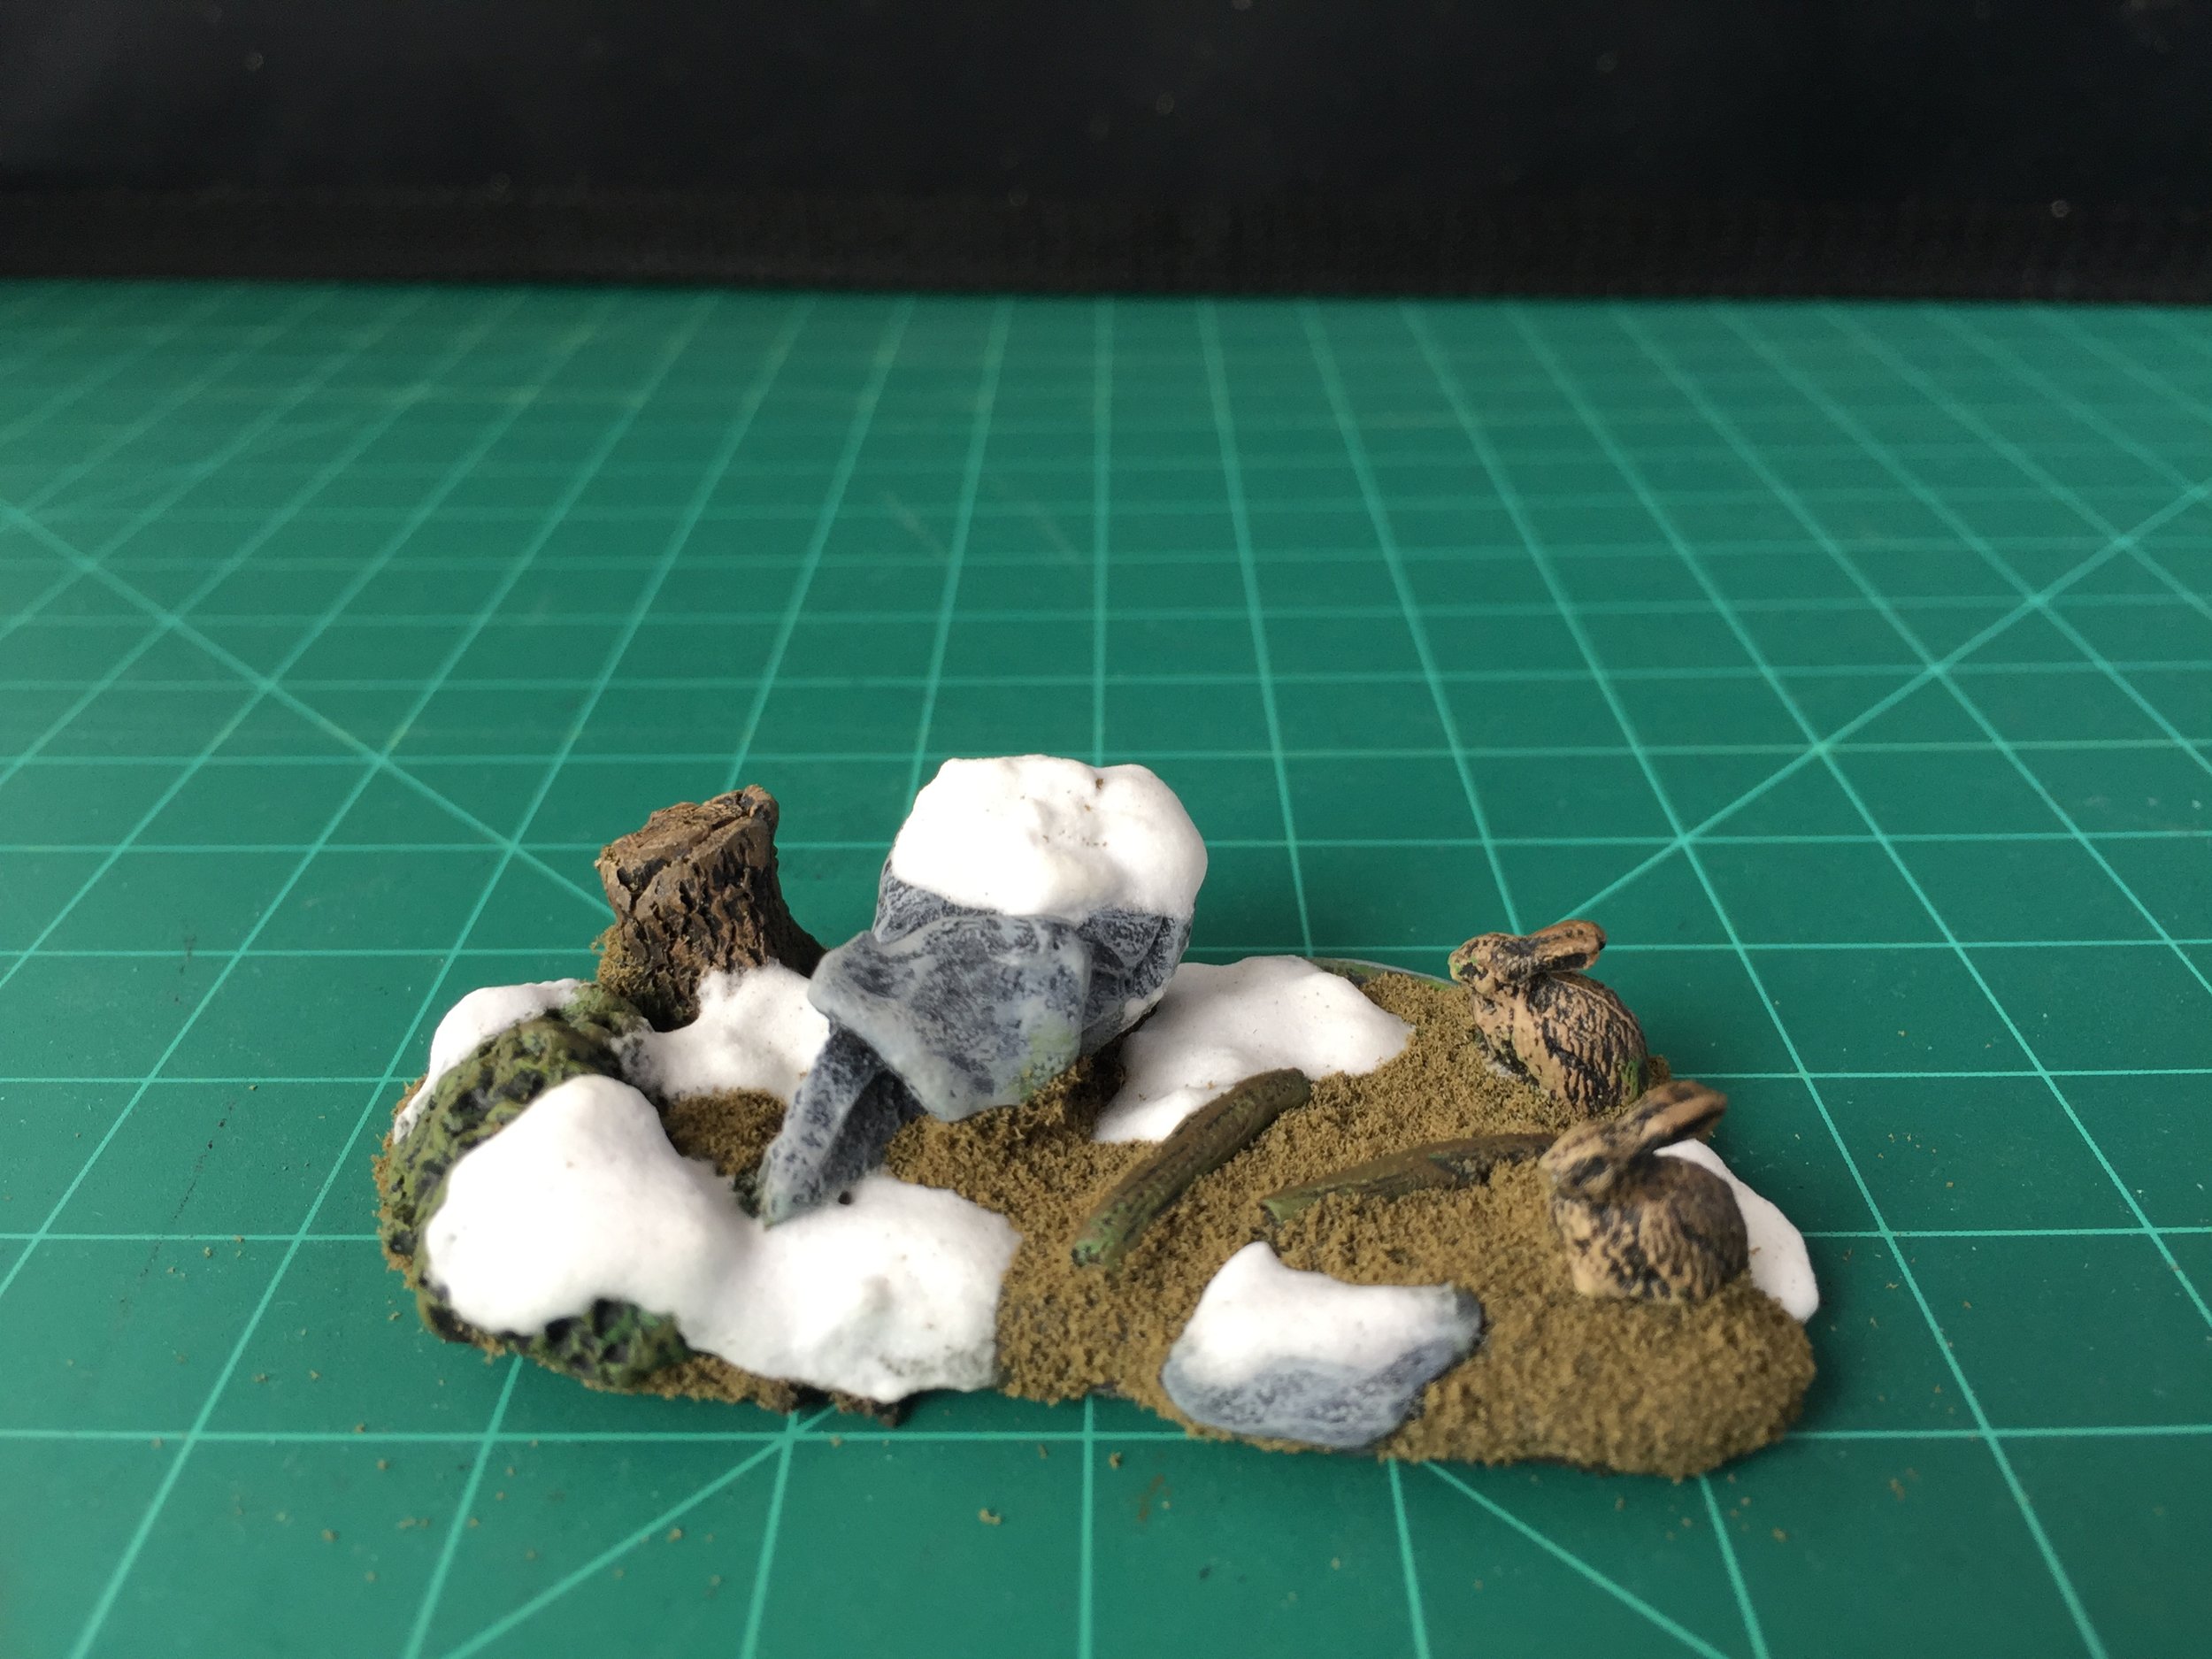
The focus on the workbench this week has been on completing the last of the figures for the Mountain Men collection. When I say the last of the figures, I am referring to those that I actually have. I am still awaiting the arrival from Foundry of three mounted Indians and three mounted mountain men. That said, I completed the last of the available Foundry Indians, two Old Glory campfires, and a Lemax base (I removed an oversize bear) onto which I added two rabbits (manufacturer unknown). I should also state that I am now sure that the fawn and bear I painted last week are also Lemax.
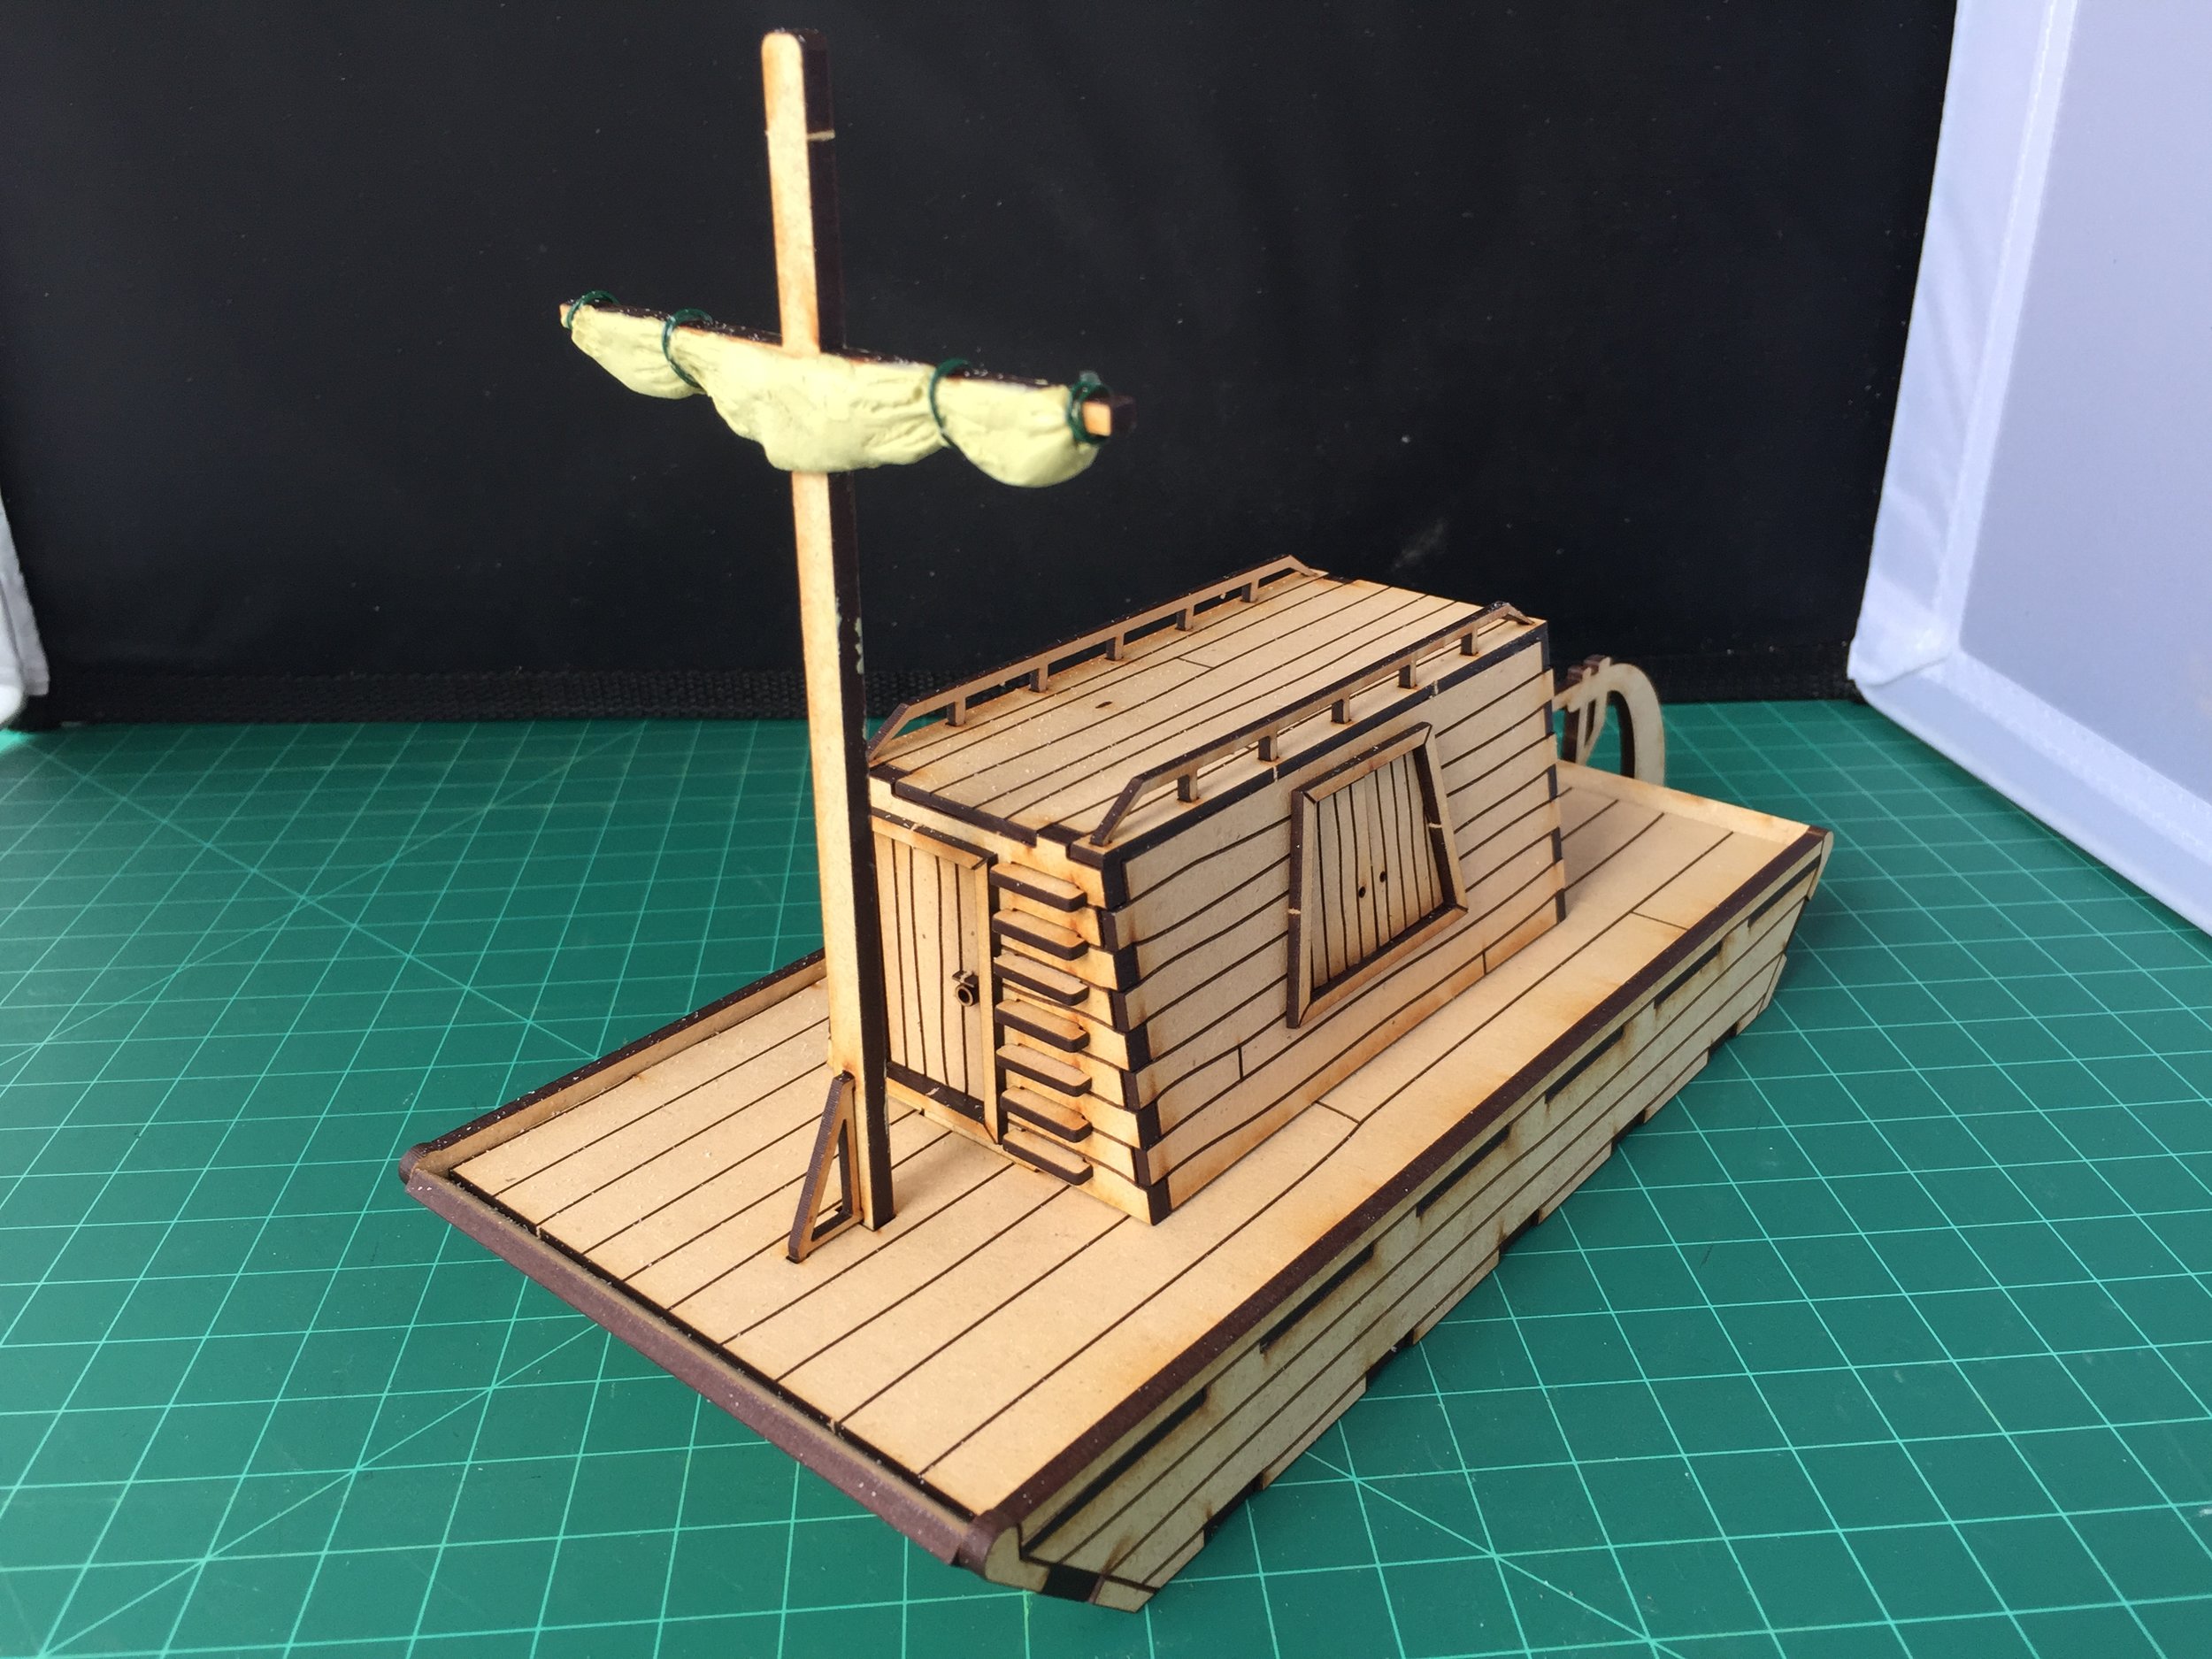
Thursday evening I put together the keelboat. Next week my efforts will be on the keelboat’s completion/painting and the construction of its wagon. That wagon will require a lot of thought and planning that can only be done seriously with the keelboat put together. The keelboat I selected for this project and the only one I am aware of on the market is a laser cut HDF vessel (8” long x 4” wide x 3” tall with a 6” mast) by Things From The Basement, LLC. I considered scratch building the keelboat, but the one from Things From The Basement was cheaper to buy than the plastic would have cost me to scratch build one of my own. I attached a reefed Milliput sail to the mast and used floral wire as reefing line to connect the sail to the spare. This is the same approach I used when I added sails to my pirate ships almost a decade ago.
June 16, 2019
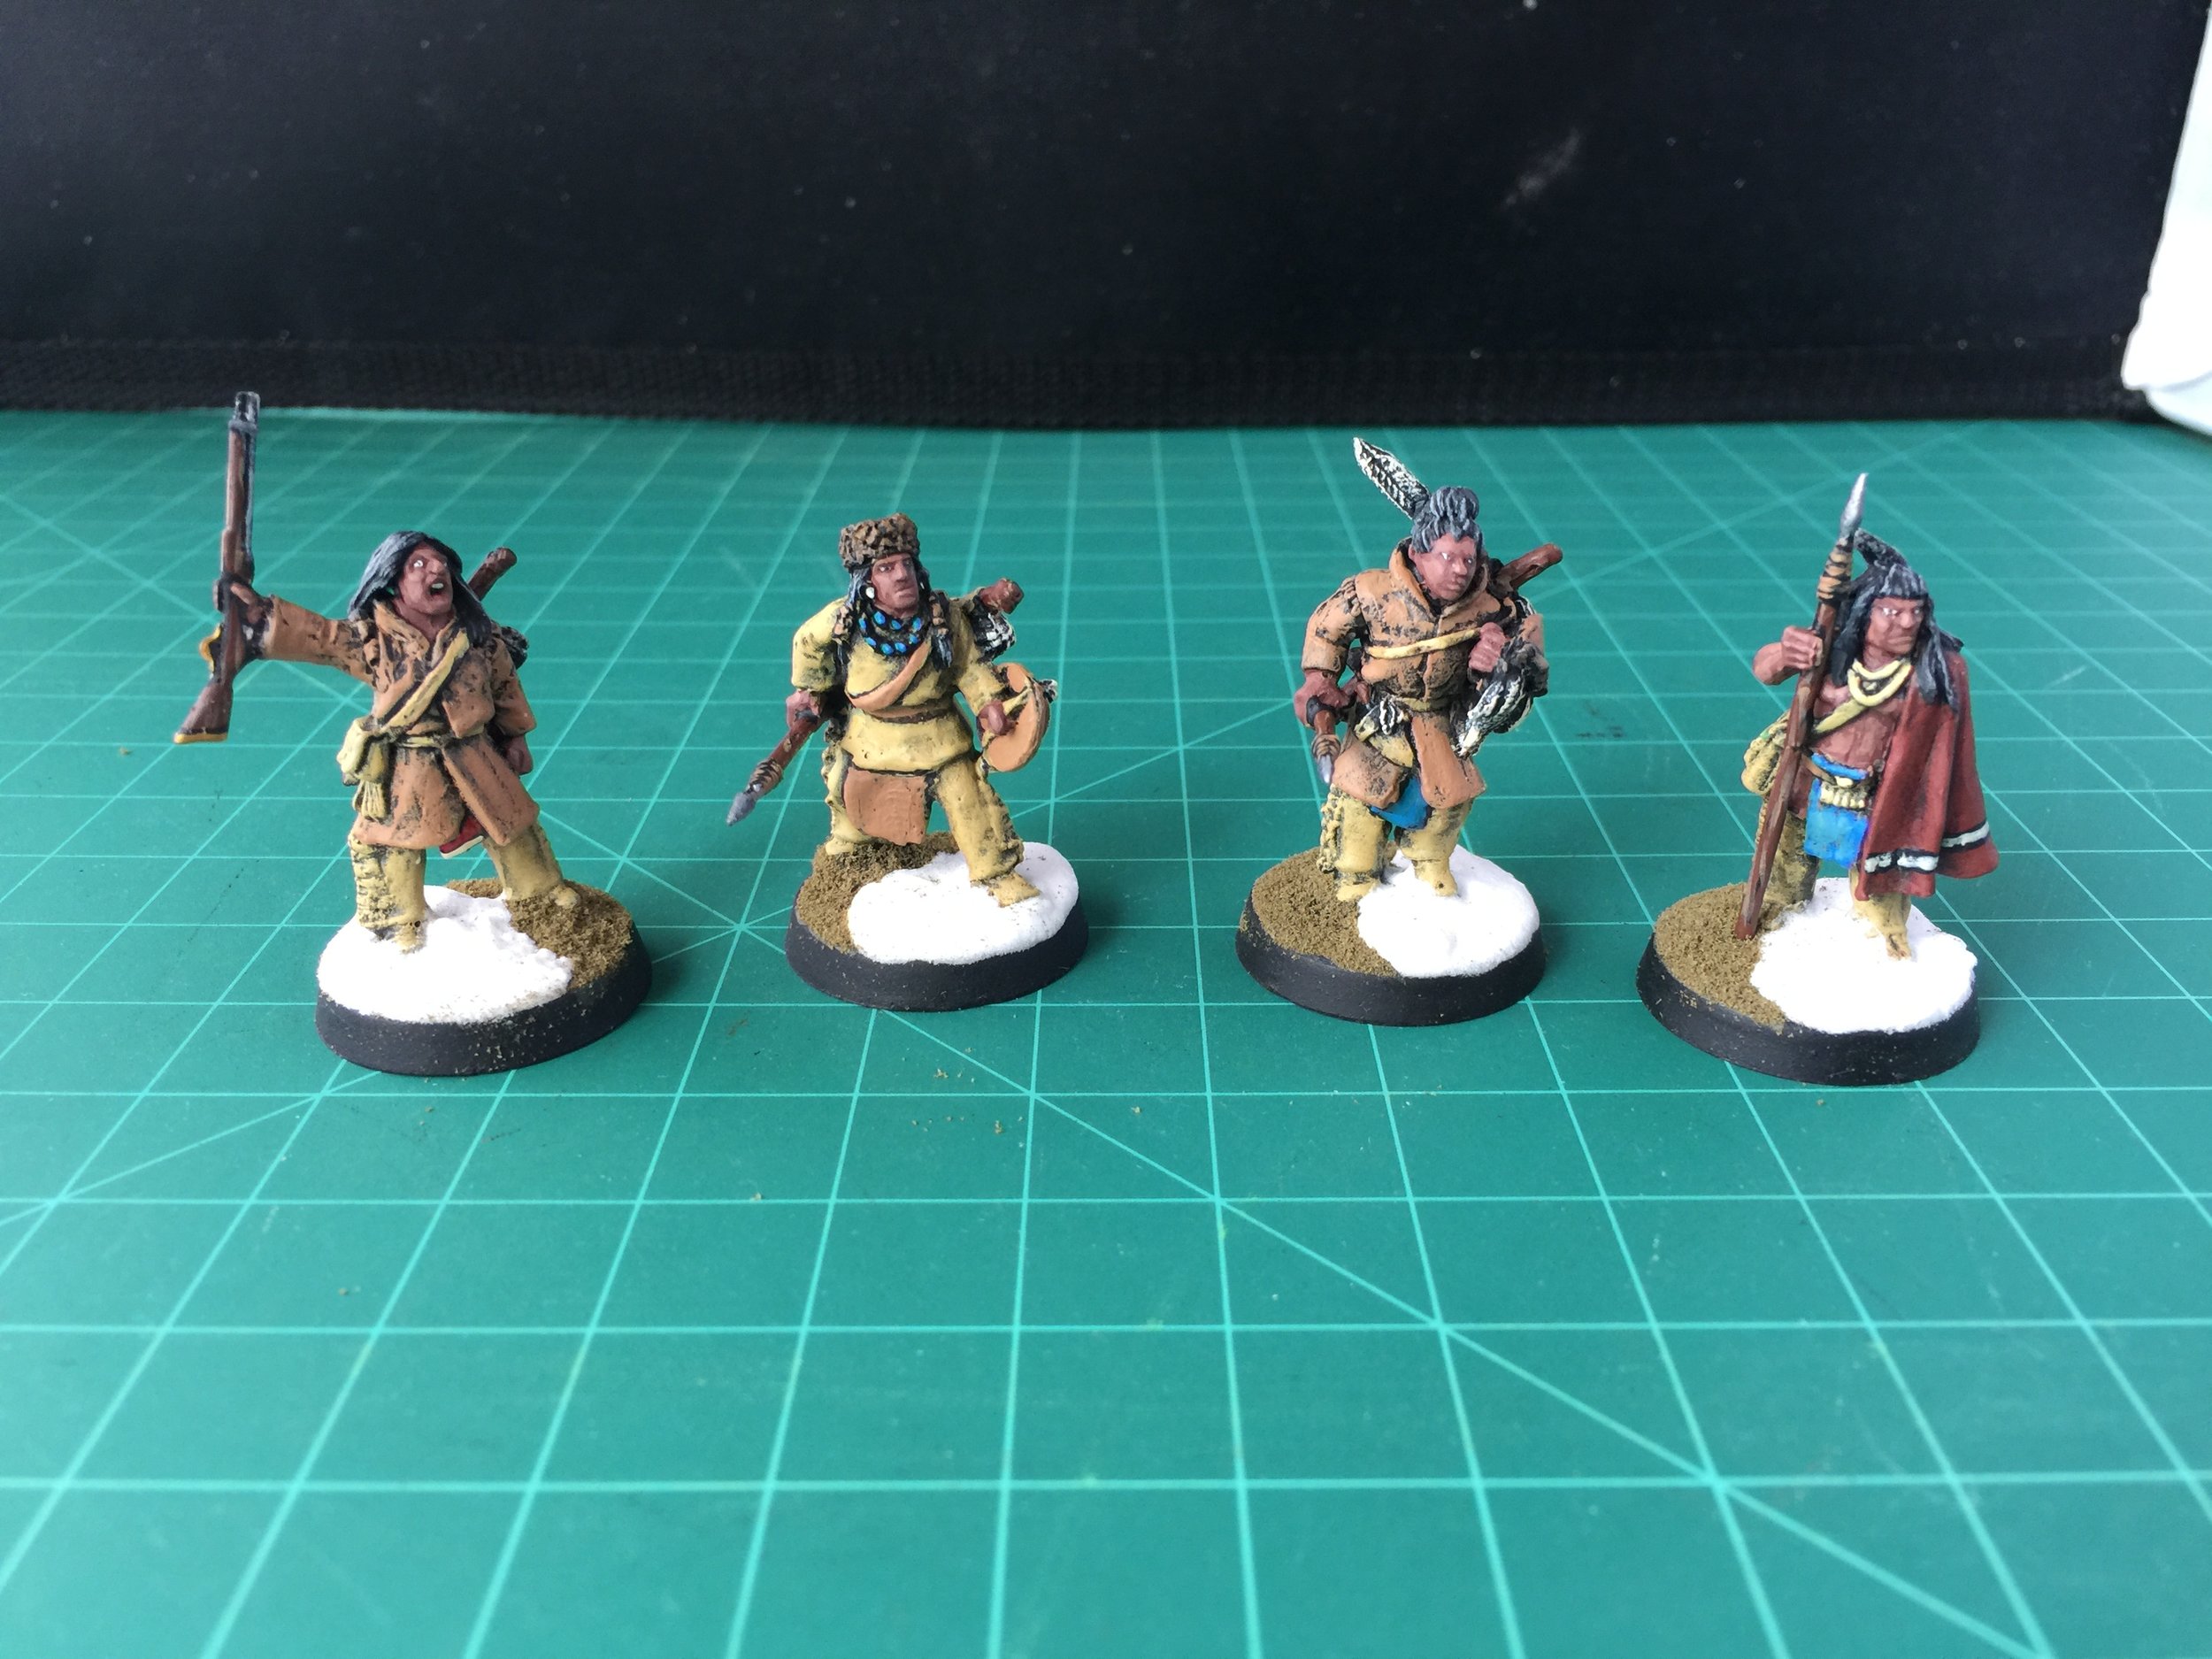
As of this week I have completed a total of 50 warriors for my Mountain Men collection. This week I began by doing the snow and earth base coverings for the last three figures painted the previous week. My work this week resulted in the painting of my last five warriors. One of those warriors is a modification of the buffalo head warrior done earlier in this project. My modification of this figure consisted of cutting the hooked lance from the left hand of this figure and attaching it to the right hand. I also added a shield to the now empty left hand. I have Foundry warriors on order, but Foundry tells me that shipment is slow because of British customs so if Foundry’s estimate is correct they should show up in another two weeks… we’ll see; it’s been four weeks so far. For a change of pace I shifted my attention to work on the Indian villagers that will be part of this collection. The villagers are from the Old Glory 25s War Paint line of figures. I am not one of those who is anti-Old Glory 25s. I have used Old Glory 25s throughout my 28mm collection especially my Pirate collection, but I must note that the Old Glory 25s’ Indian Villagers are not great figures (stiff poses and poorly sculpted faces/terrible eyes), but they are the only line of Indian villagers I know of so I’m glad to have them.
I closed the week out with a couple of woodlands creatures… a fawn and a bear. I have no idea who made either of them. I picked them up at the swap meet awhile ago. They are from some tabletop décor line like Lemax or Dept 56, but probably not from either of those. Most of the time, pieces like this come with snow on the ground and trees, but not these. I added my snow after painting.
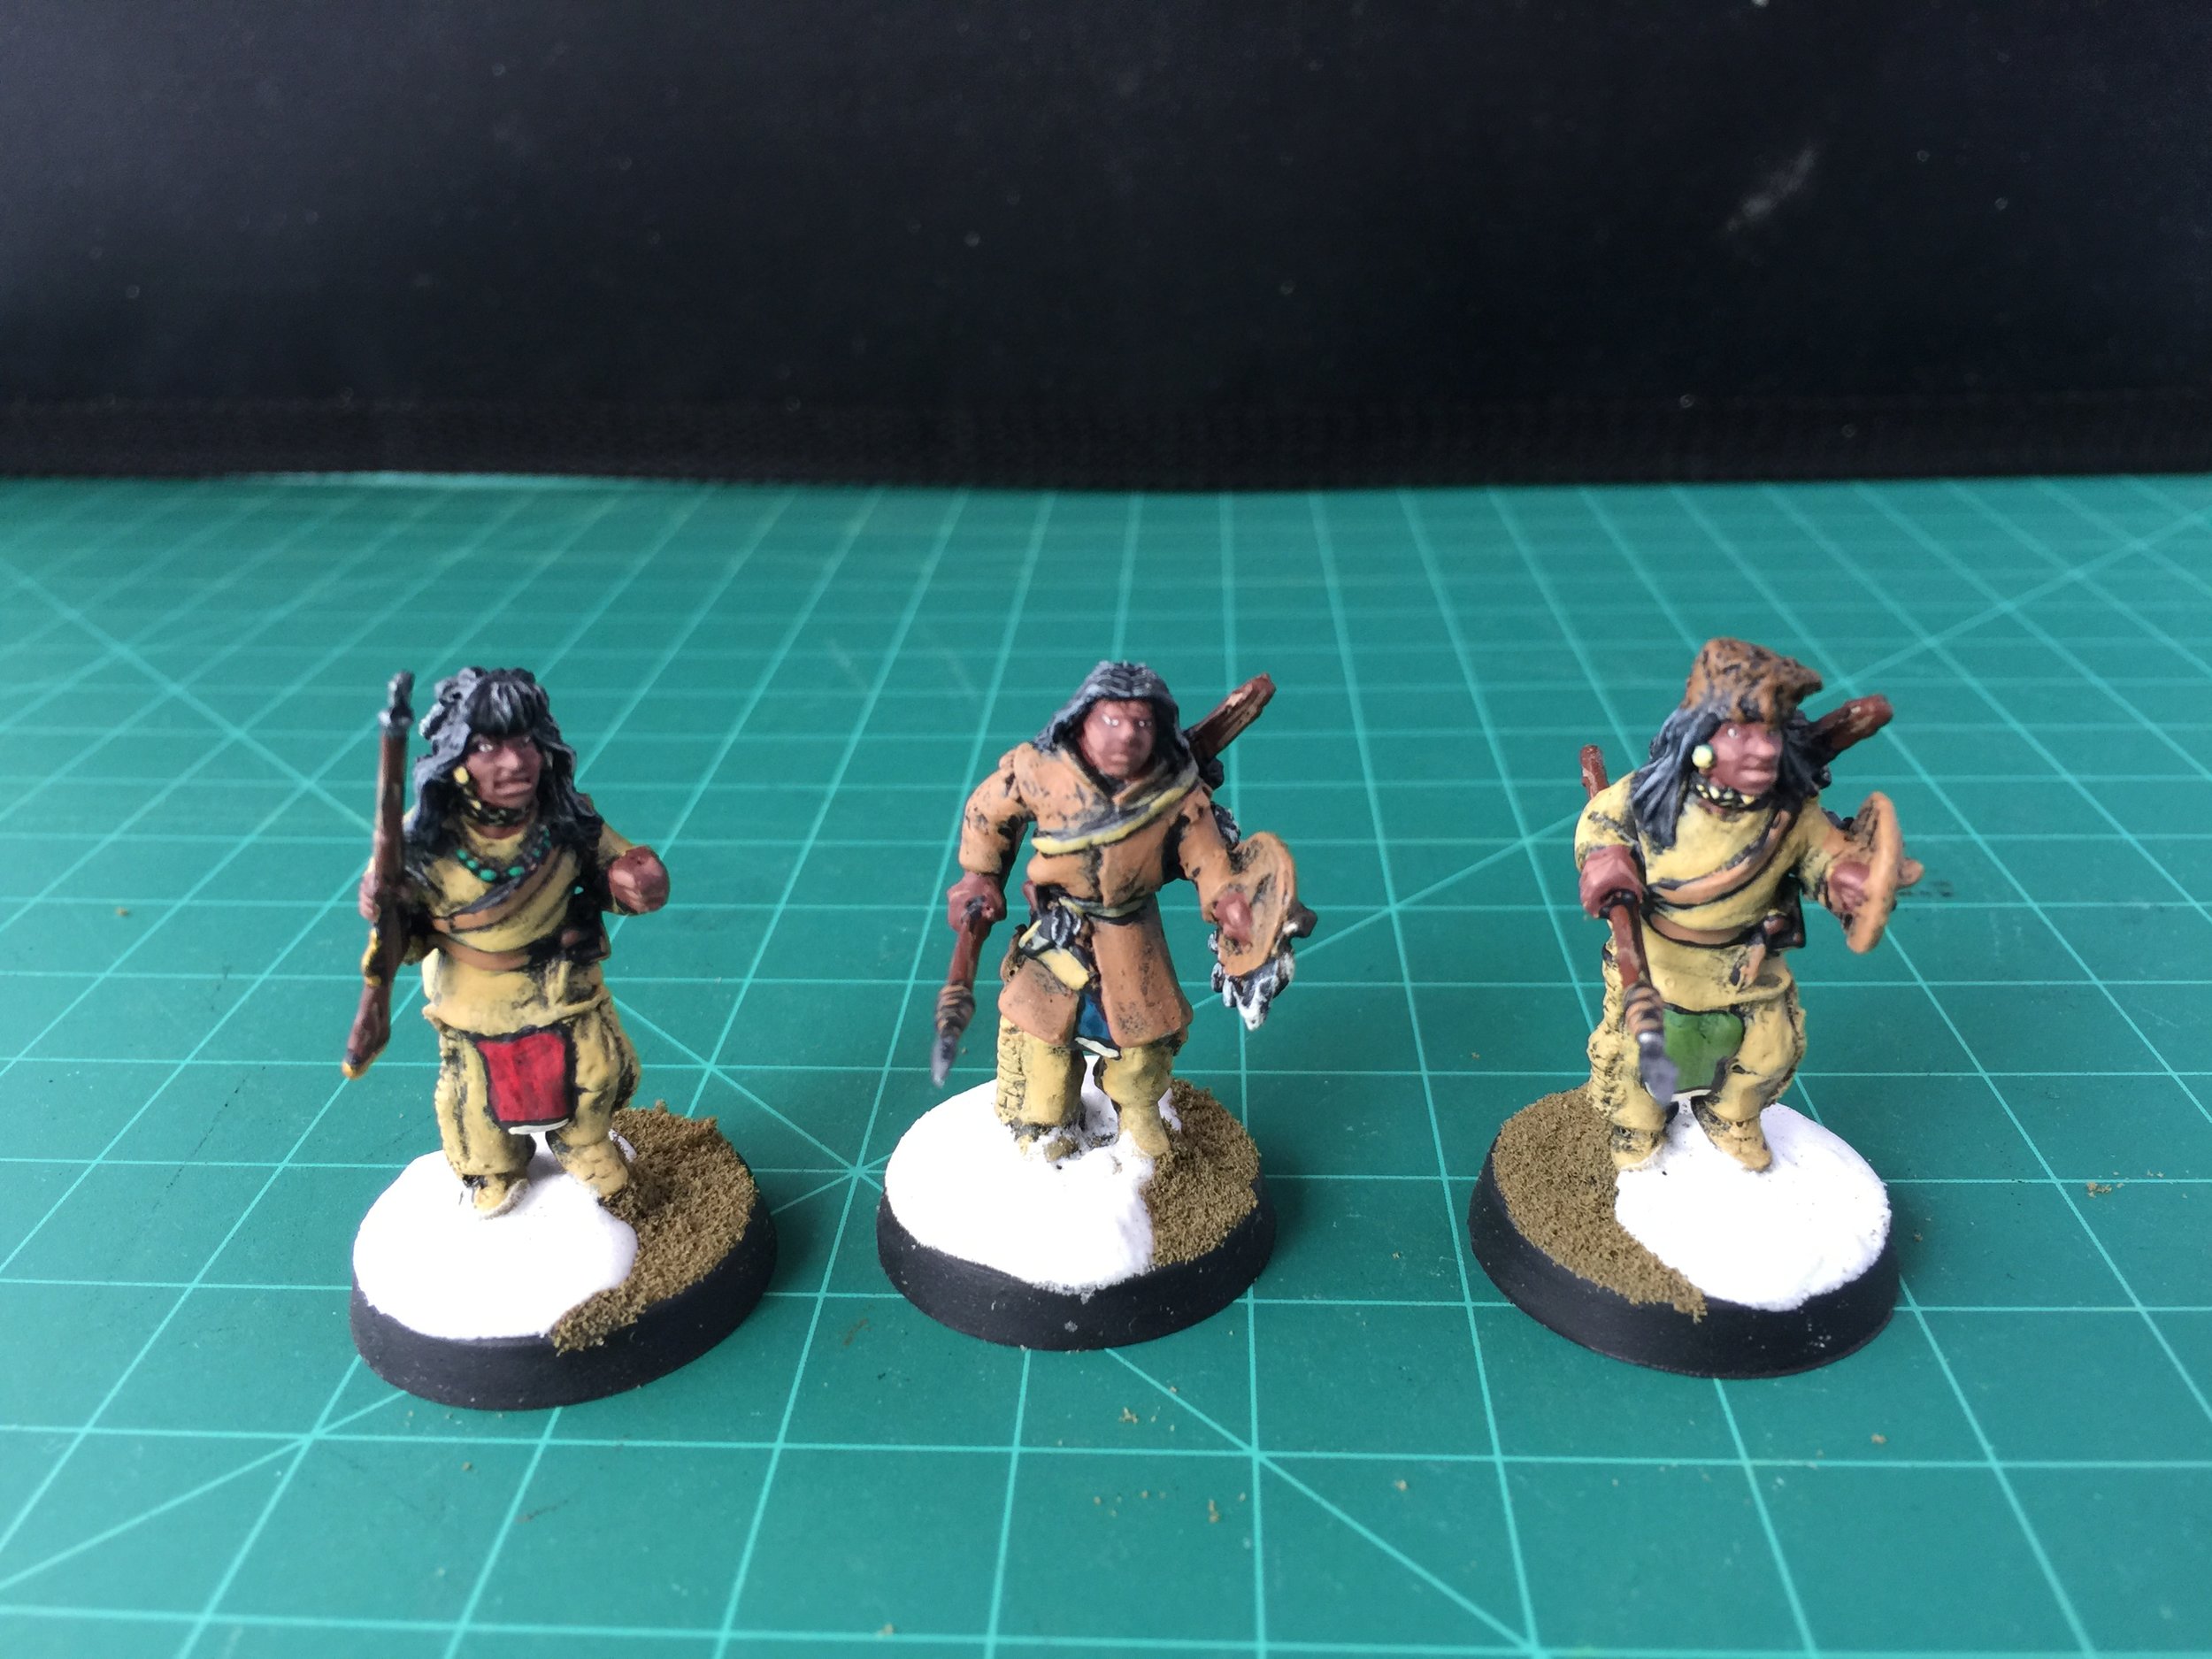
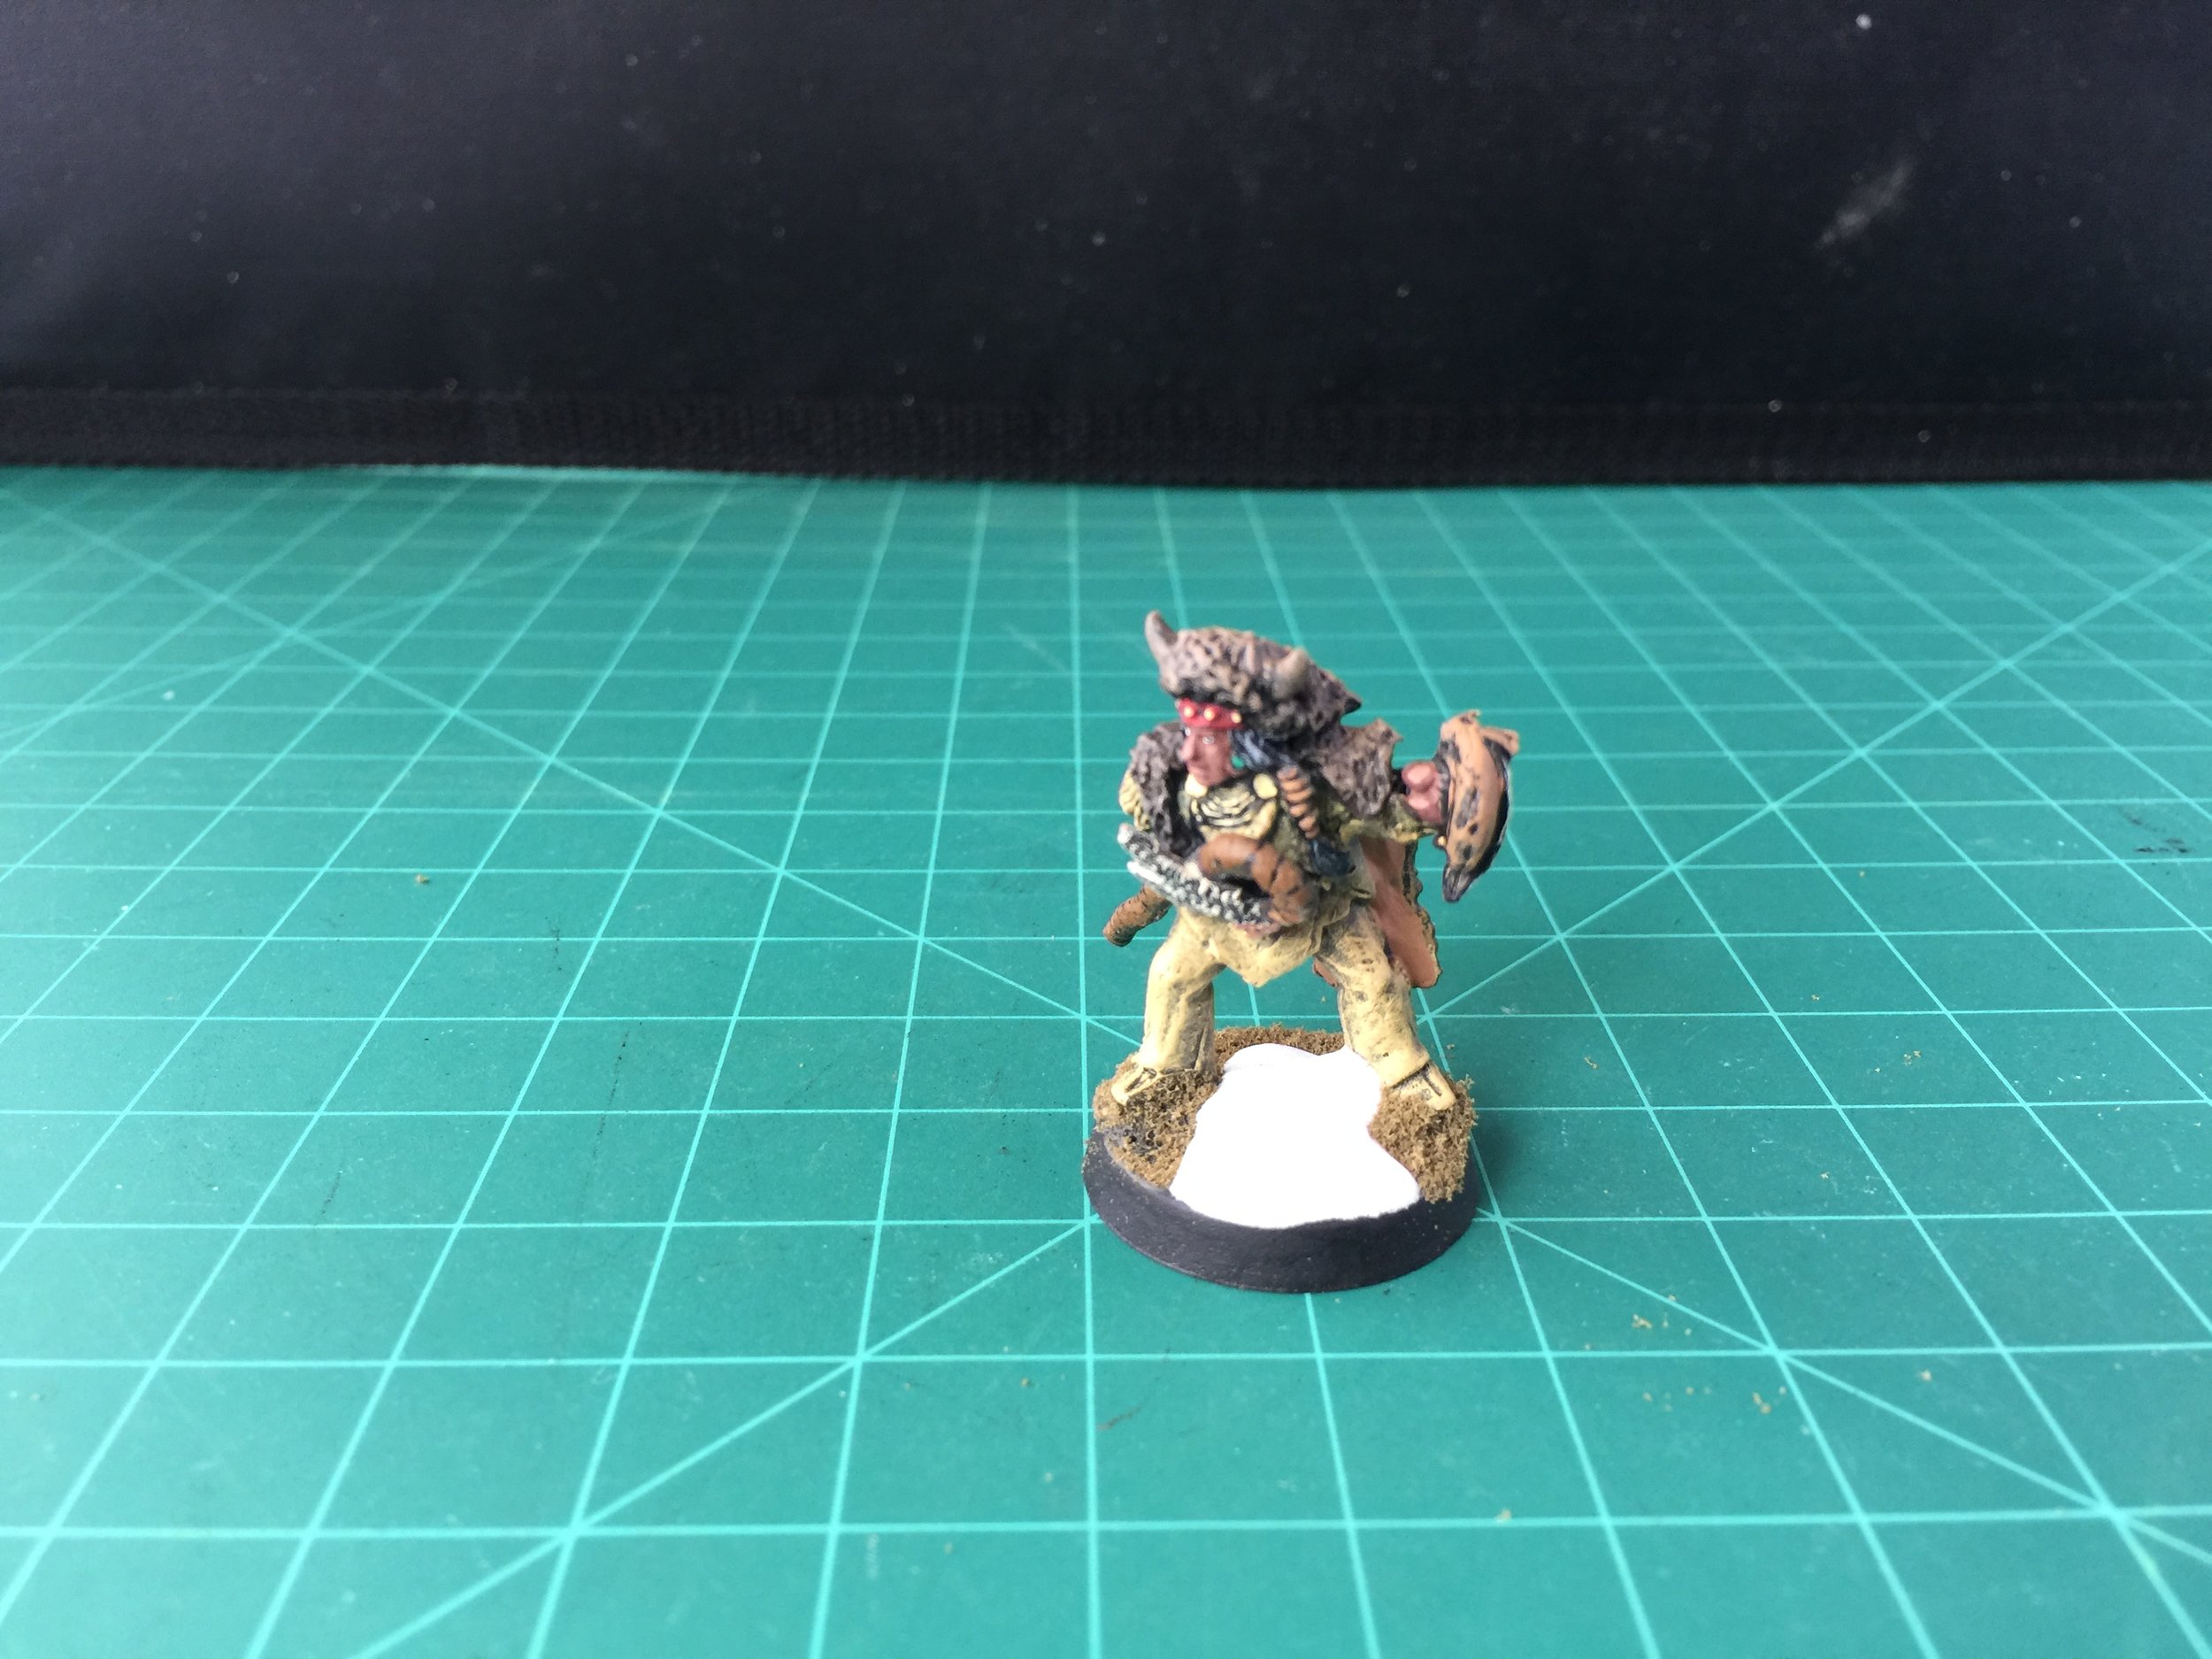
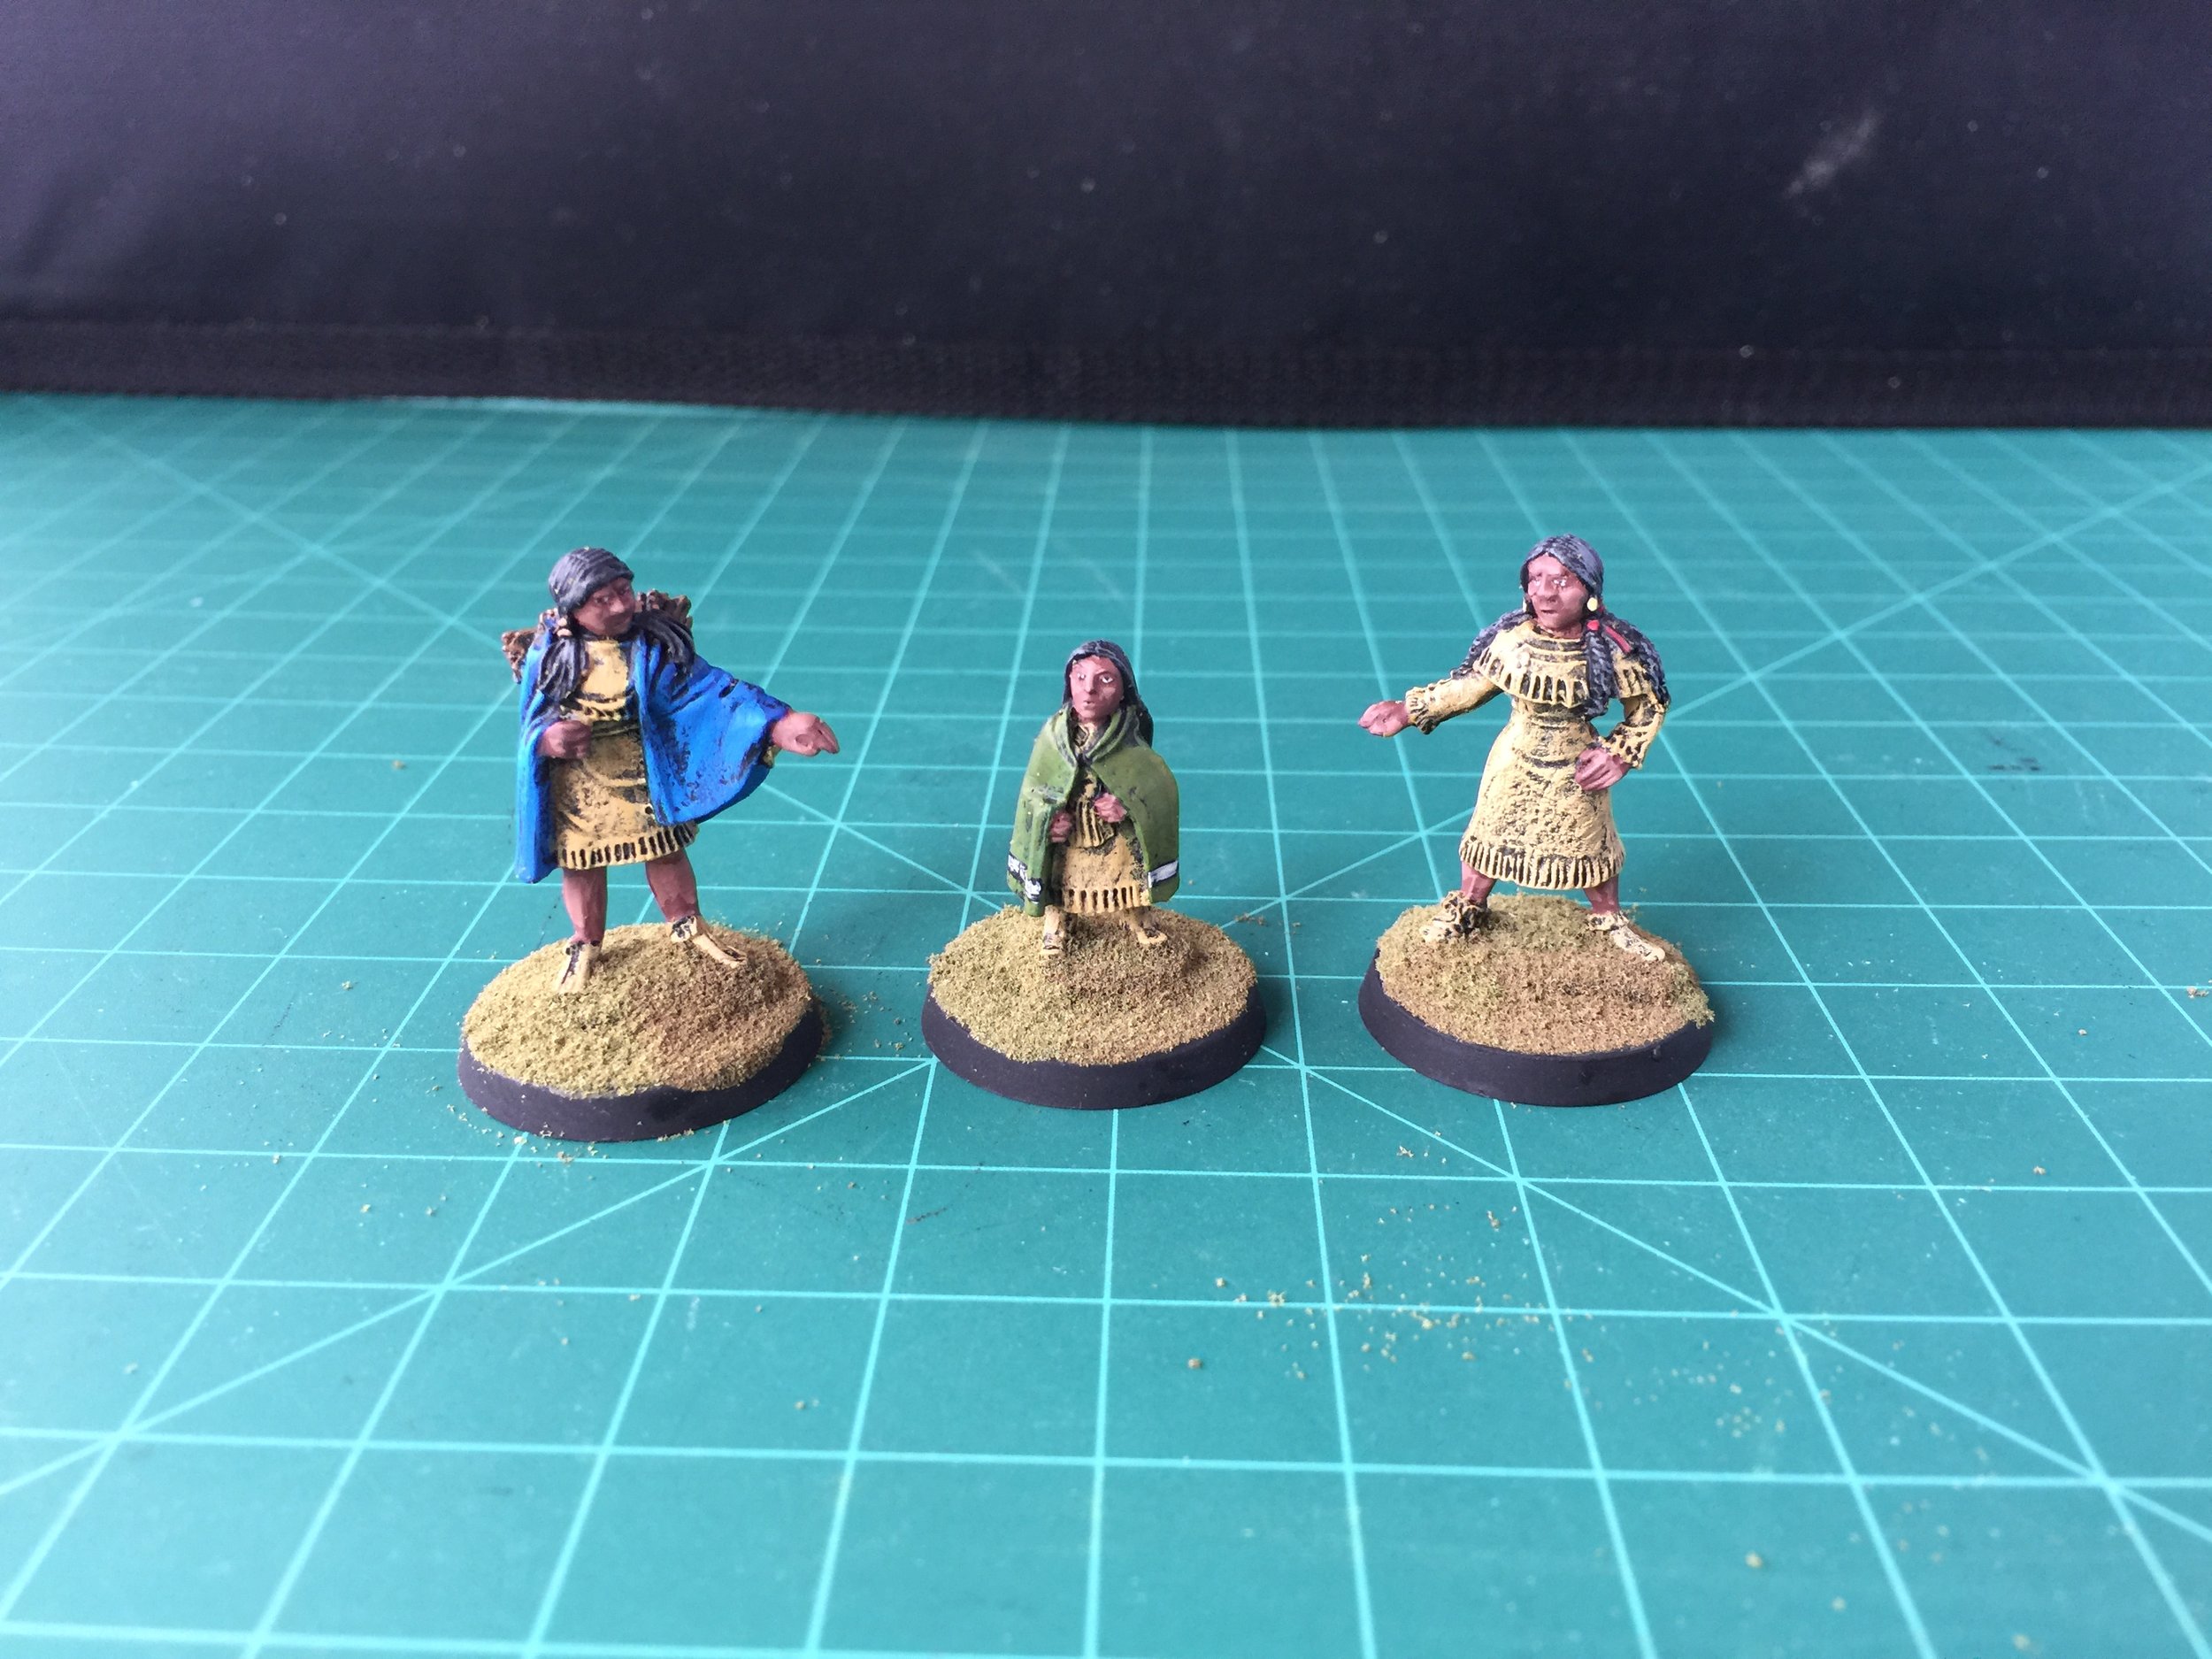
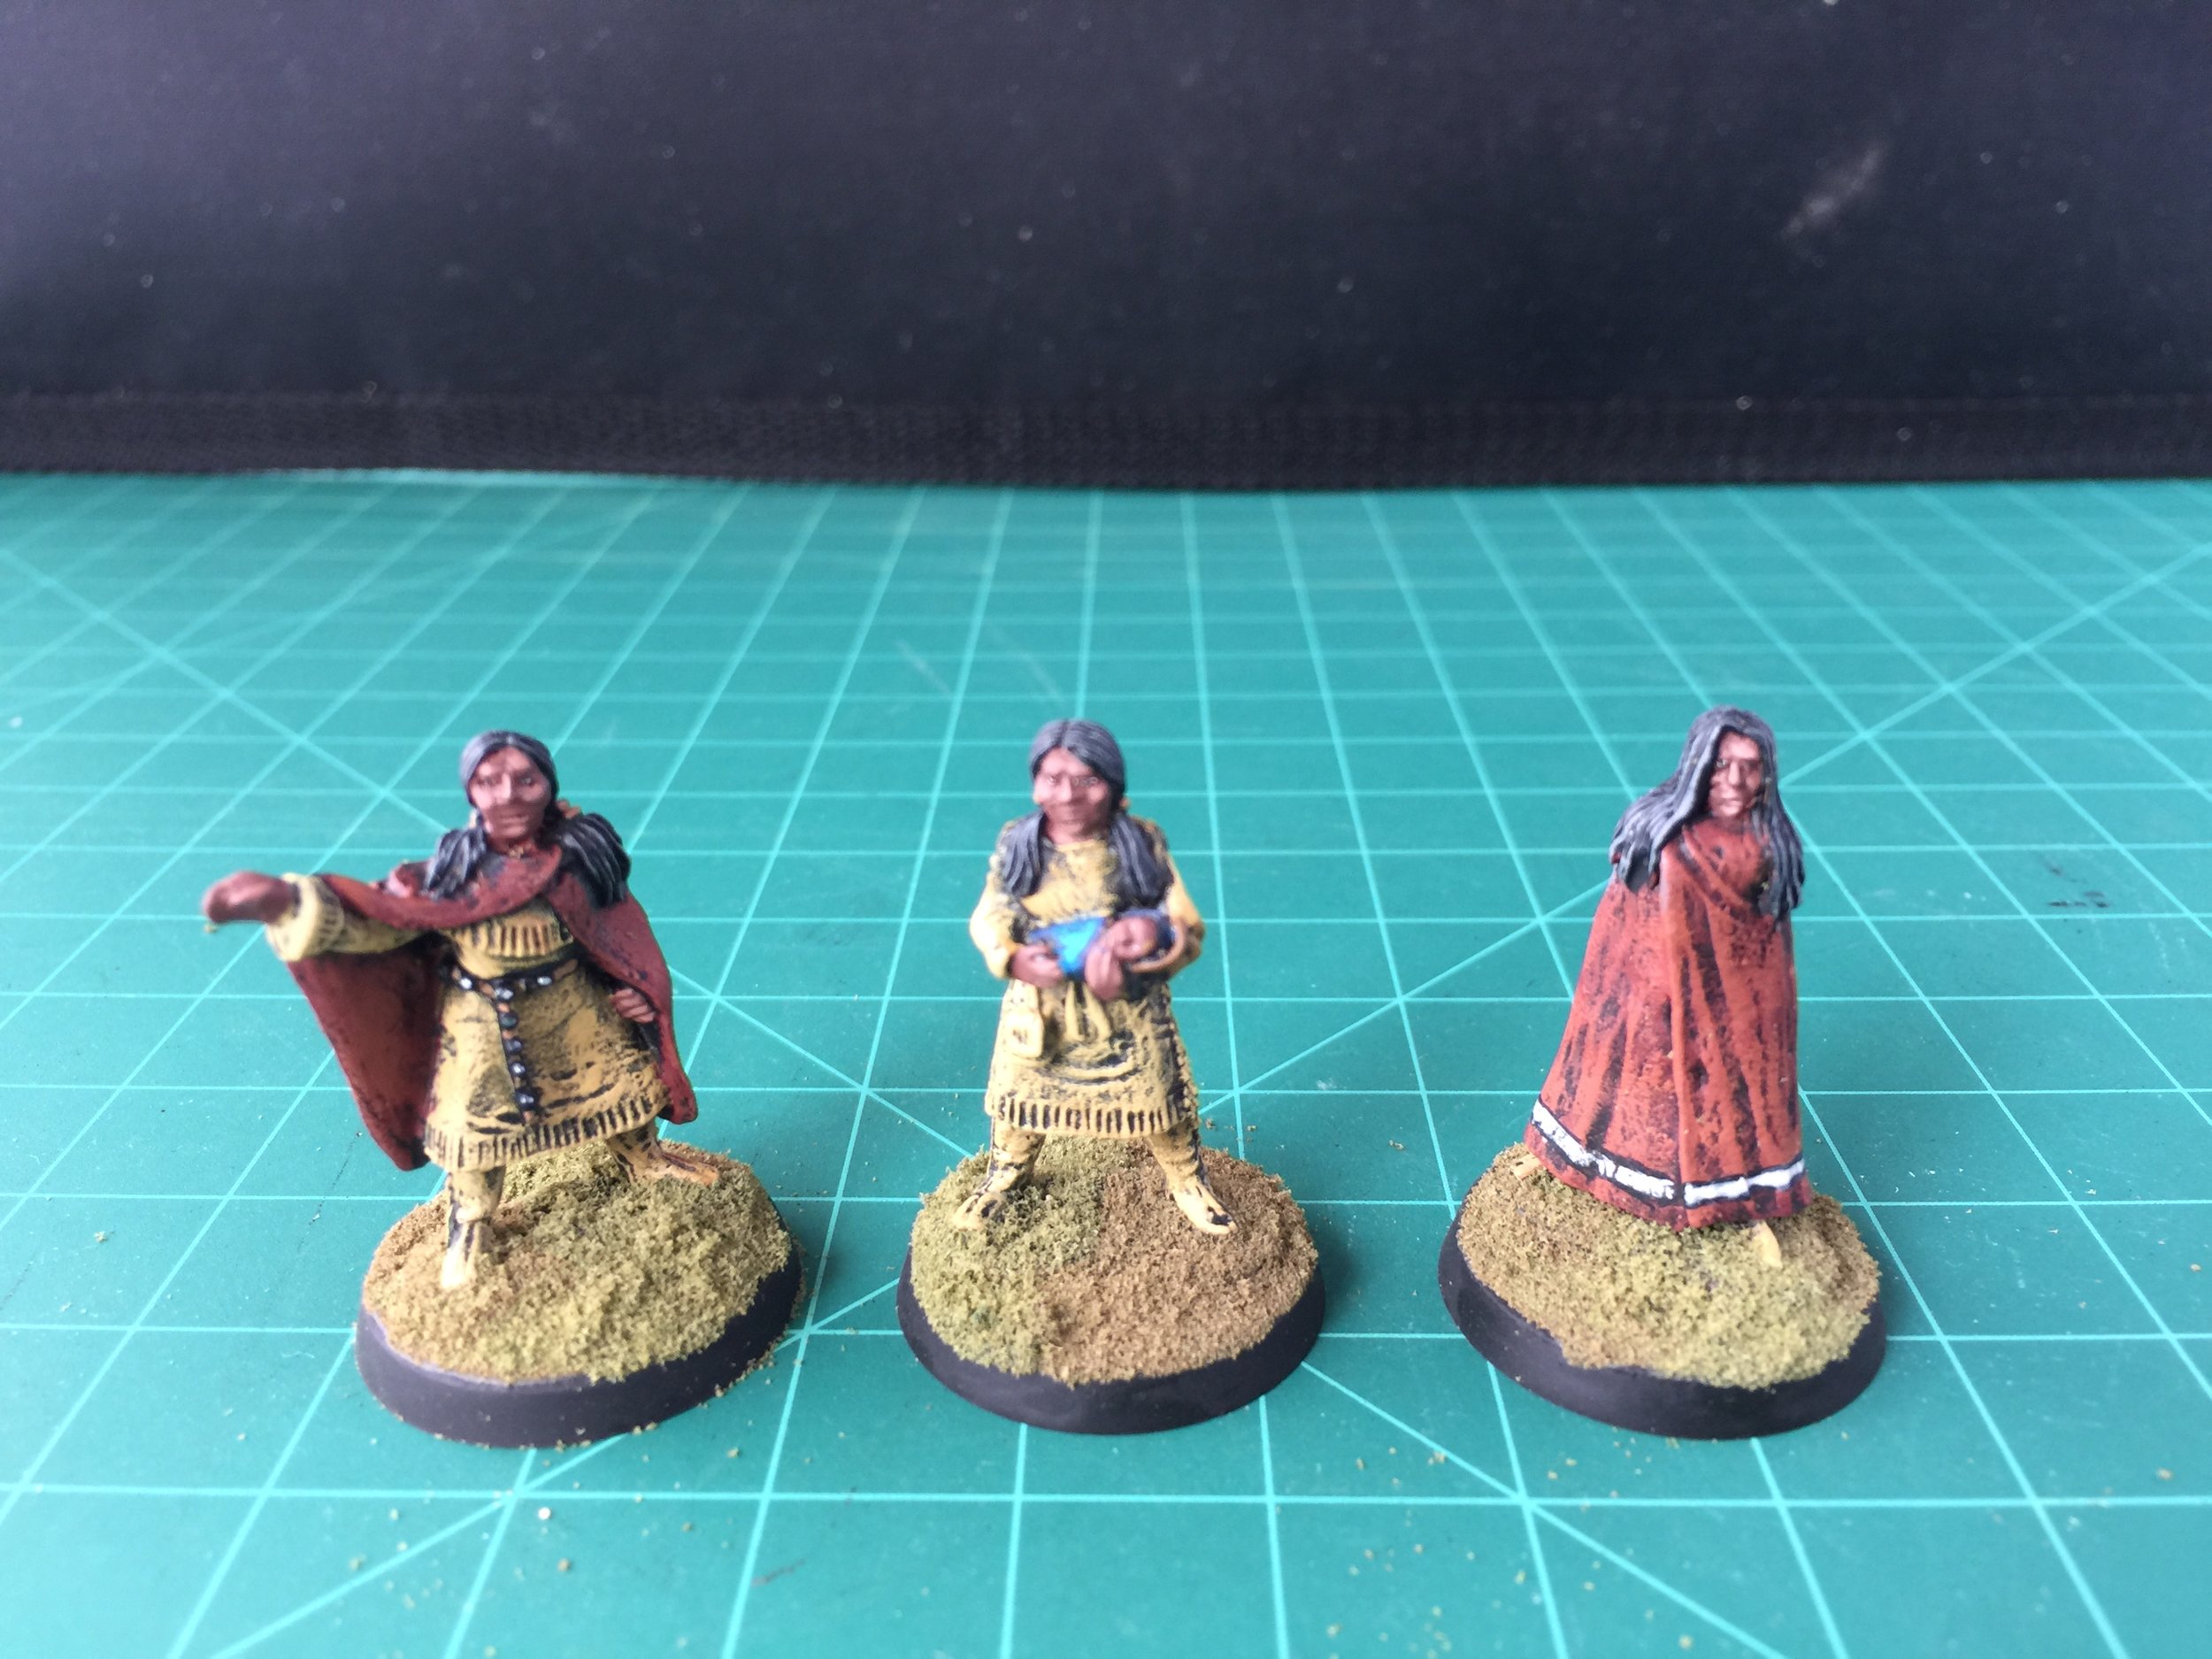

June 9, 2019
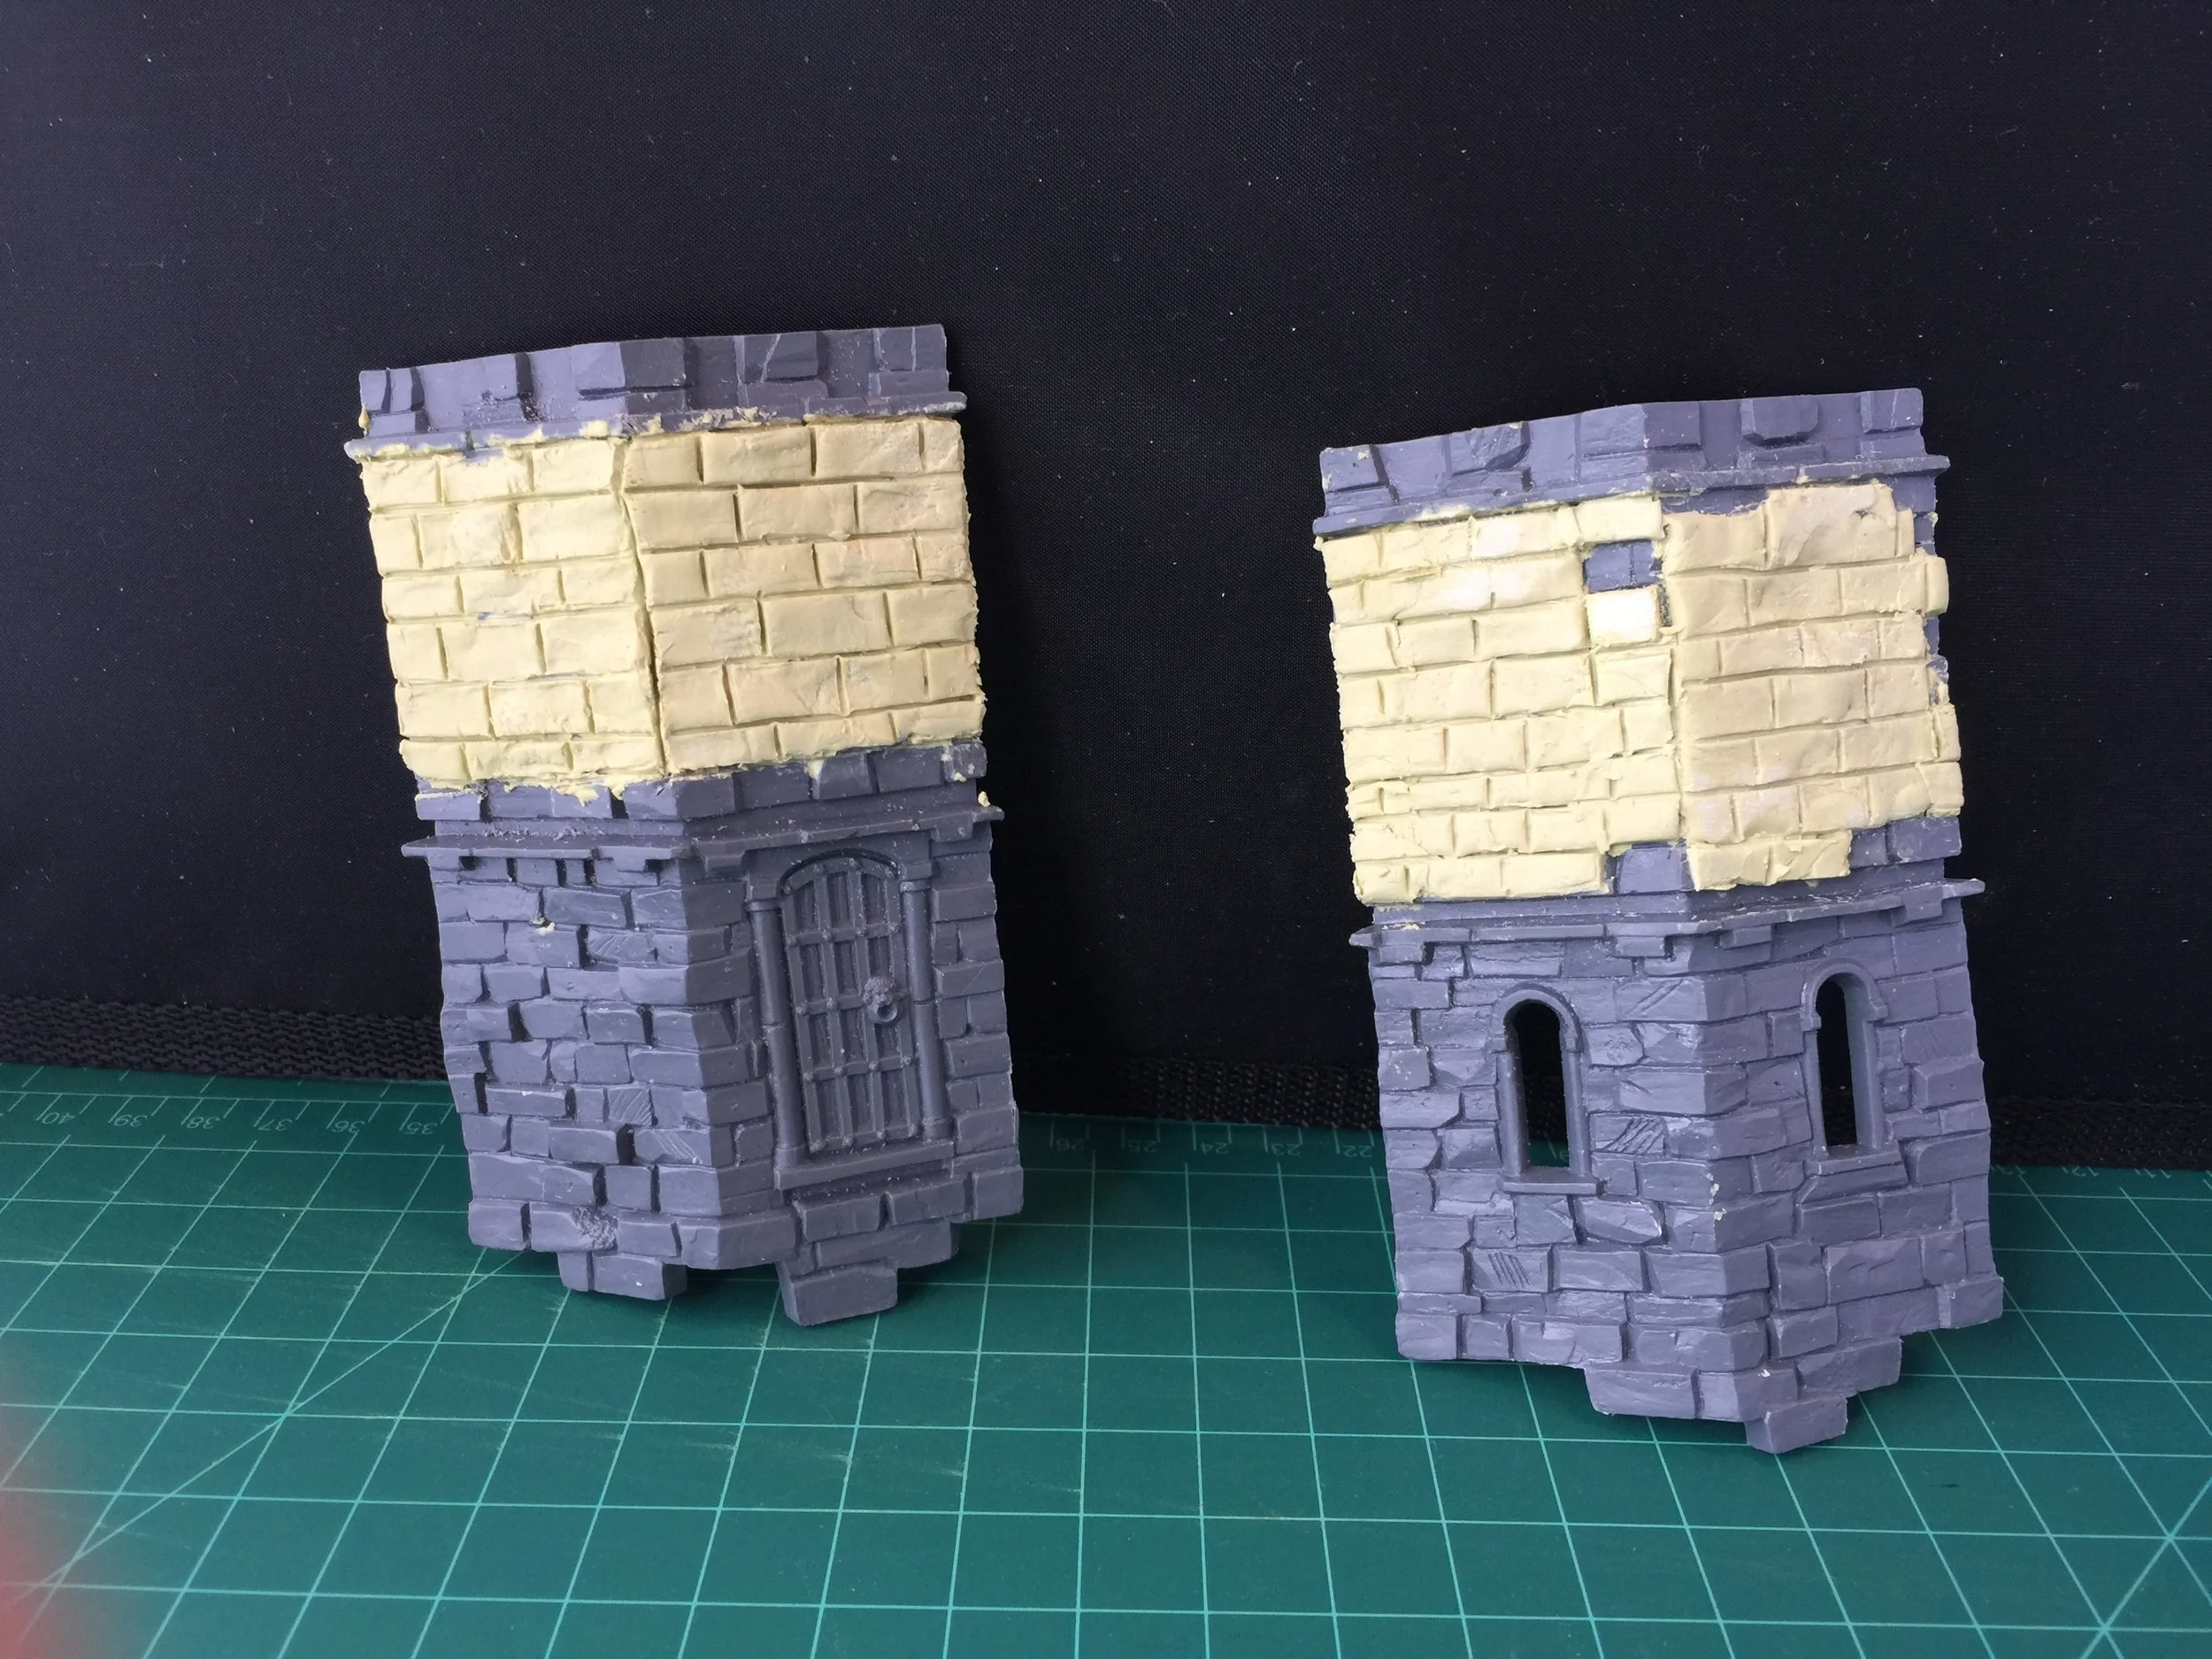
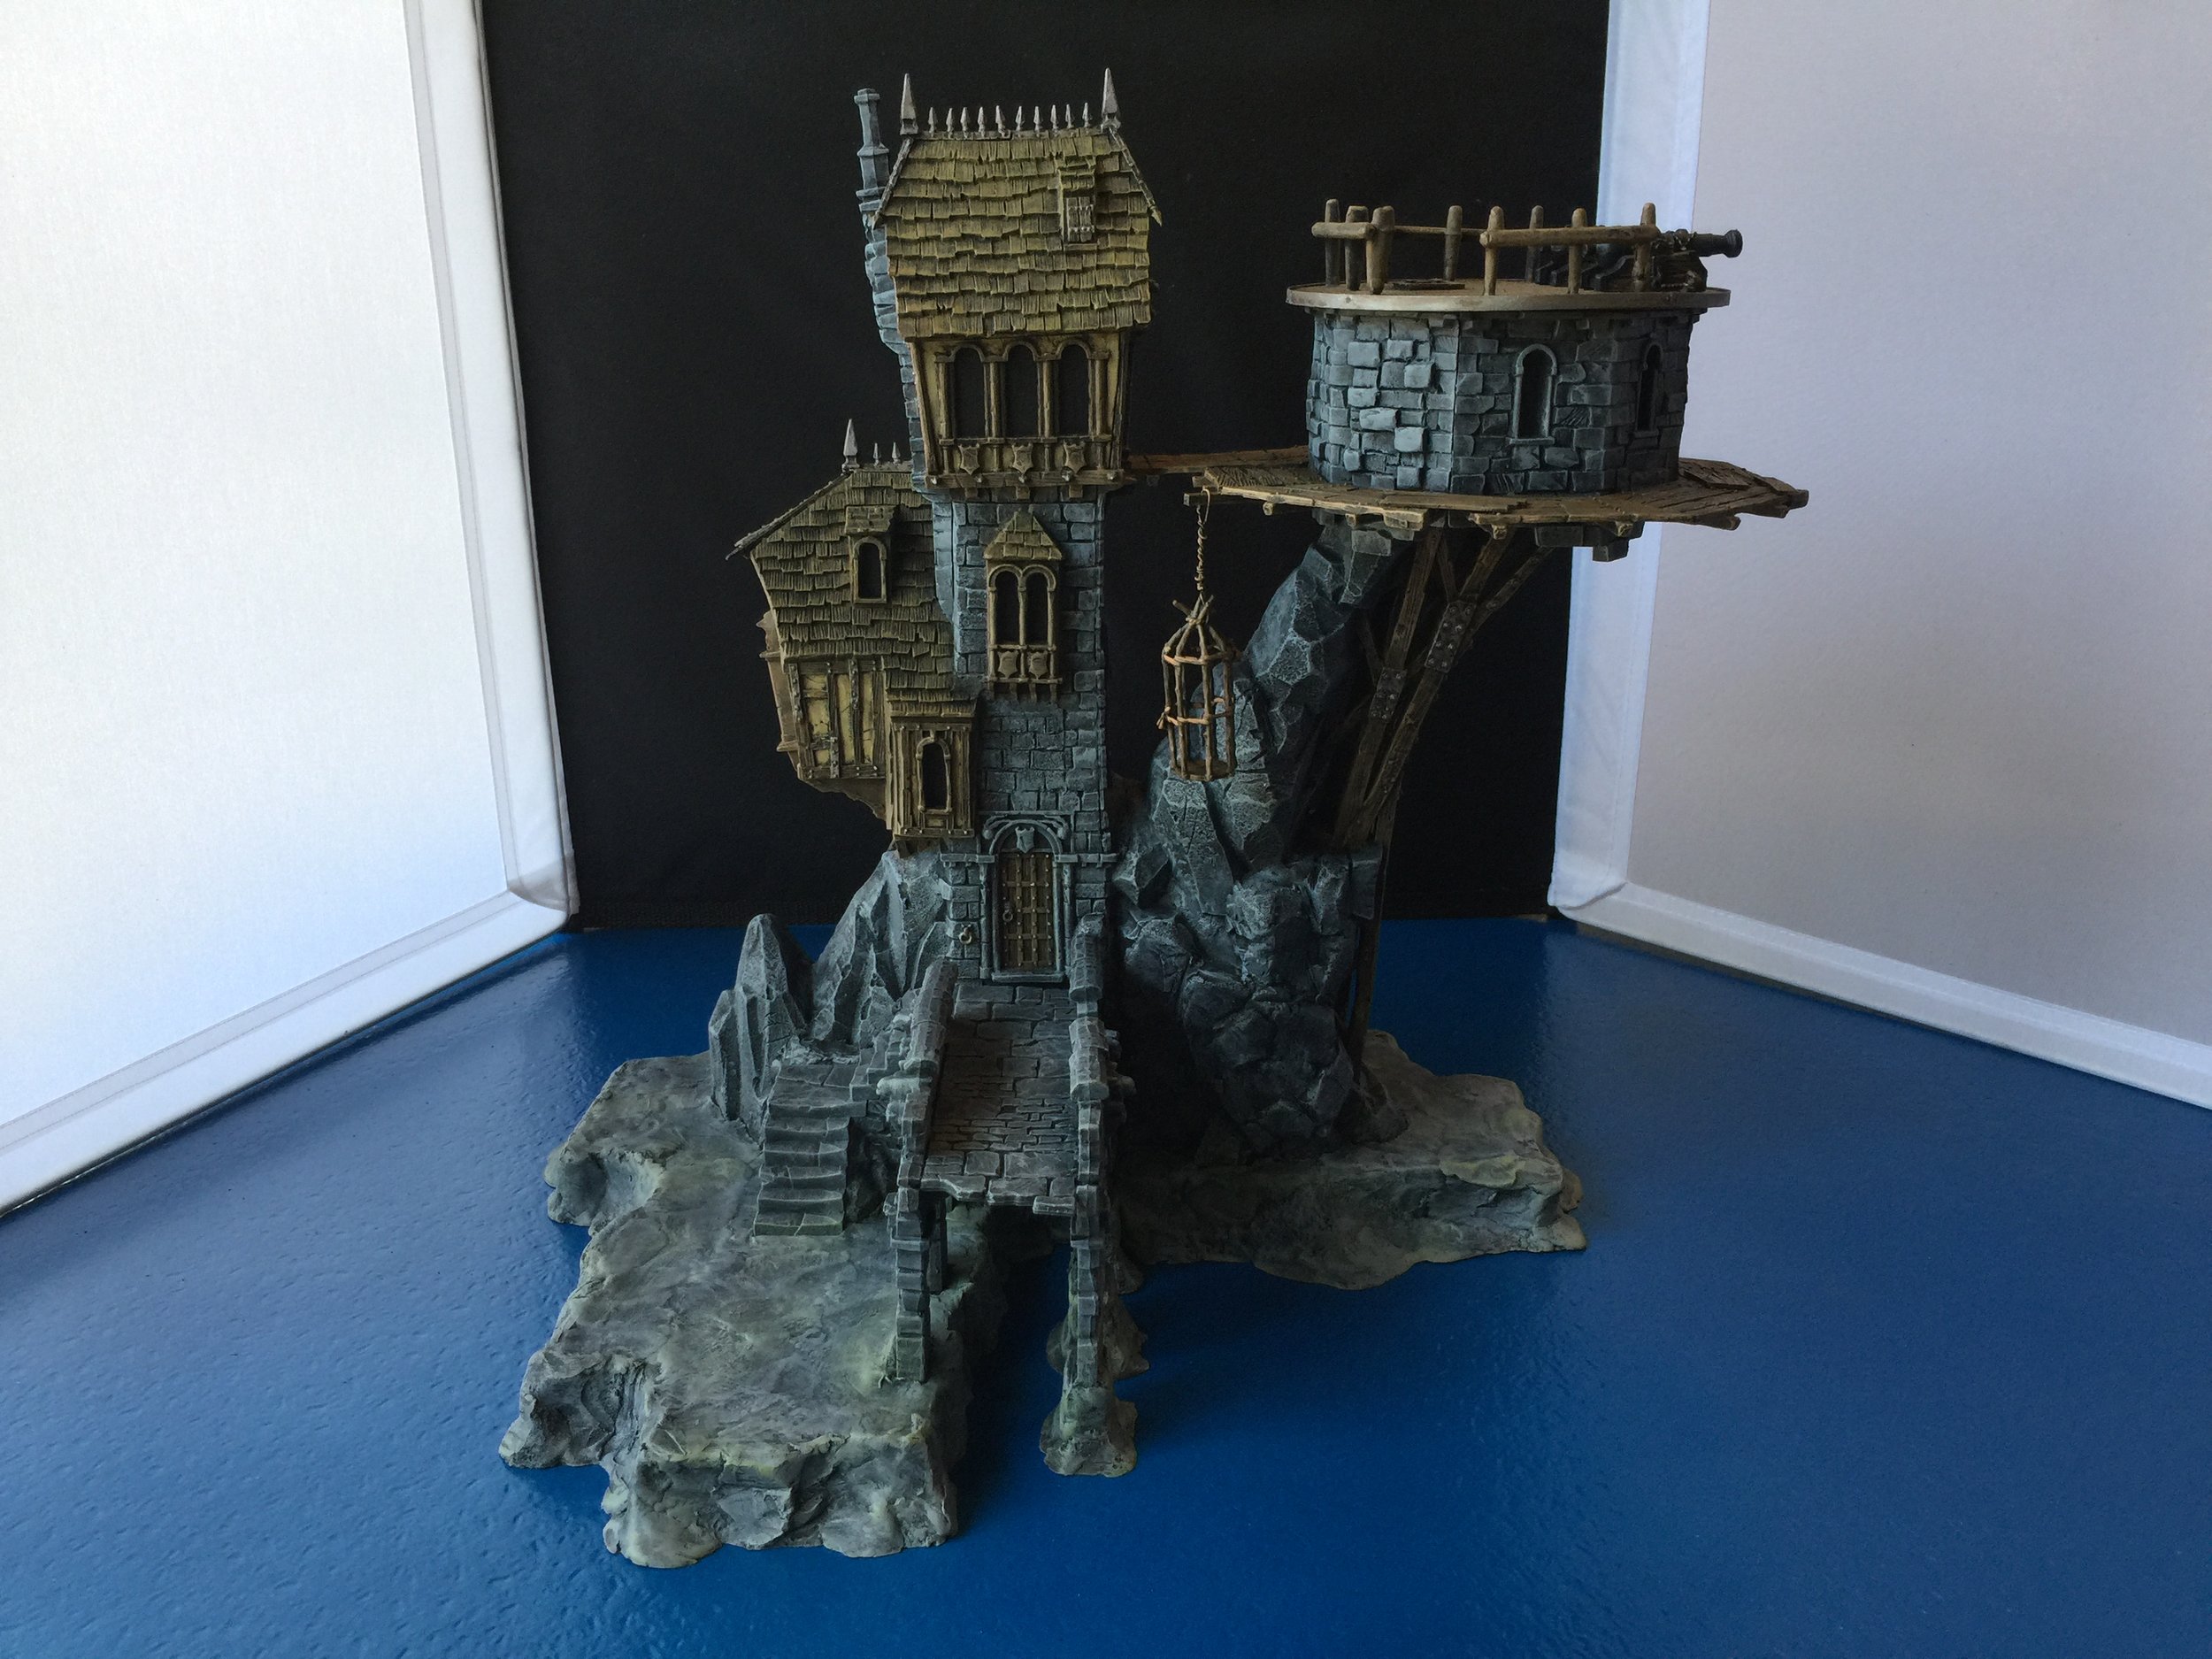
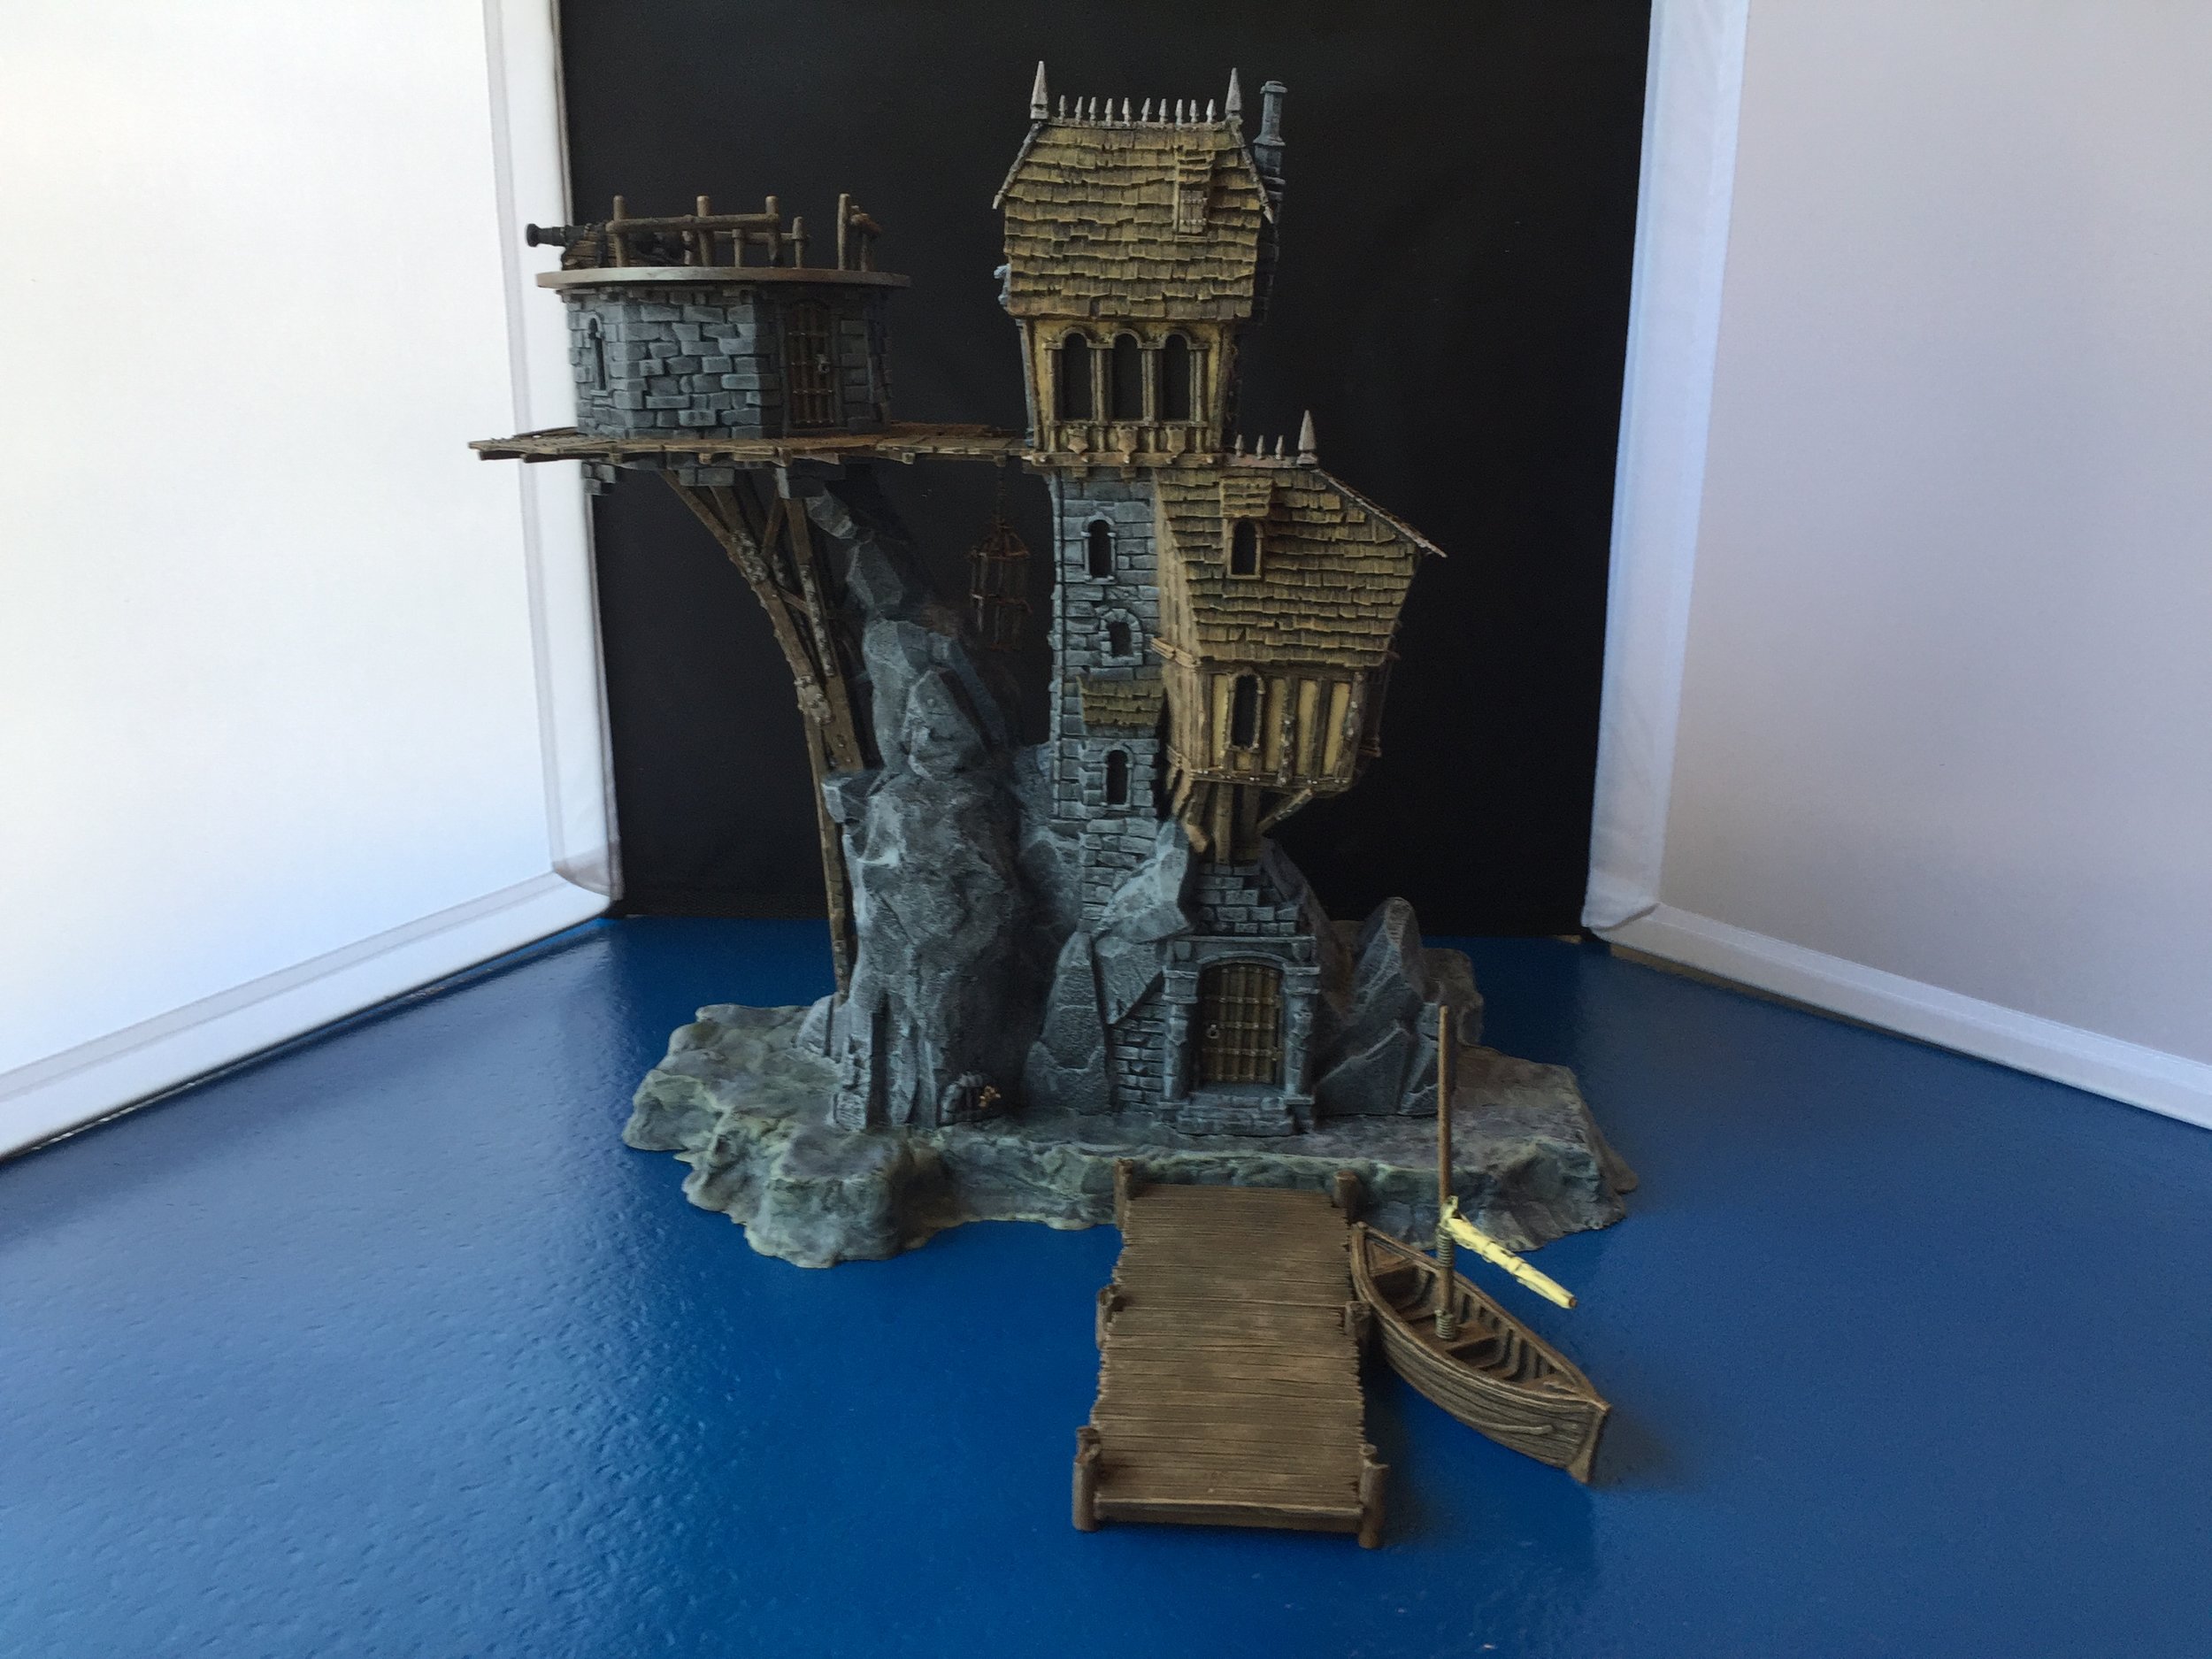
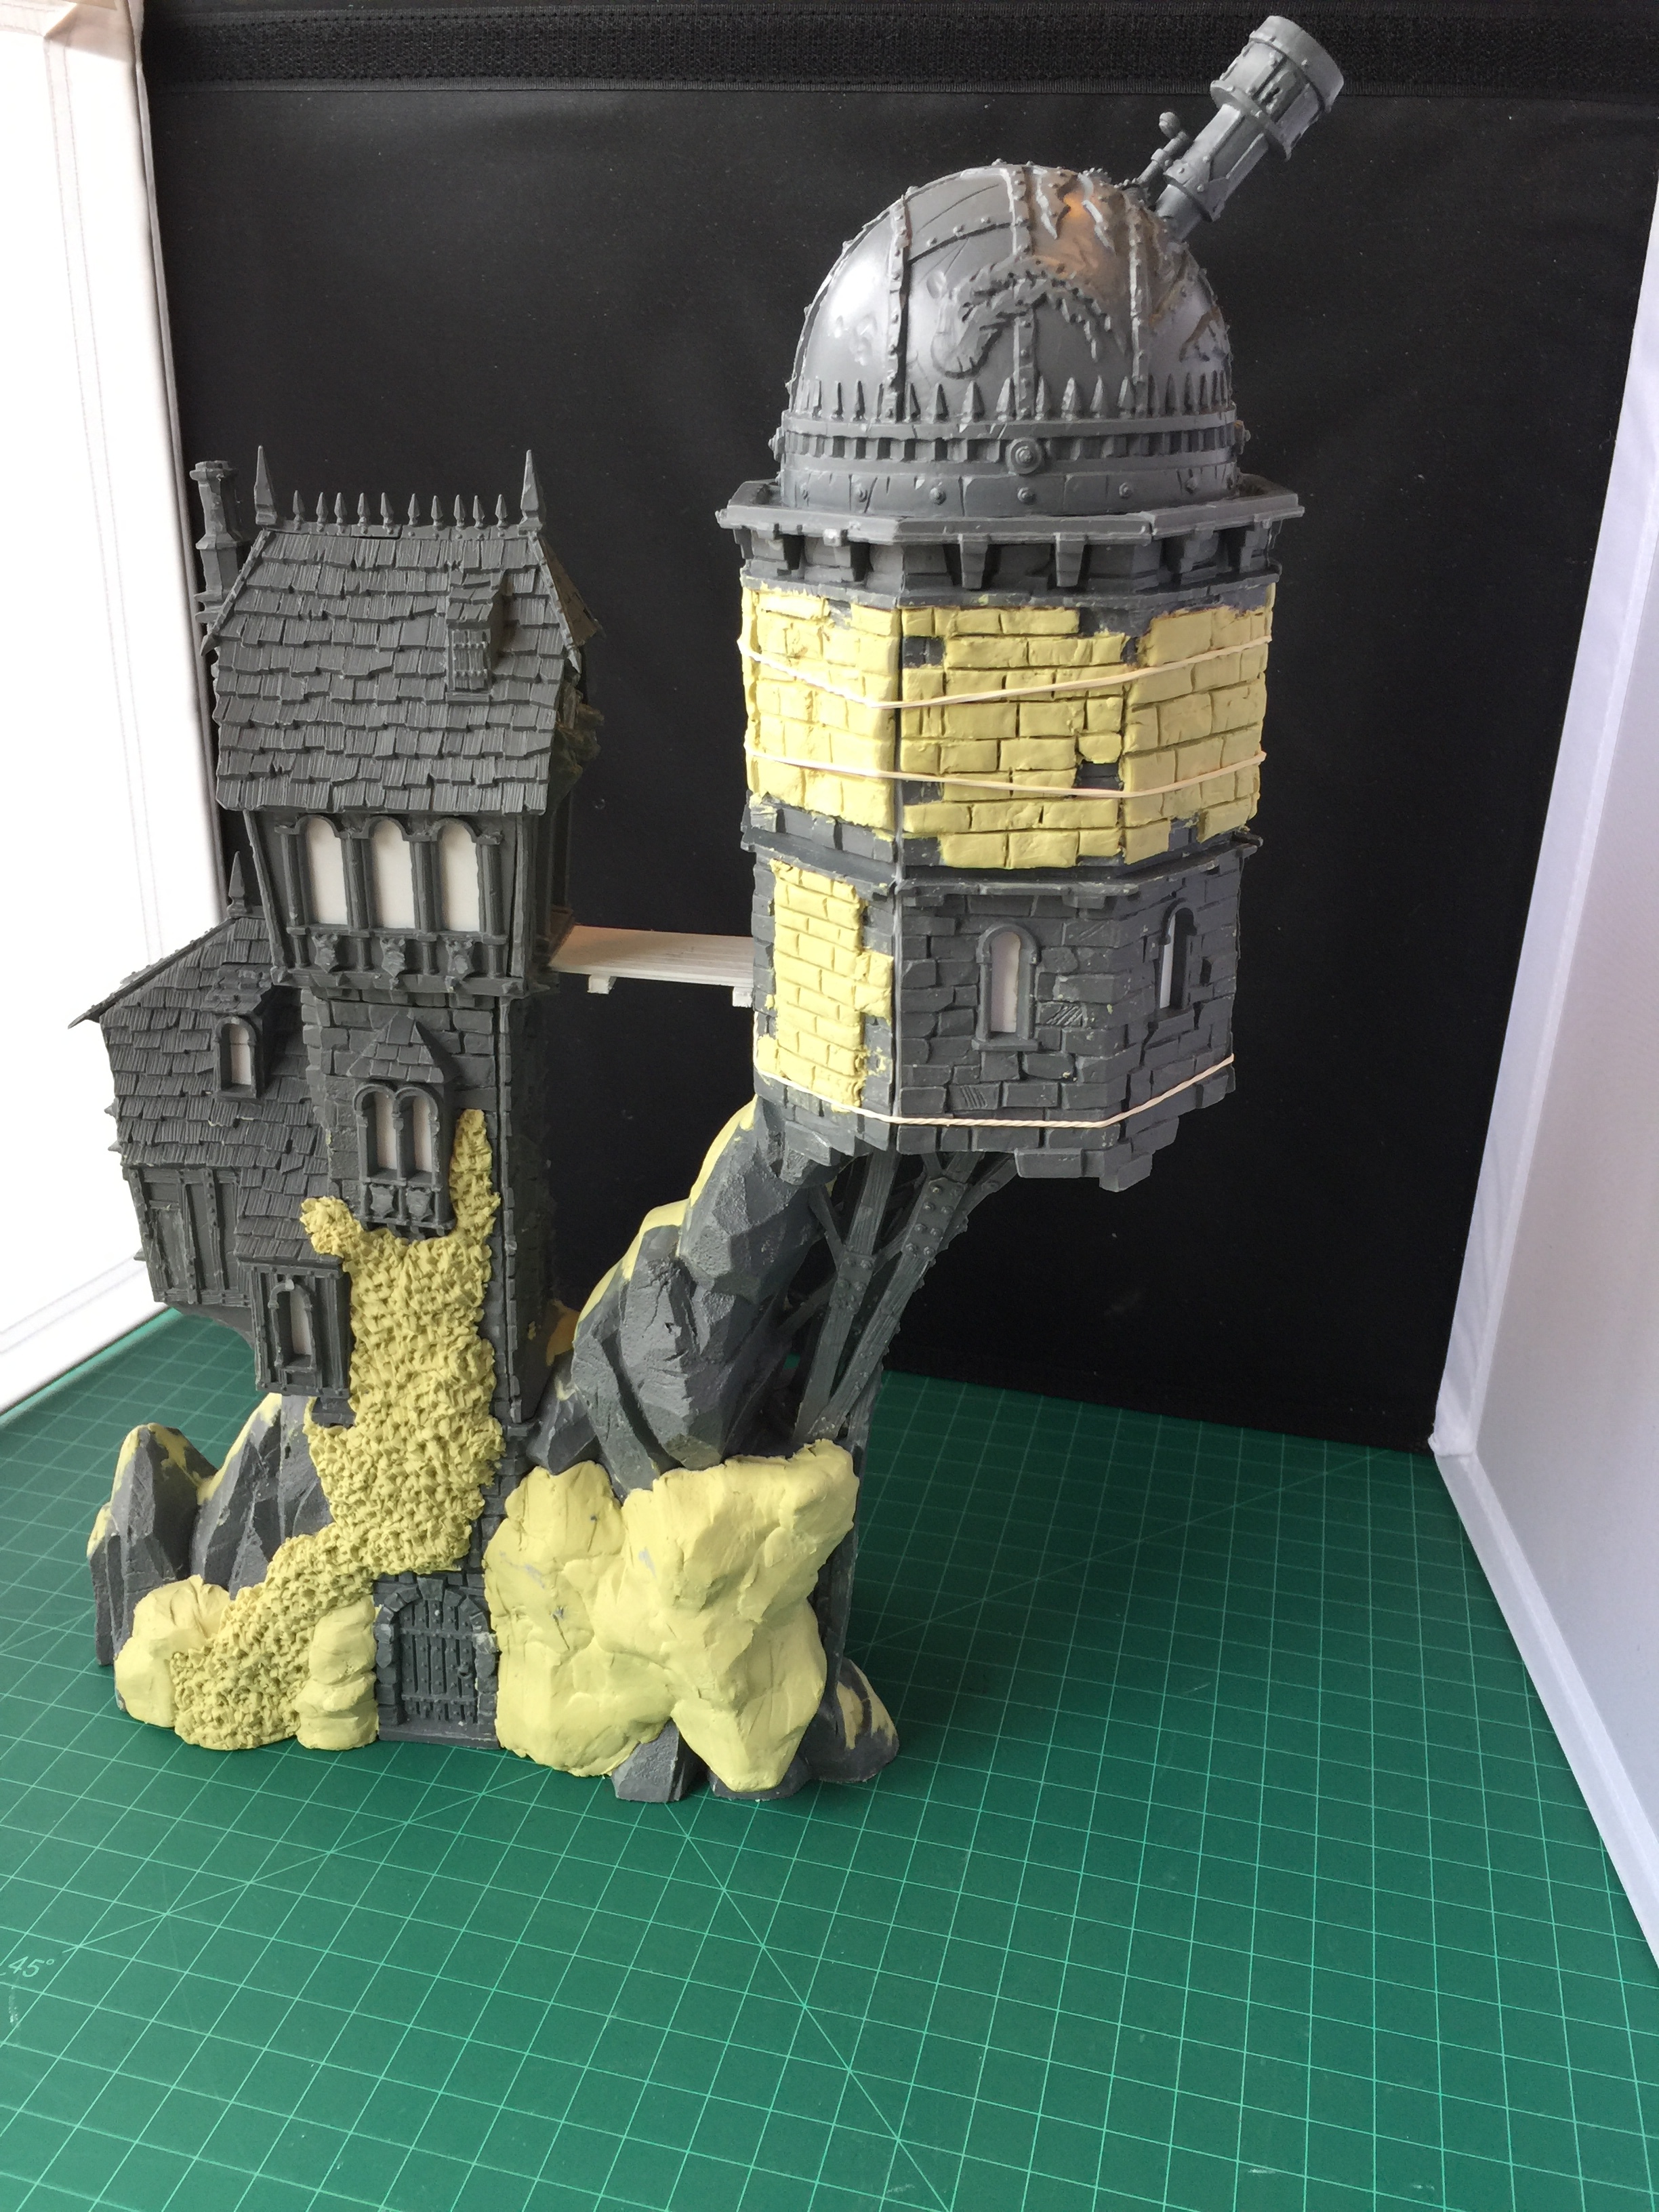
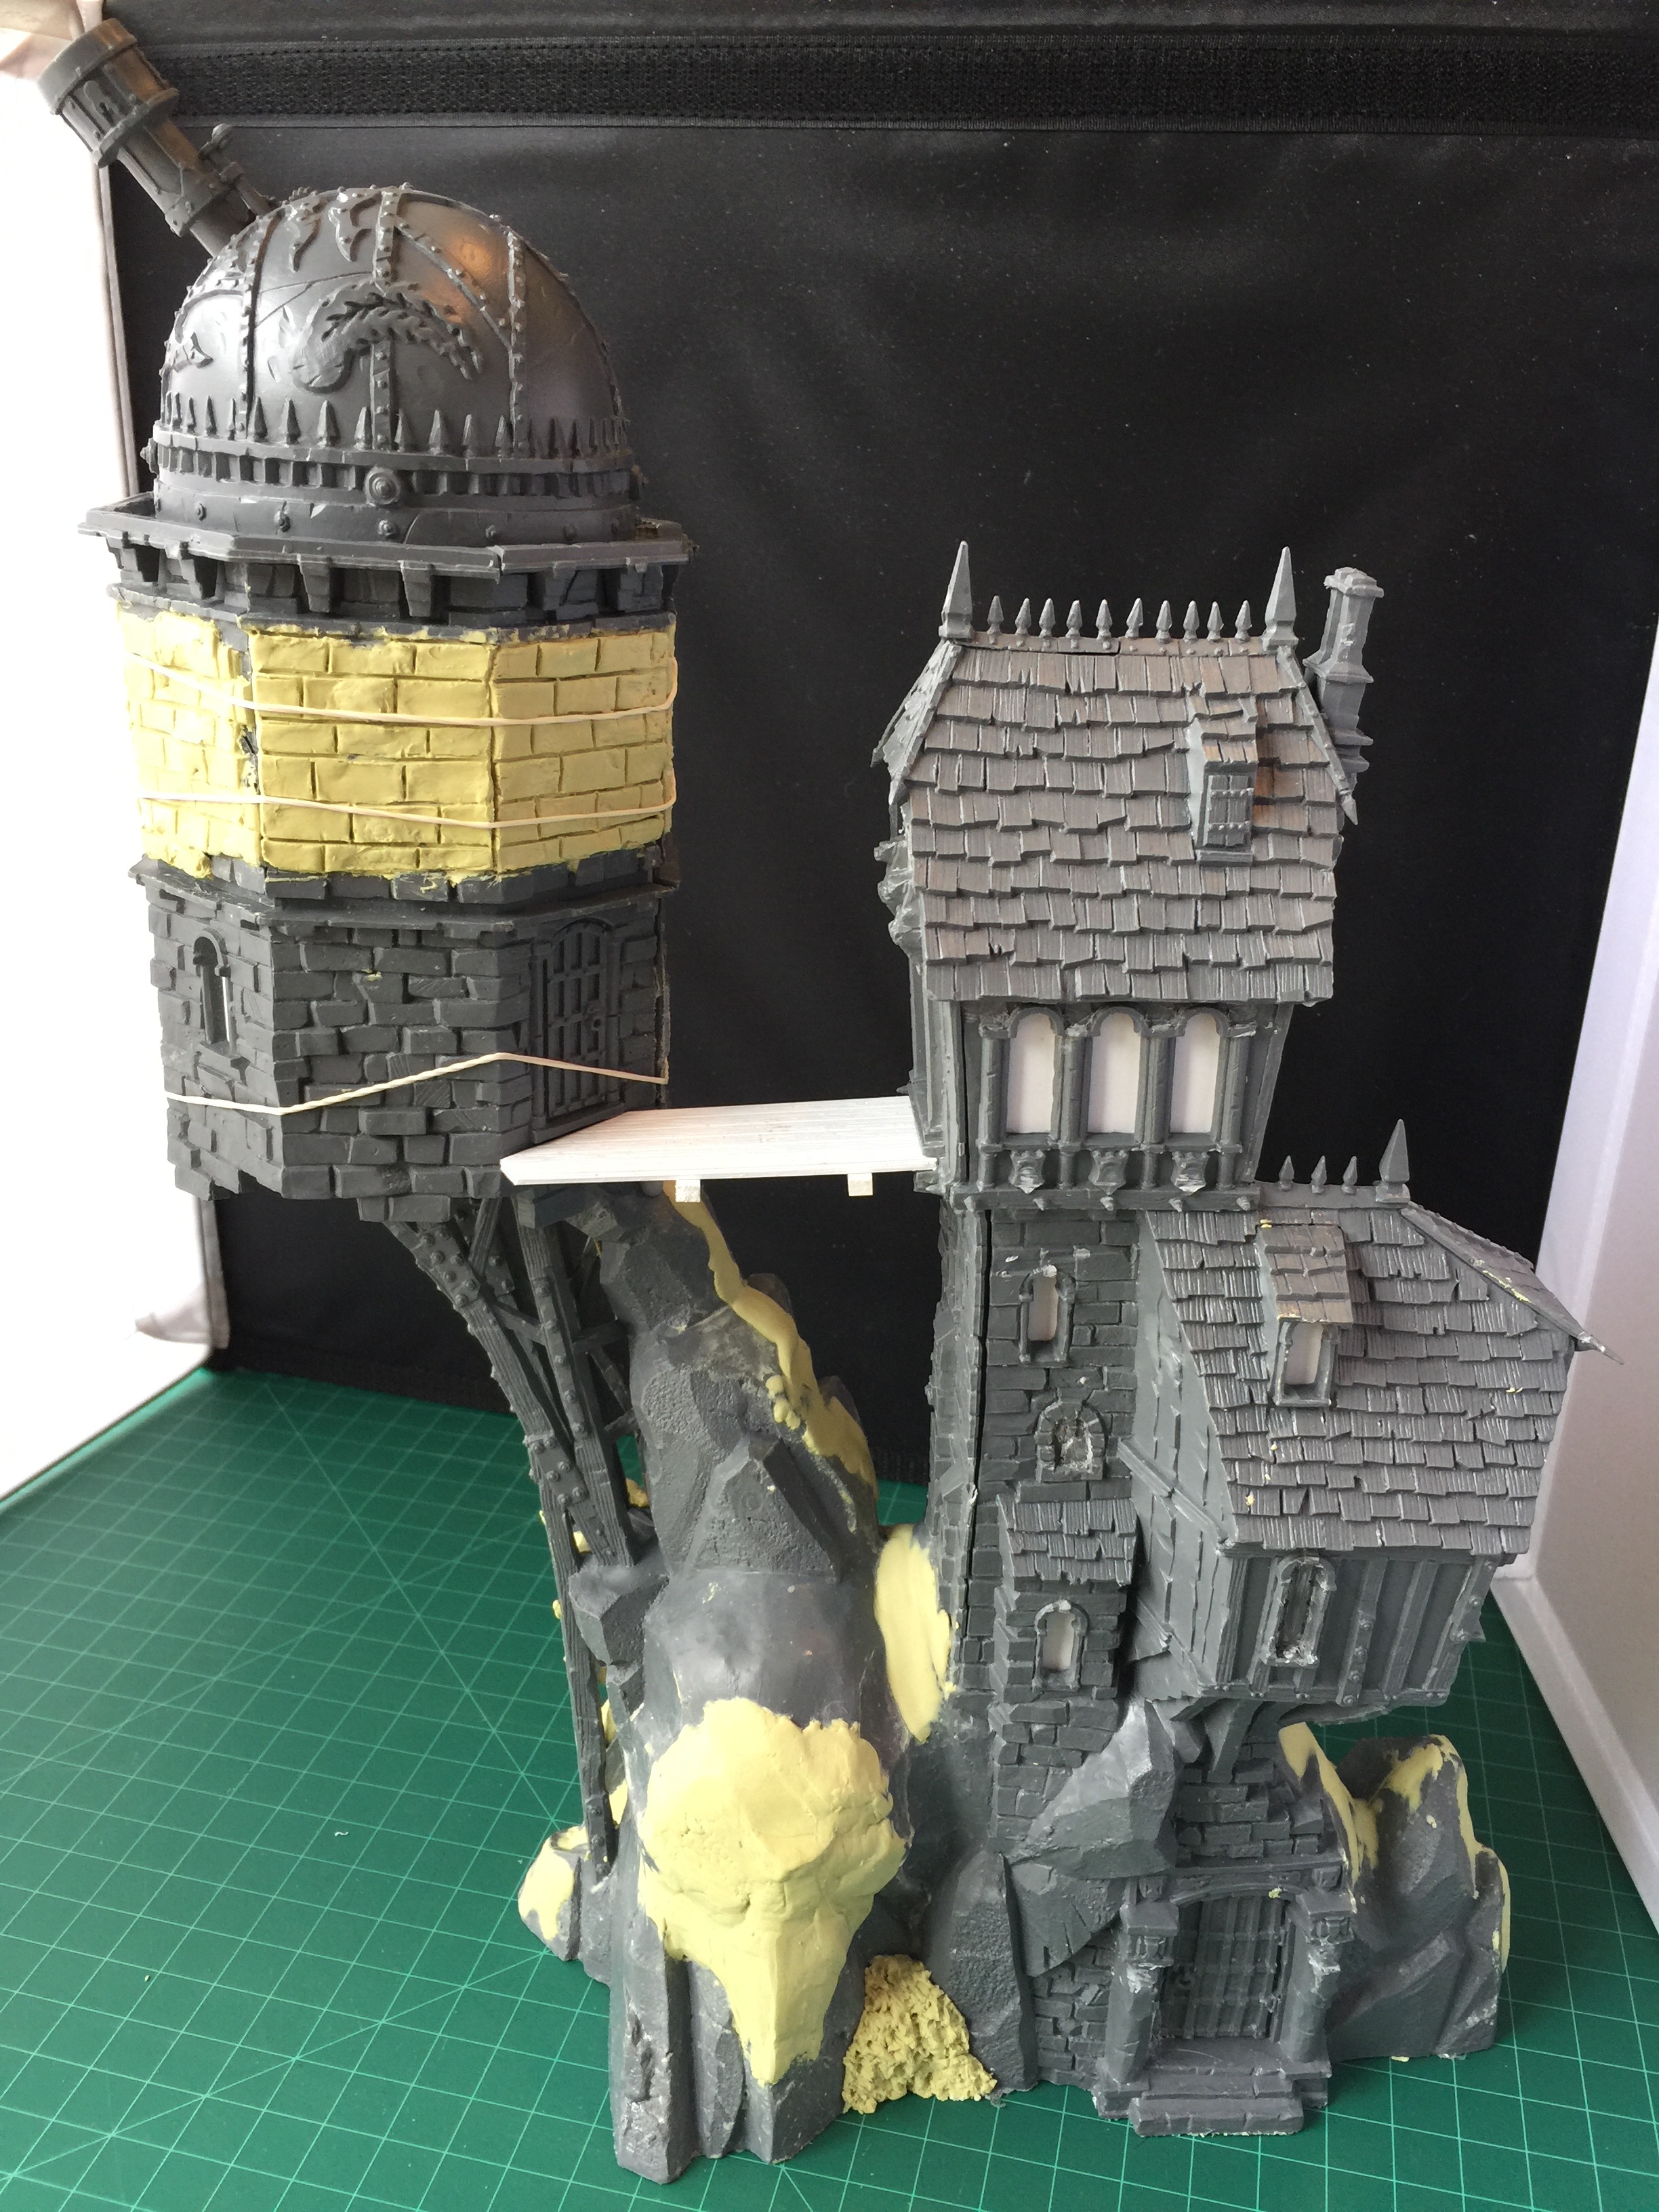
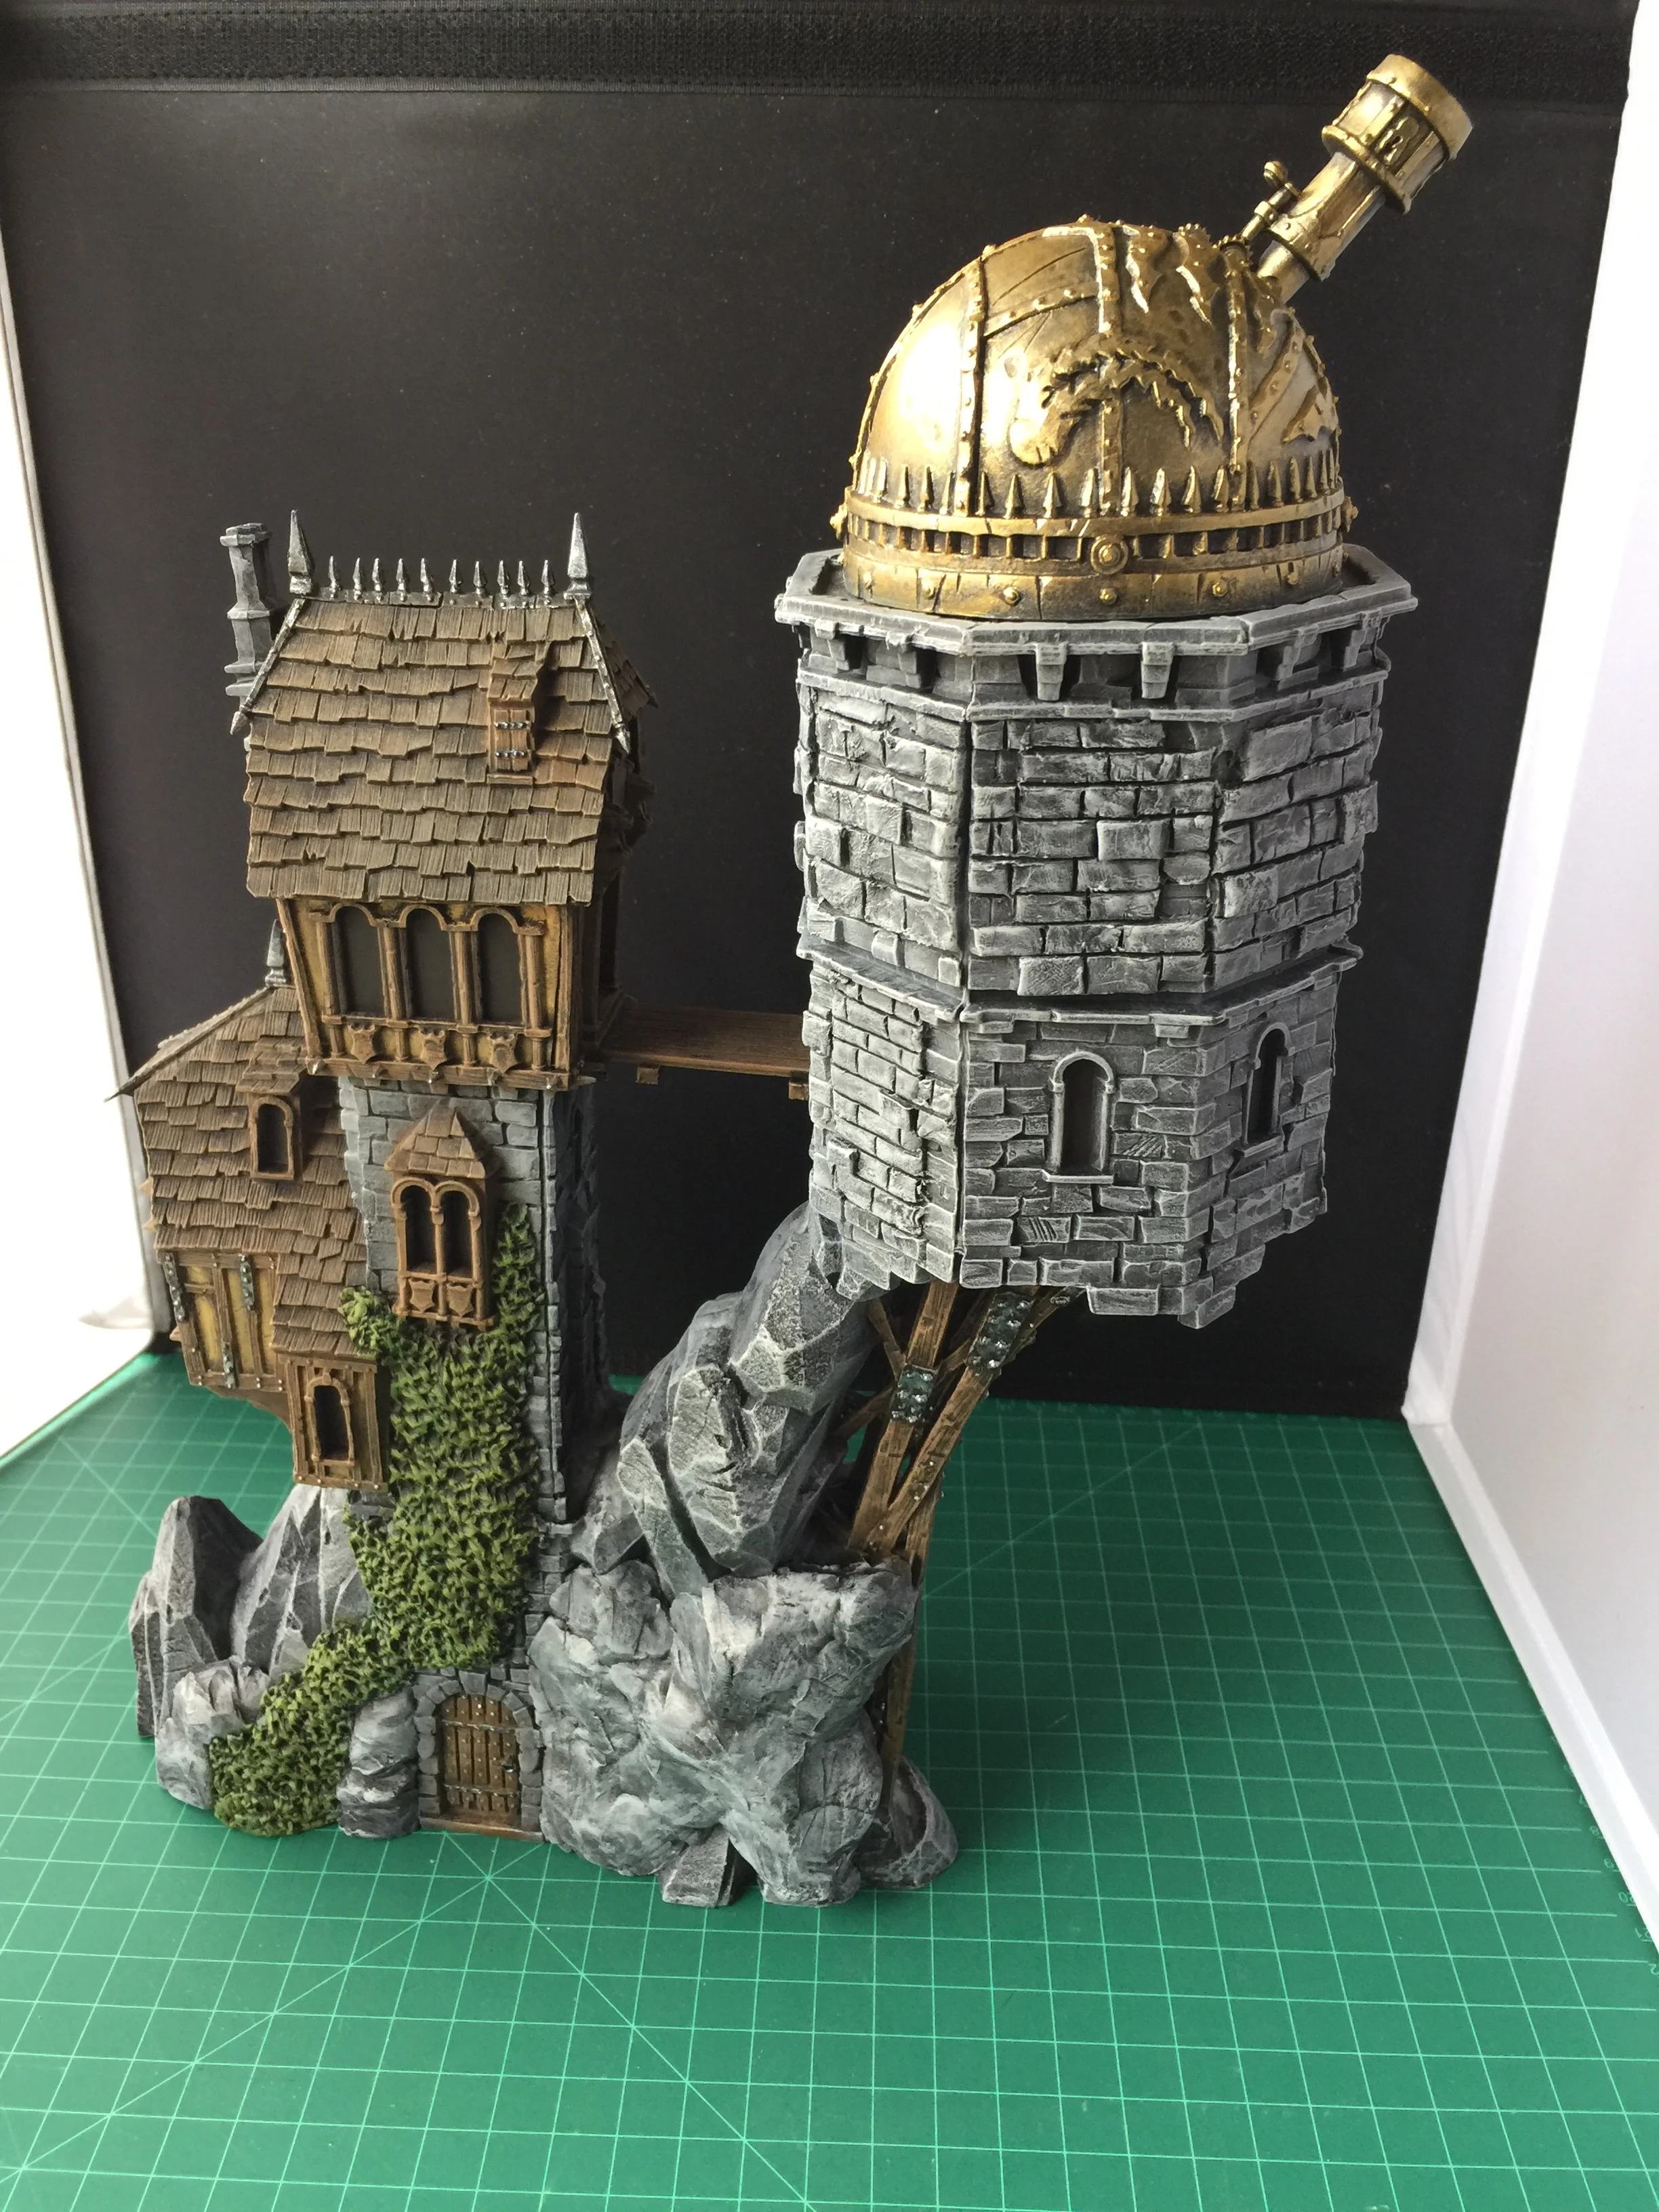
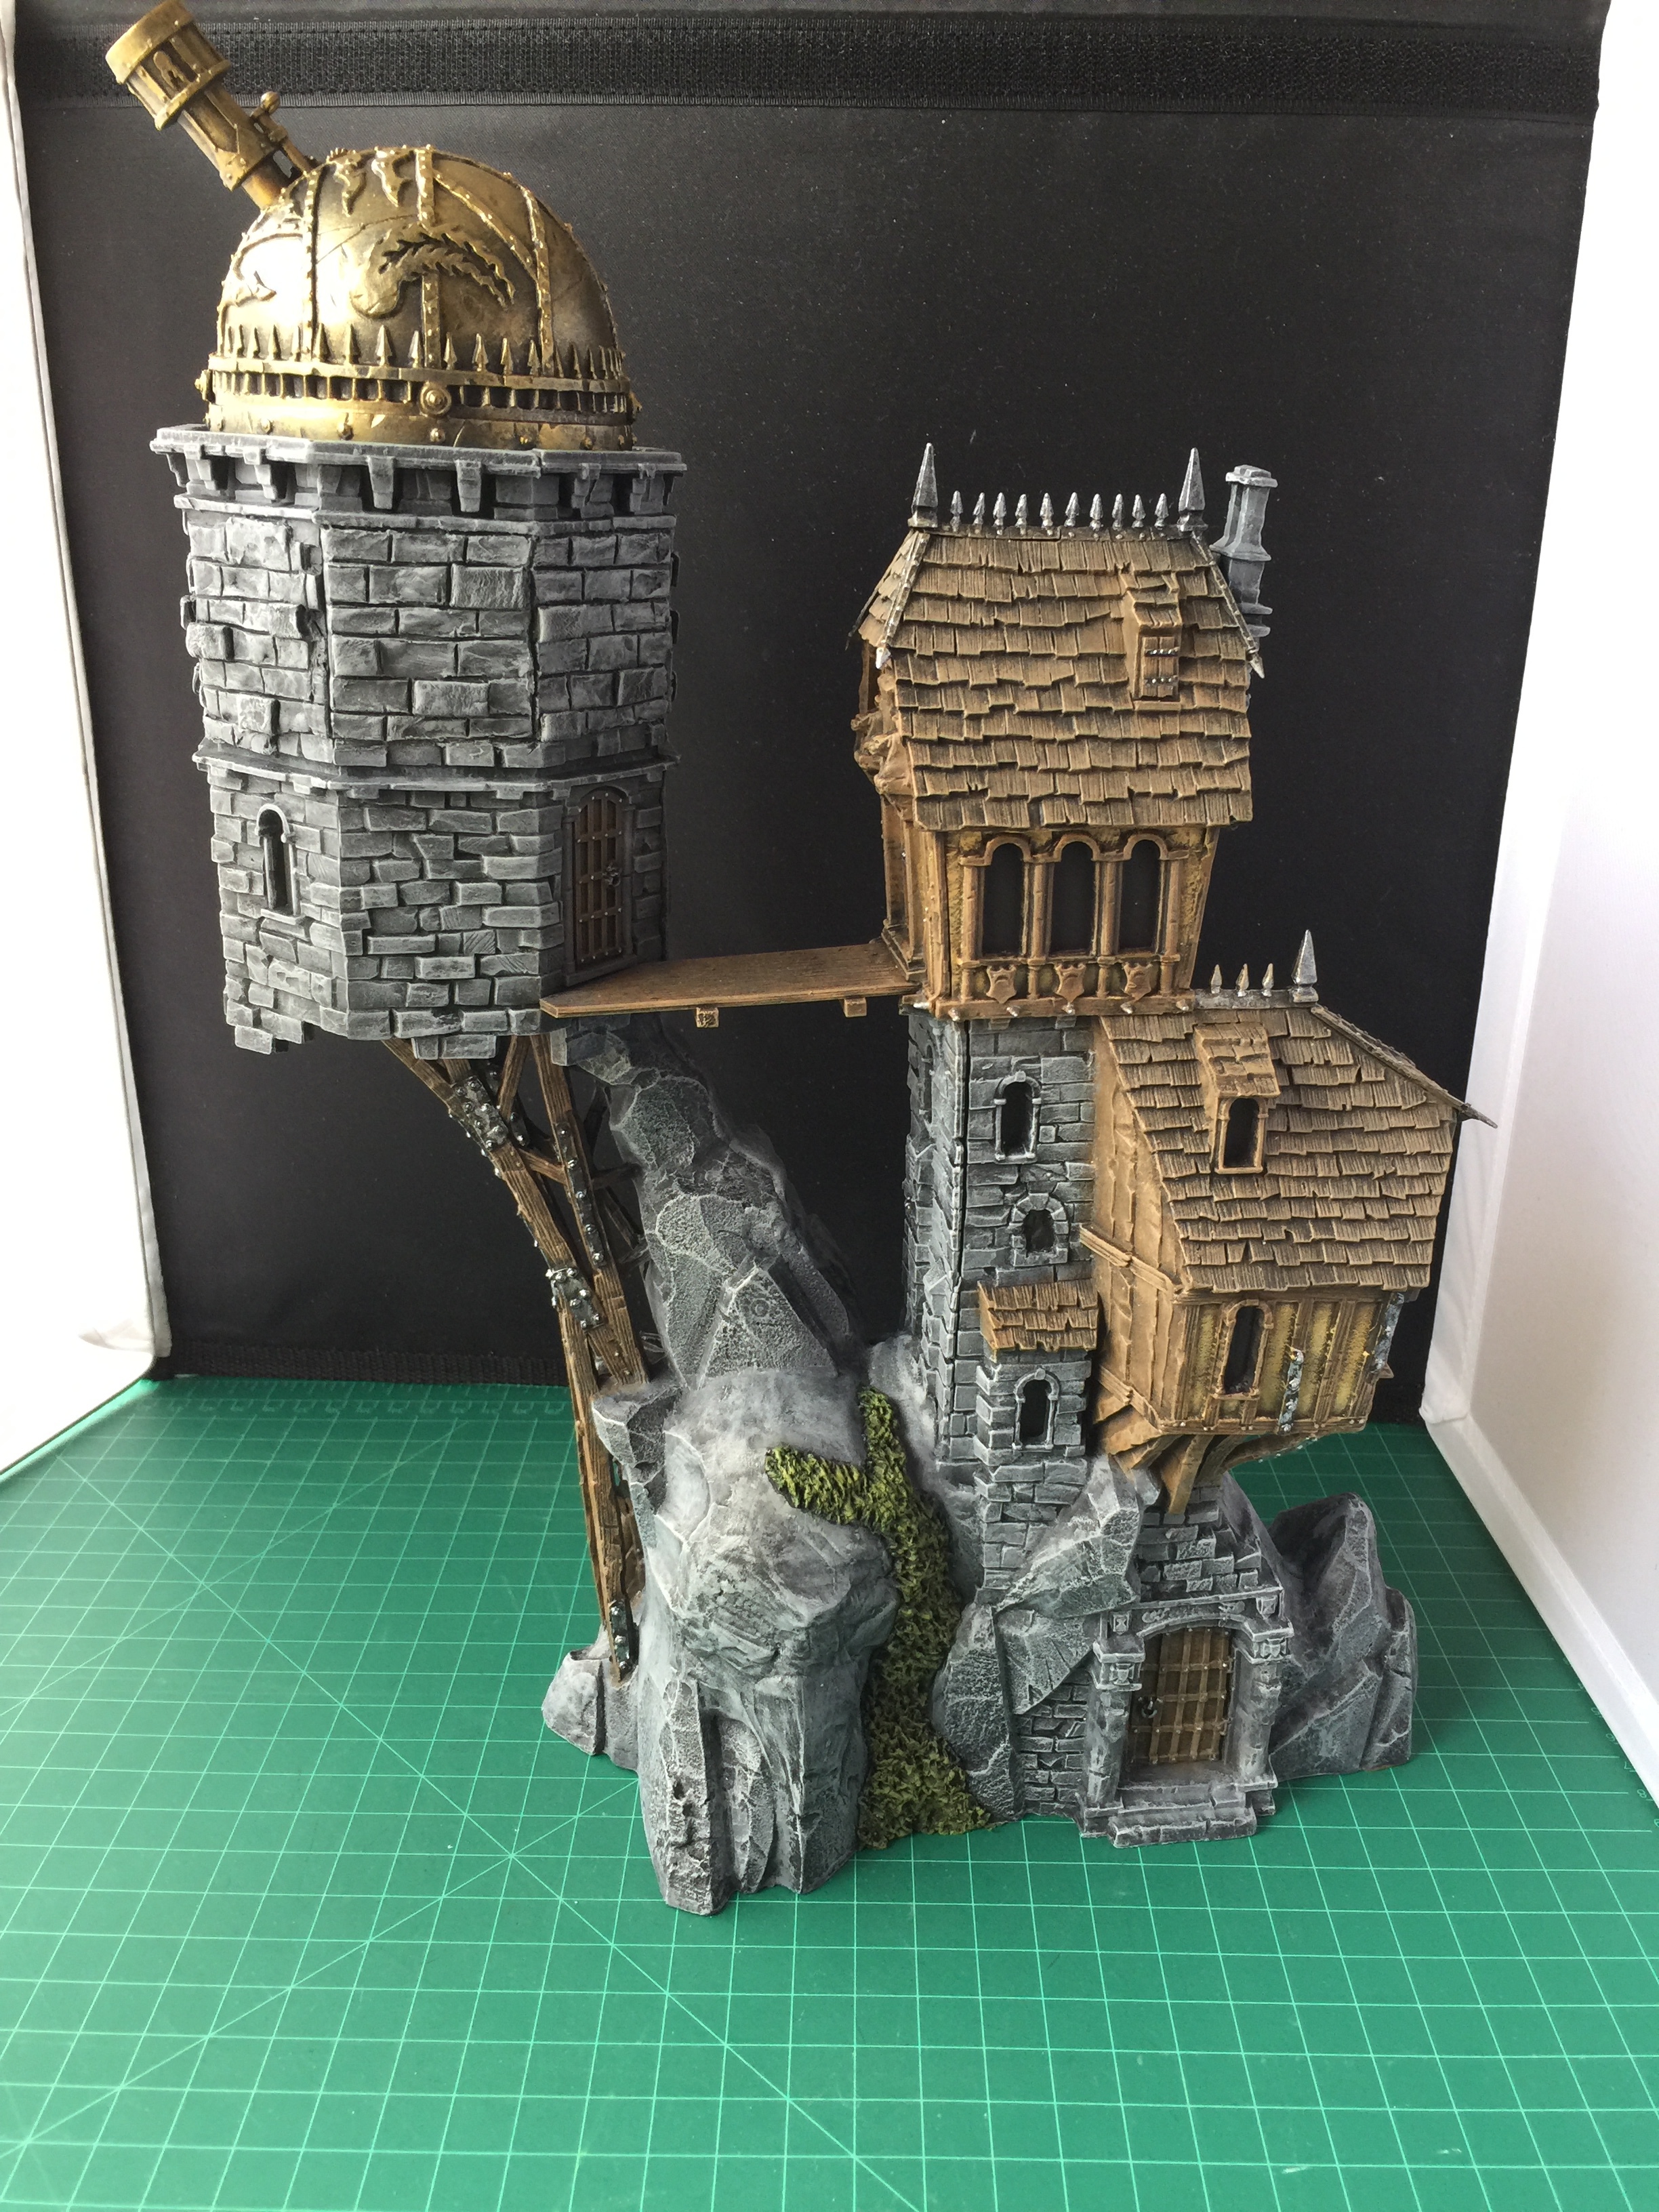
I ended last week’s workbench removing and hiding skulls in the process of putting together another Skullvane Manse. This manse project will be one of the two options that came with the Skullvane Manse as originally marketed. The one I began last week and will be working on this week is the manse as an observatory sans skulls. As with my pirate refuge version of the manse, the removing and hiding of the ubiquitous Games Workshop skulls was aided significantly by the use of Milliput. As I noted in last week’s write-up, the portion of the manse that holds the telescope is in three layered sections: the first layer/floor contains the entrance and several windows, the second layer/floor is defined by being surrounded by six huge skulls, and the third floor holds the telescope. With the pirate refuge I used only the first floor/the entrance that became the base for my gun platform. In the case of the observatory all three levels are being used and that required the removal of the six huge skulls on the second level and covering the scars made by the removal with Milliput in the form of stone bricks. Additionally I decided that this version of the manse would not include the ruined bridge or ramp. Consequently, I also decided to use the ground floor doorway as an entrance to the manse and covered the second floor doorway that led to the ruined bridge. I covered that doorway with Milliput that I scored to give it the appearance of shrubs. The only other scratch-built element of this project was to add a walkway between the housing section of the base to the observatory section of the base. I did that using Evergreen plastic V-groove which I scored with a hobby knife to give it a wood grain appearance. As a reference, I’m including two pictures of my finished pirate refuge version of the Skullvane Manse in addition to pictures of my current work on the observatory version.
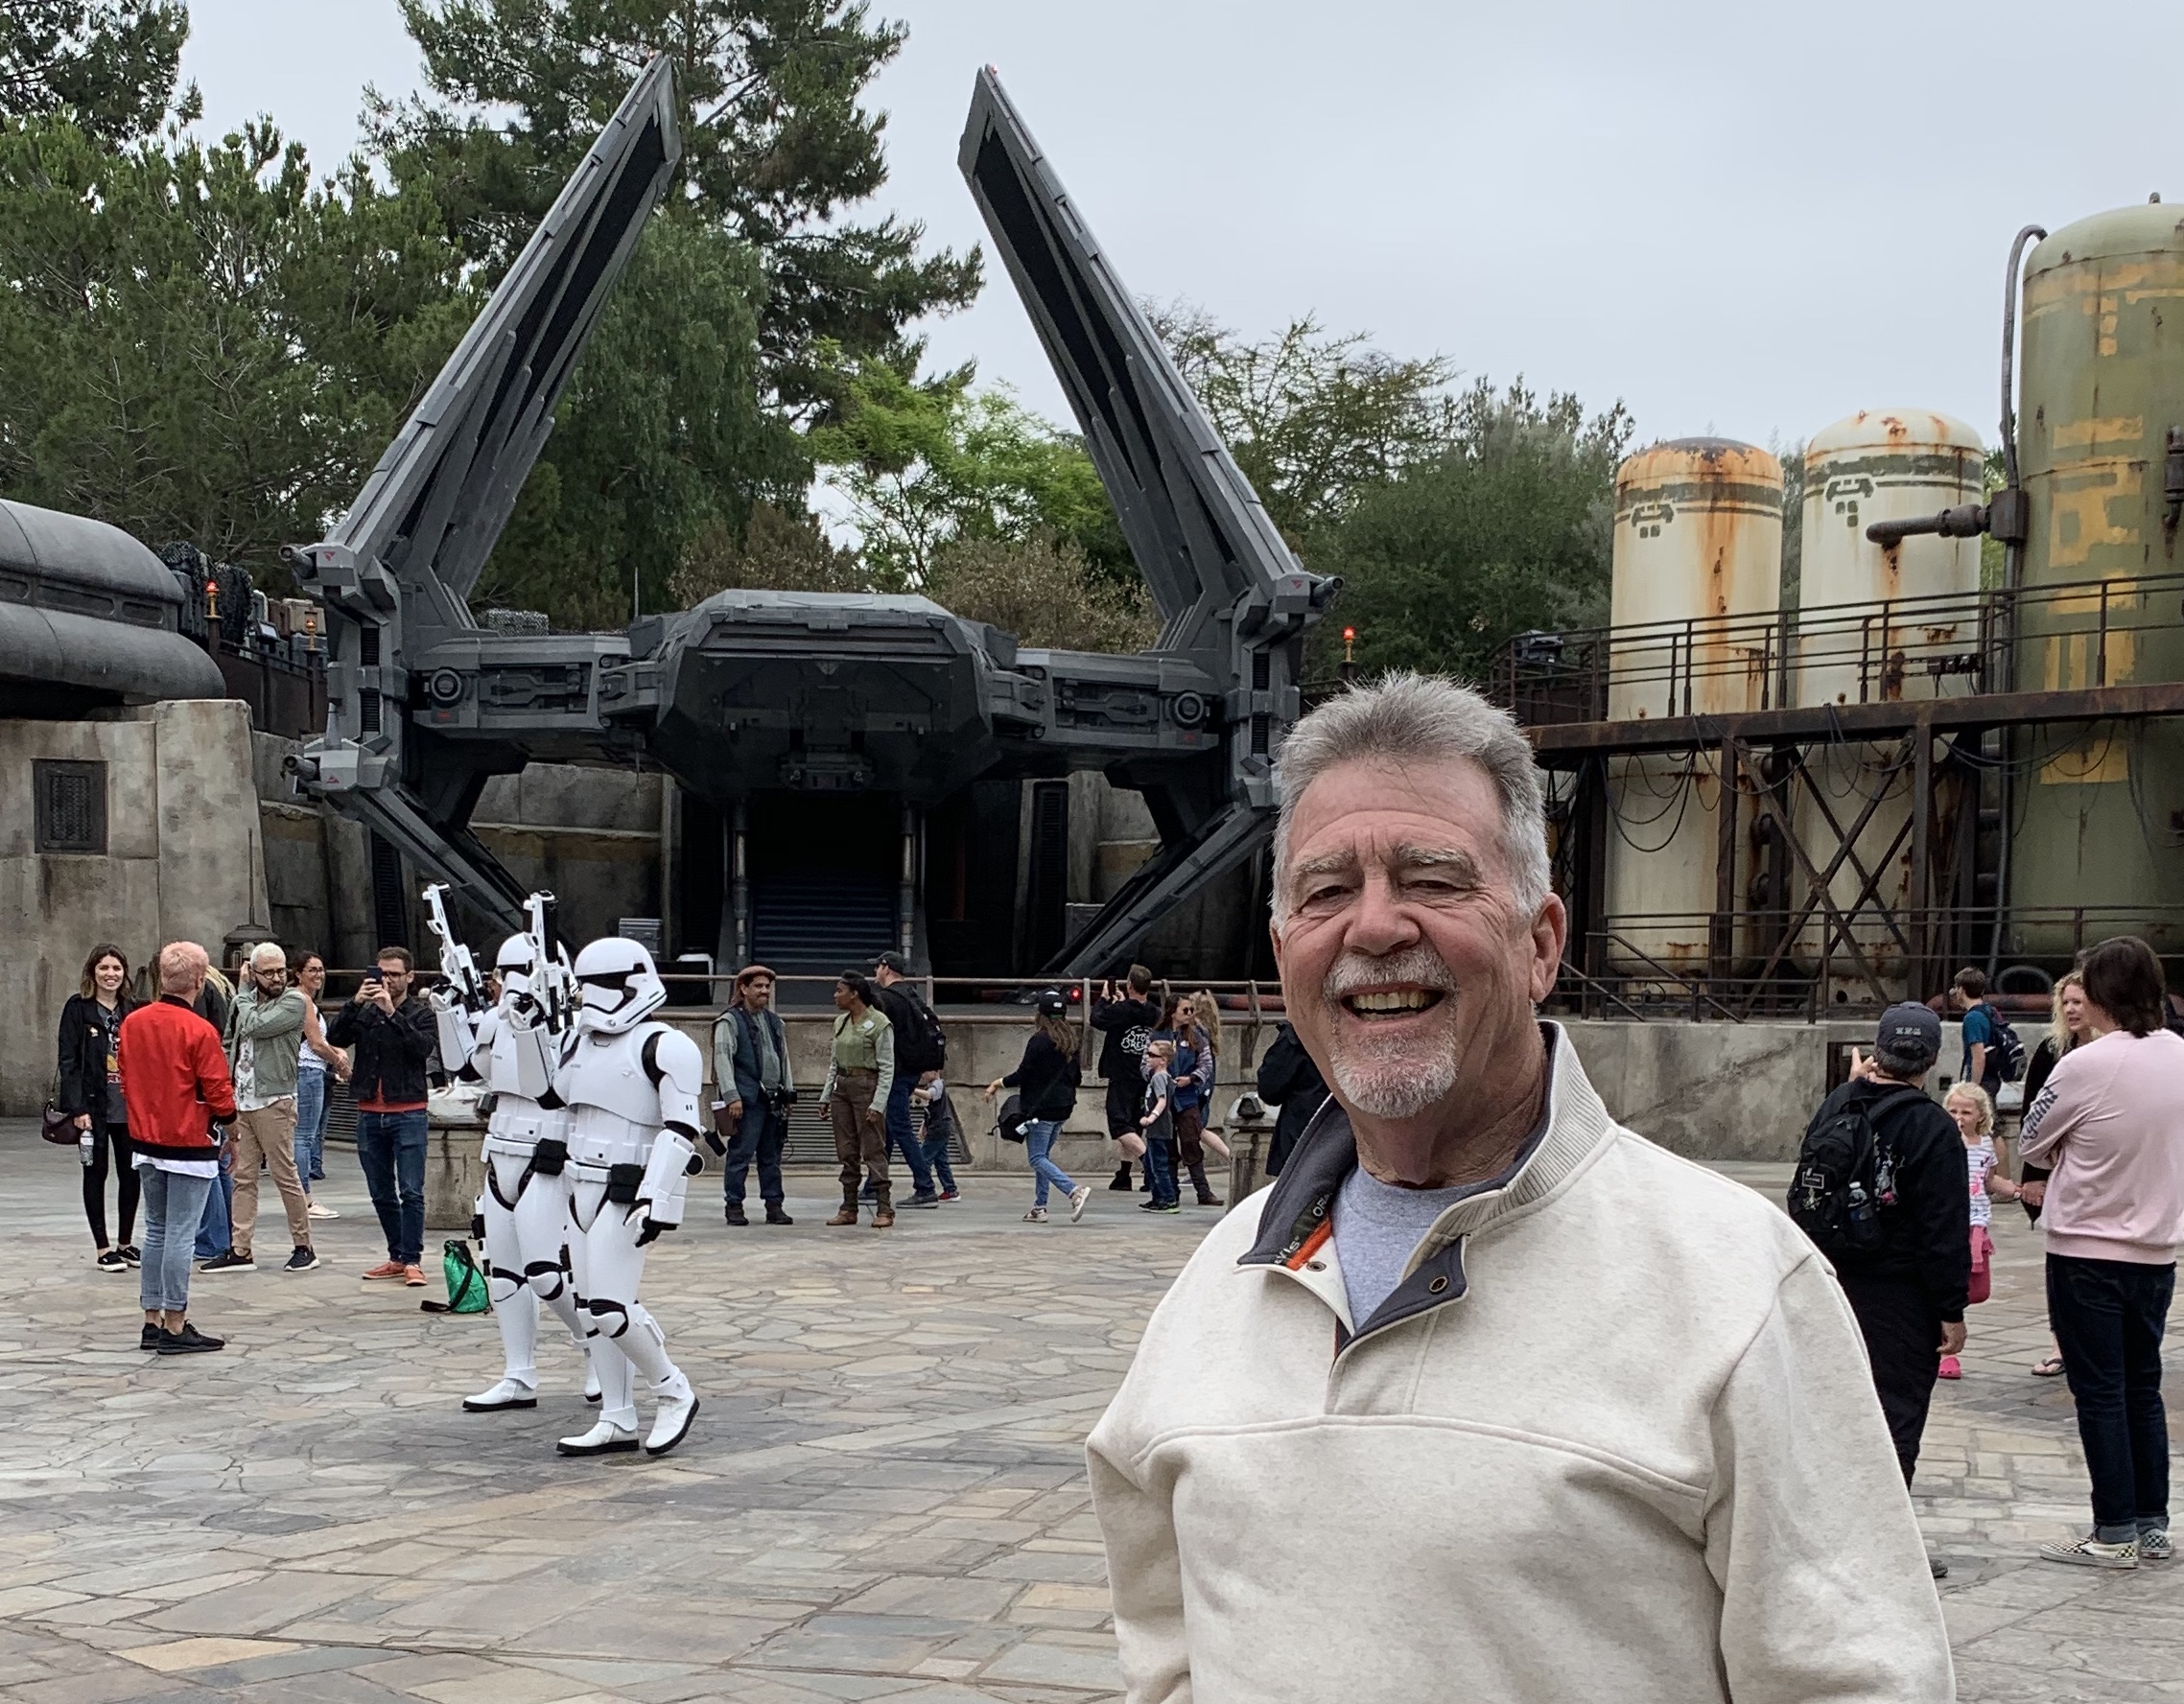
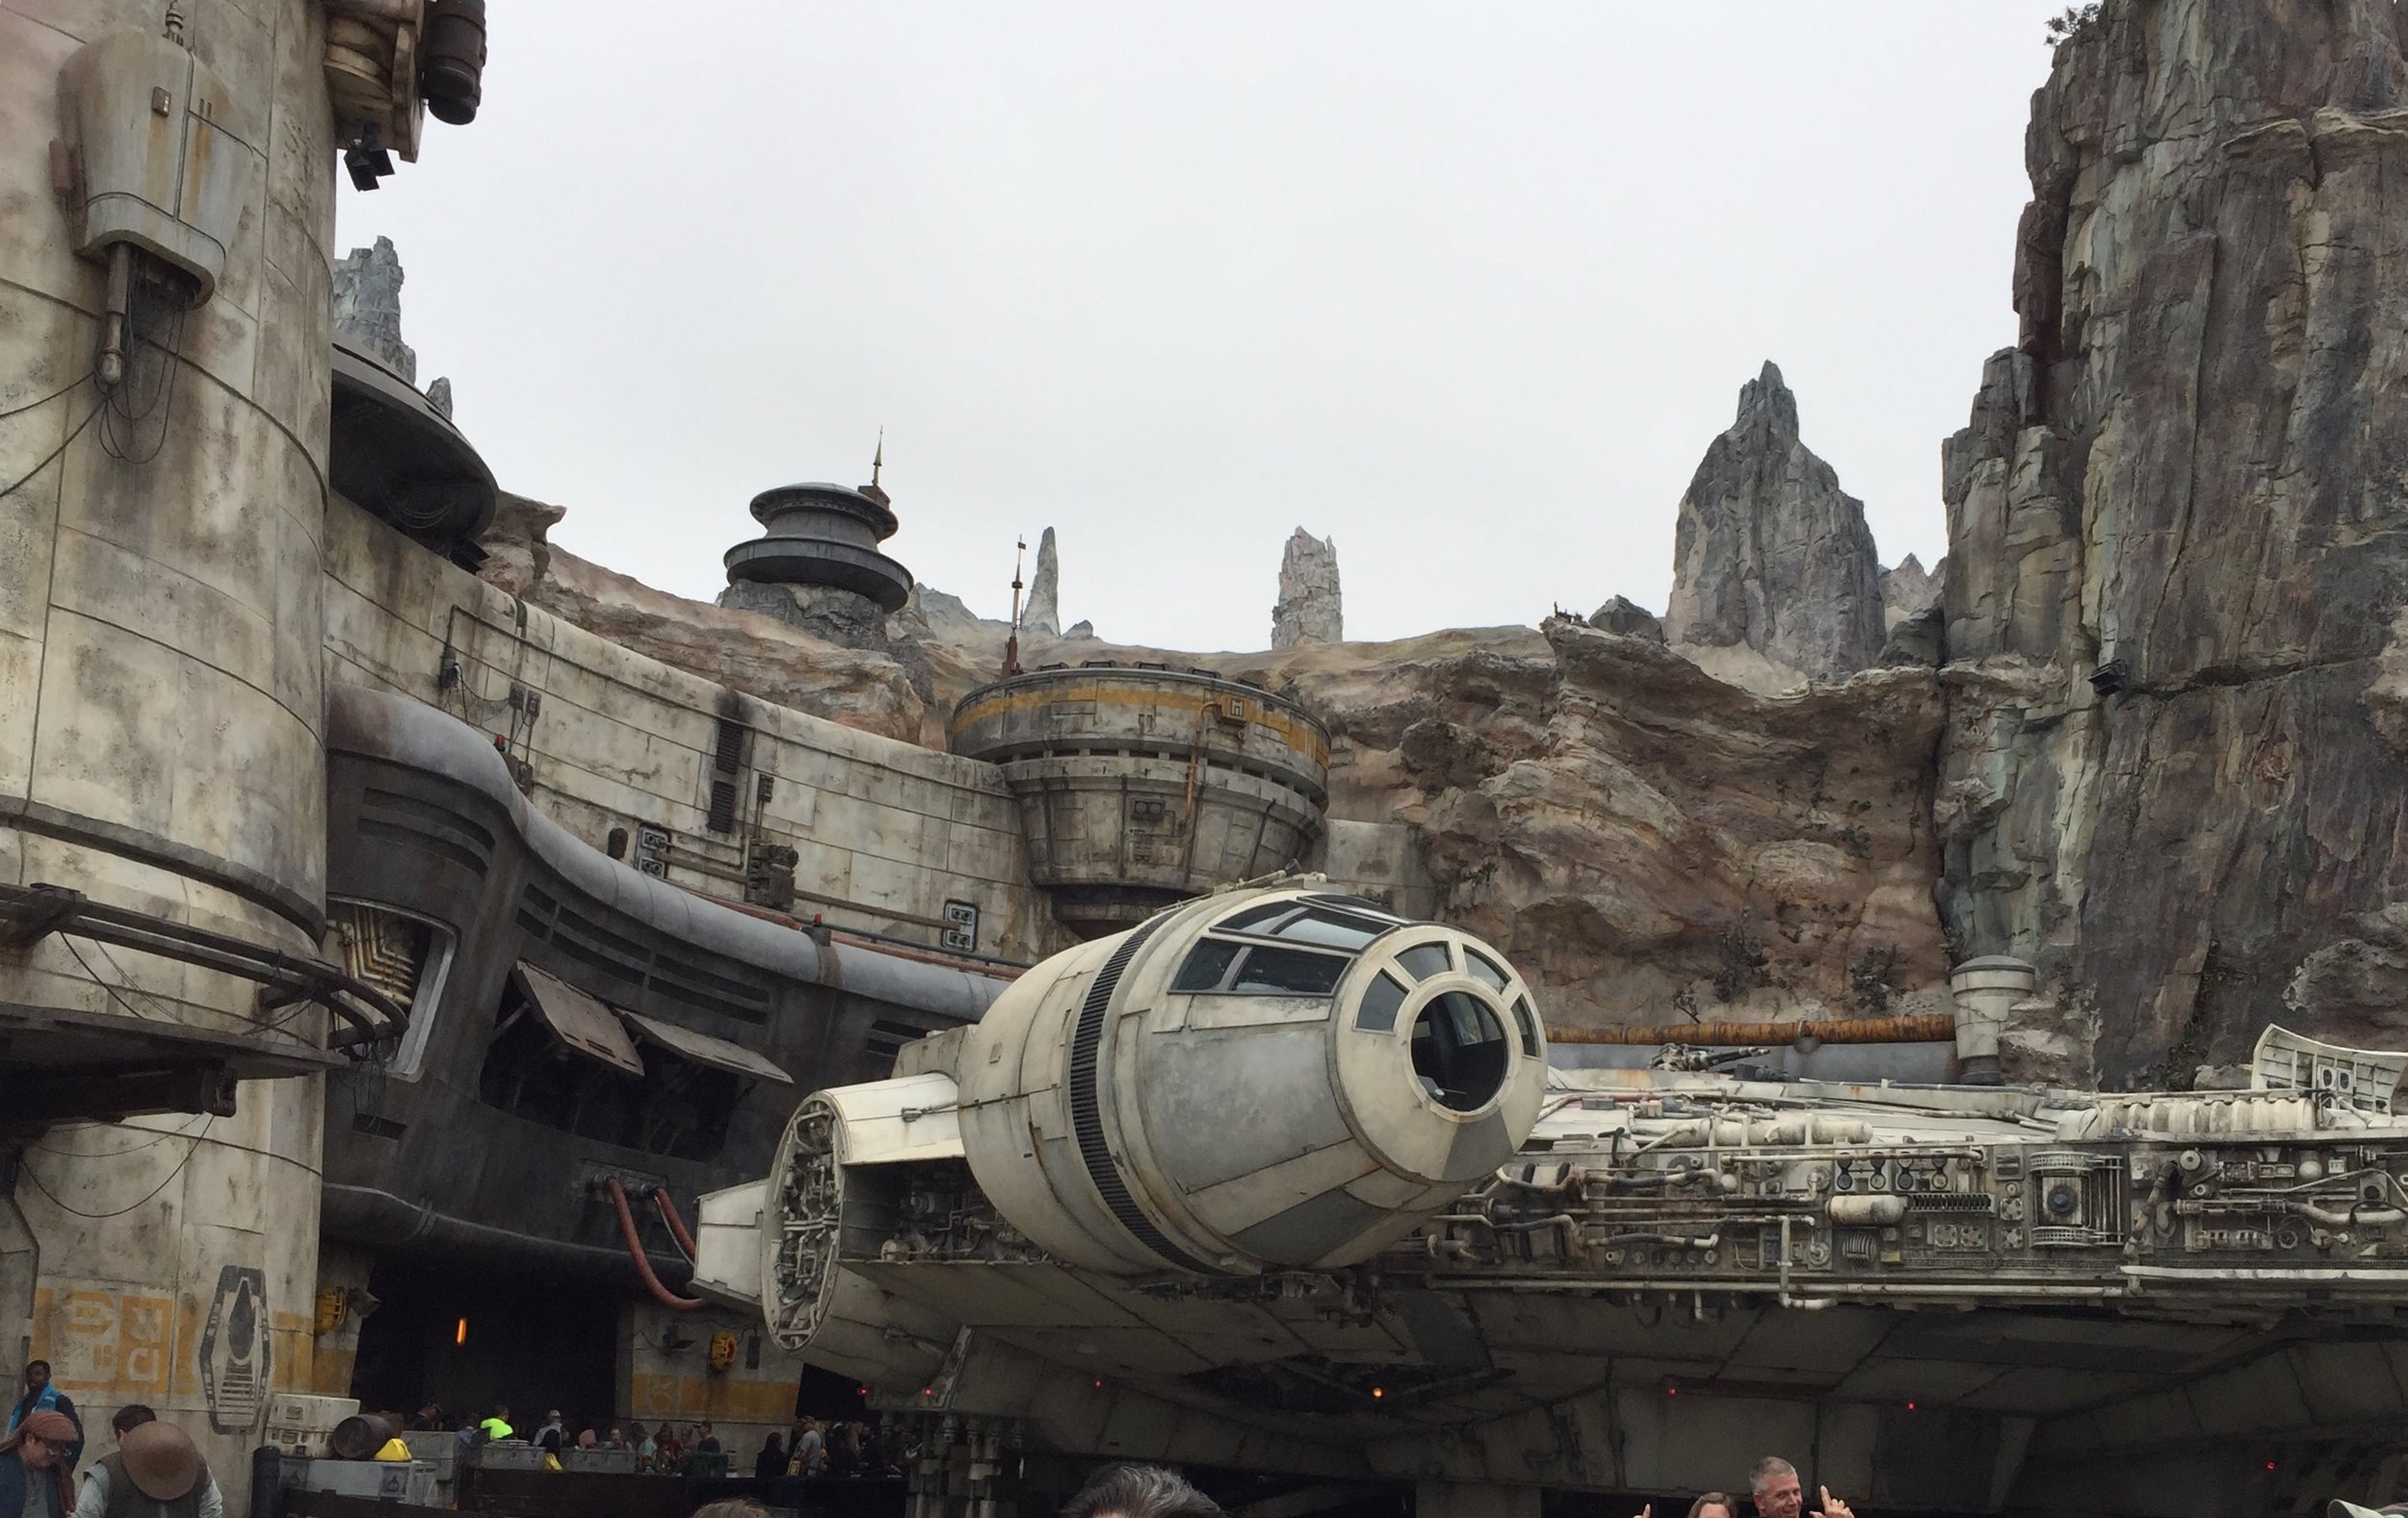
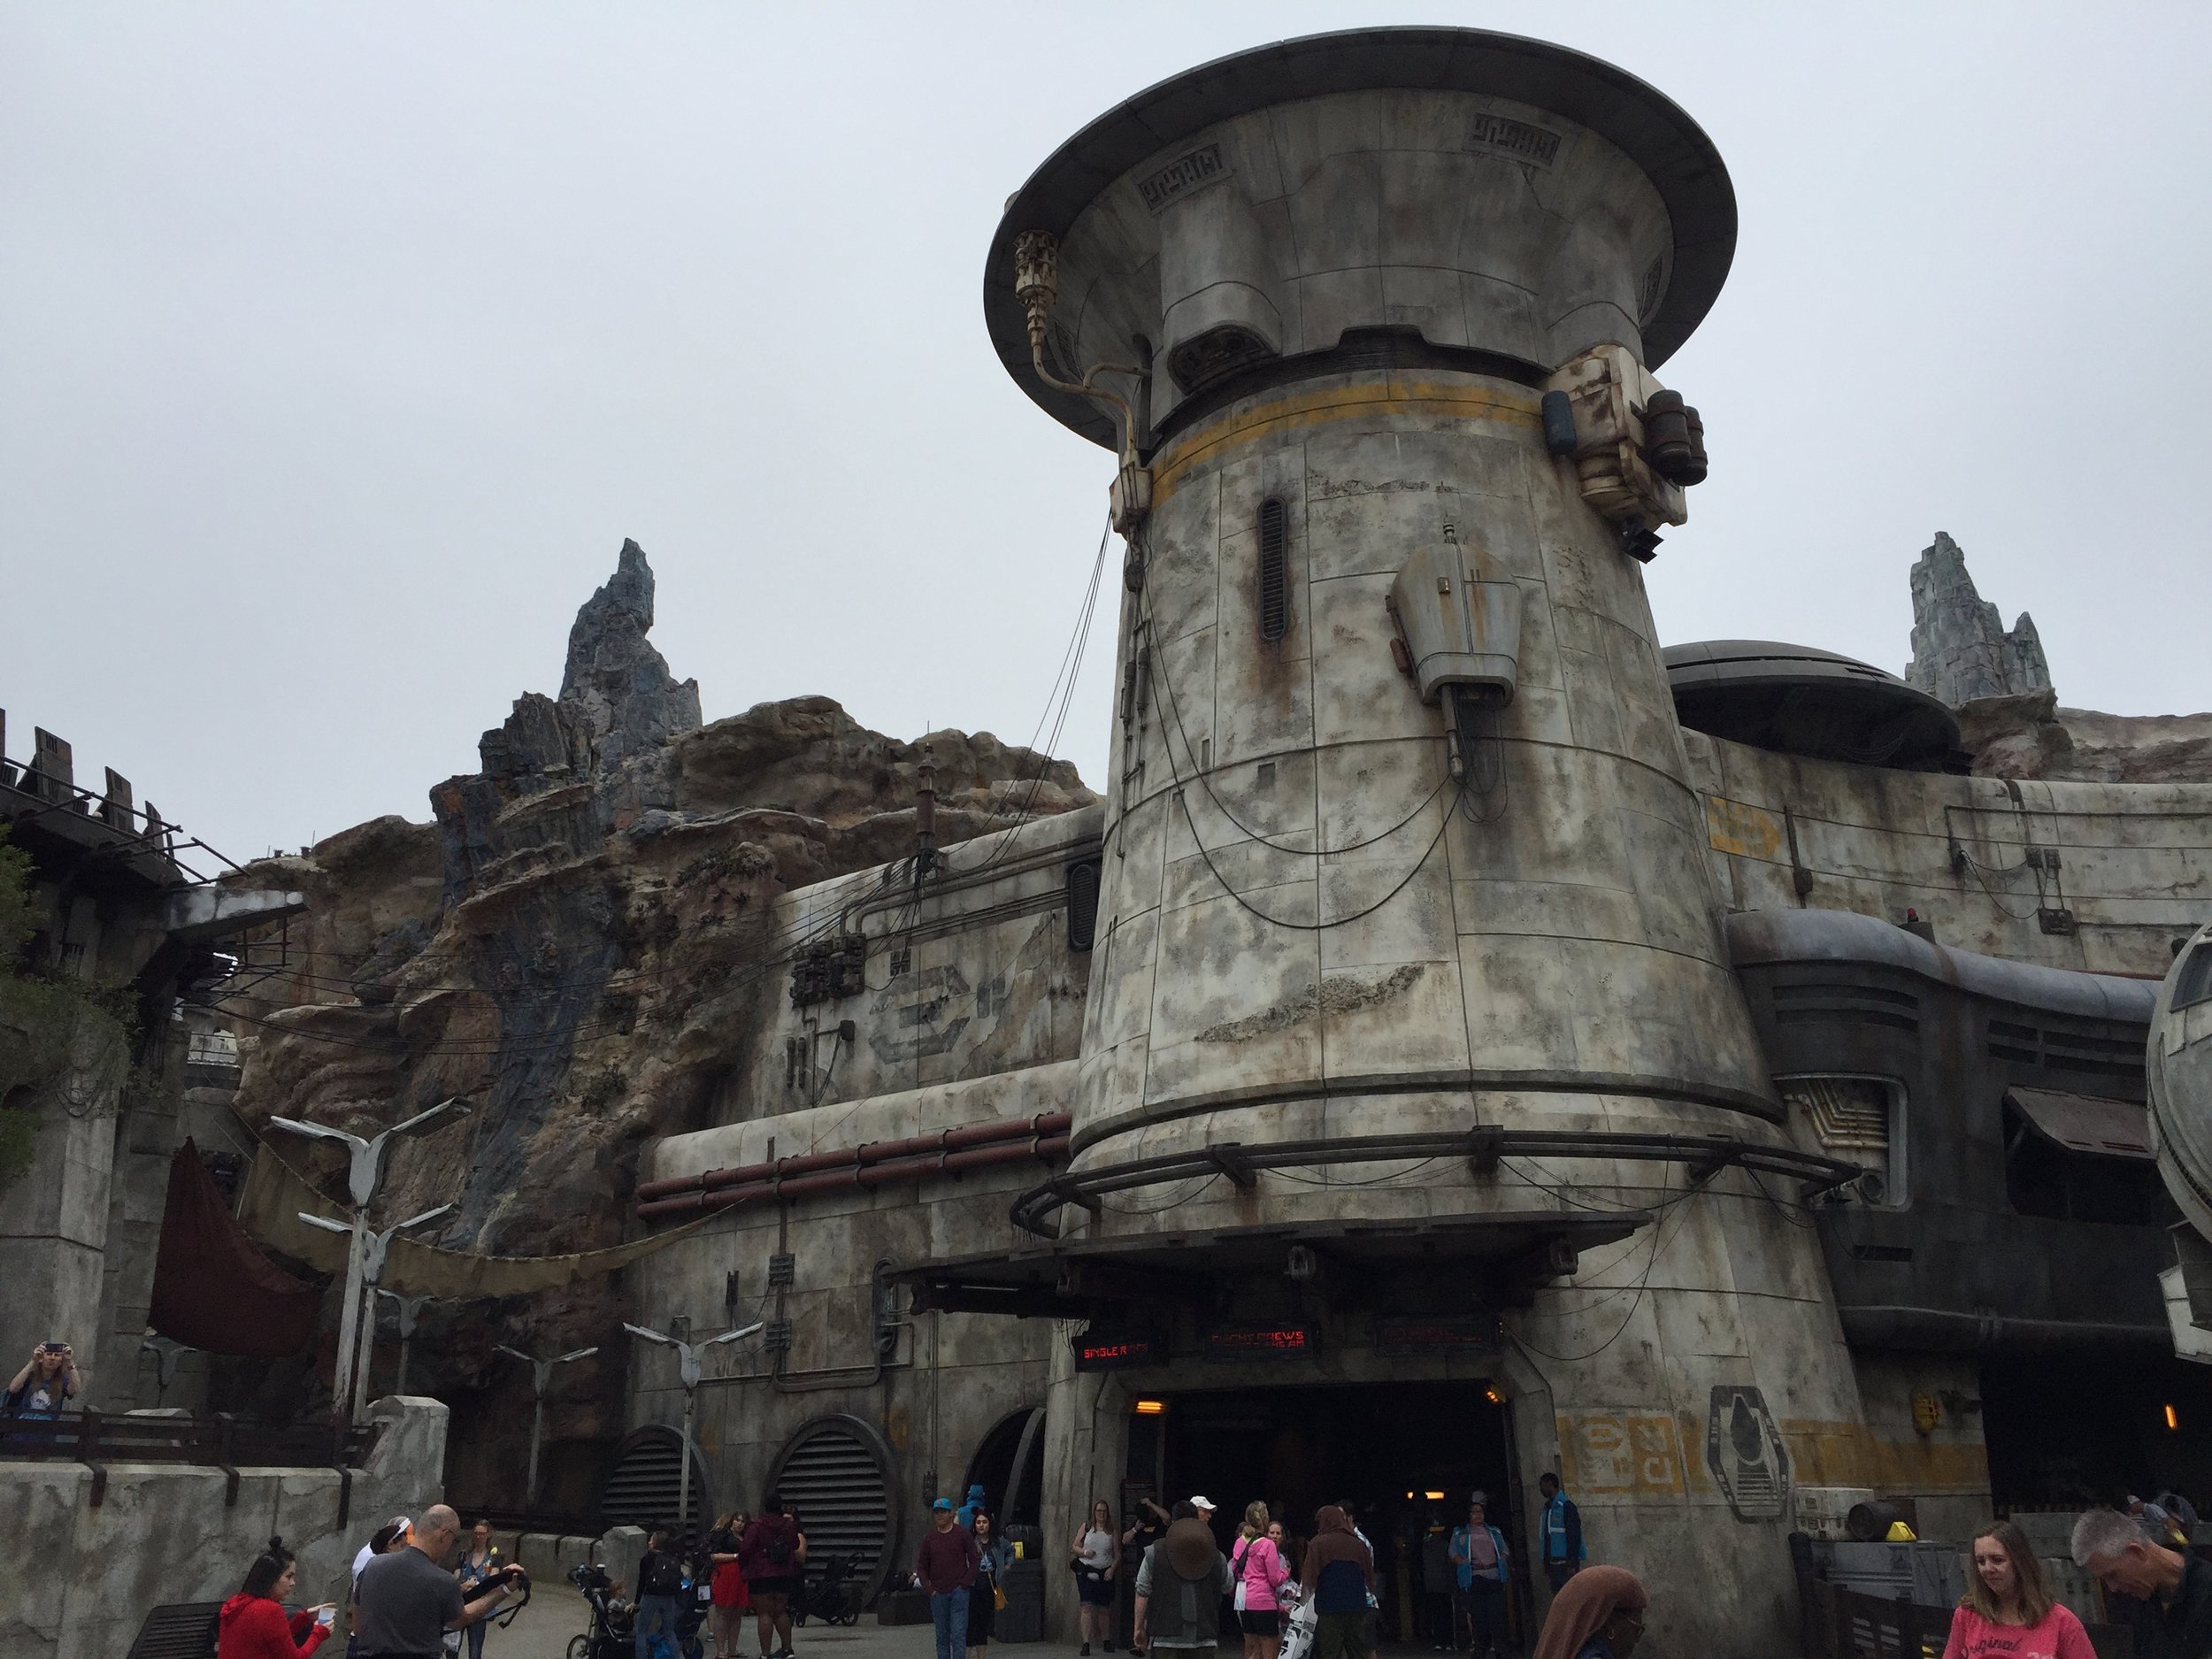
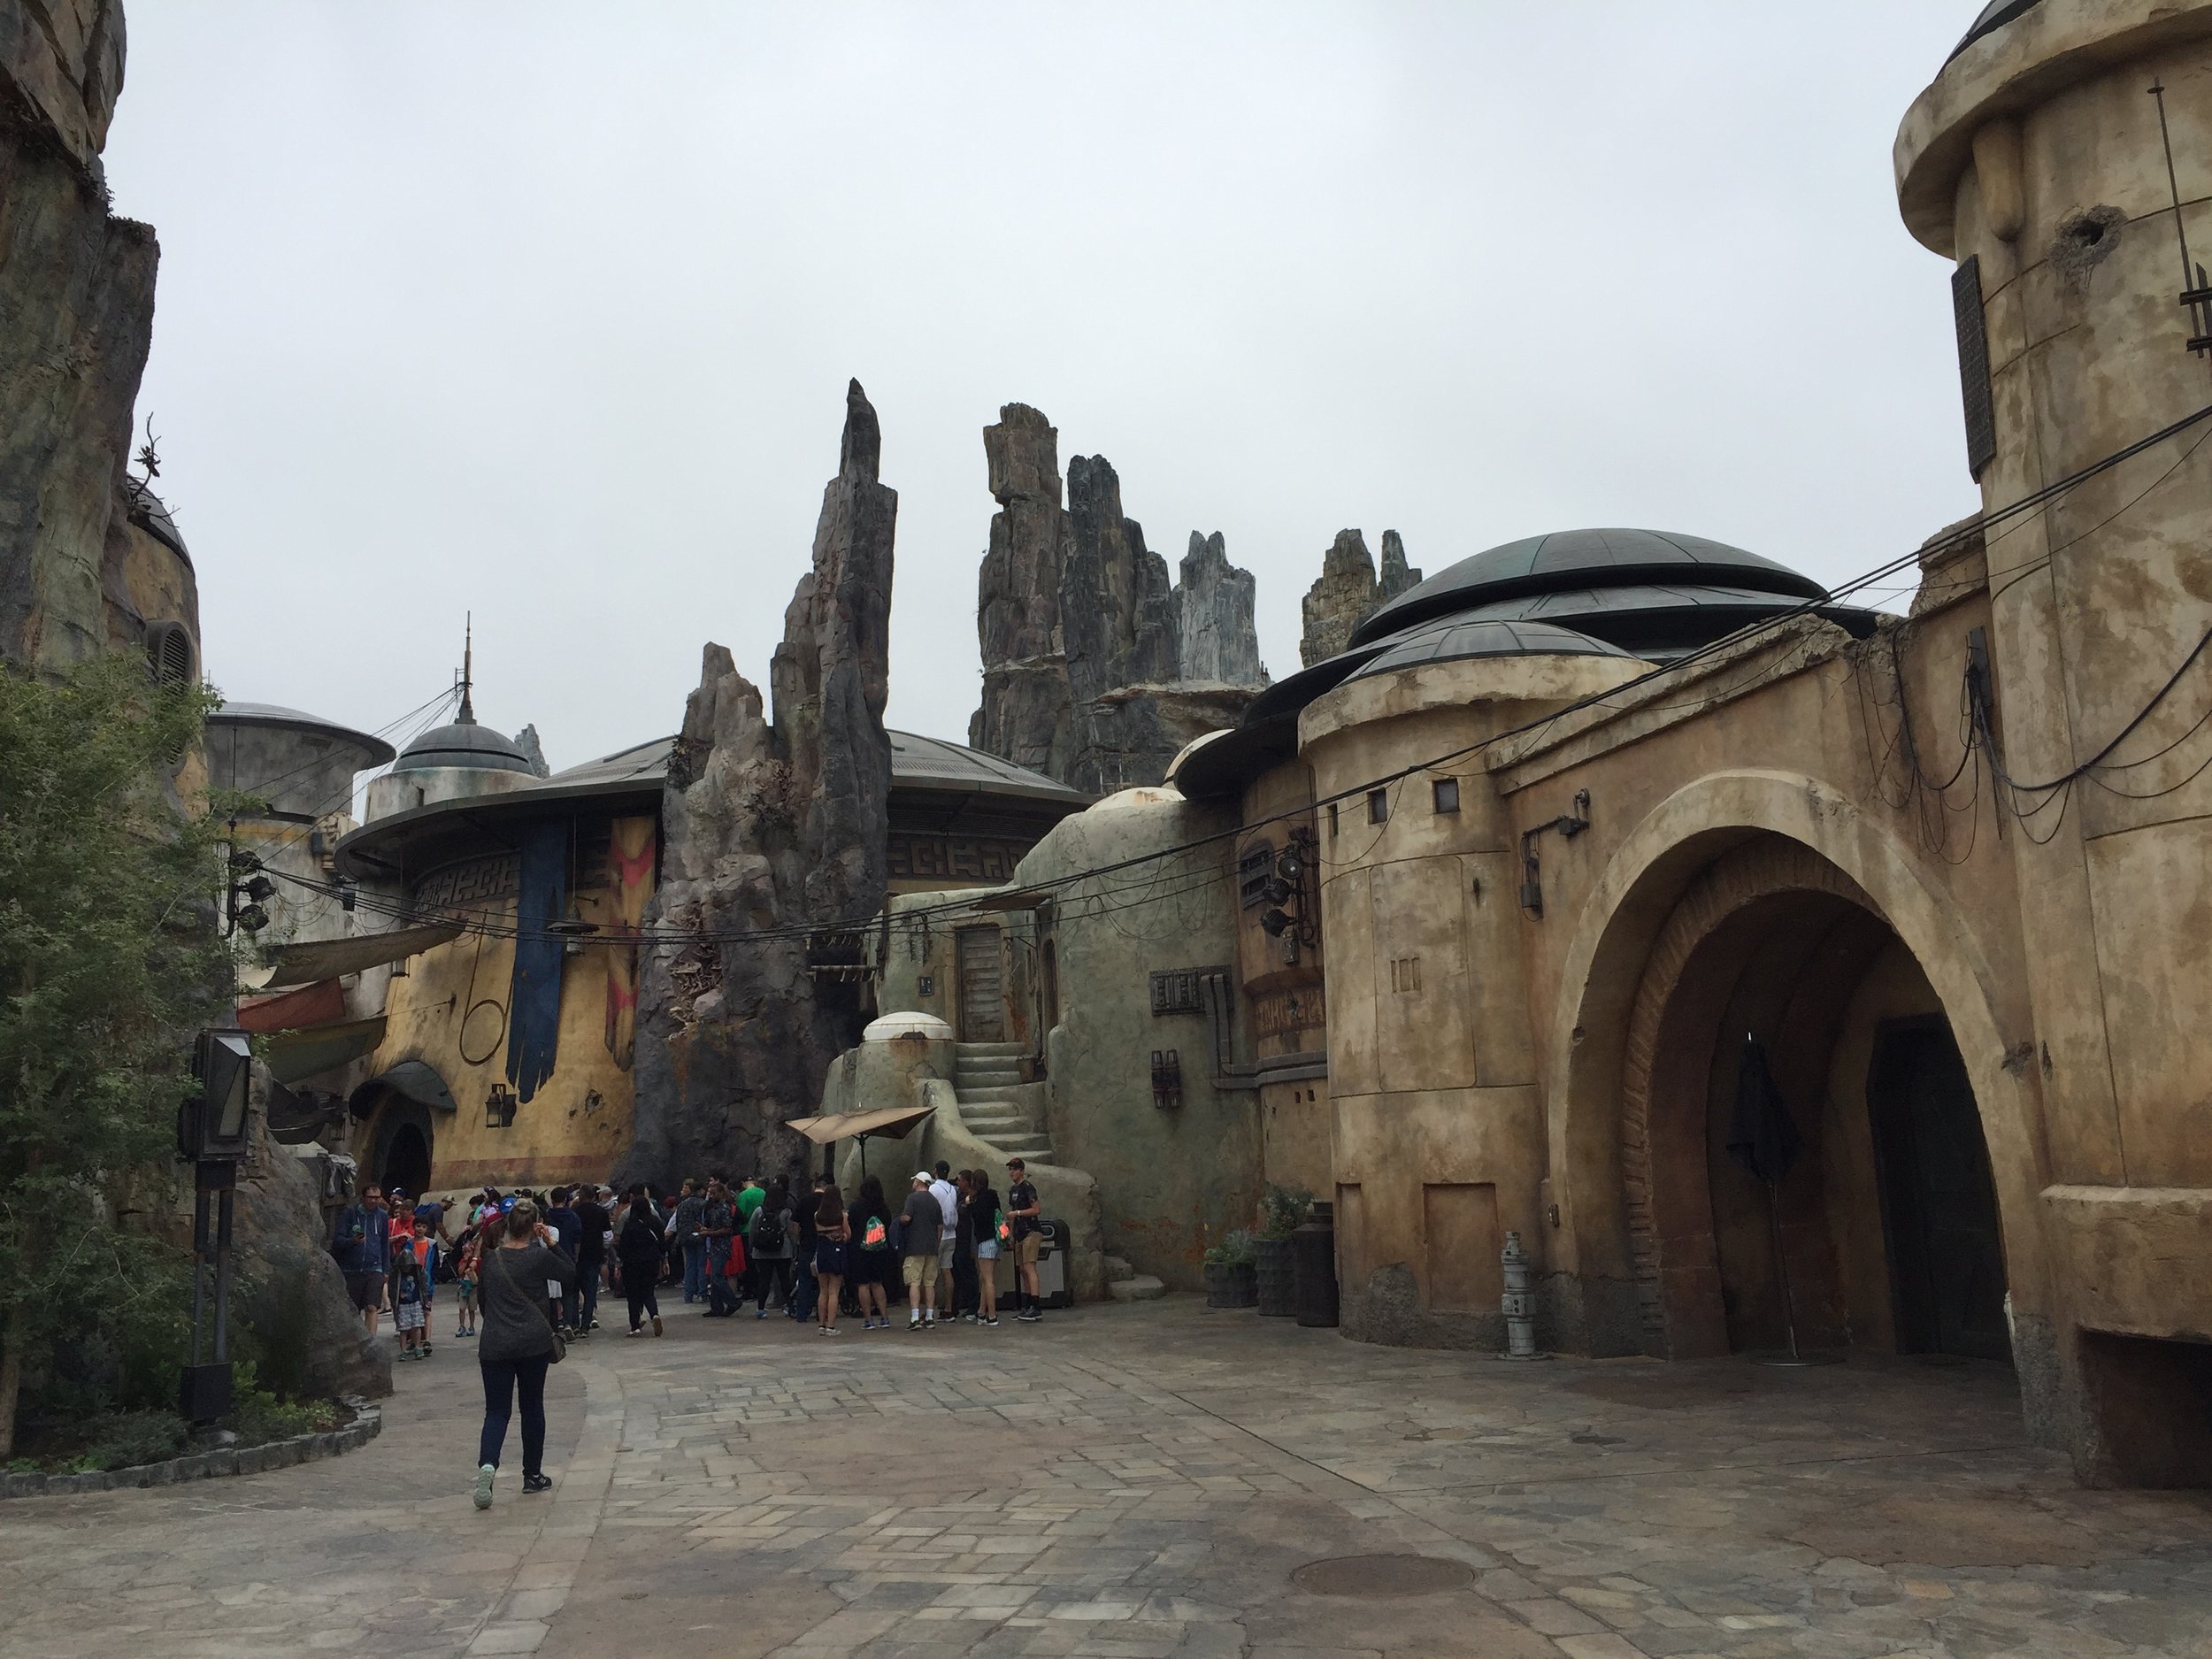
Wednesday morning we exercised a much-desired reservation for a four-hour stay at Disneyland’s new Star Wars’ Galaxy’s Edge theme park. This is the first week the park is open to the public and that is by reservation only. It was a wonderful experience, and belongs on my workbench page because I will use many of the huge number of pictures I took as reference material when doing my Star Wars’ collection in the future… I’ve included a few here. The quality of the work Disney put into making this park capture the feeling of Star Wars makes it easy to understand the park’s development price of one billion dollars.
The second half of the week was largely devoted to finishing my highly modified Skullvane Manse observatory. In addition to a lot of painting, I also found that more Milliput was needed to enhance the detail on the middle section of the observatory and to increase the shrubs on the base of the manse. I’m very happy with the way it came out.
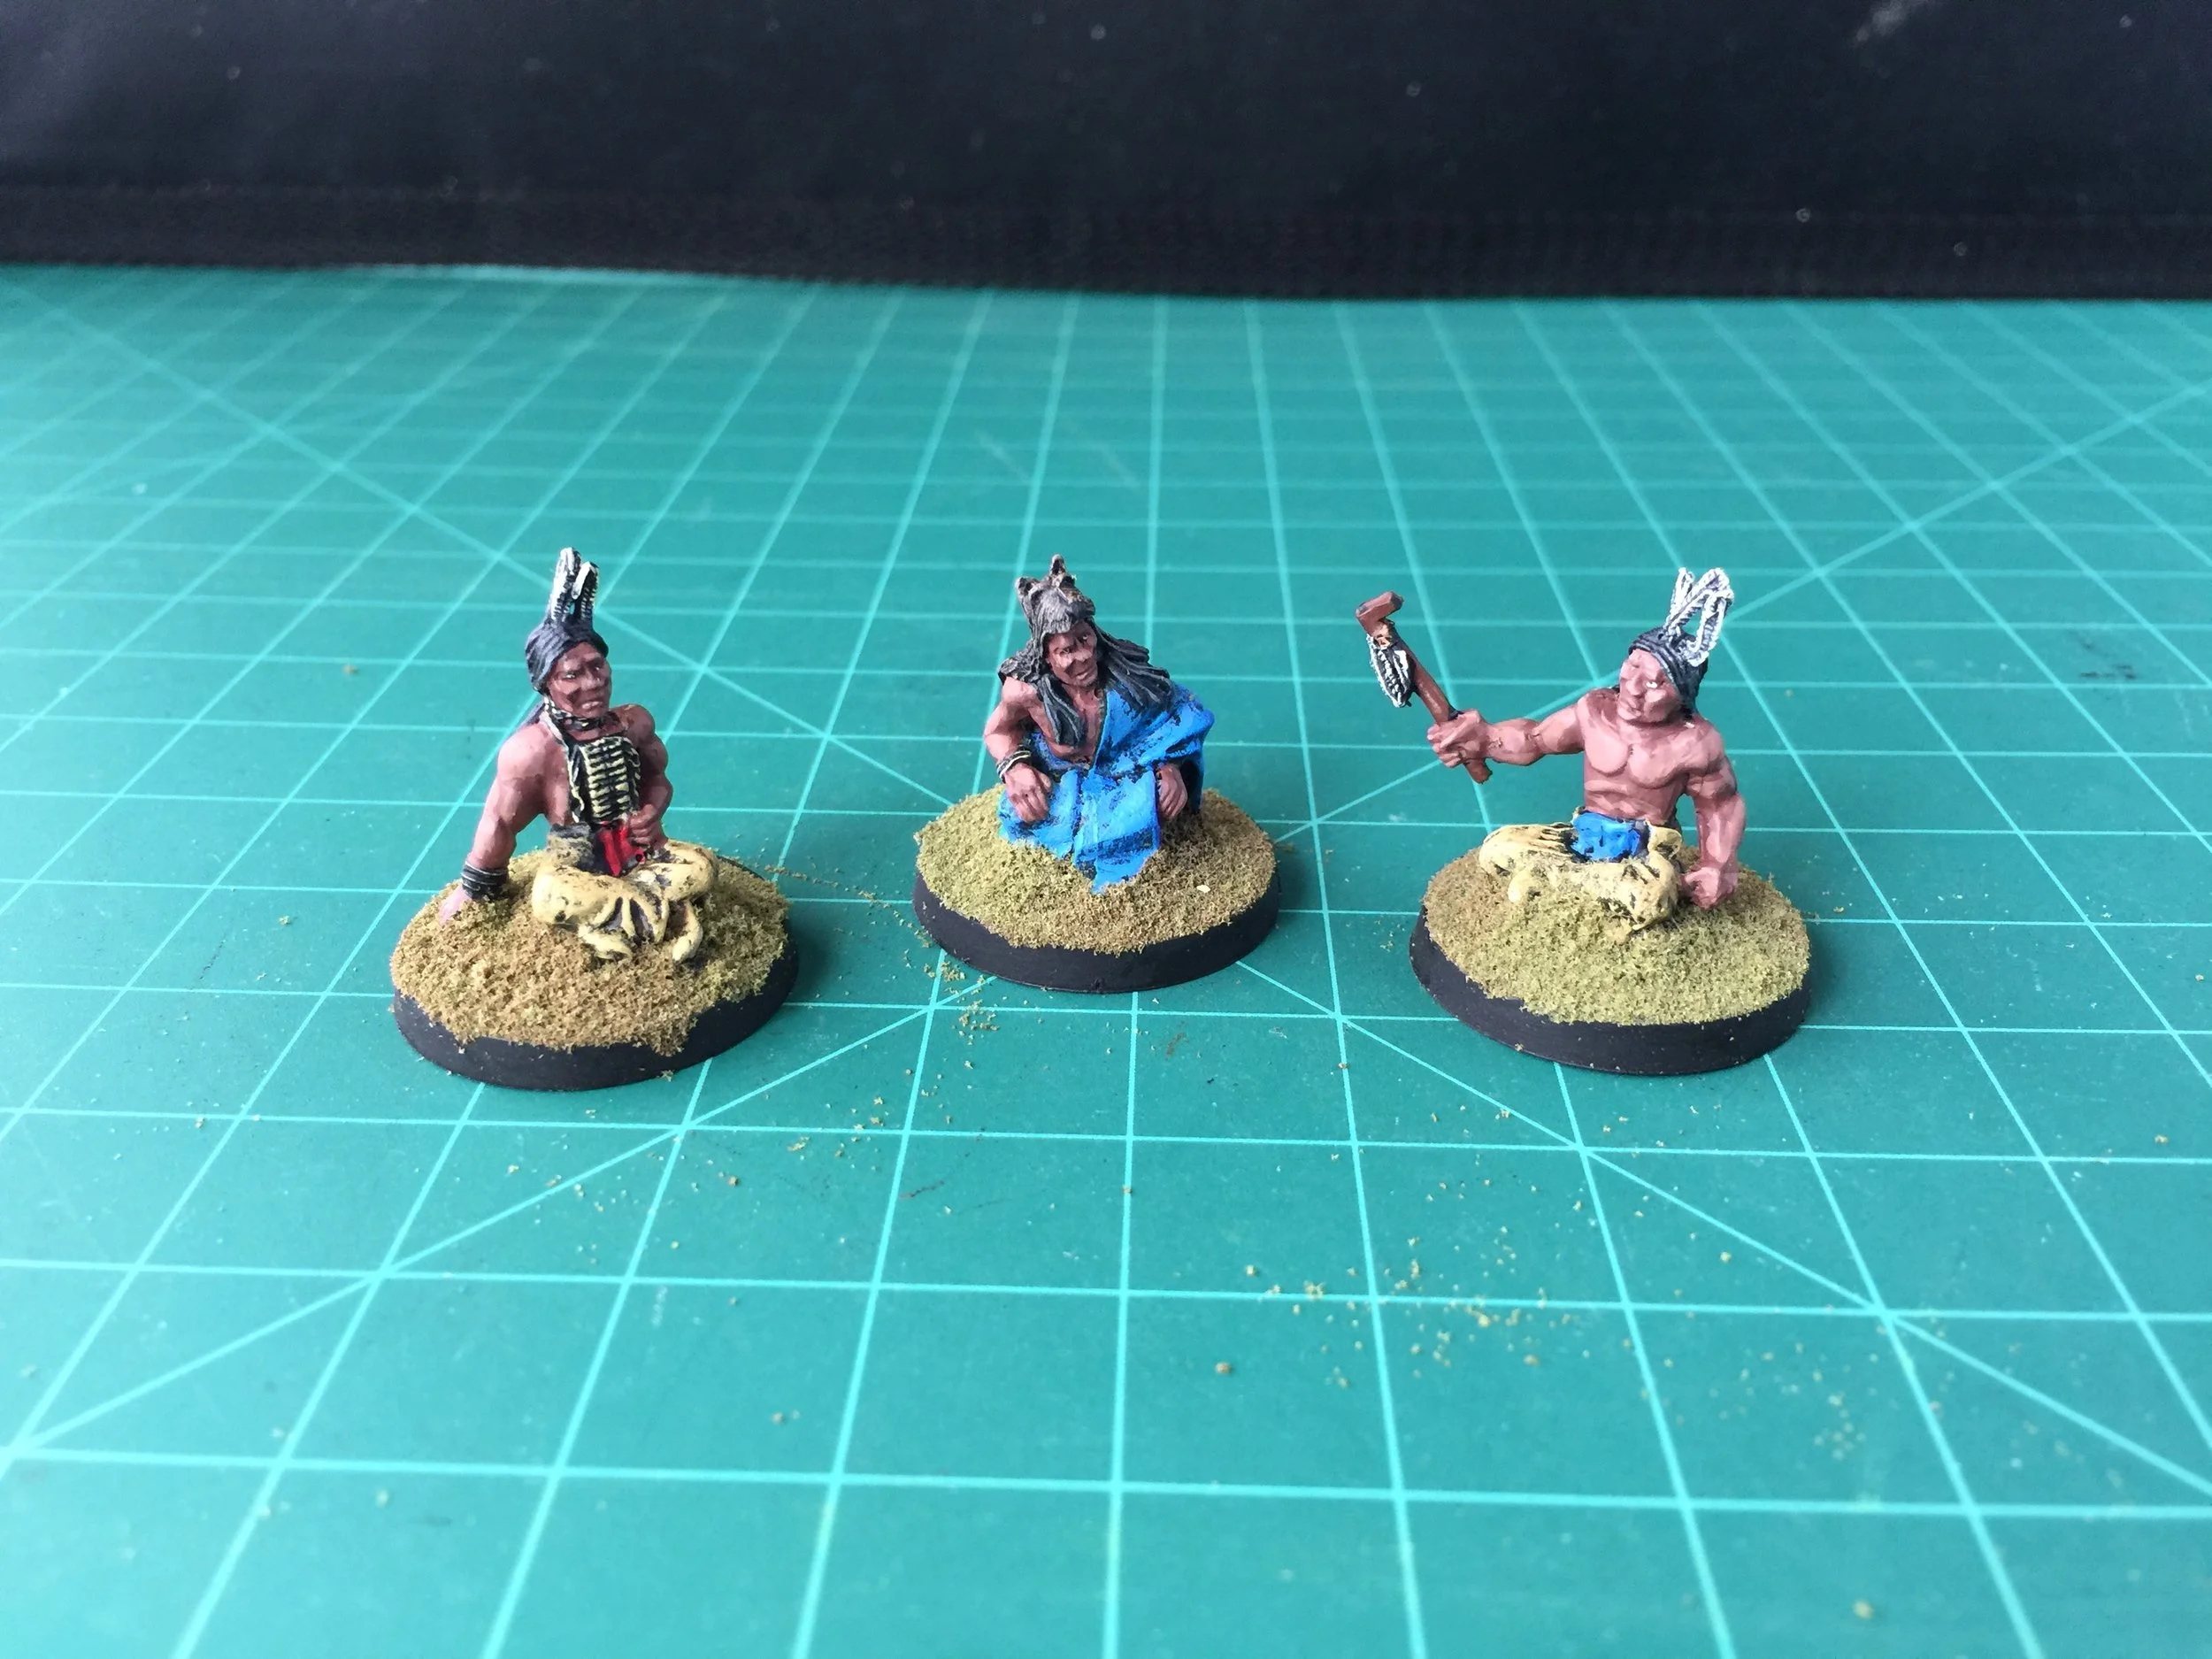
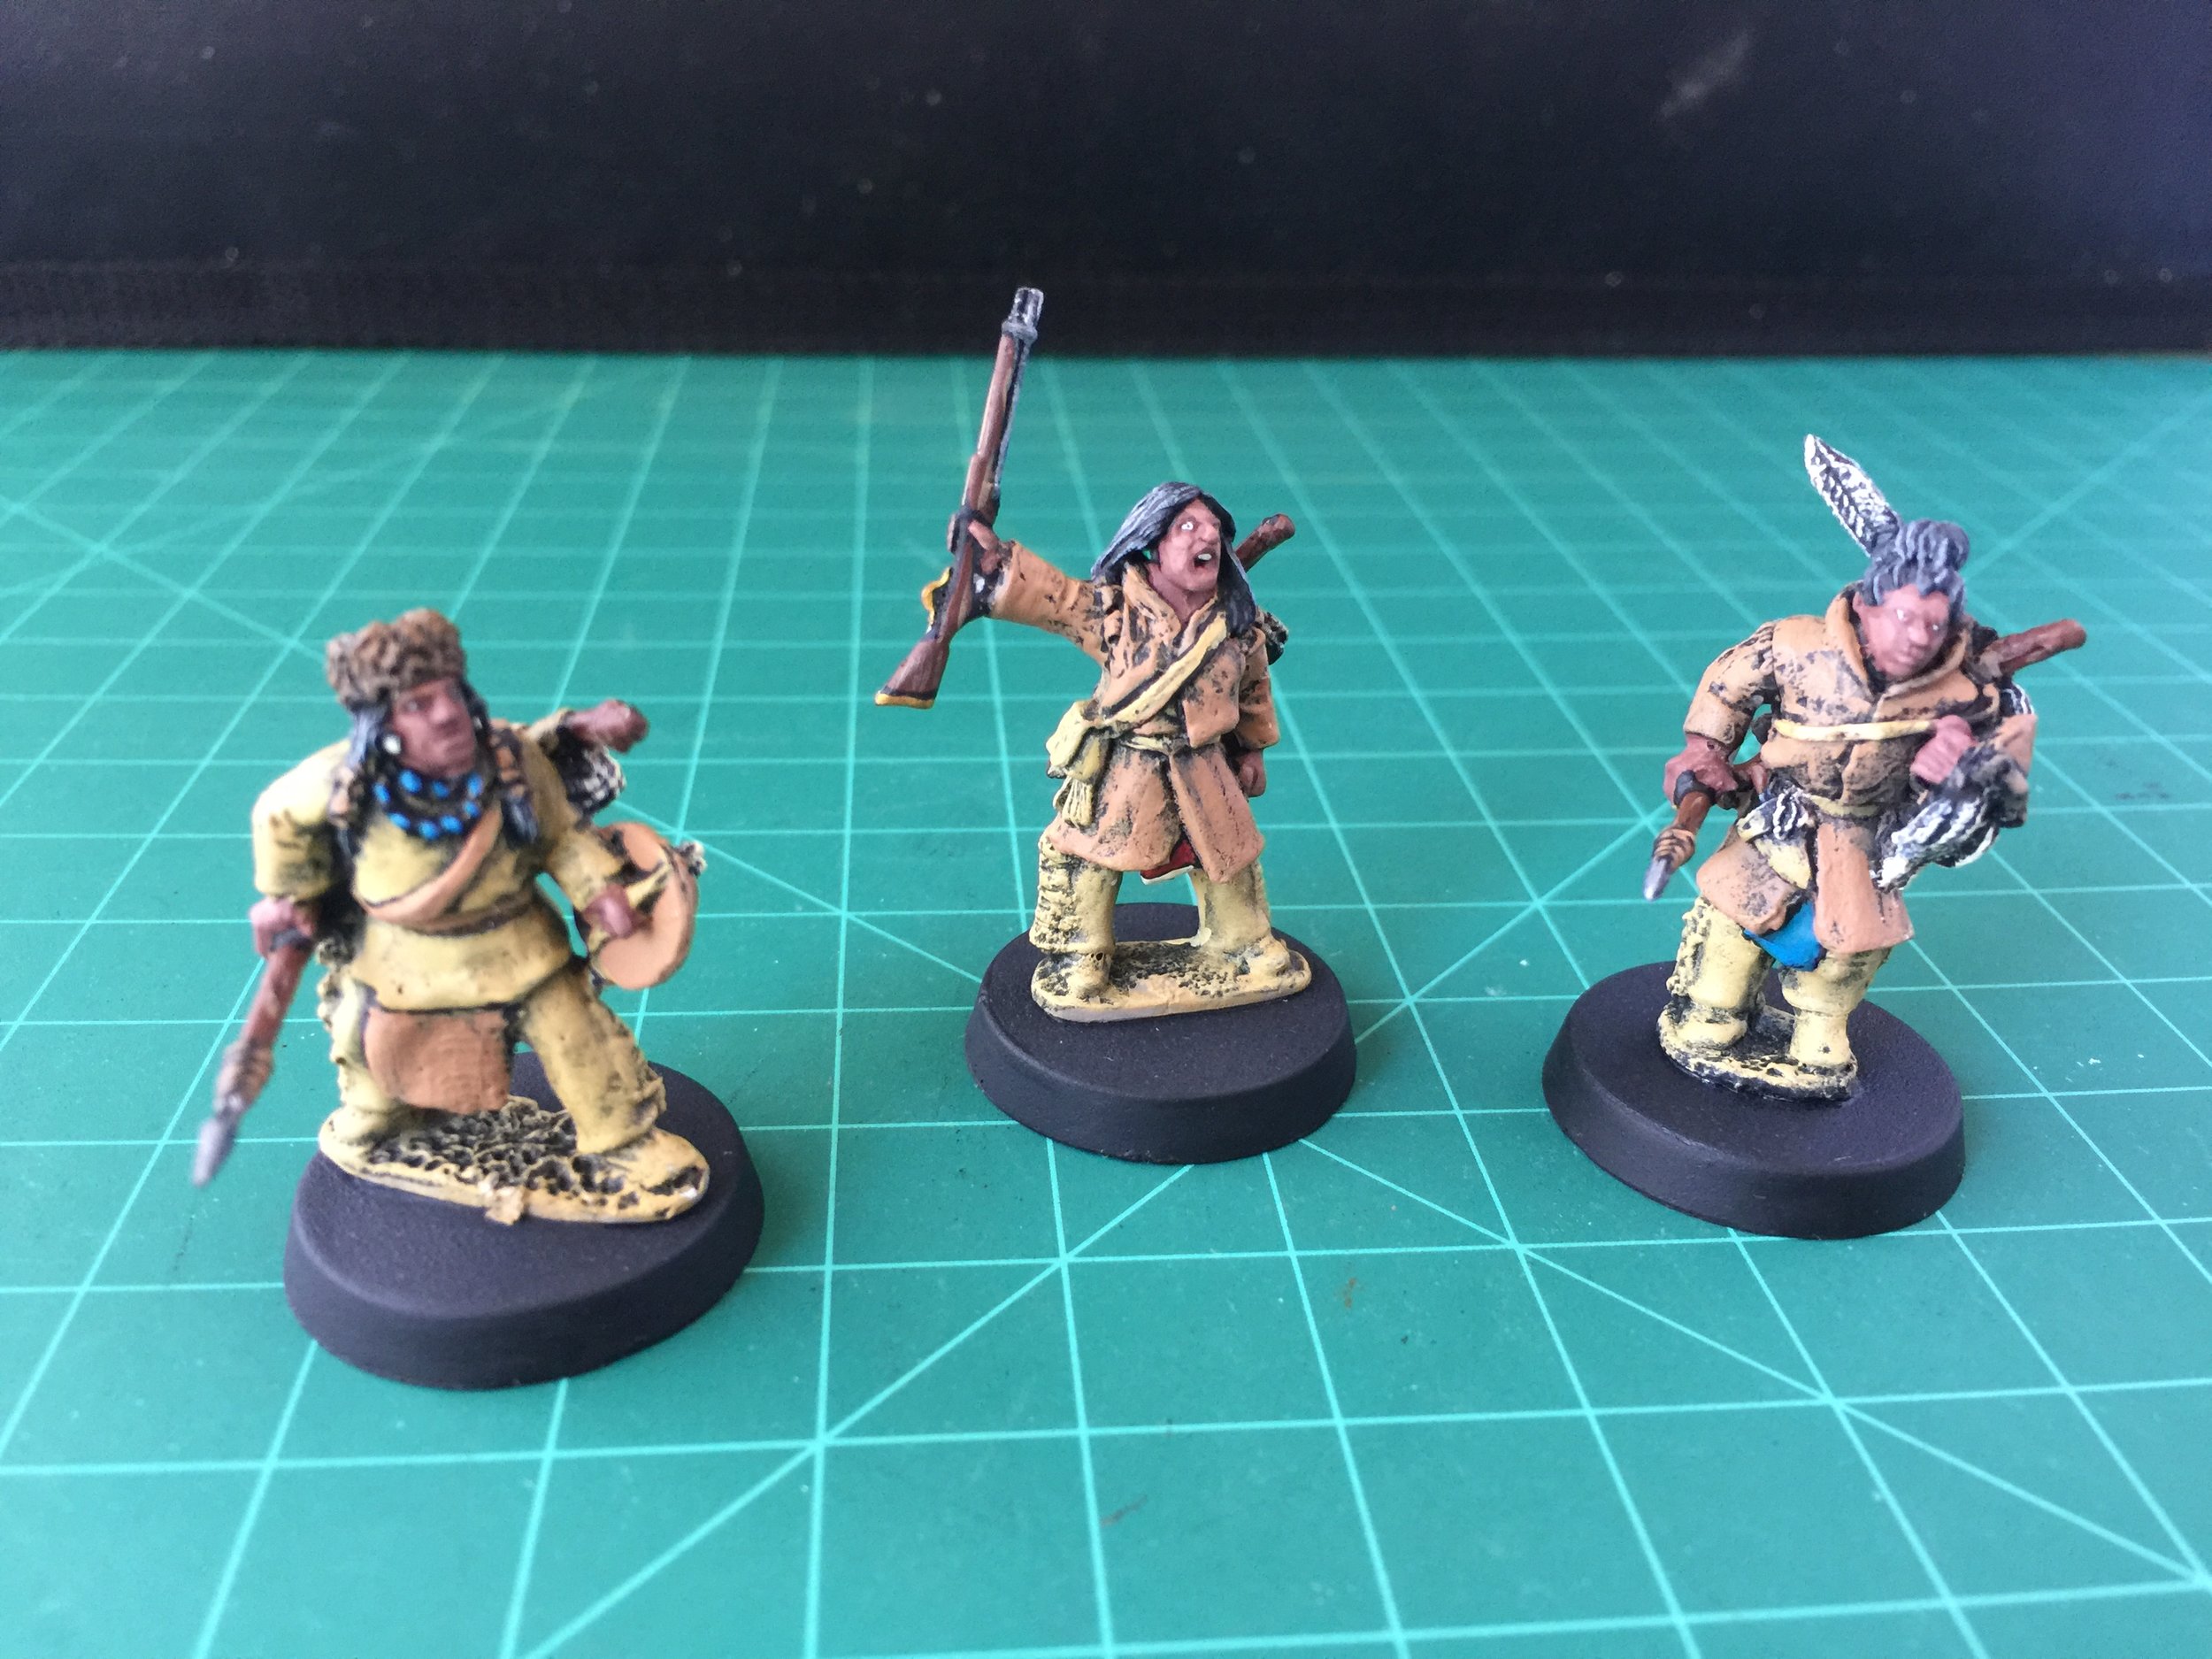
I ended the week with a return to the Mountain Men project, and painted three more Indians. By the end of Saturday I had them painted and mounted on bases, but the bases weren’t detailed with snow and turf.
June 2, 2019
This week is once again focused on the Mountain Men project, and as the week opens that focus continued with work on the Indians. I began by basing the three figures I had finished painting but not had time to complete their base covering. Since I am starting this write up on Monday I don’t know how the week will end, but I am guessing that Indians will be the center of attention from beginning to end. Because I don’t know what the mail will bring, I am also guessing that I will be scratch-building the remaining Indian lances for my Foundry Blackfoot Indians because I doubt that my Foundry package with the missing lances will arrive this week. I also want to make a note about the Indian color scheme that I should have made earlier. I used Vallejo Saddle Brown for the flesh tone with highlights done with a mix of Vallejo Saddle Brown and Red Beige. The fringed leggings are Vallejo German Cam Orange Ochre highlighted with a mix of German Cam Orange Ochre mixed with Beige. The hooded Blackfoot shirt is Vallejo Brown Sand. The Indian hair color is Vallejo Black under Vallejo Black Grey highlighted by a mix of Vallejo London Grey plus Light Grey. Since this is the first group of 28mm American Indians I’ve done I want to have that color scheme recorded in case it is needed in the future.
My good fortune at being featured in the April 2019 issue of Wargames Illustrated is that I purchased several copies of that issue… no surprise there. But accompanying the magazine there was a sprue section with several plastic Zulus. The Zulus in each of those sprues had a long spear and a rifled musket. By mid-week I decided to use those weapons in the hands of the Foundry Indians missing their lances.
As the week came to an end I found myself drawn to taking a small break from my work on the mountain men project and spending a little time working on a new version of the Skullvane Manse. The last time I began a manse project, several years passed from the time I did my first work (the hiding and removal of skulls) until the time I finished. This second version is my approach to the Skullvane Manse as an observatory. Once again skull removal was my first task. On the non-housing portion of the piece GW provided two options: an observatory and a rampart. In both of those there are three stacked sections that stand above the large base. When I did my pirate refuge, I cut the middle section that is embossed by six huge skulls away from the lower section and used that lower section as the base for my gun platform. This time I am keeping the lower and middle section and adding to it the upper observatory section. So on Saturday evening I began my sawing off the six large skulls from the middle section… removed three of the large skulls thus far. Having finished that I then covered the three areas where skulls had been removed with Milliput that I scored as stone bricks. That middle section also includes two unnecessary doors that I will cover with Milliput stone as well. My plan is to cover the three remaining areas where large skulls have been removed and the second unnecessary door in the same fashion. I’ll probably do that as the new week opens. From that point on I’ll play further progress on the manse observatory by ear. I have no intention of straying far from my mountain man project for long, but these little breaks are refreshing when working on larger projects that are carried out over many months.
