March 31, 2019
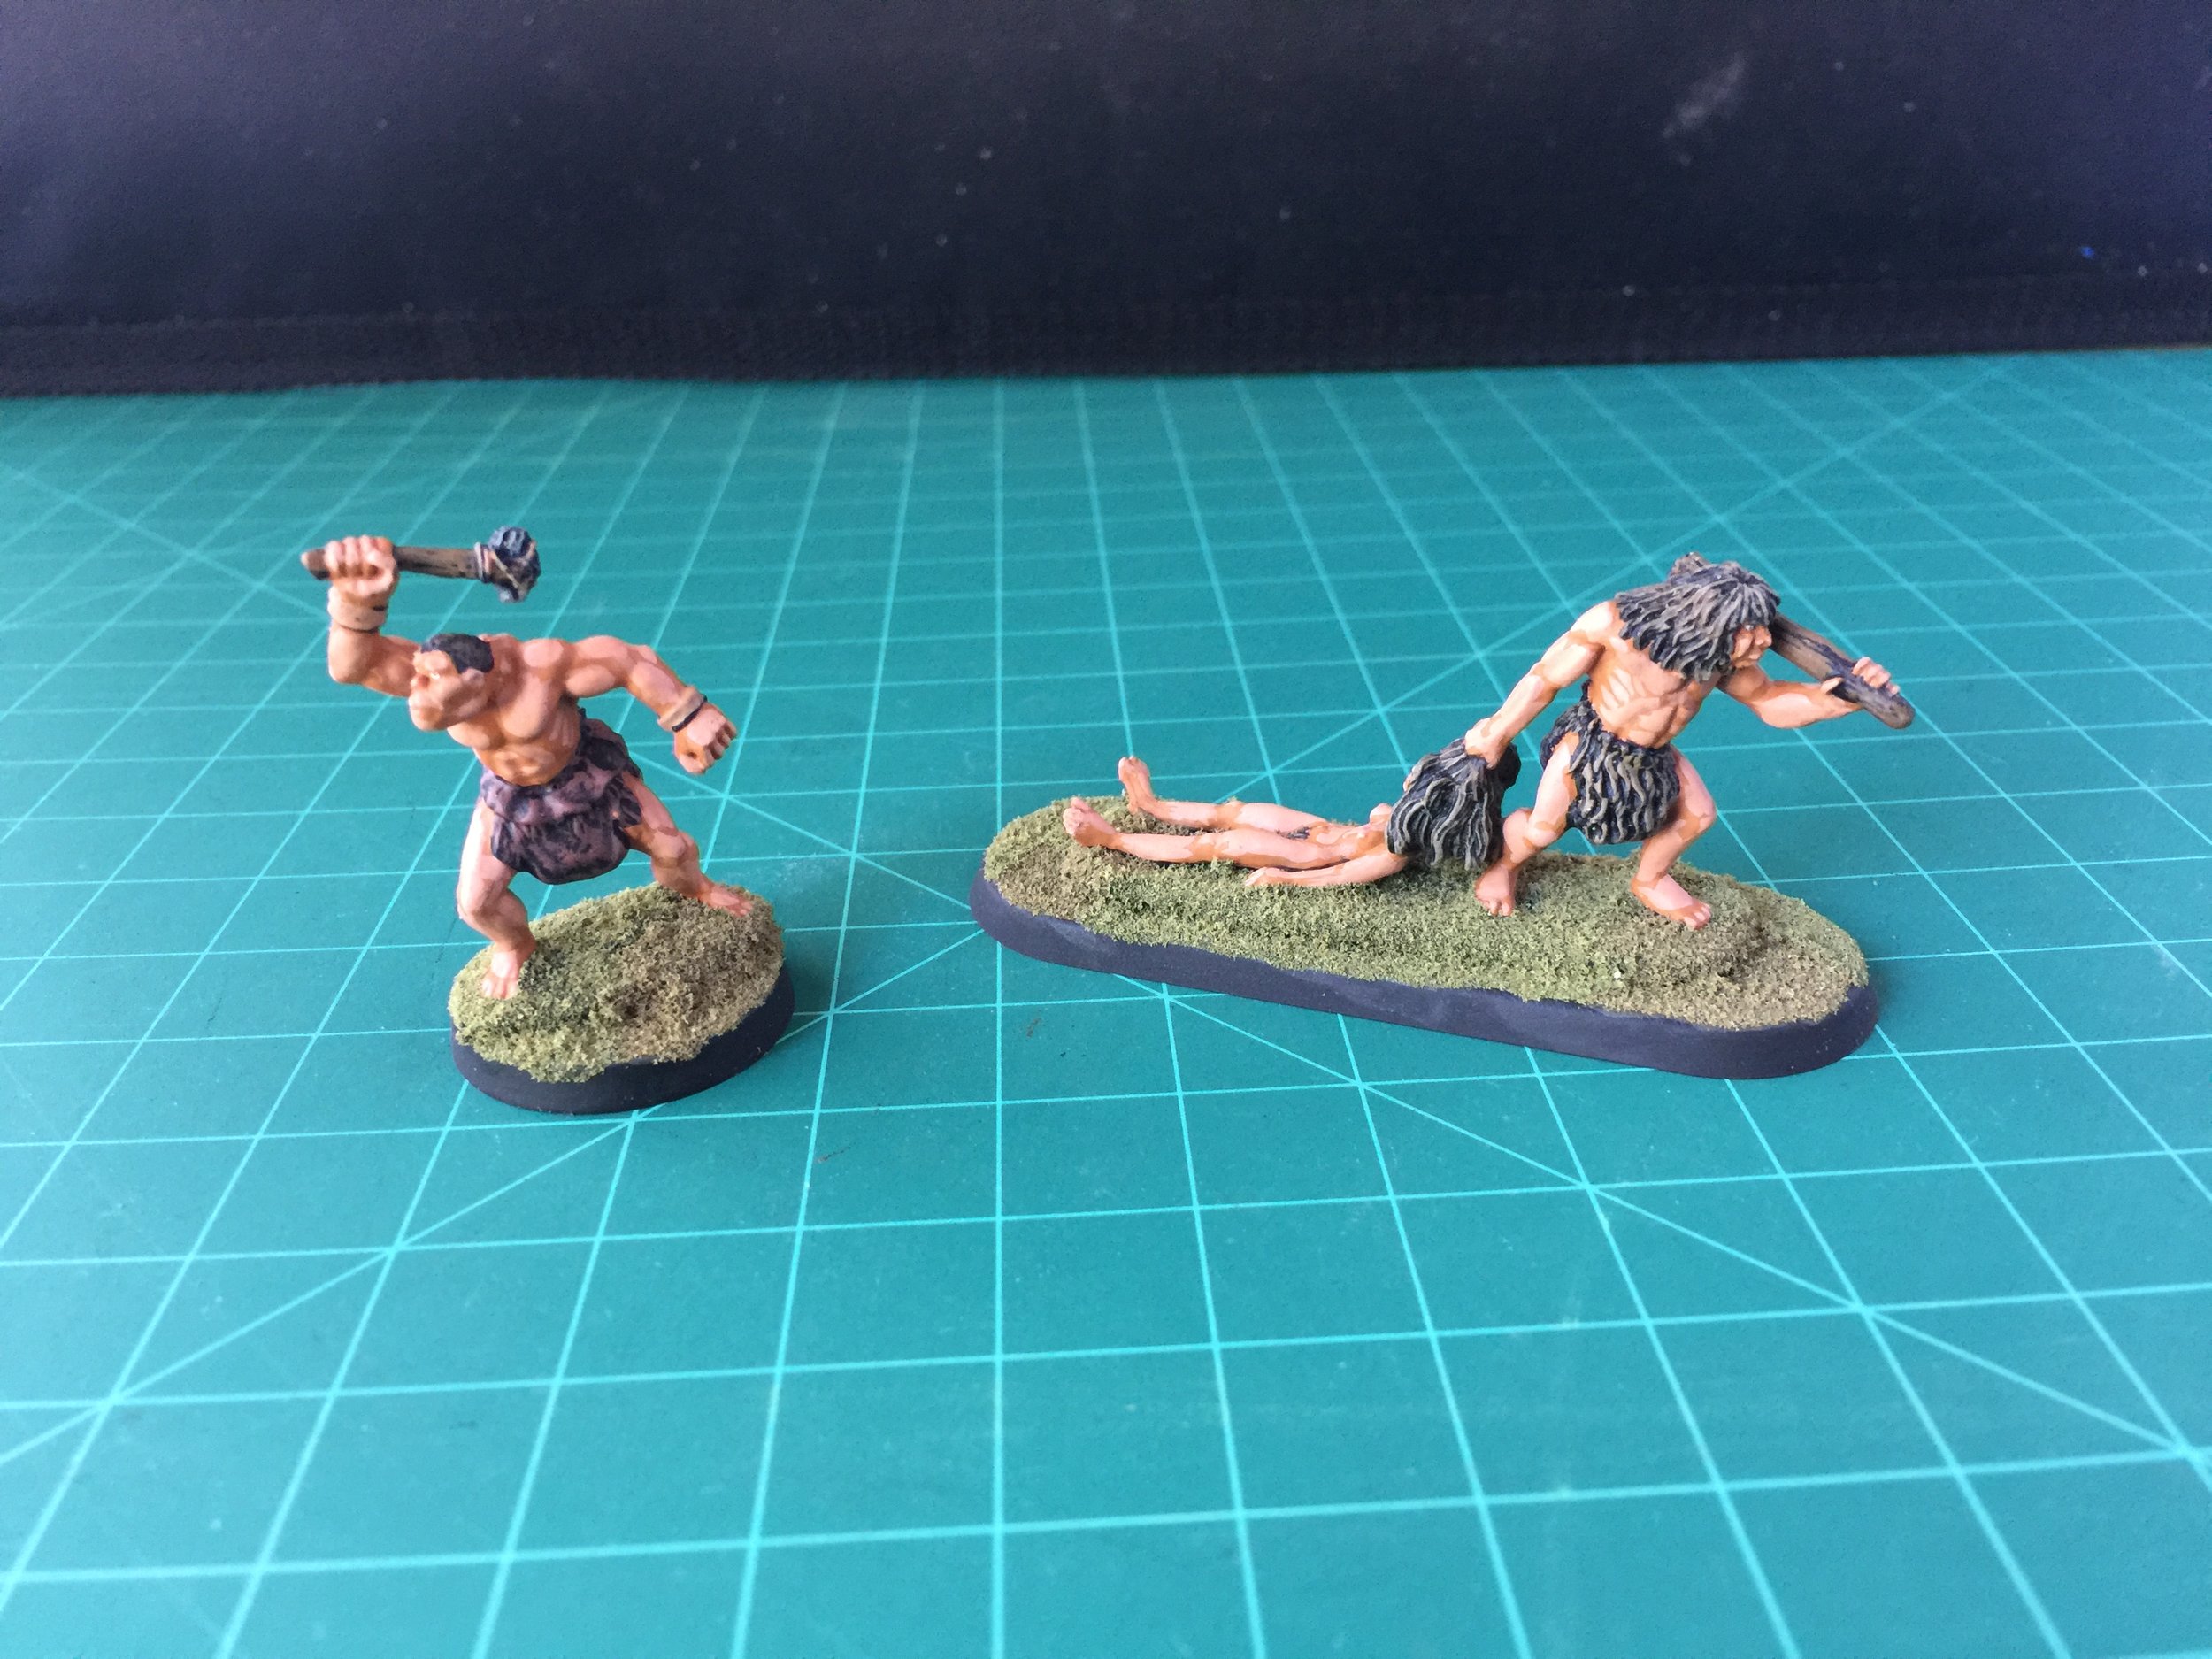
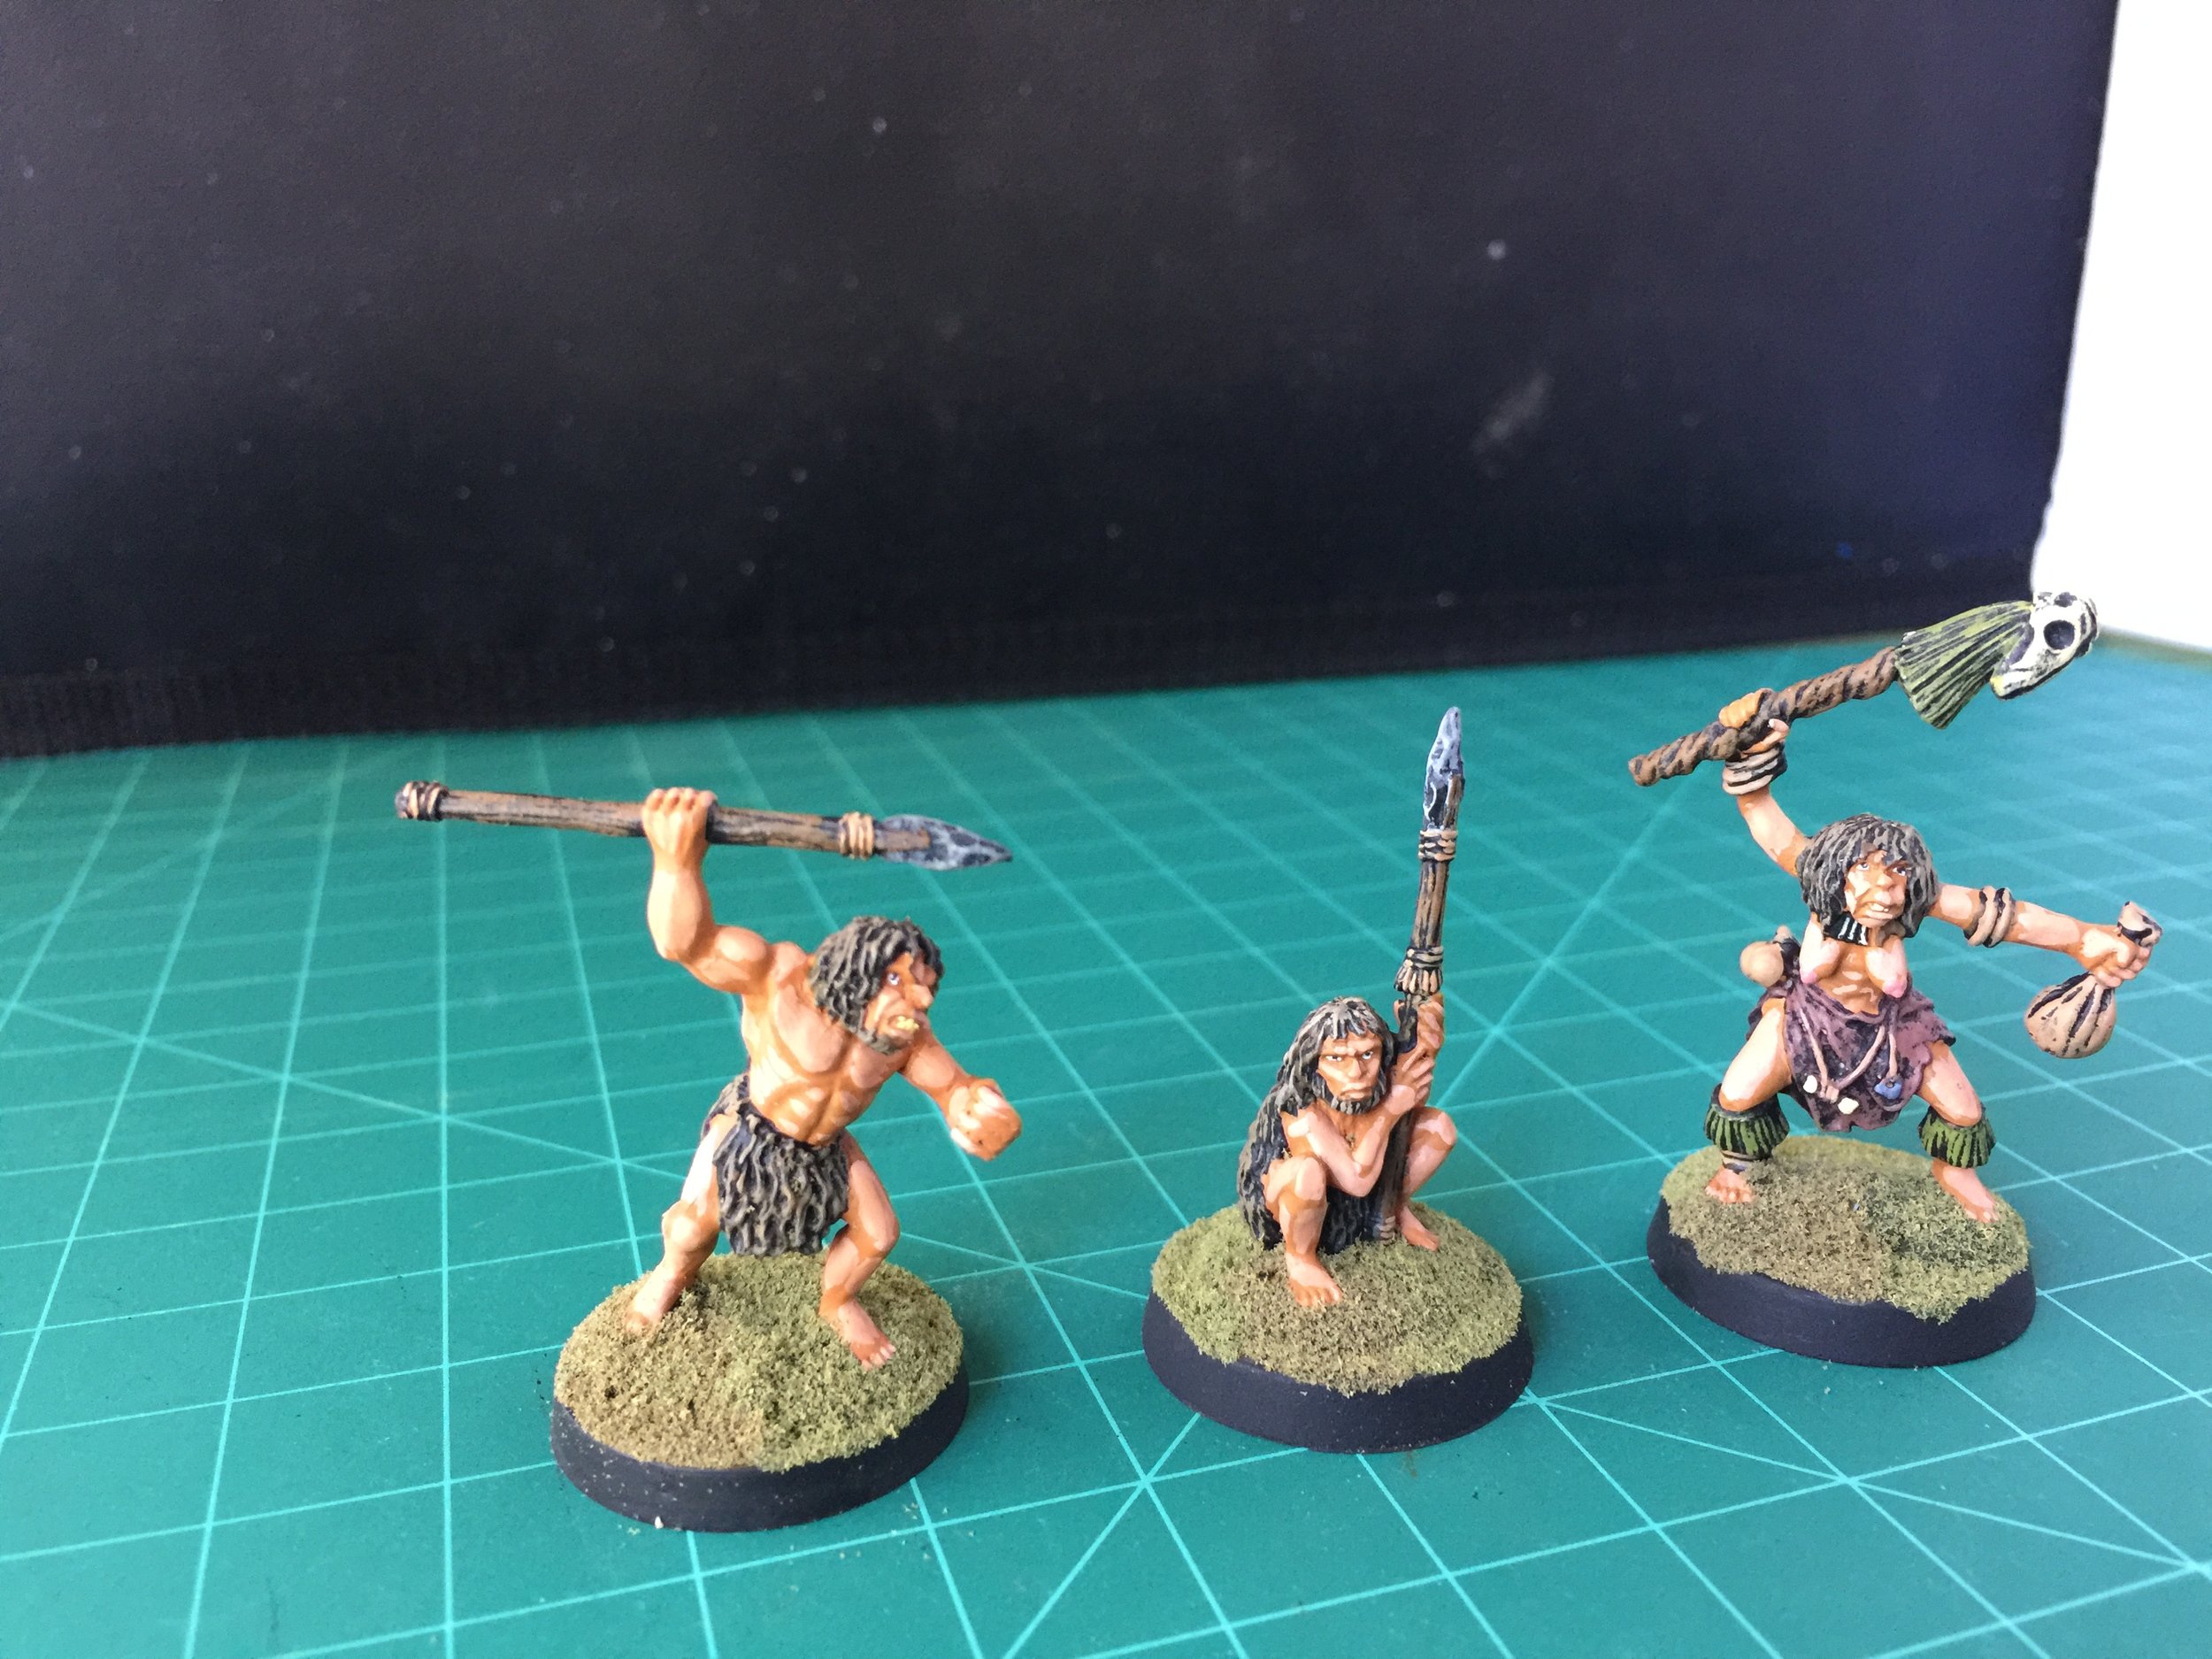
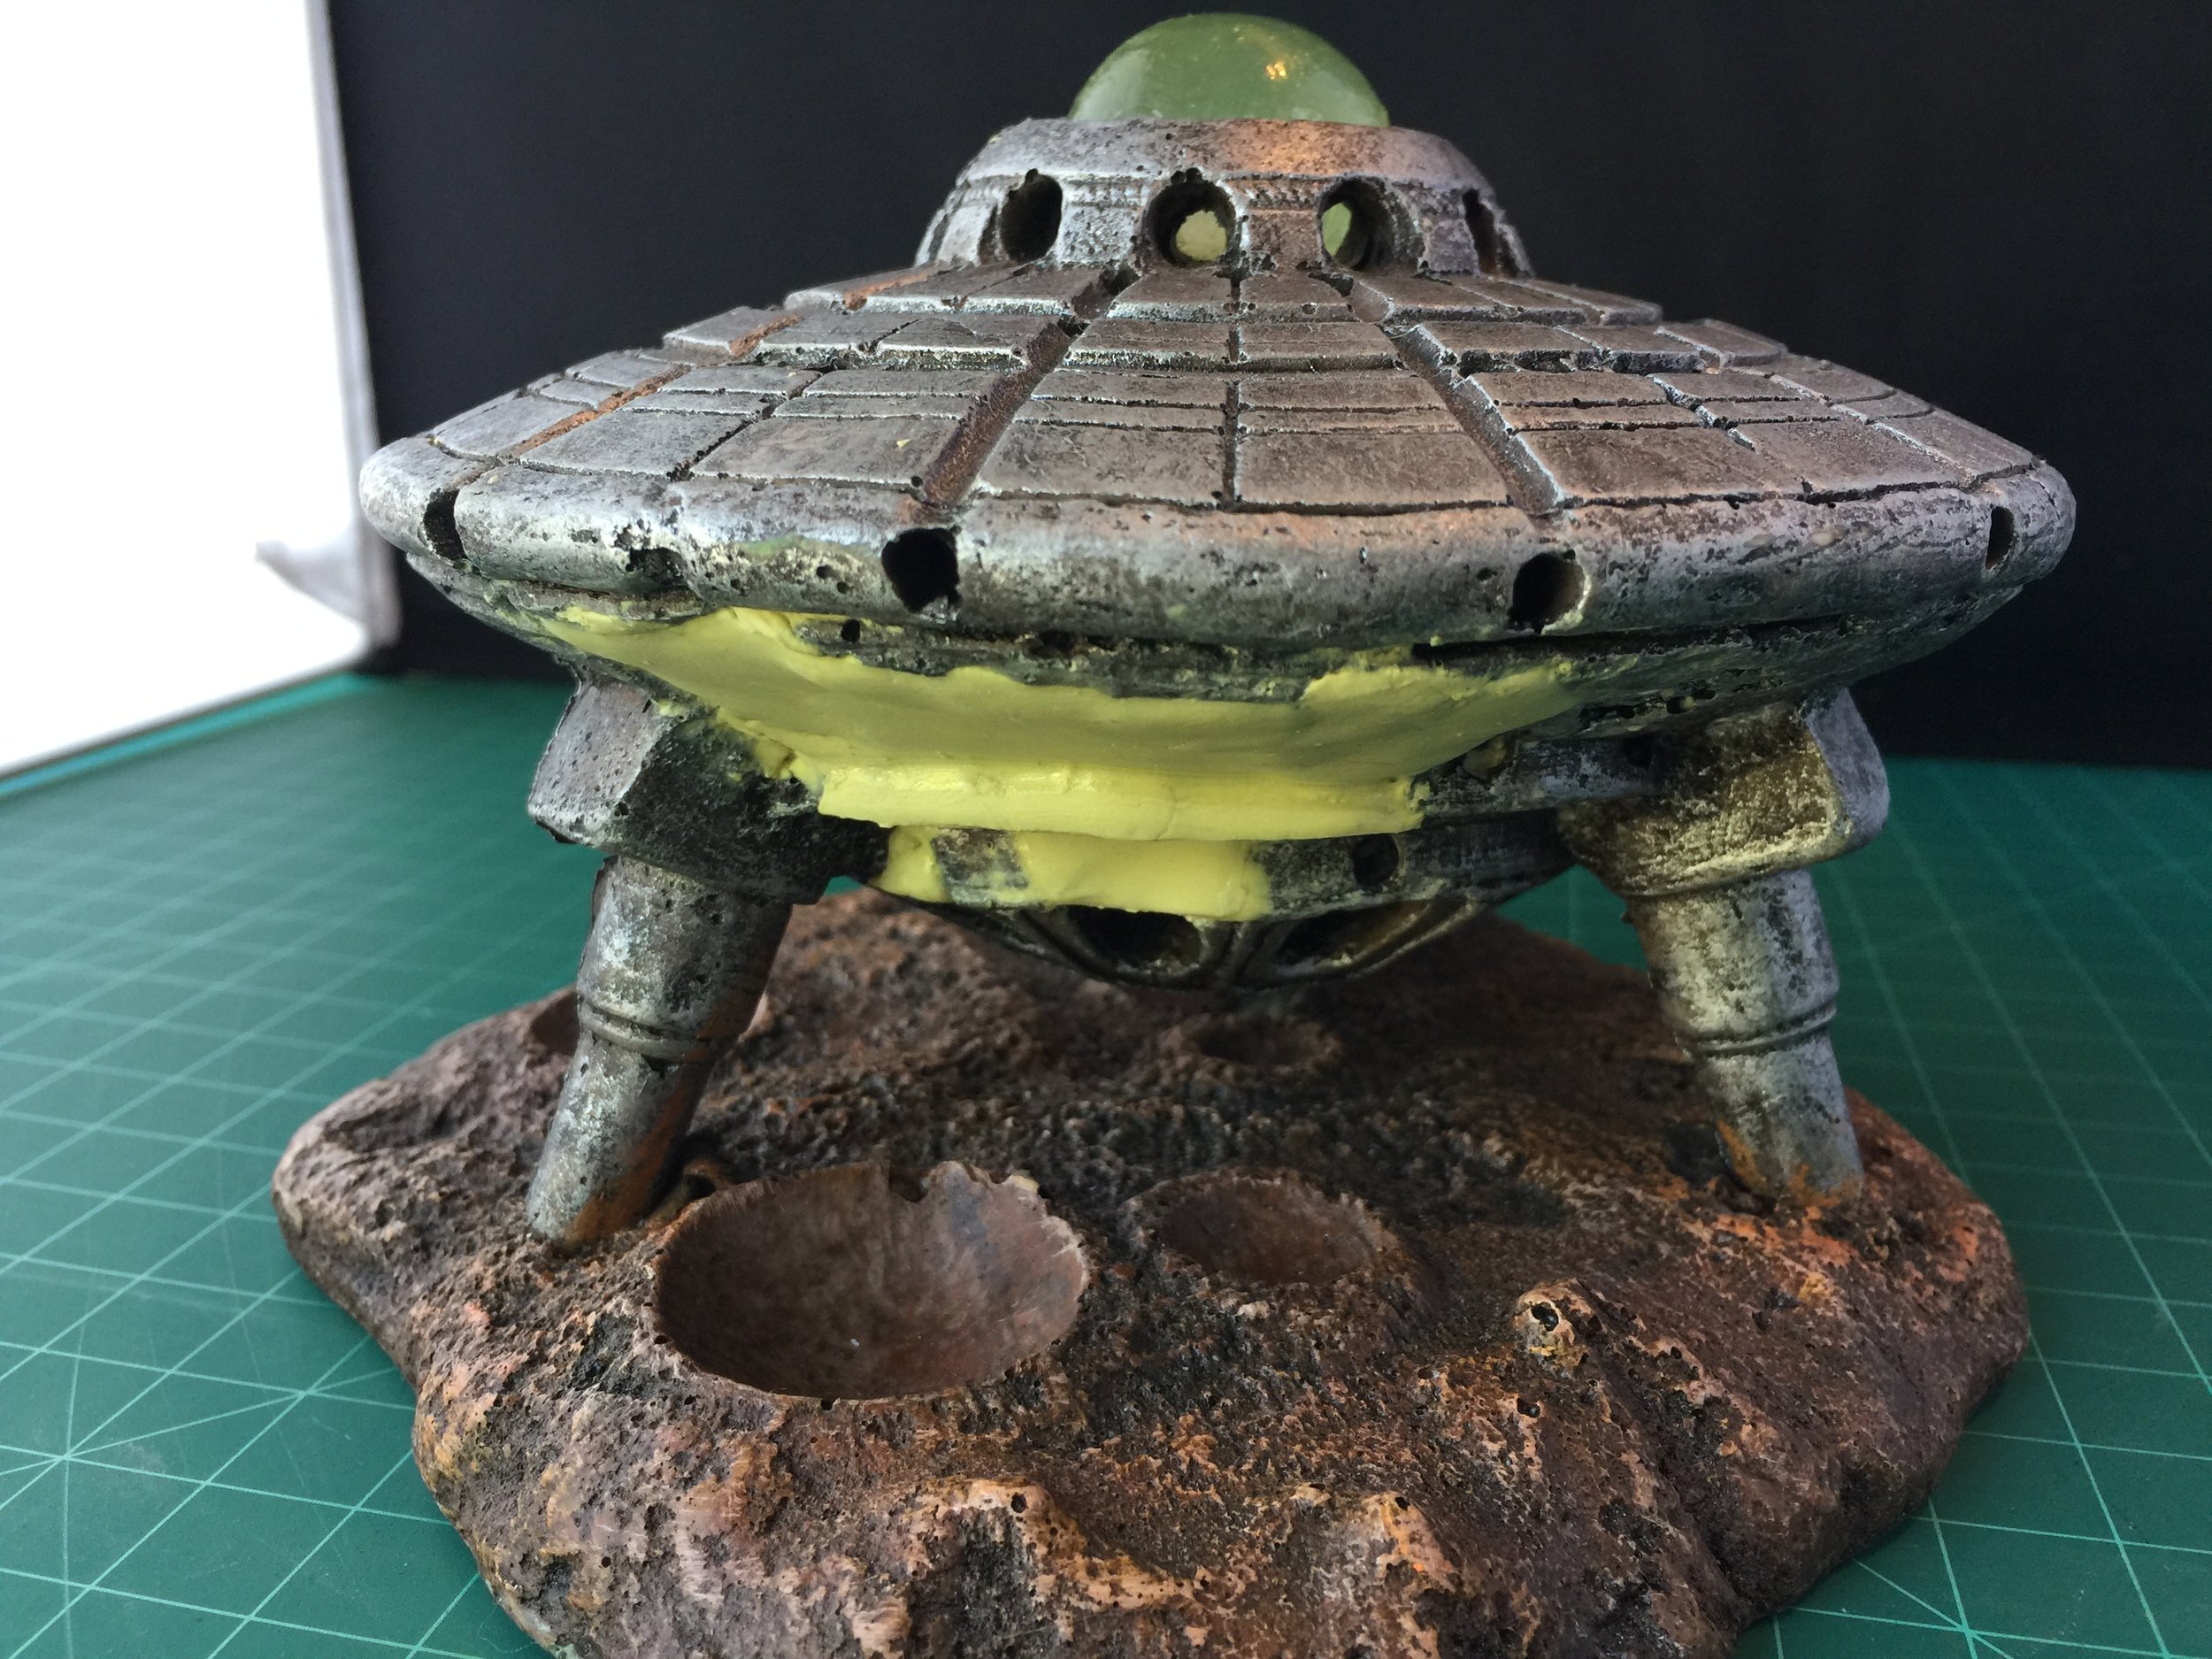
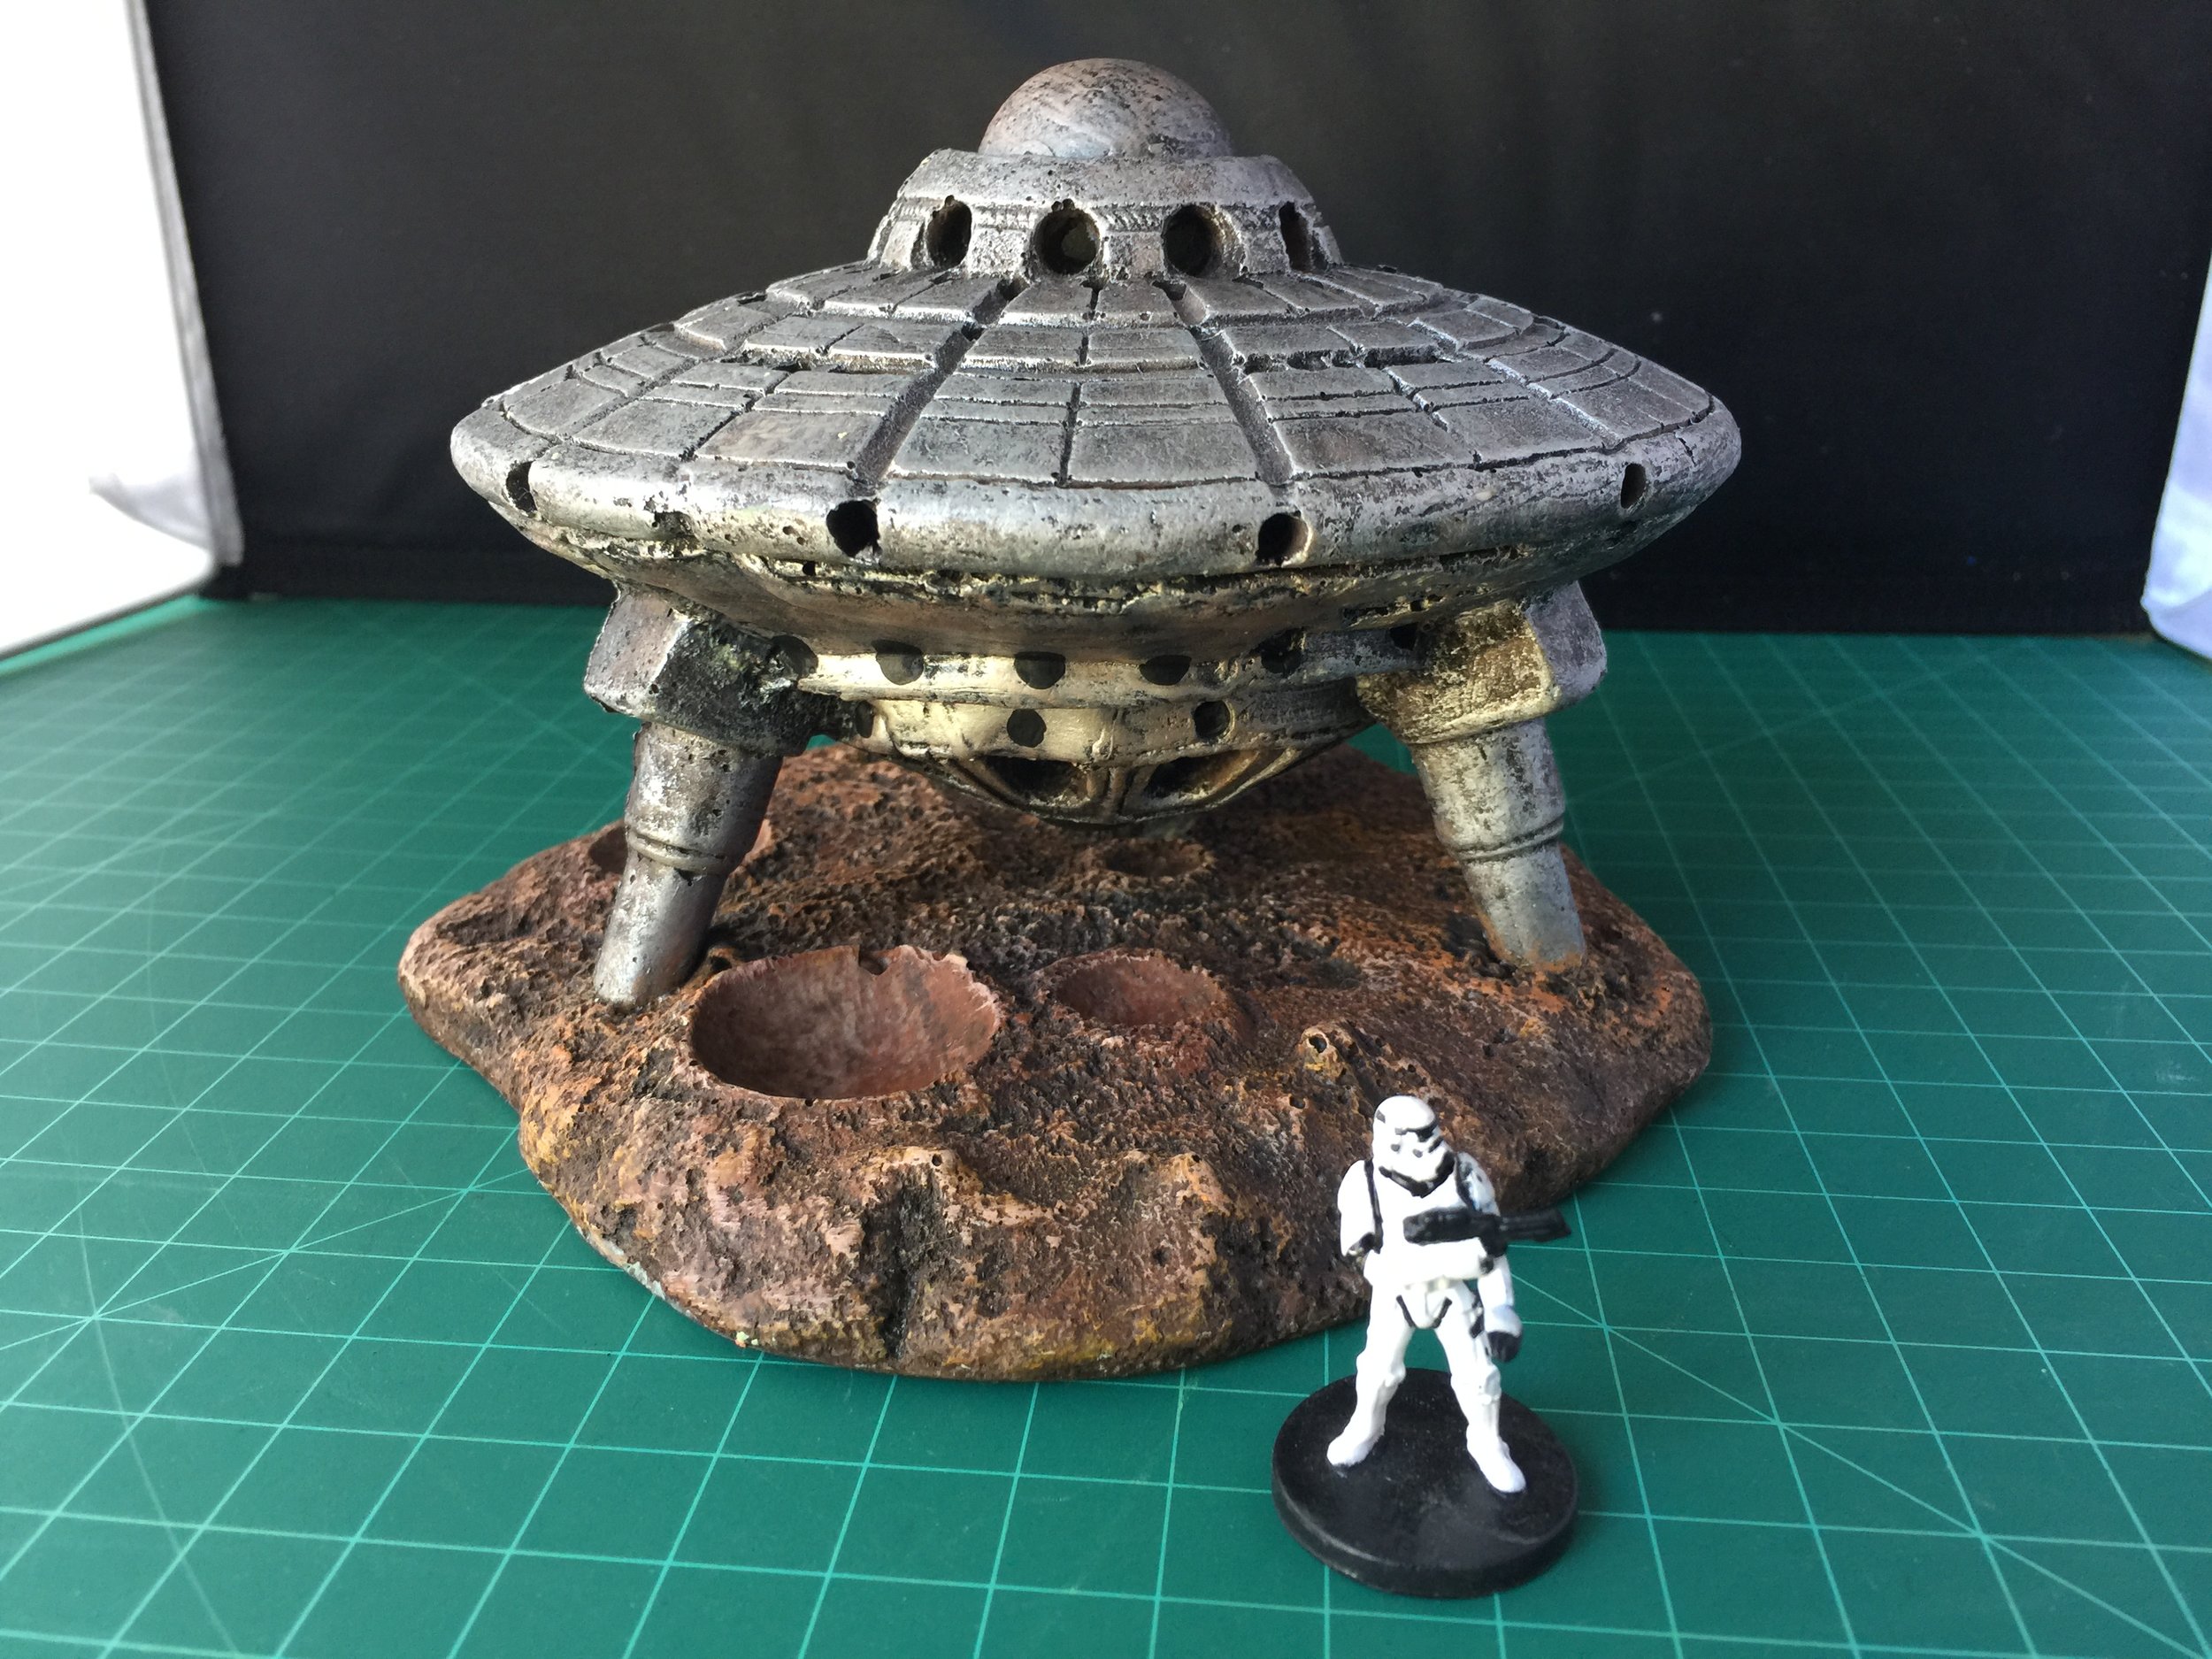
It’s been a busy week away from the workbench so not as much accomplished as I would have liked, but some good progress nonetheless. I began the week with more of my Dr. Who project figures. This week I focused on the cavemen and women. The first six completed are by Reaper (Caveman Pack/02395 and Caveman & Girlfriend/02387). On Tuesday I stopped by Michael’s Arts and Crafts to pick up some dry brushing brushes (hot deal: 20 brushes of various sizes at 50% off the normal price of $9.99). Upon leaving Michael’s I decided to take a quick look at the fish tank décor at the PetSmart next door. That turned out to be a lucky decision because I found what I hoped would be the perfect spacecraft for my Daleks. It’s by Top Fin and is called the Glowing UFO. It’s a little undersized, but not bad and like most fish tank décor it had a big hole on one side so the fish can swim through, but otherwise a beautiful piece. What I had to do was use the standard/yellow grey Milliput to close the hole and then once the hole was closed and a hard Milliput surface was present, I could then use Milliput to shape the new surface so it matches reasonably well the rest of the ship. It was a slow process done over days. When the repairs were completed I gave the new section of the spacecraft a fresh coat of paint. Looks good.
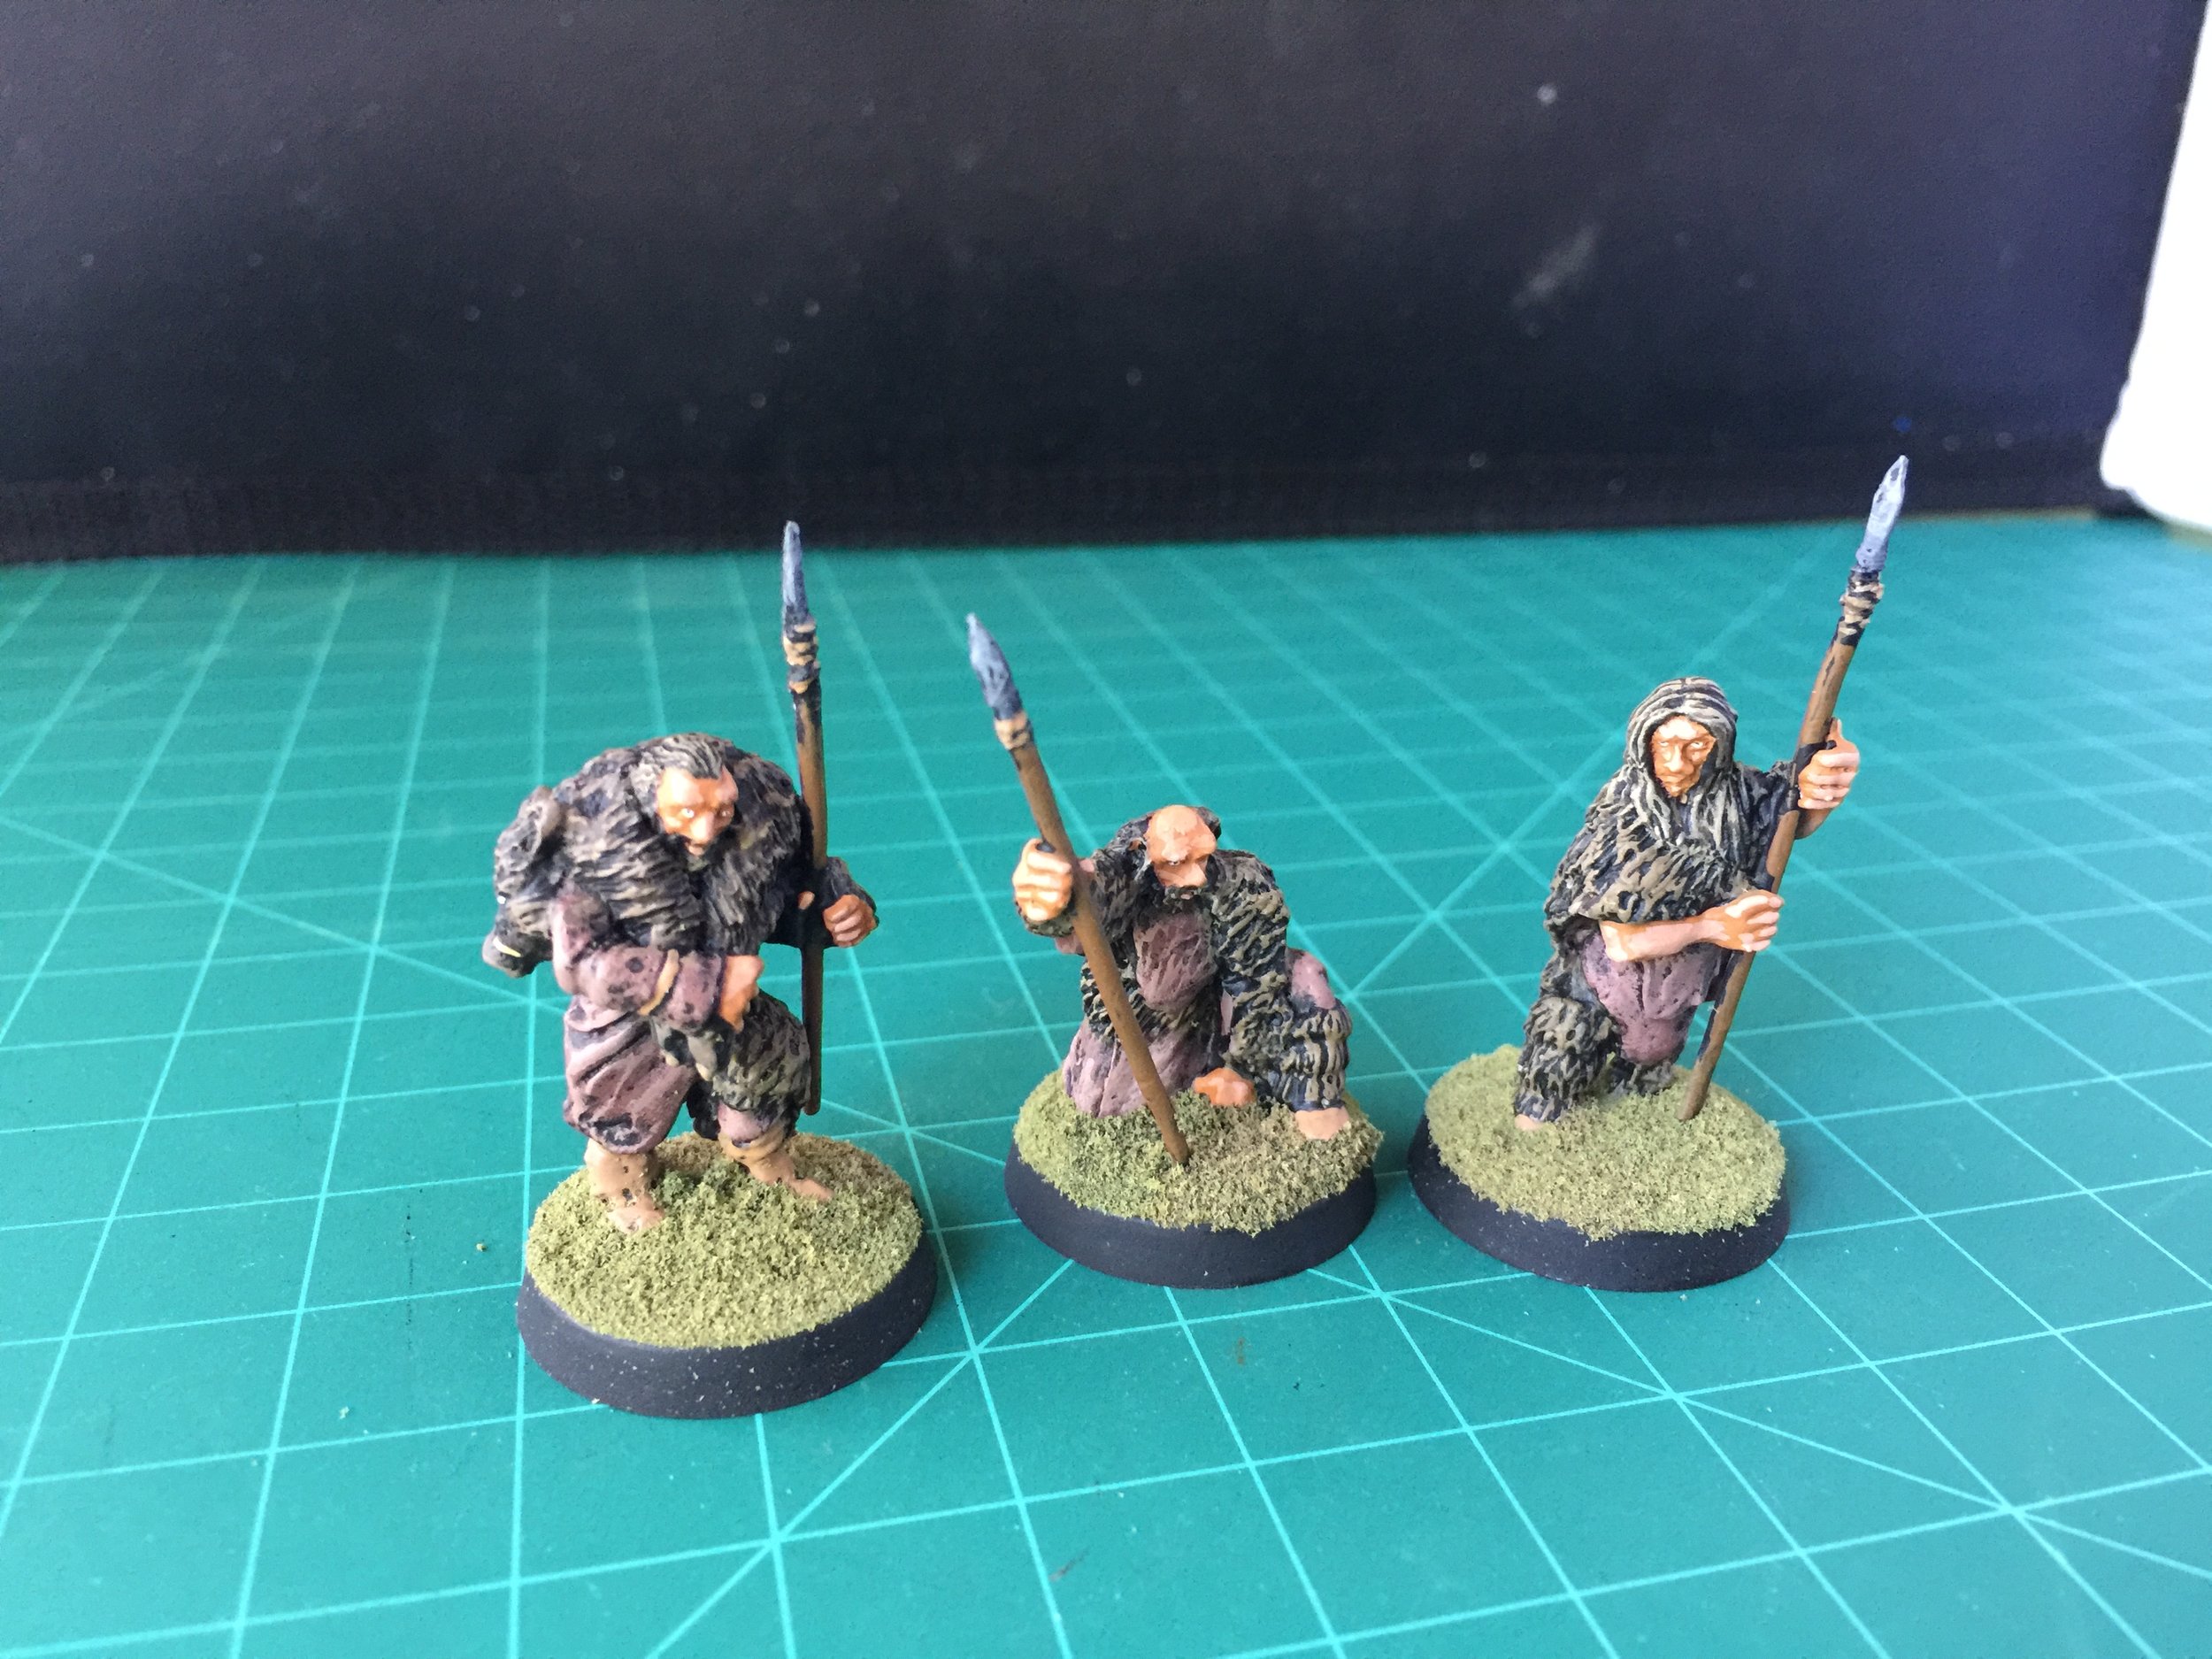
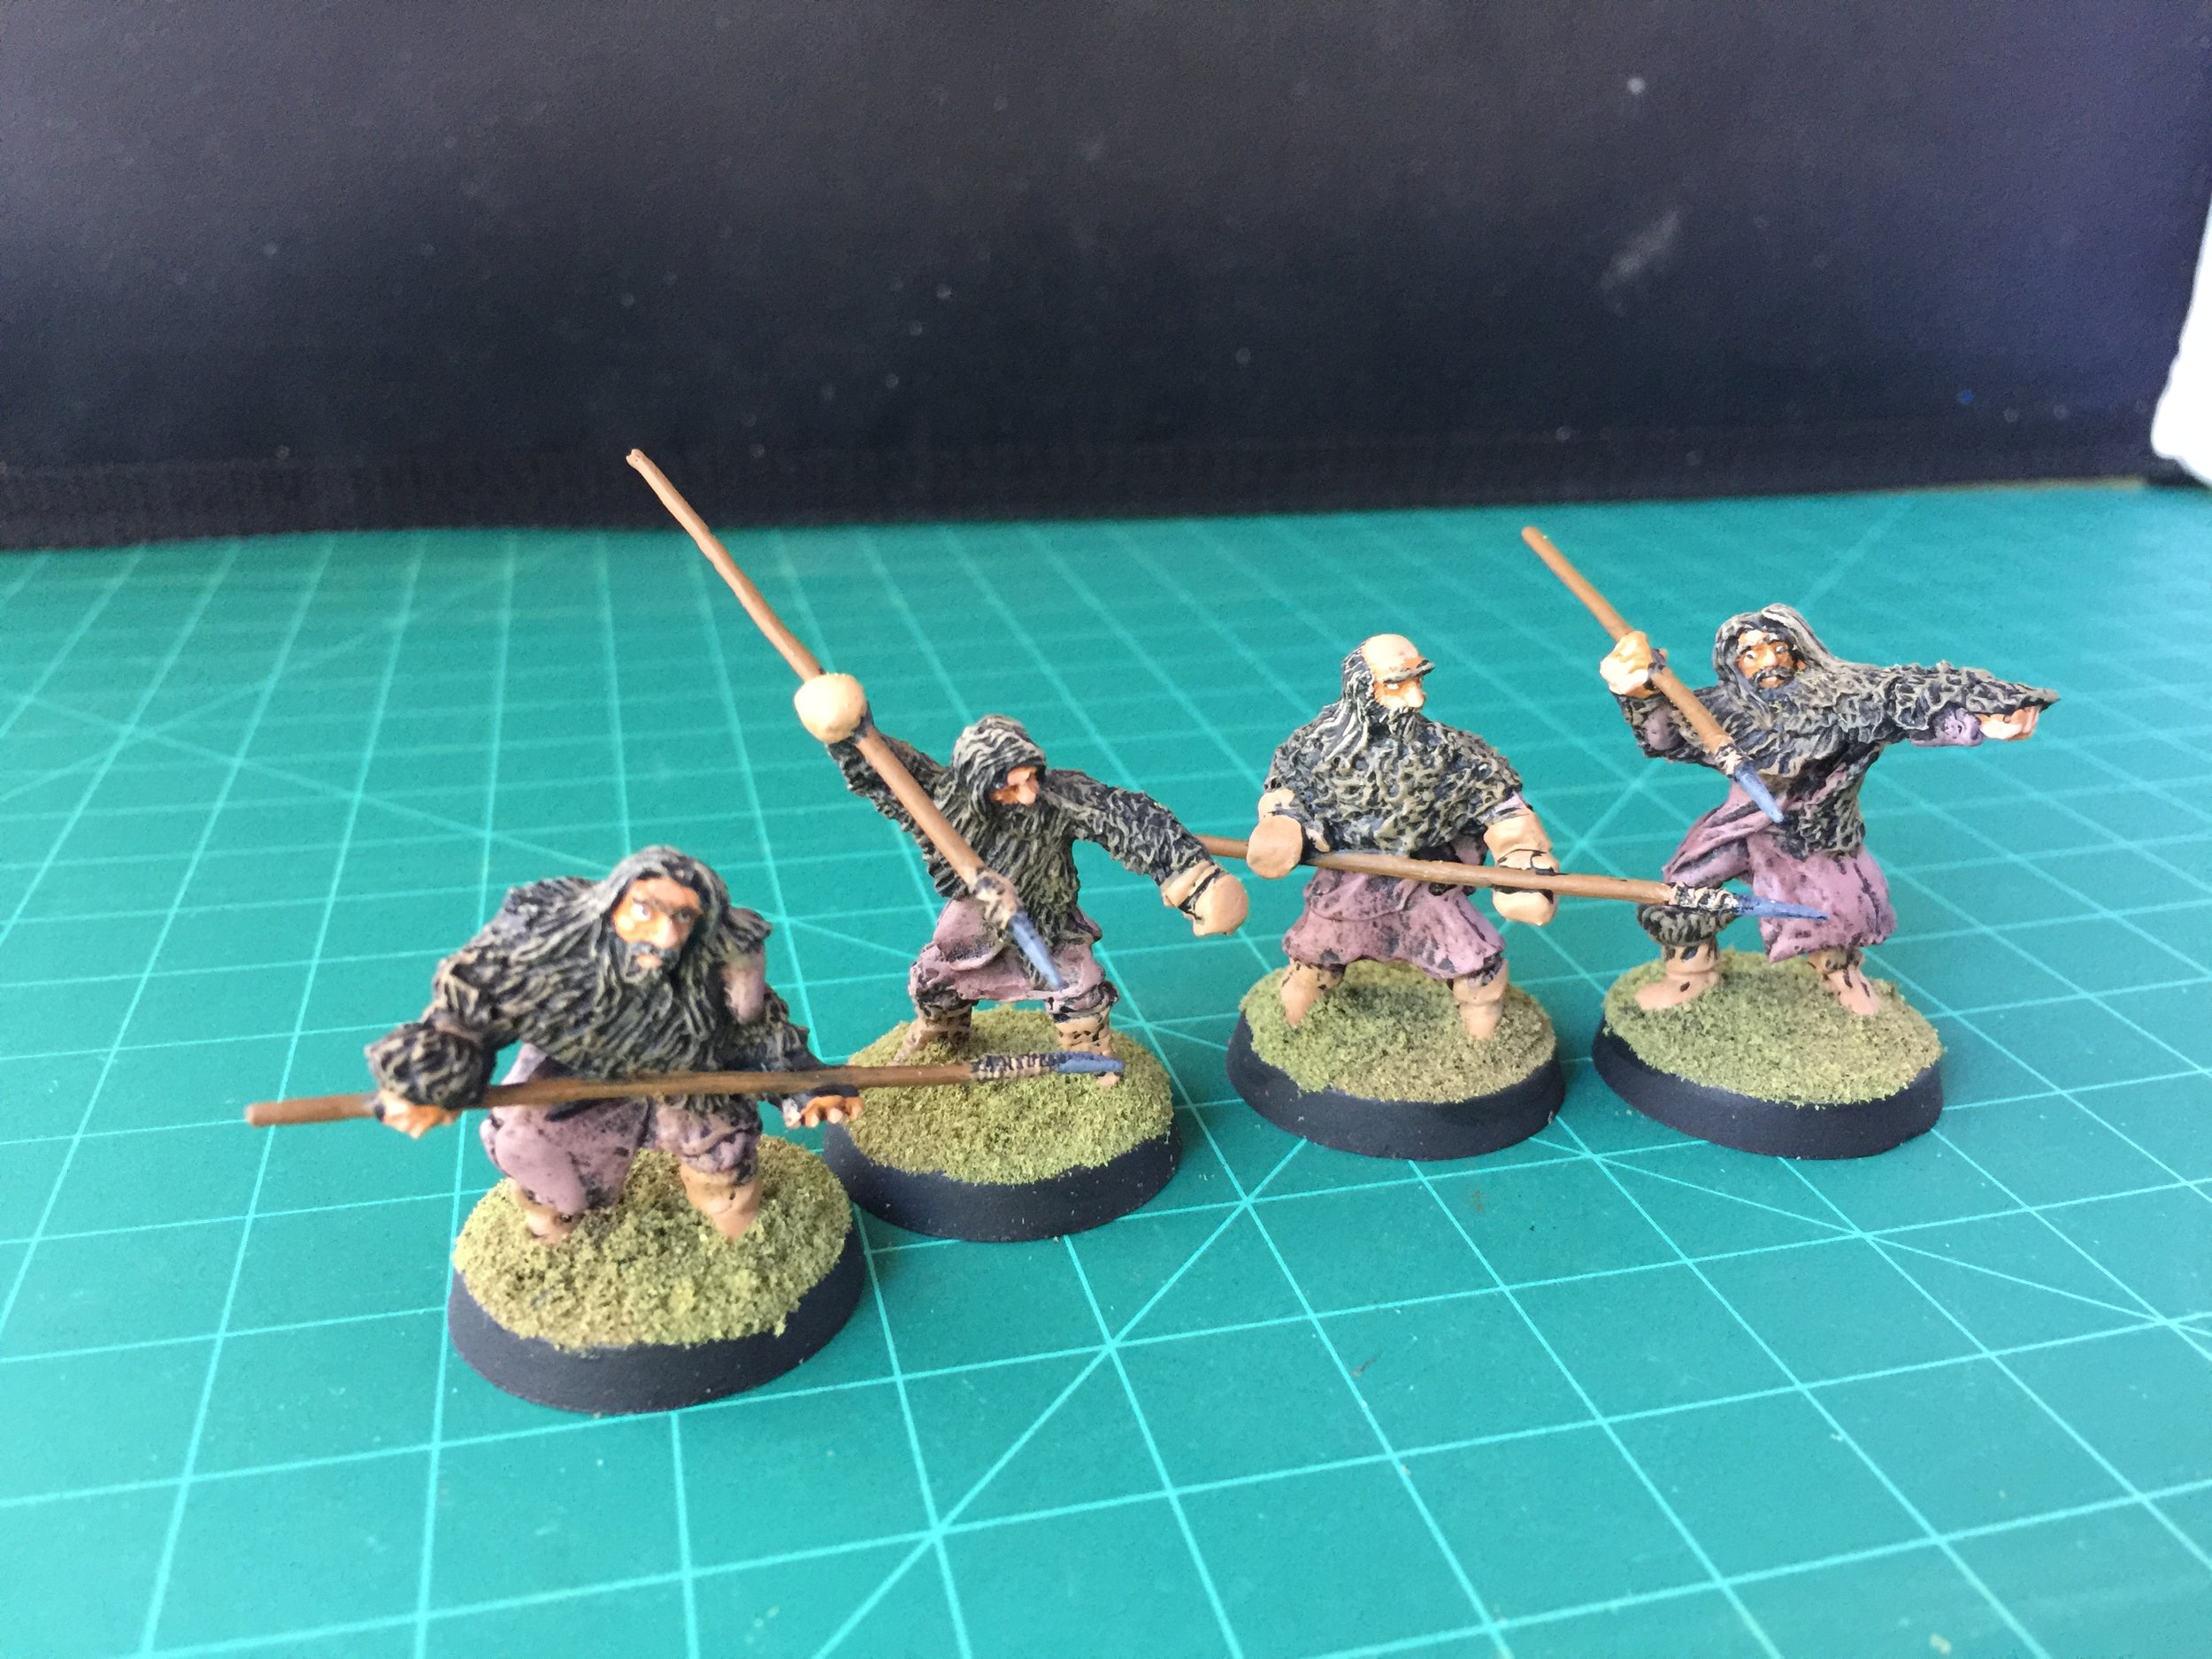
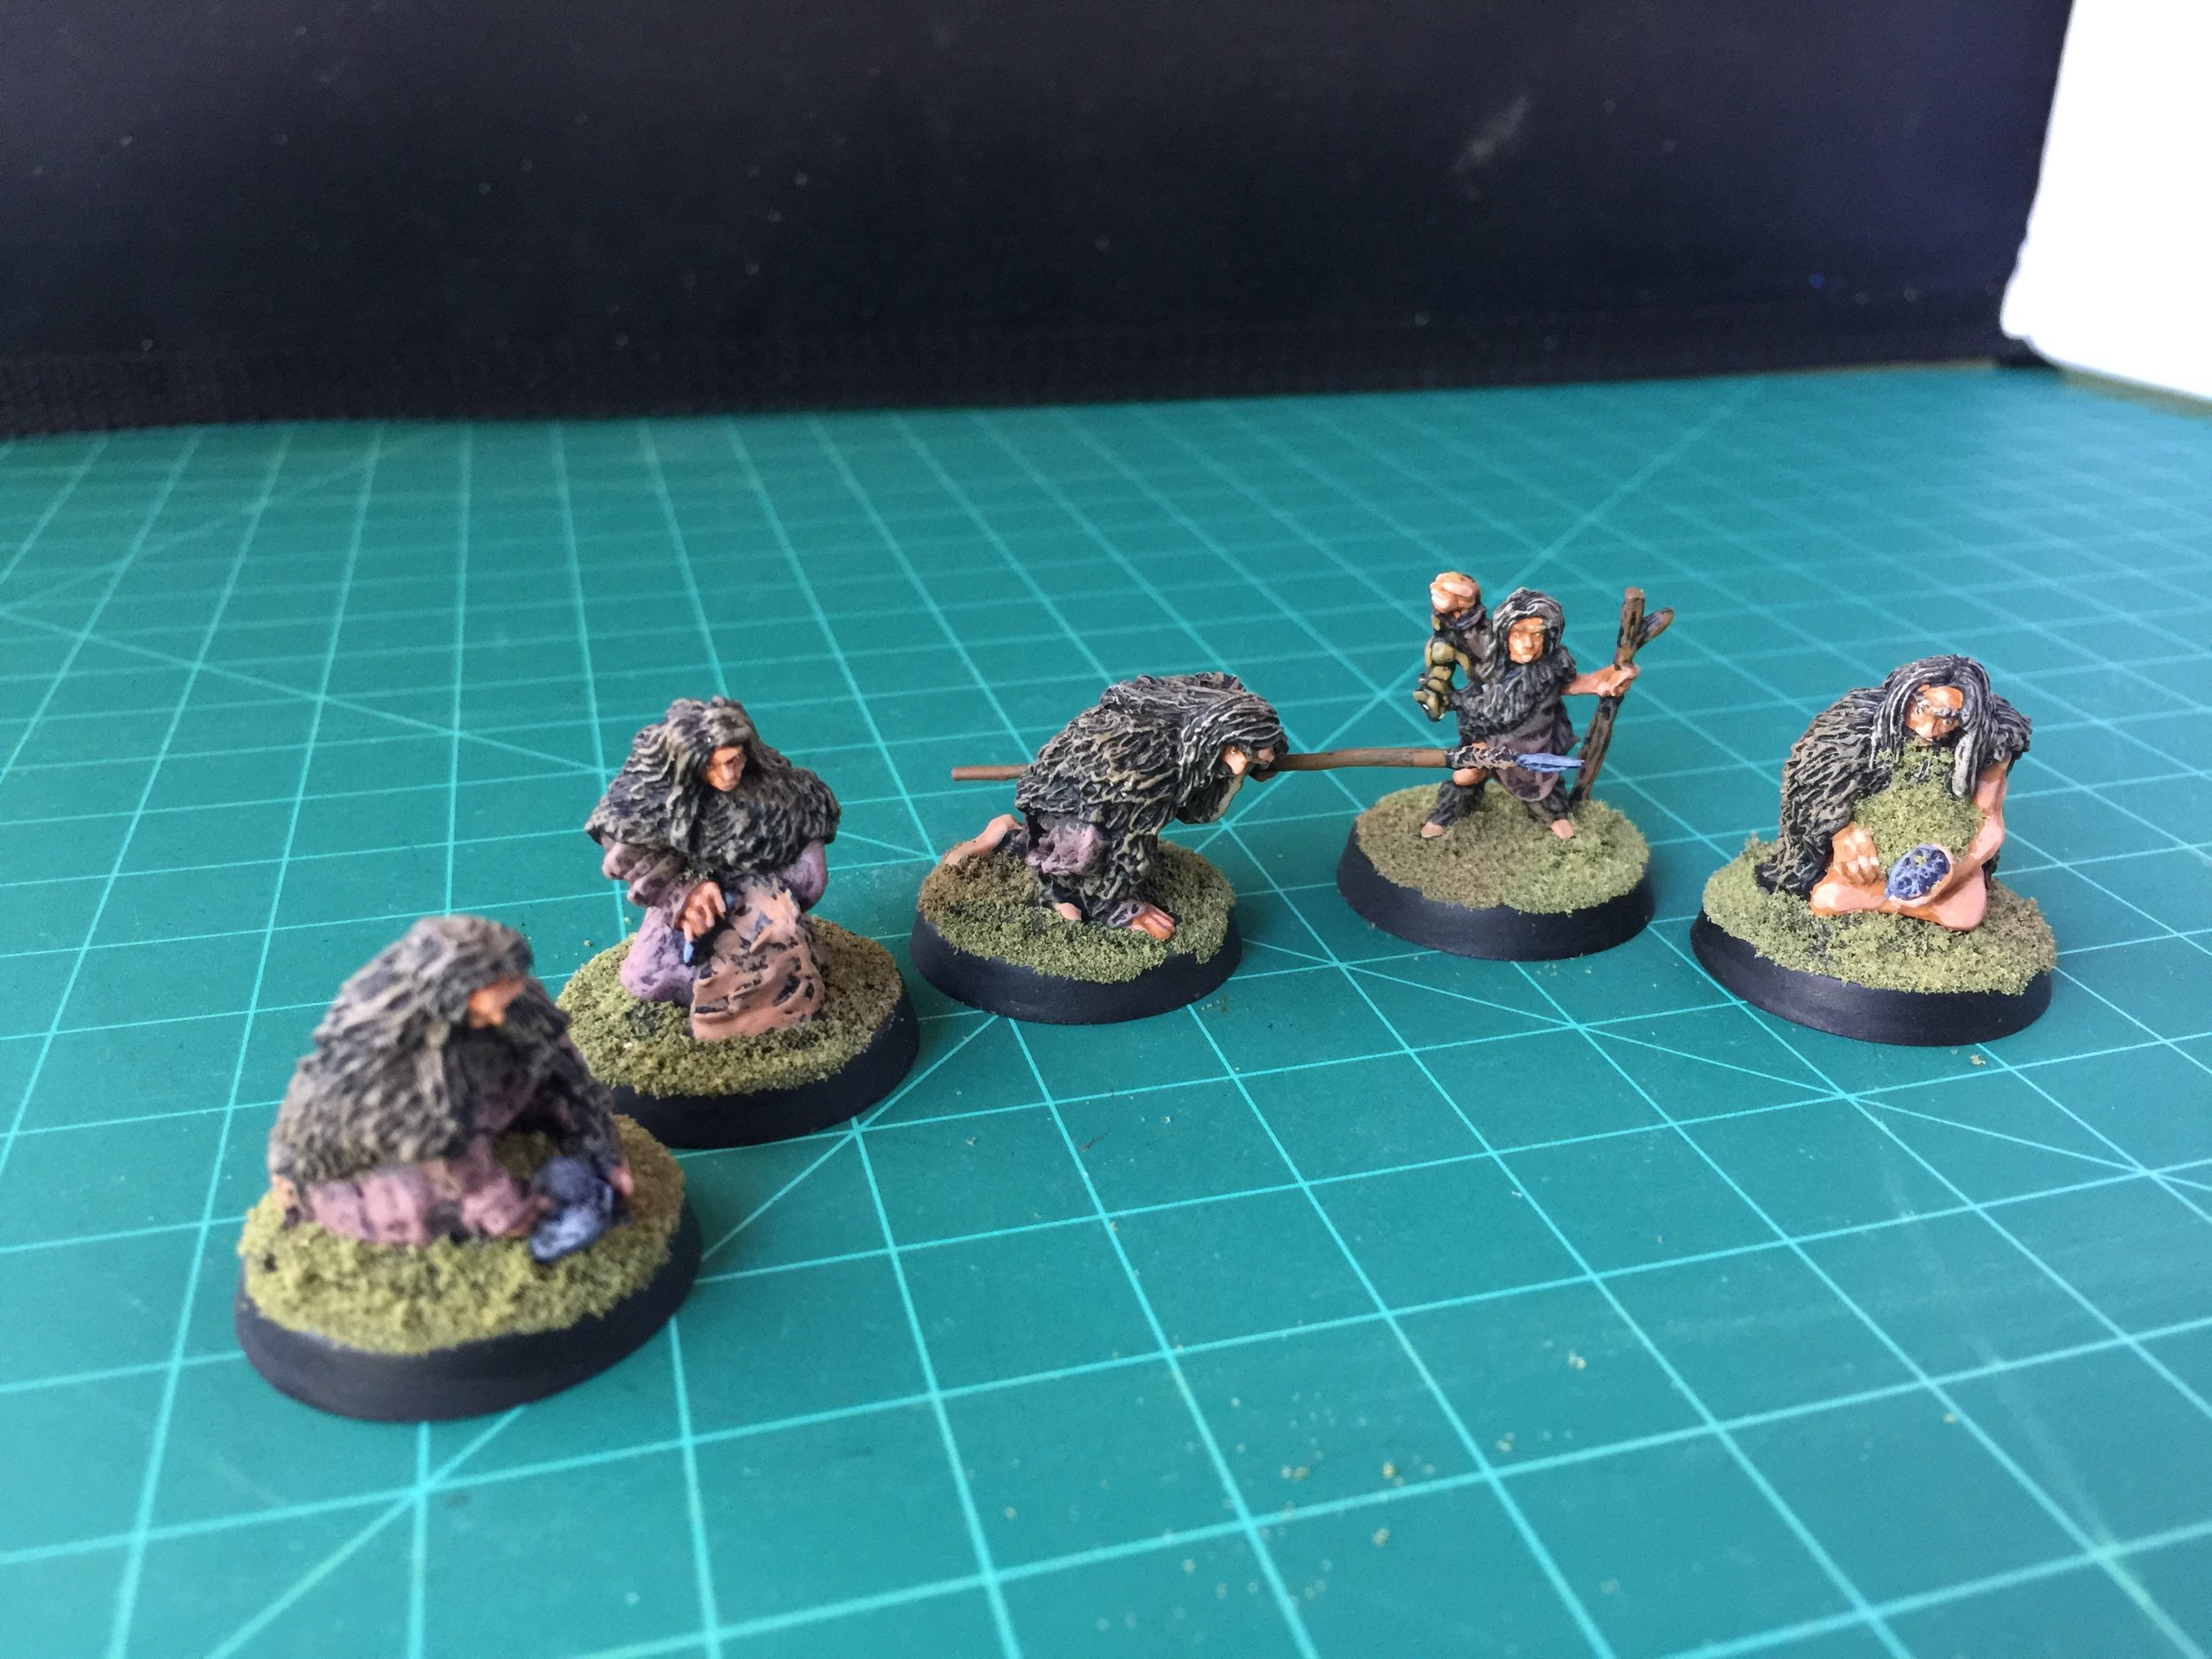
With the spacecraft done I turned to more stone age figures. These from a later period than the Reaper figures… more sophisticated cousins, but since this is a make-believe world having the two together doesn’t bother me because I like the figures. The second group which is my largest group of “caveman” figures is from Acheson Creations’ Primaeval Designs collection. With the first five of the Acheson figures painted, I turned my attention to some recently purchased campfires by Legendary Realms. They were reasonably priced and came in three configurations. They came pre-painted but done poorly so I gave them new paint jobs to make them work well with my collection.
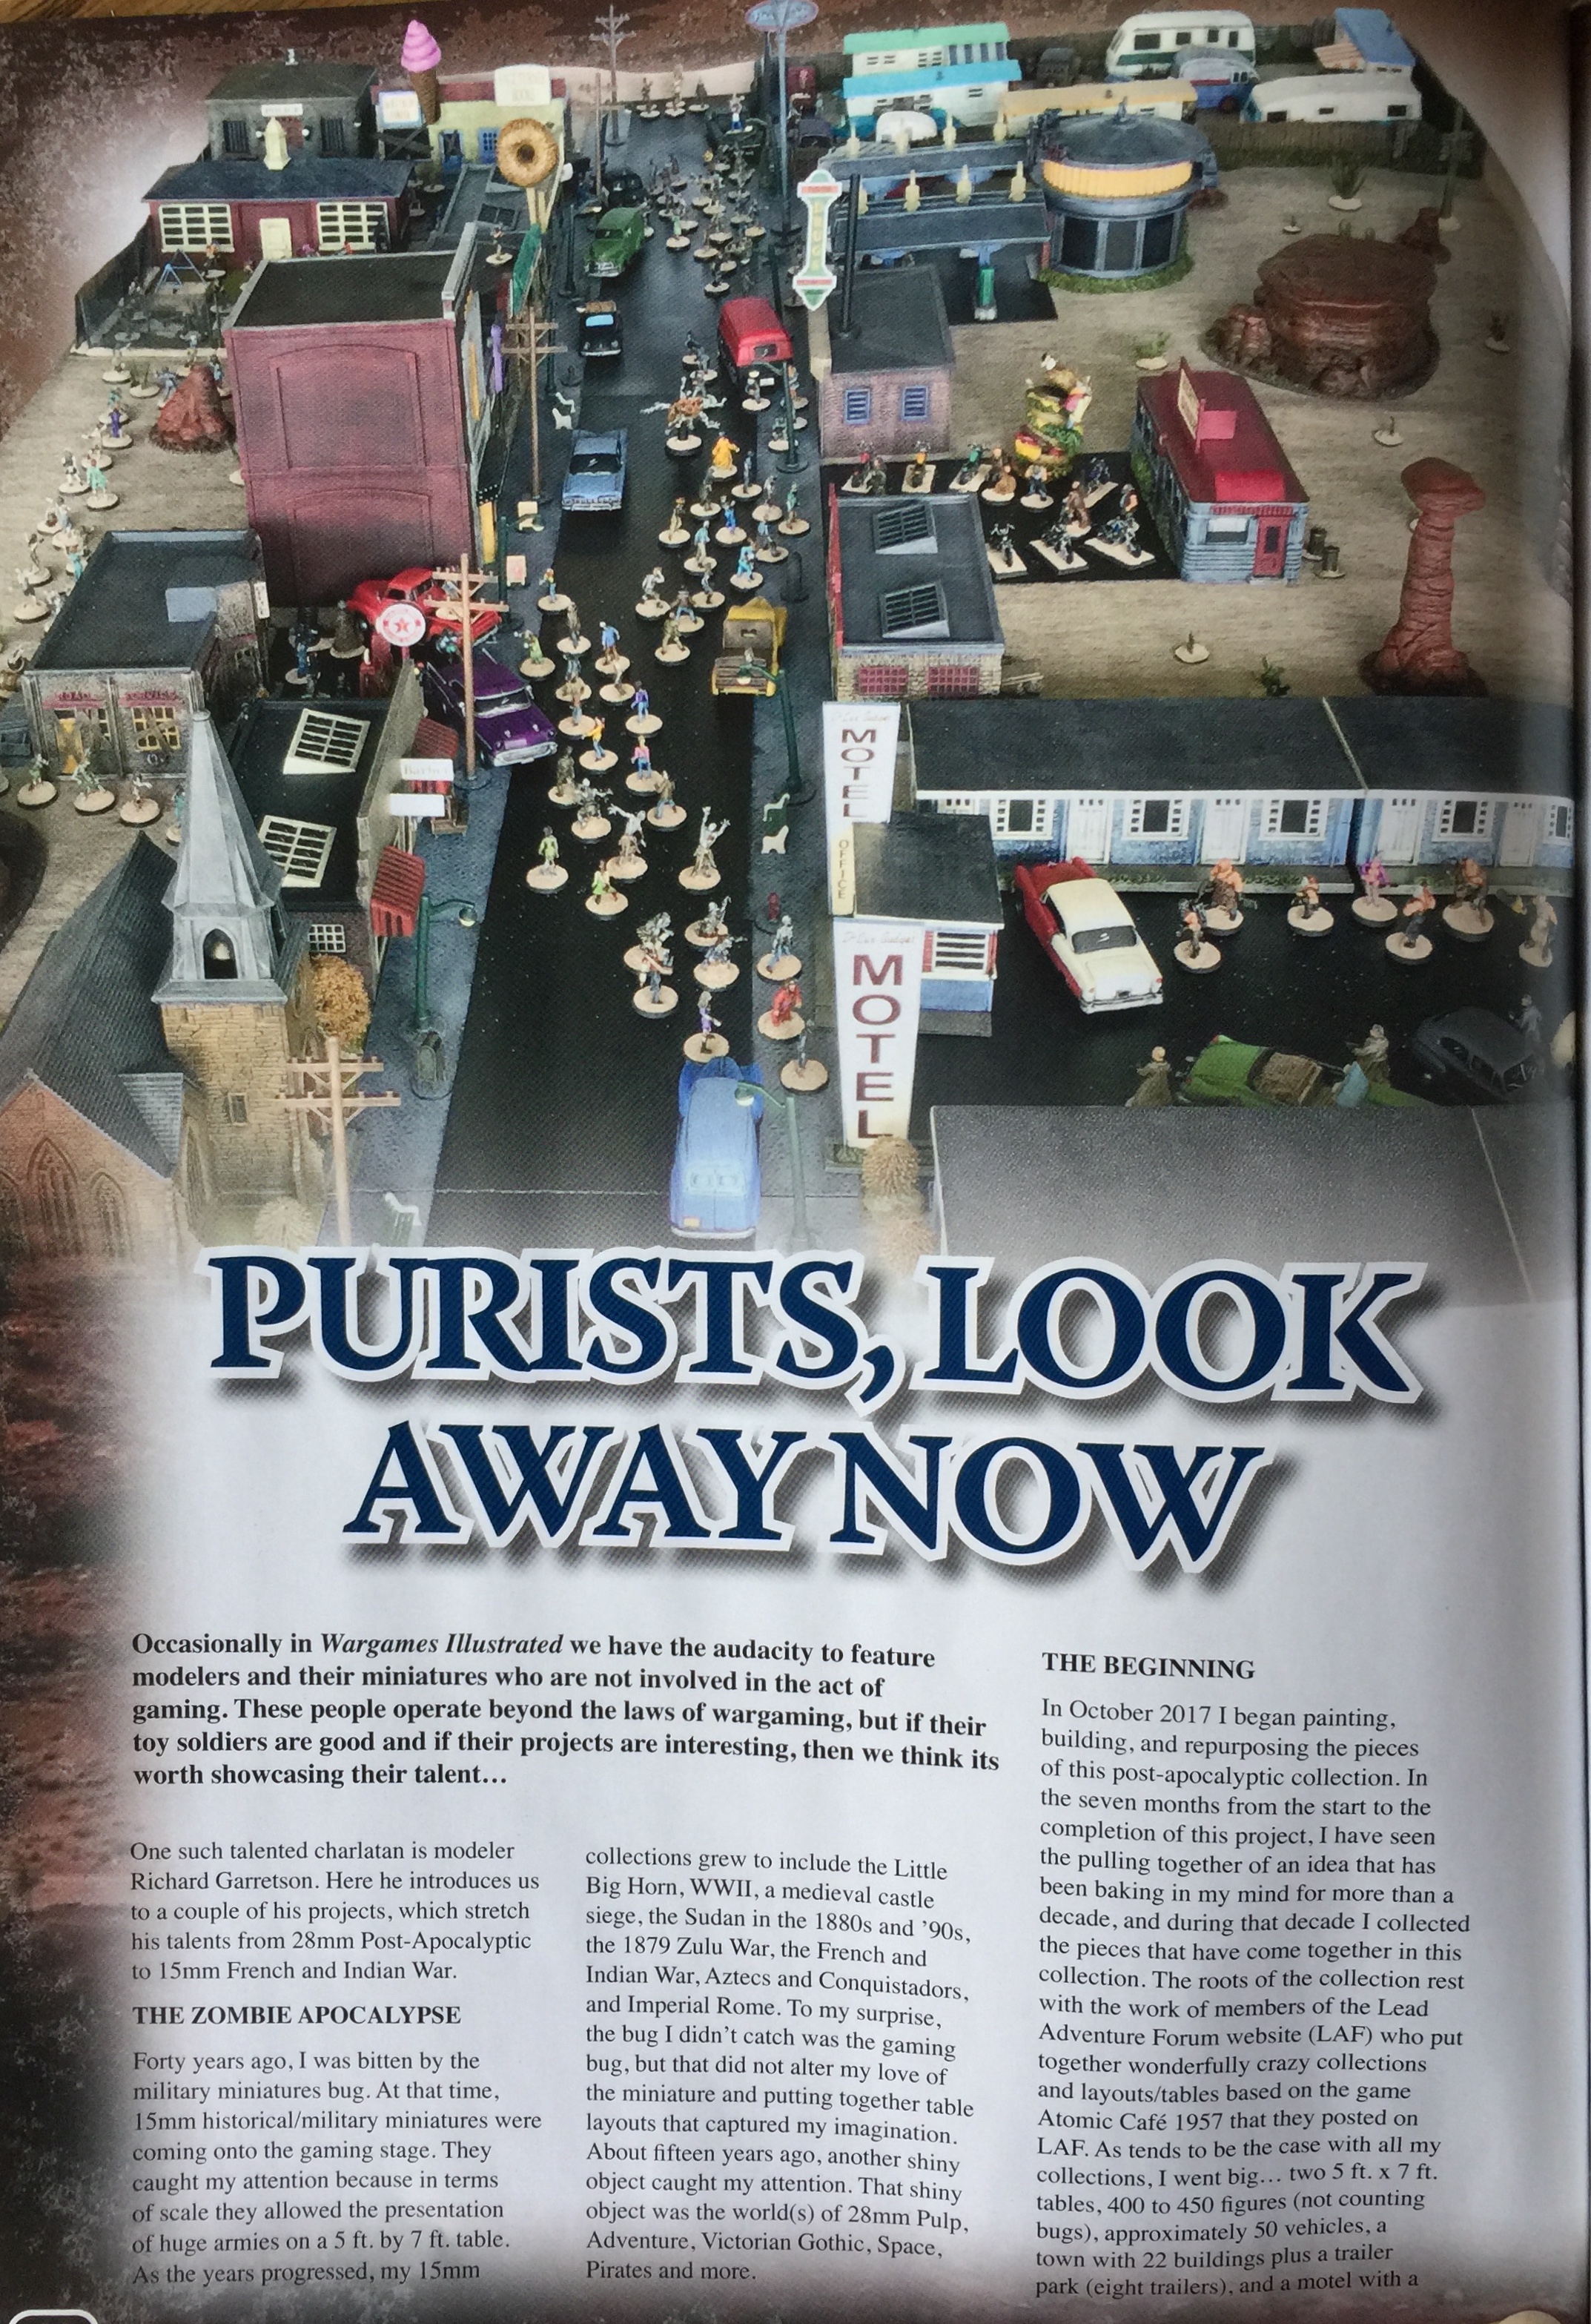
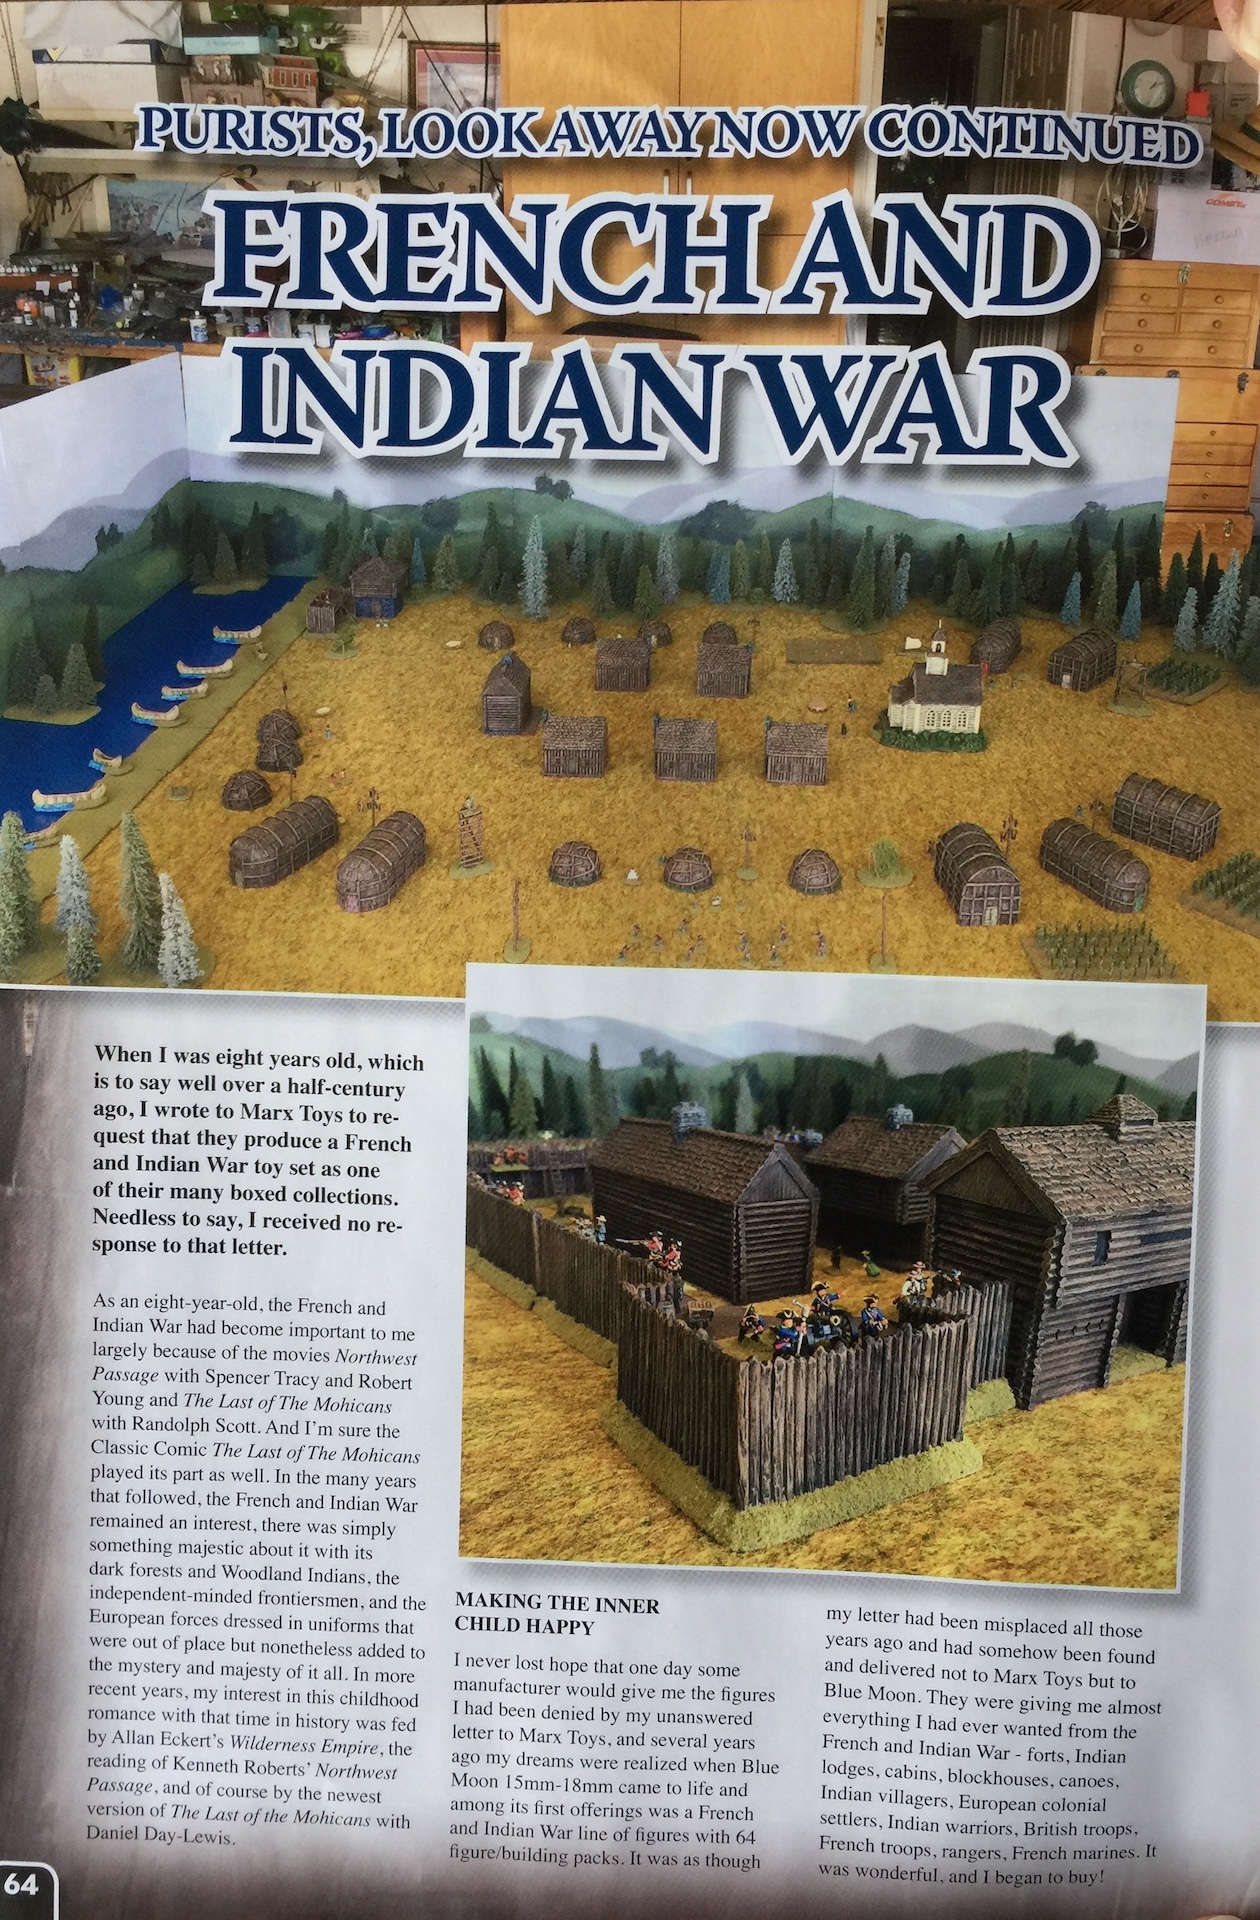
The last big news of this week is that I got my copy of the April 2019 issue of Wargames Illustrated (#378) and was thrilled and honored to find that my Post Apoc and FIW collections were the subject of a seven-page feature starting on page 60.



March 24, 2016
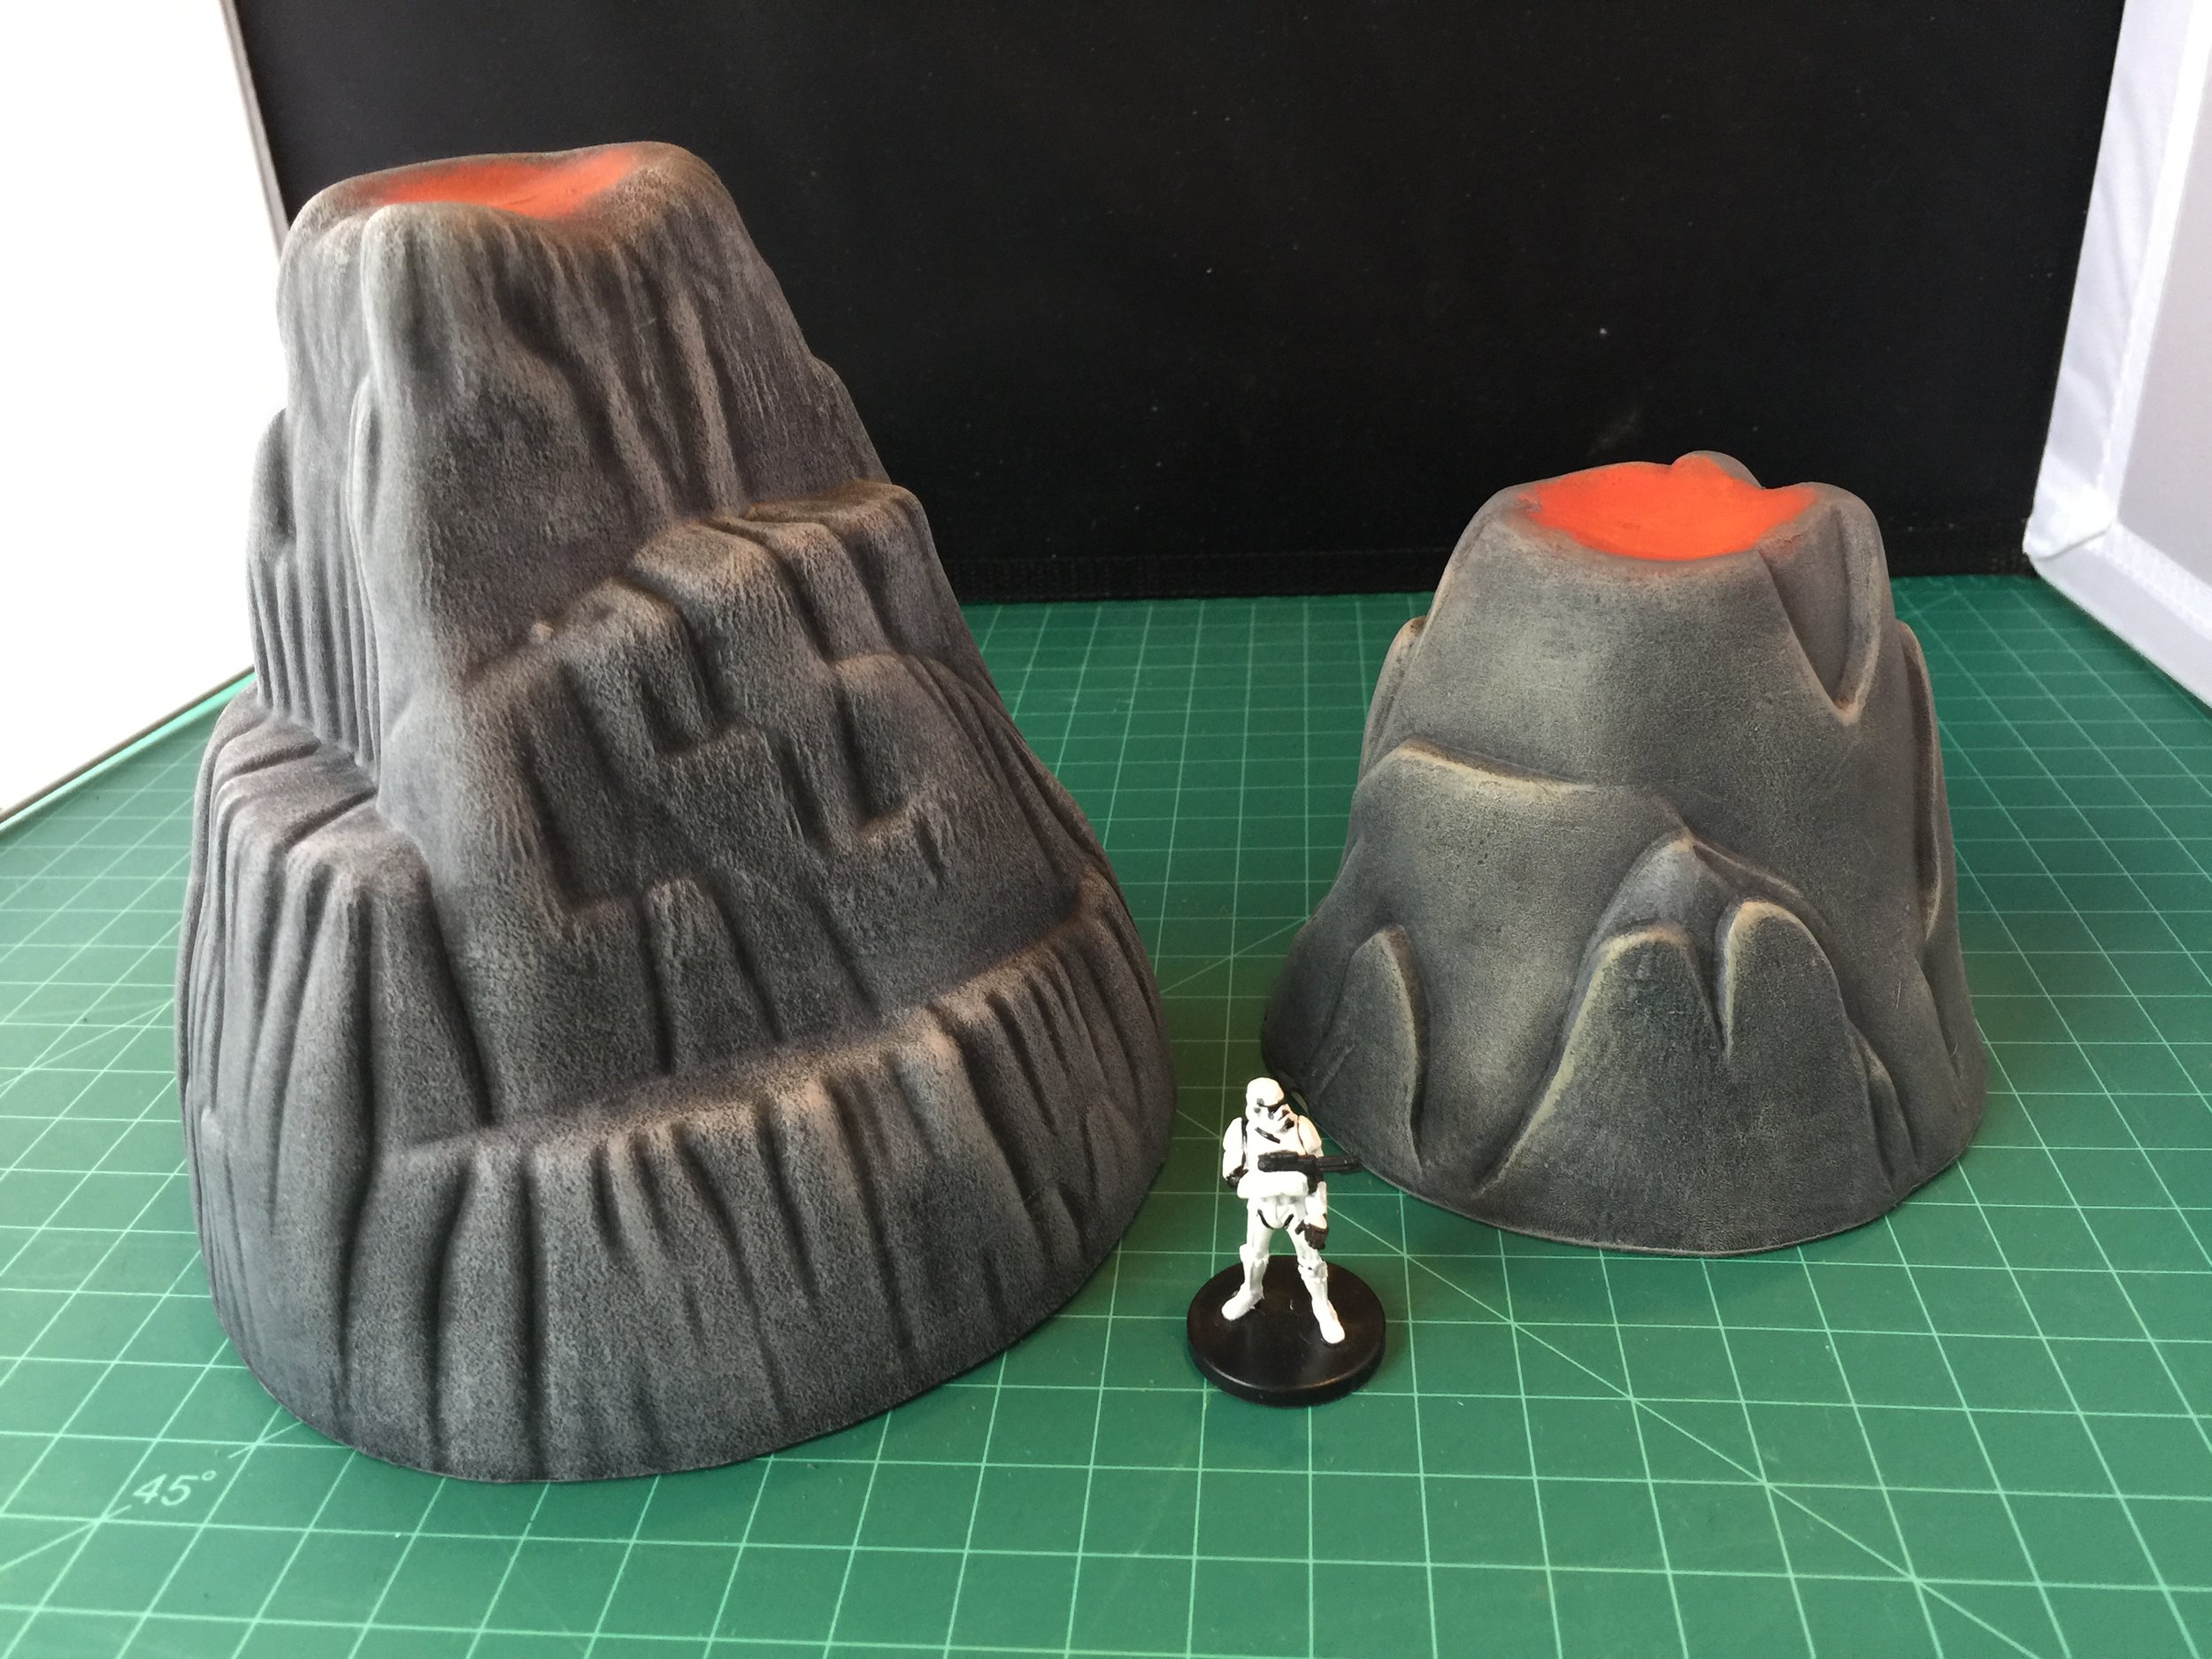
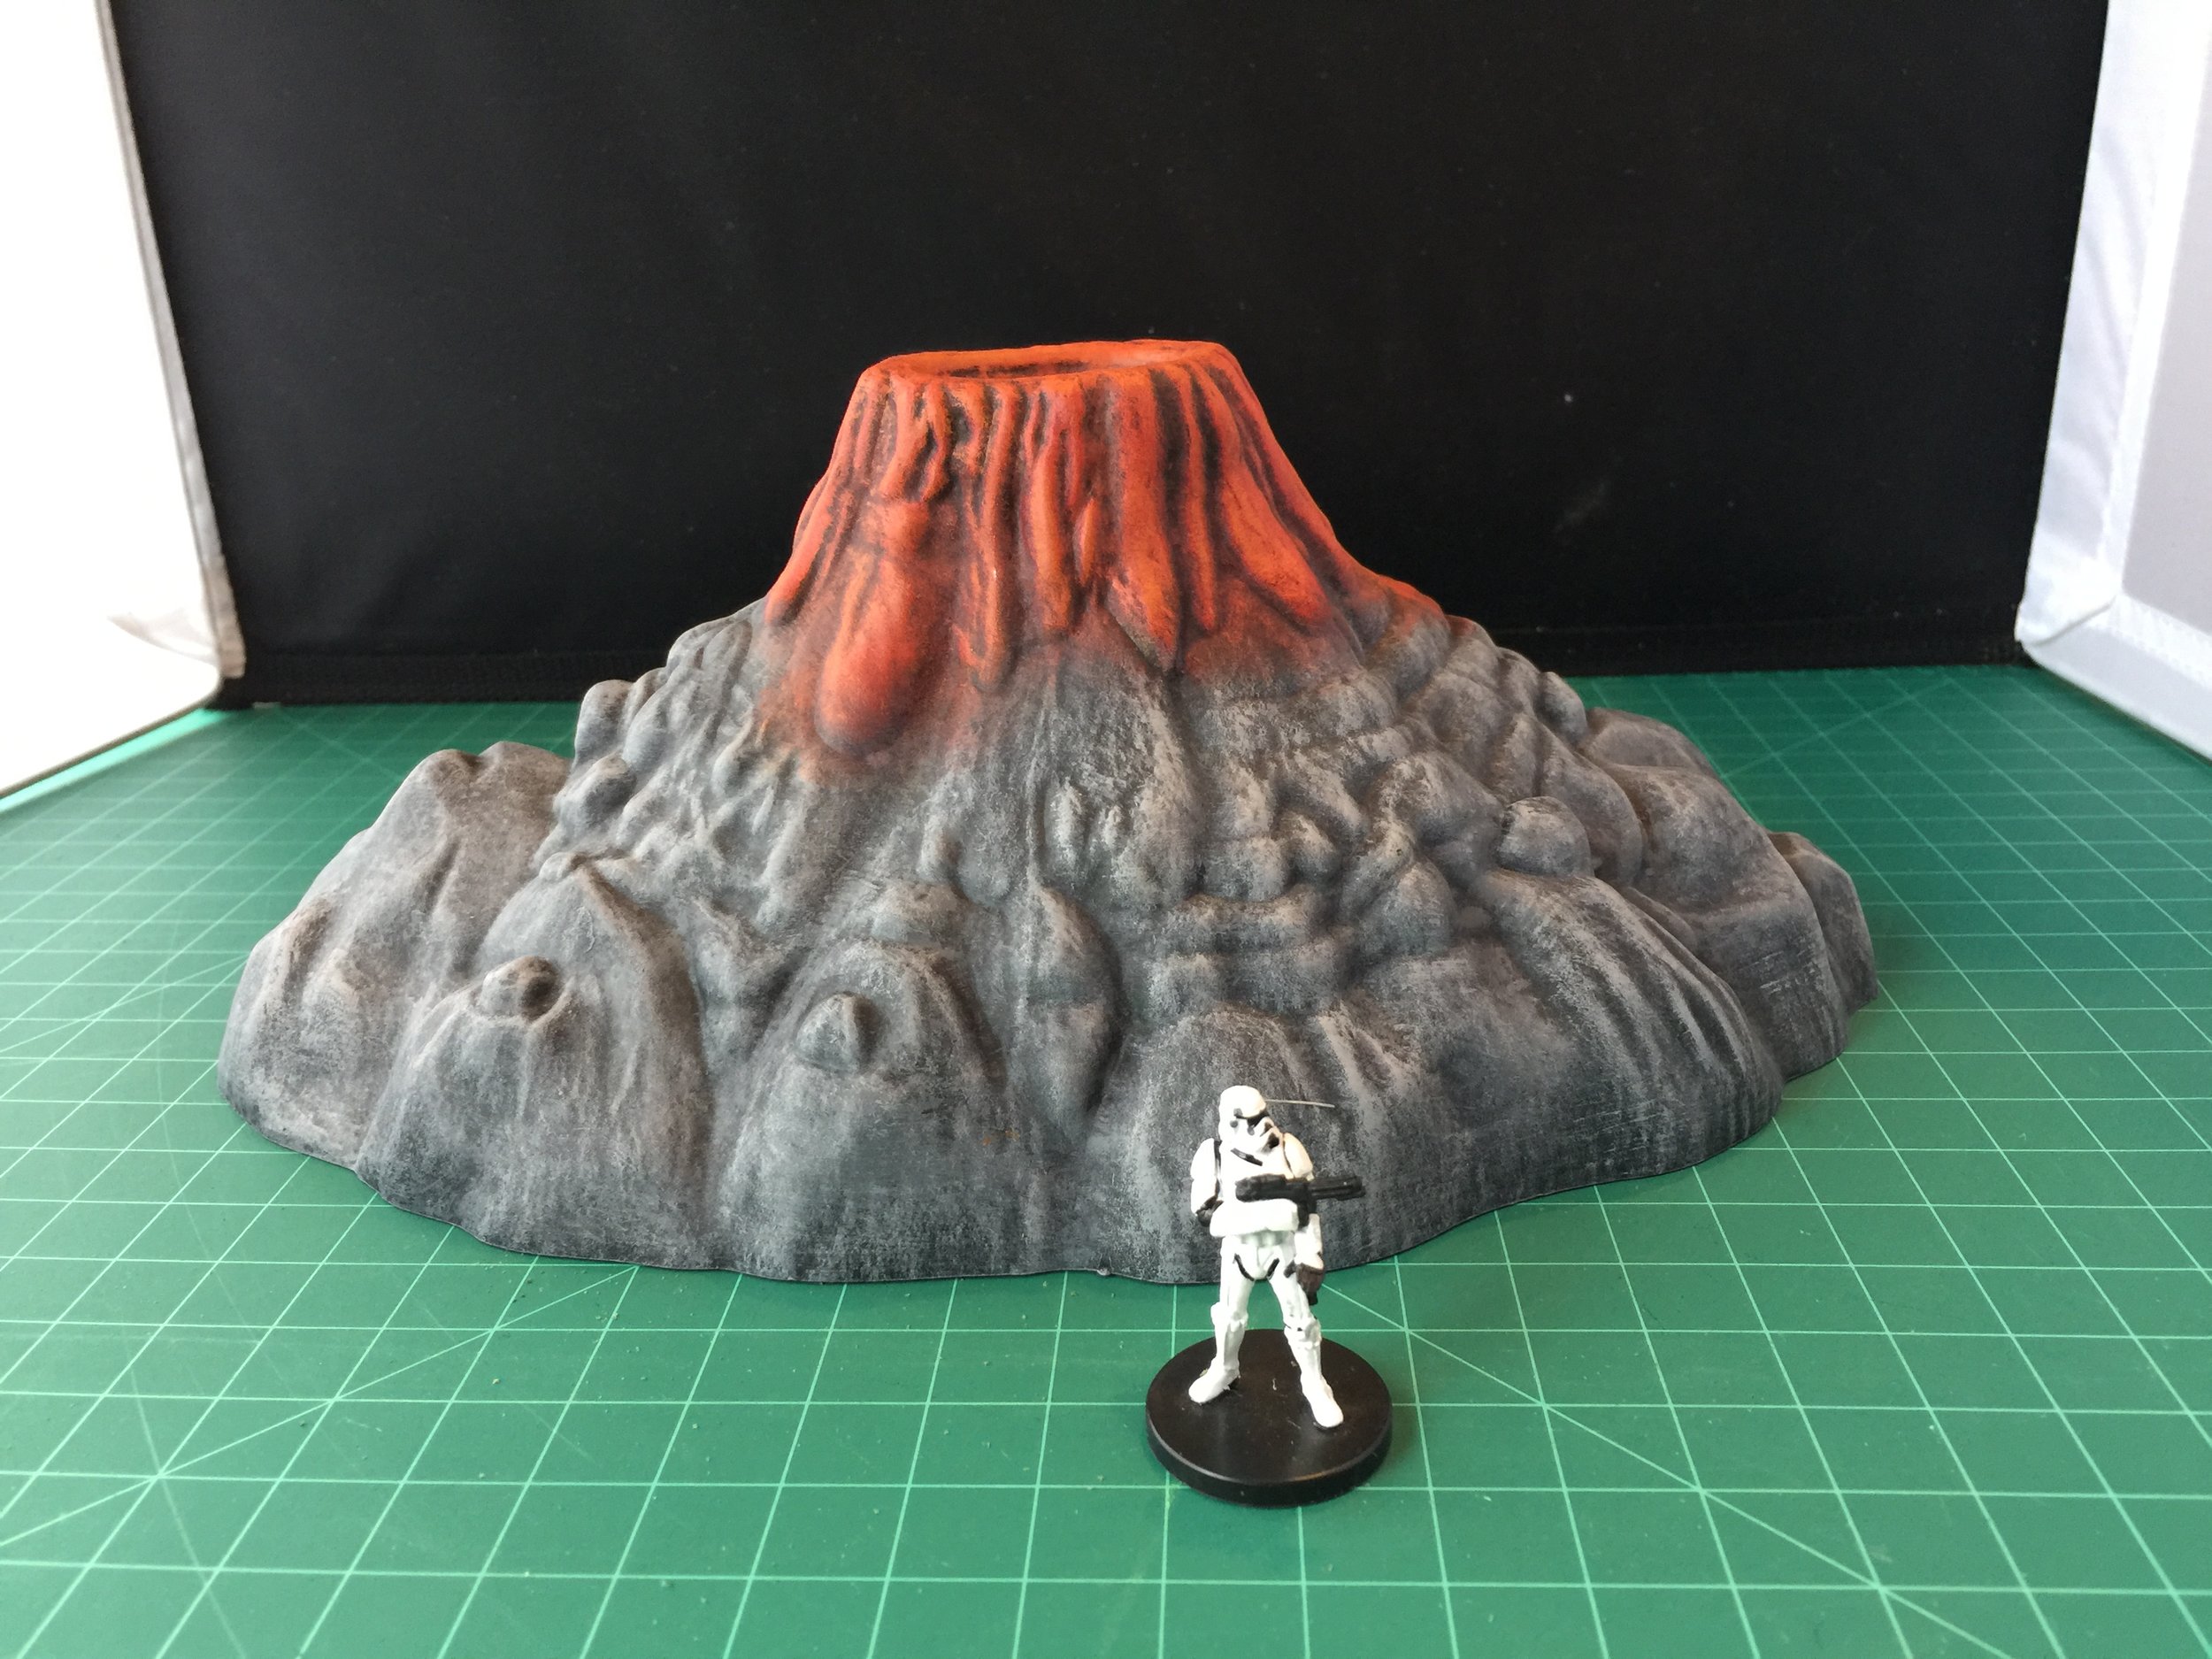
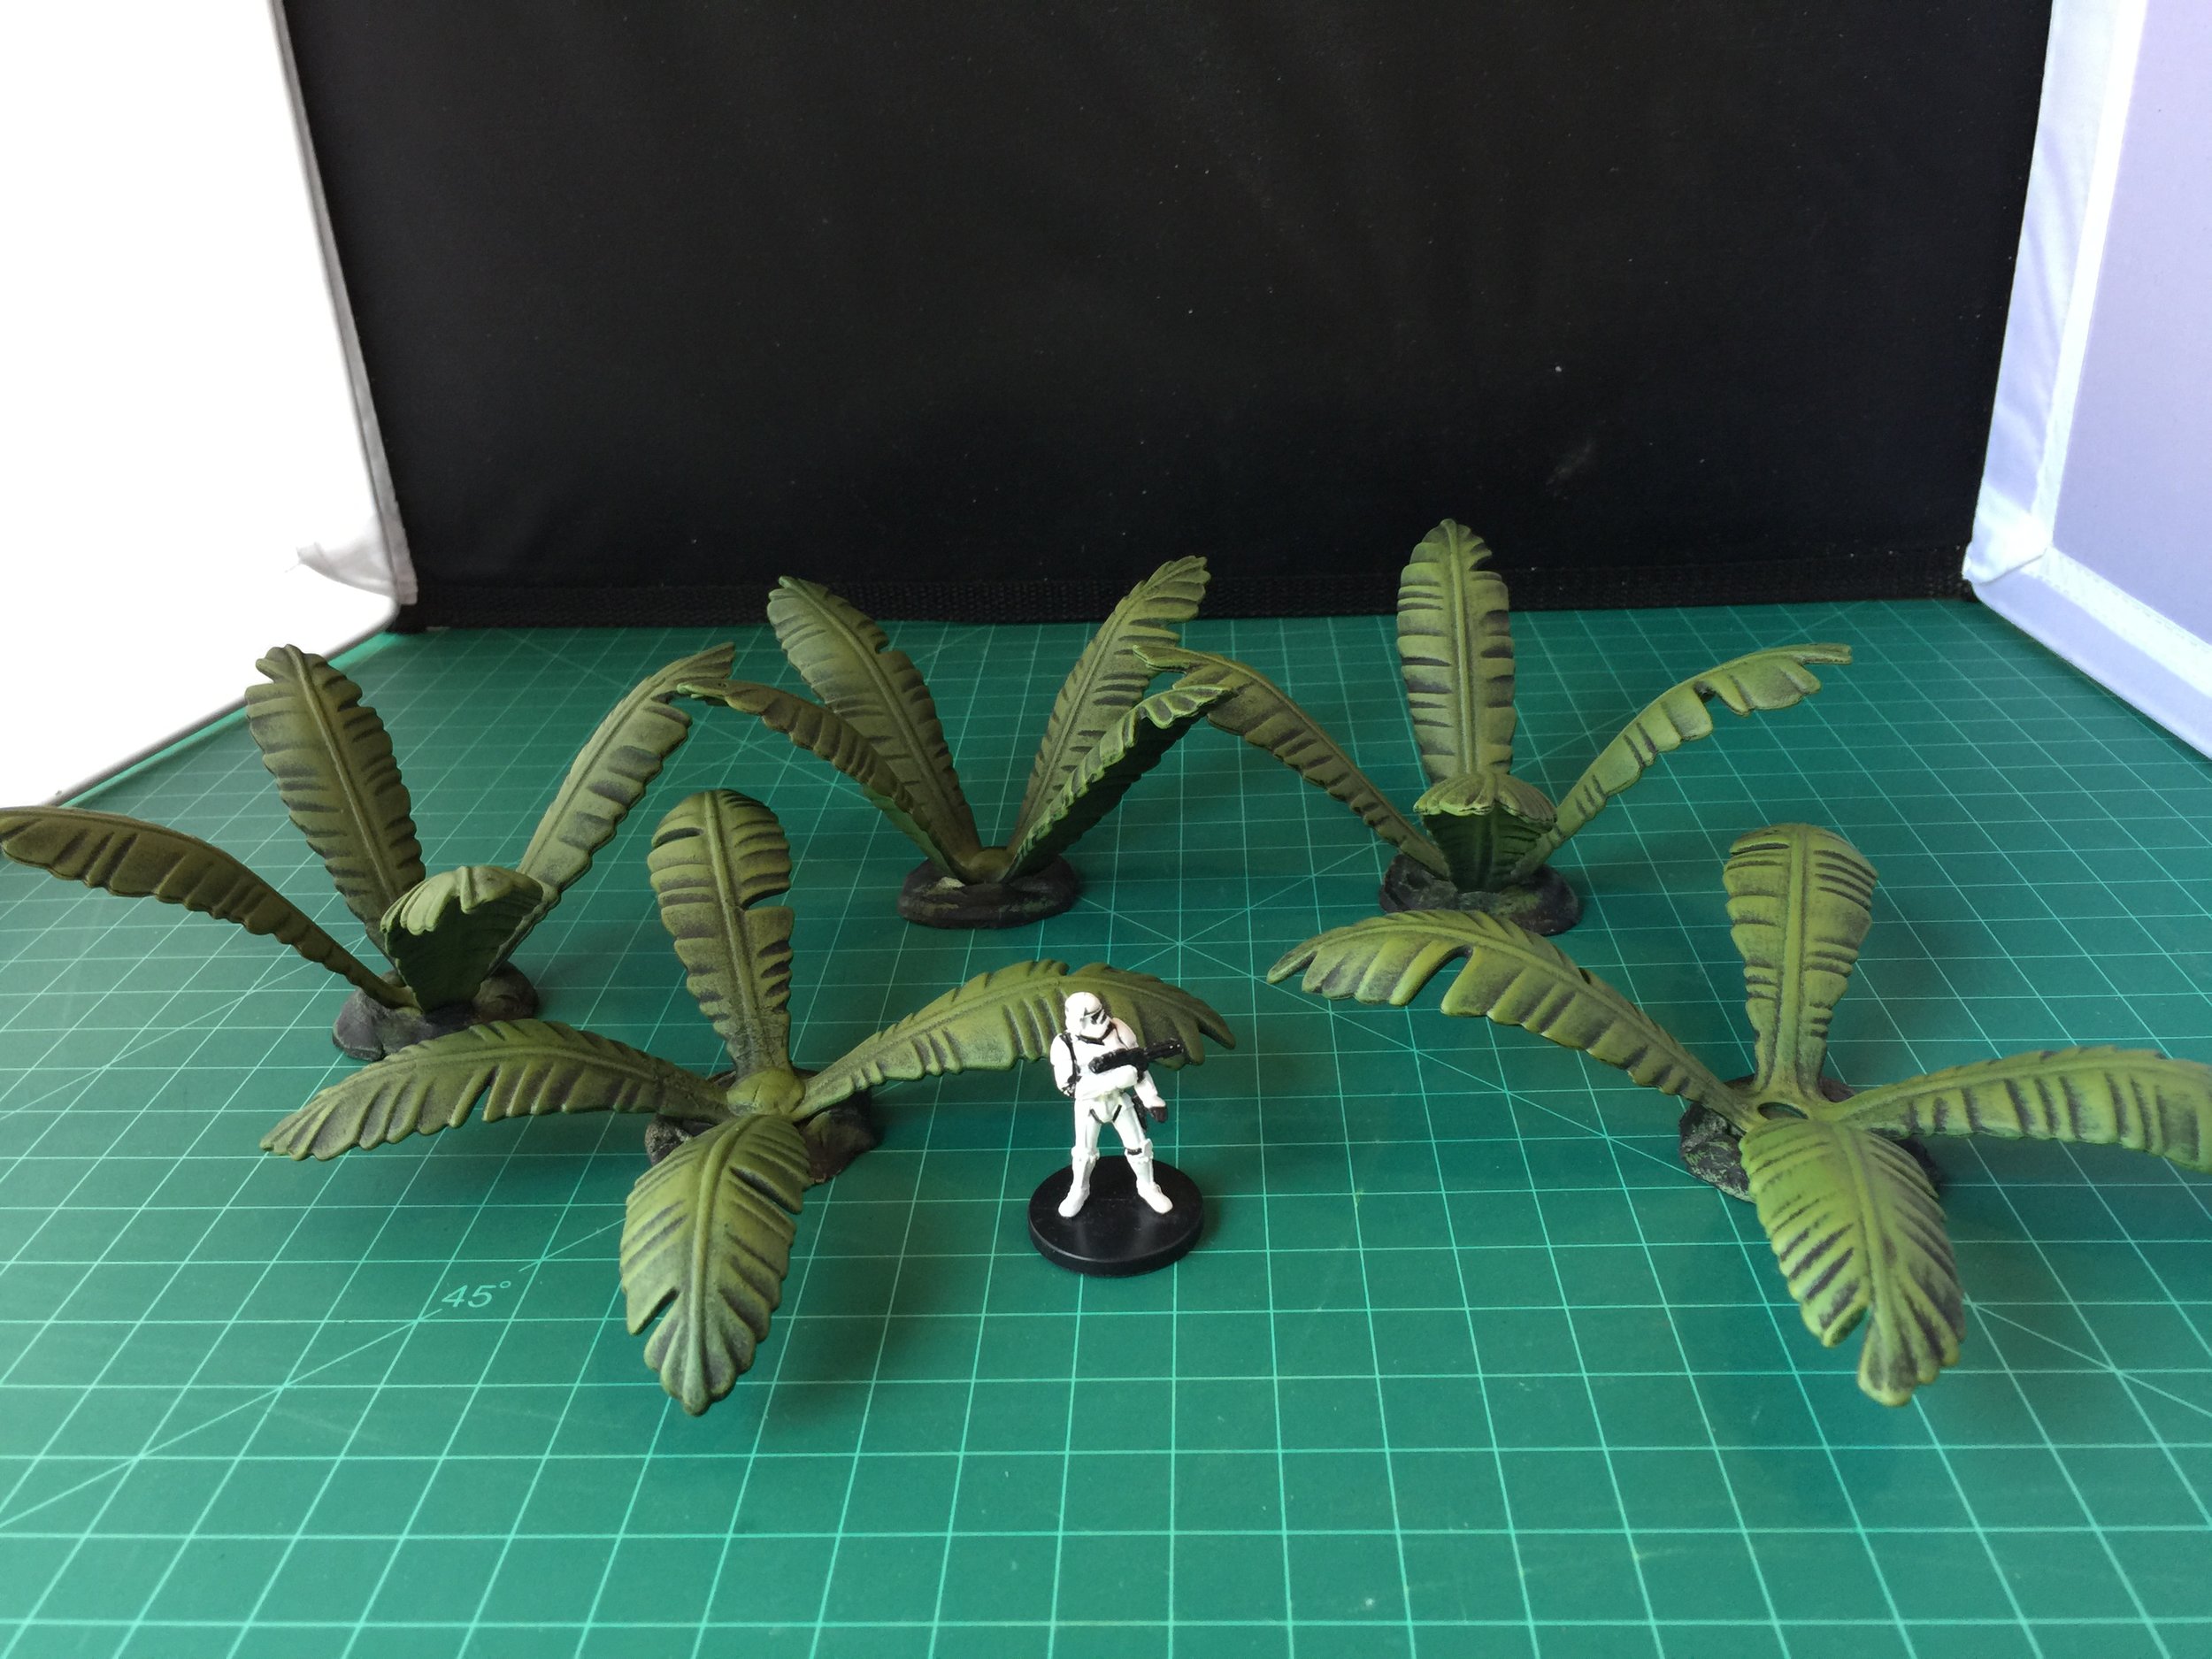
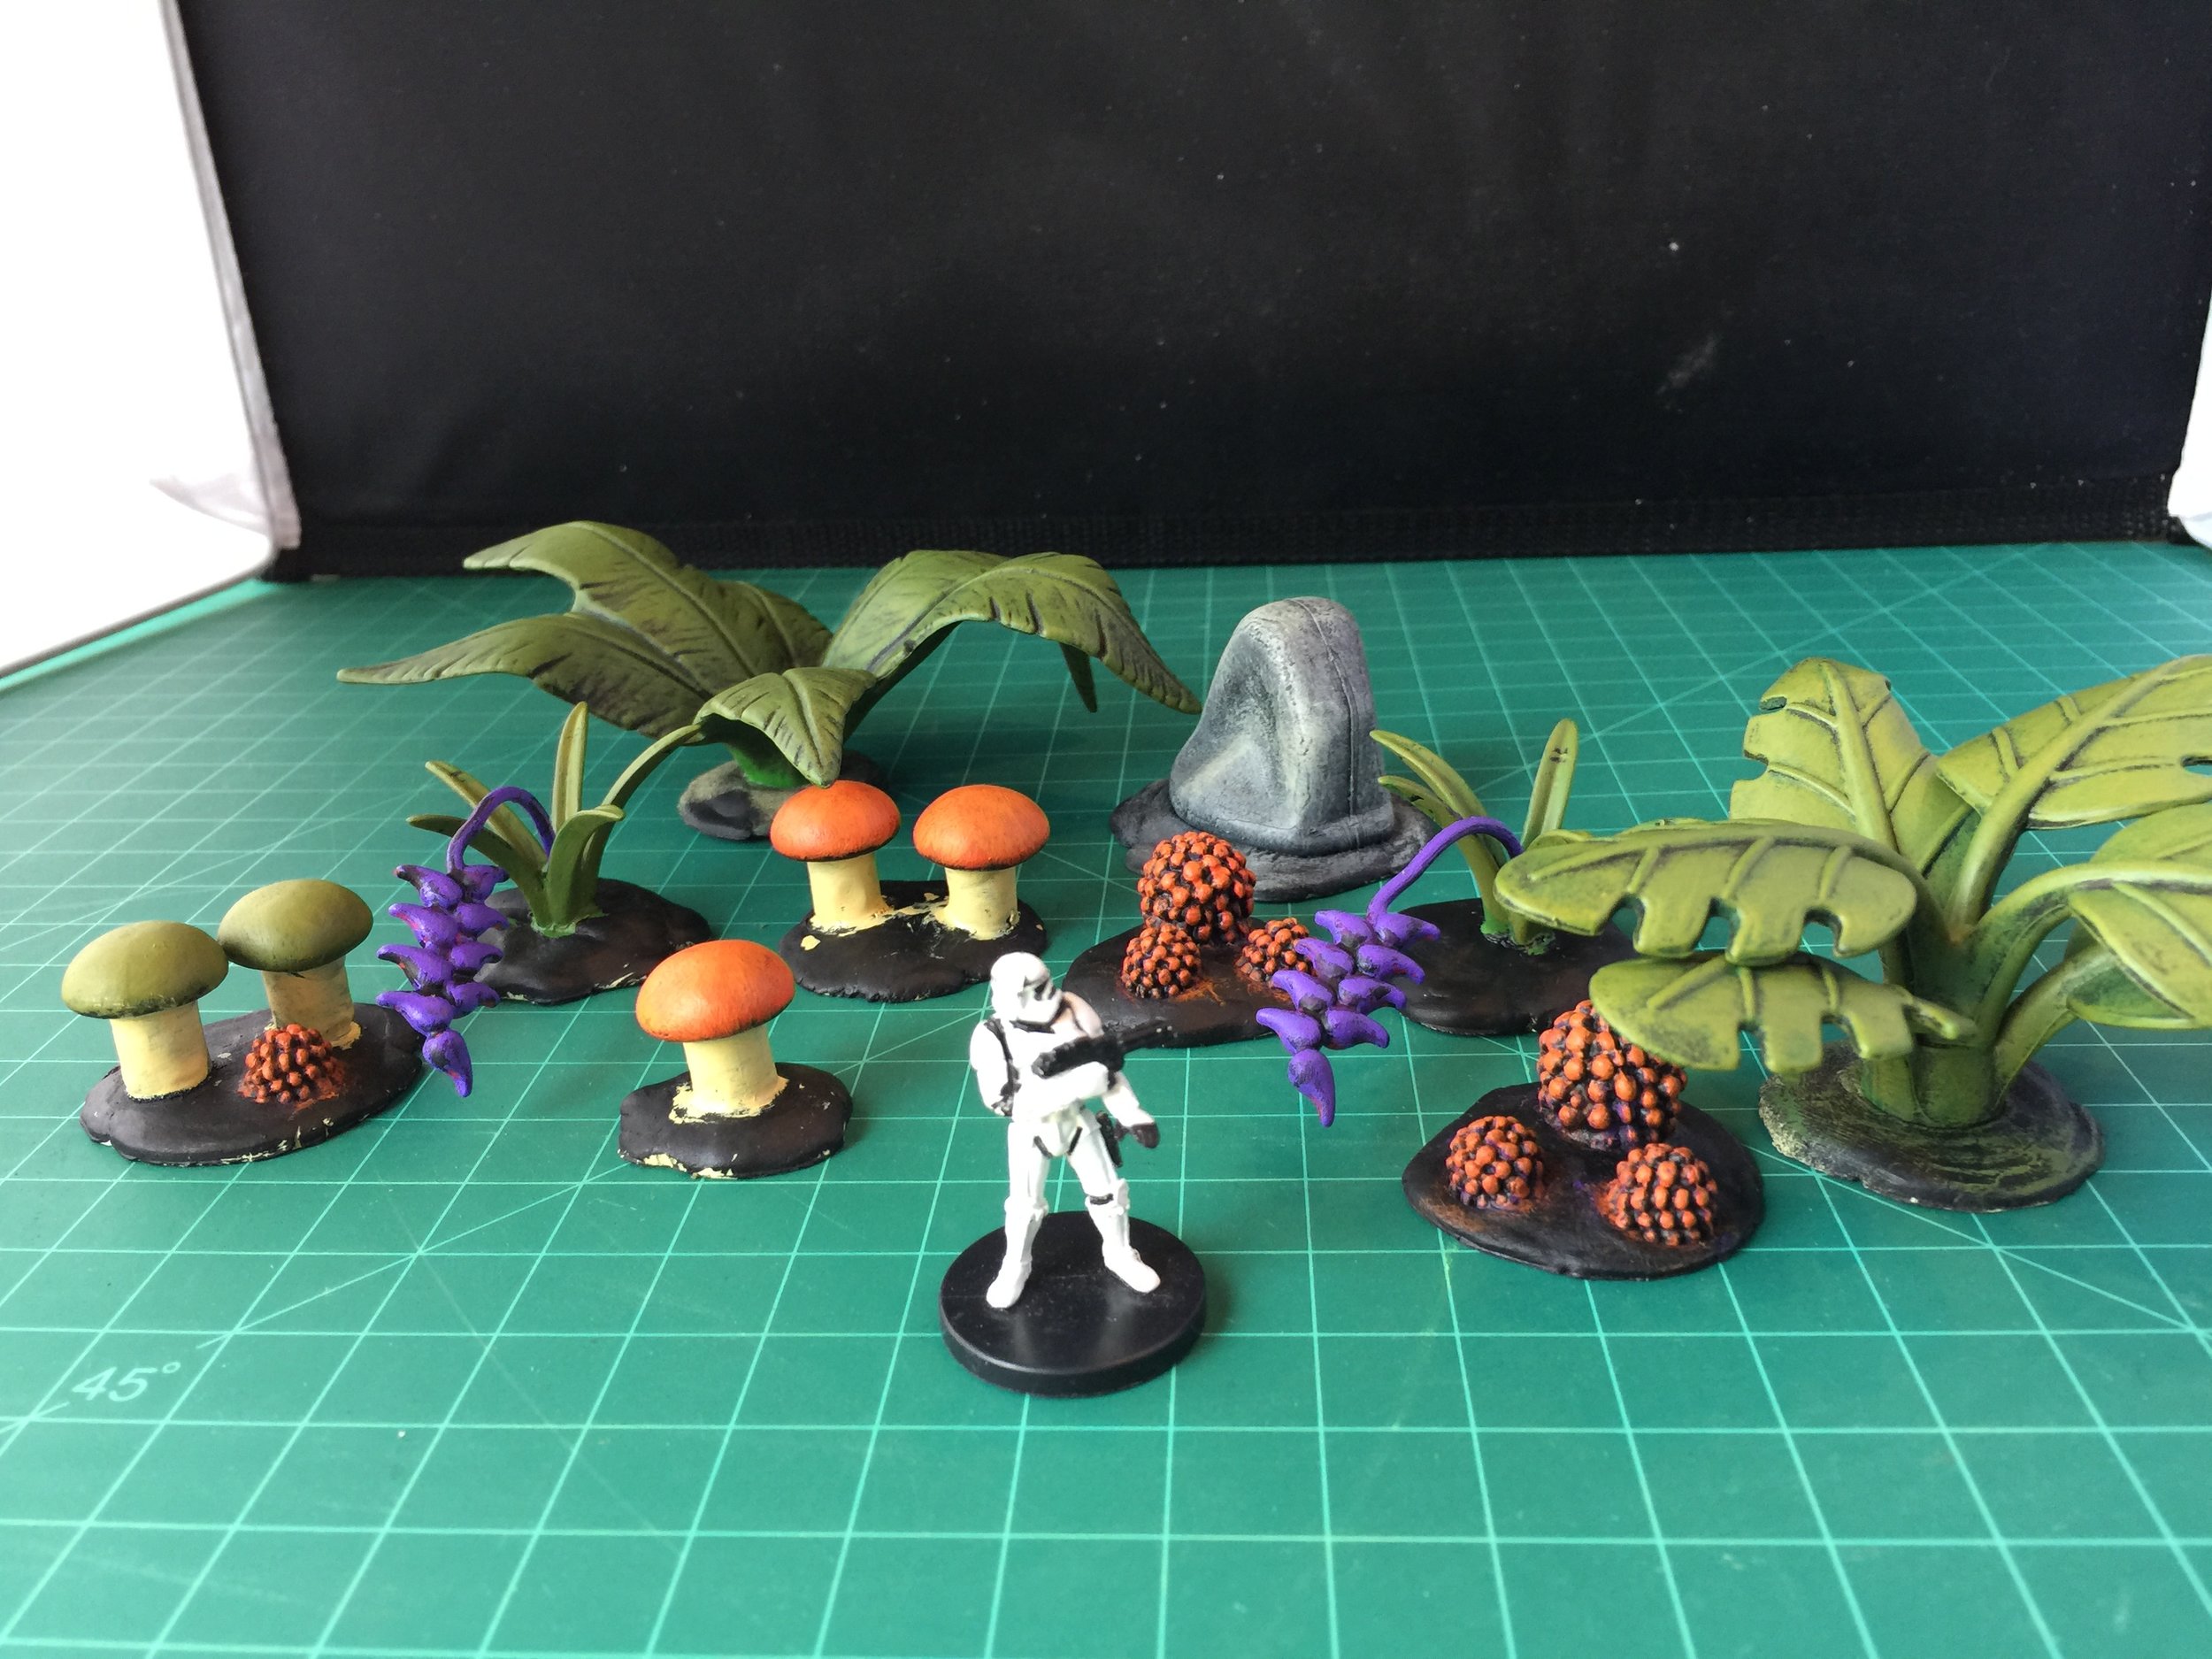
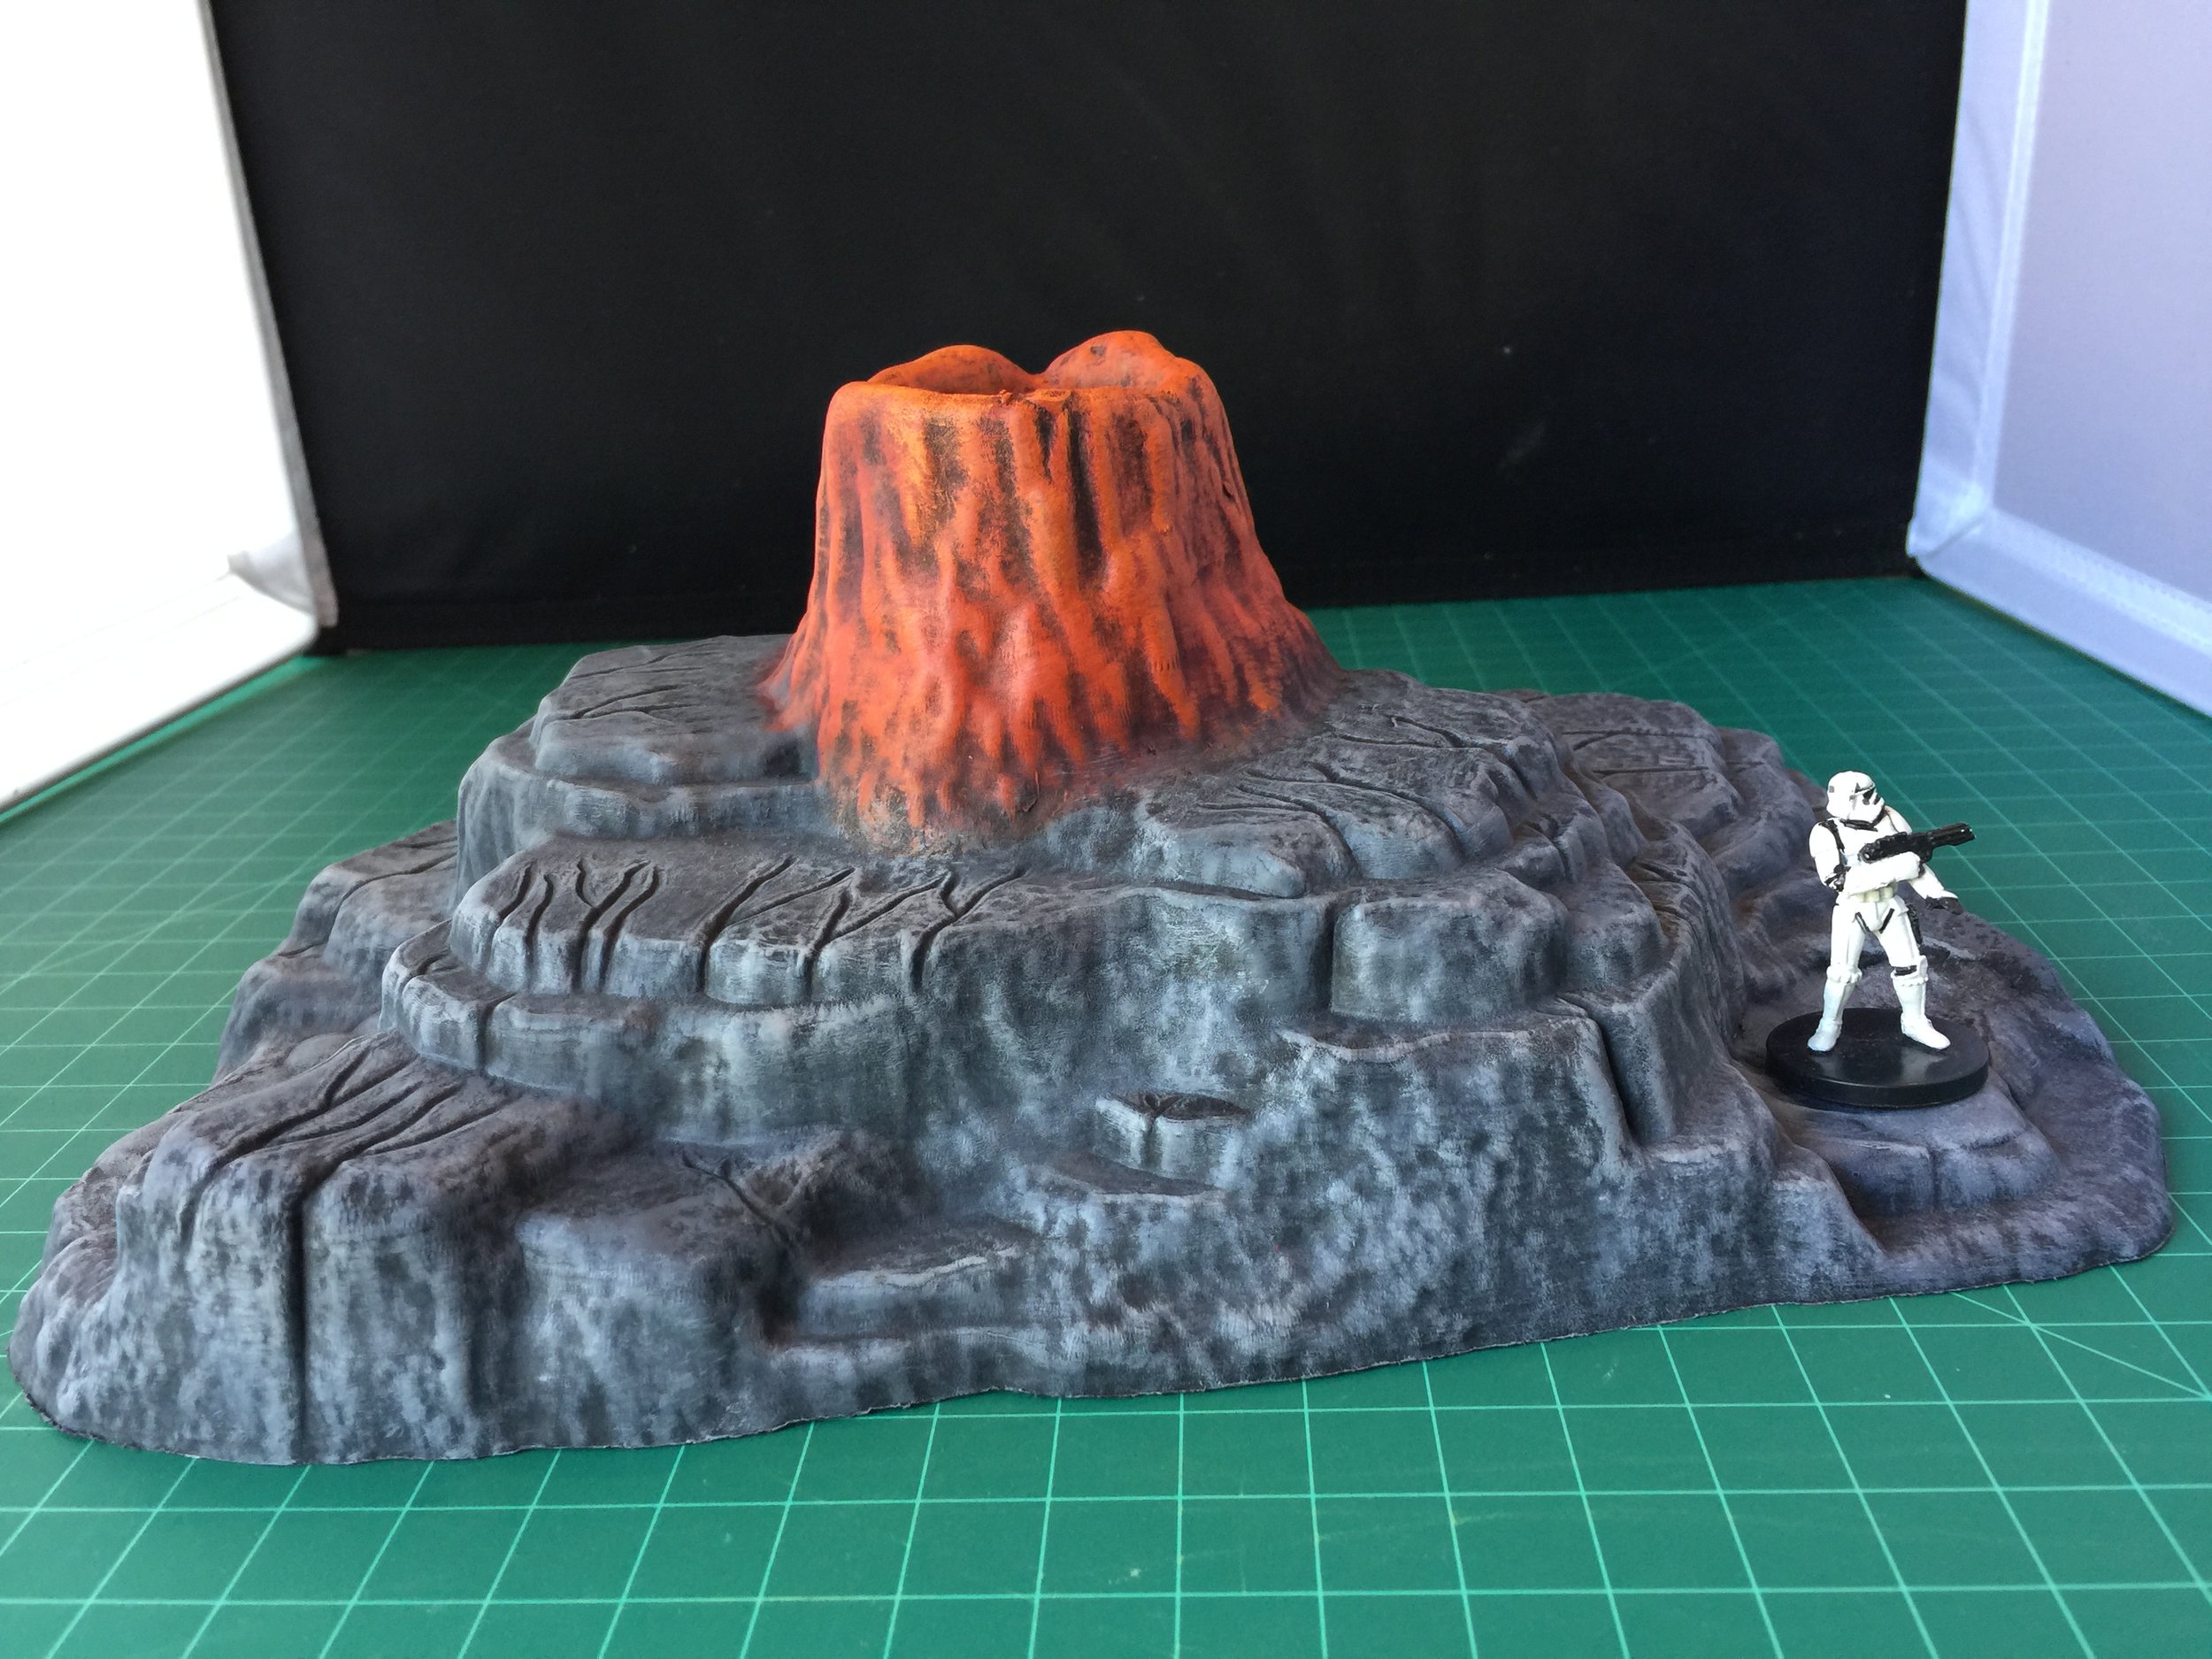
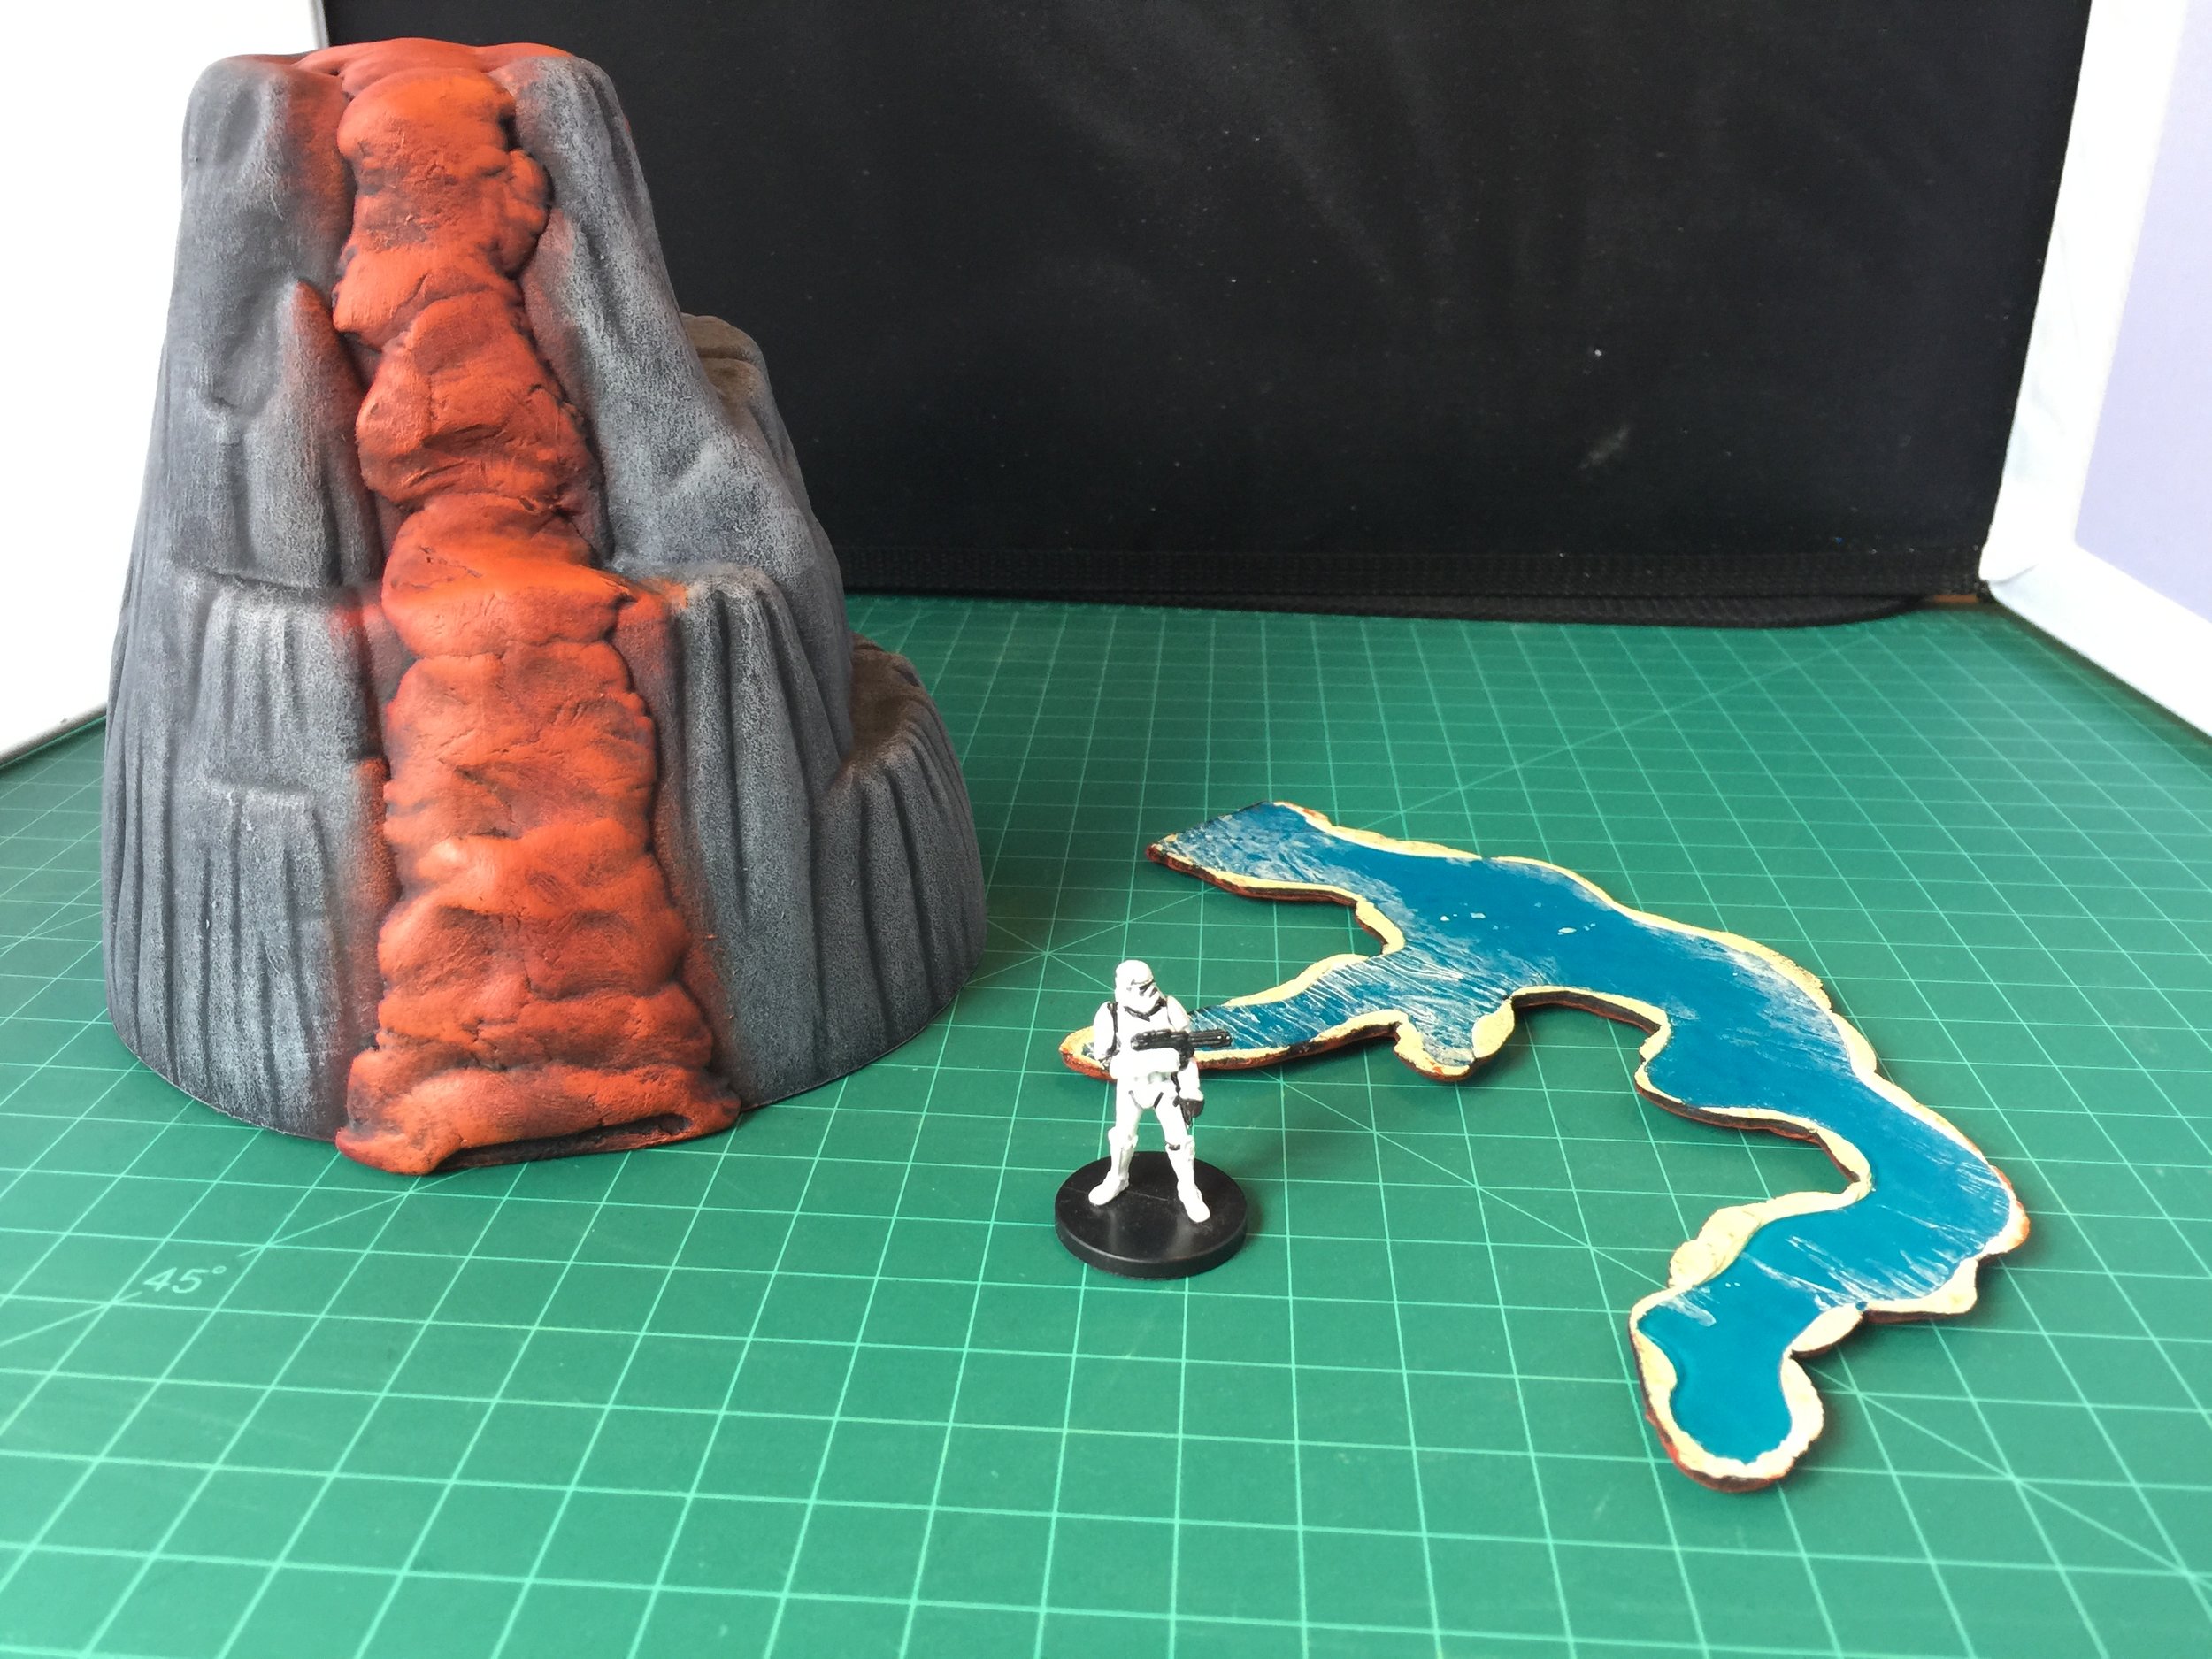
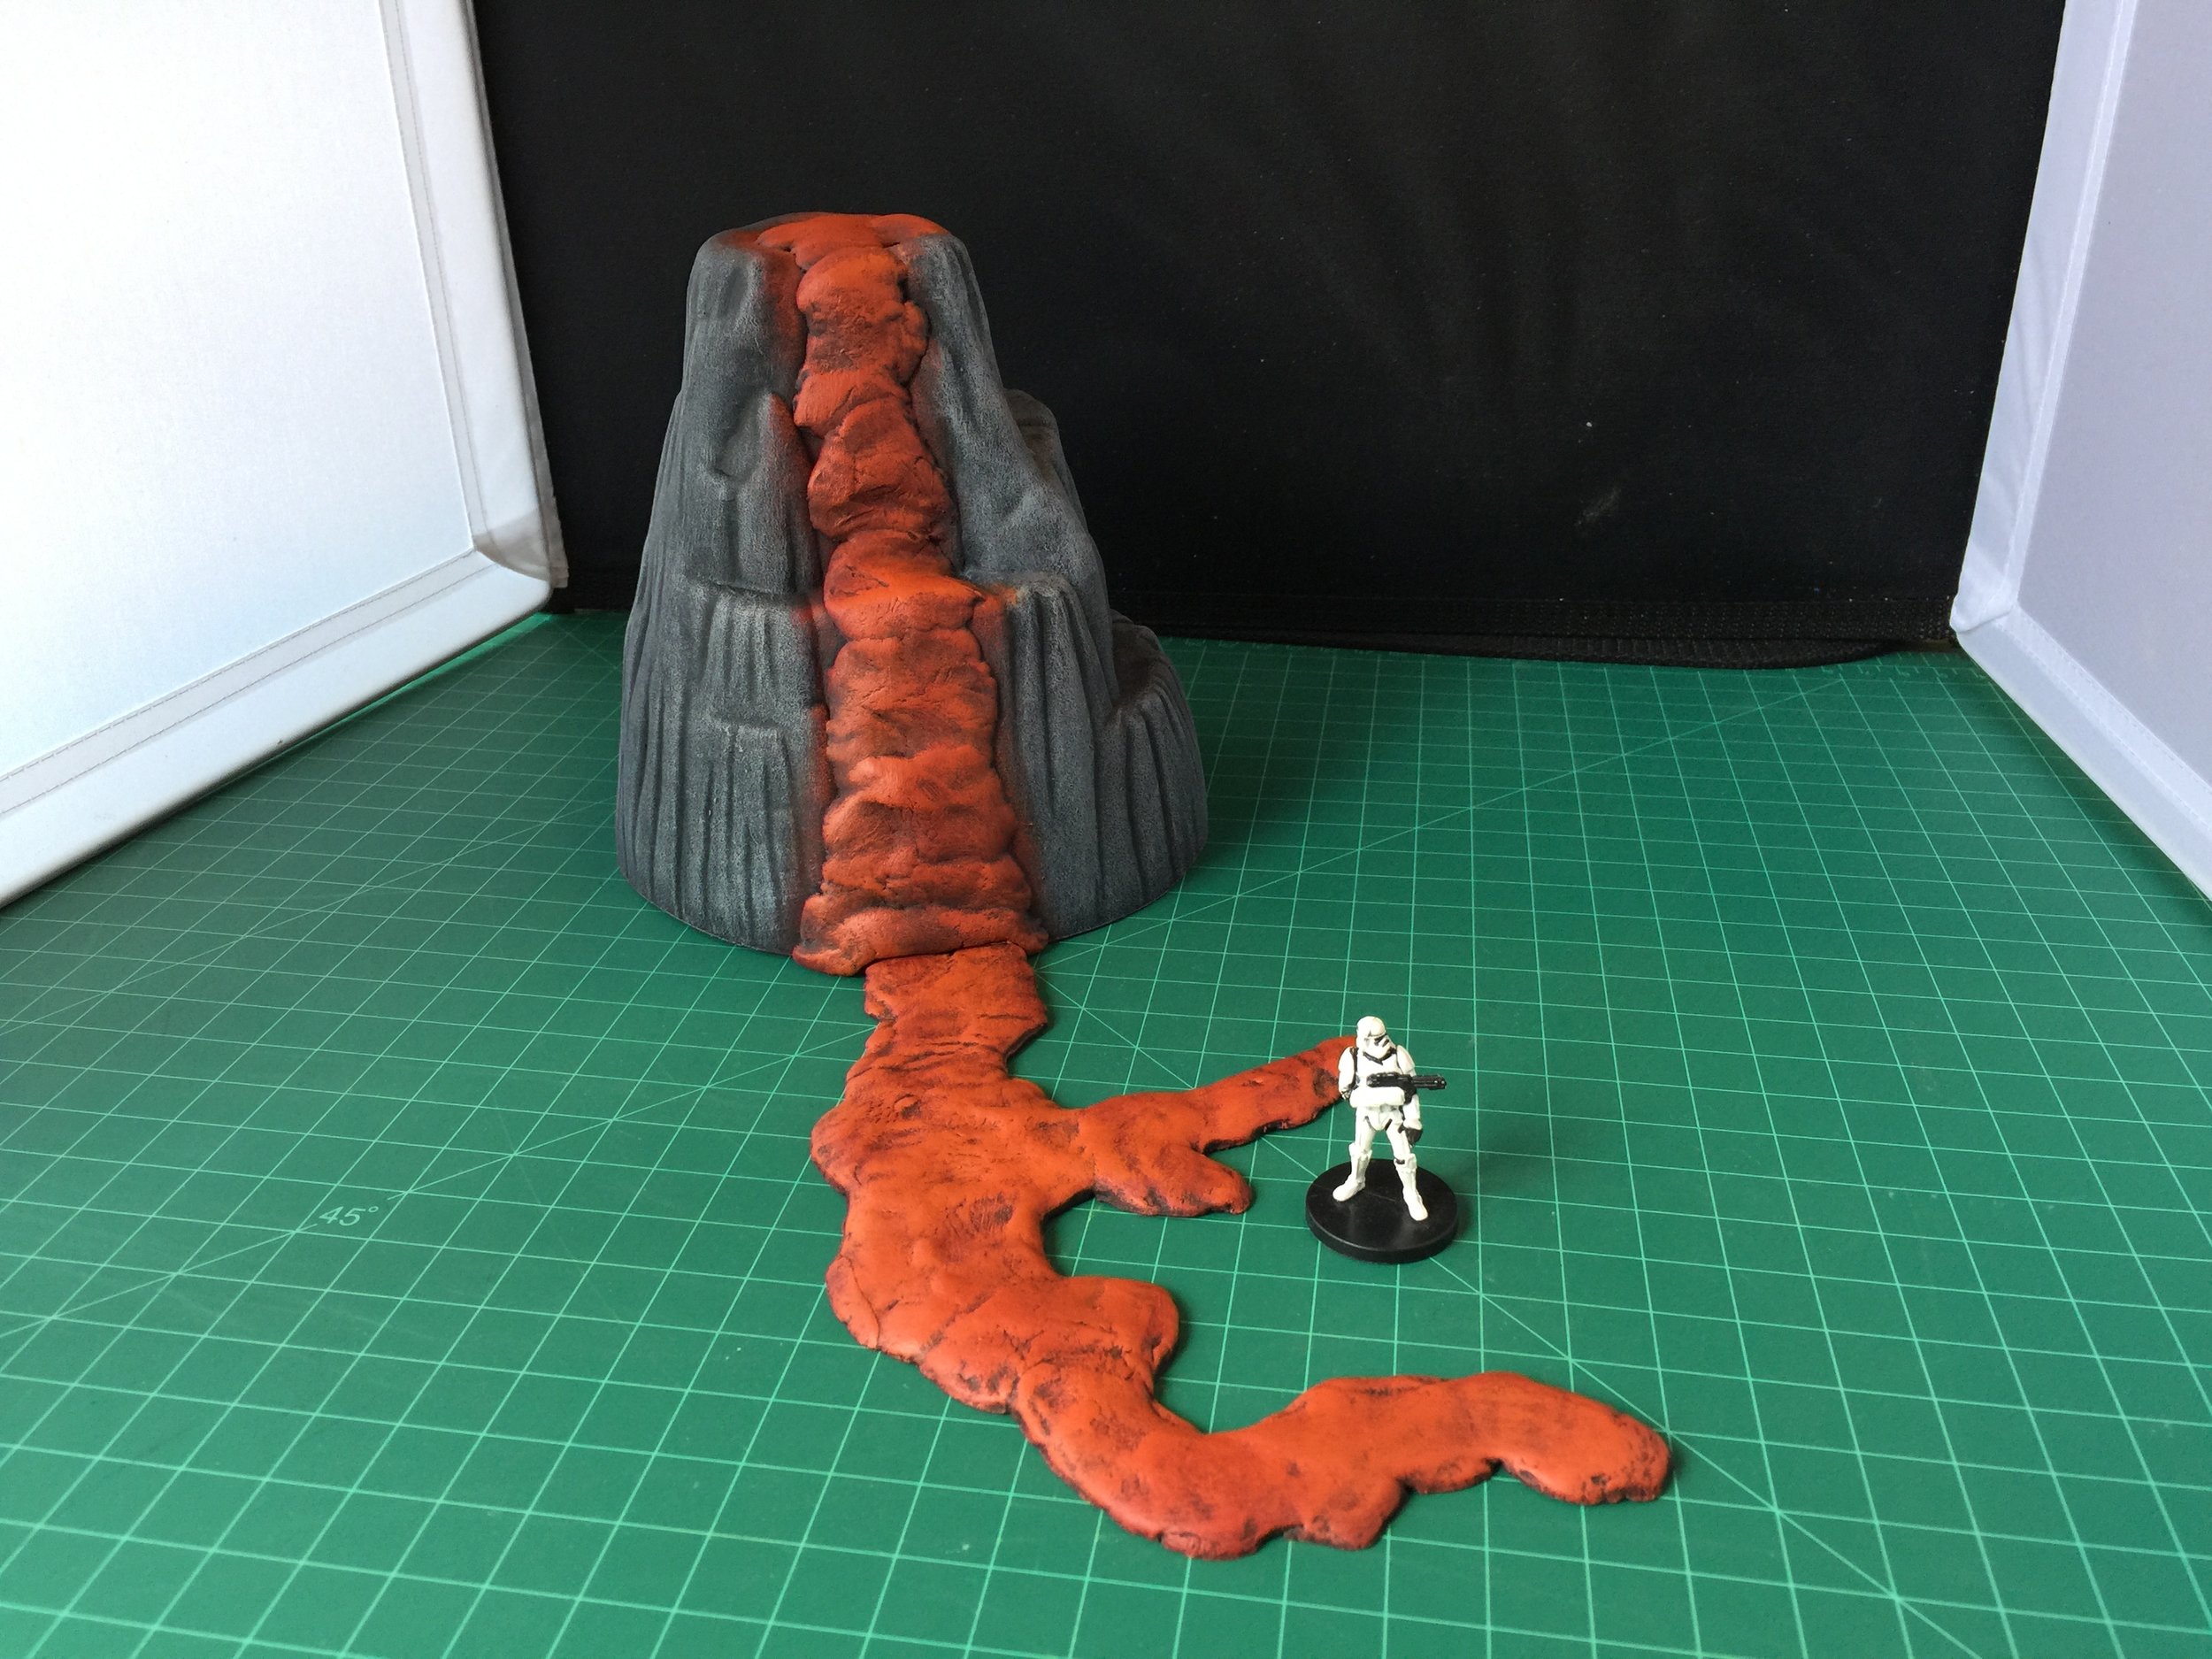
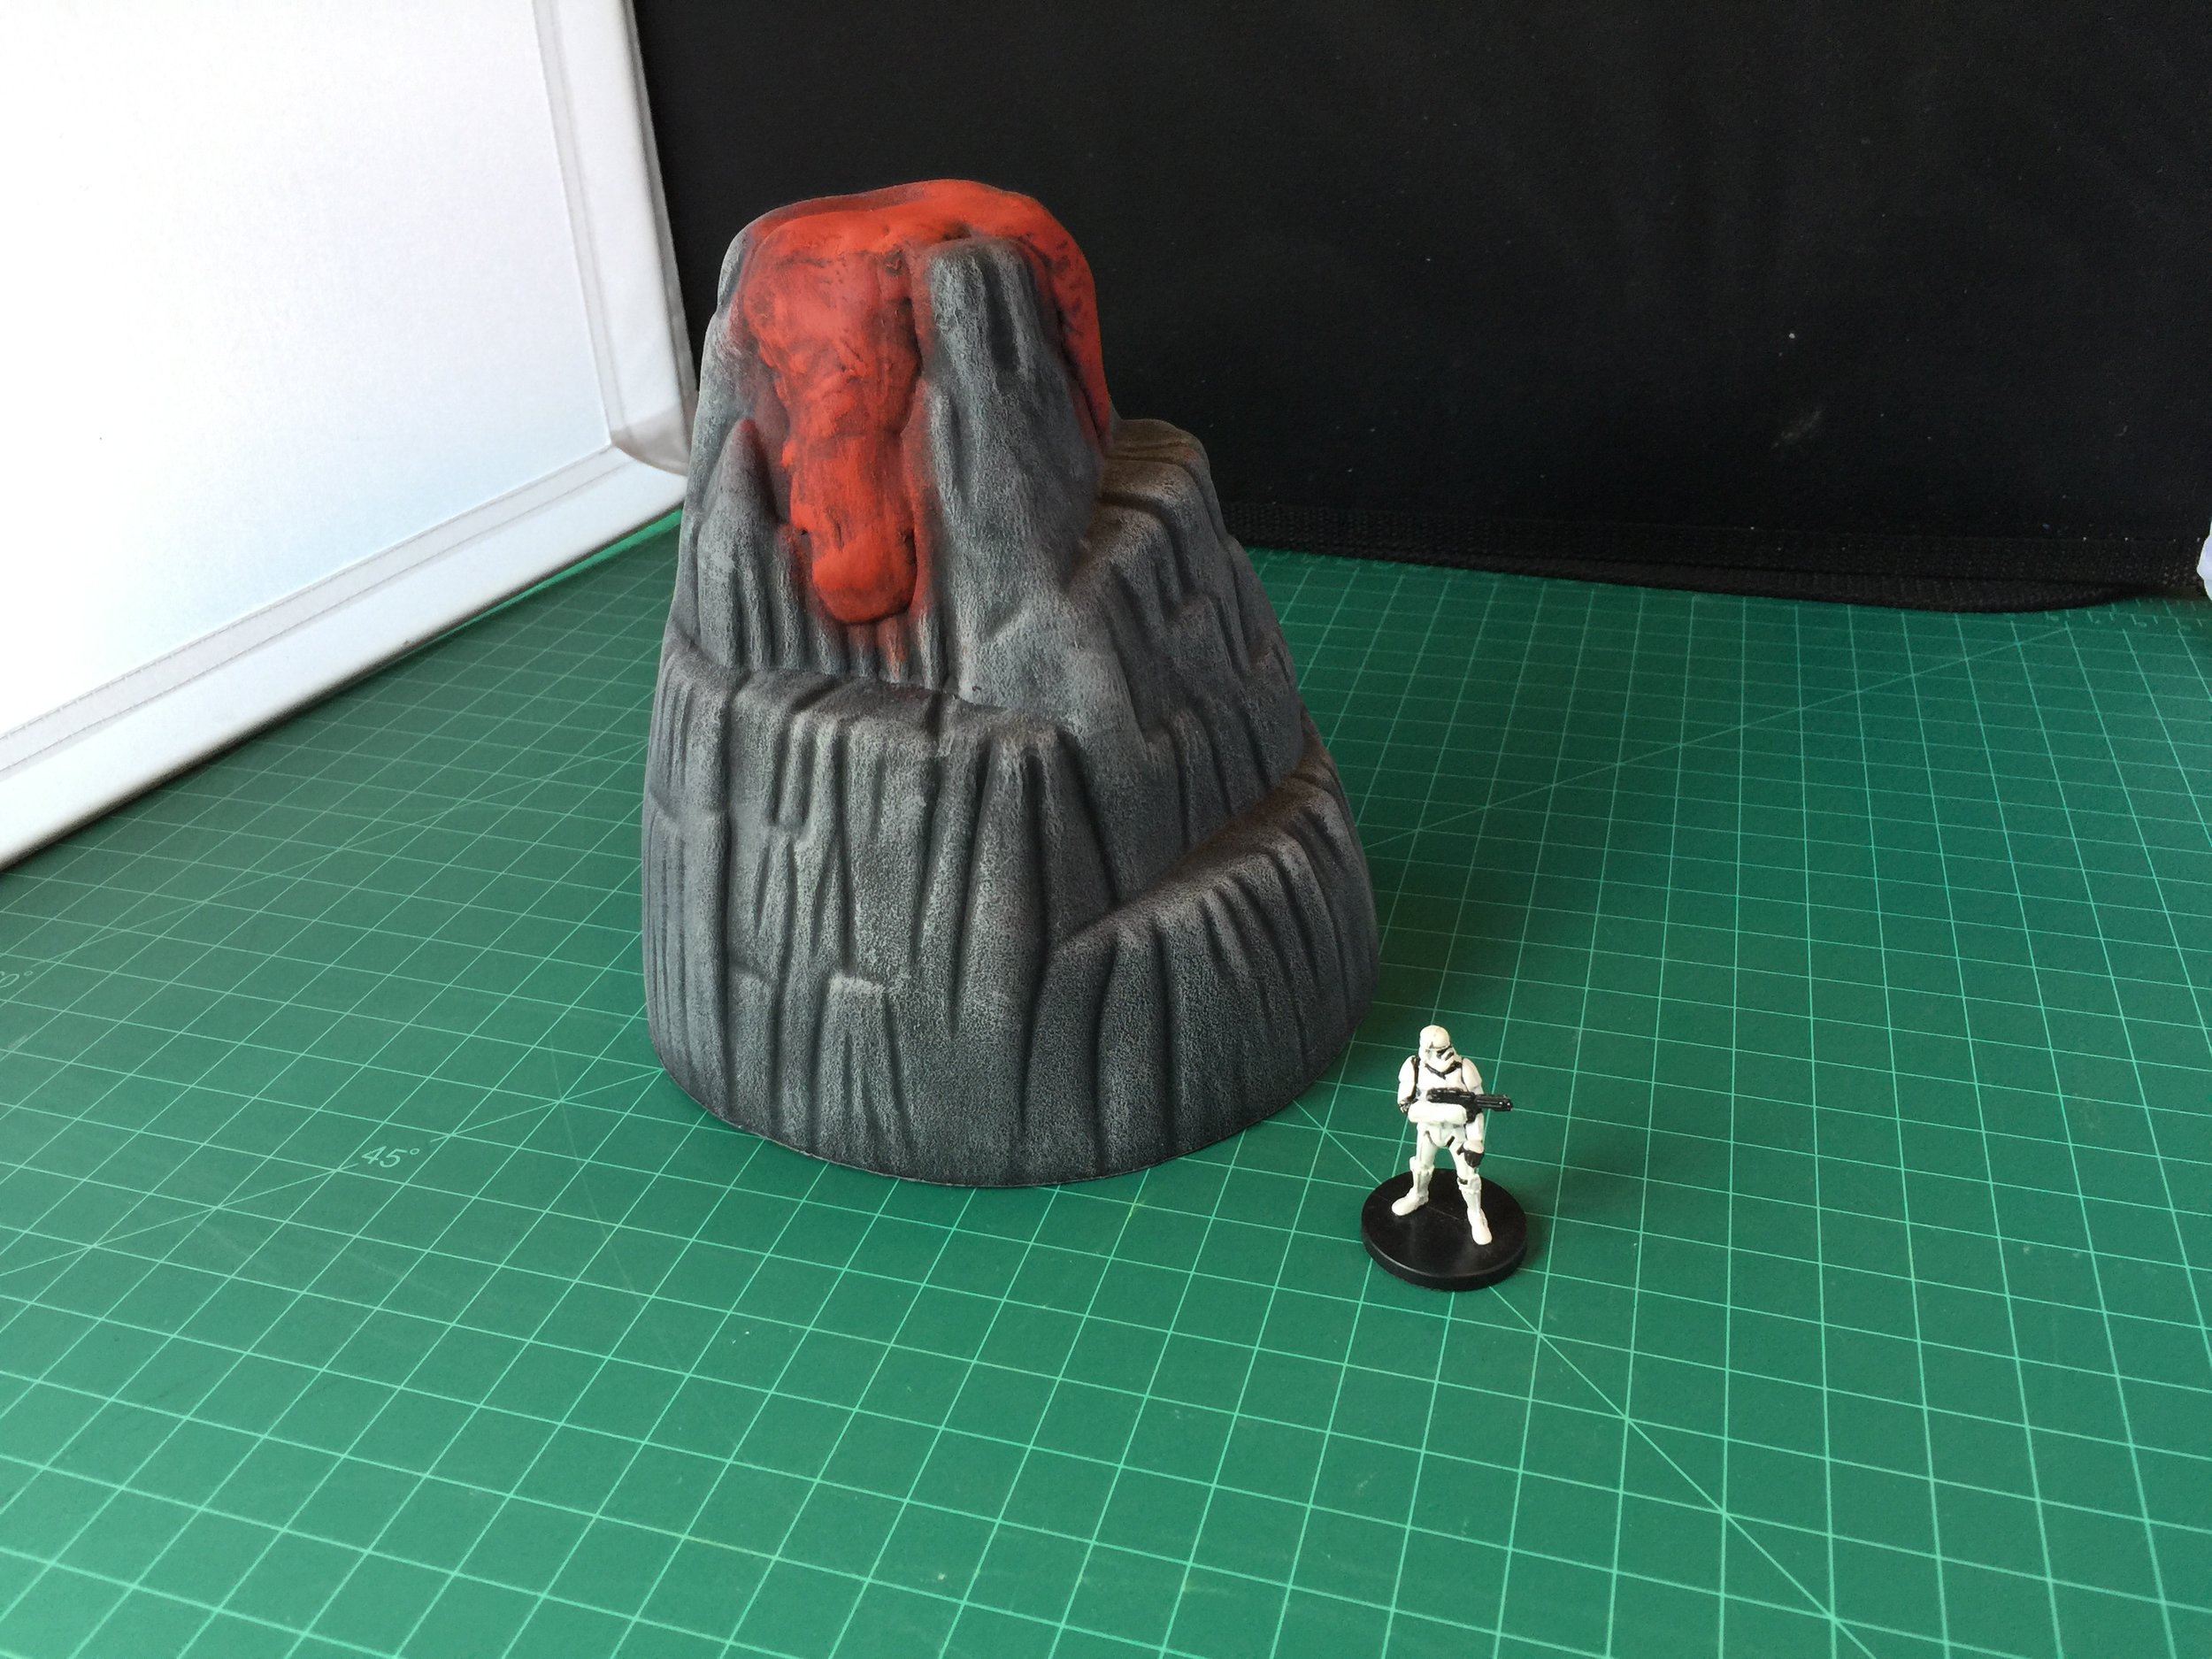
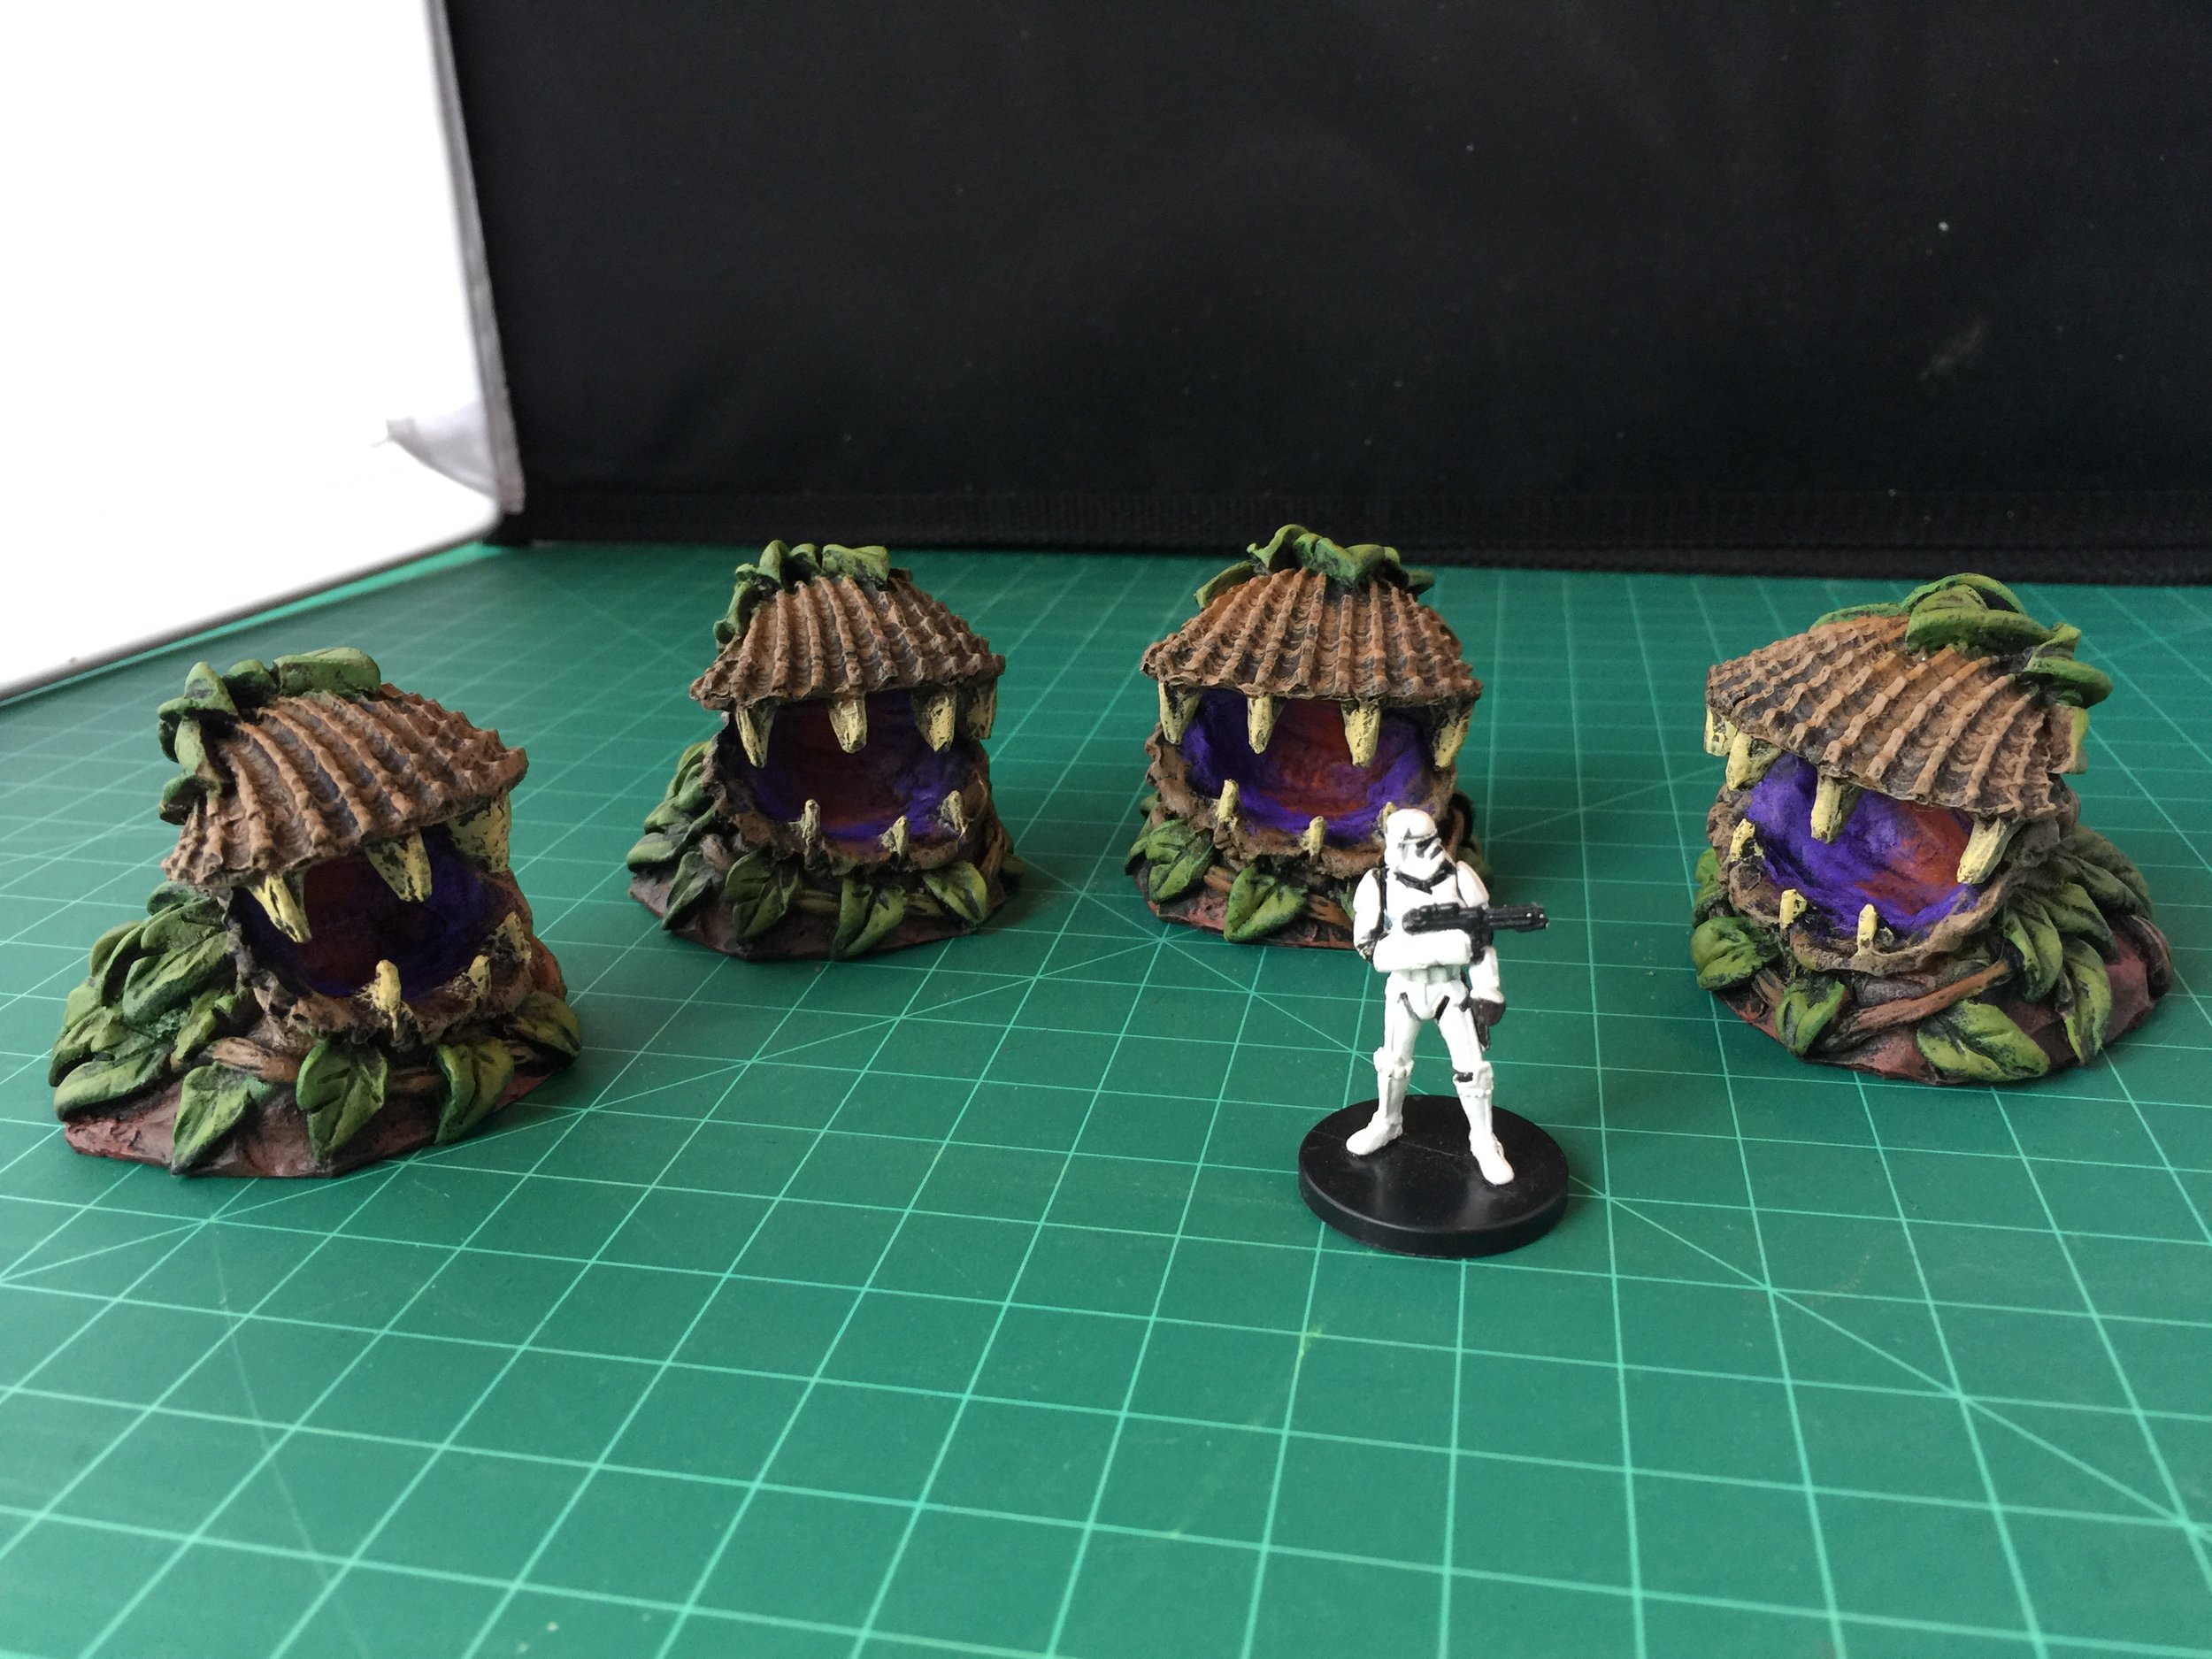
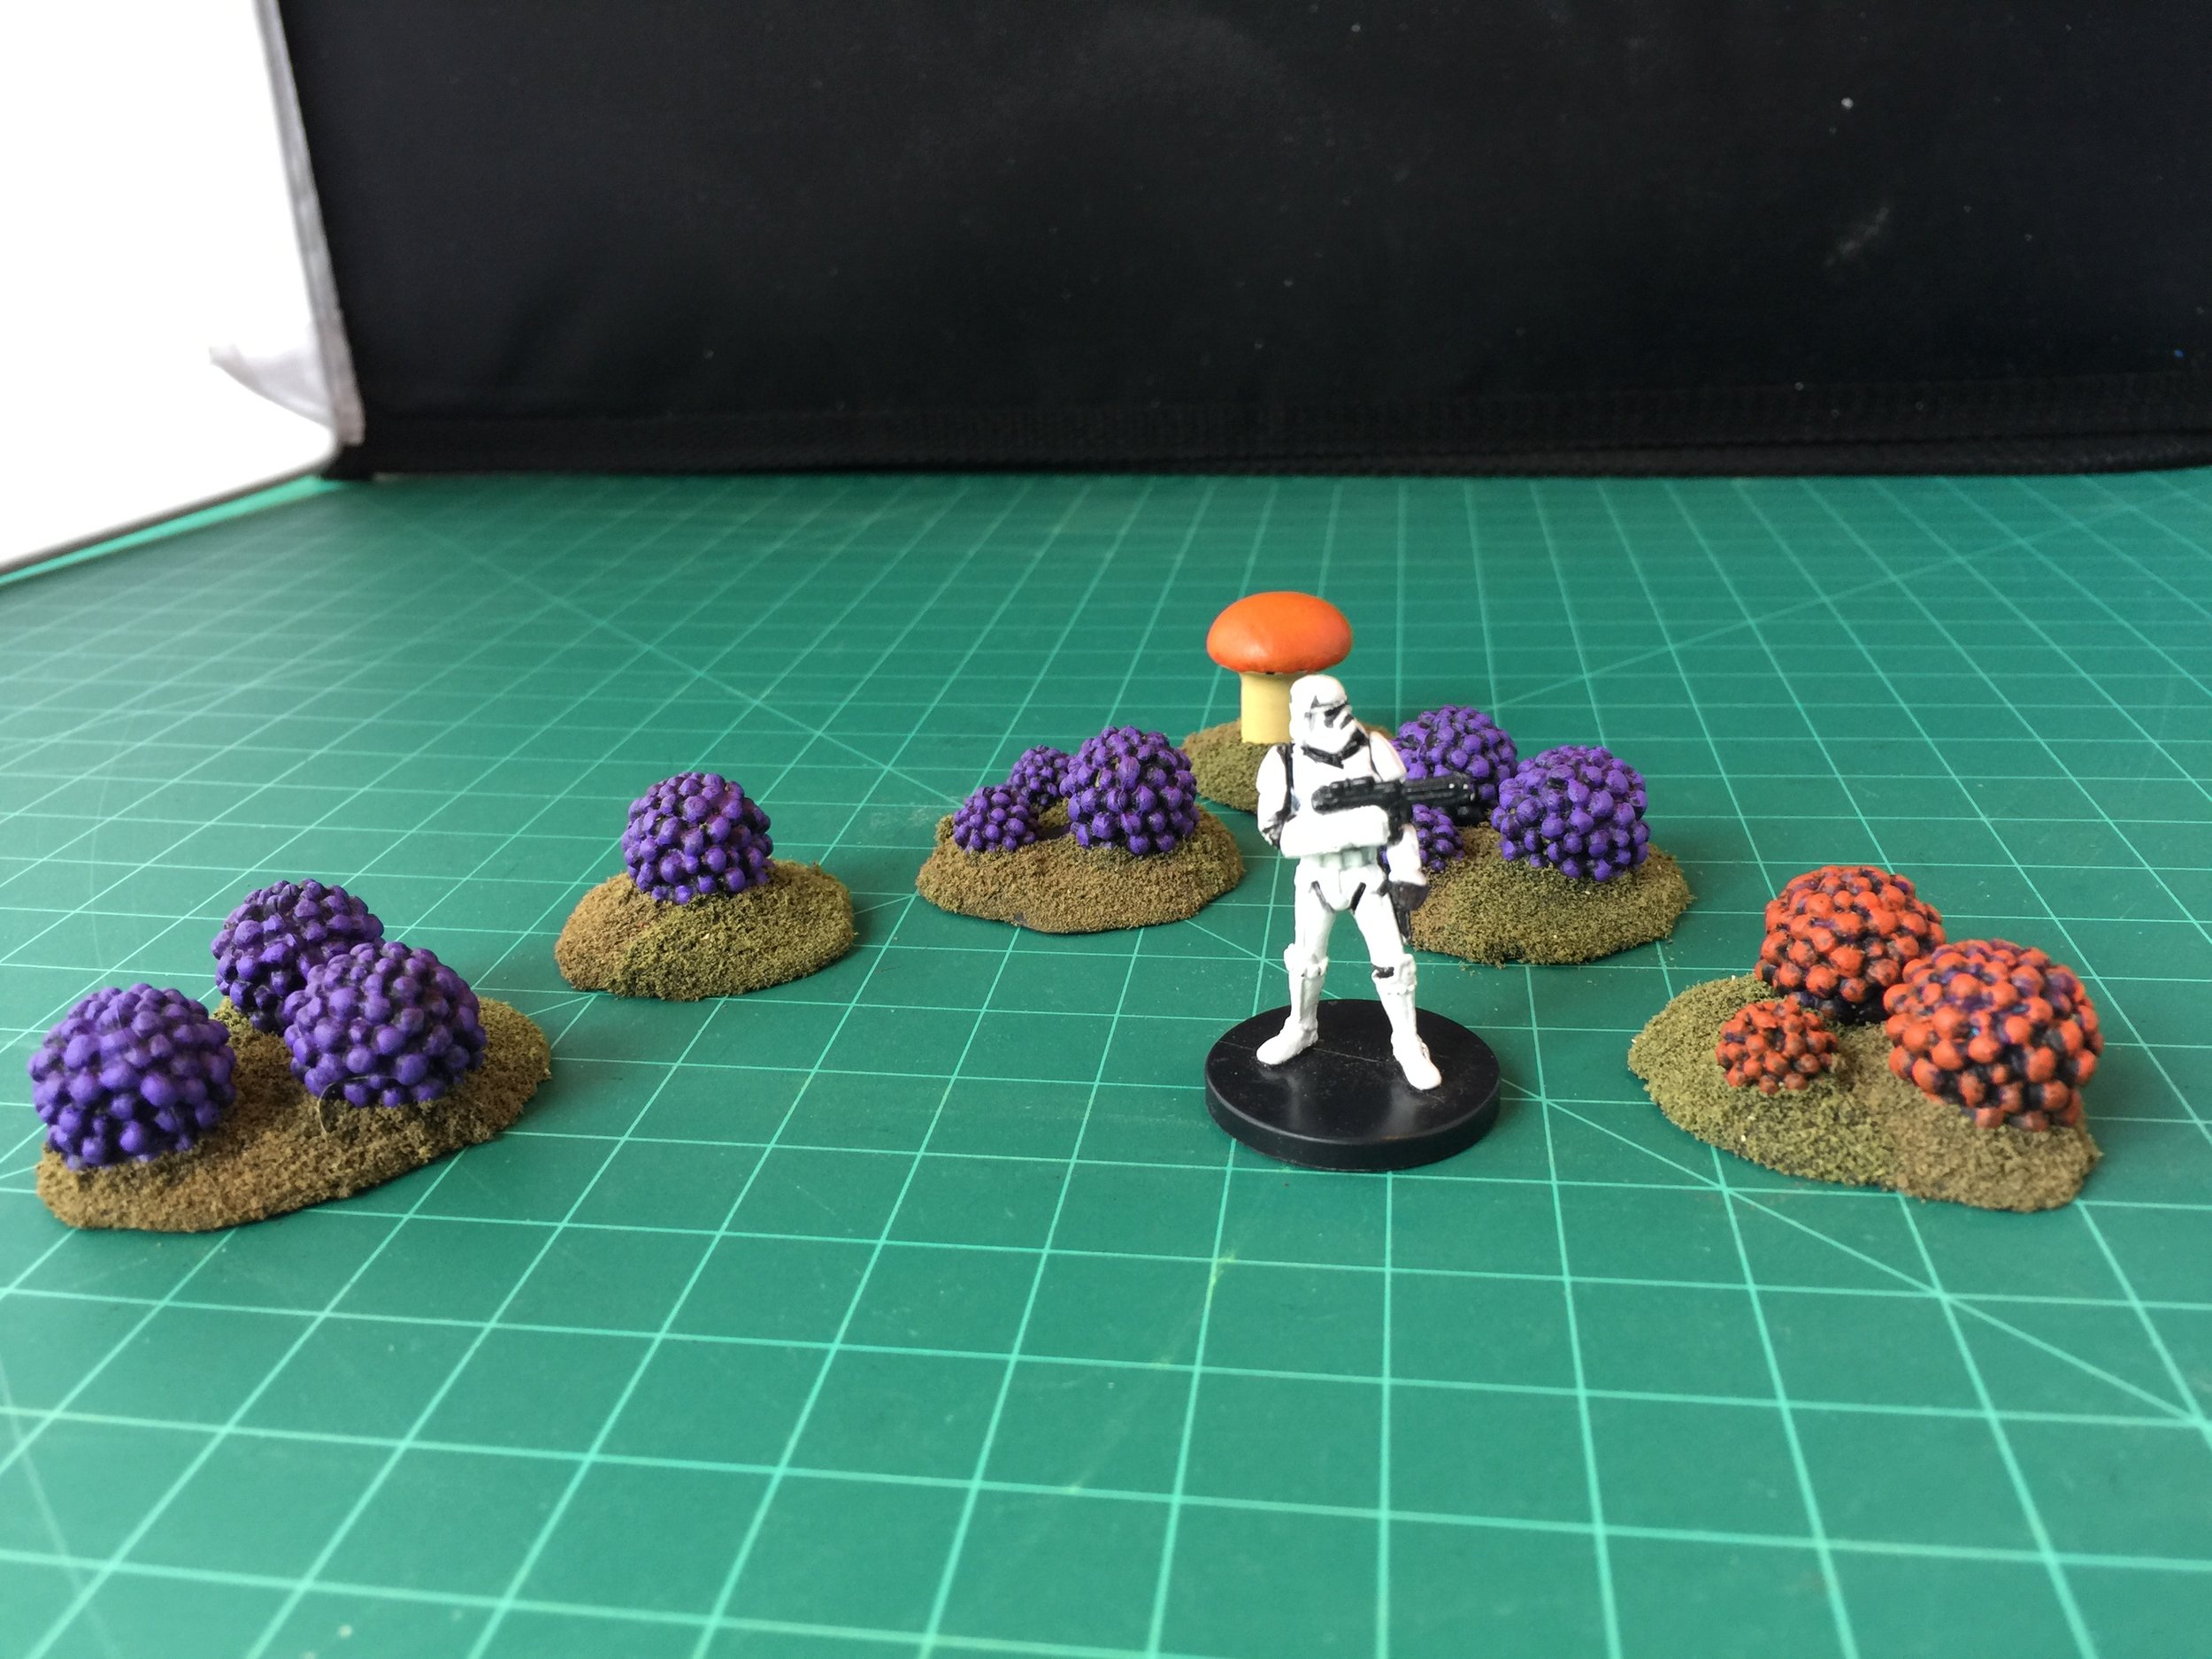
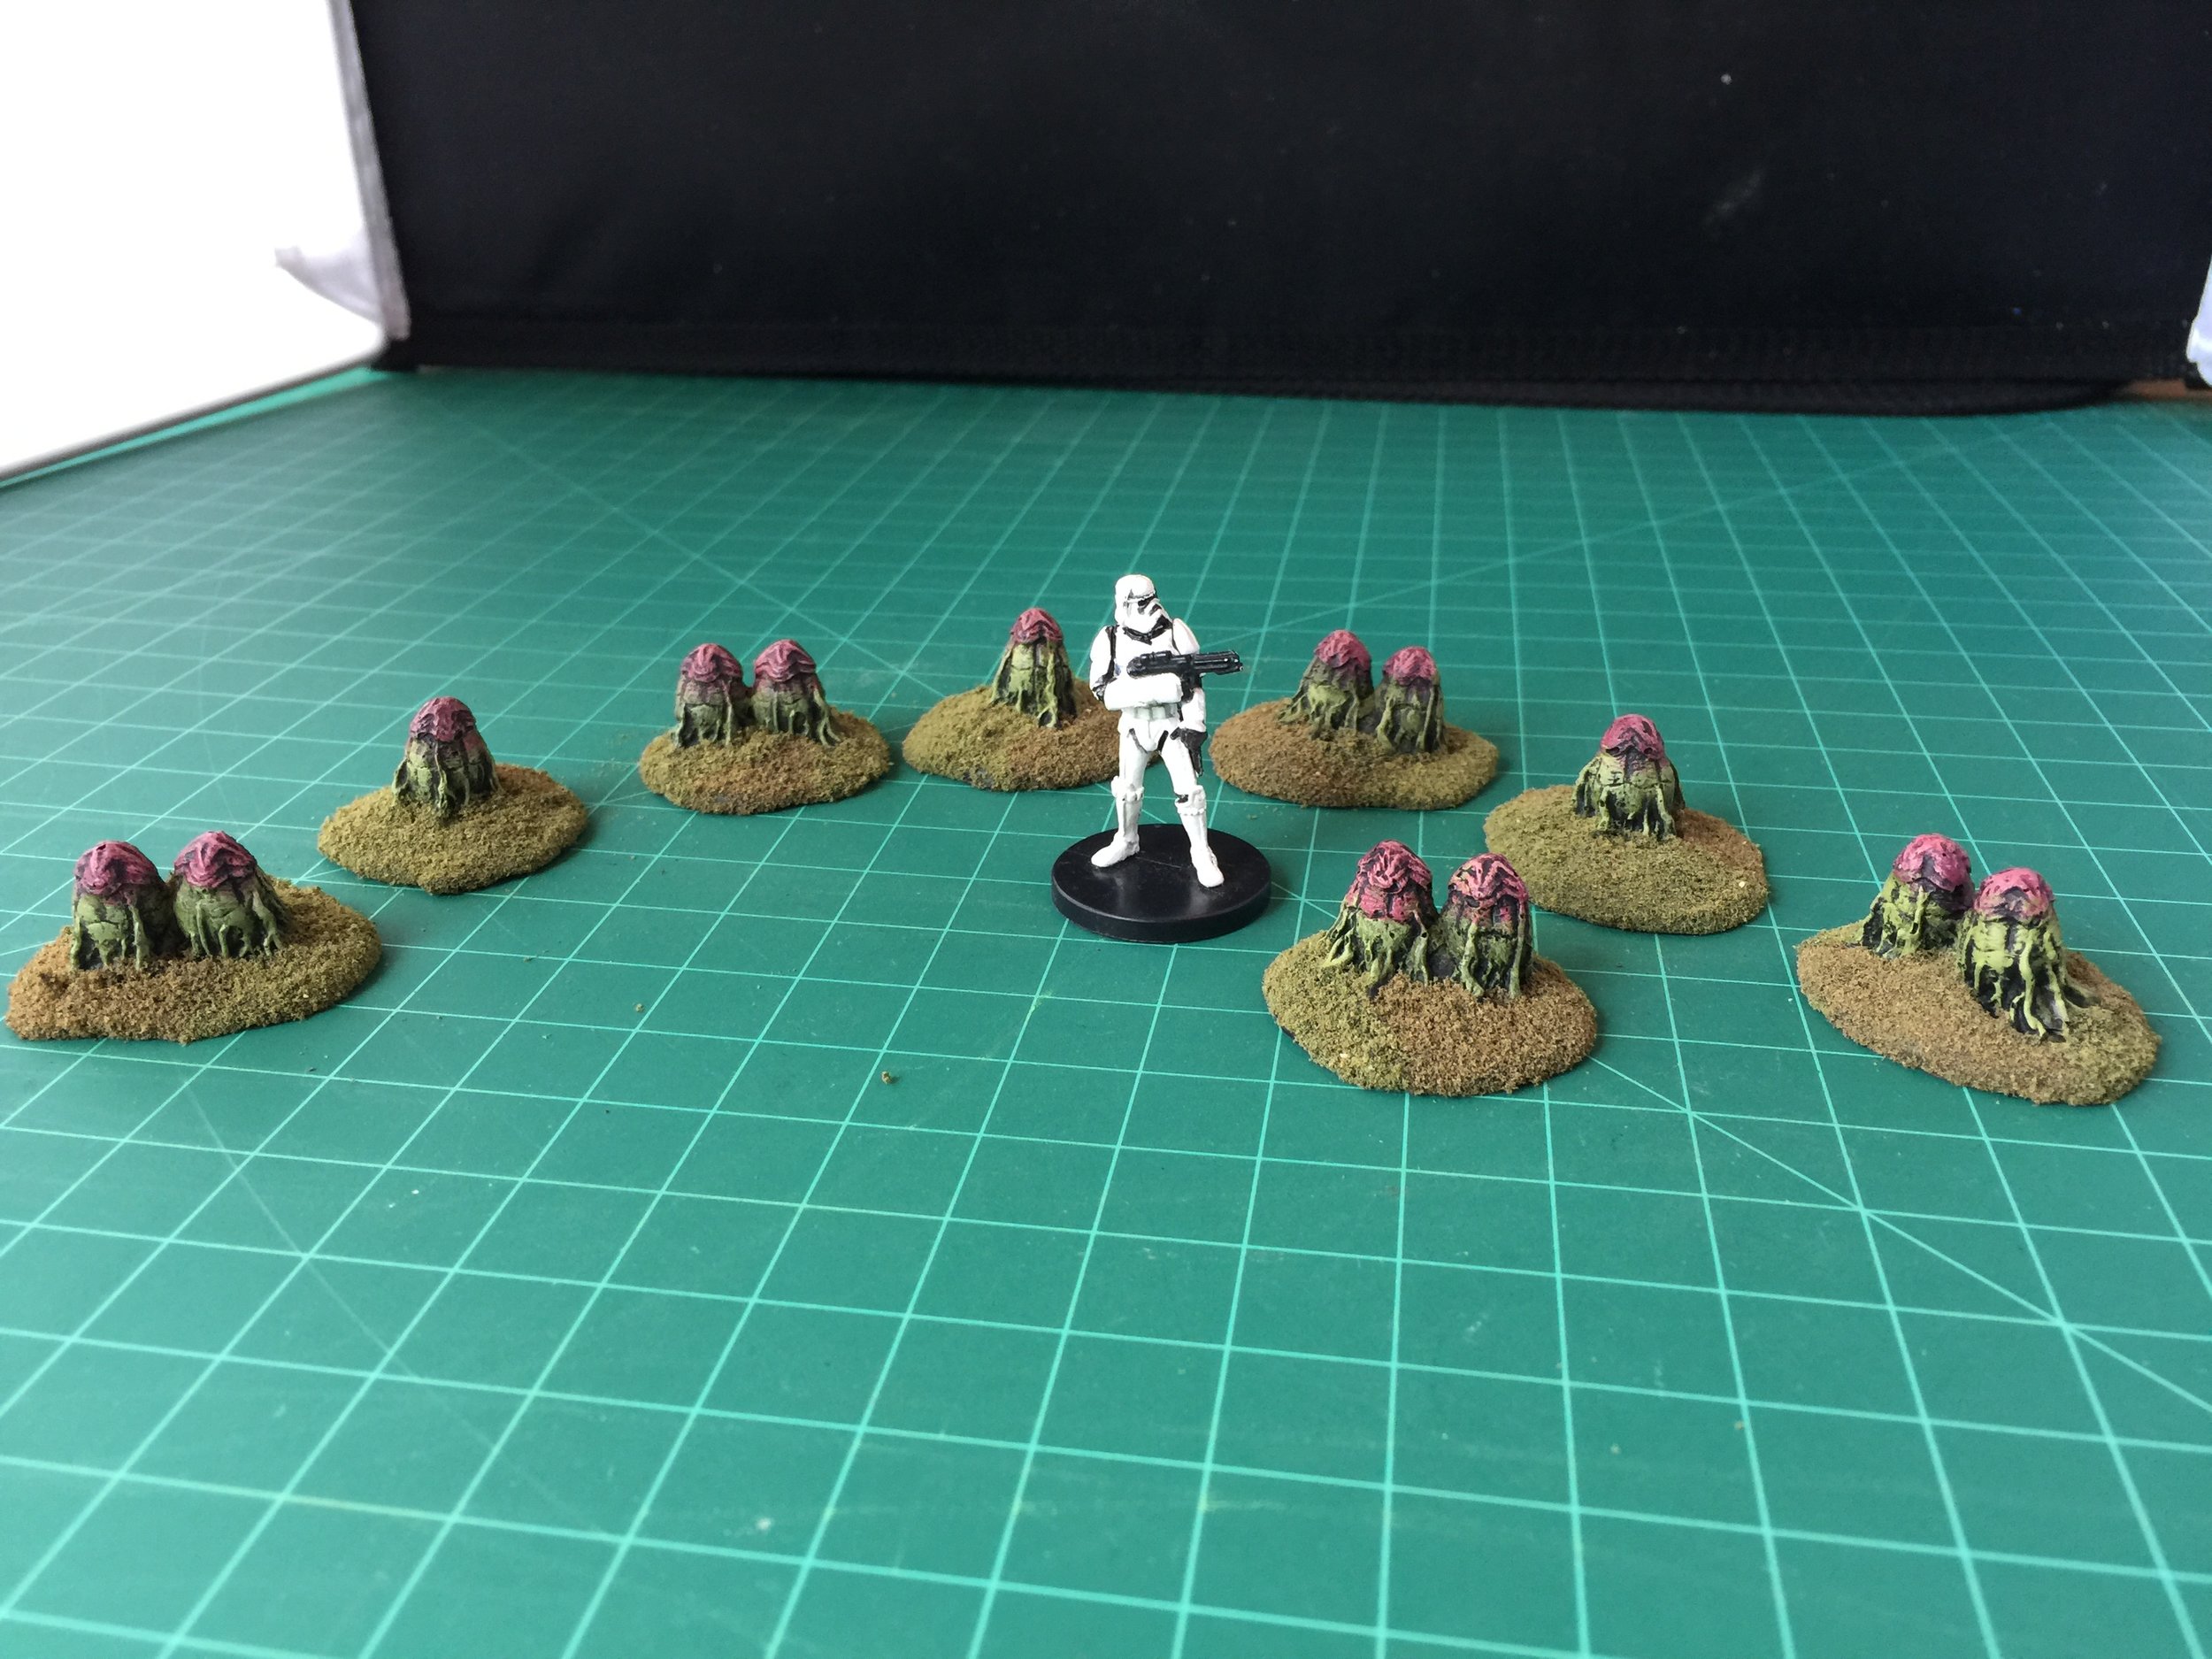
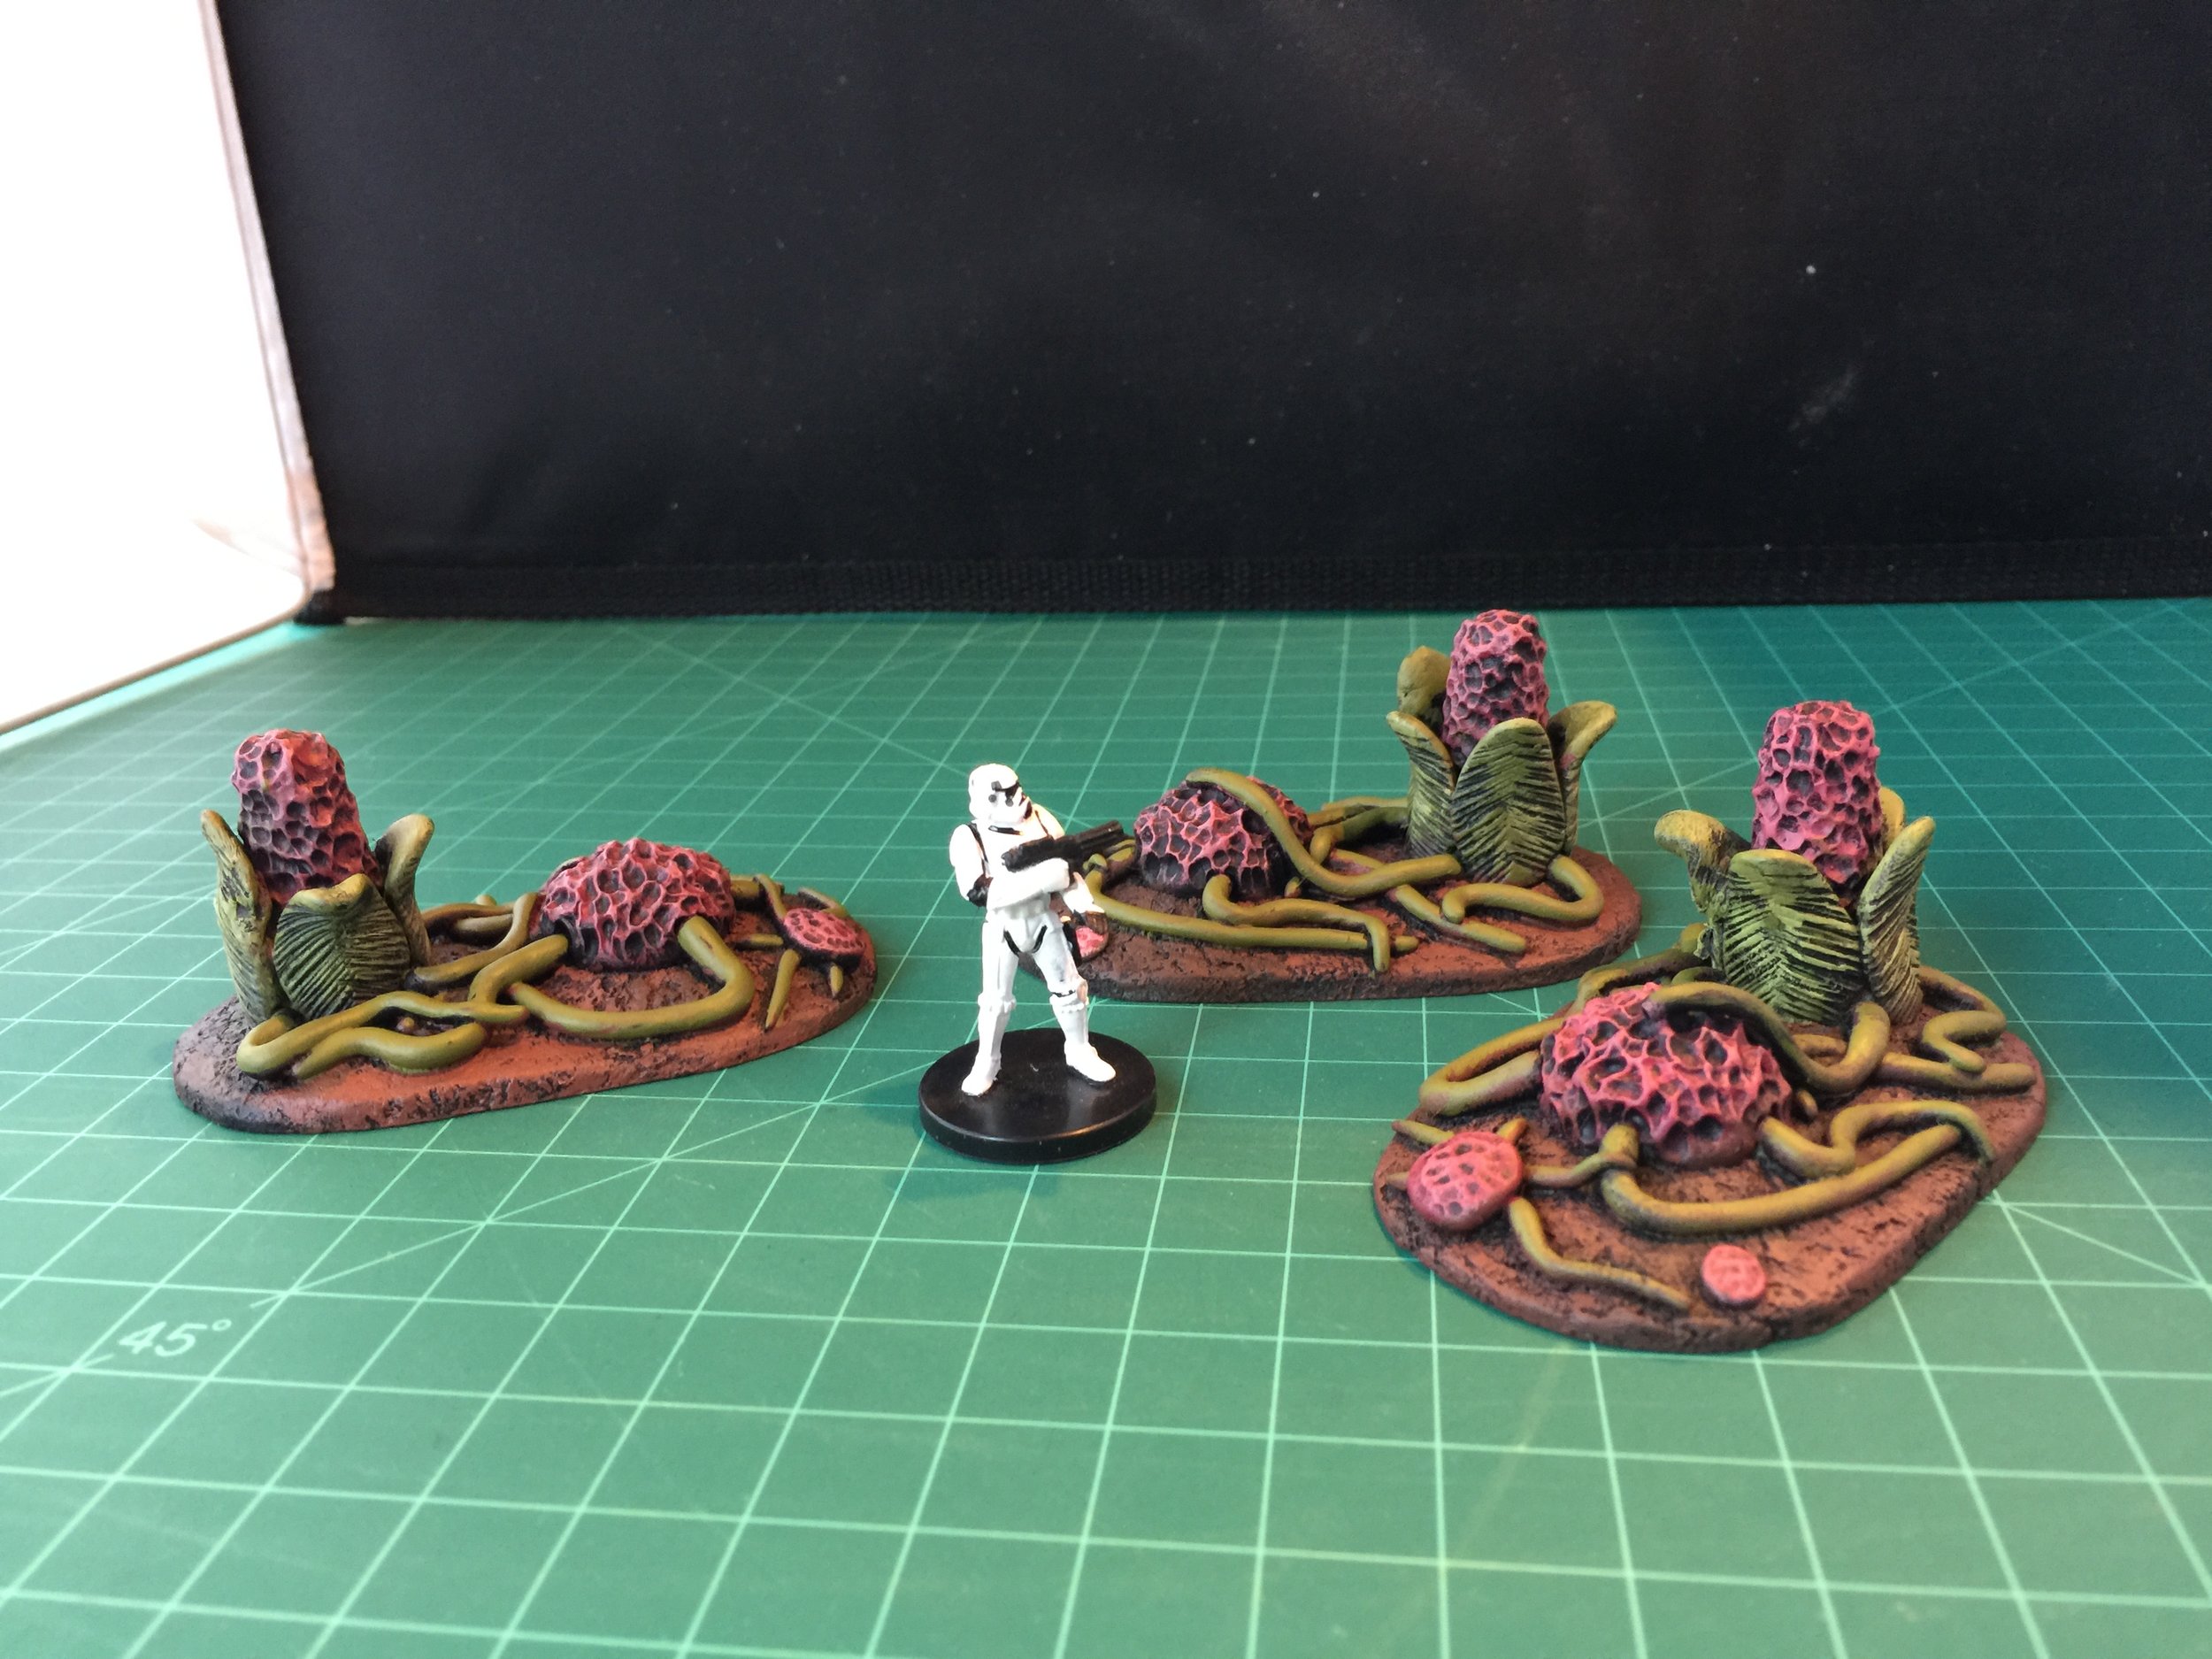
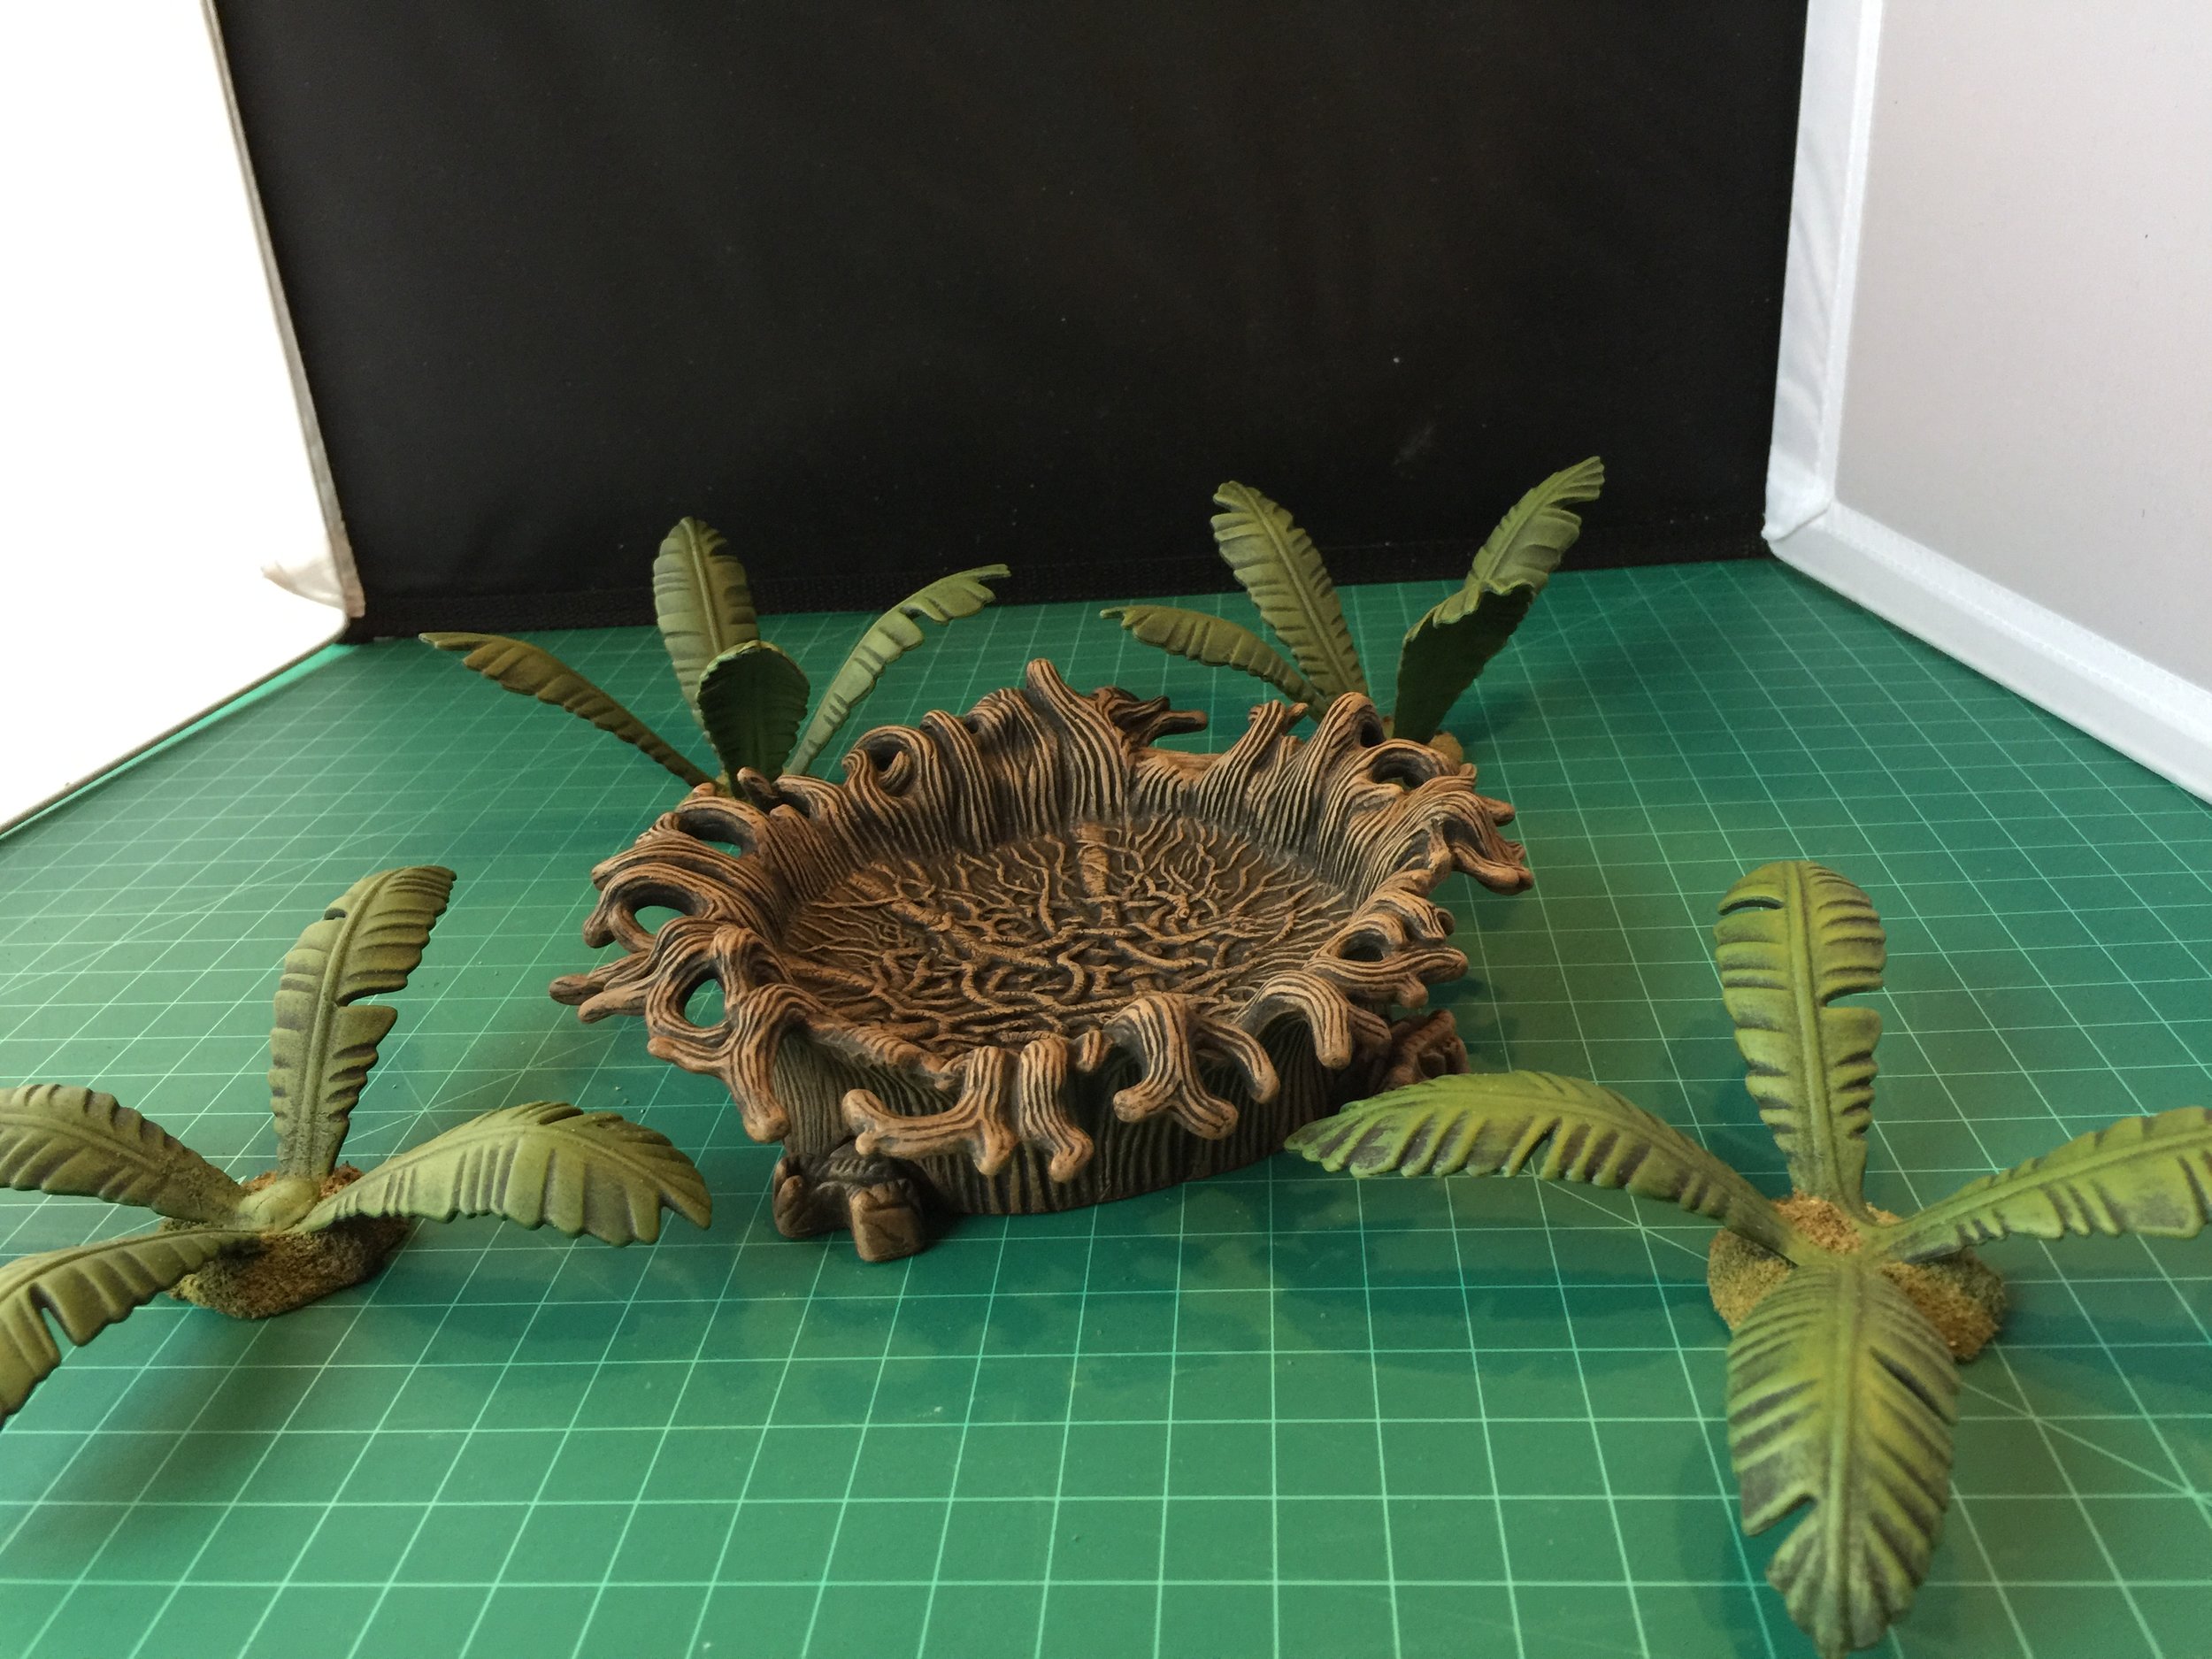
The workbench week opened with a couple of new volcanoes. These are based on toys found at the swap meet and shown as painted up by me in previous weeks. But this time I took two of the unpainted toy volcanoes and added Milliput to serve as lava flows. In the case of the first volcano shown I have run the Milliput lava to the bottom of the volcano cone and added to it a piece of a plastic stream (again found at the swap meet) which I covered with Milliput and butted up to the volcano base to reflect a continuous flow down the volcano and onto the surface of the ground below. With the second volcano I added only a small amount of Milliput to reflect a more limited flow. Once these were done I painted up a tree stump and a dinosaur nest by unknown manufacturers, and followed those up with 4 flesh-eating plants from Acheson Creations. I concluded my plant painting for this project (I think… things keep turning up) with some boysenberry-like plants made from pop-beads and based in Milliput. I also found some more of the HeroClix/HorrorClix (not sure which) alien pods.
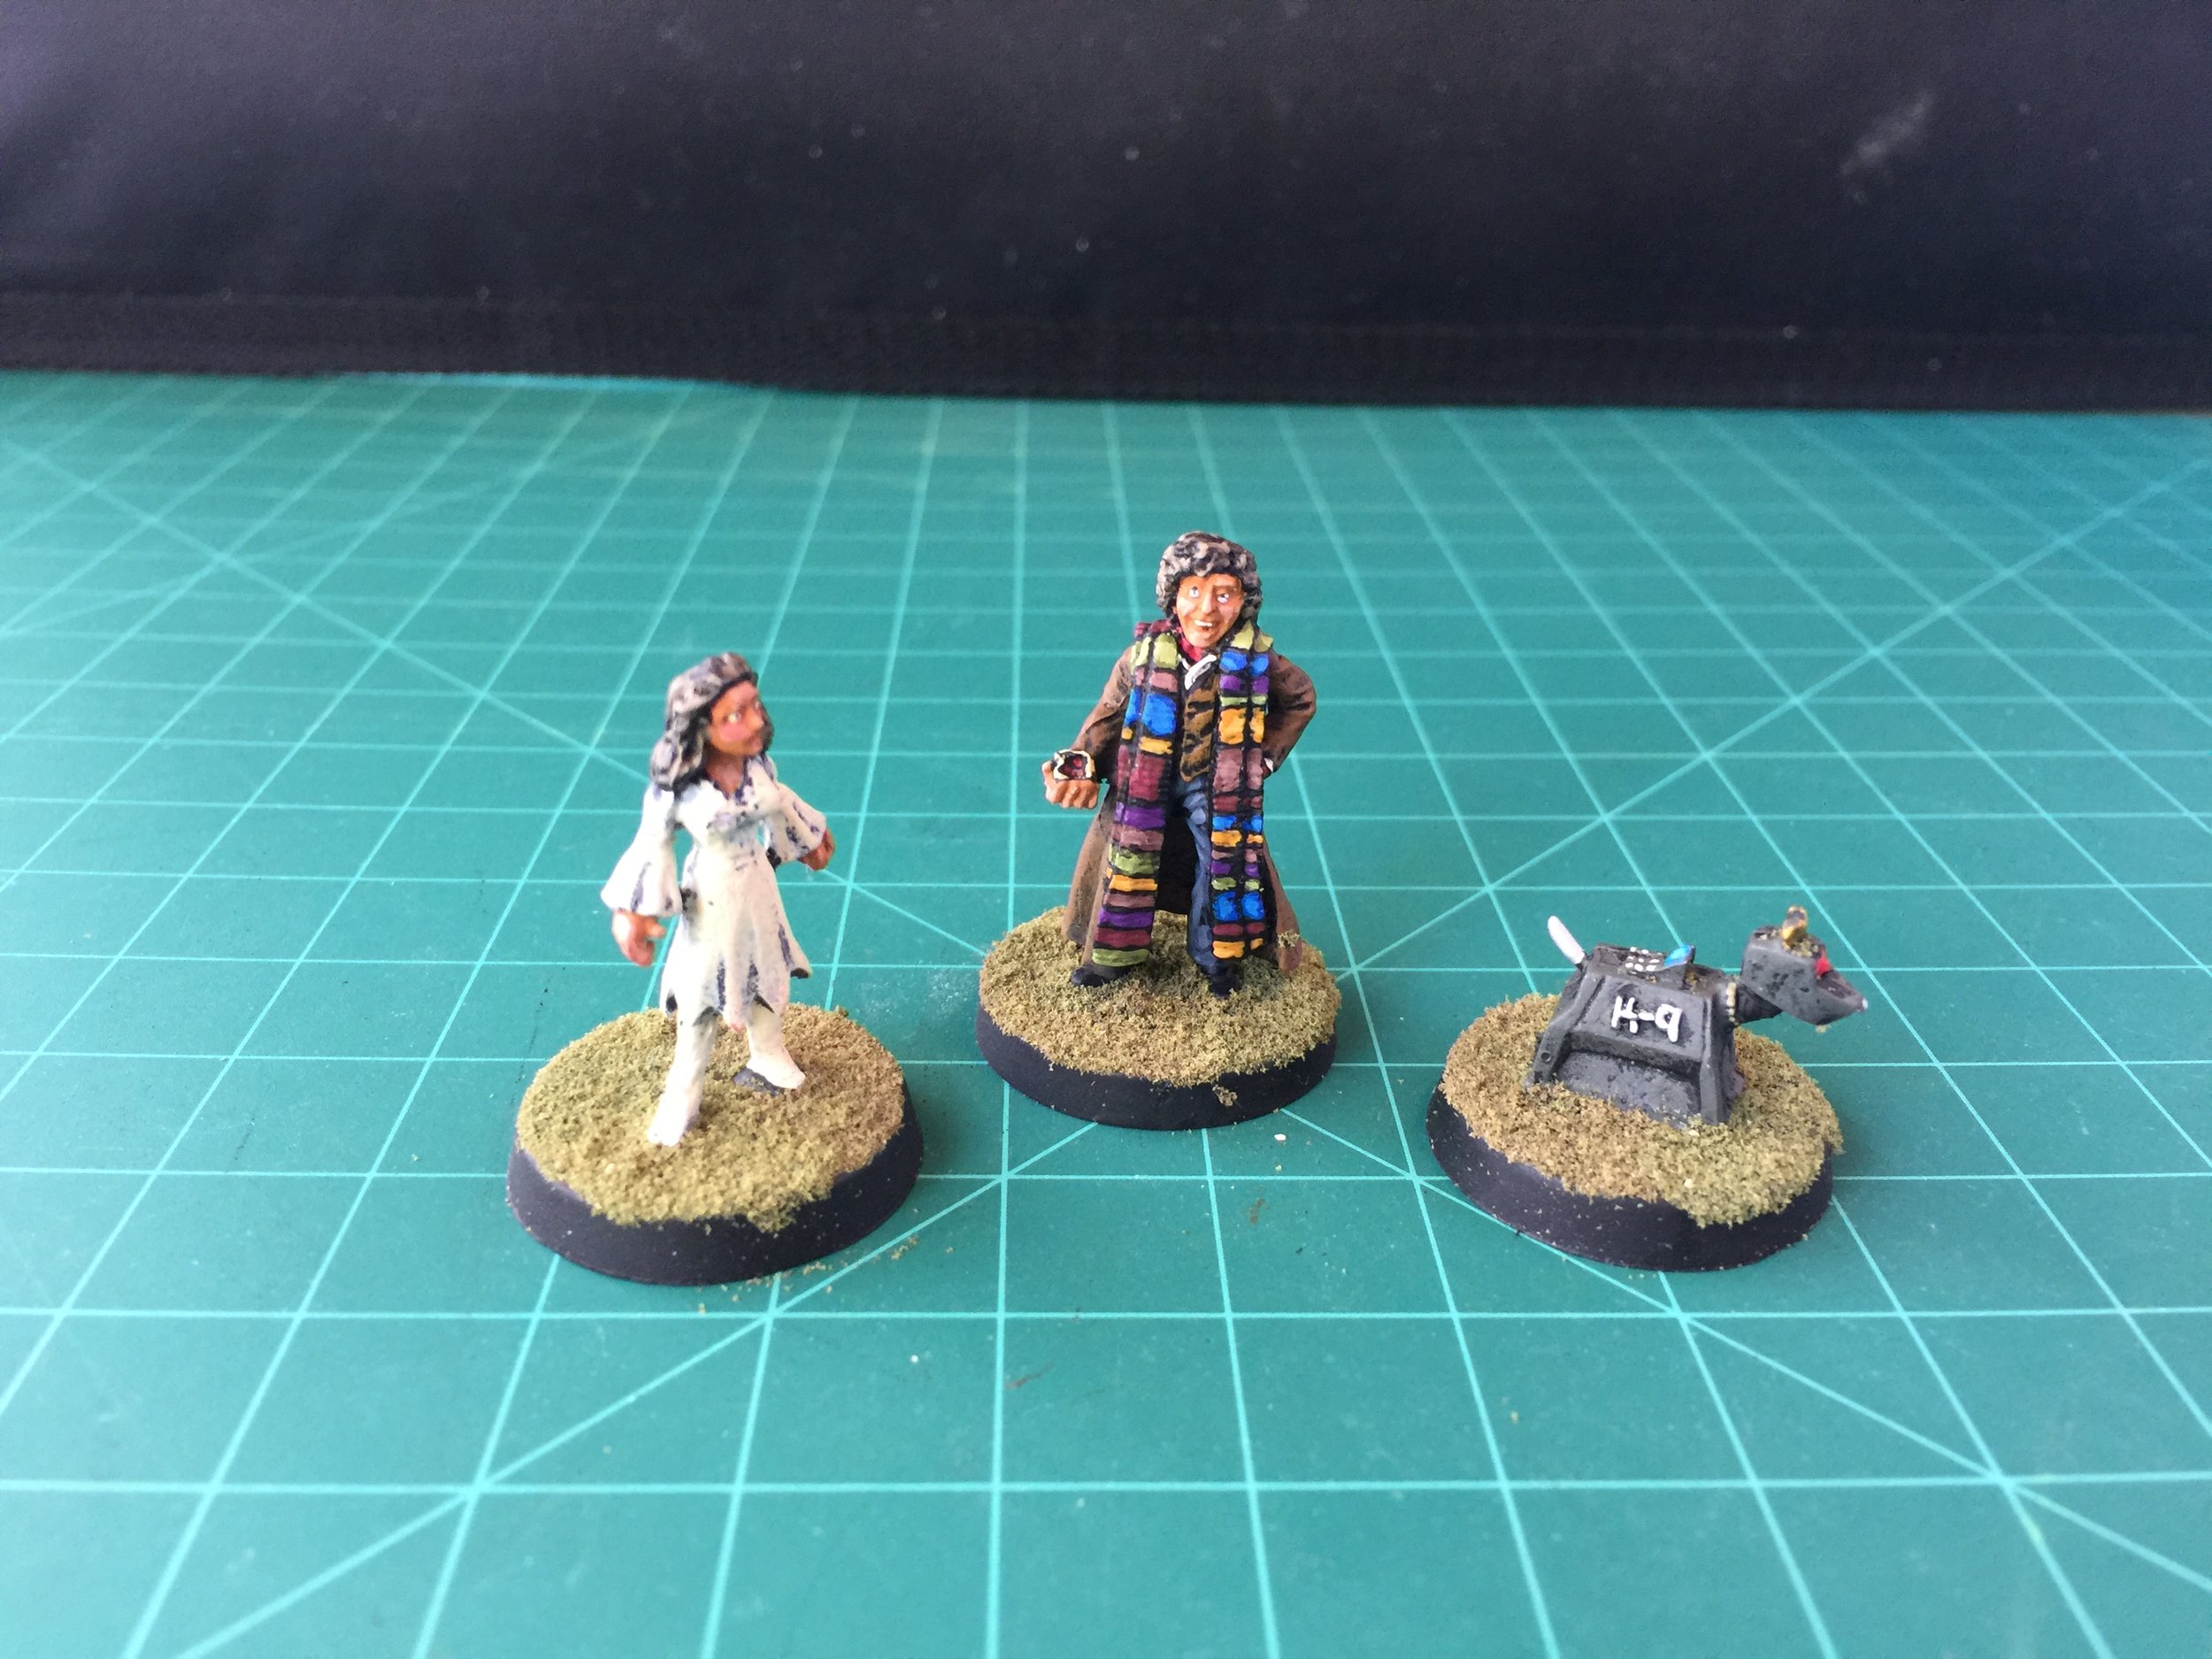
I ended my workbench efforts this week by painting three Black Tree Design figures: Romana, the 4th Dr. Who, and K-9. This is not a negative reflection on the Dr. Who figures put out recently by Warlord Games. As is rather common with me, I purchased the figures for this collection nearly a decade ago… long before Warlord Games came out with their figure line.
I’ve also found a nice connection between Dr. Who No. 4 and dinosaurs.


March 17, 2019
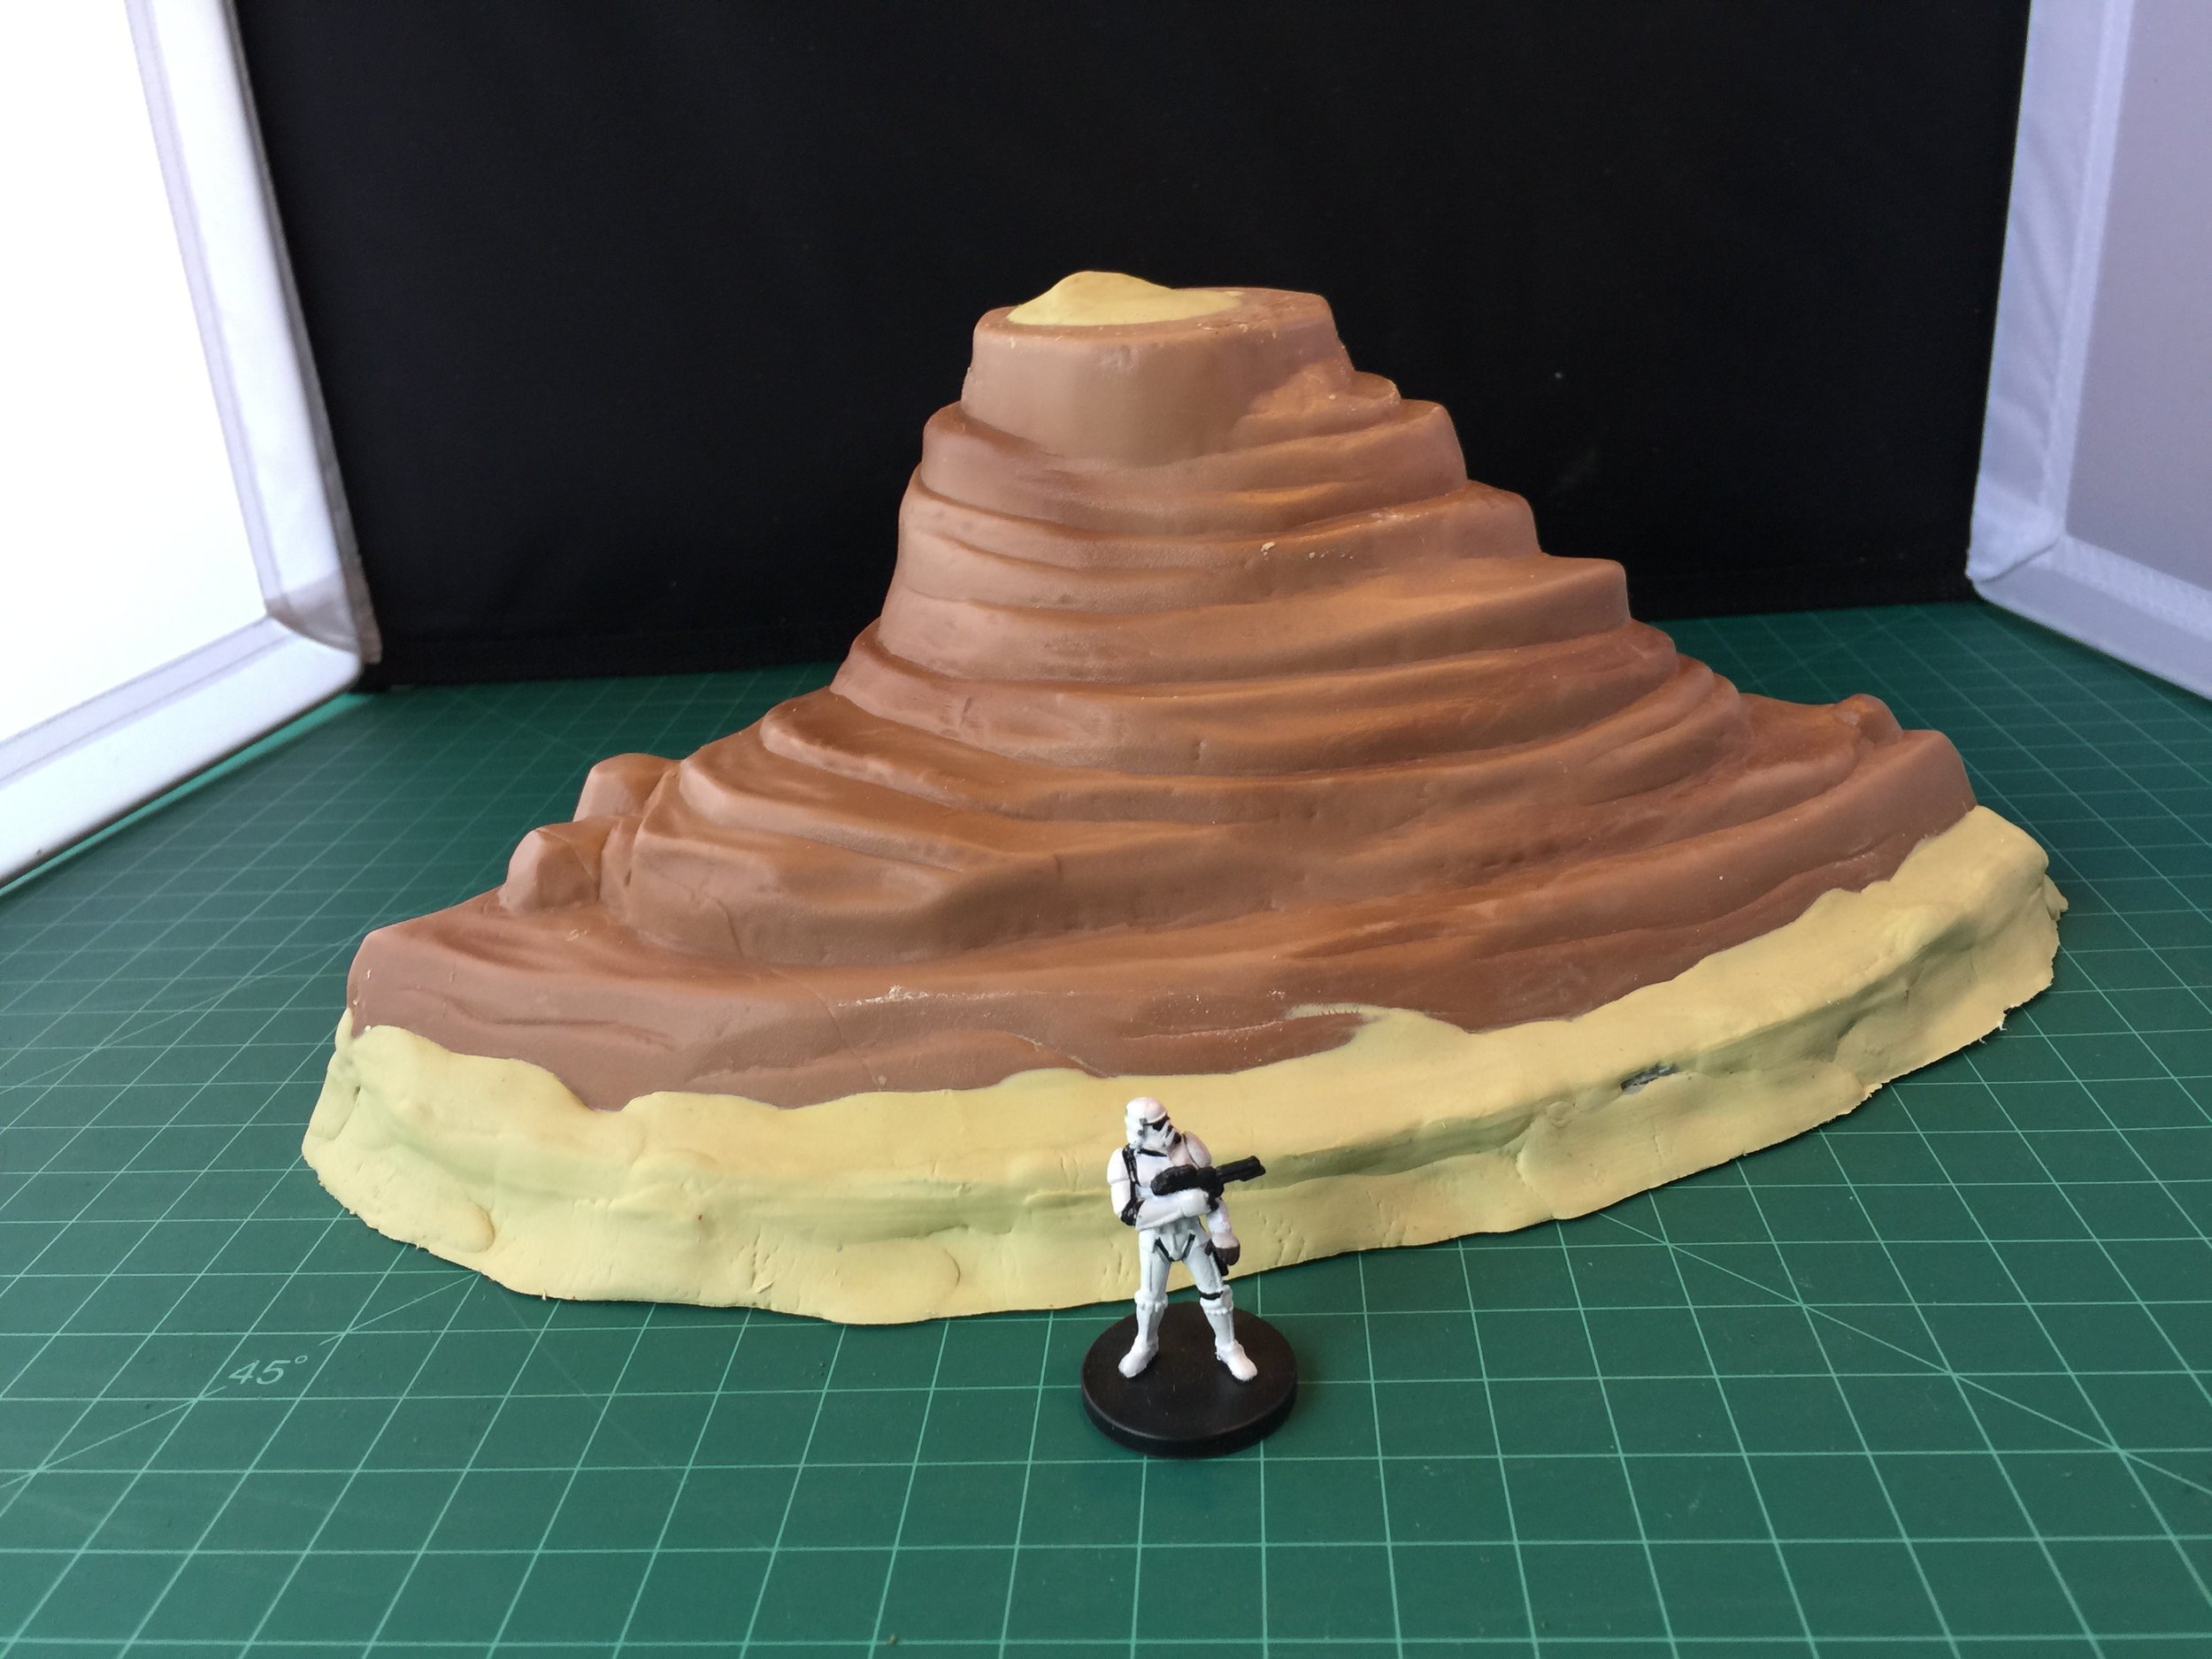
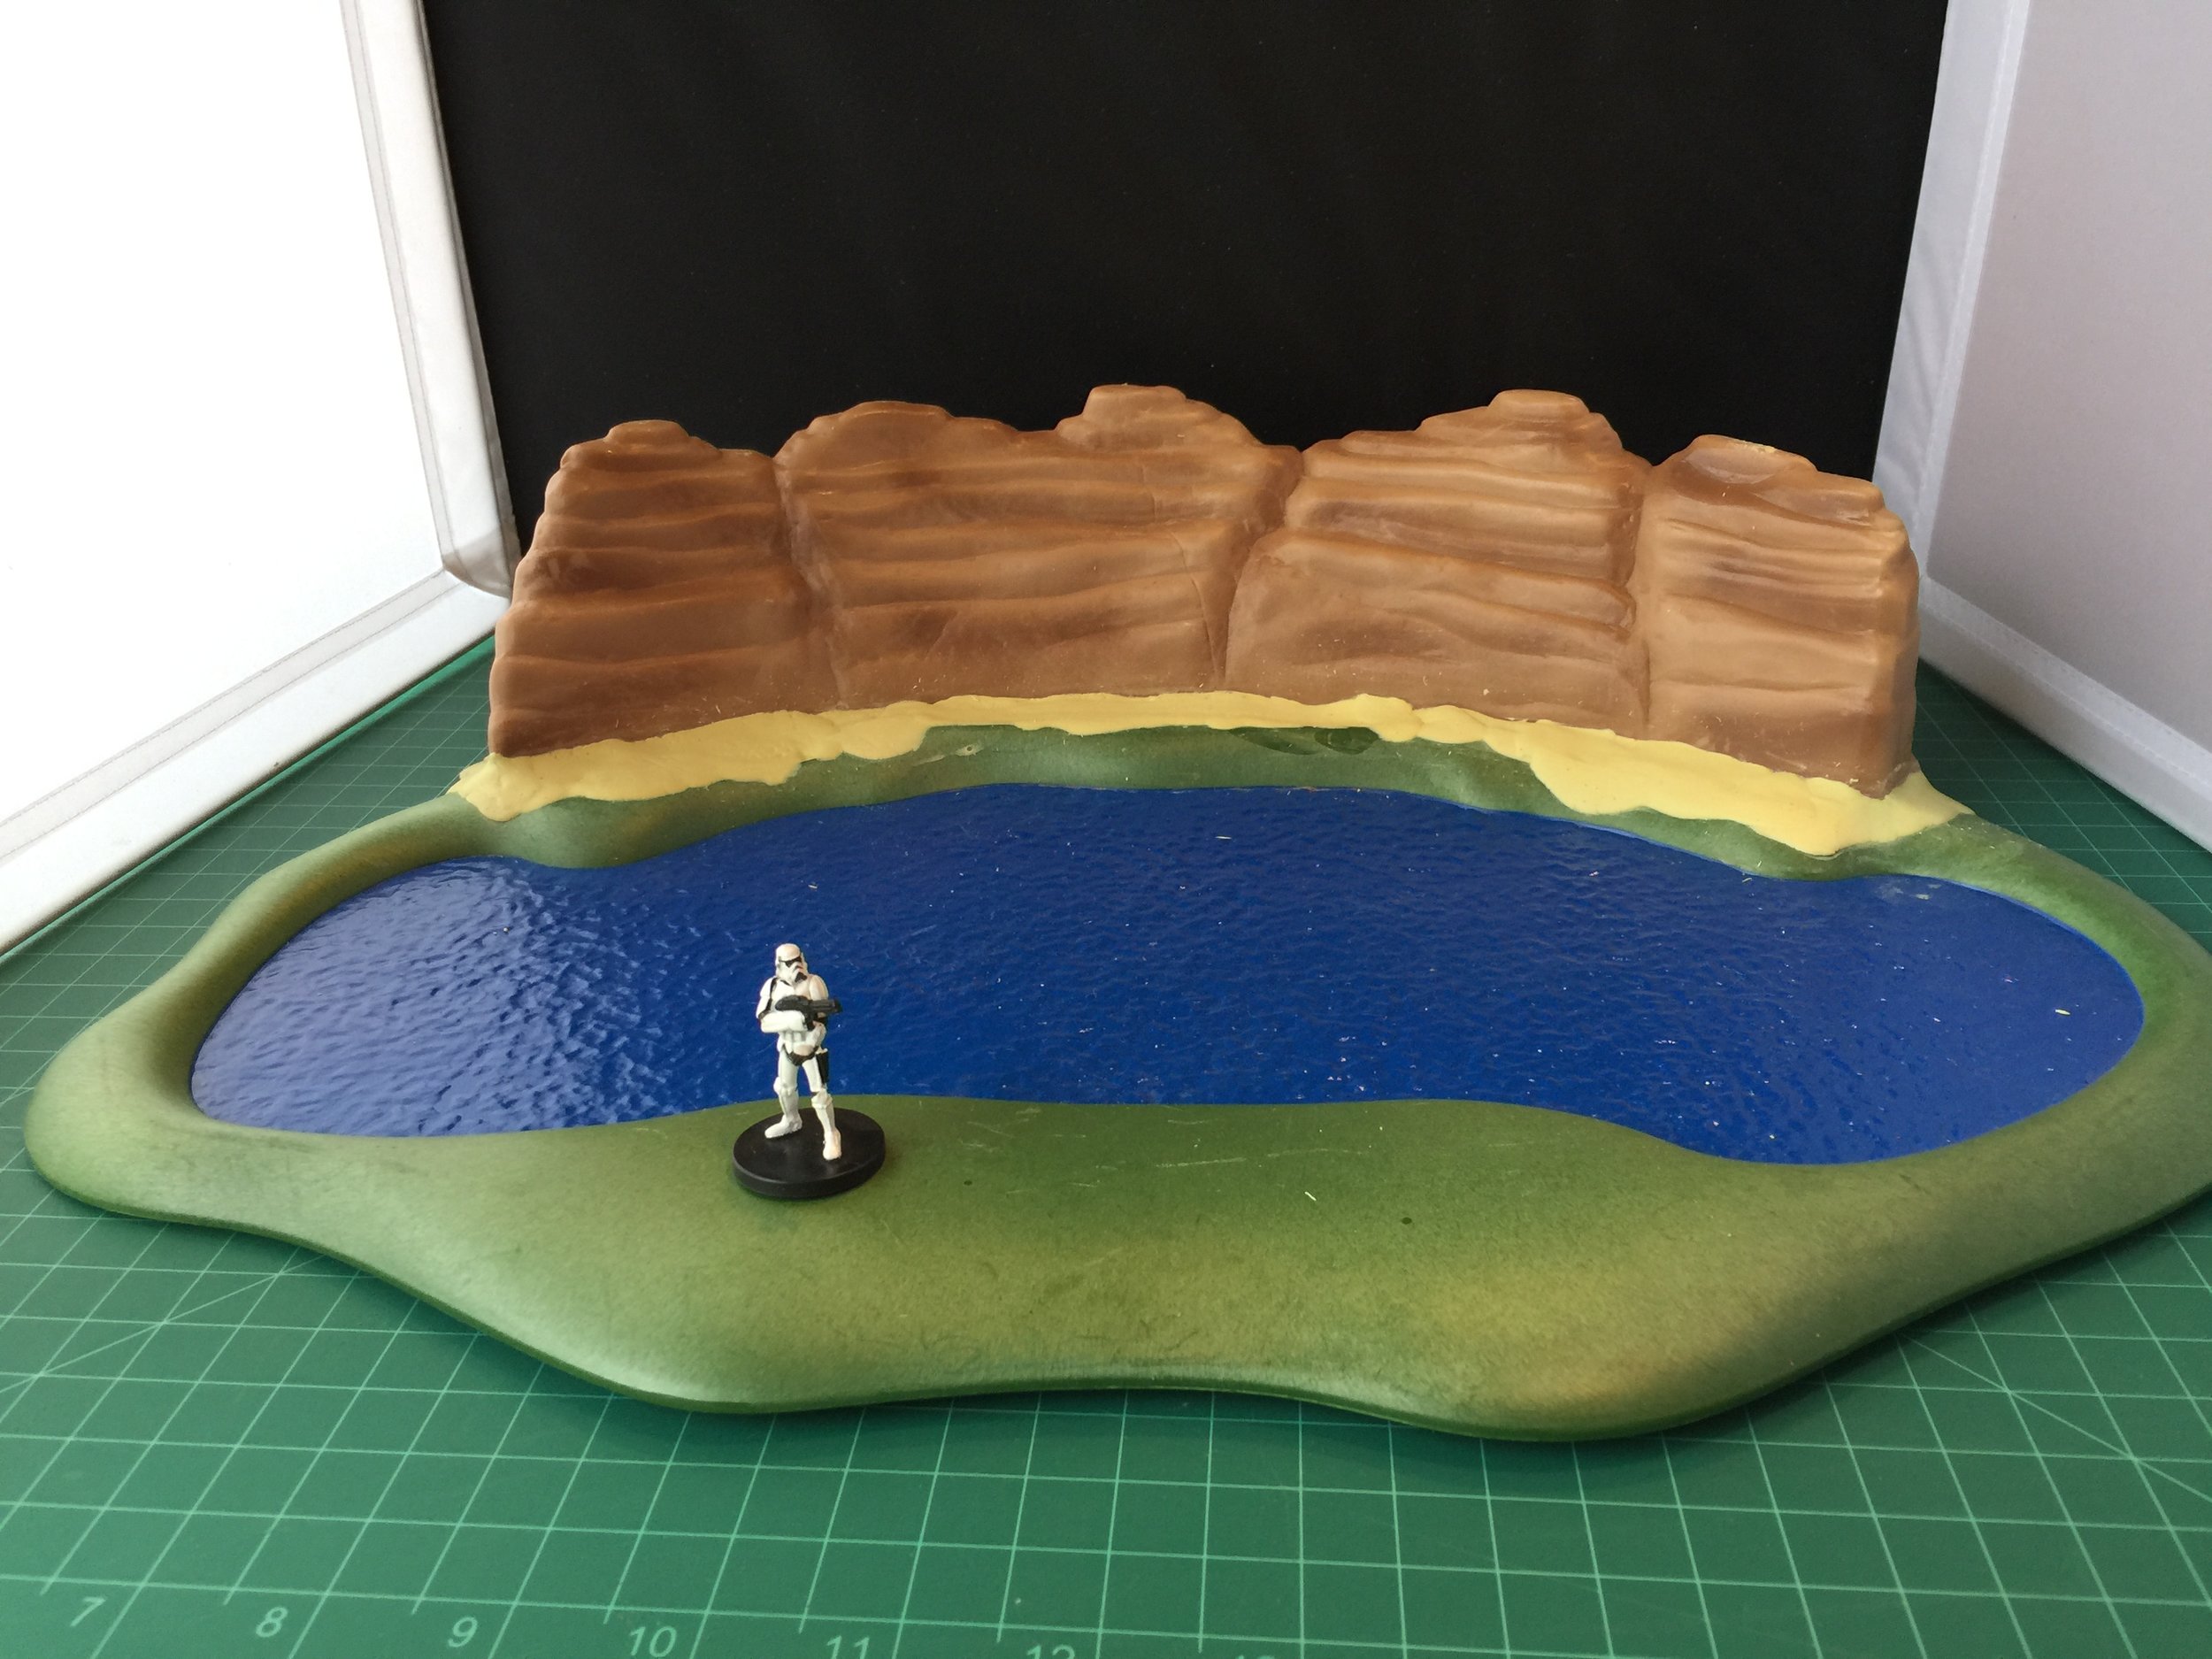
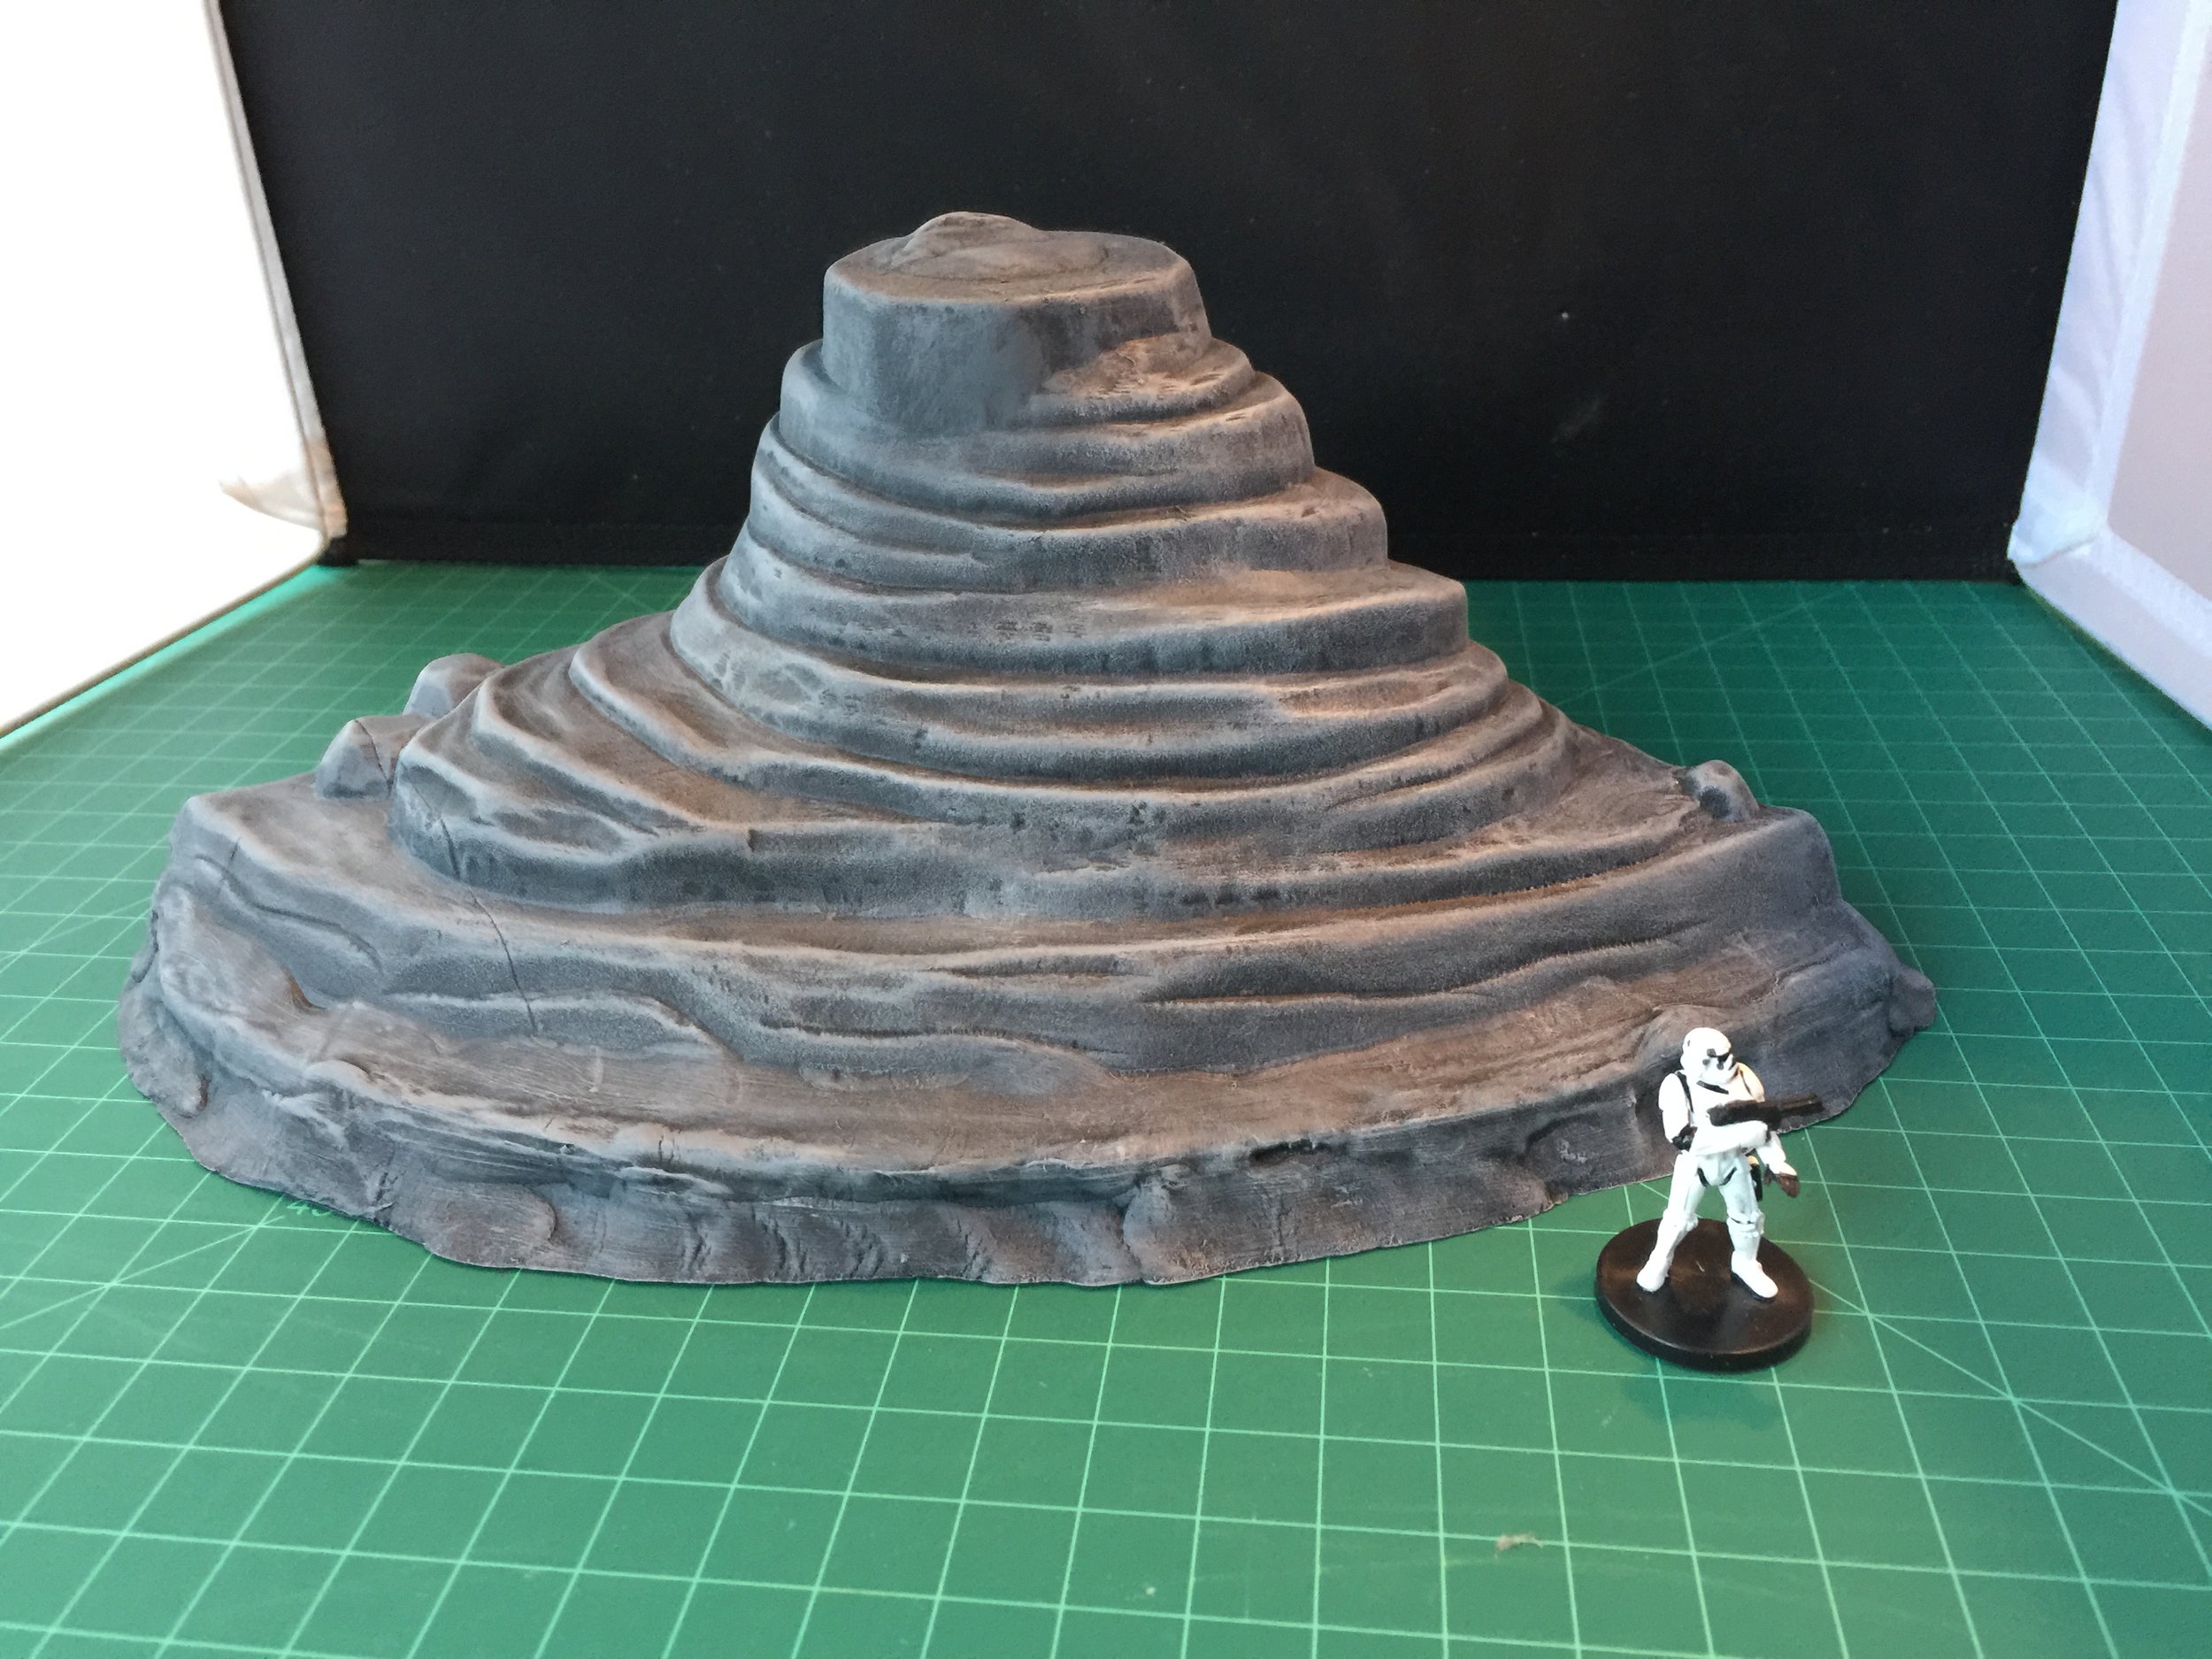
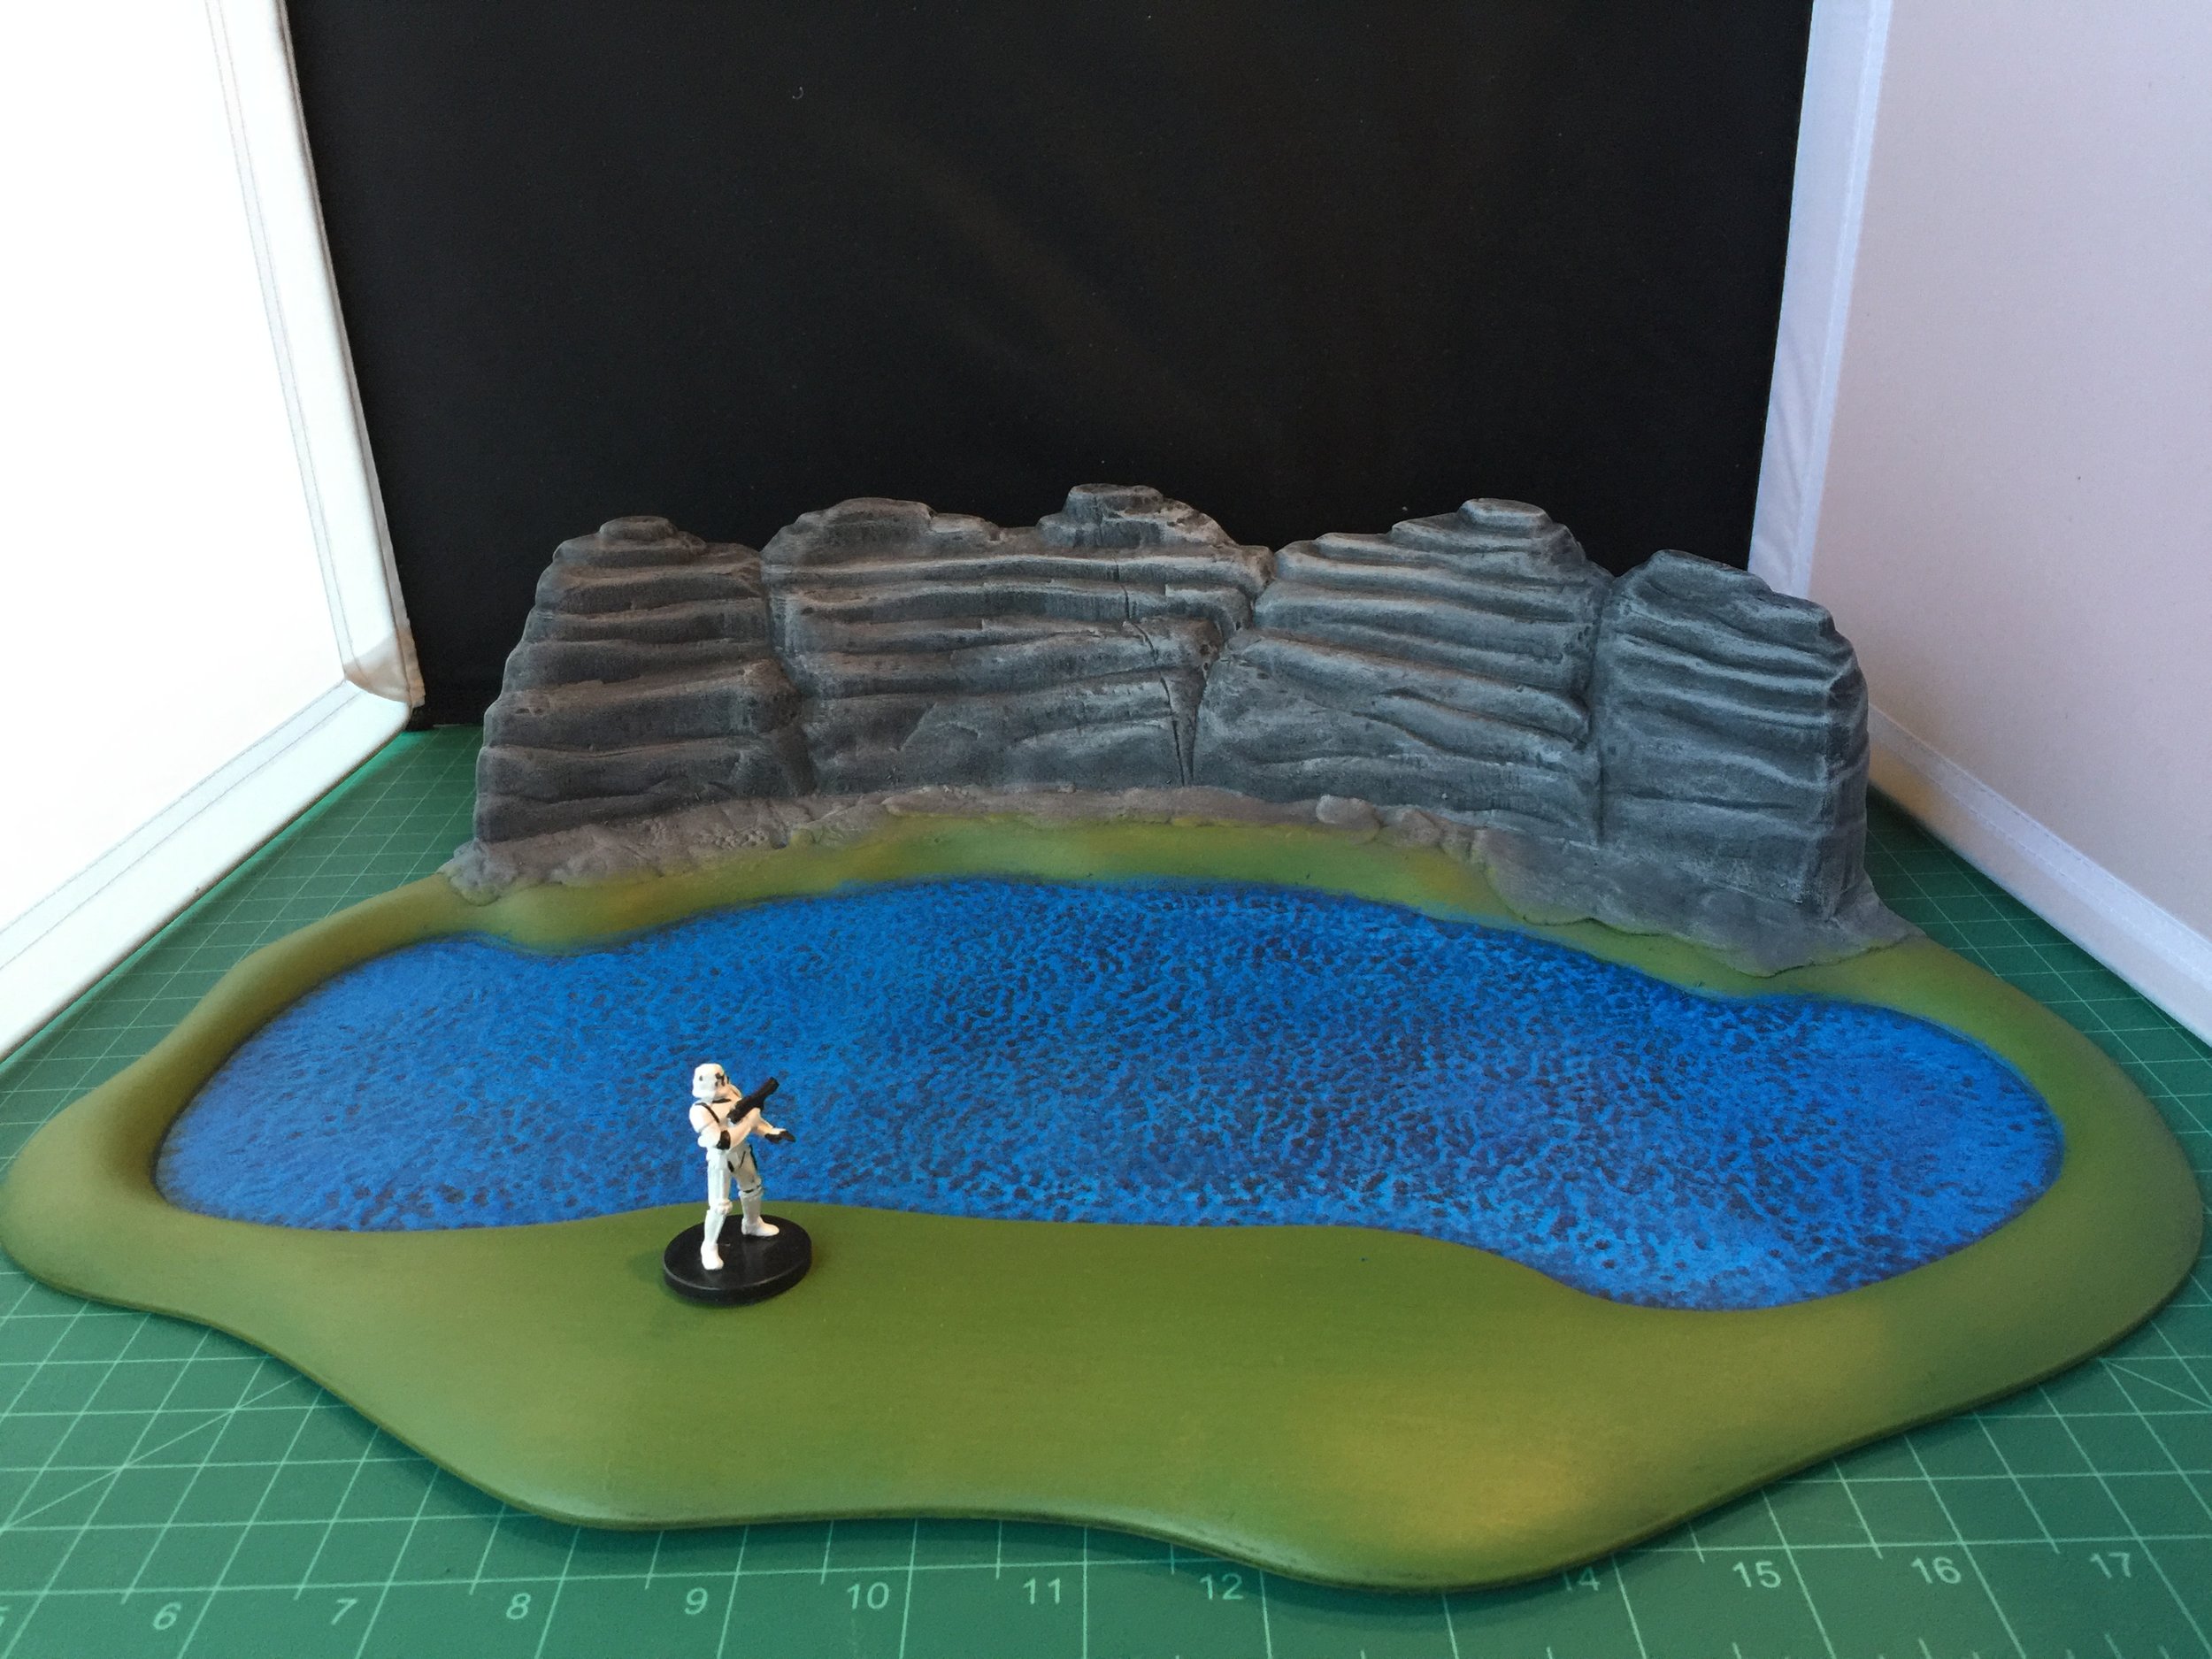
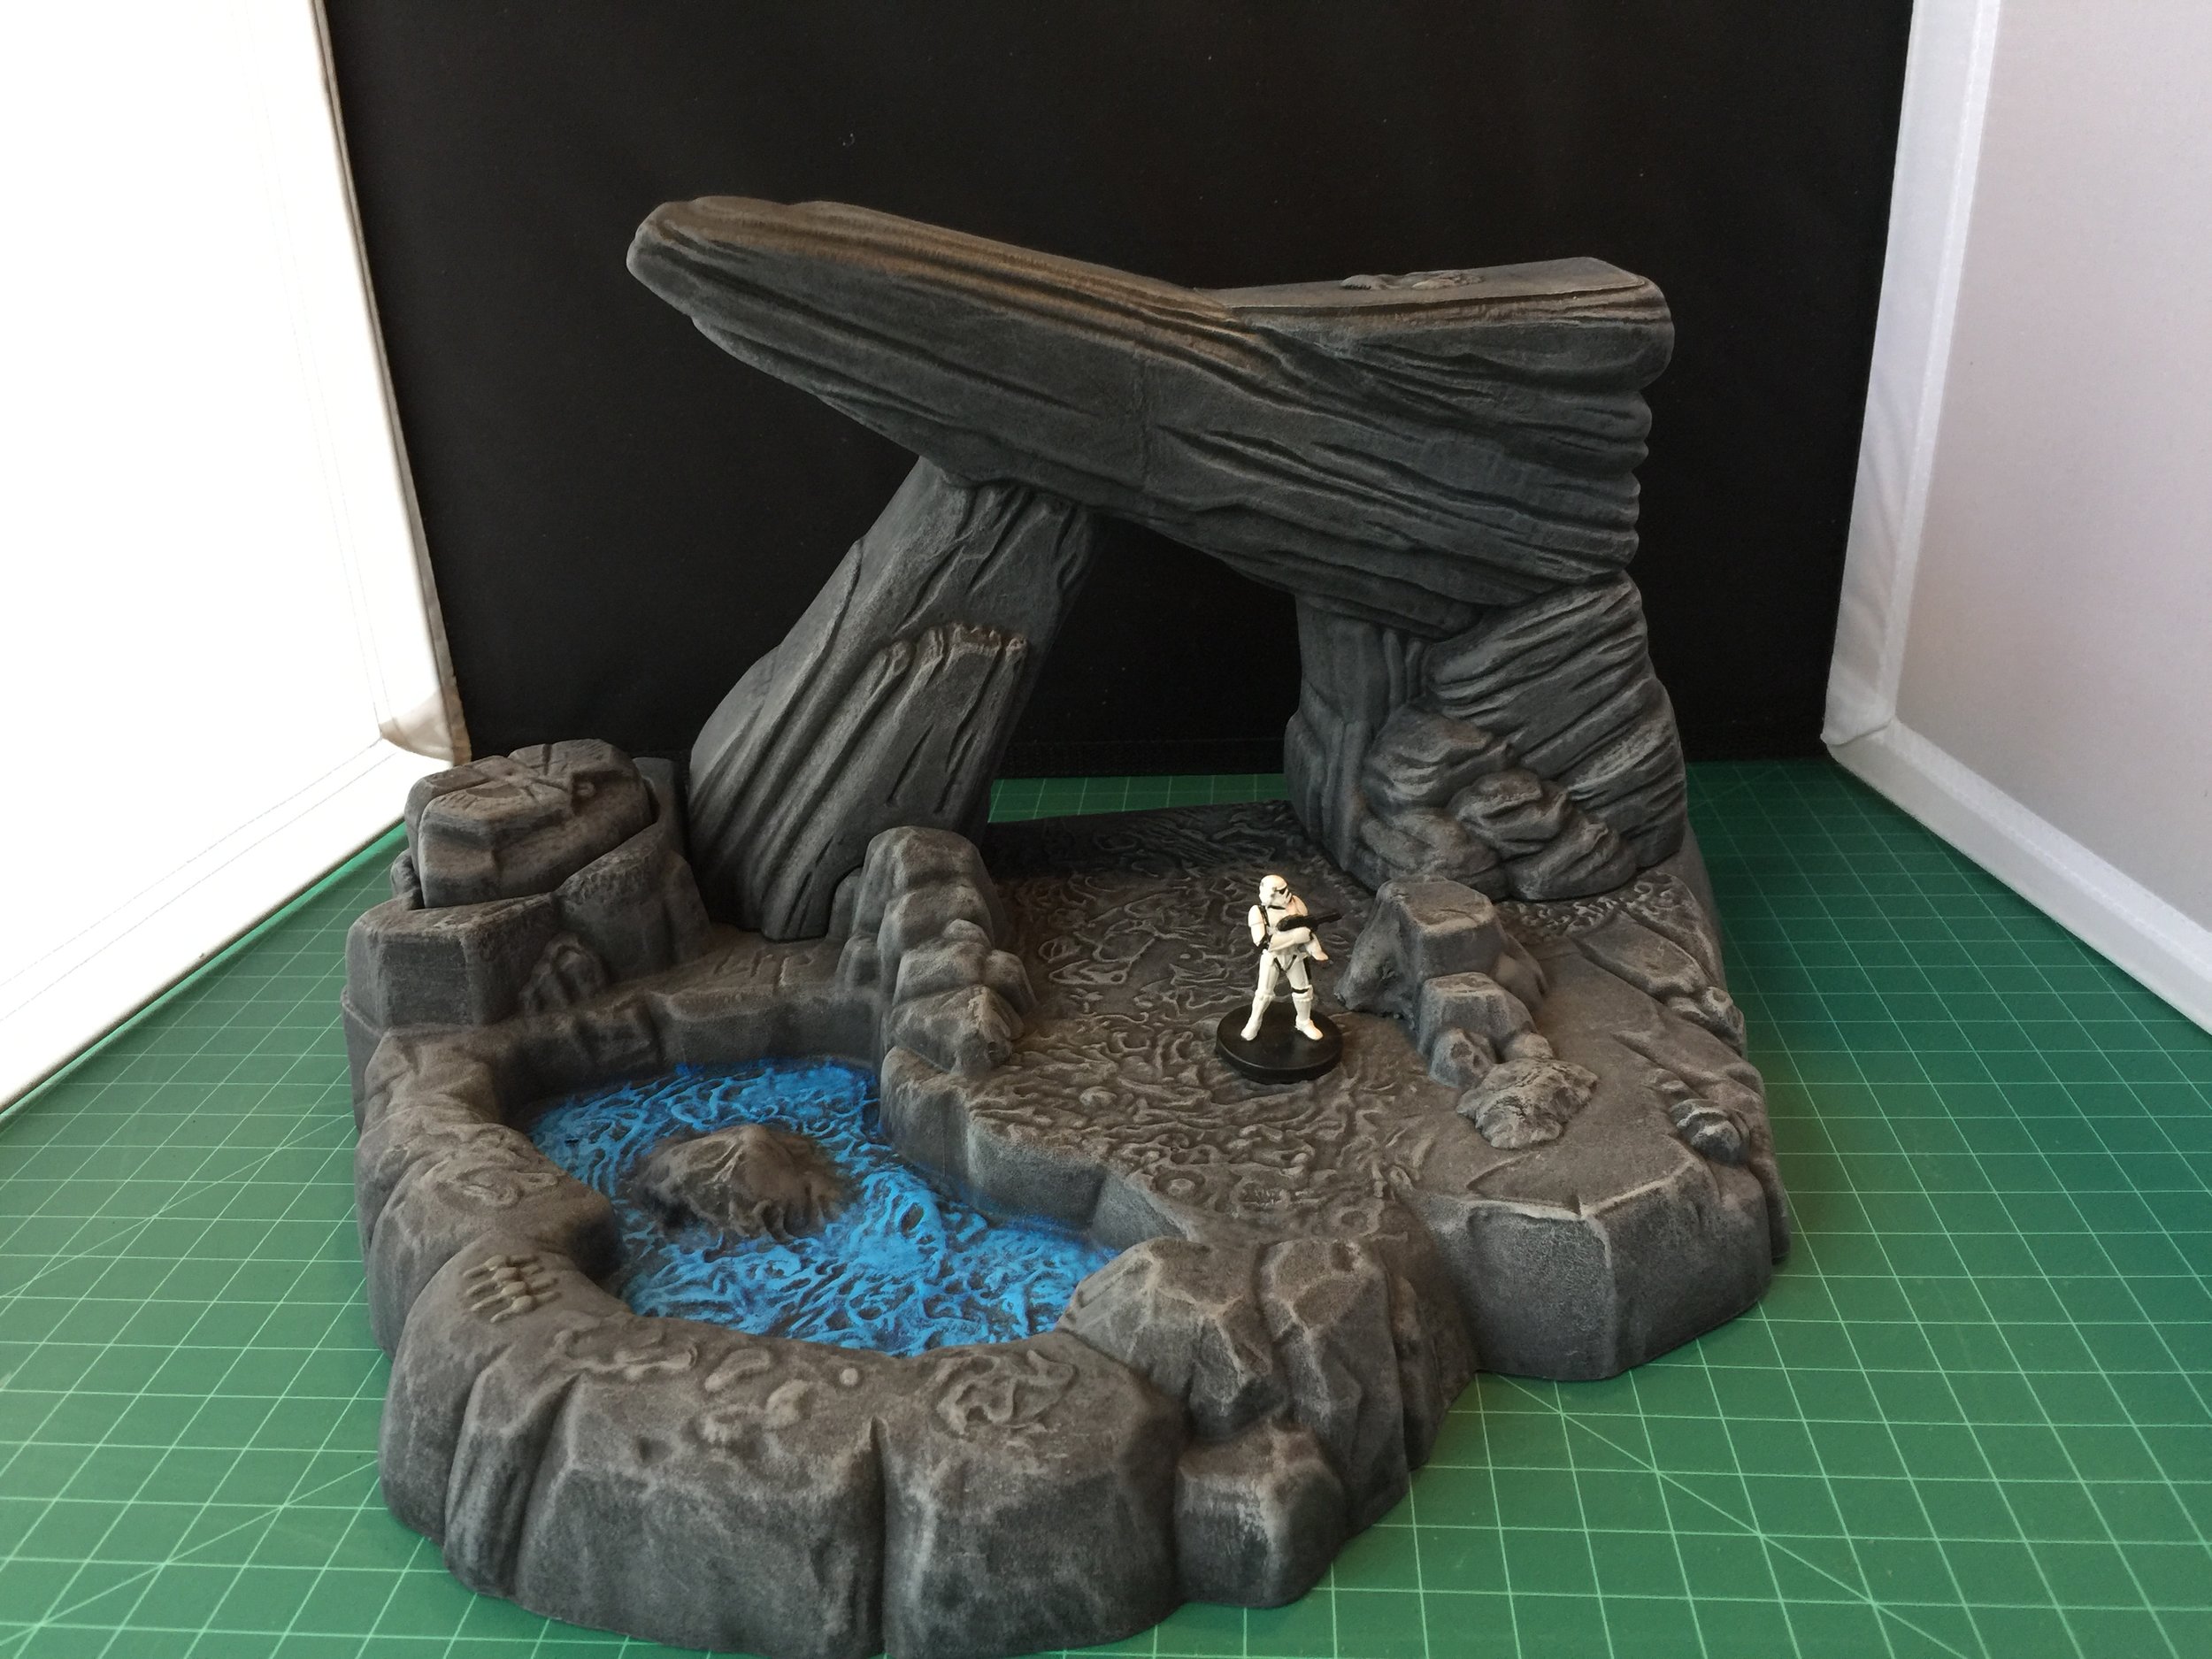
My collection of terrain for my “Dr. Who meets the Flintstones and Daleks” continues. At the swap meet this past weekend, I found two very nice terrain pieces... one, a water feature, by Playmobil and a second, a section of desert racetrack marketed with the release of the Cars movie. Both were incomplete sections from larger playsets. The racetrack was bordered by a nice mesa rock formation on one side and a natural rock wall on the other. I cut the racetrack away from the mesa and rock wall. I used Milliput to level the mesa and hide the cut work I had done so it could serve as a stand-alone piece. I also used Milliput to attach the rock wall to the back side of the Playmobil water feature. I think they came out pretty well.
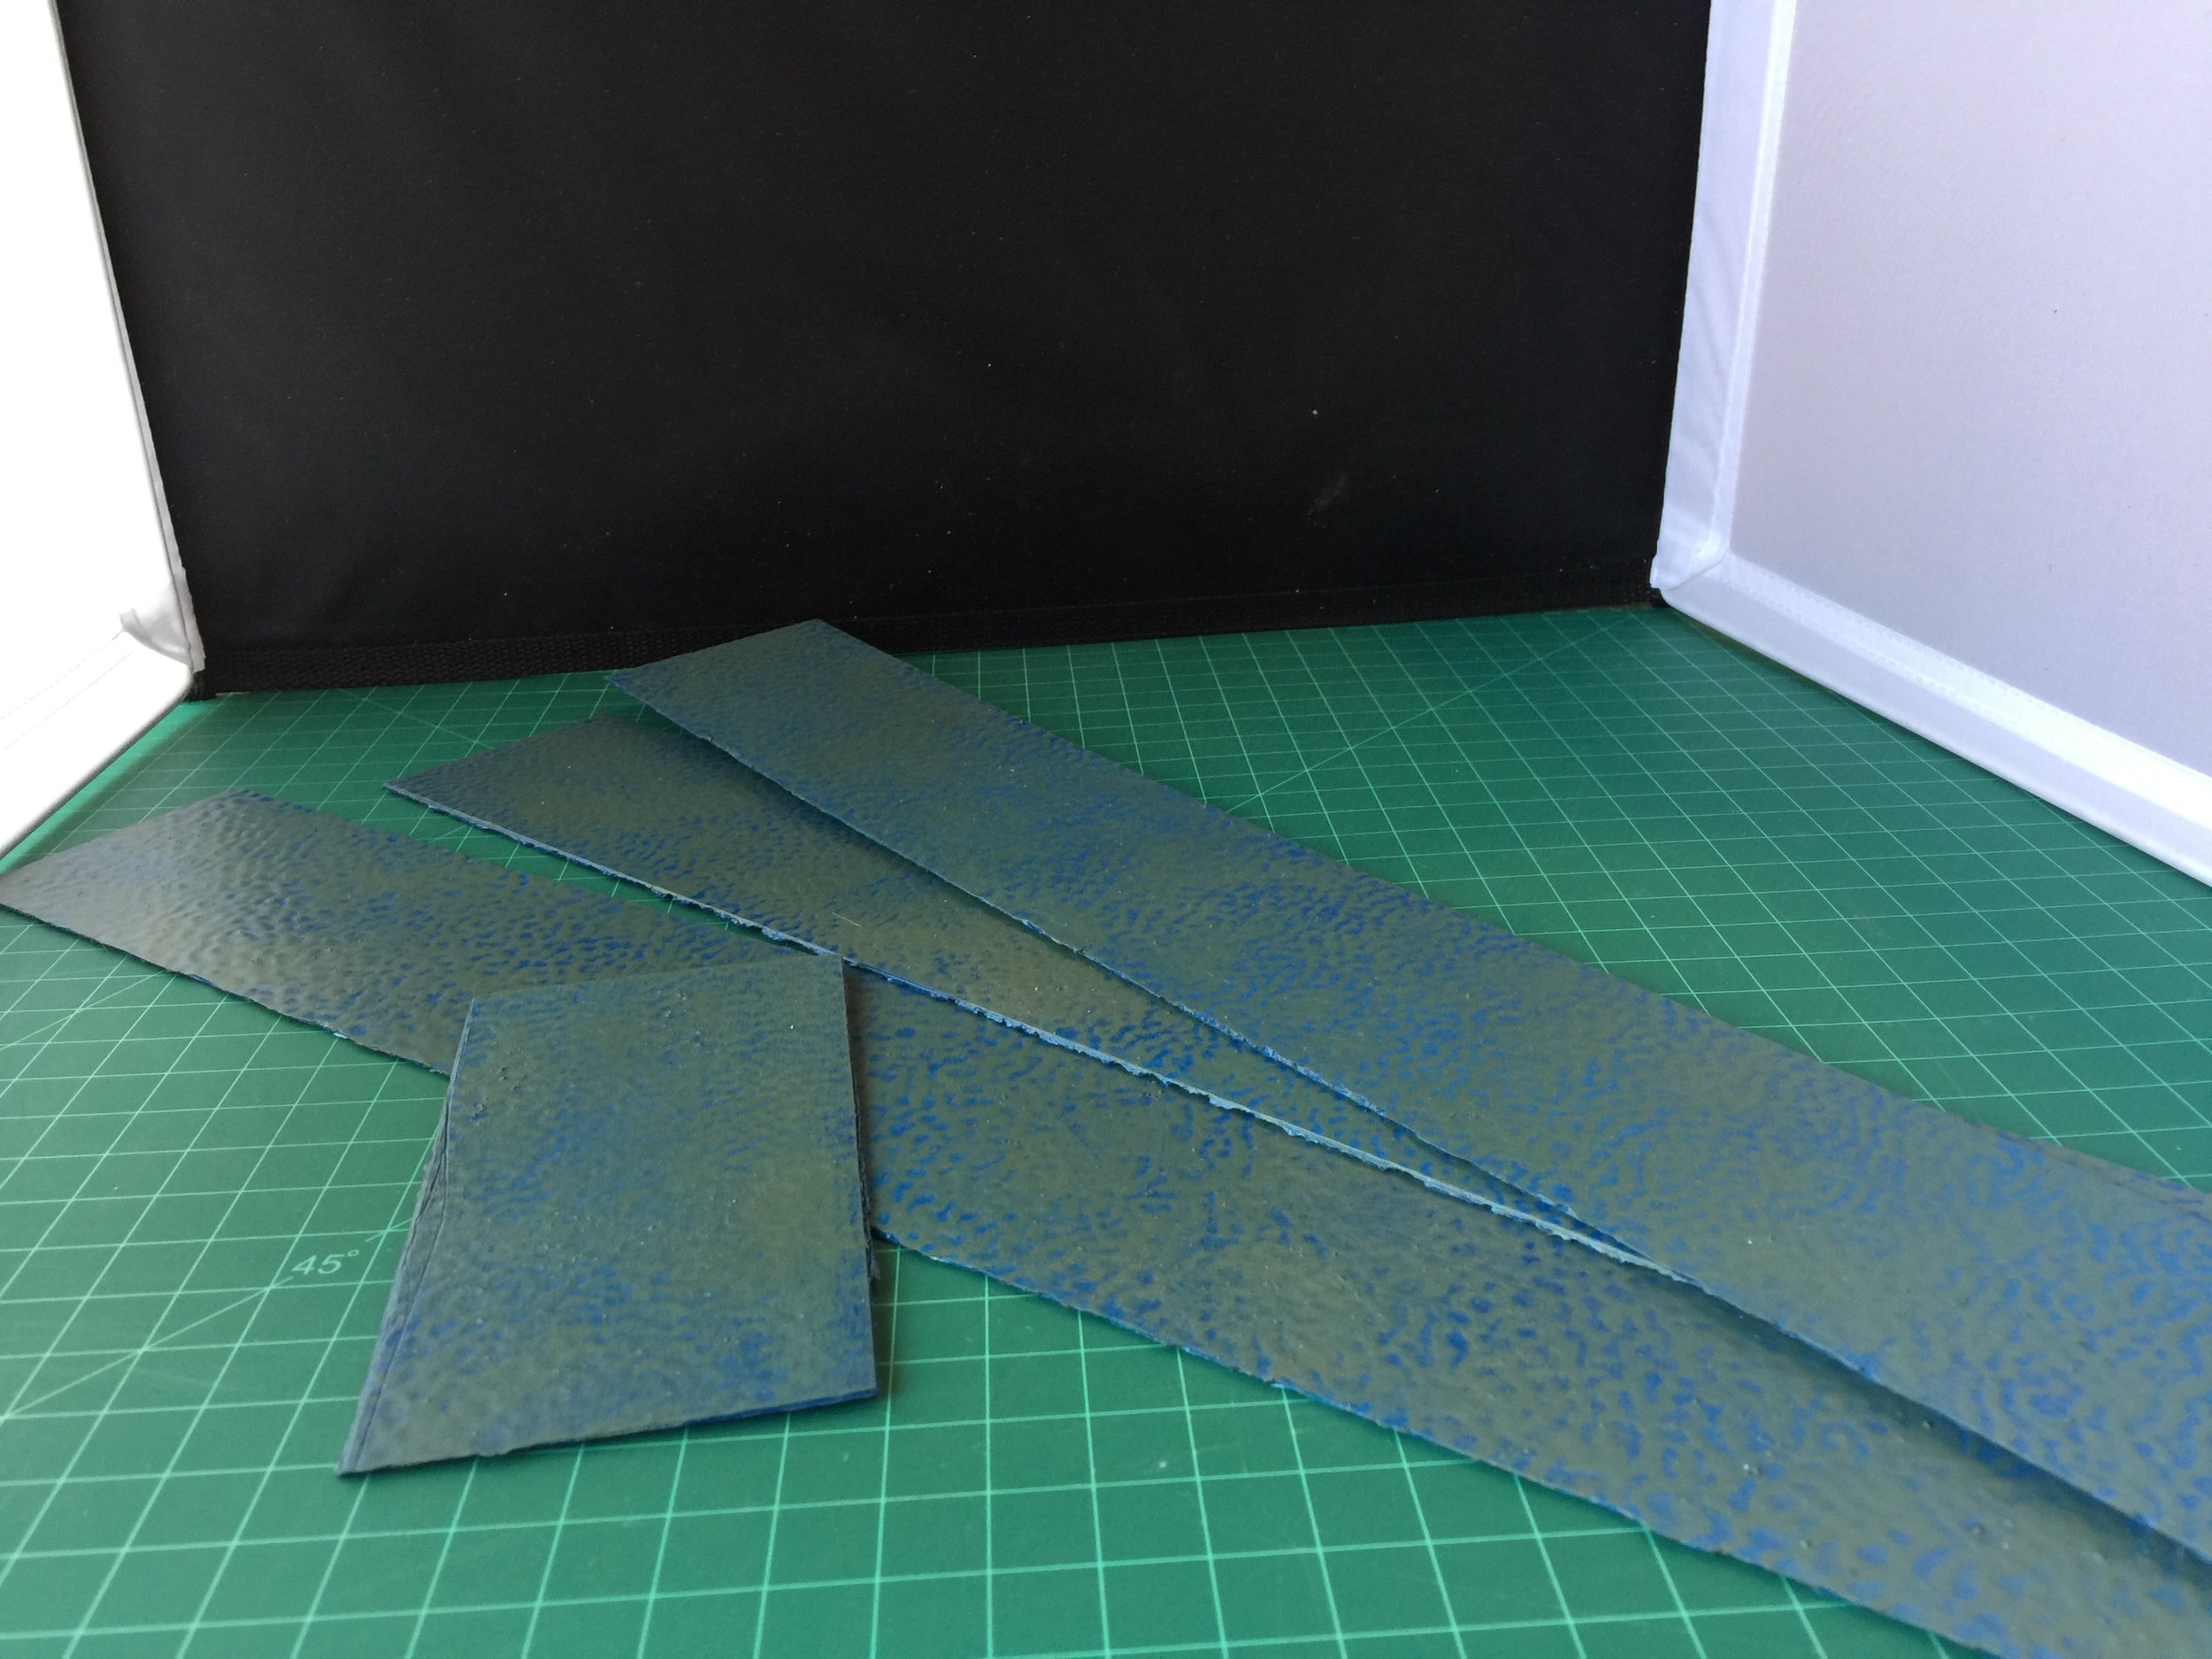
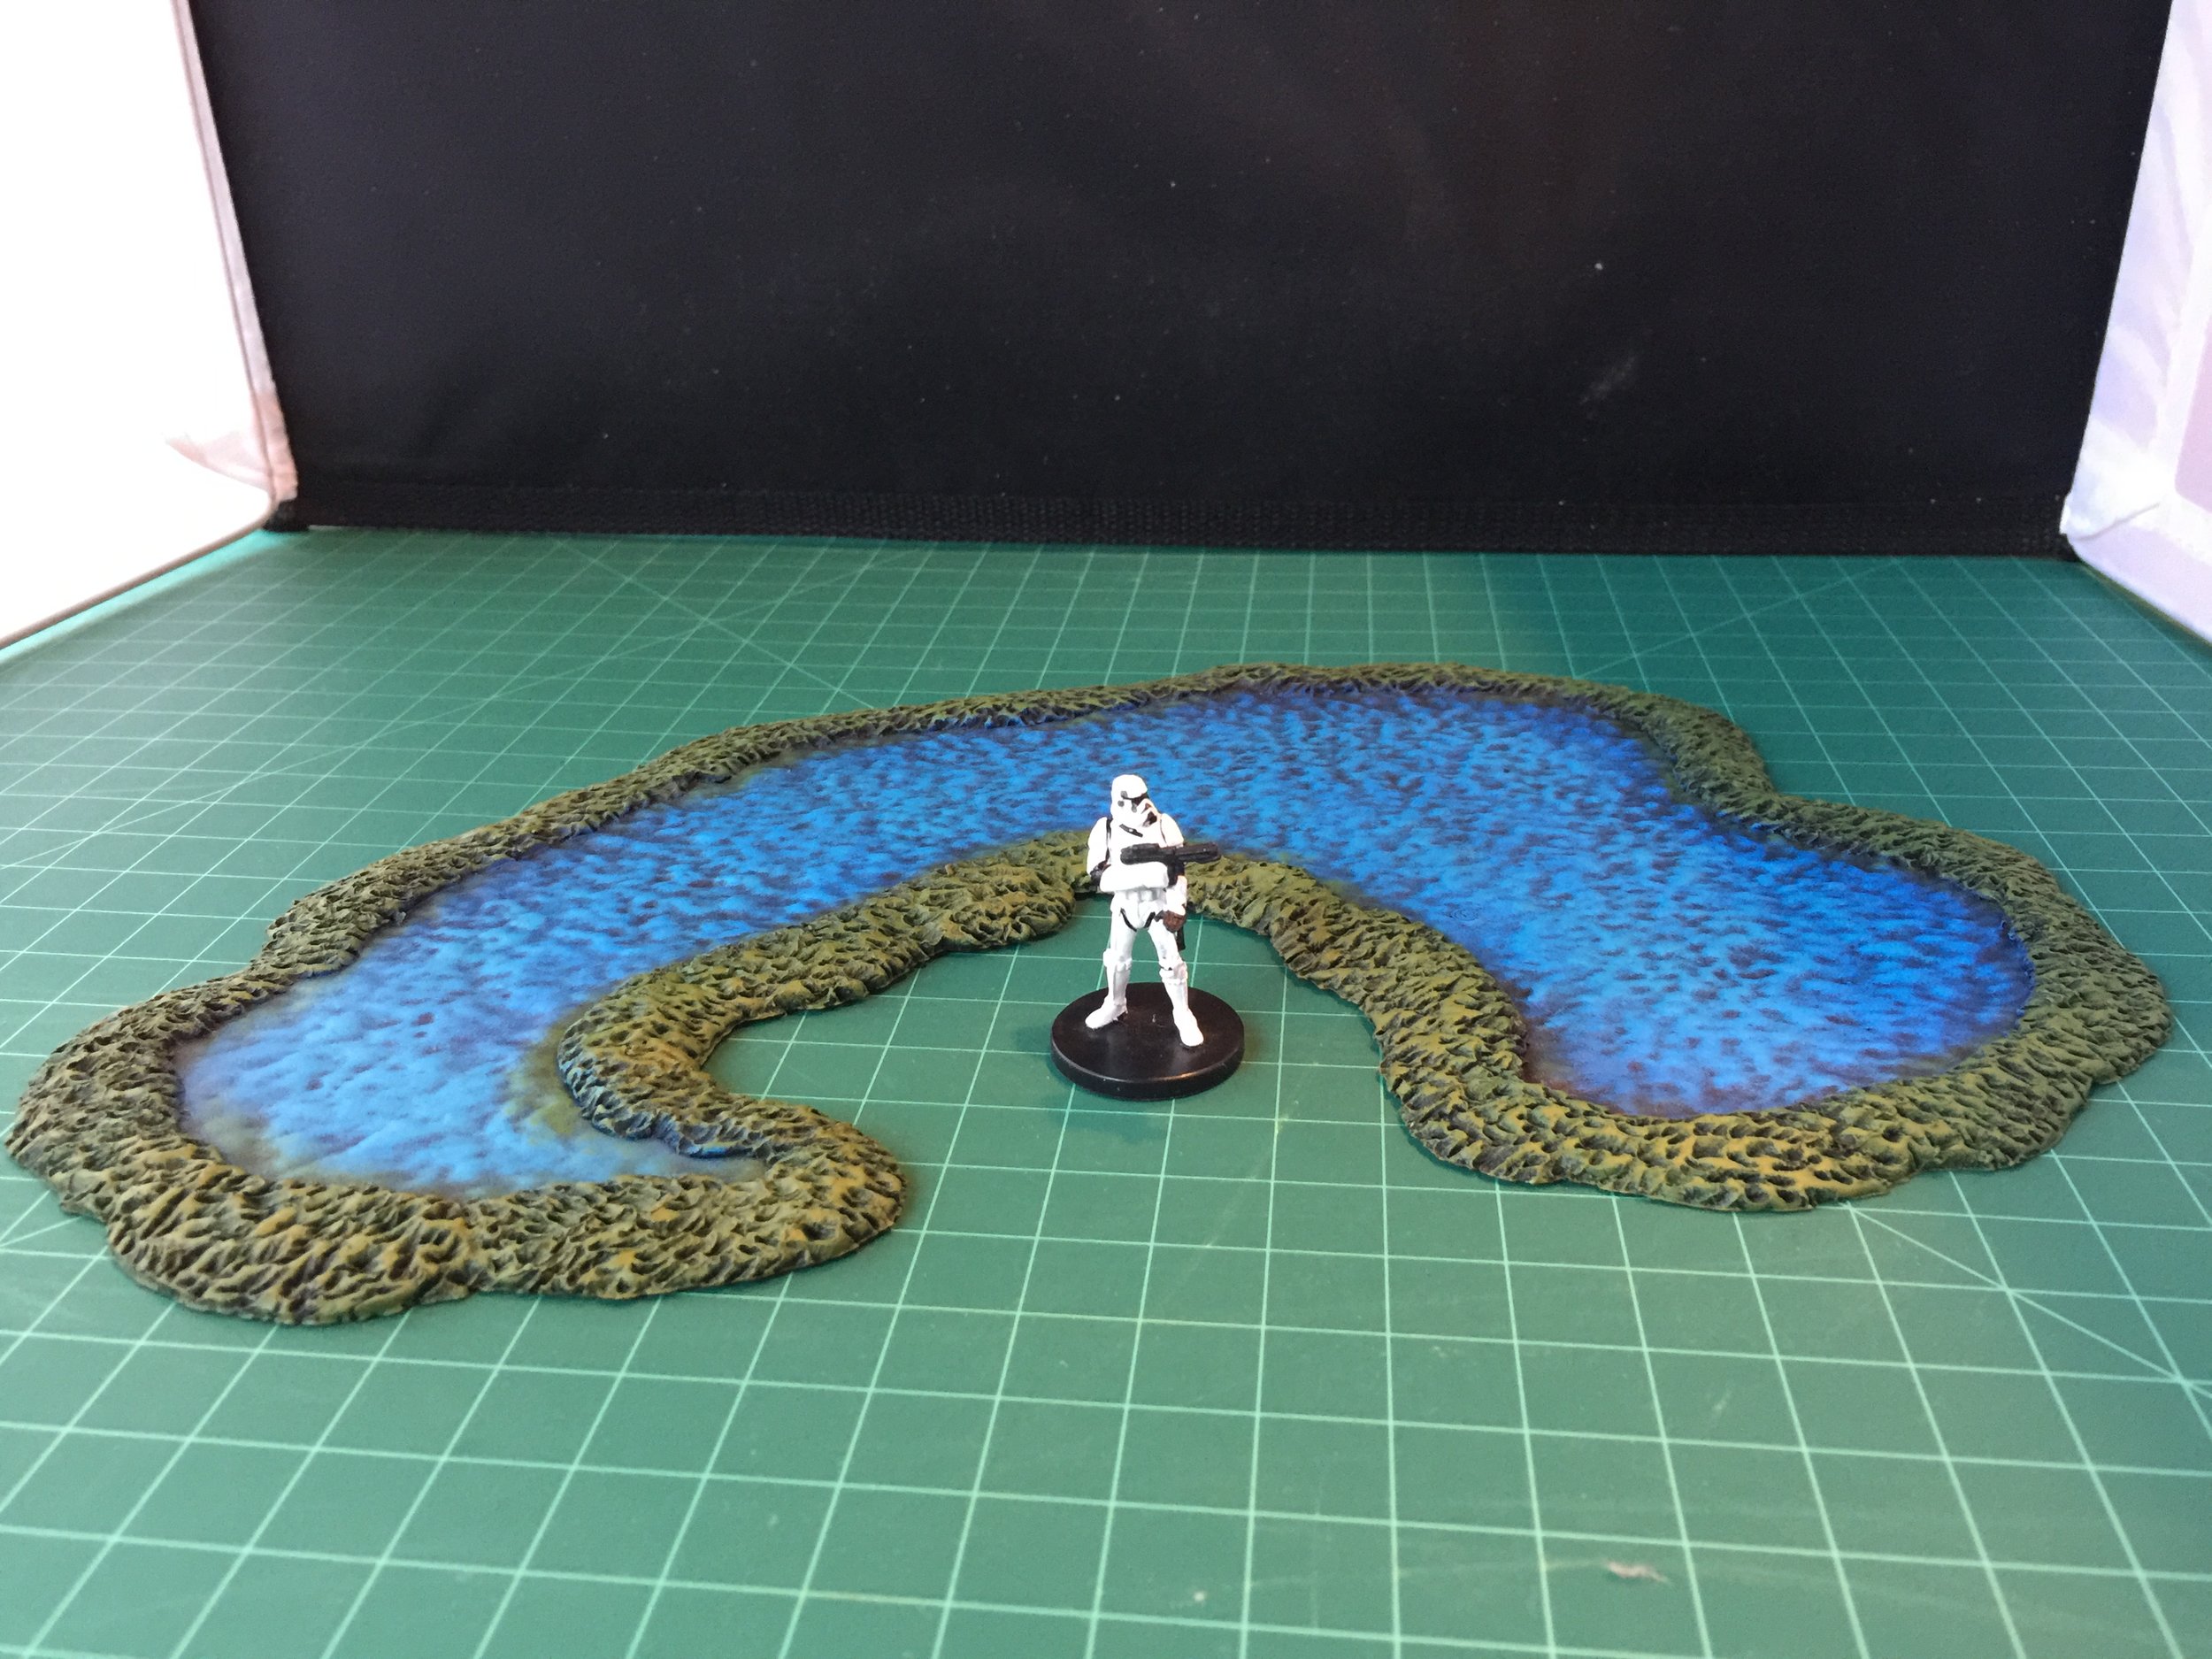
With those completed I decided to make use of another water feature I found at the swap meet several years back. It was incomplete, in my opinion, because it was water without a surrounding bank. I added bank using scored Milliput and gave it a painting job.
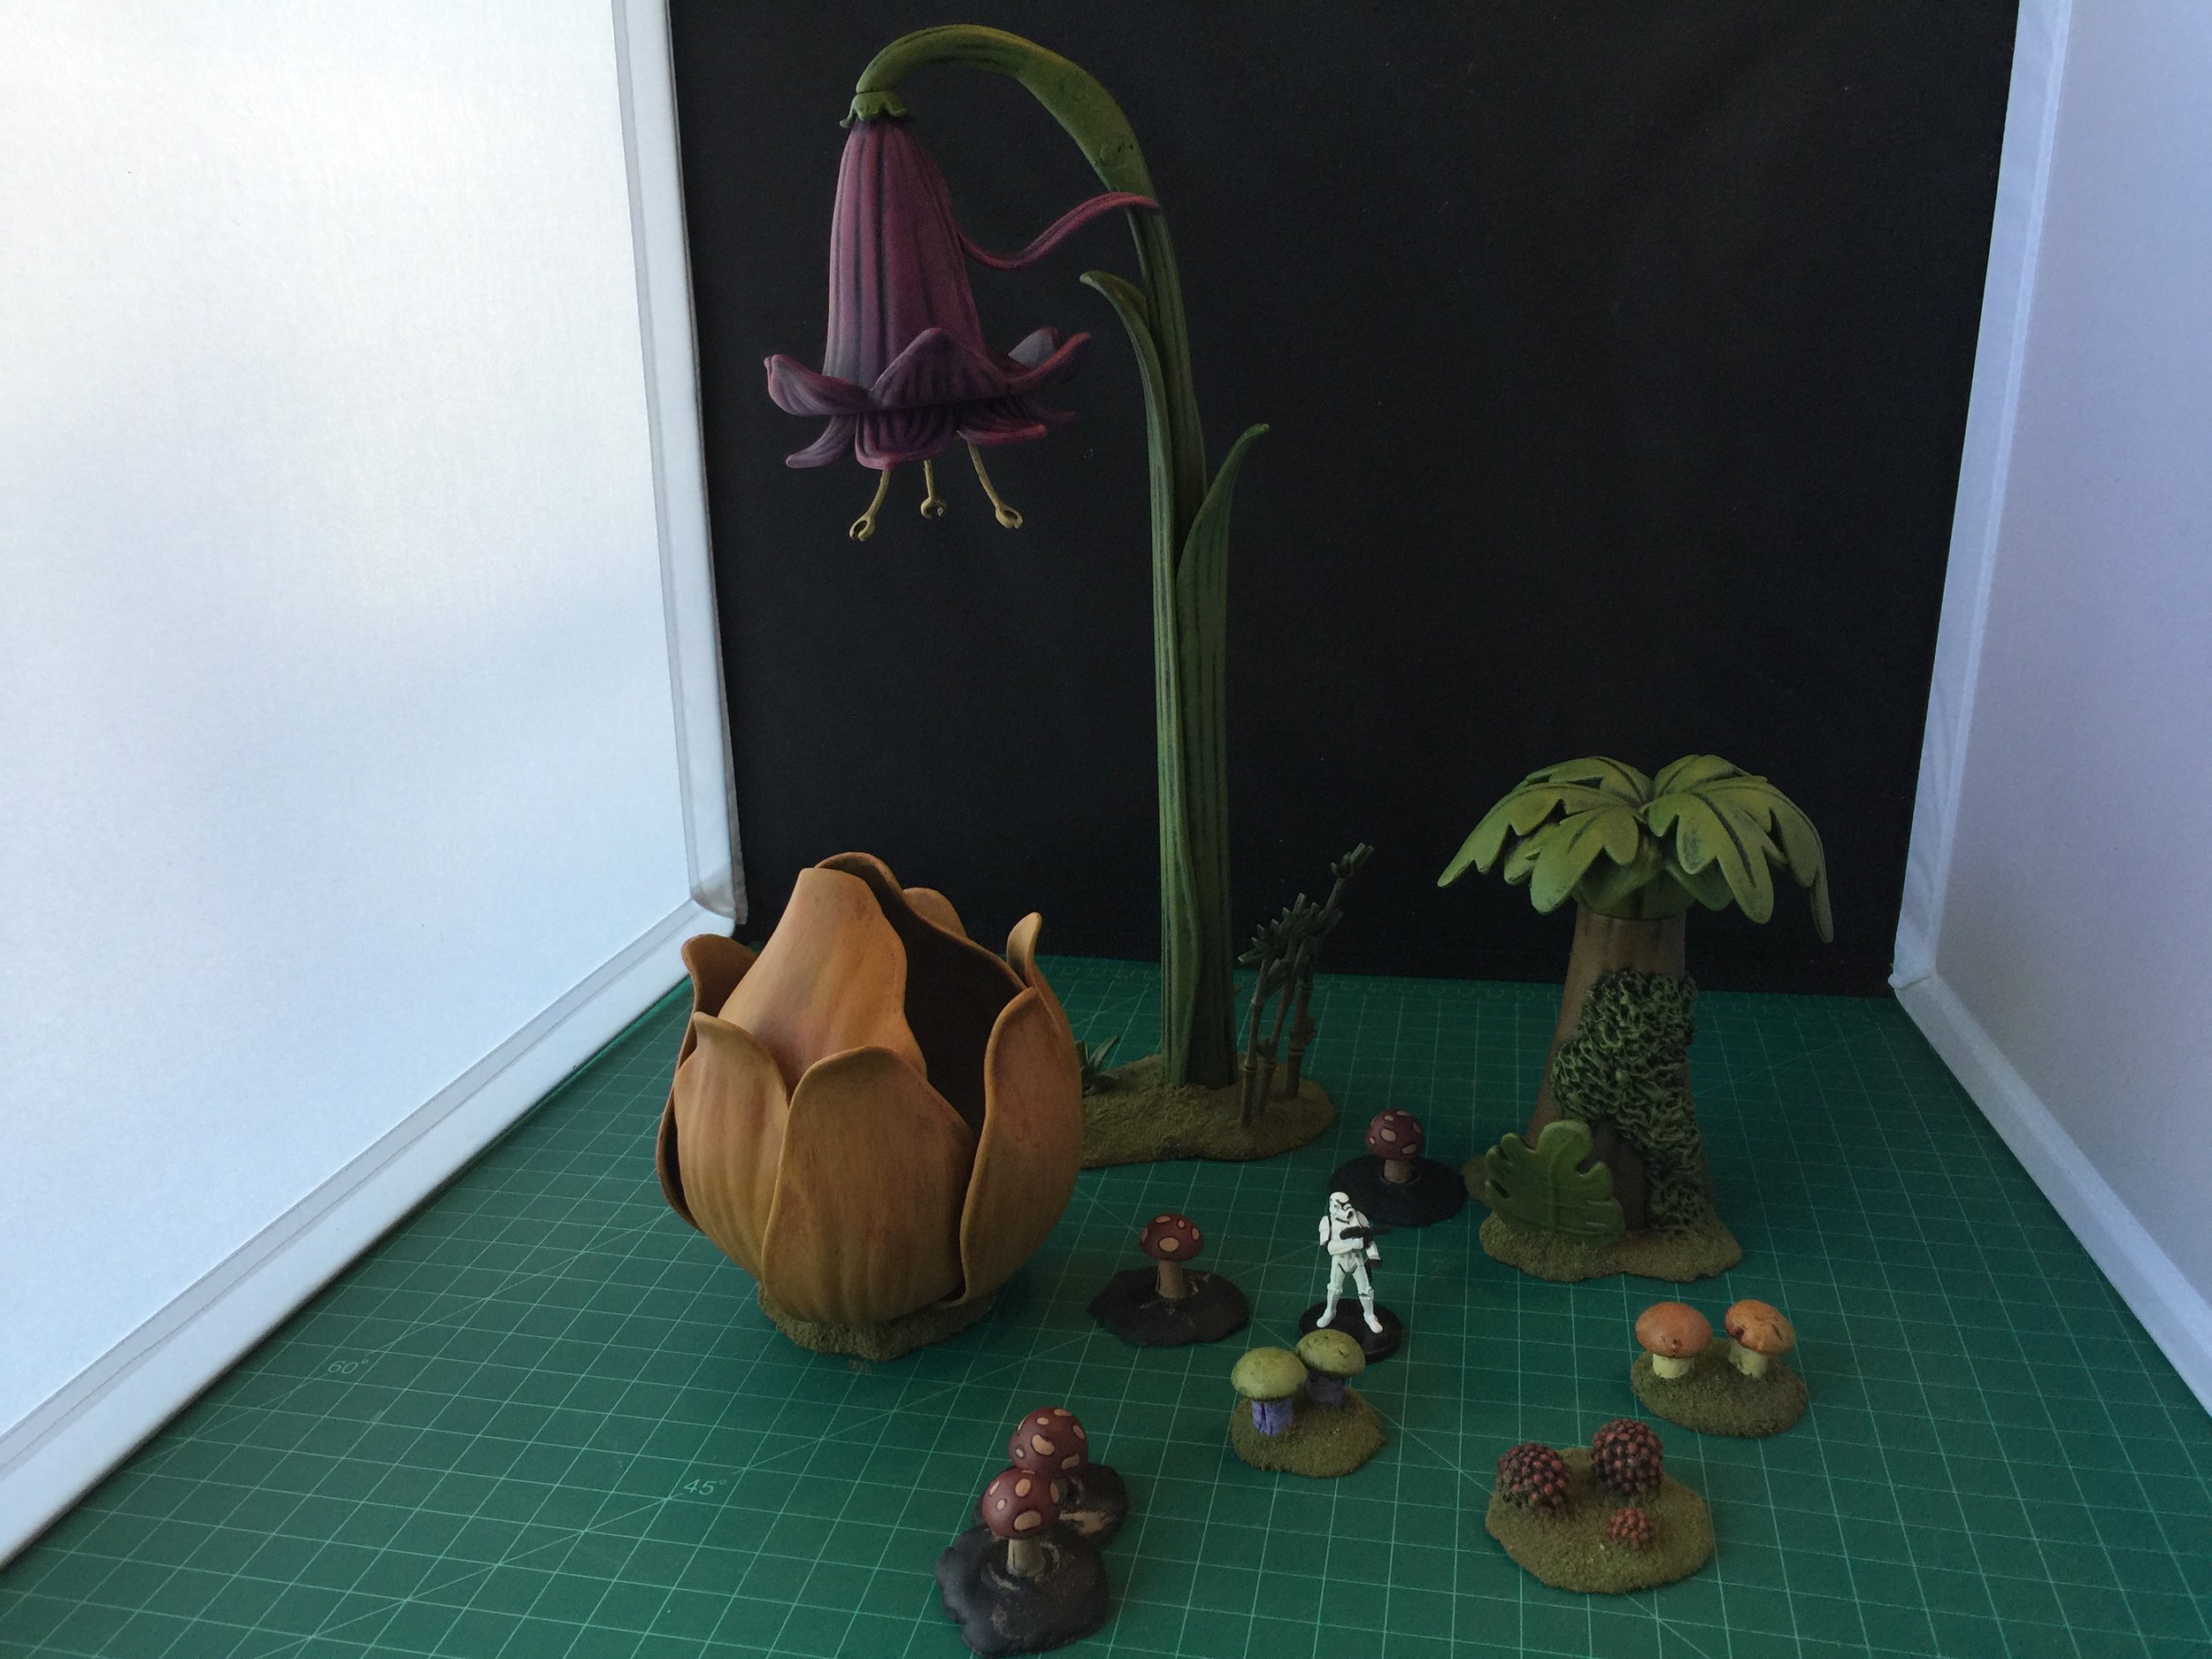
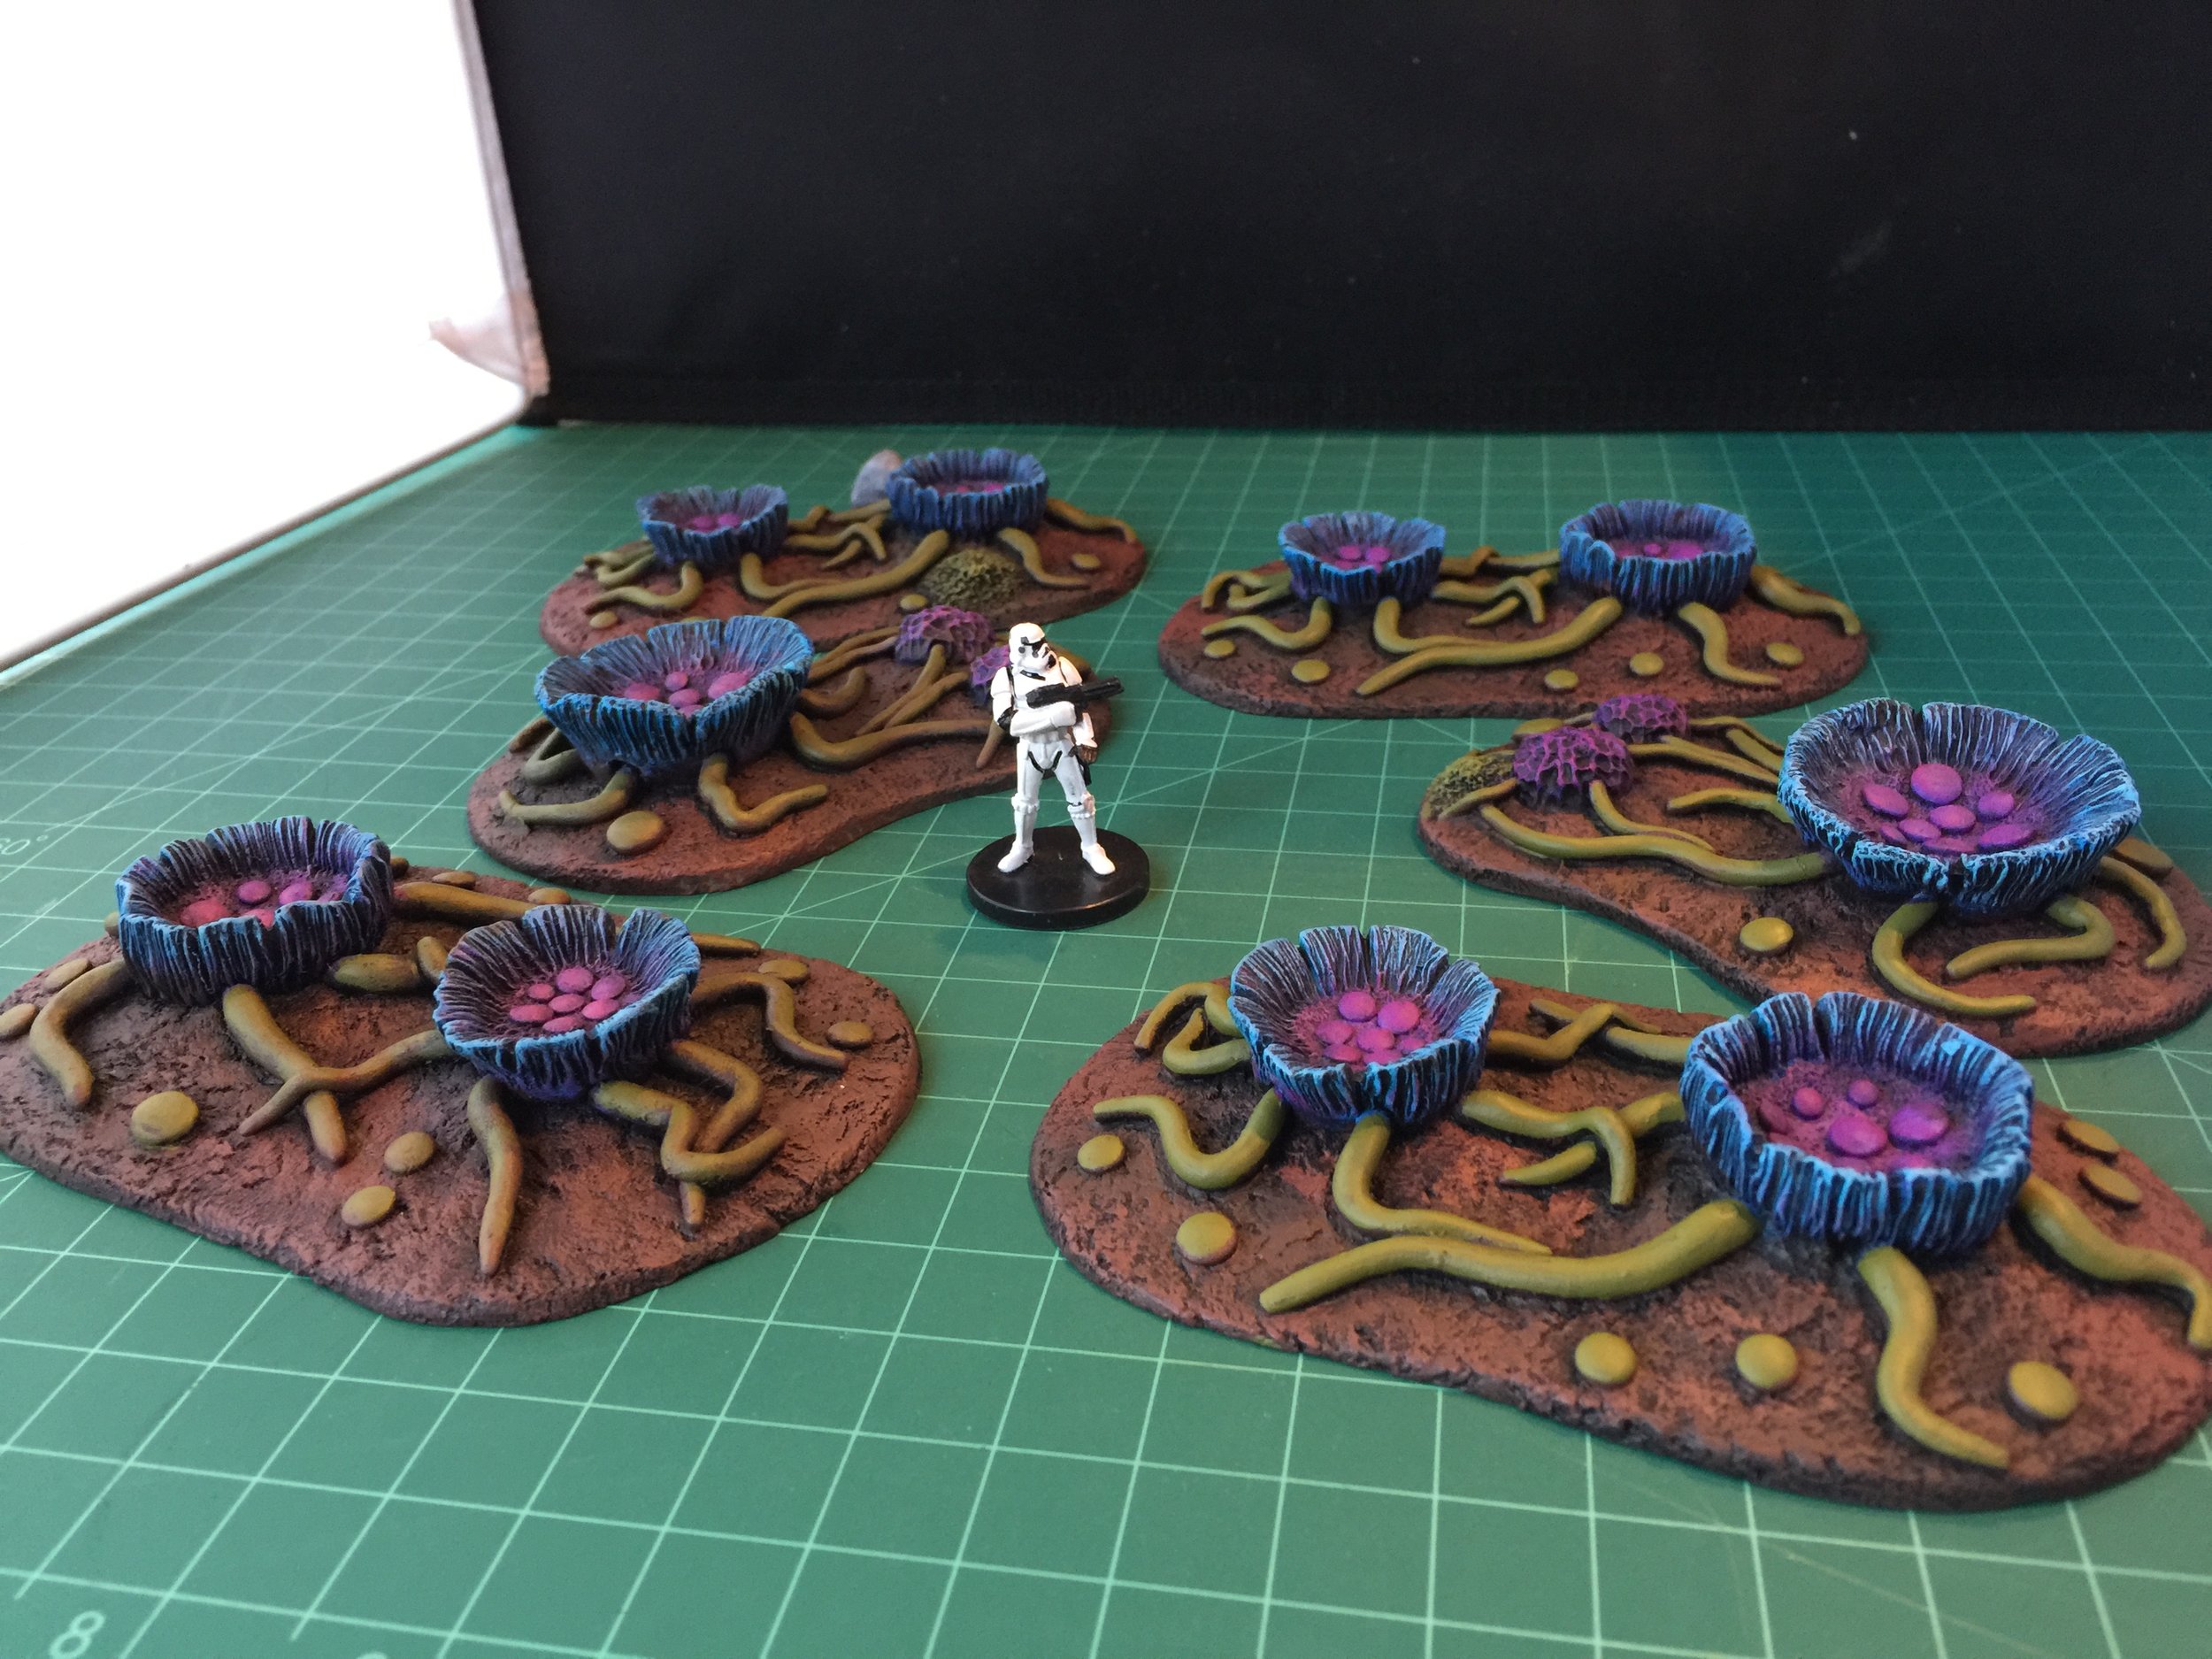
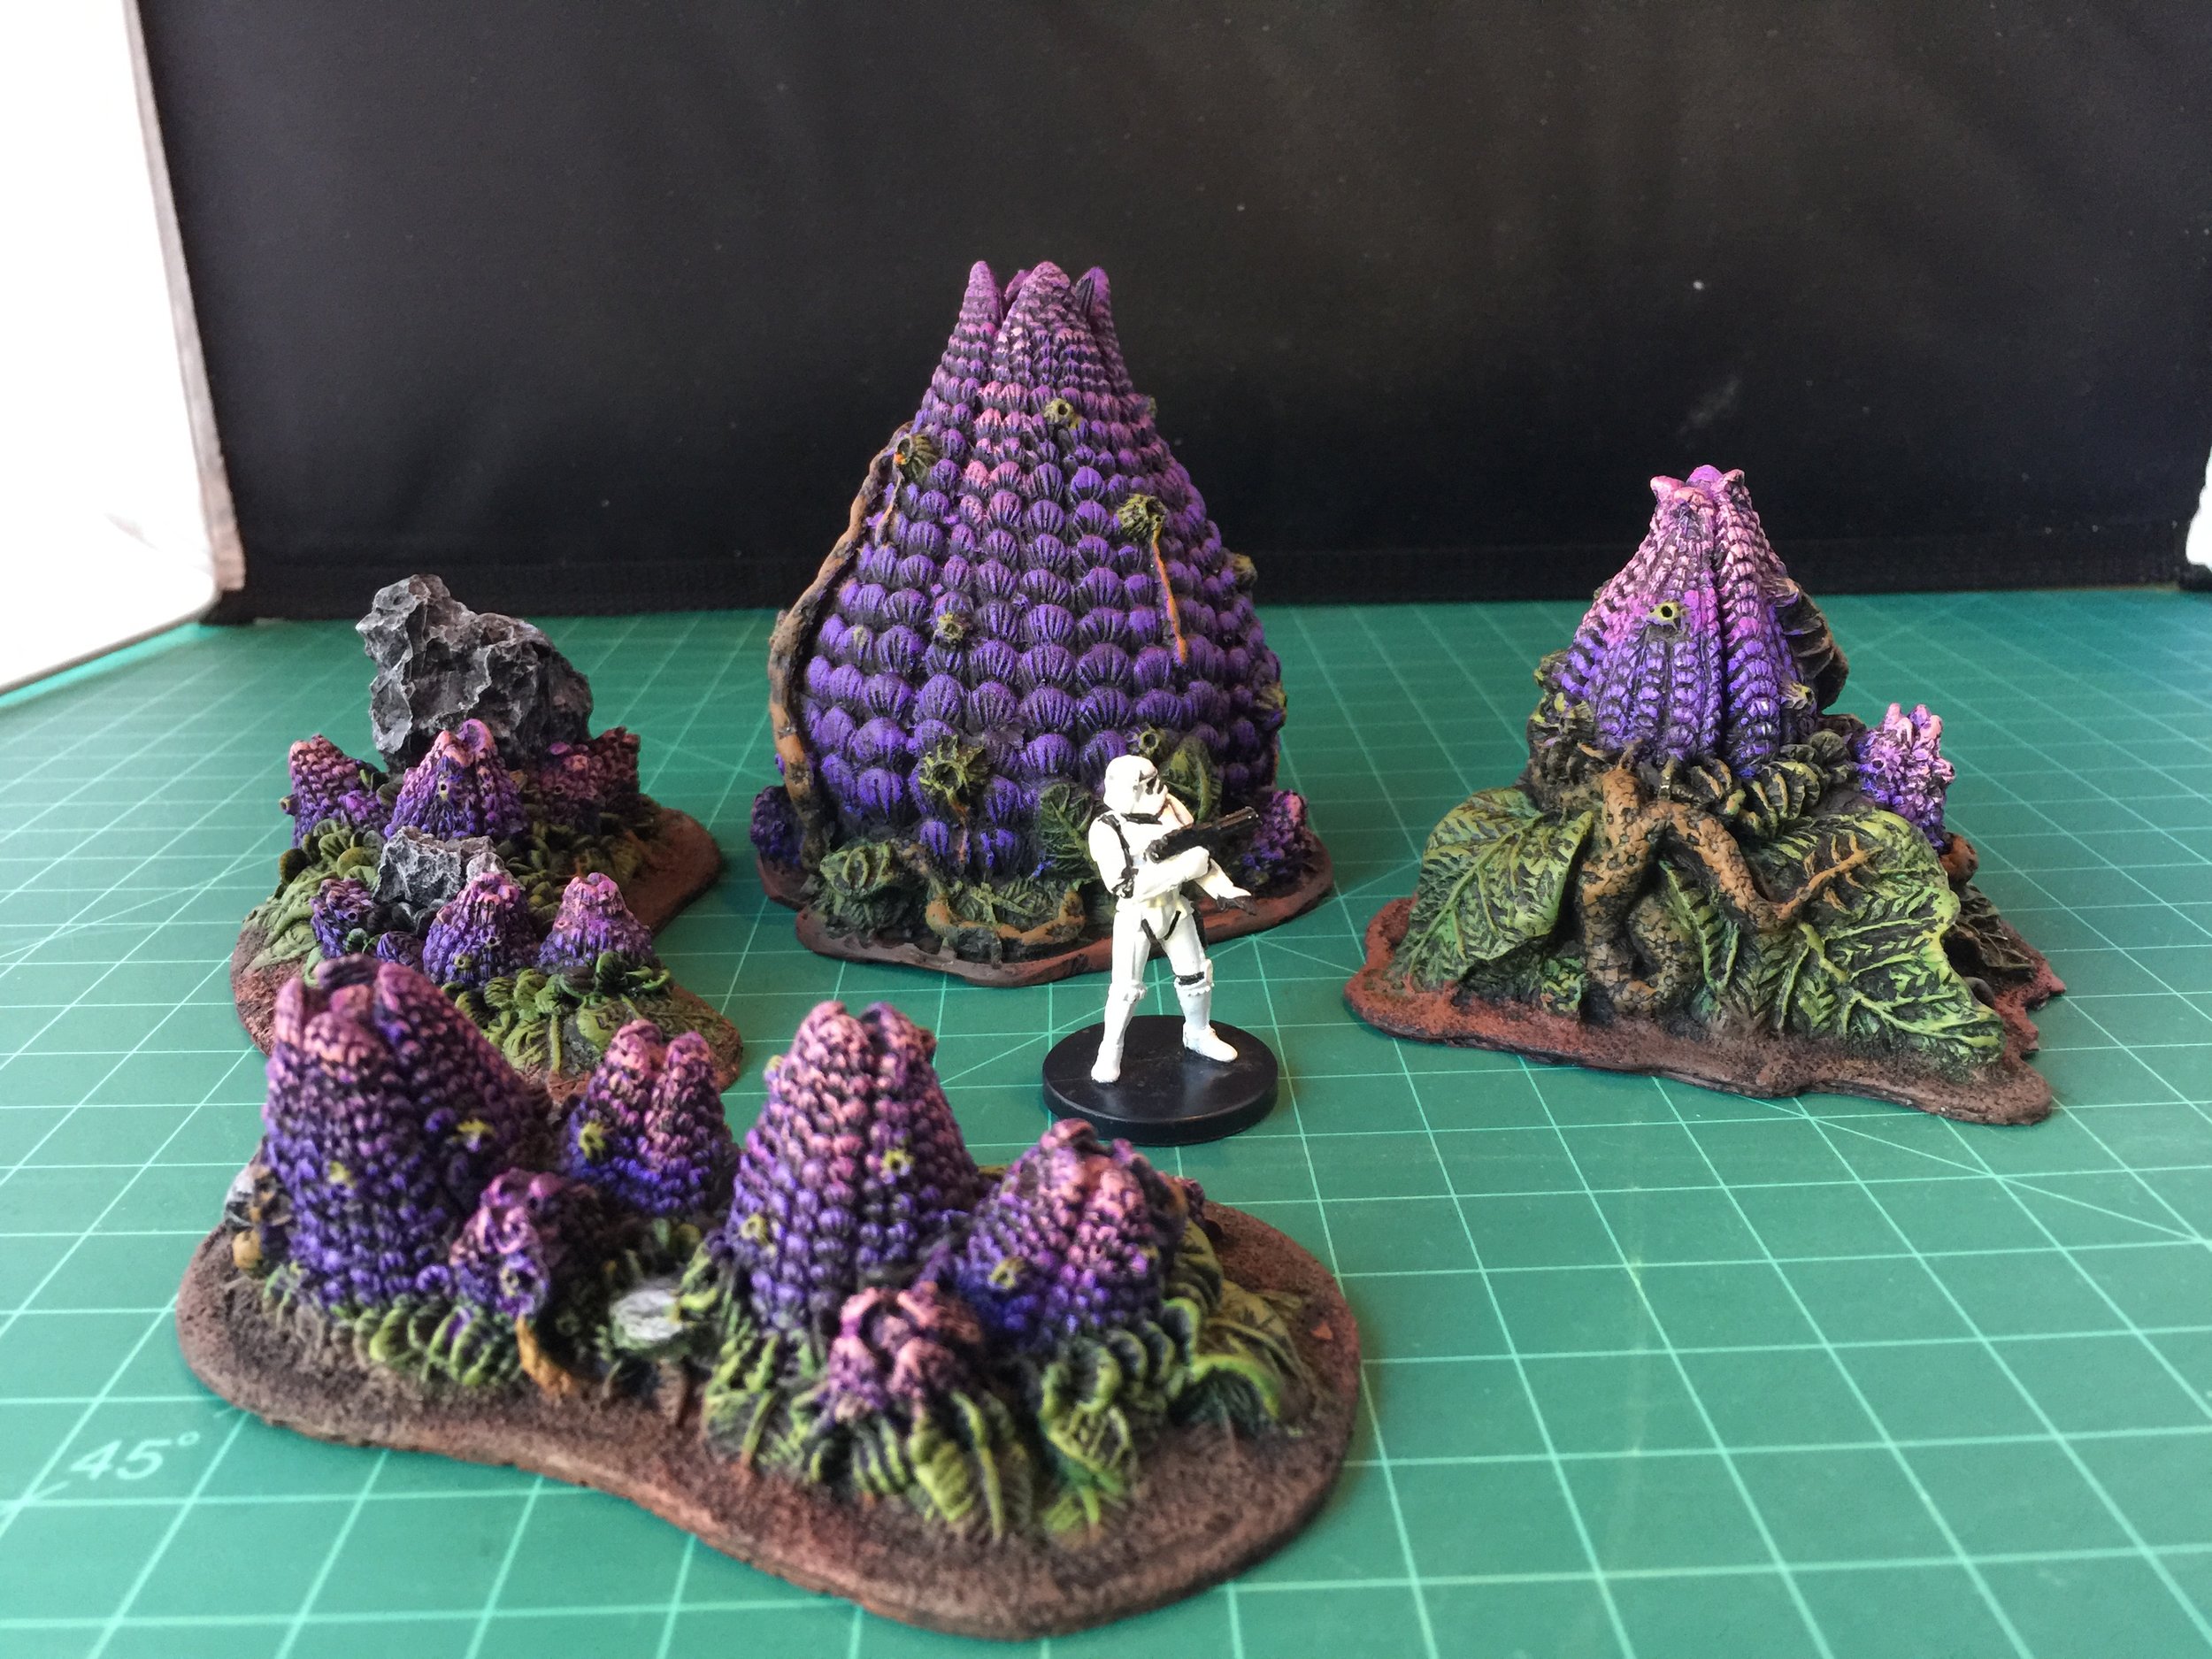
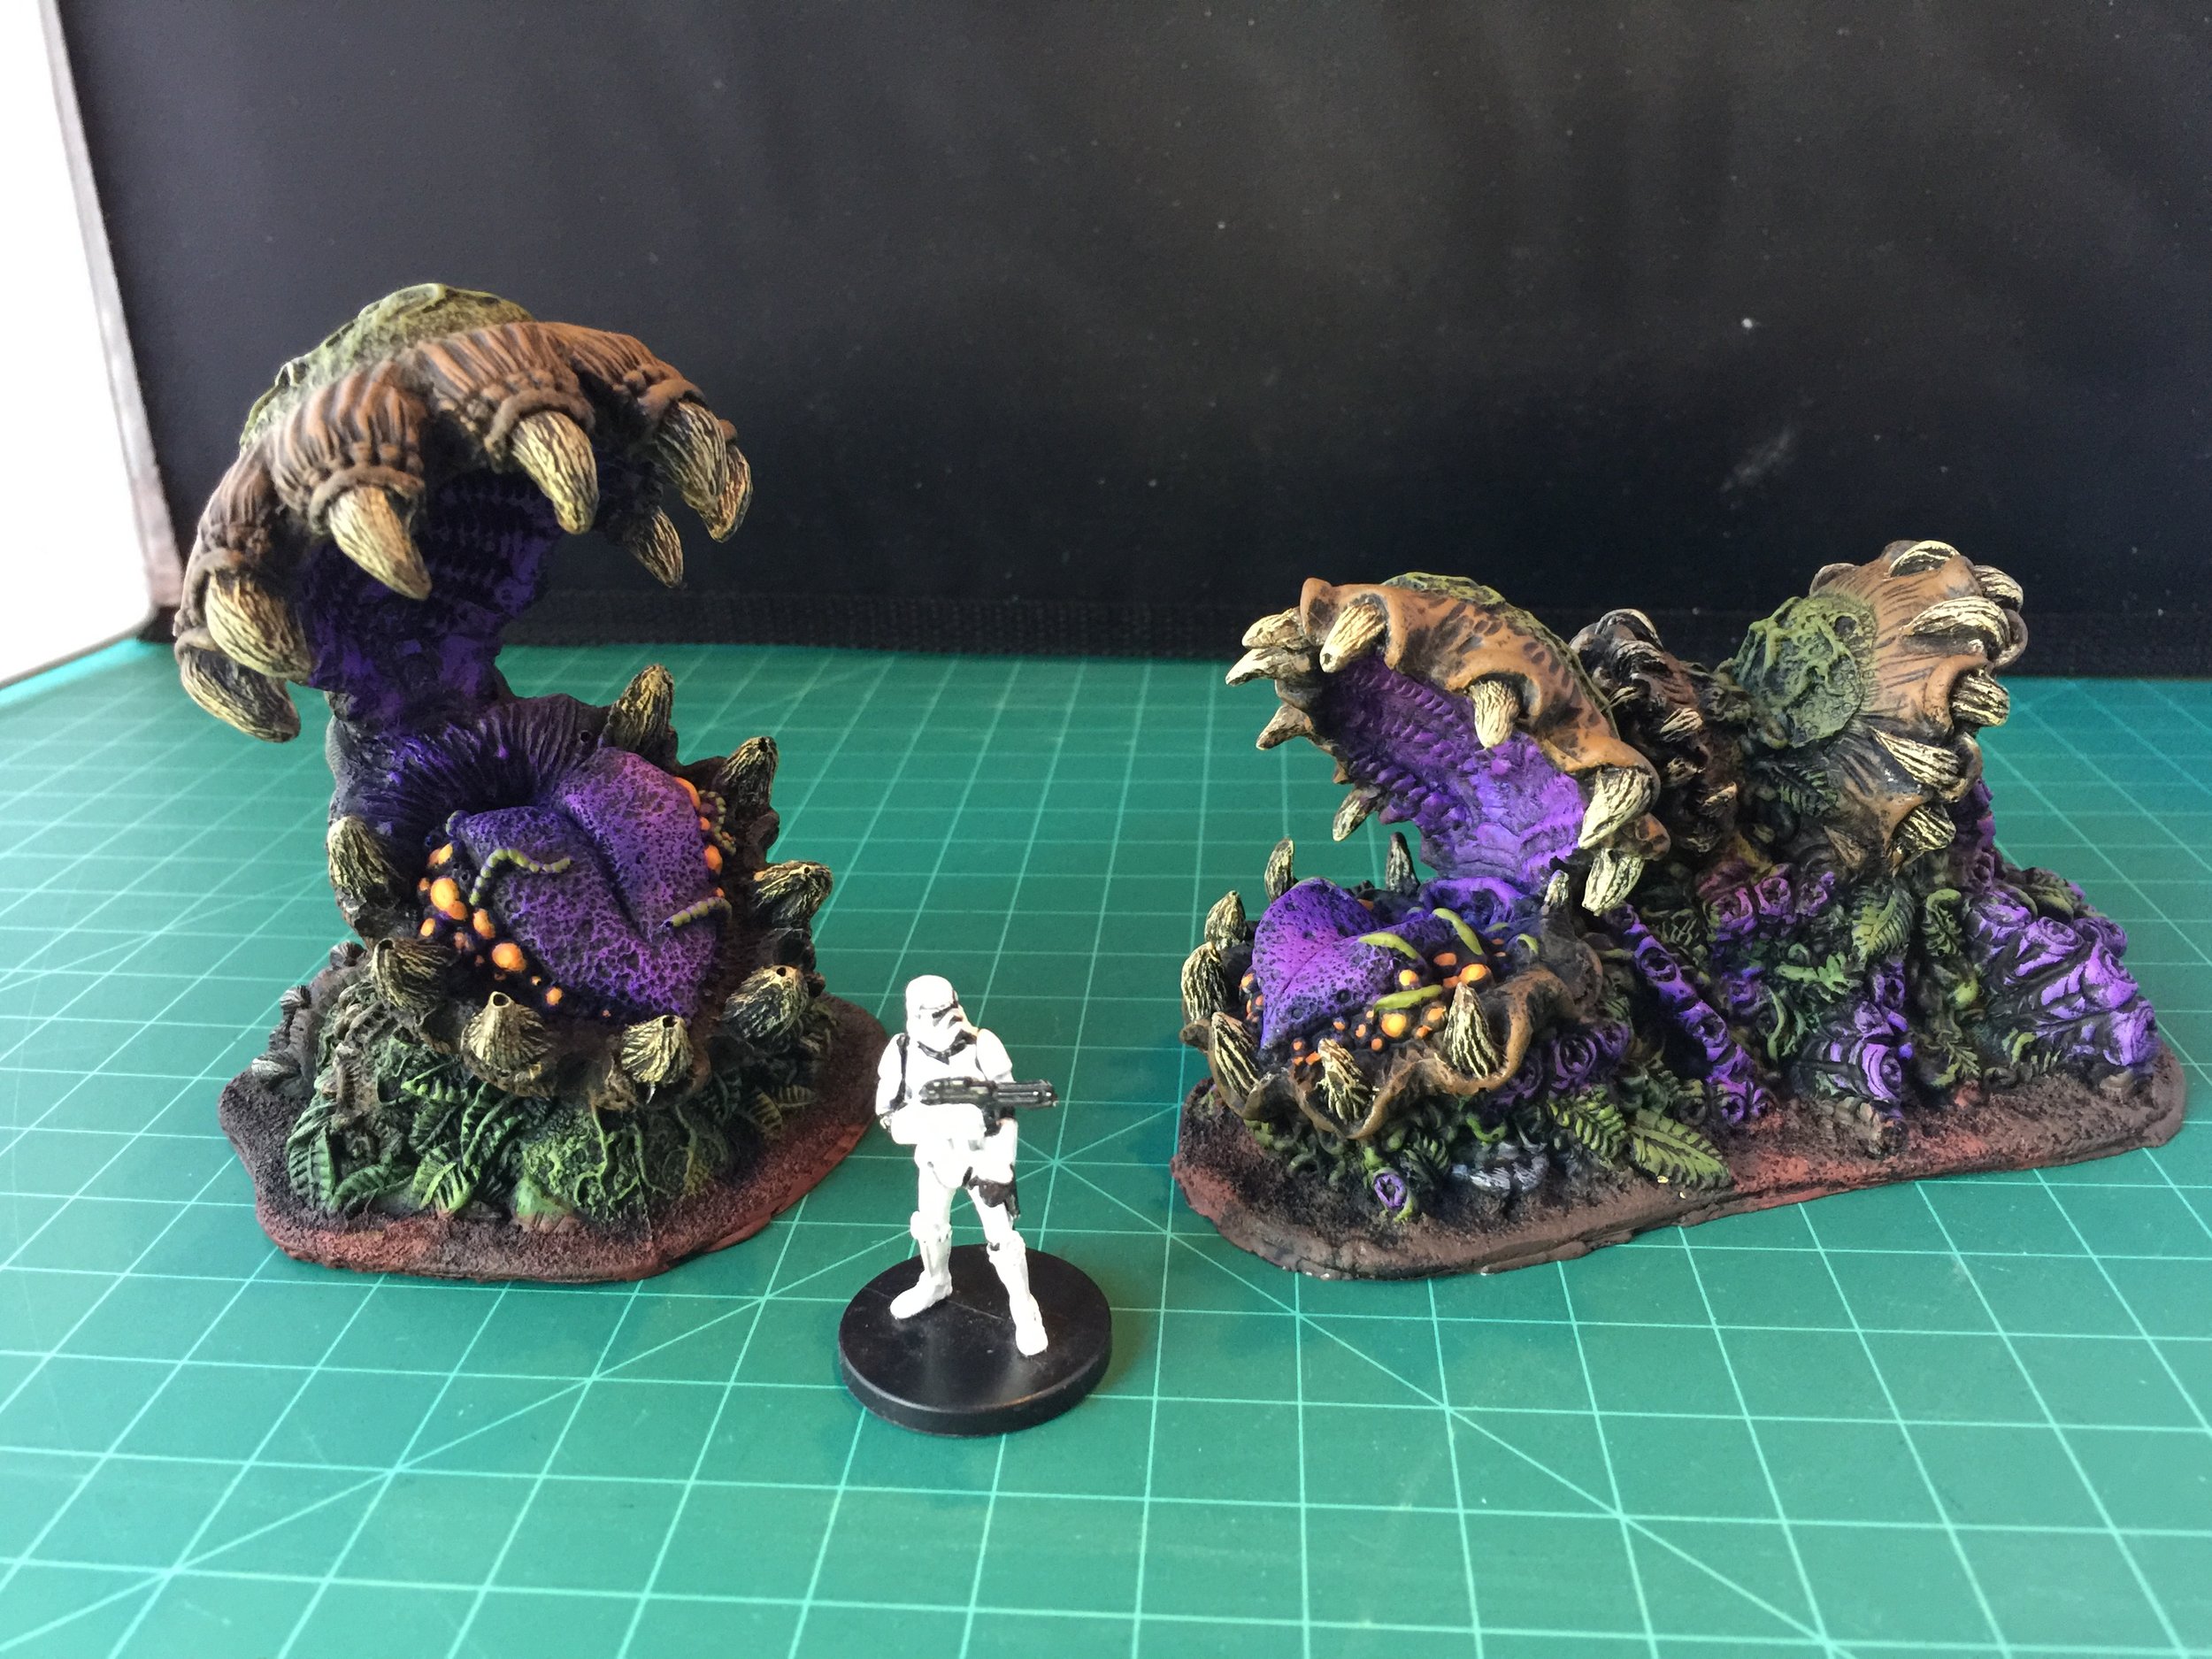
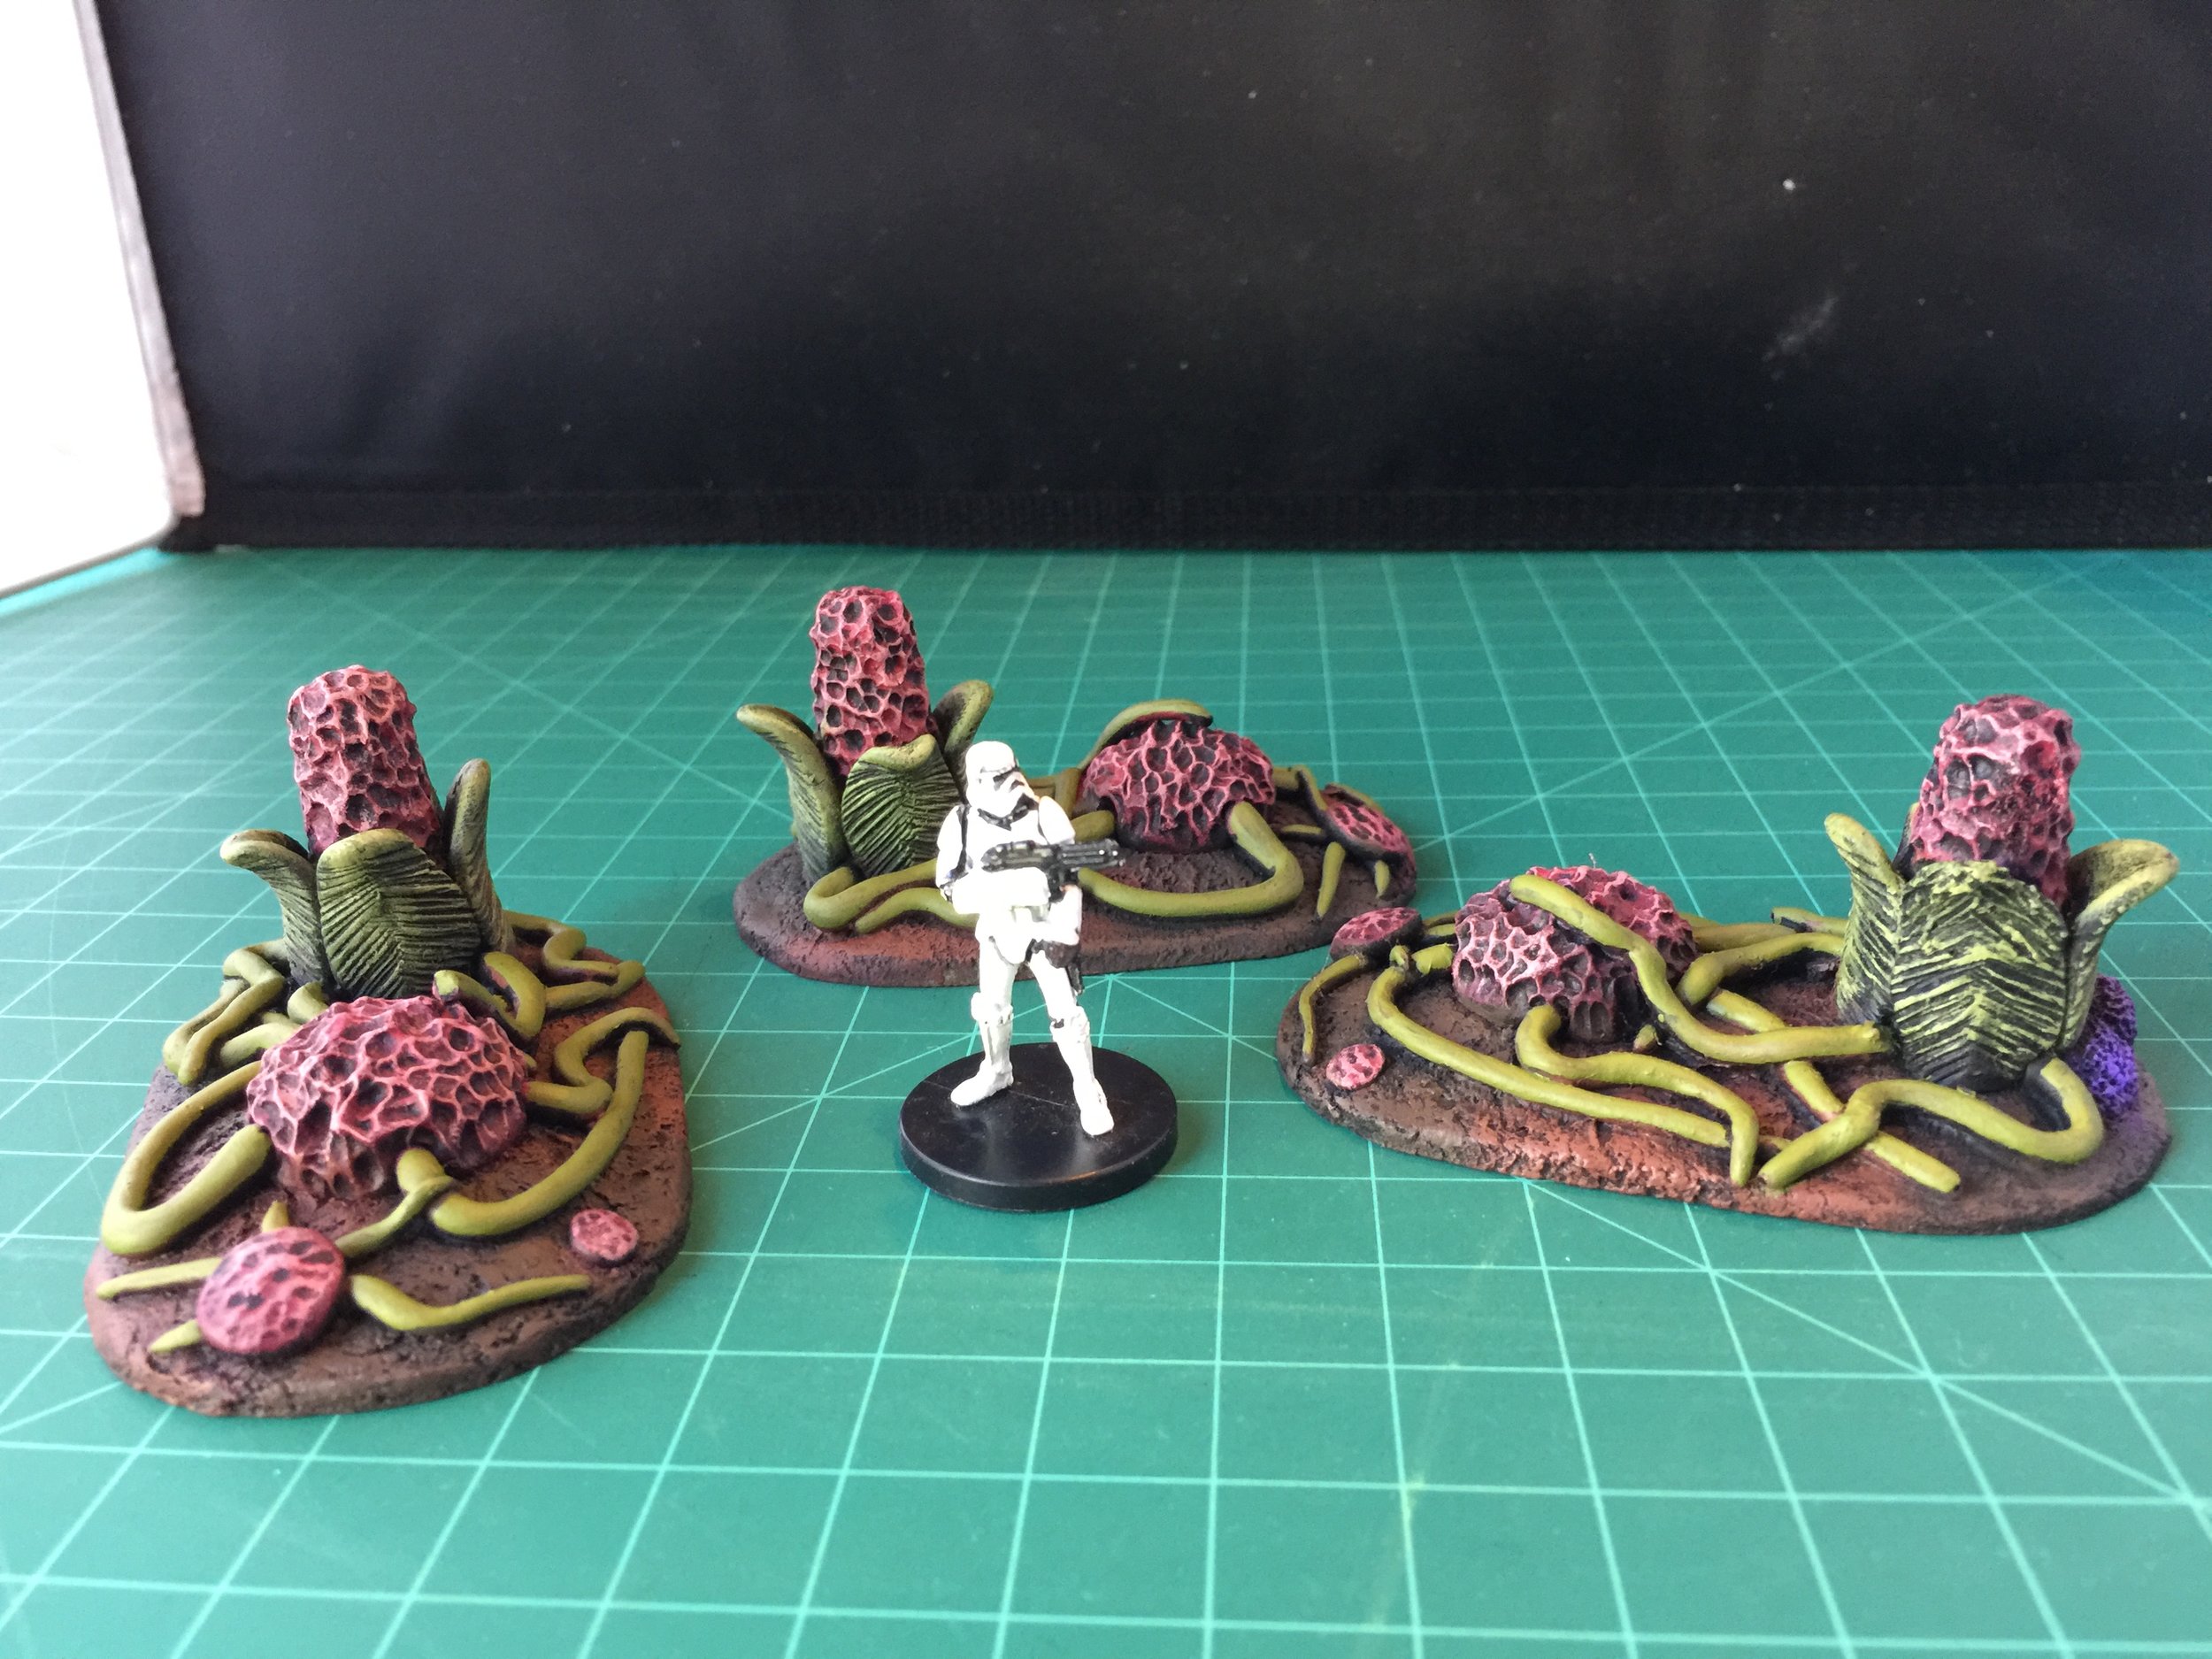
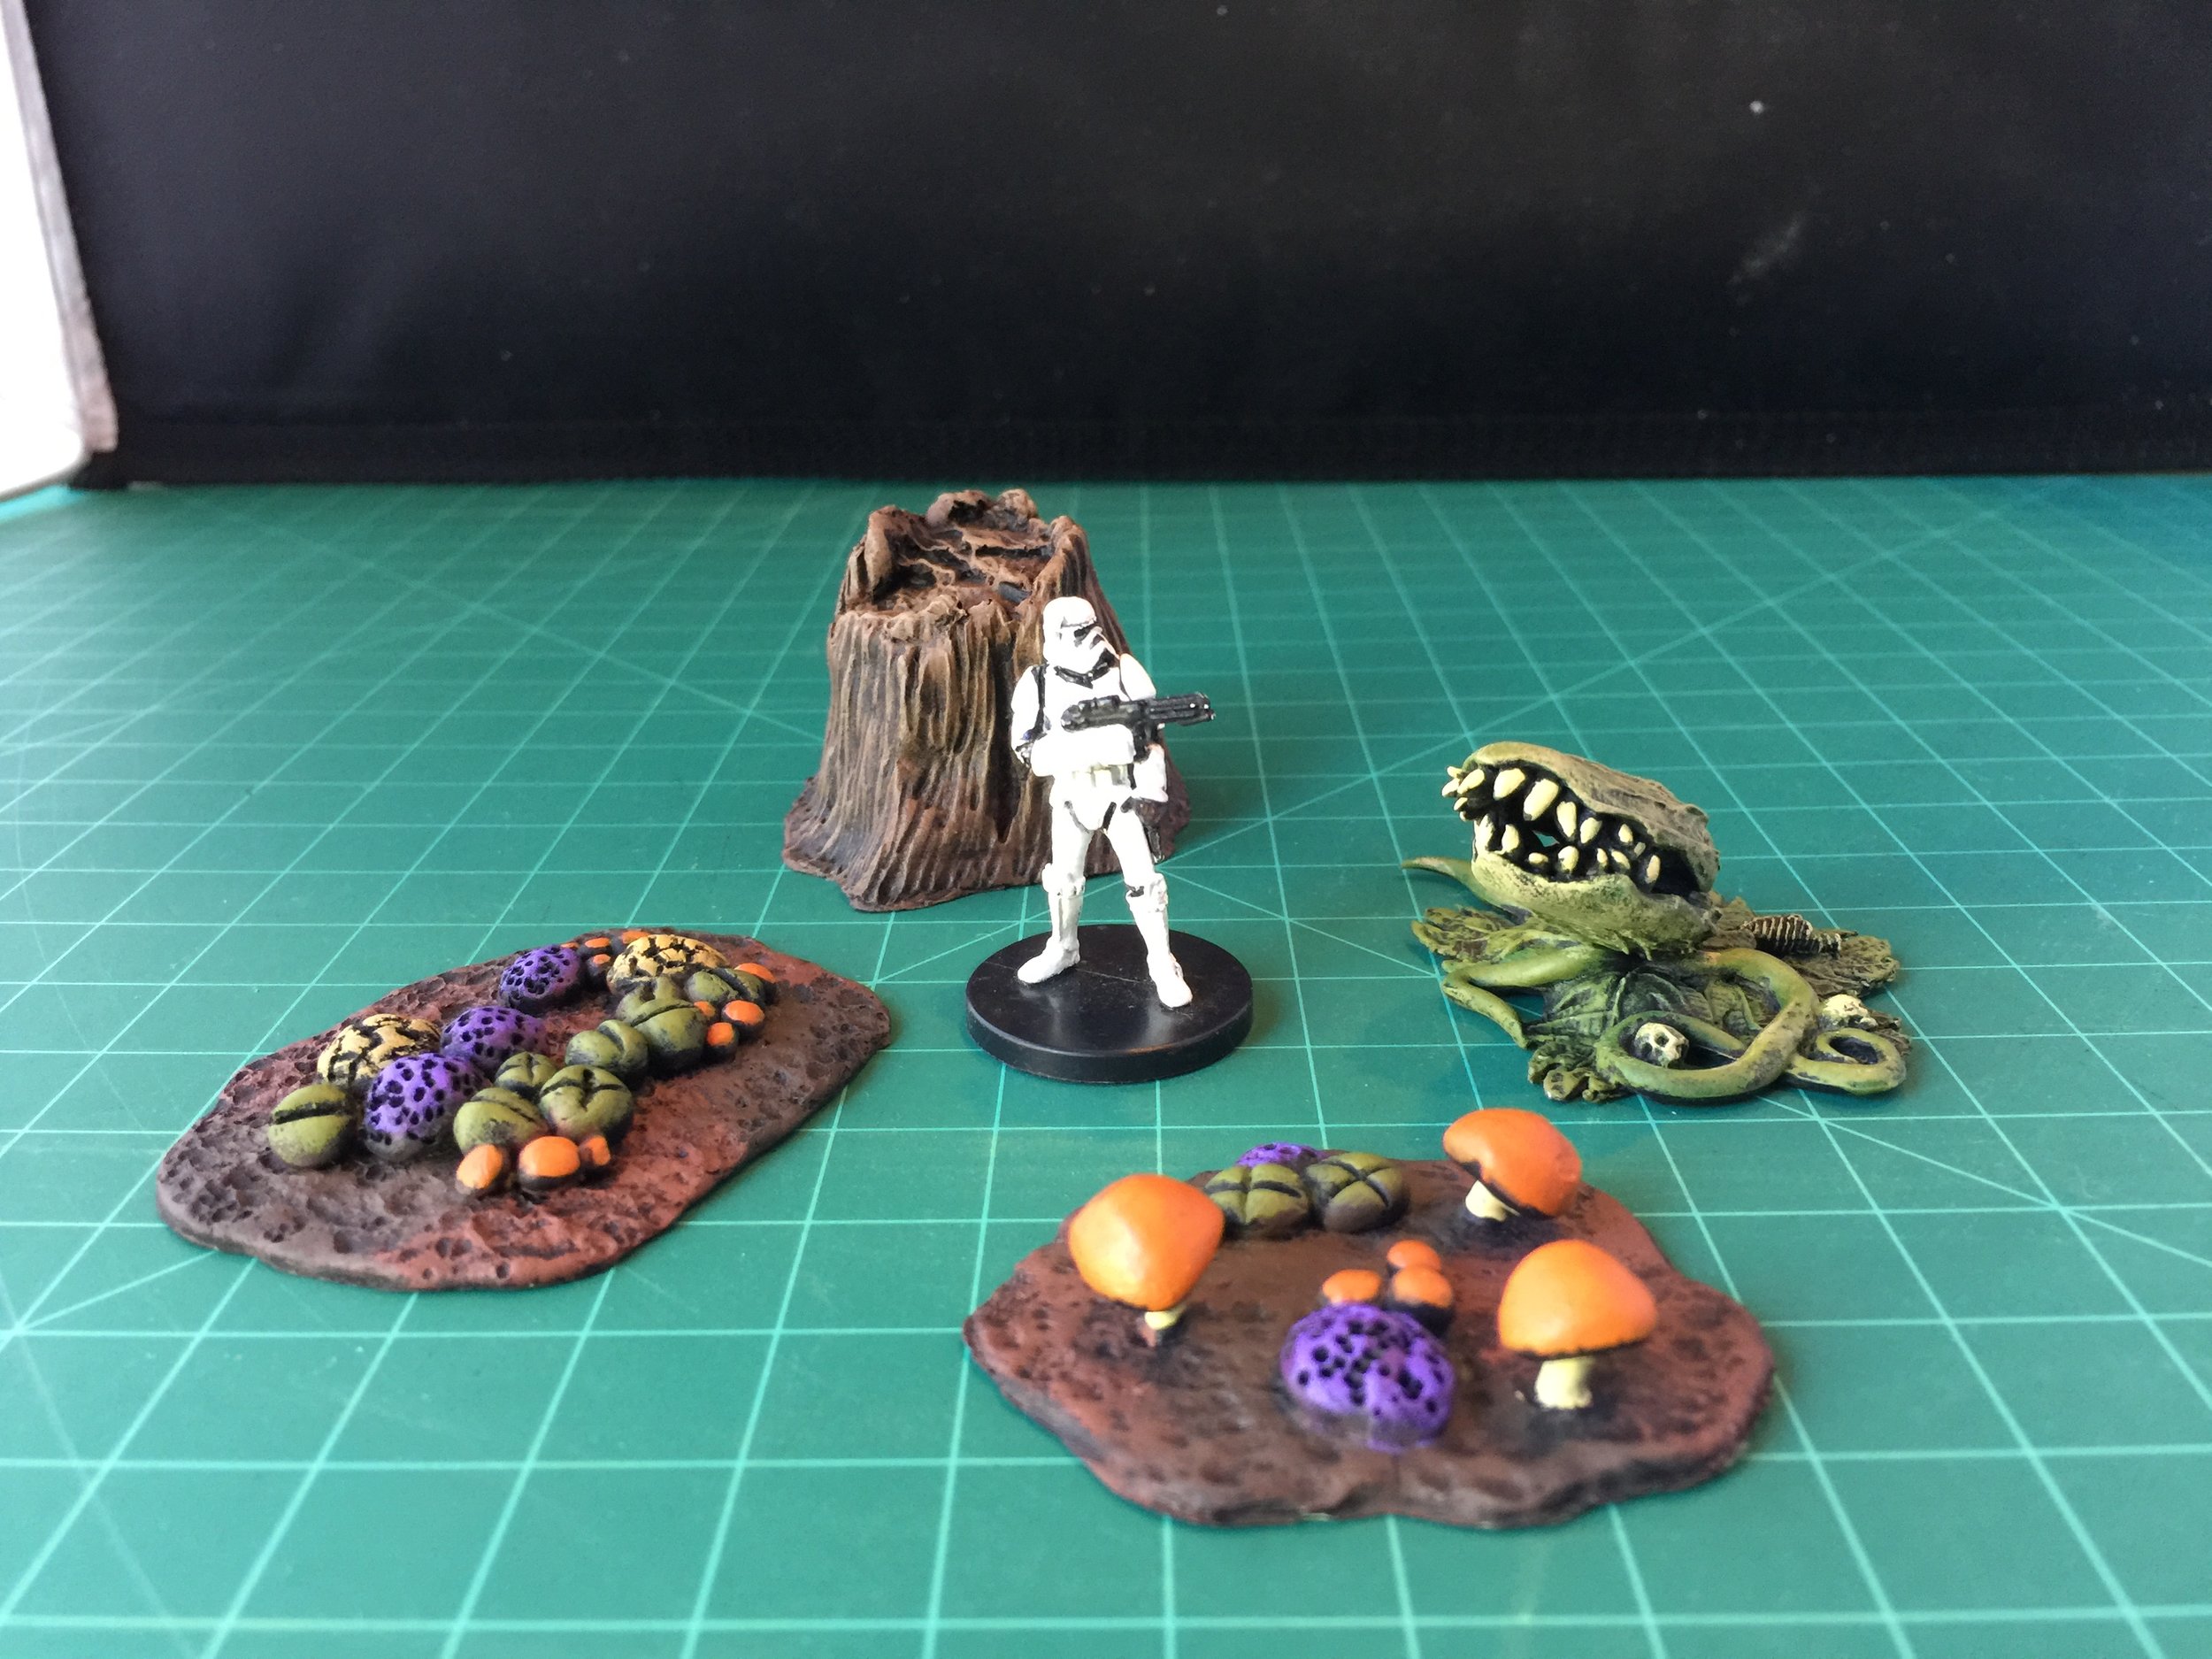
Next on the agenda were some beautiful resin alien plant forms I purchased from Armorcast perhaps a decade ago. They weren’t cheap when I bought them and have probably doubled in price over the years so I’m very glad I got them when I did. I also found that I had three more Snapdragon “alien” plants that I had missed when I painted the others so I painted them up using the earlier color scheme. I wrapped up my plant painting for the week with a flesh-eating plant (metal) from Armorcast and two more bases of small scratch-built plant forms.
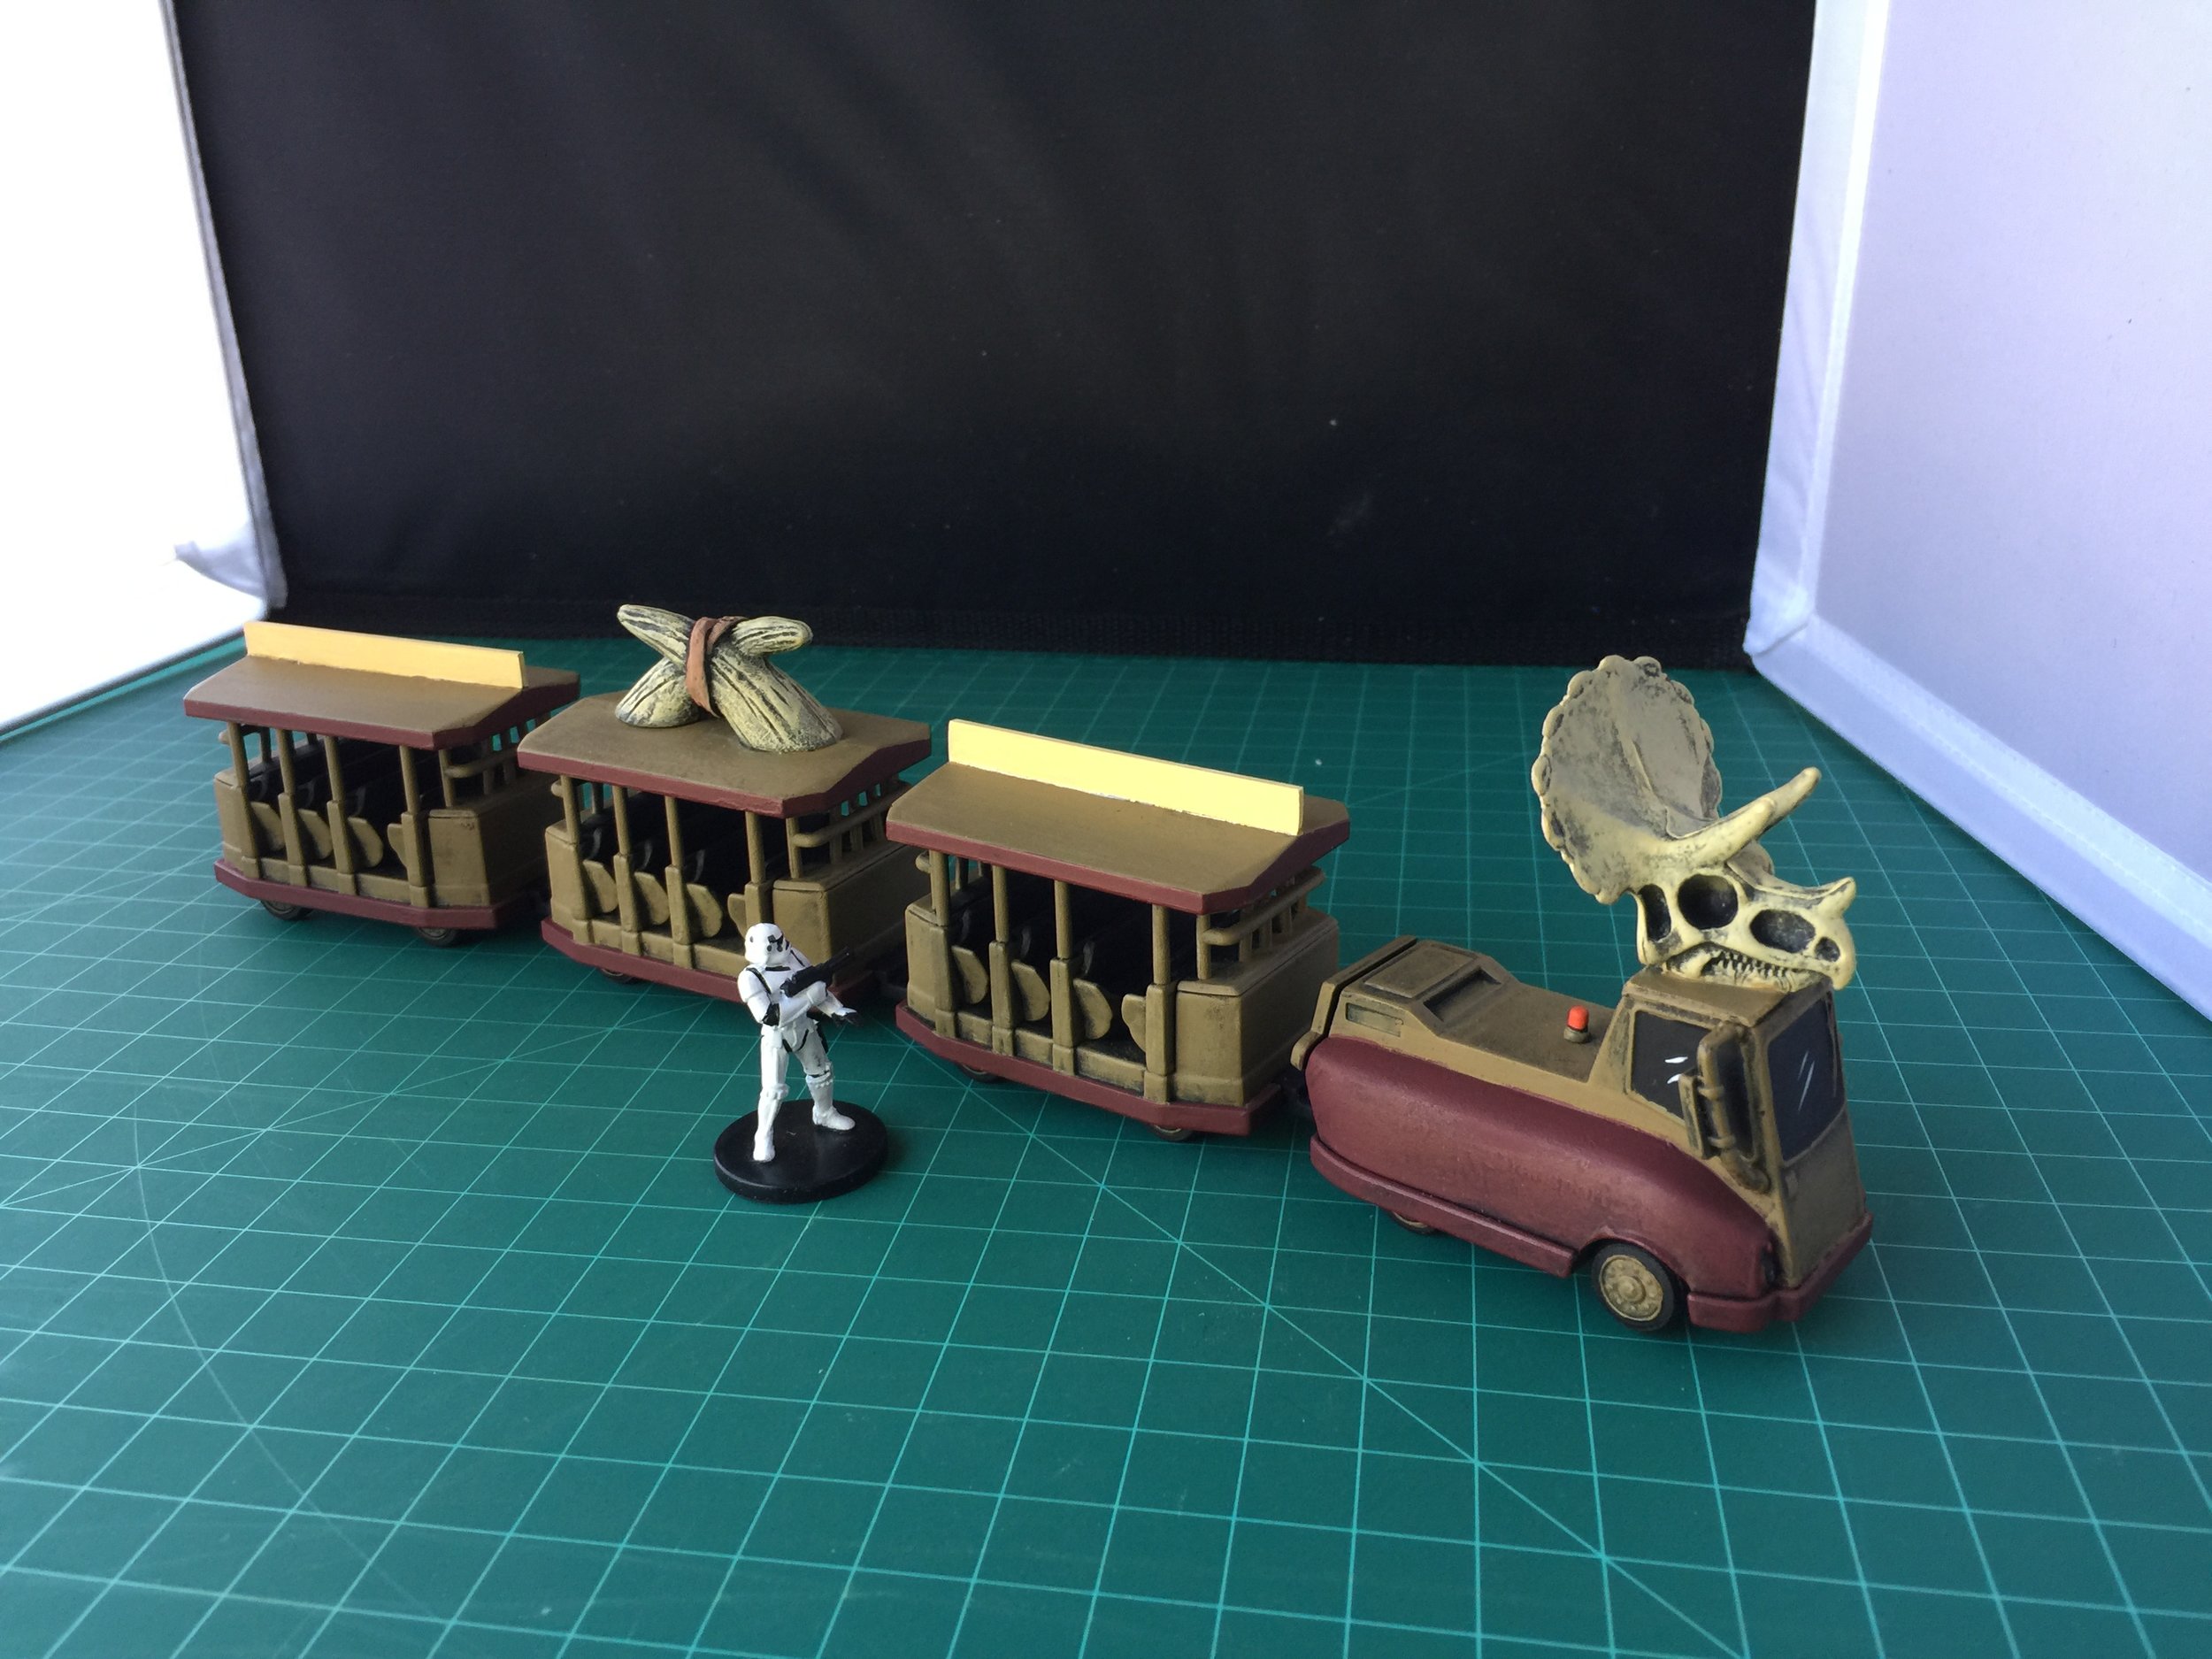
I ended the Workbench week by painting another Disney tram. This is one that I found at the swap meet a year or so ago for $3. The roof was missing from the tractor’s cab, but that didn’t bother me since I immediately decided to use it with my Dr. Who collection as a Dino Tour transport. As such I planned to put a dinosaur skull on the cab roof, crossed bones on the middle passenger car roof (taken from a Flintstone Happy Meal building) and added Evergreen plastic to the roofs of the first and third cars to serve as signs which read DINO TOUR. Those plans took shape this week though the DINO TOUR decals have not been made as yet.

March 10, 2019
The workbench week opened with more plant and terrain painting for my Dr. Who collection. These plants are of a smaller variety than previous postings, but still substantial in size compared with 28mm figures. In addition to plants, I completed several more volcanoes and a few terrain odds and ends.
By mid-week I realized that I had forgotten to put together 4 key pieces for the Boxer Rebellion collection. Those 4 pieces are the destroyed versions of my market stalls. I built the destroyed versions using Milliput for the bases, Evergreen plastic for the actual stall structures, facial tissue for the awnings and some fabric, and small beads for the pots. Unfortunately, these were packed away after the gallery photo shoot and before I took a picture of them for the Workbench so you’ll have to wait to see them when the Boxer Rebellion Gallery is posted.
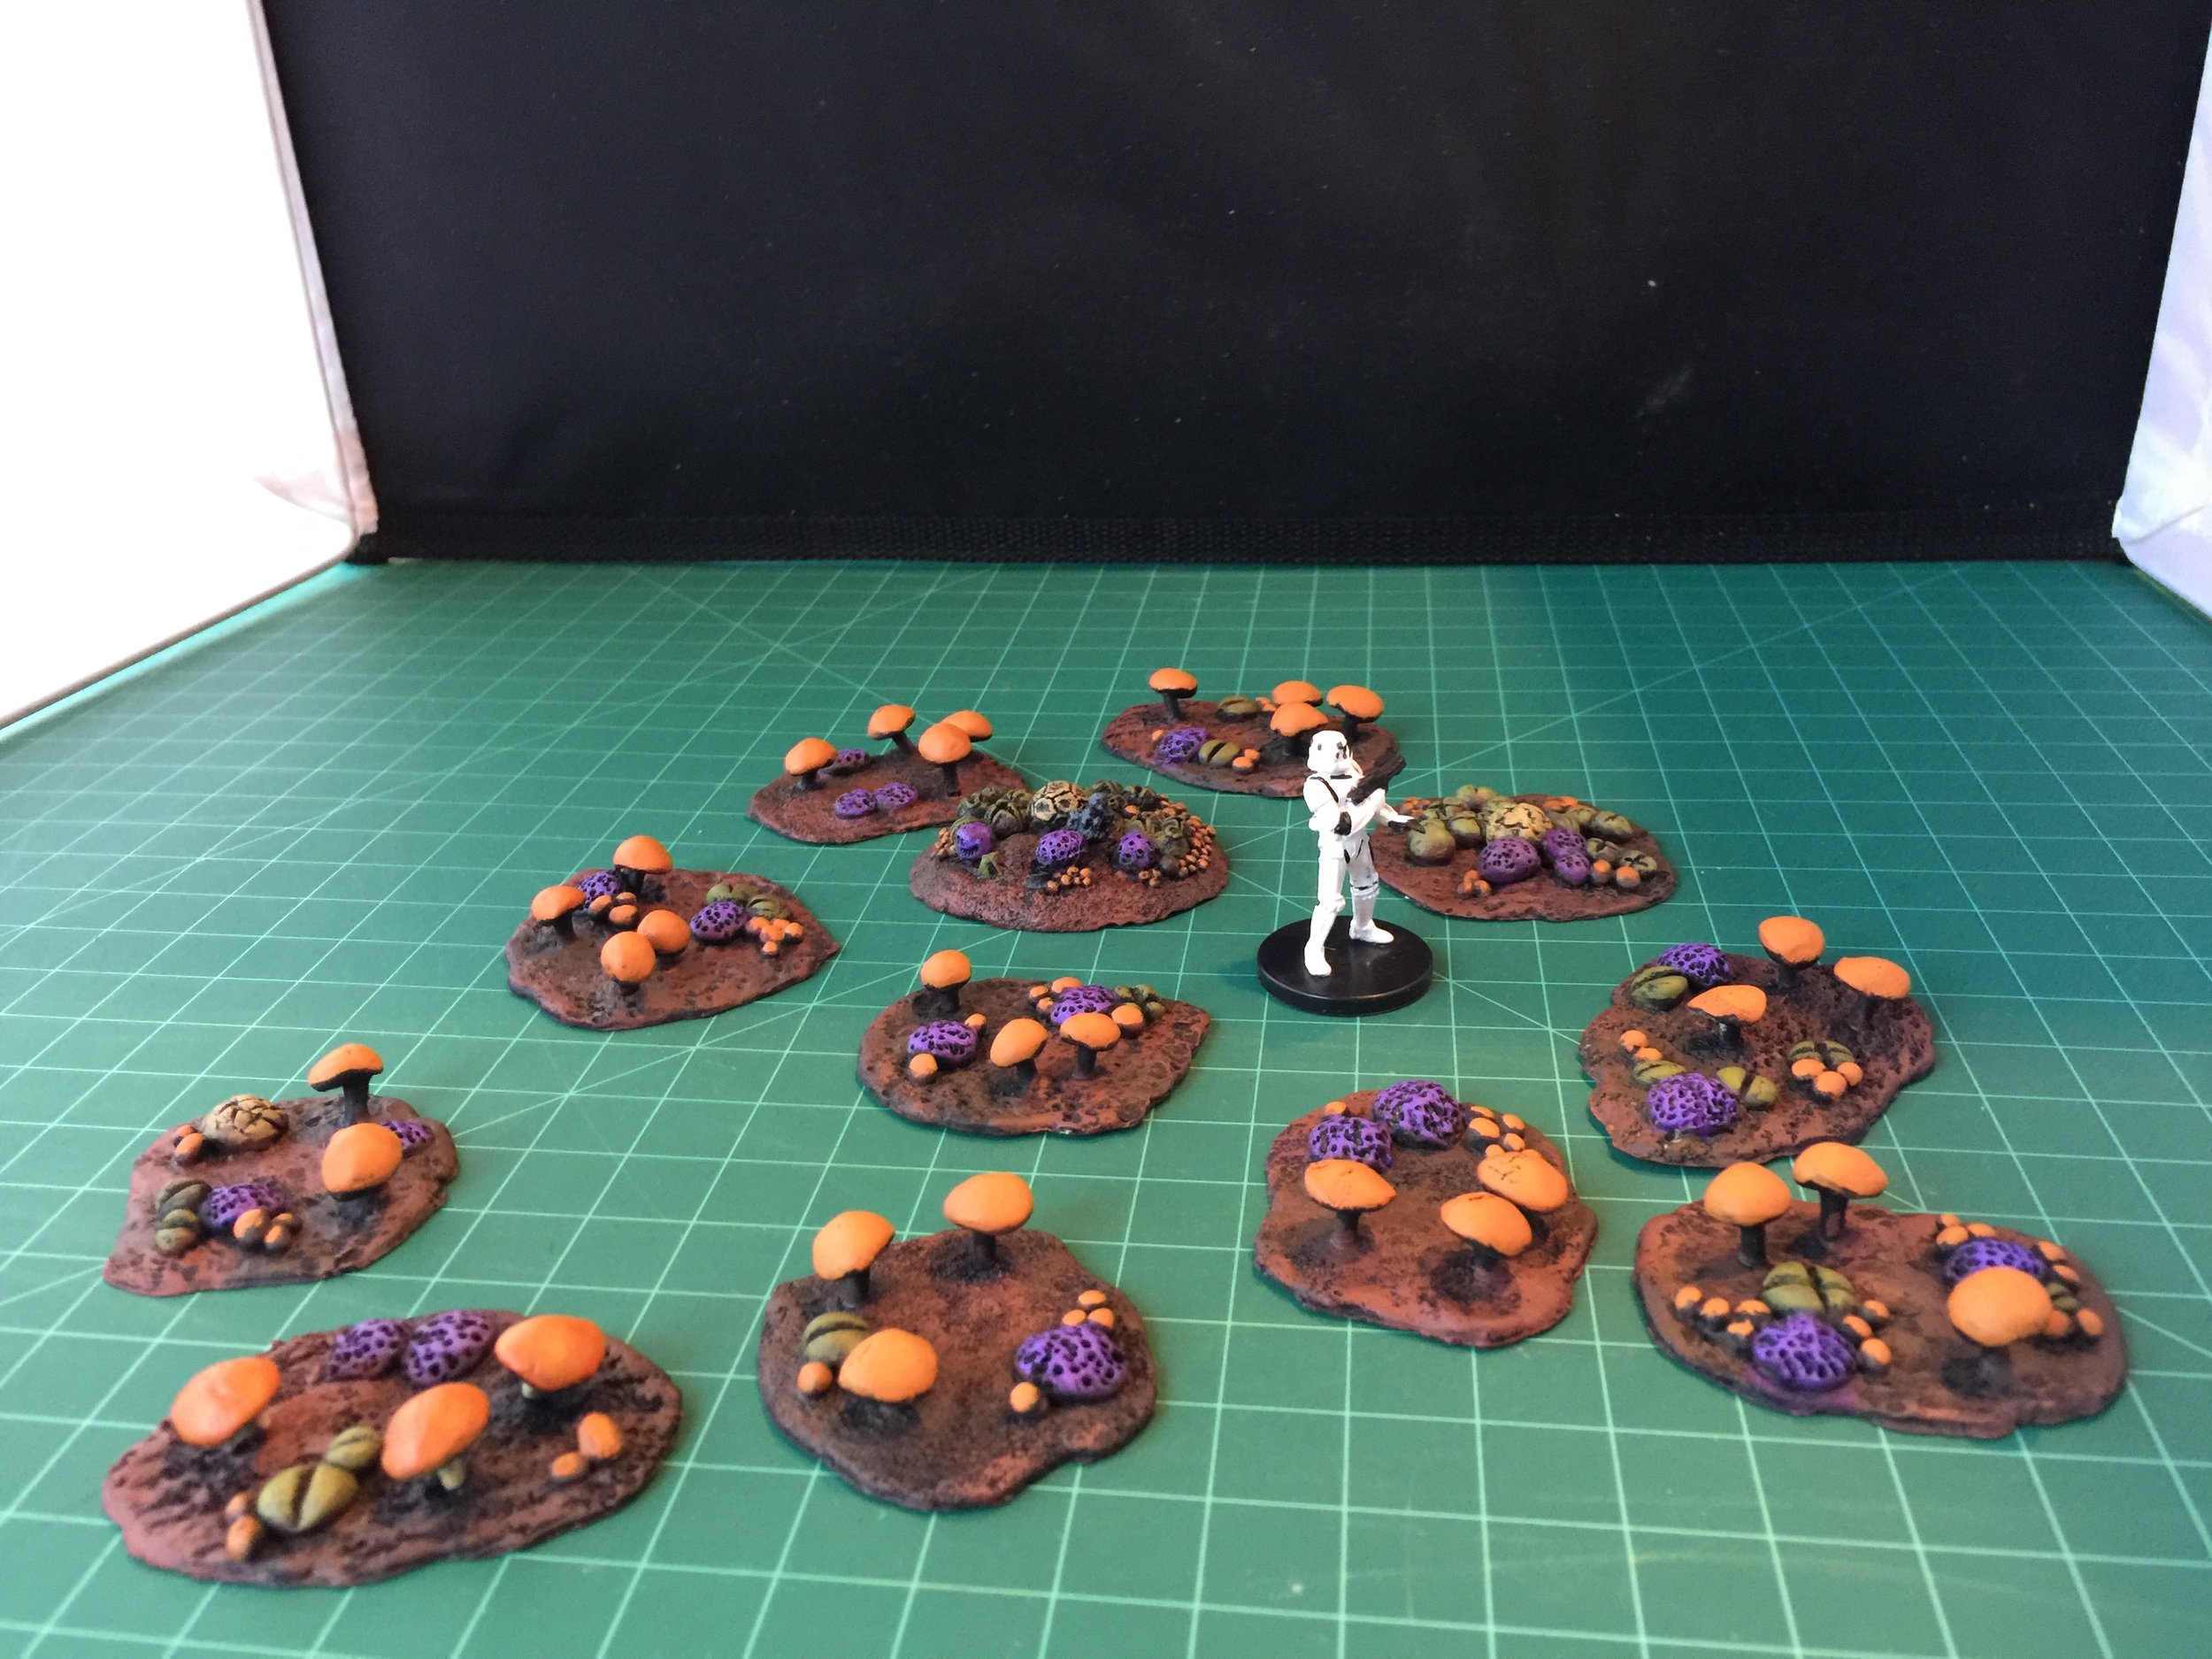
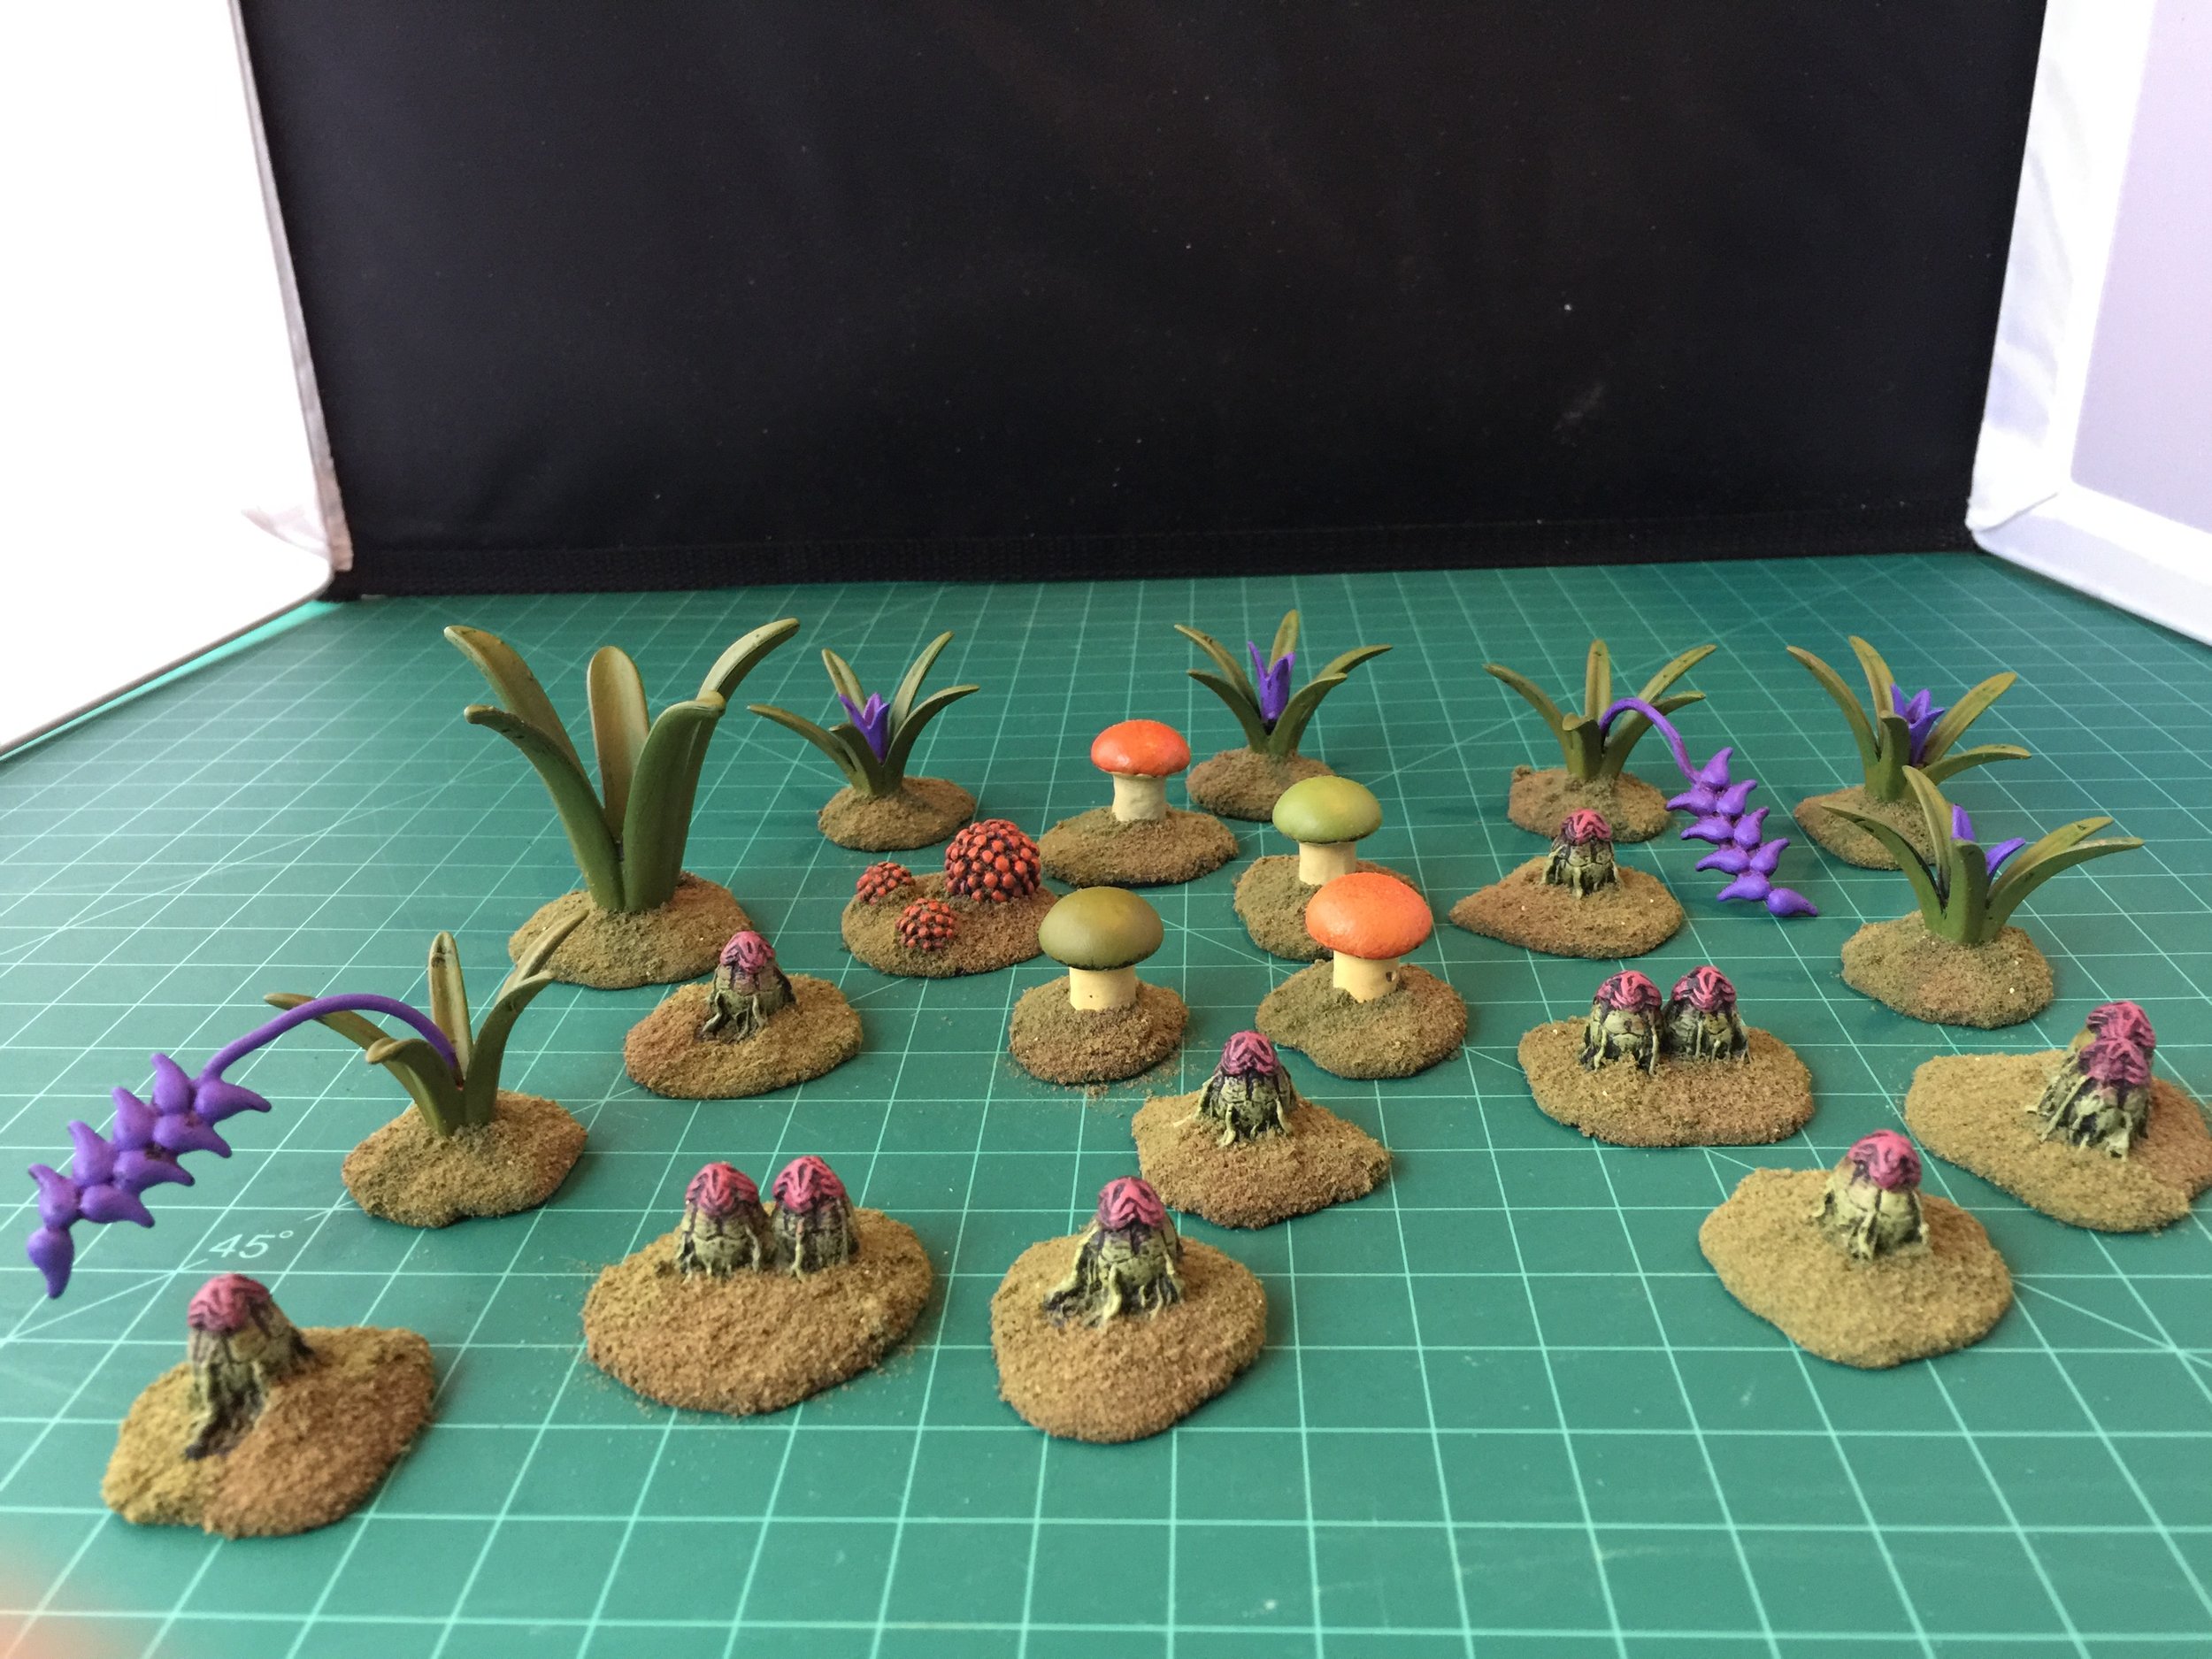
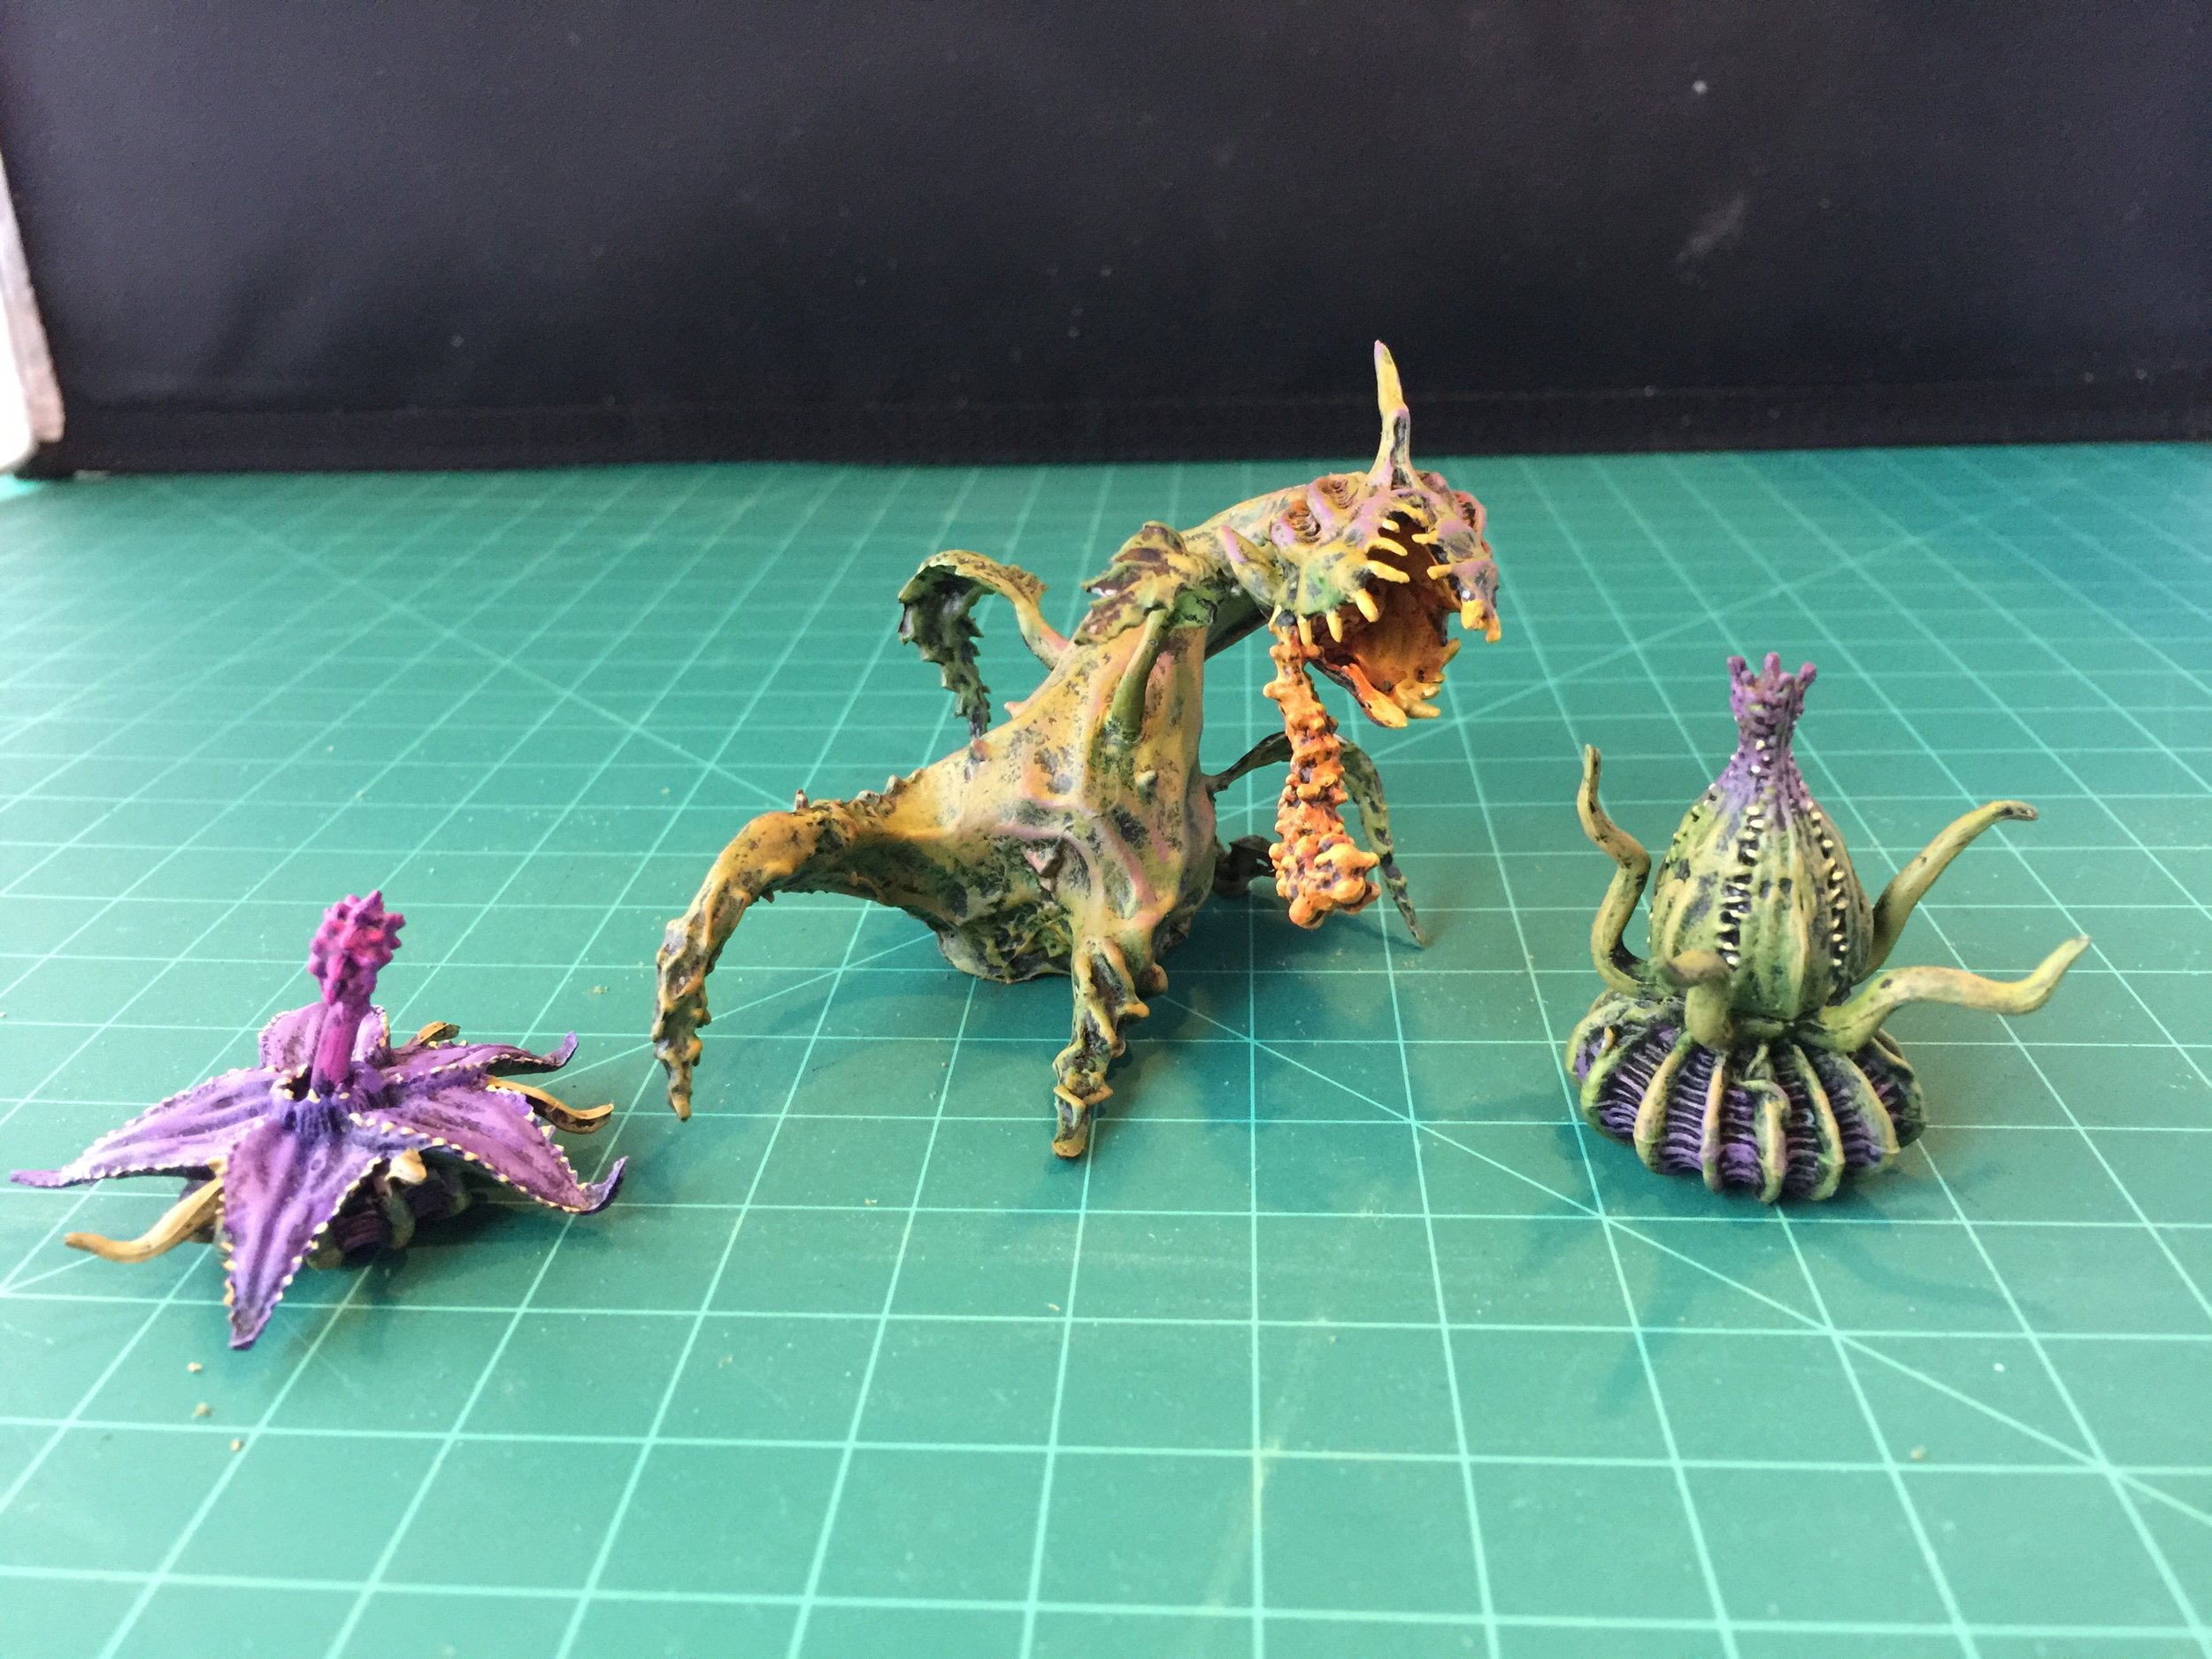
Mid-week I returned to painting plants for Dr. Who… flesh eater (Reaper), mushrooms, and pods. The last few days of the week were devoted to the set up of the two 5 ft. x 7 ft. tables representing the pre-siege and siege version of the assault of on the legation district in the Boxer Rebellion. This was done in preparation for the photographing of the collection this week.
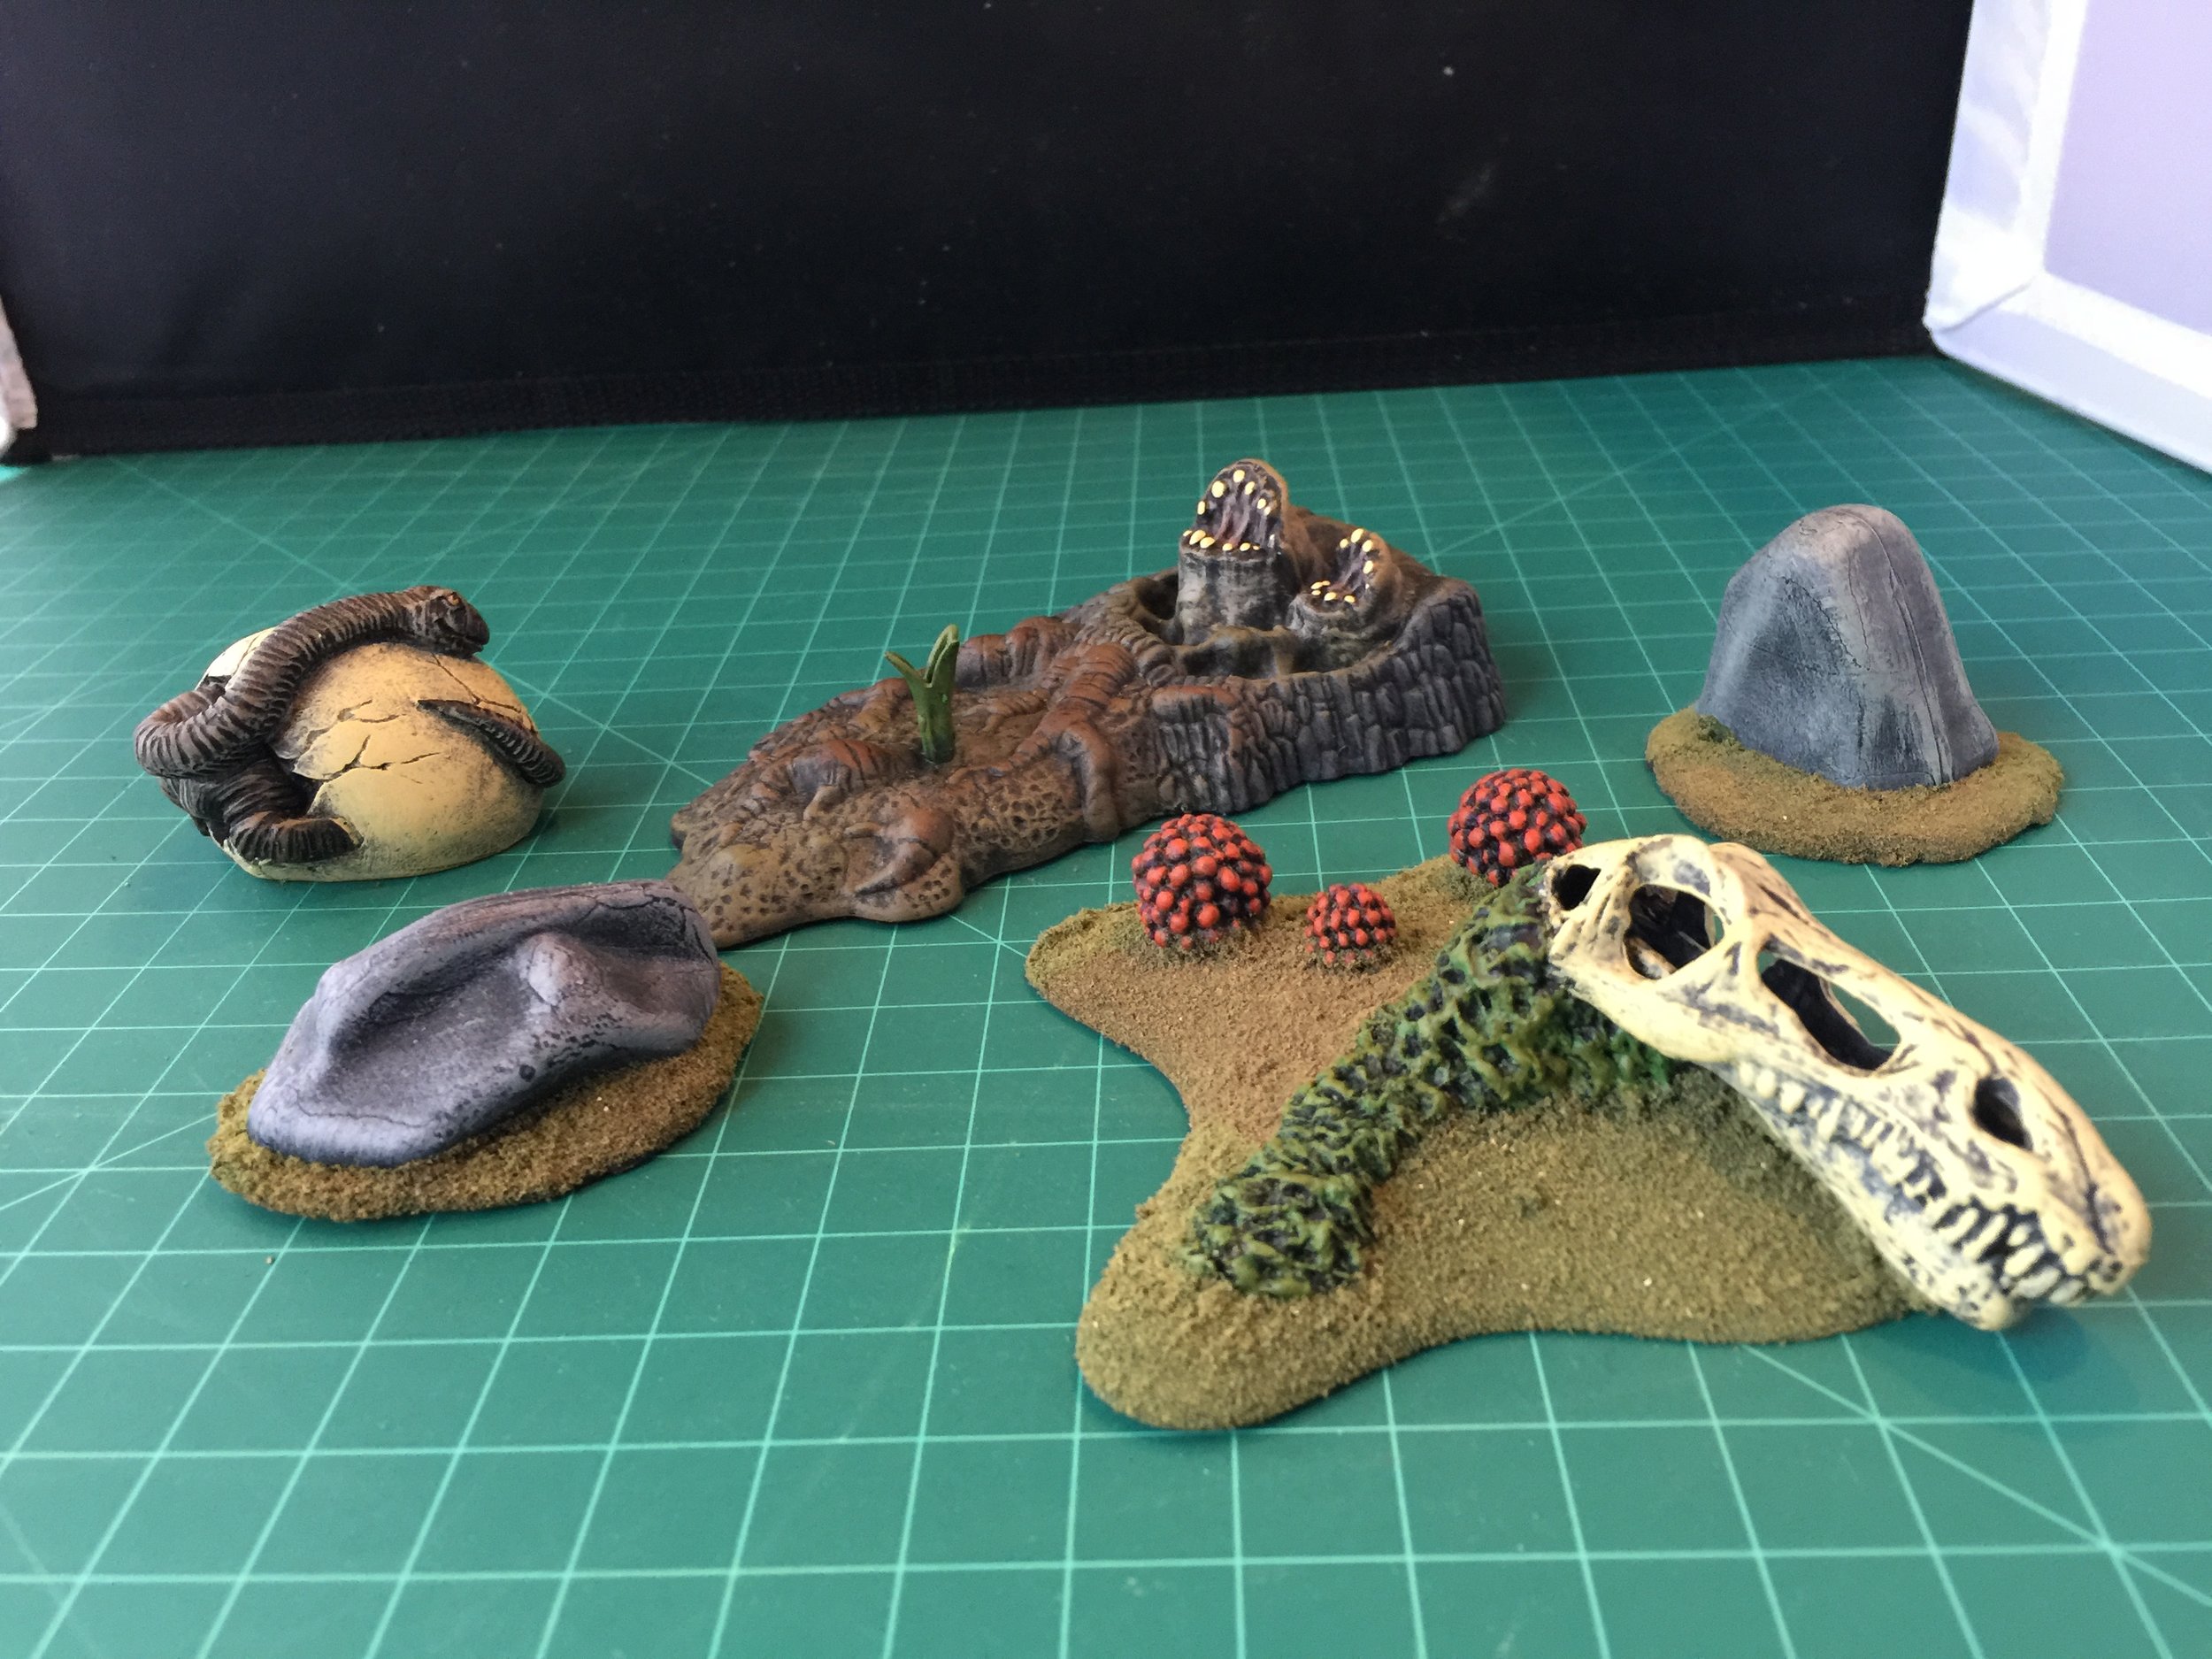
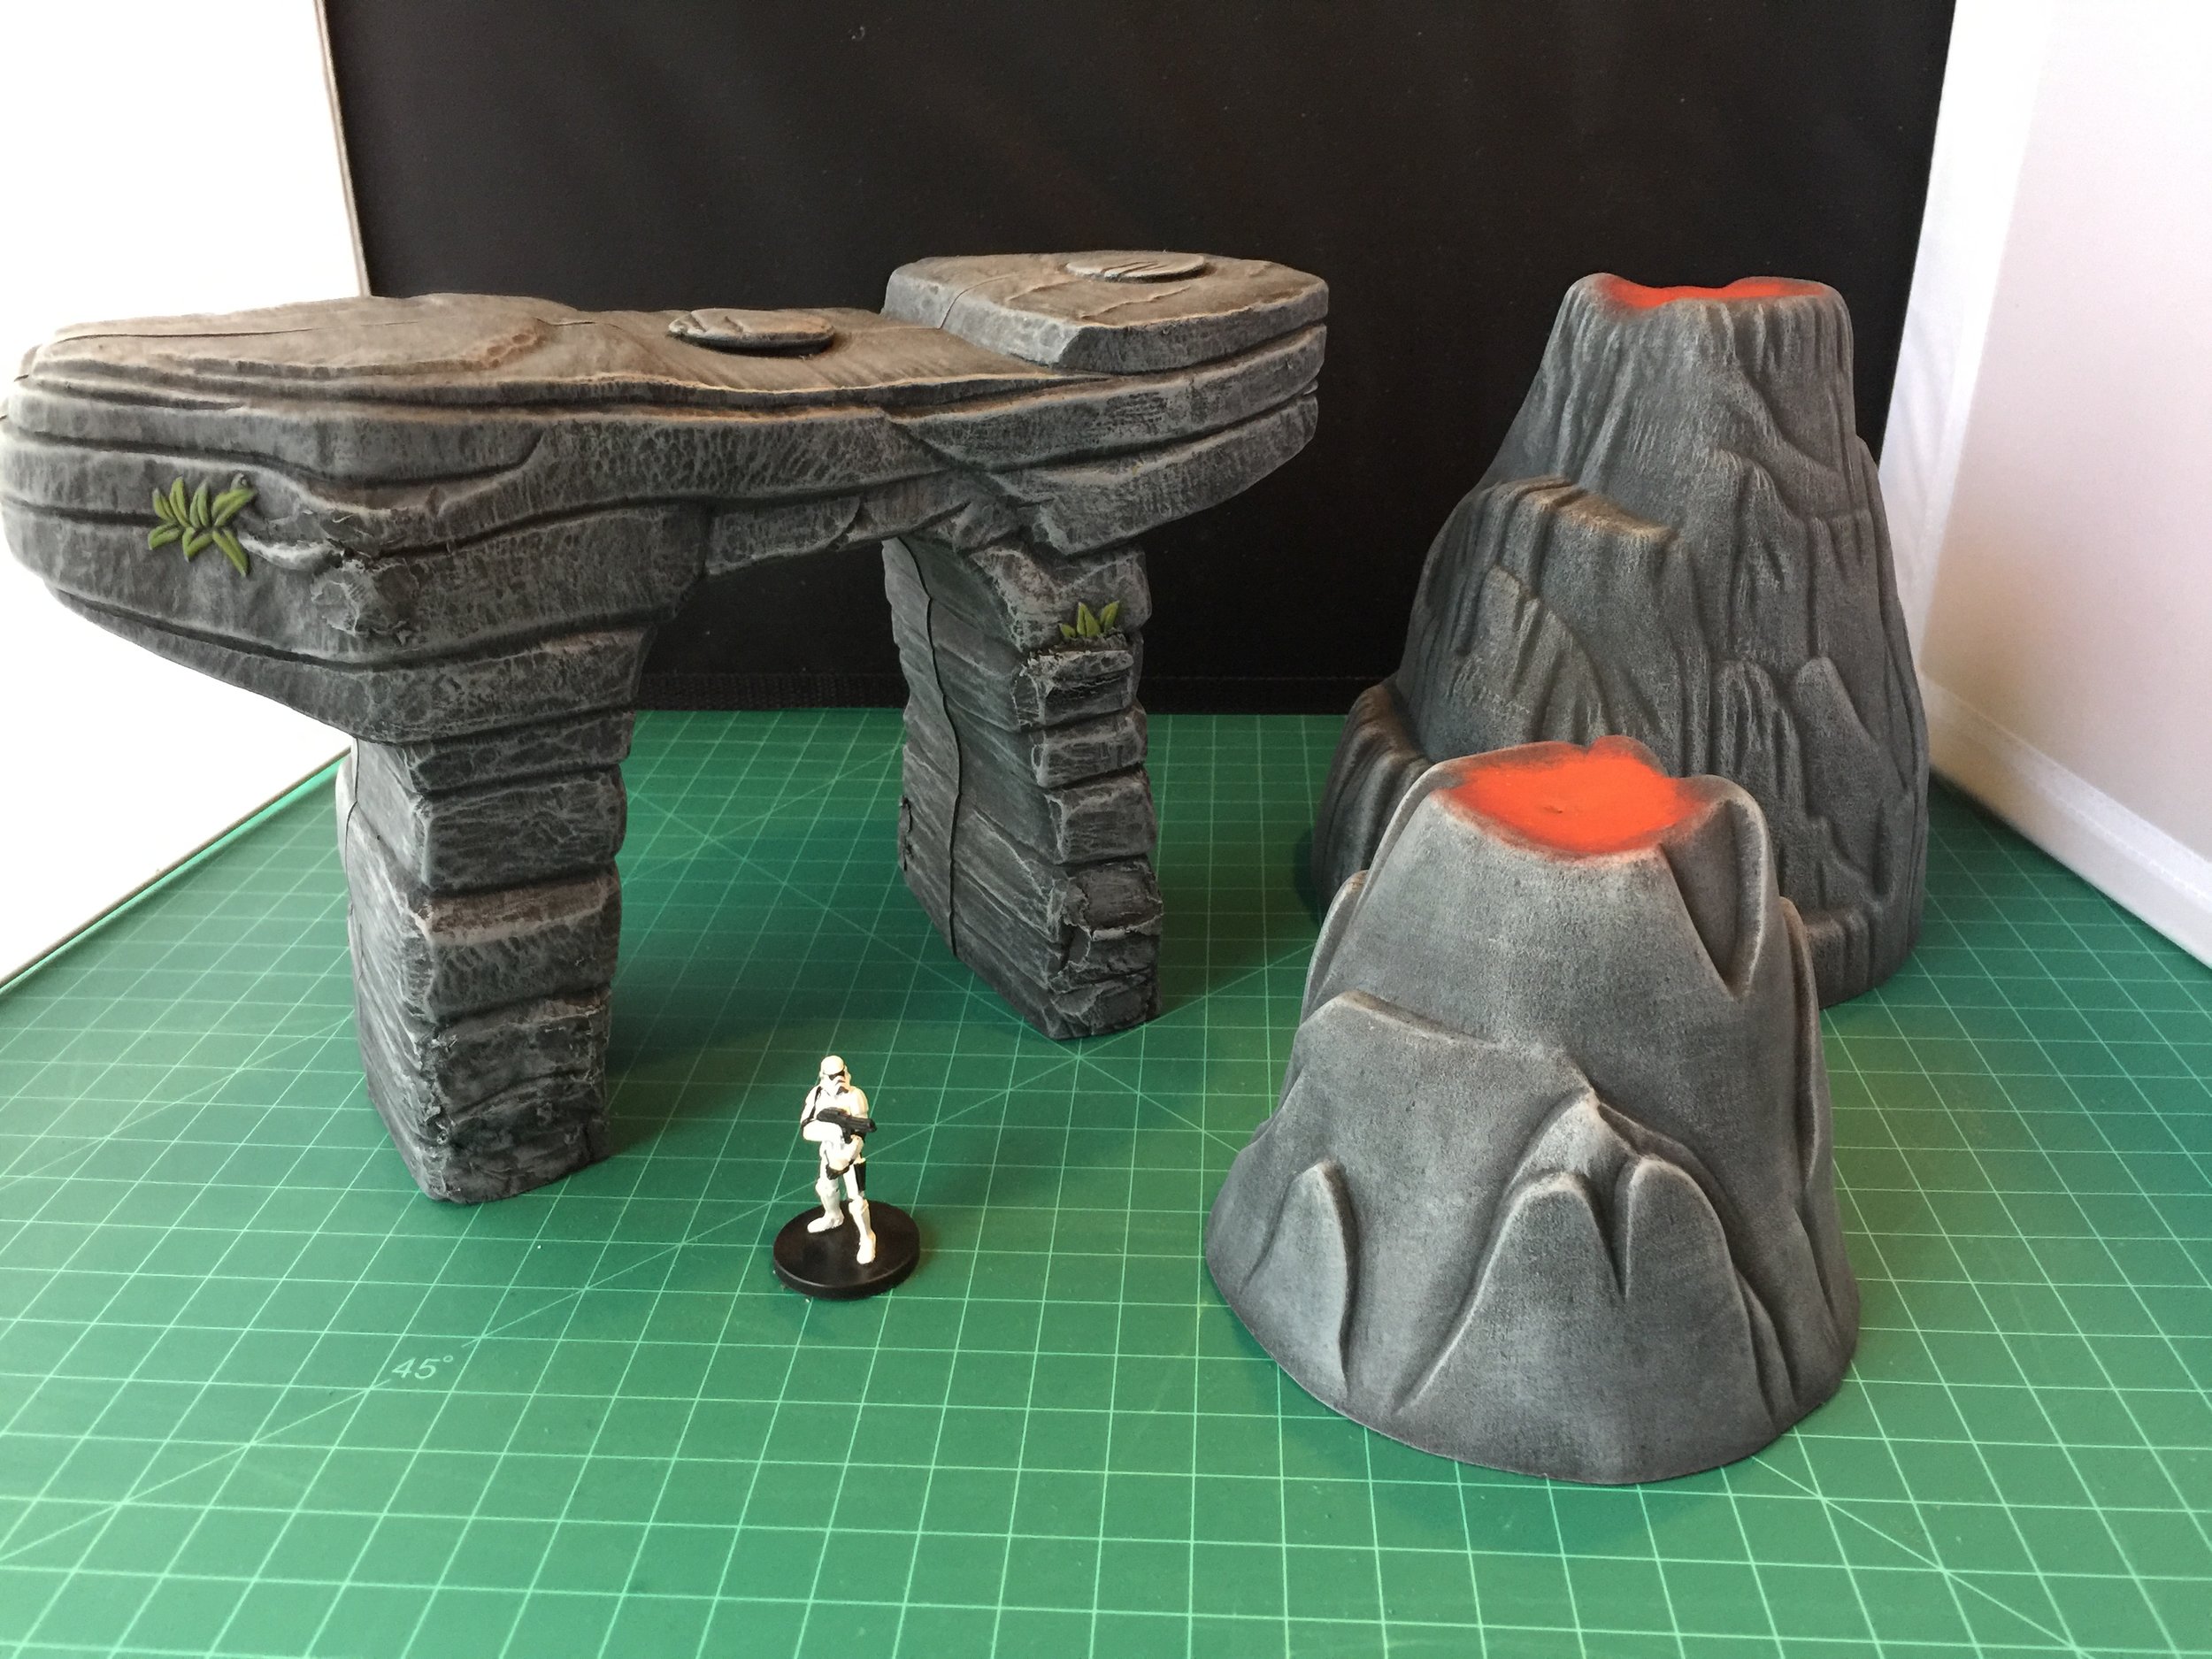
A couple years ago I bought two nice plastic rock formations/stone arches at the swap meet. Both were part of toys marketed with the Cars movie. Neither required a lot modification to be repurposed and painted as terrain for my 28mm figures. I also painted a couple more small volcanoes also found in days past at the swap meet. On Saturday I lucked upon two more wonderful terrain pieces at the swap meet. One is a Playmobil lake and the other was a section racetrack bordered on one side by a rock formation wall and on the other by a tall, mesa-style rock formation. The racetrack section was originally part of a toy marketed with the movie Cars. When I got them home, I cut the racetrack section away from the two bordering elements. I used Milliput to hide the cuts I performed on the rock formation when I separated it from the racetrack, and I used Milliput to join and blend the rock wall to the back of the Playmobil lake. With that done, my Workbench week came to an end.


March 3, 2019
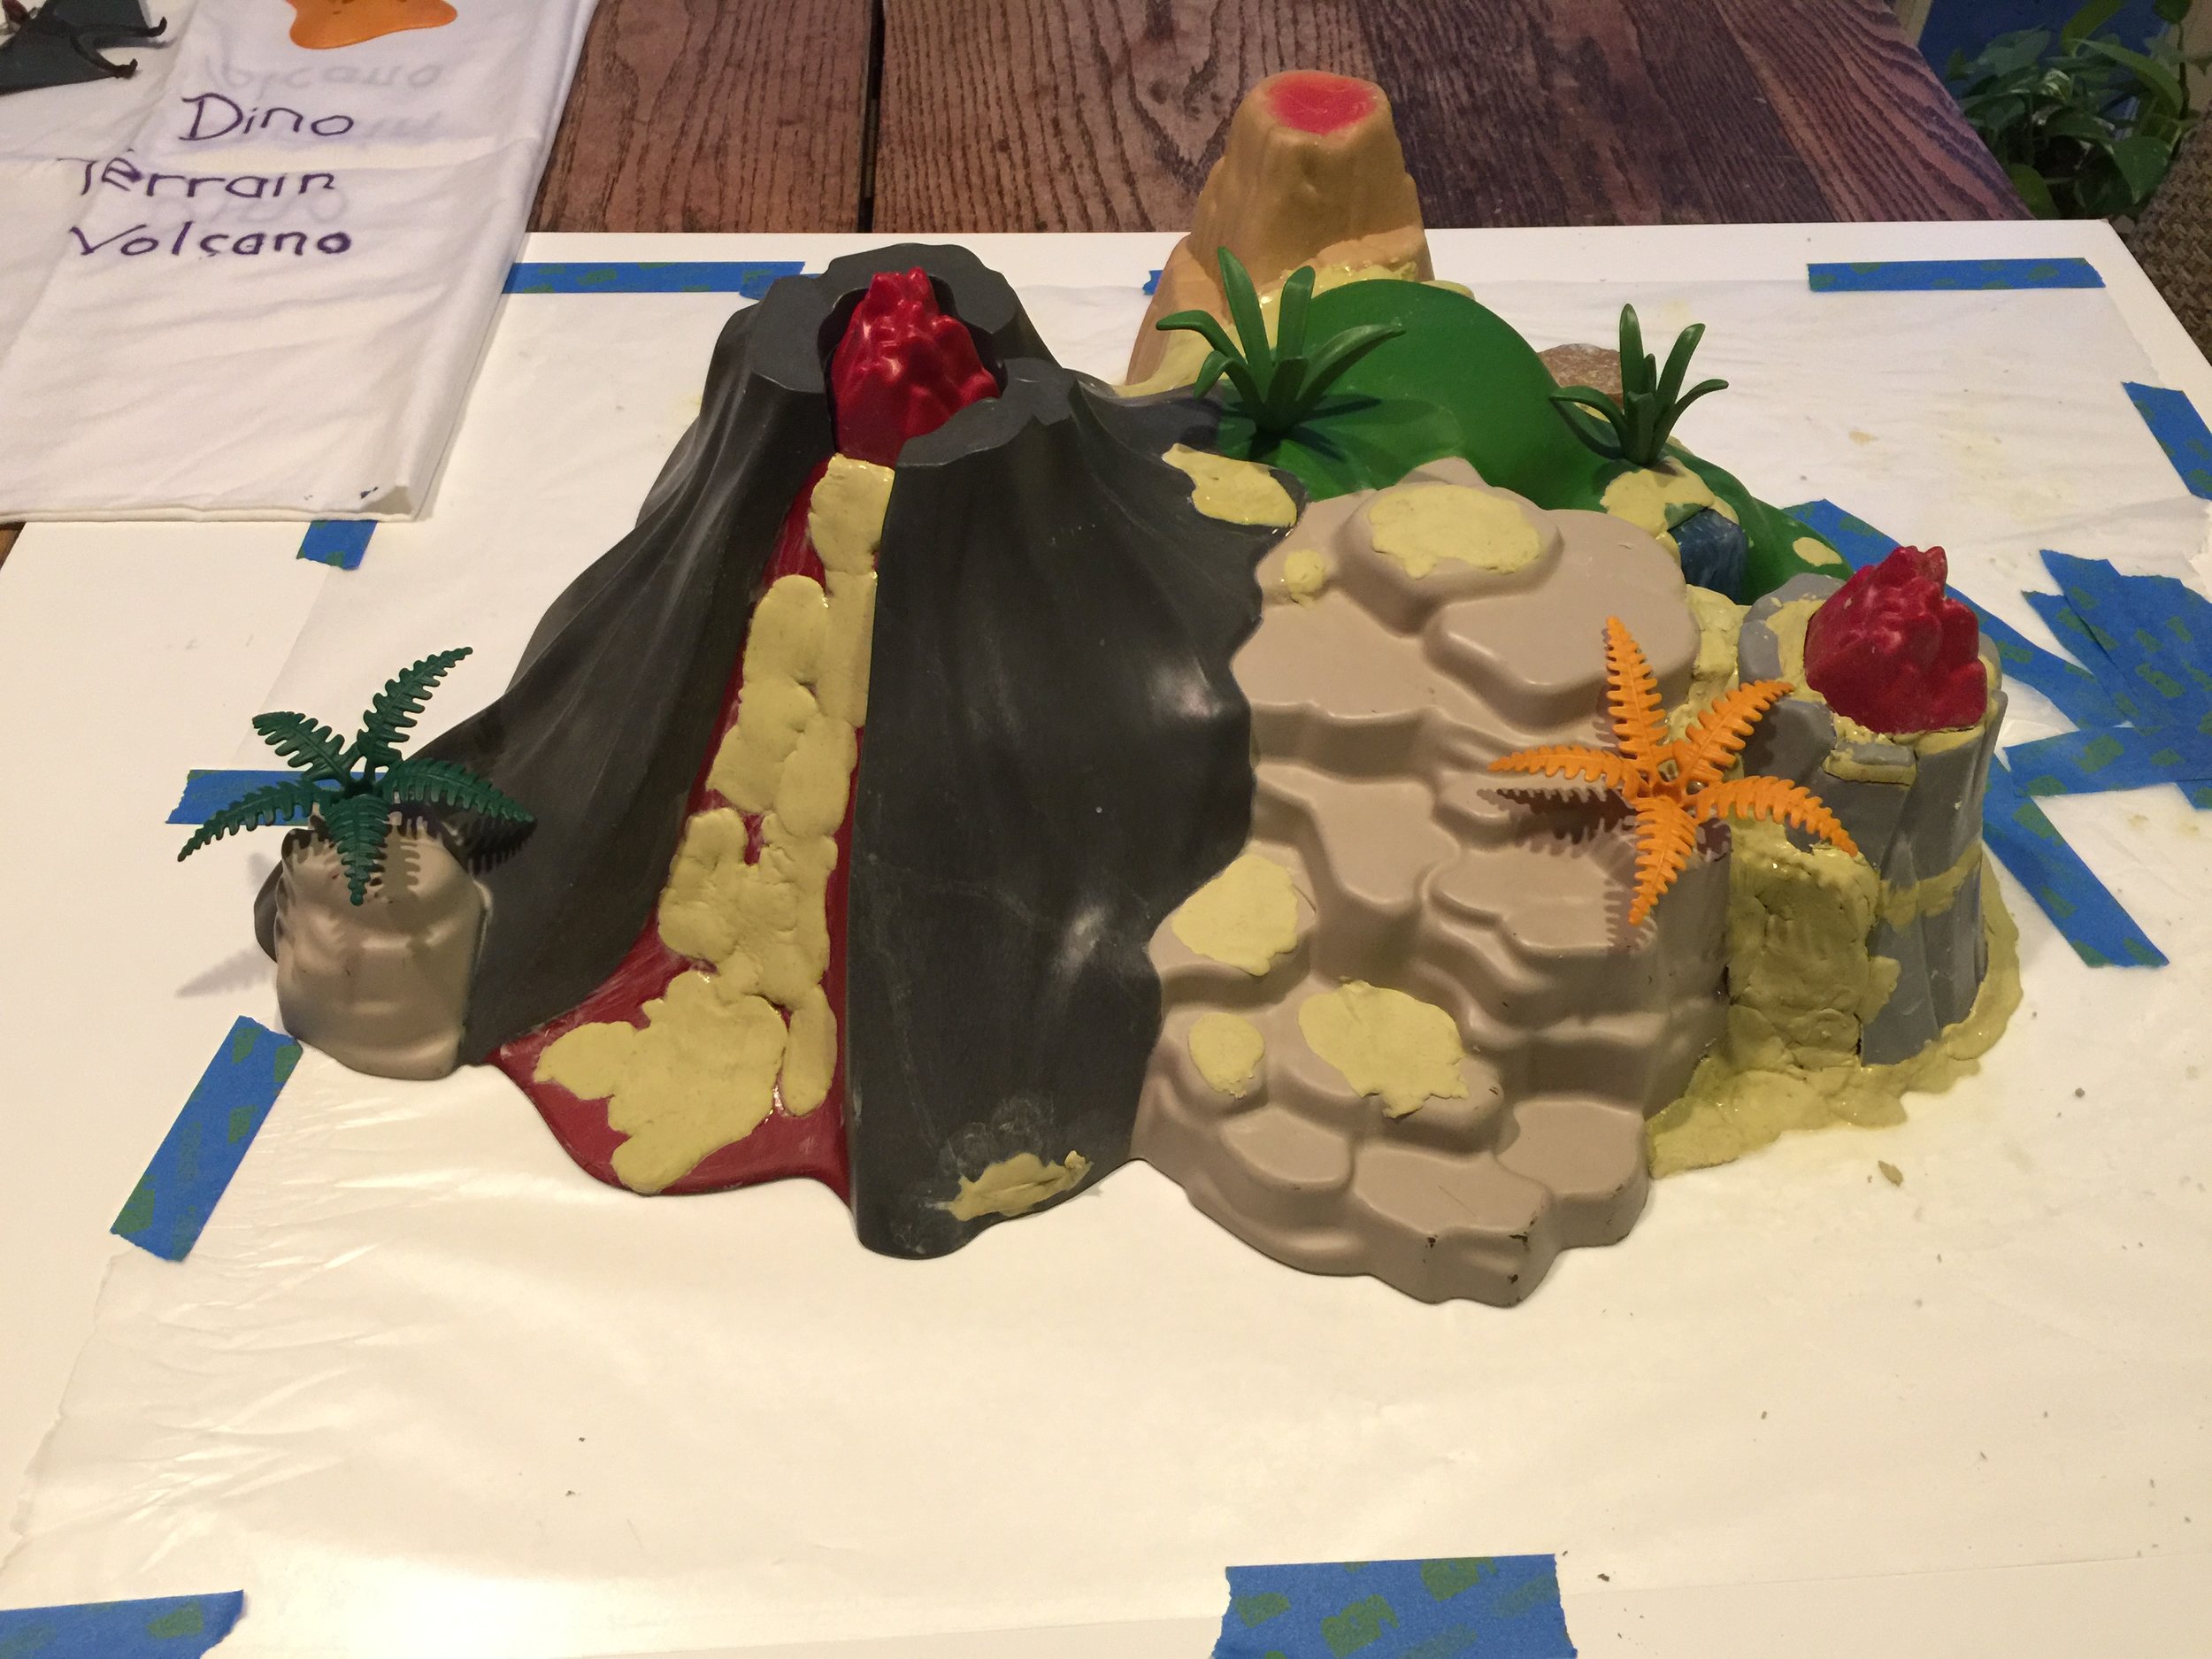
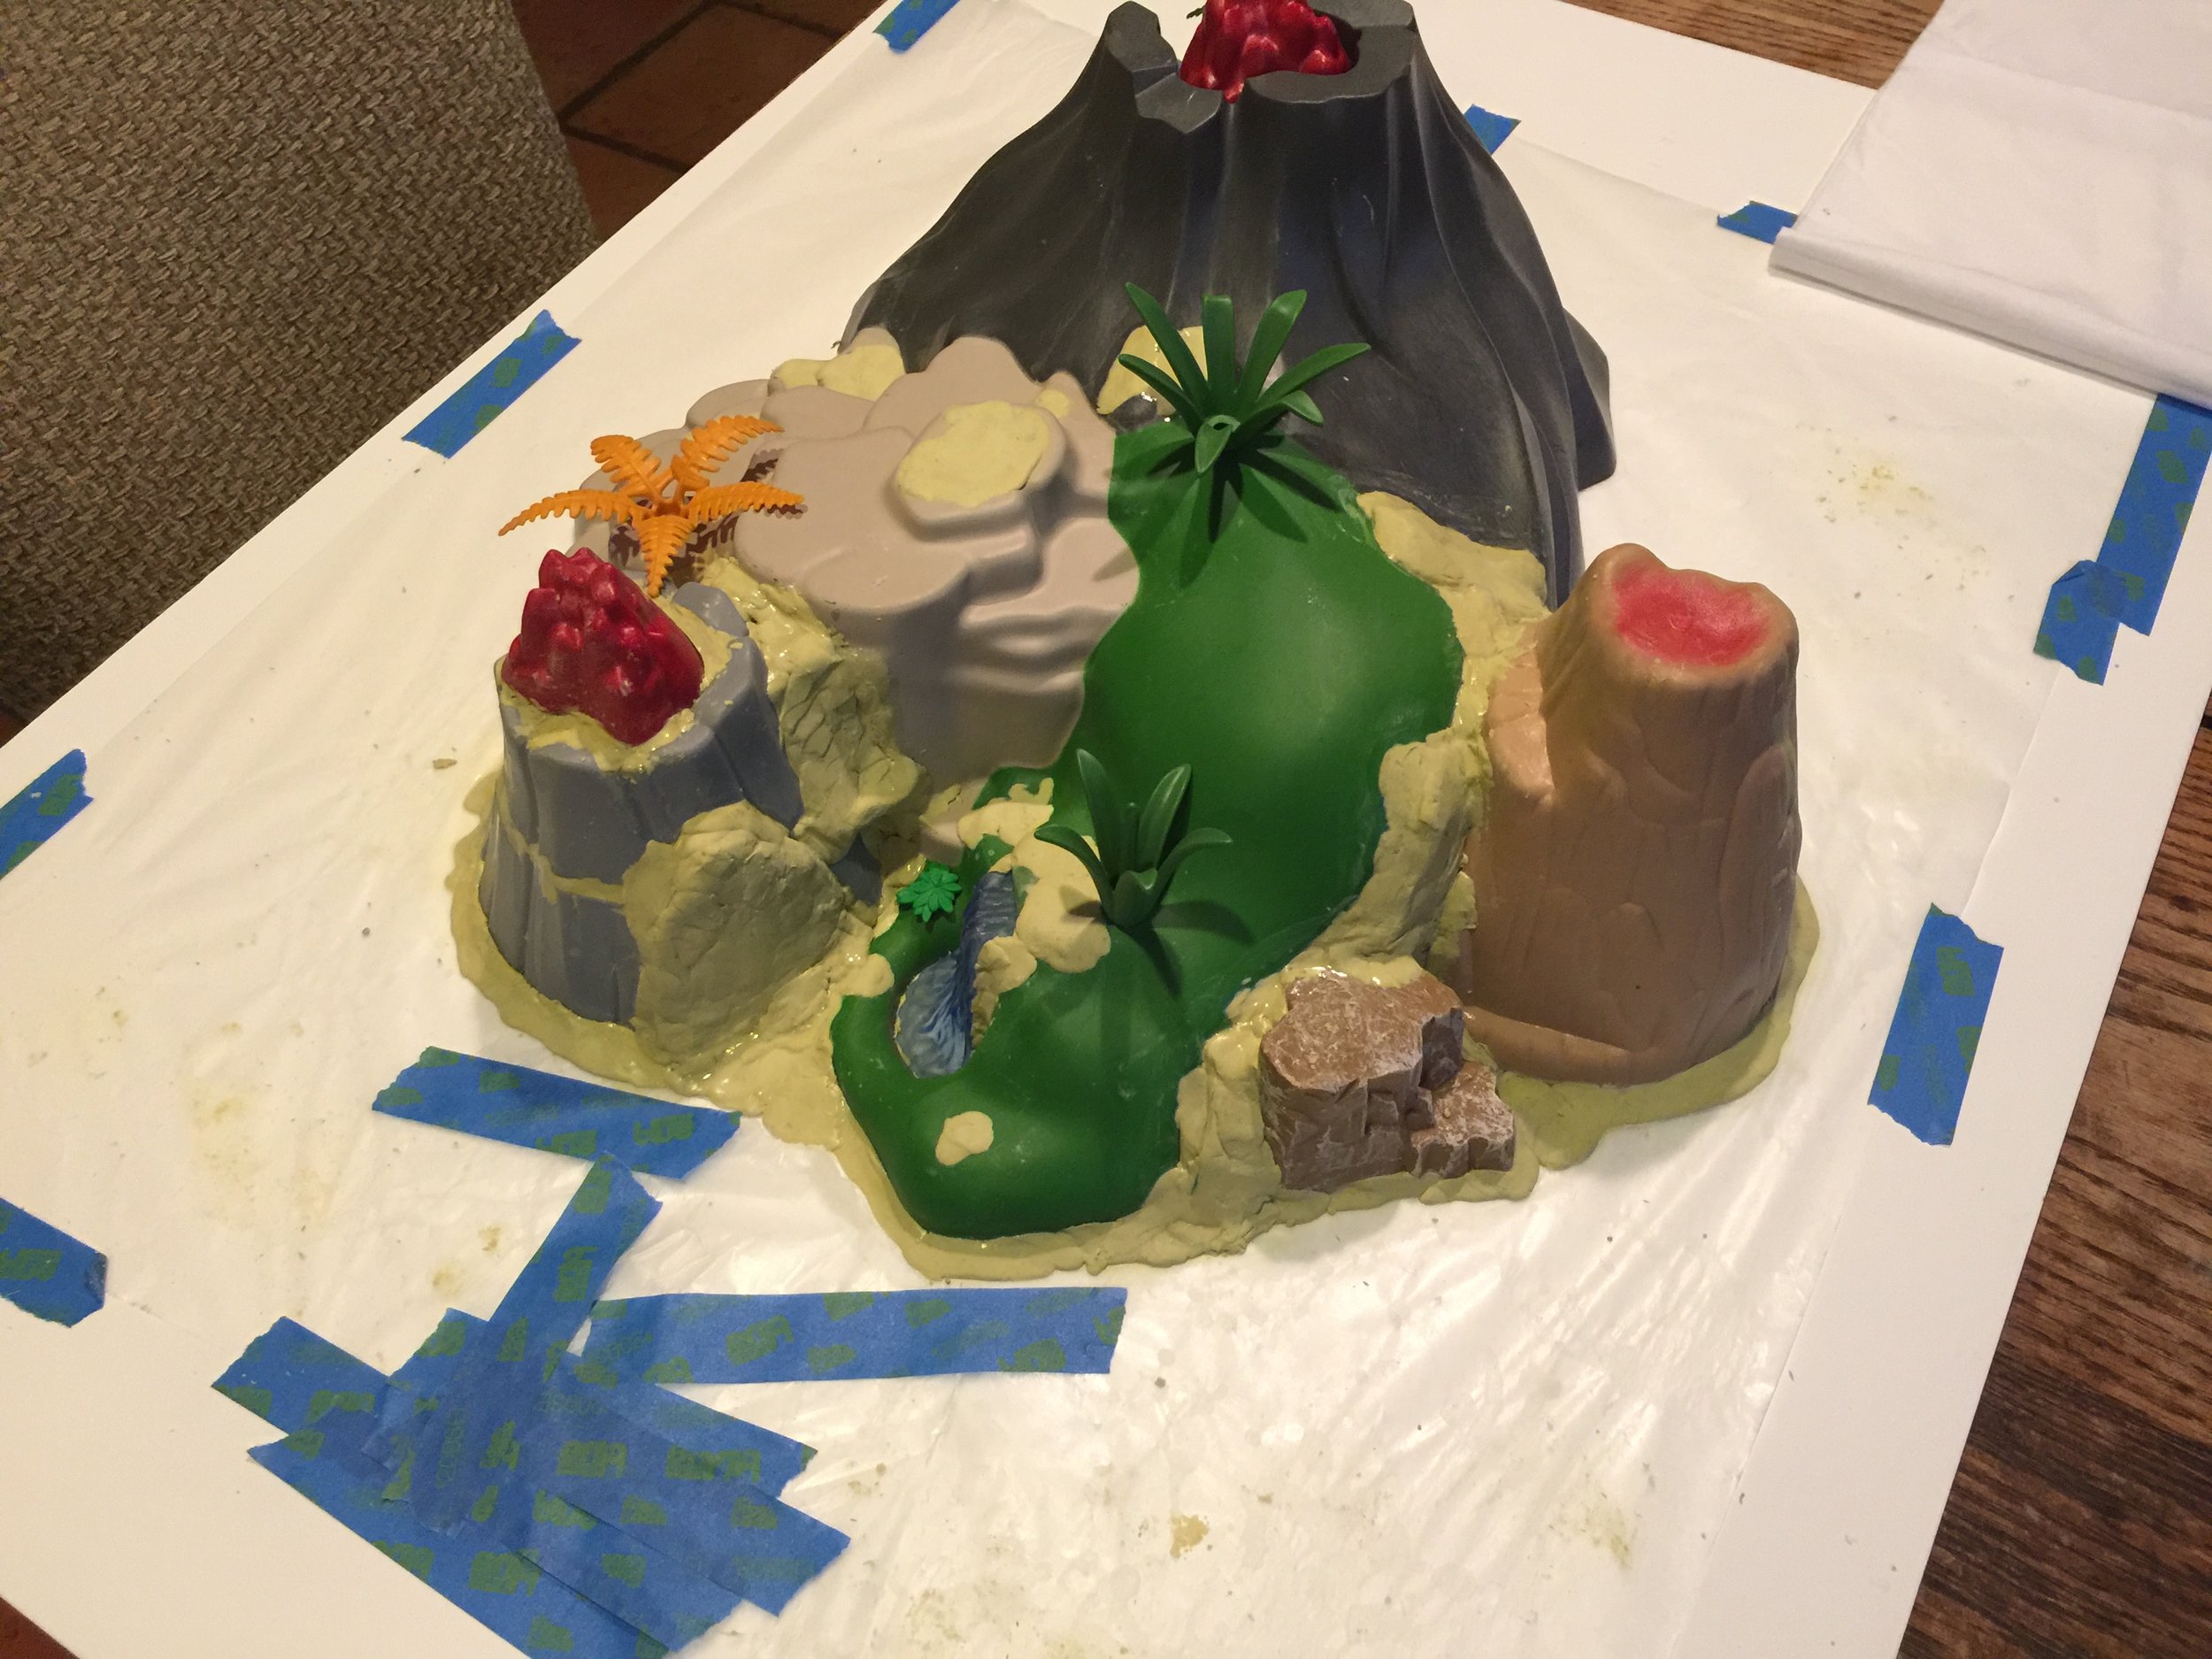
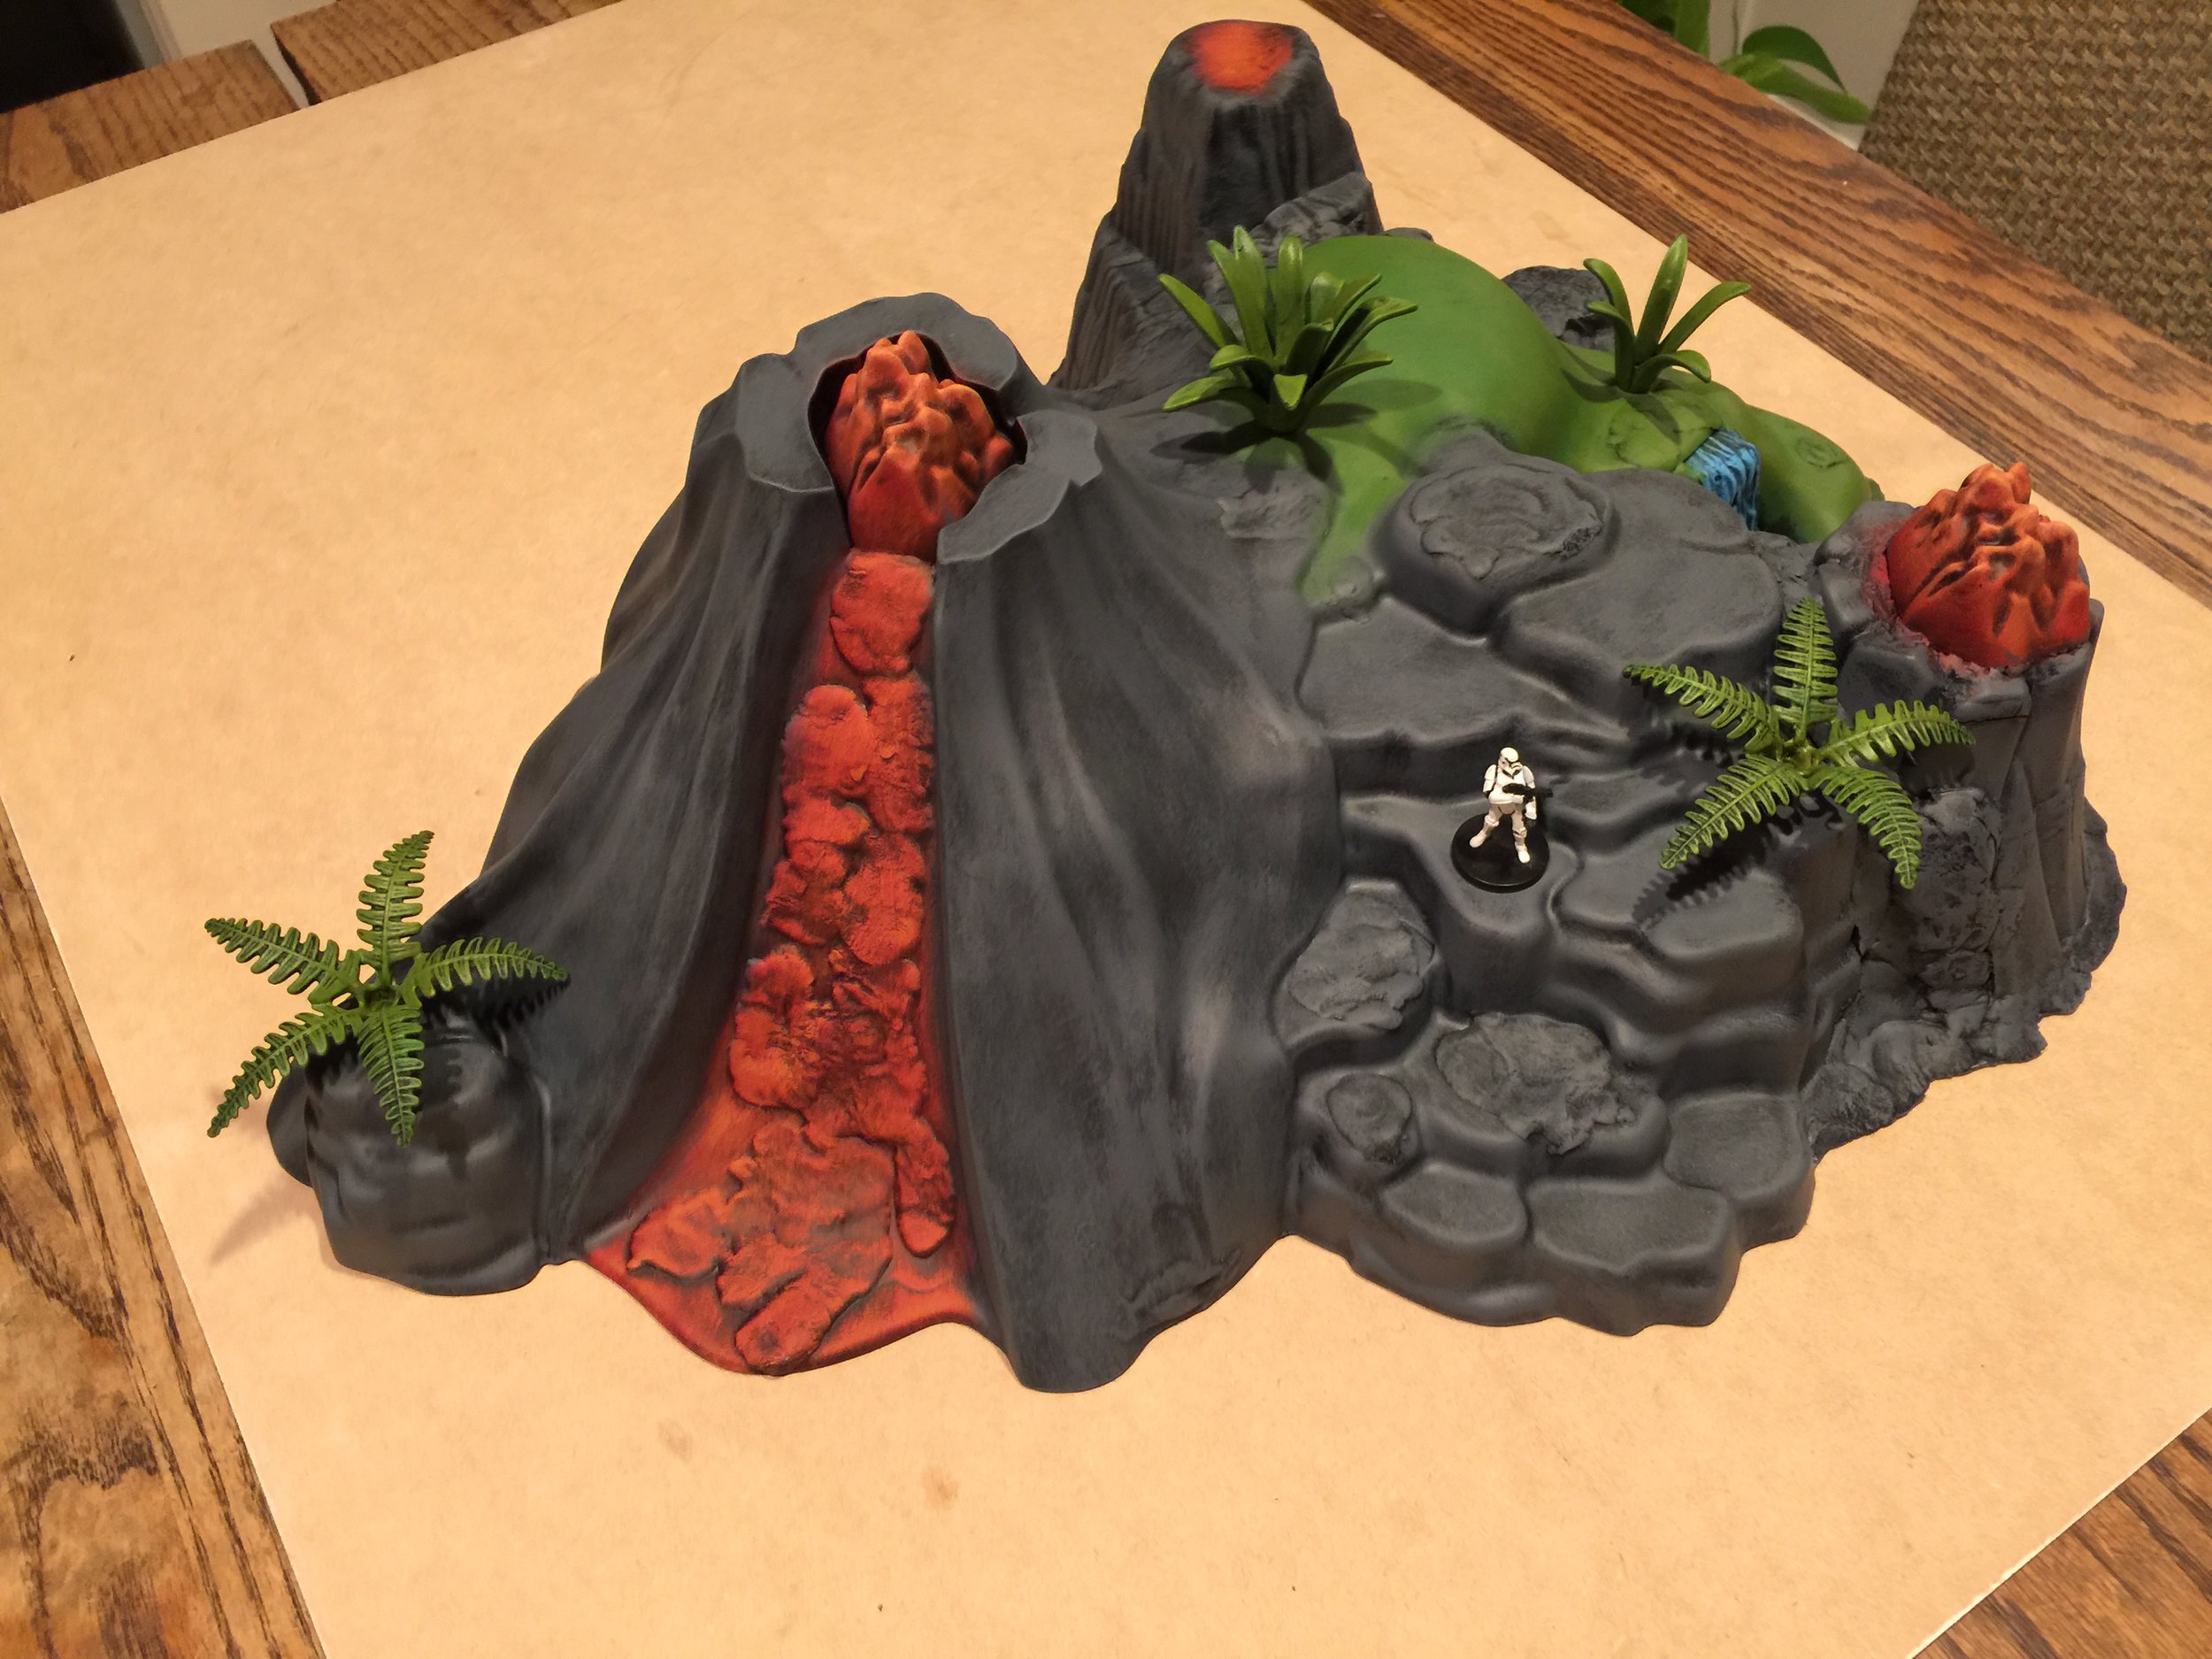
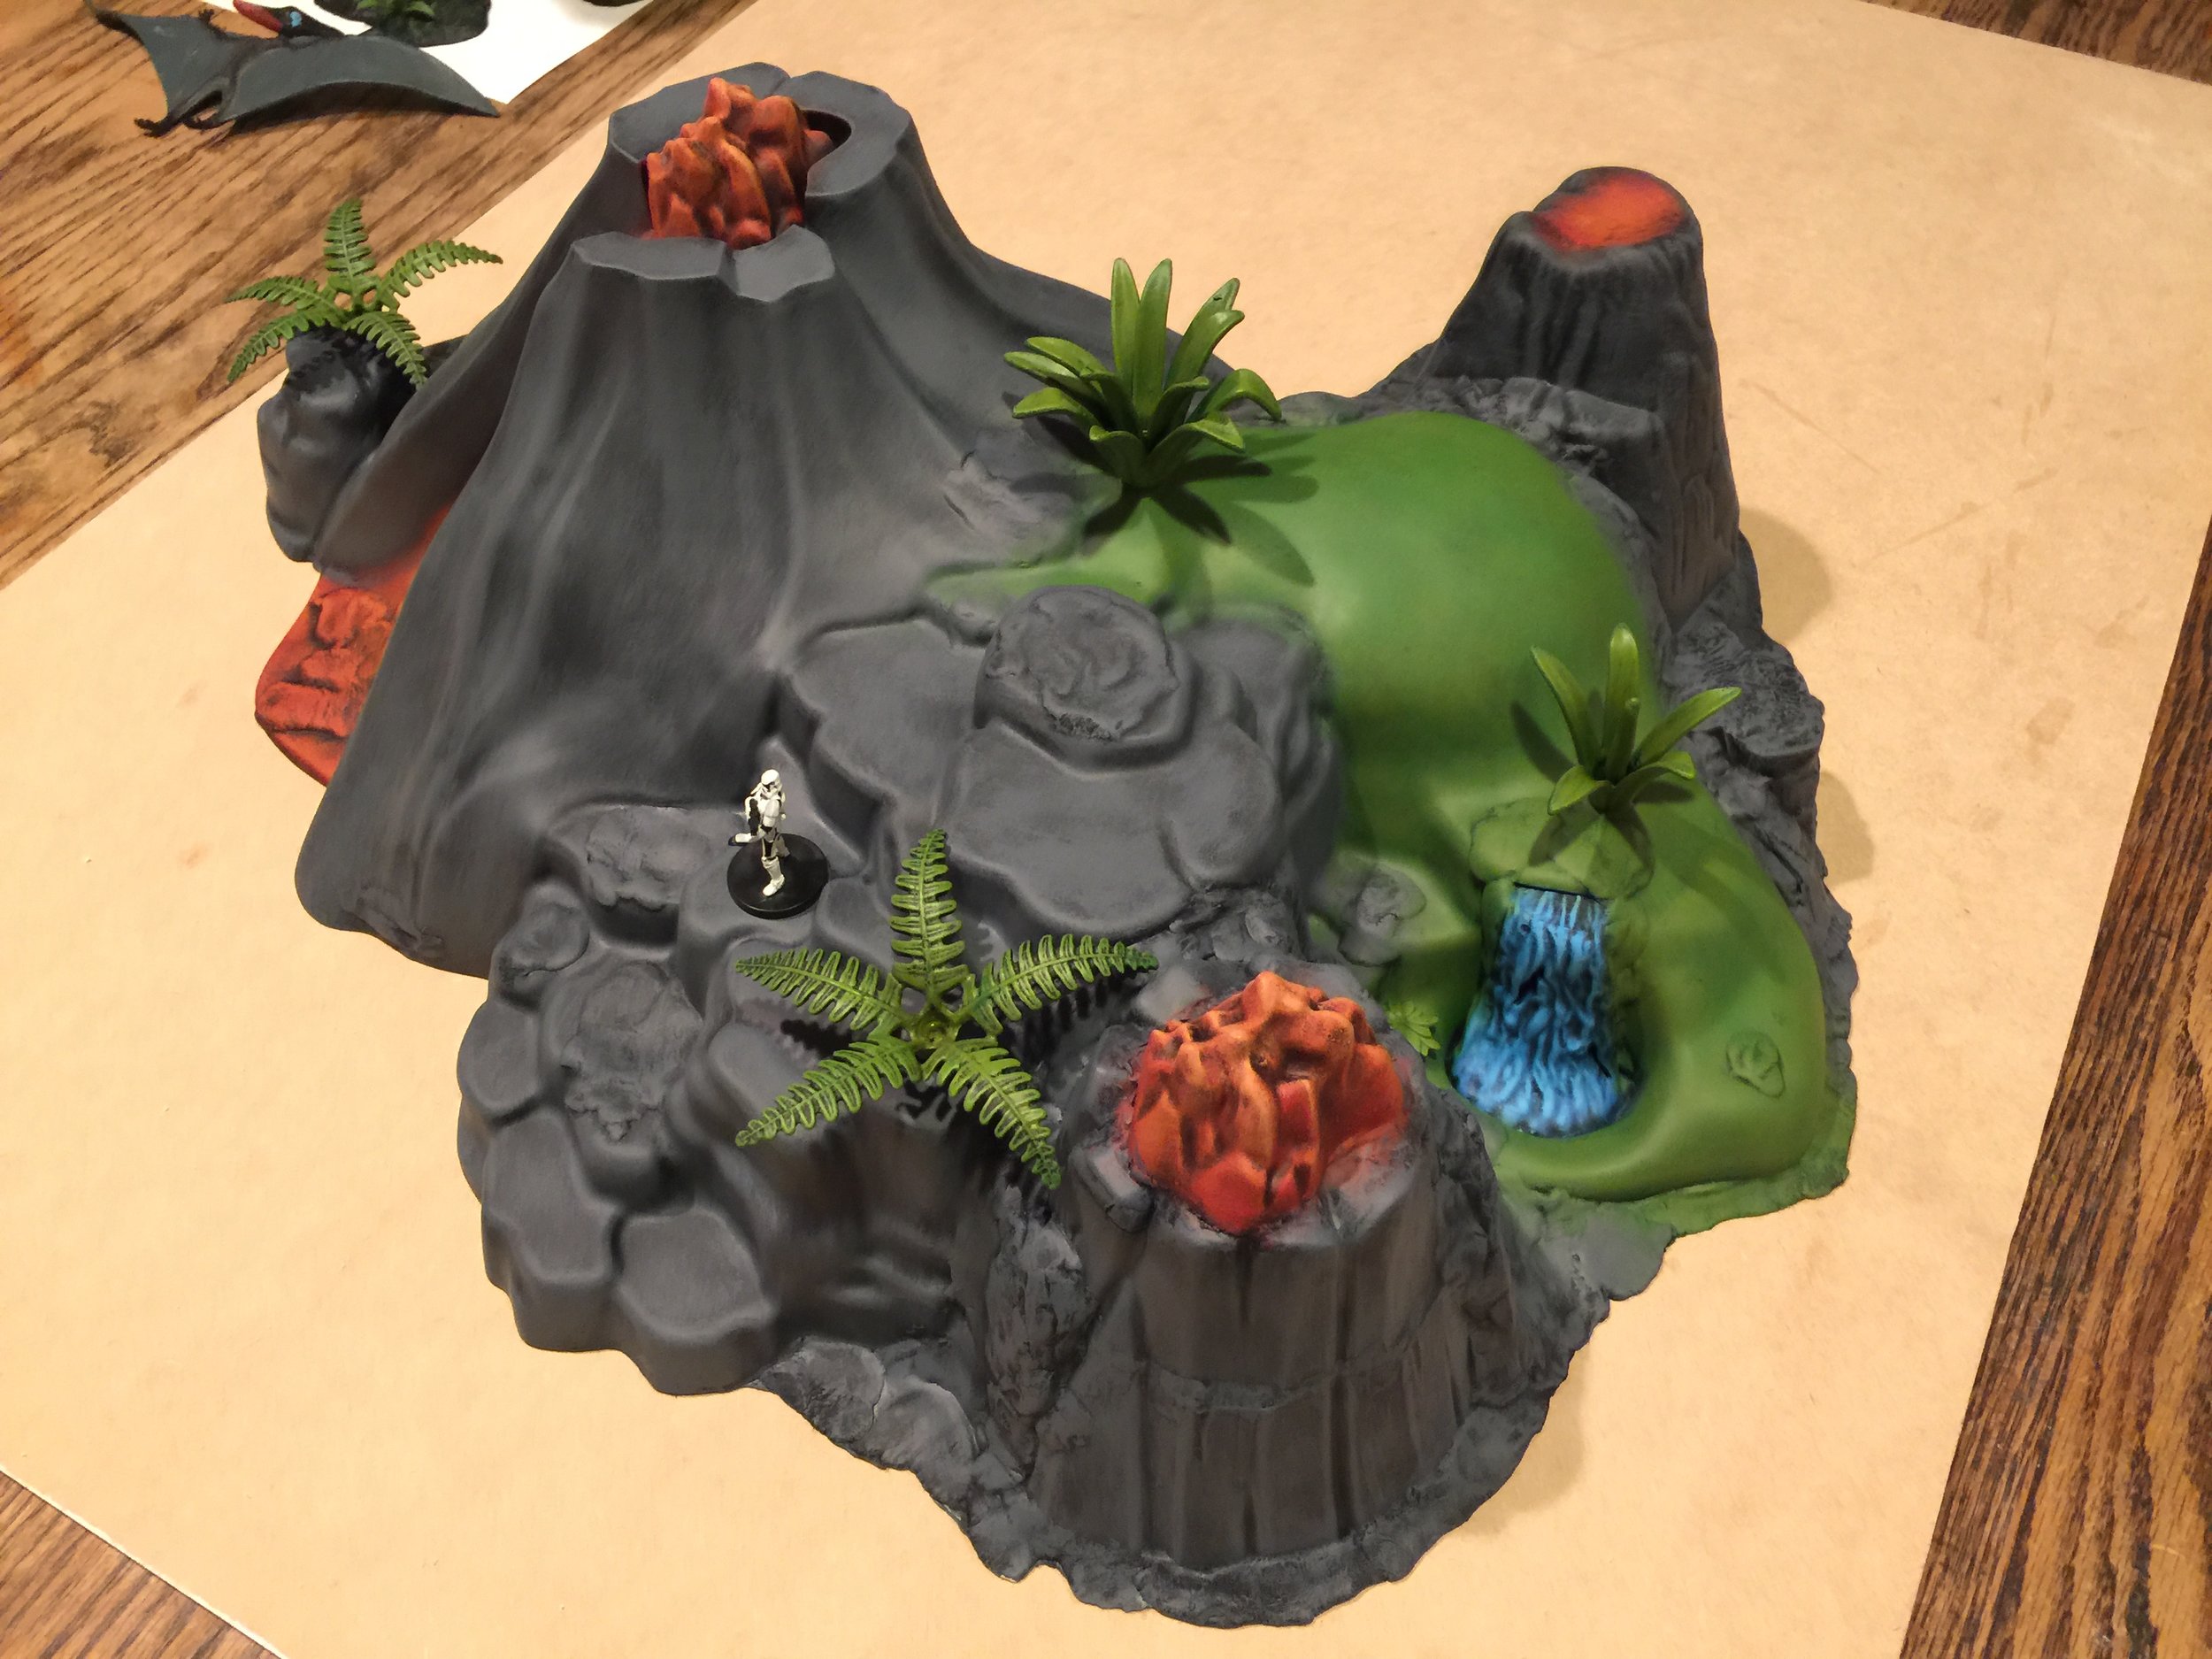
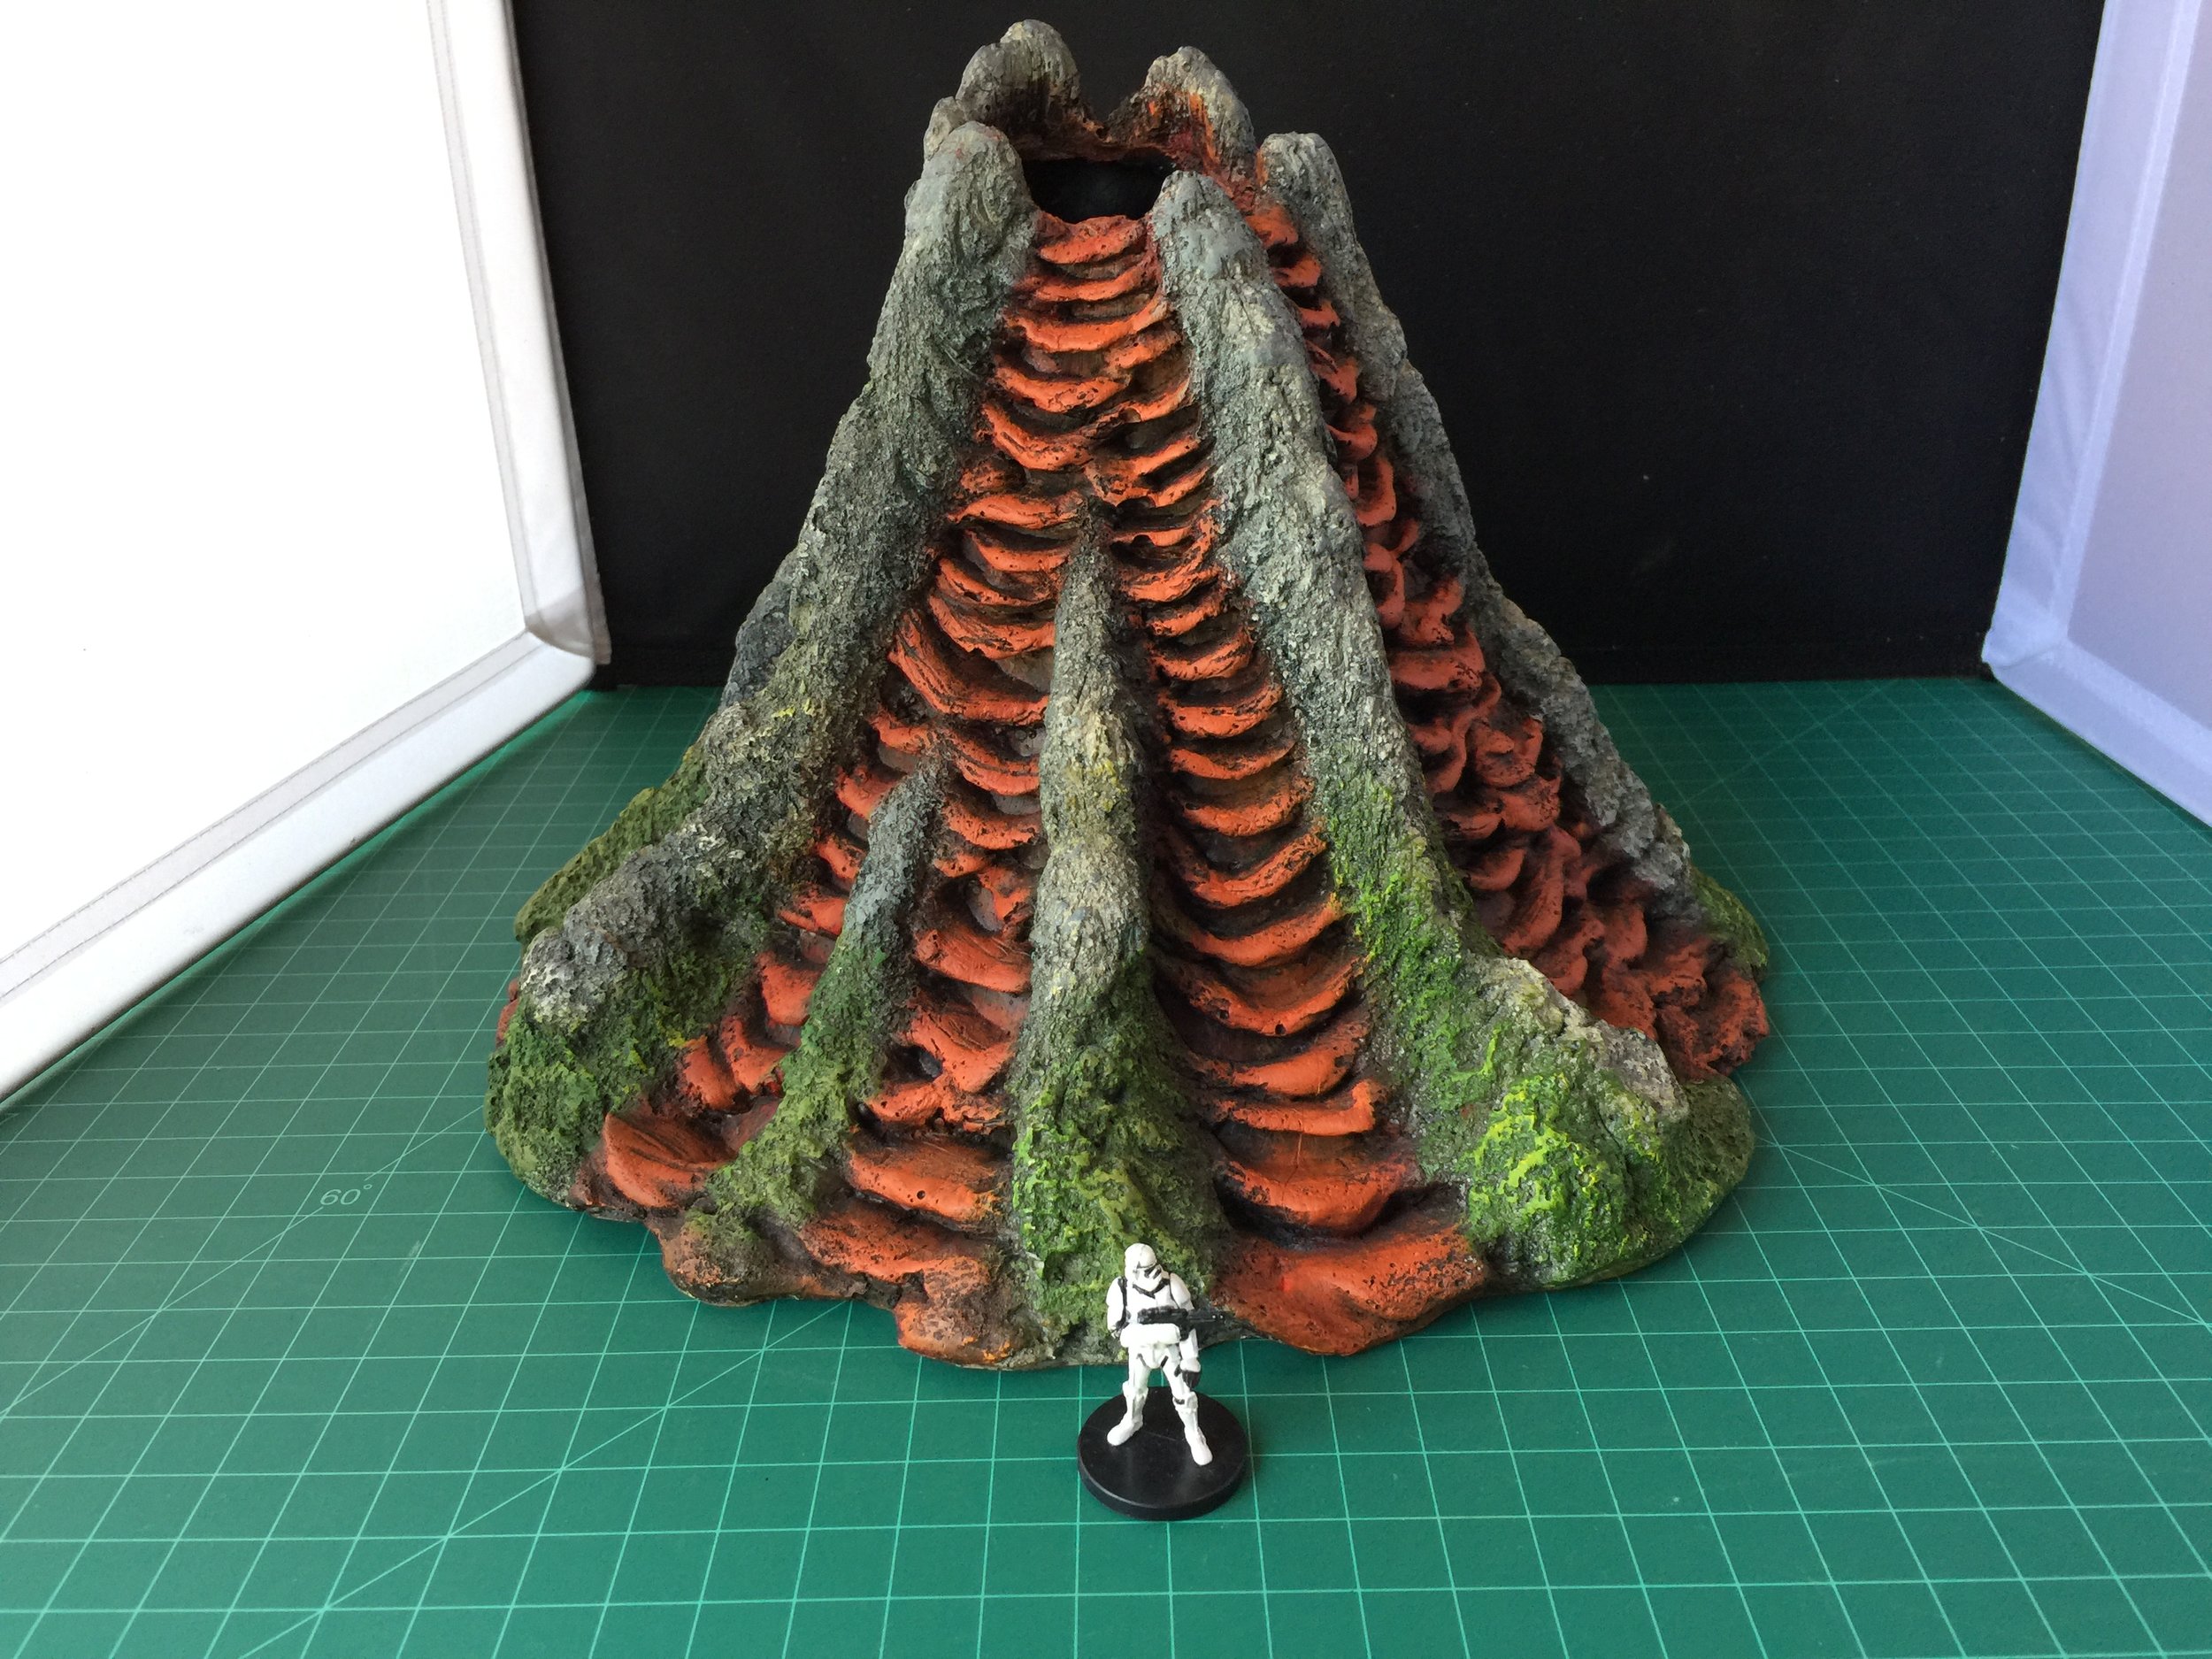
I began the week putting together a large piece of terrain (21” L x 17” W x 8 ½” T) for my Dr. Who and the dinosaurs’ project. It is entirely composed of broken or cast-off toys I found at the swap meet over several years. In its final configuration it is a complex of three attached volcanoes. The central piece (by Playmobil) and the largest volcano can be identified by the fact that it is composed of three color areas (dark grey, green, and light tan). I had to add three other pieces (two smaller volcanoes and a rock formation) in order to fill in two large openings in the central piece… large openings in toys are pretty common because kids like to play on the inside as well as the outside of toys. I attached the three filler pieces with yellow grey Milliput (about three and a ½” boxes of it), let it harden overnight and then ran Krazy Glue along the seams. It was tough to repaint because of the size… difficult to hold the toy and use the brush. But I’m really happy with the end result.
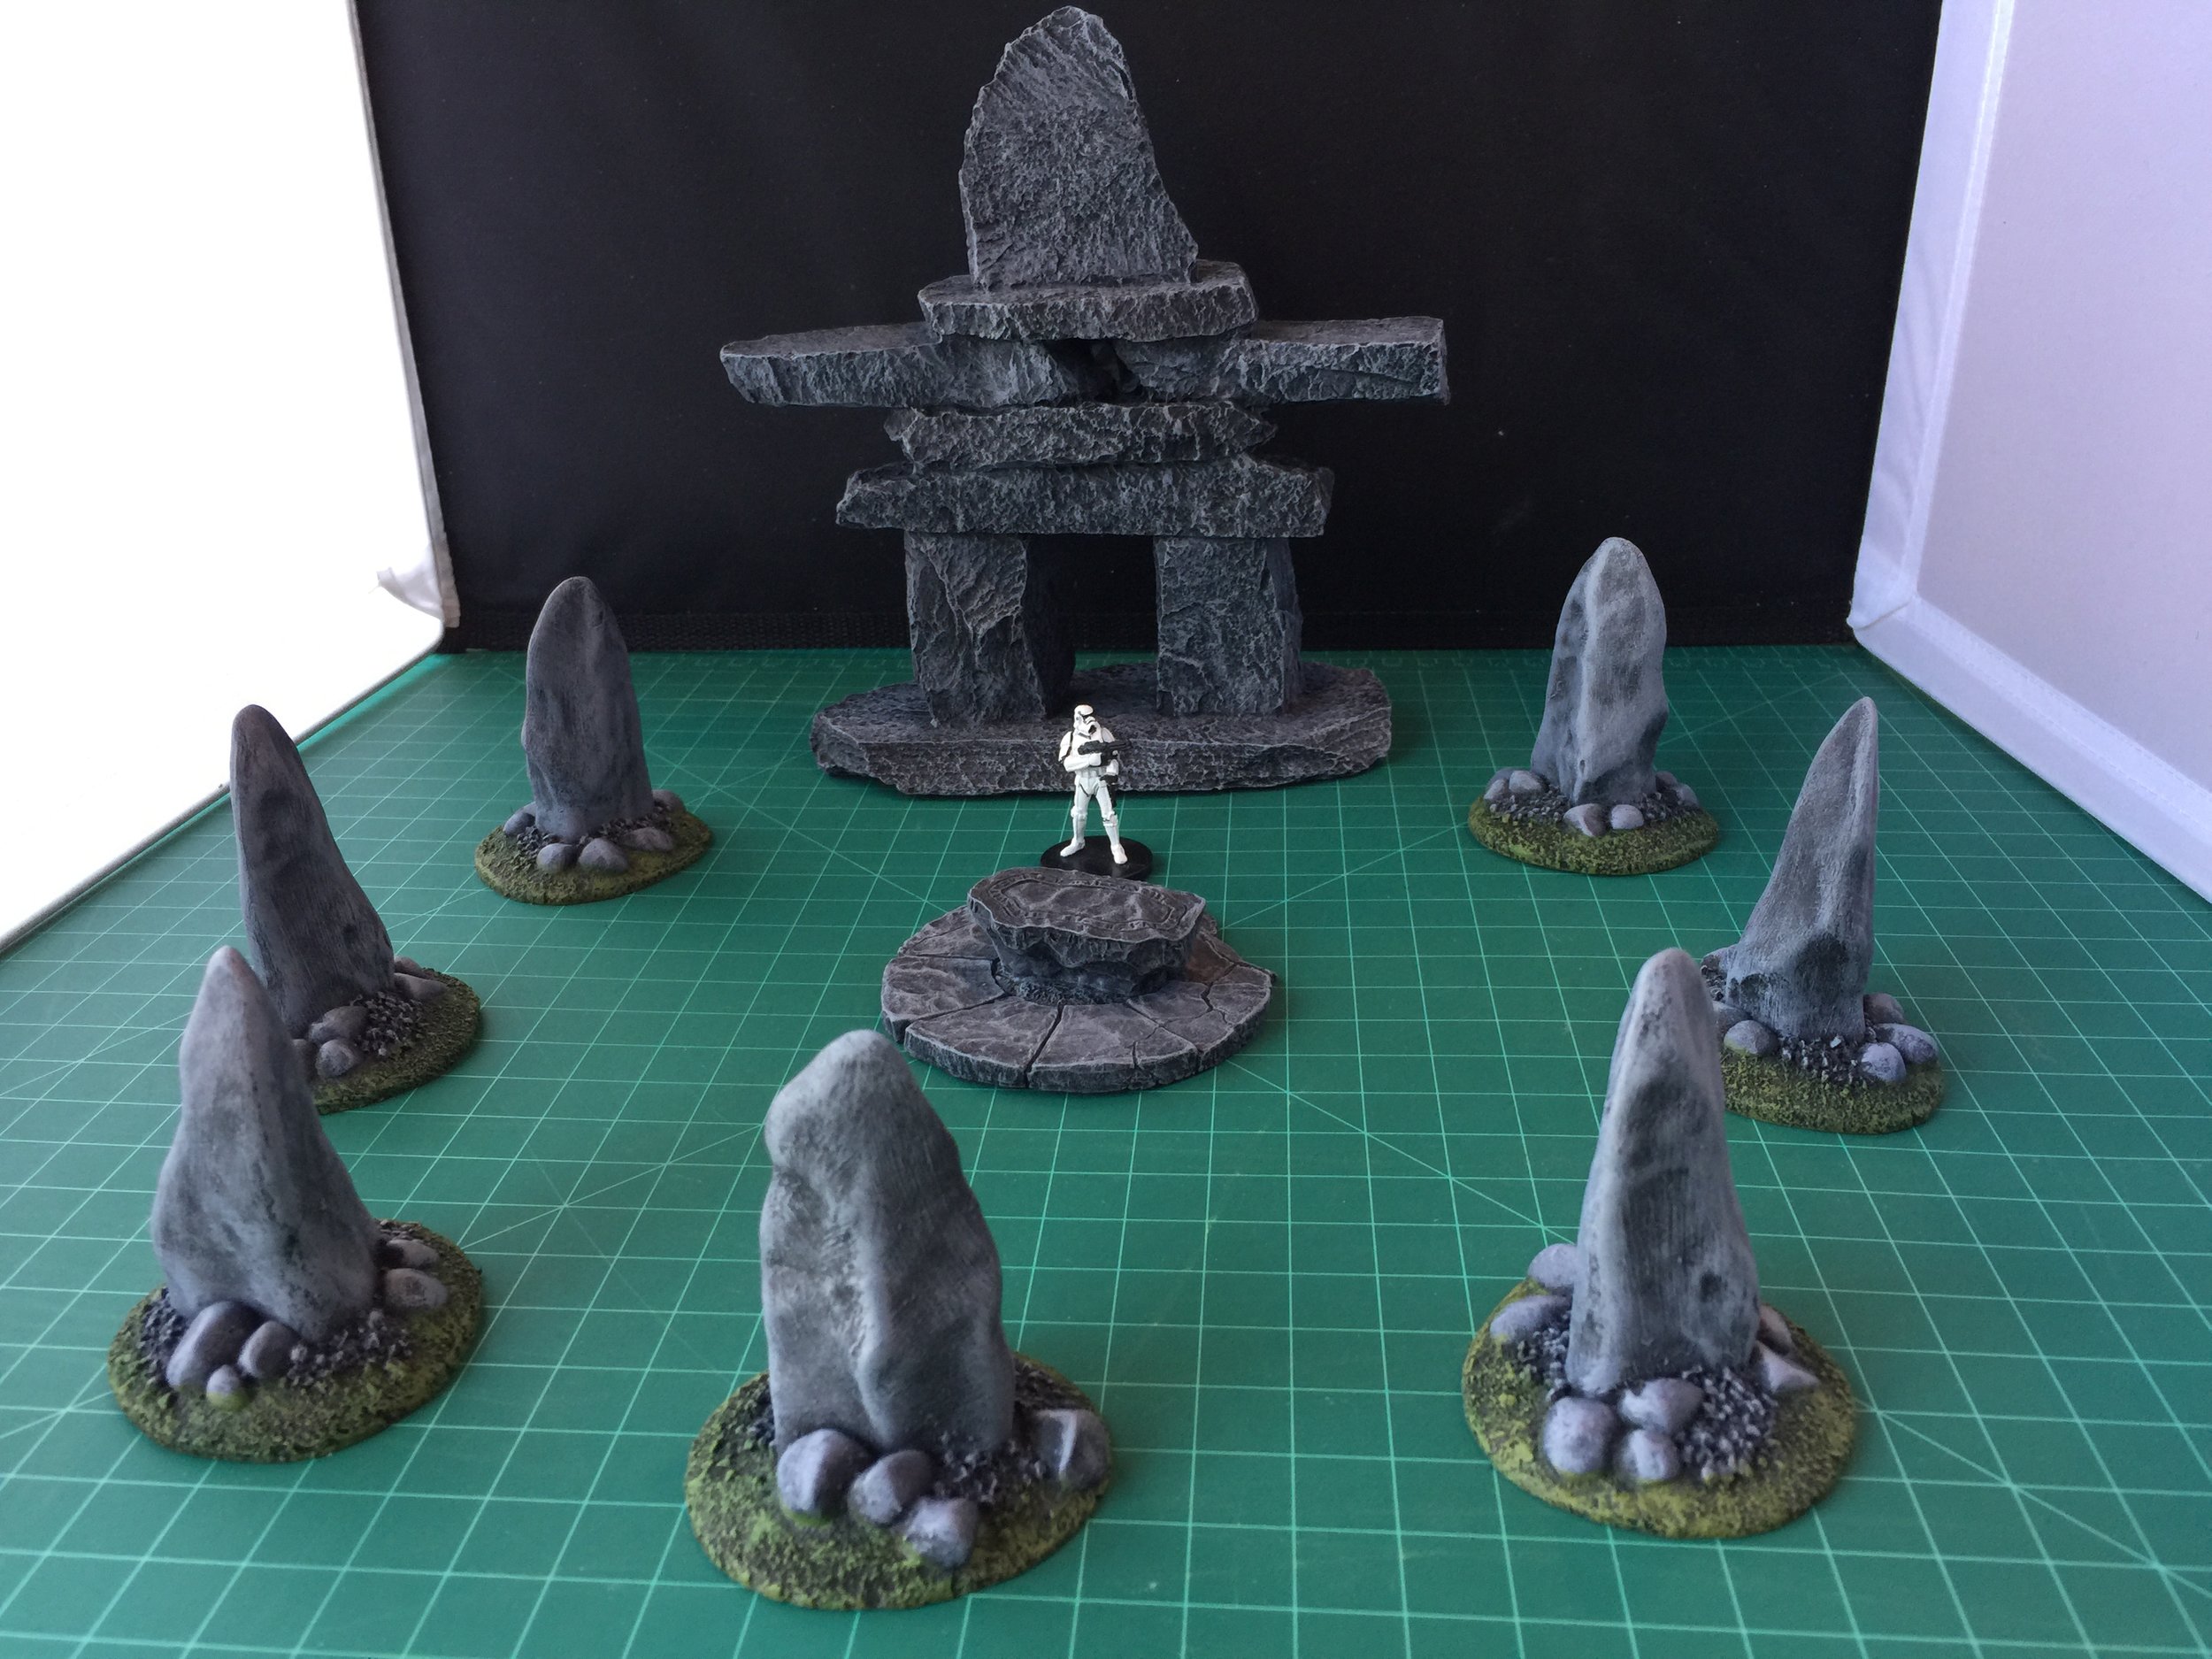
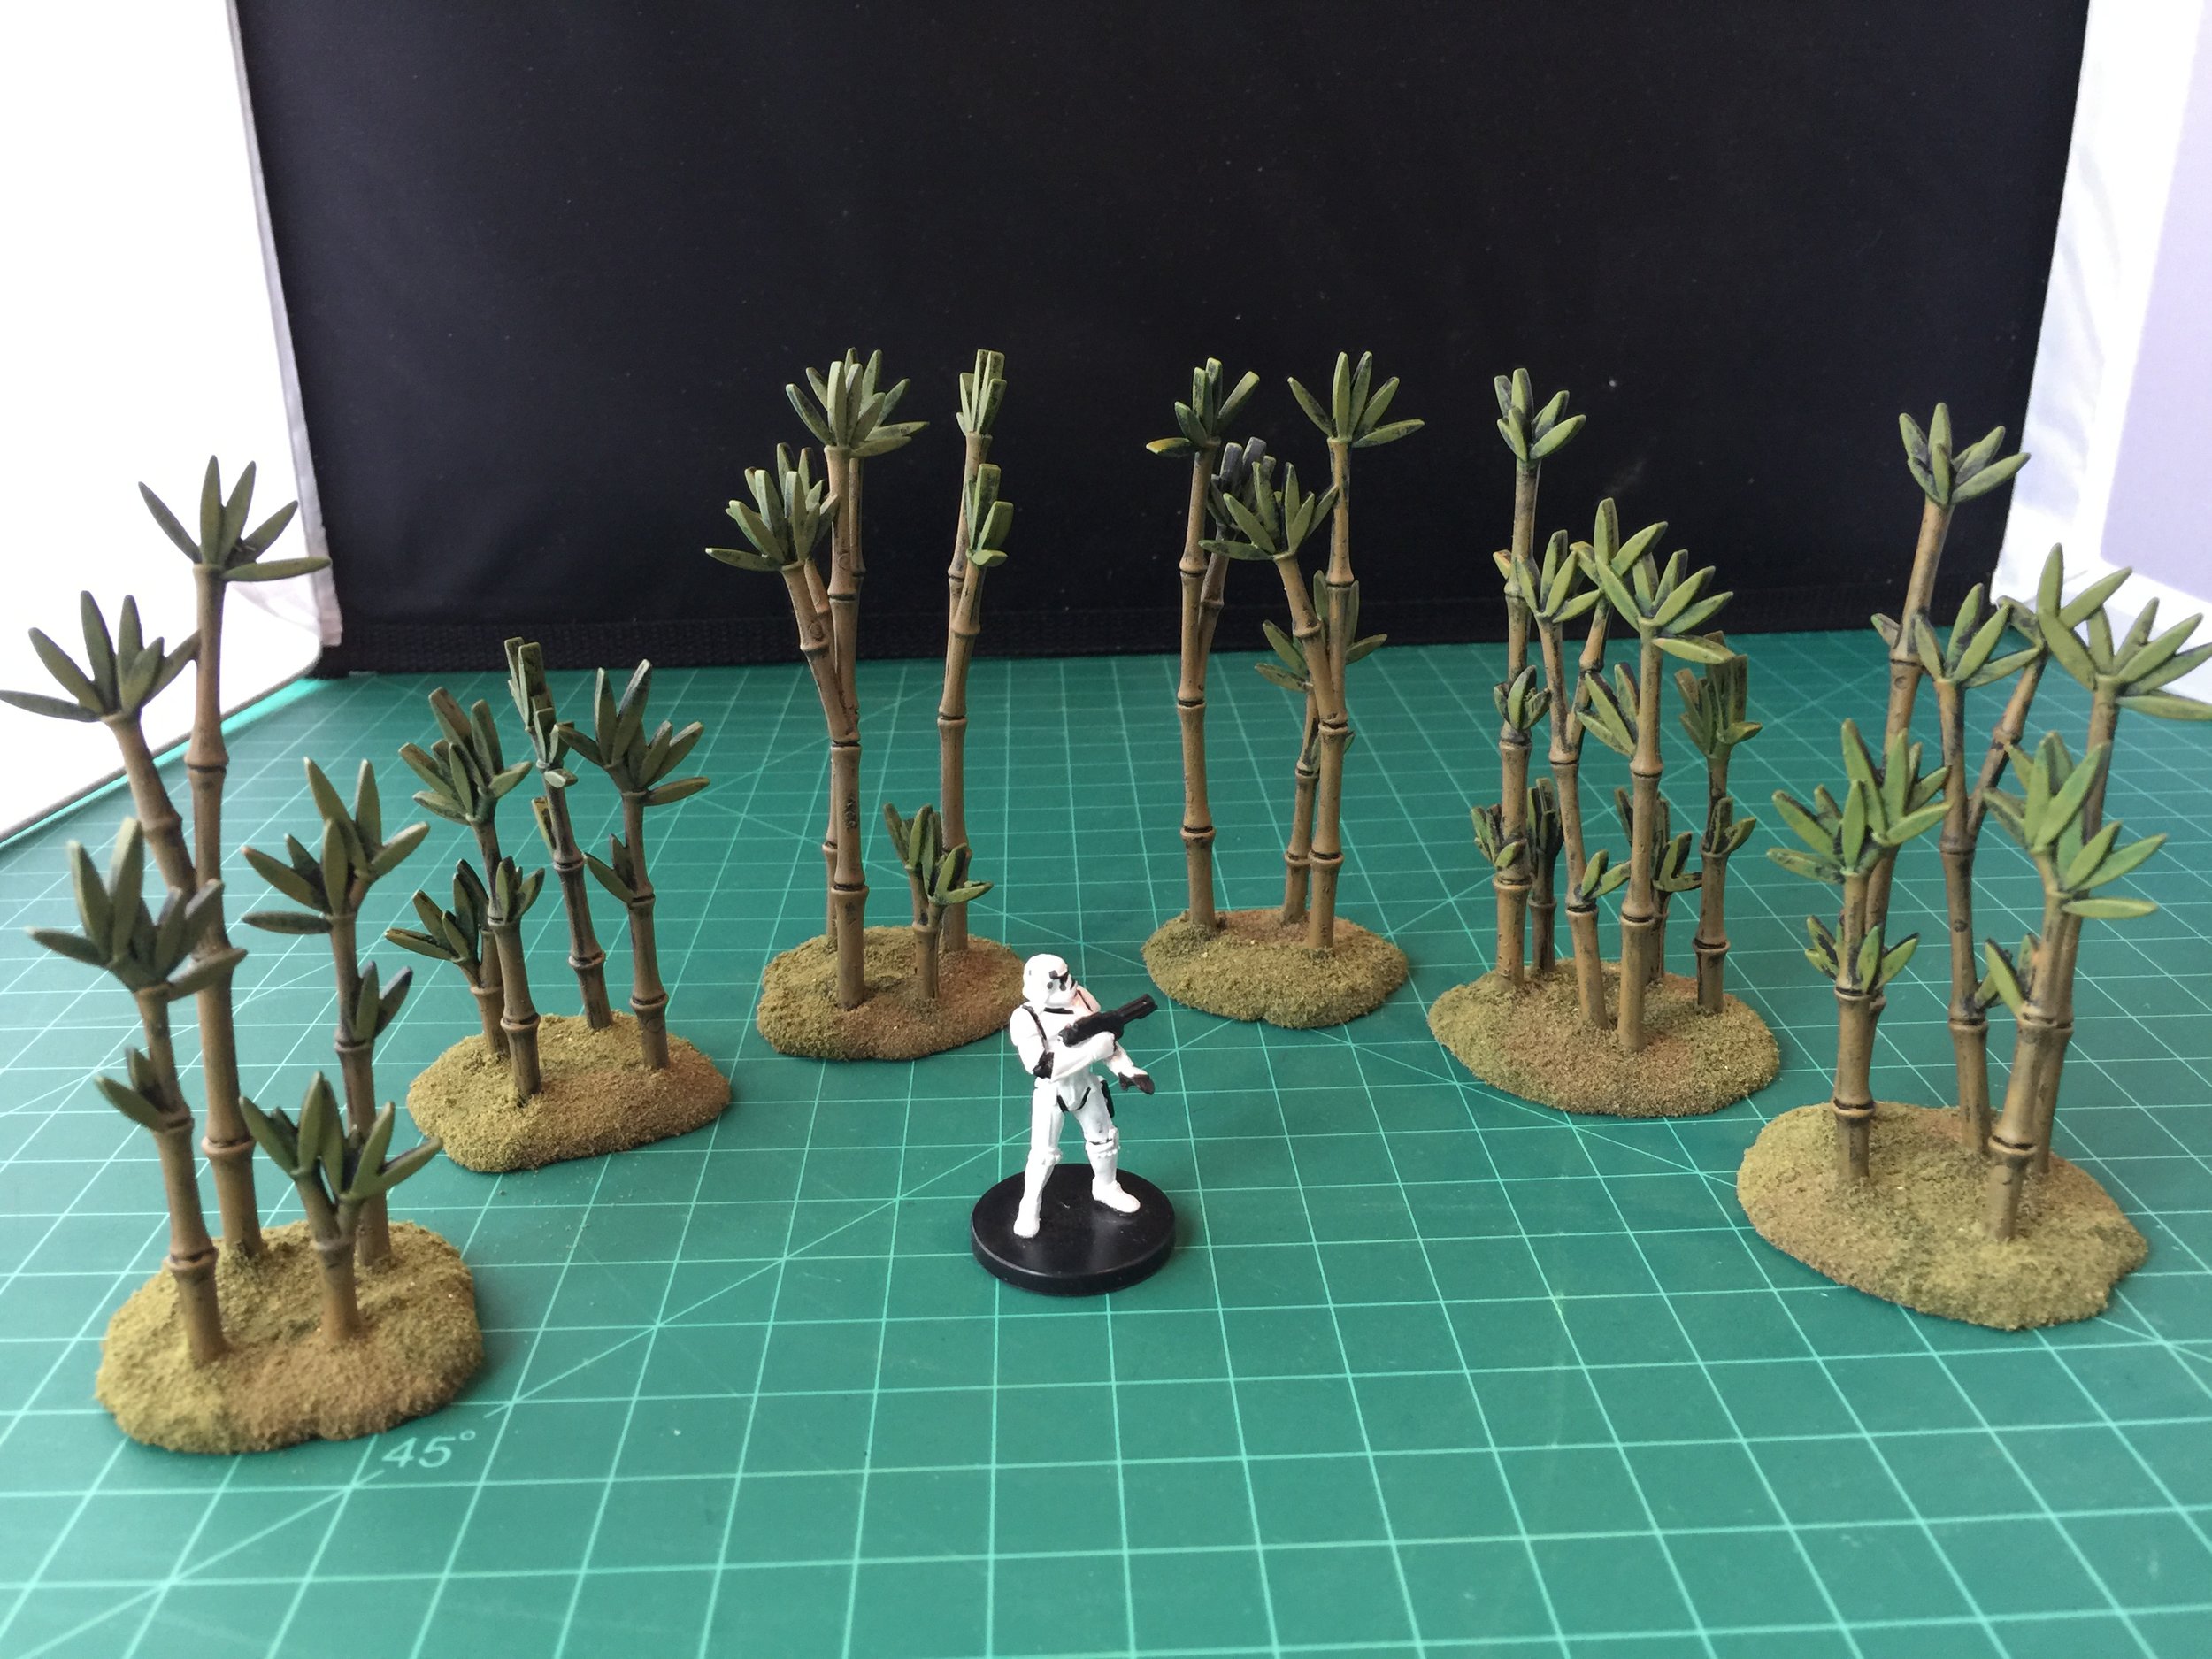
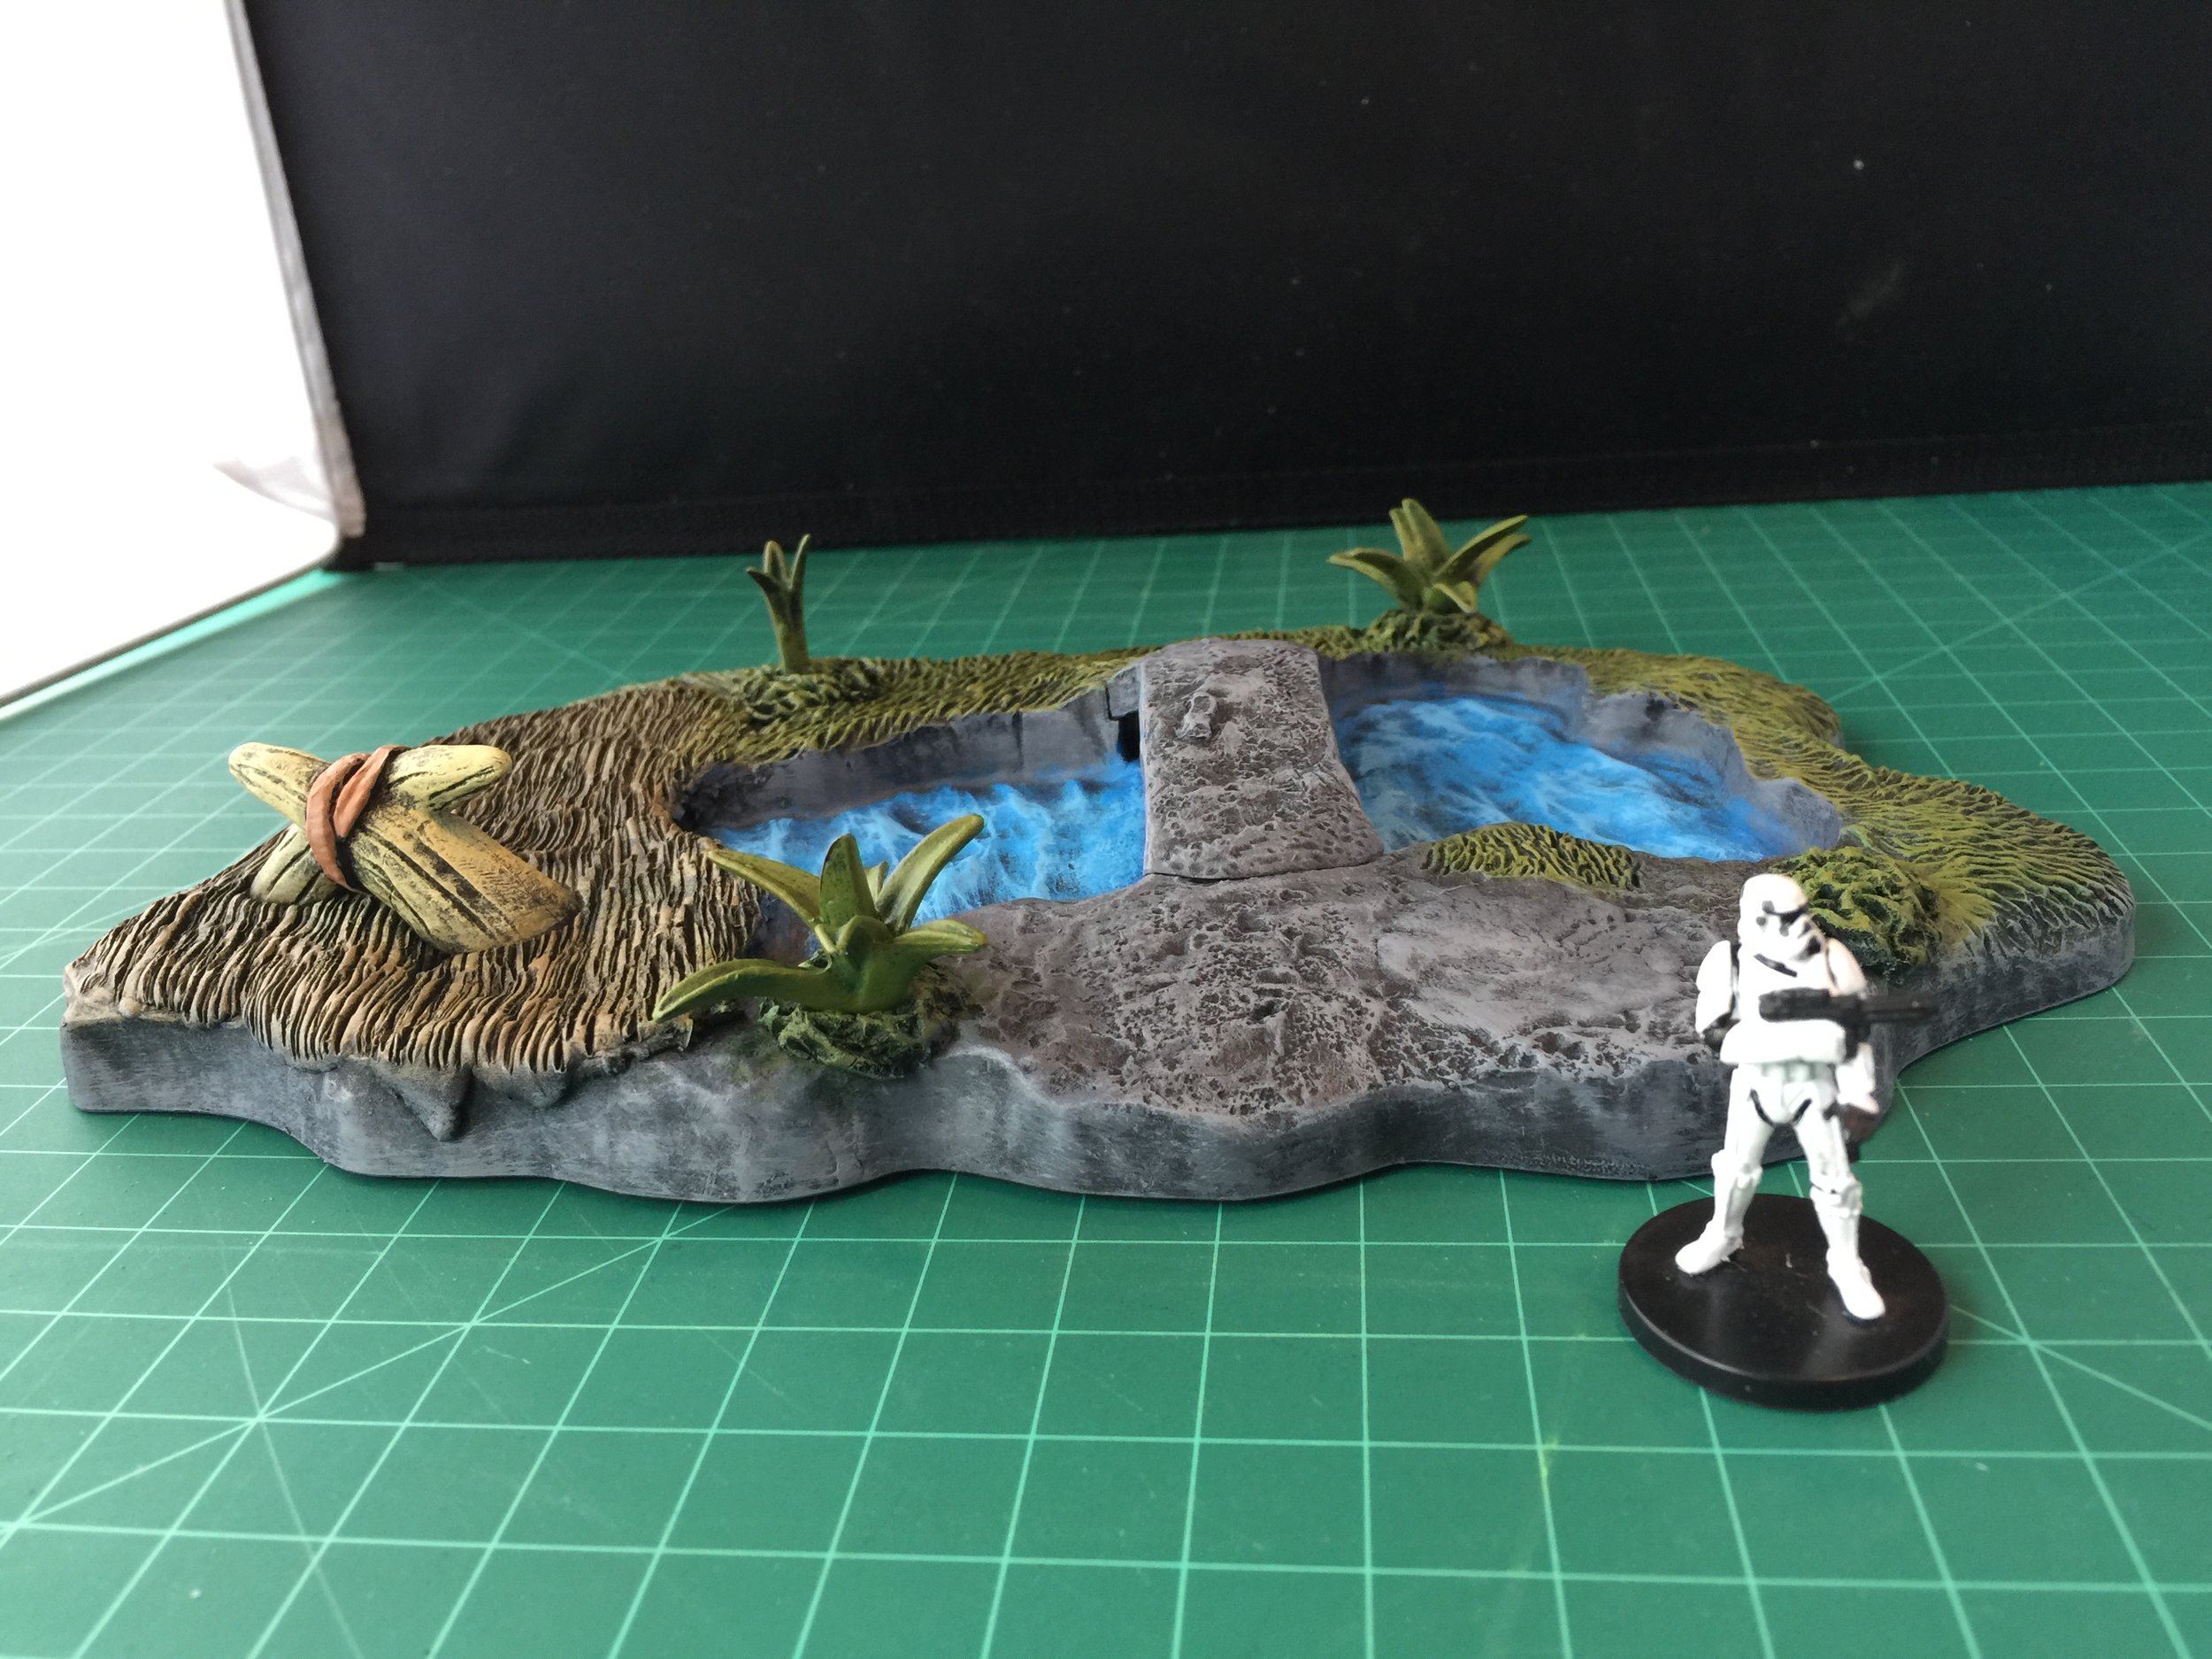
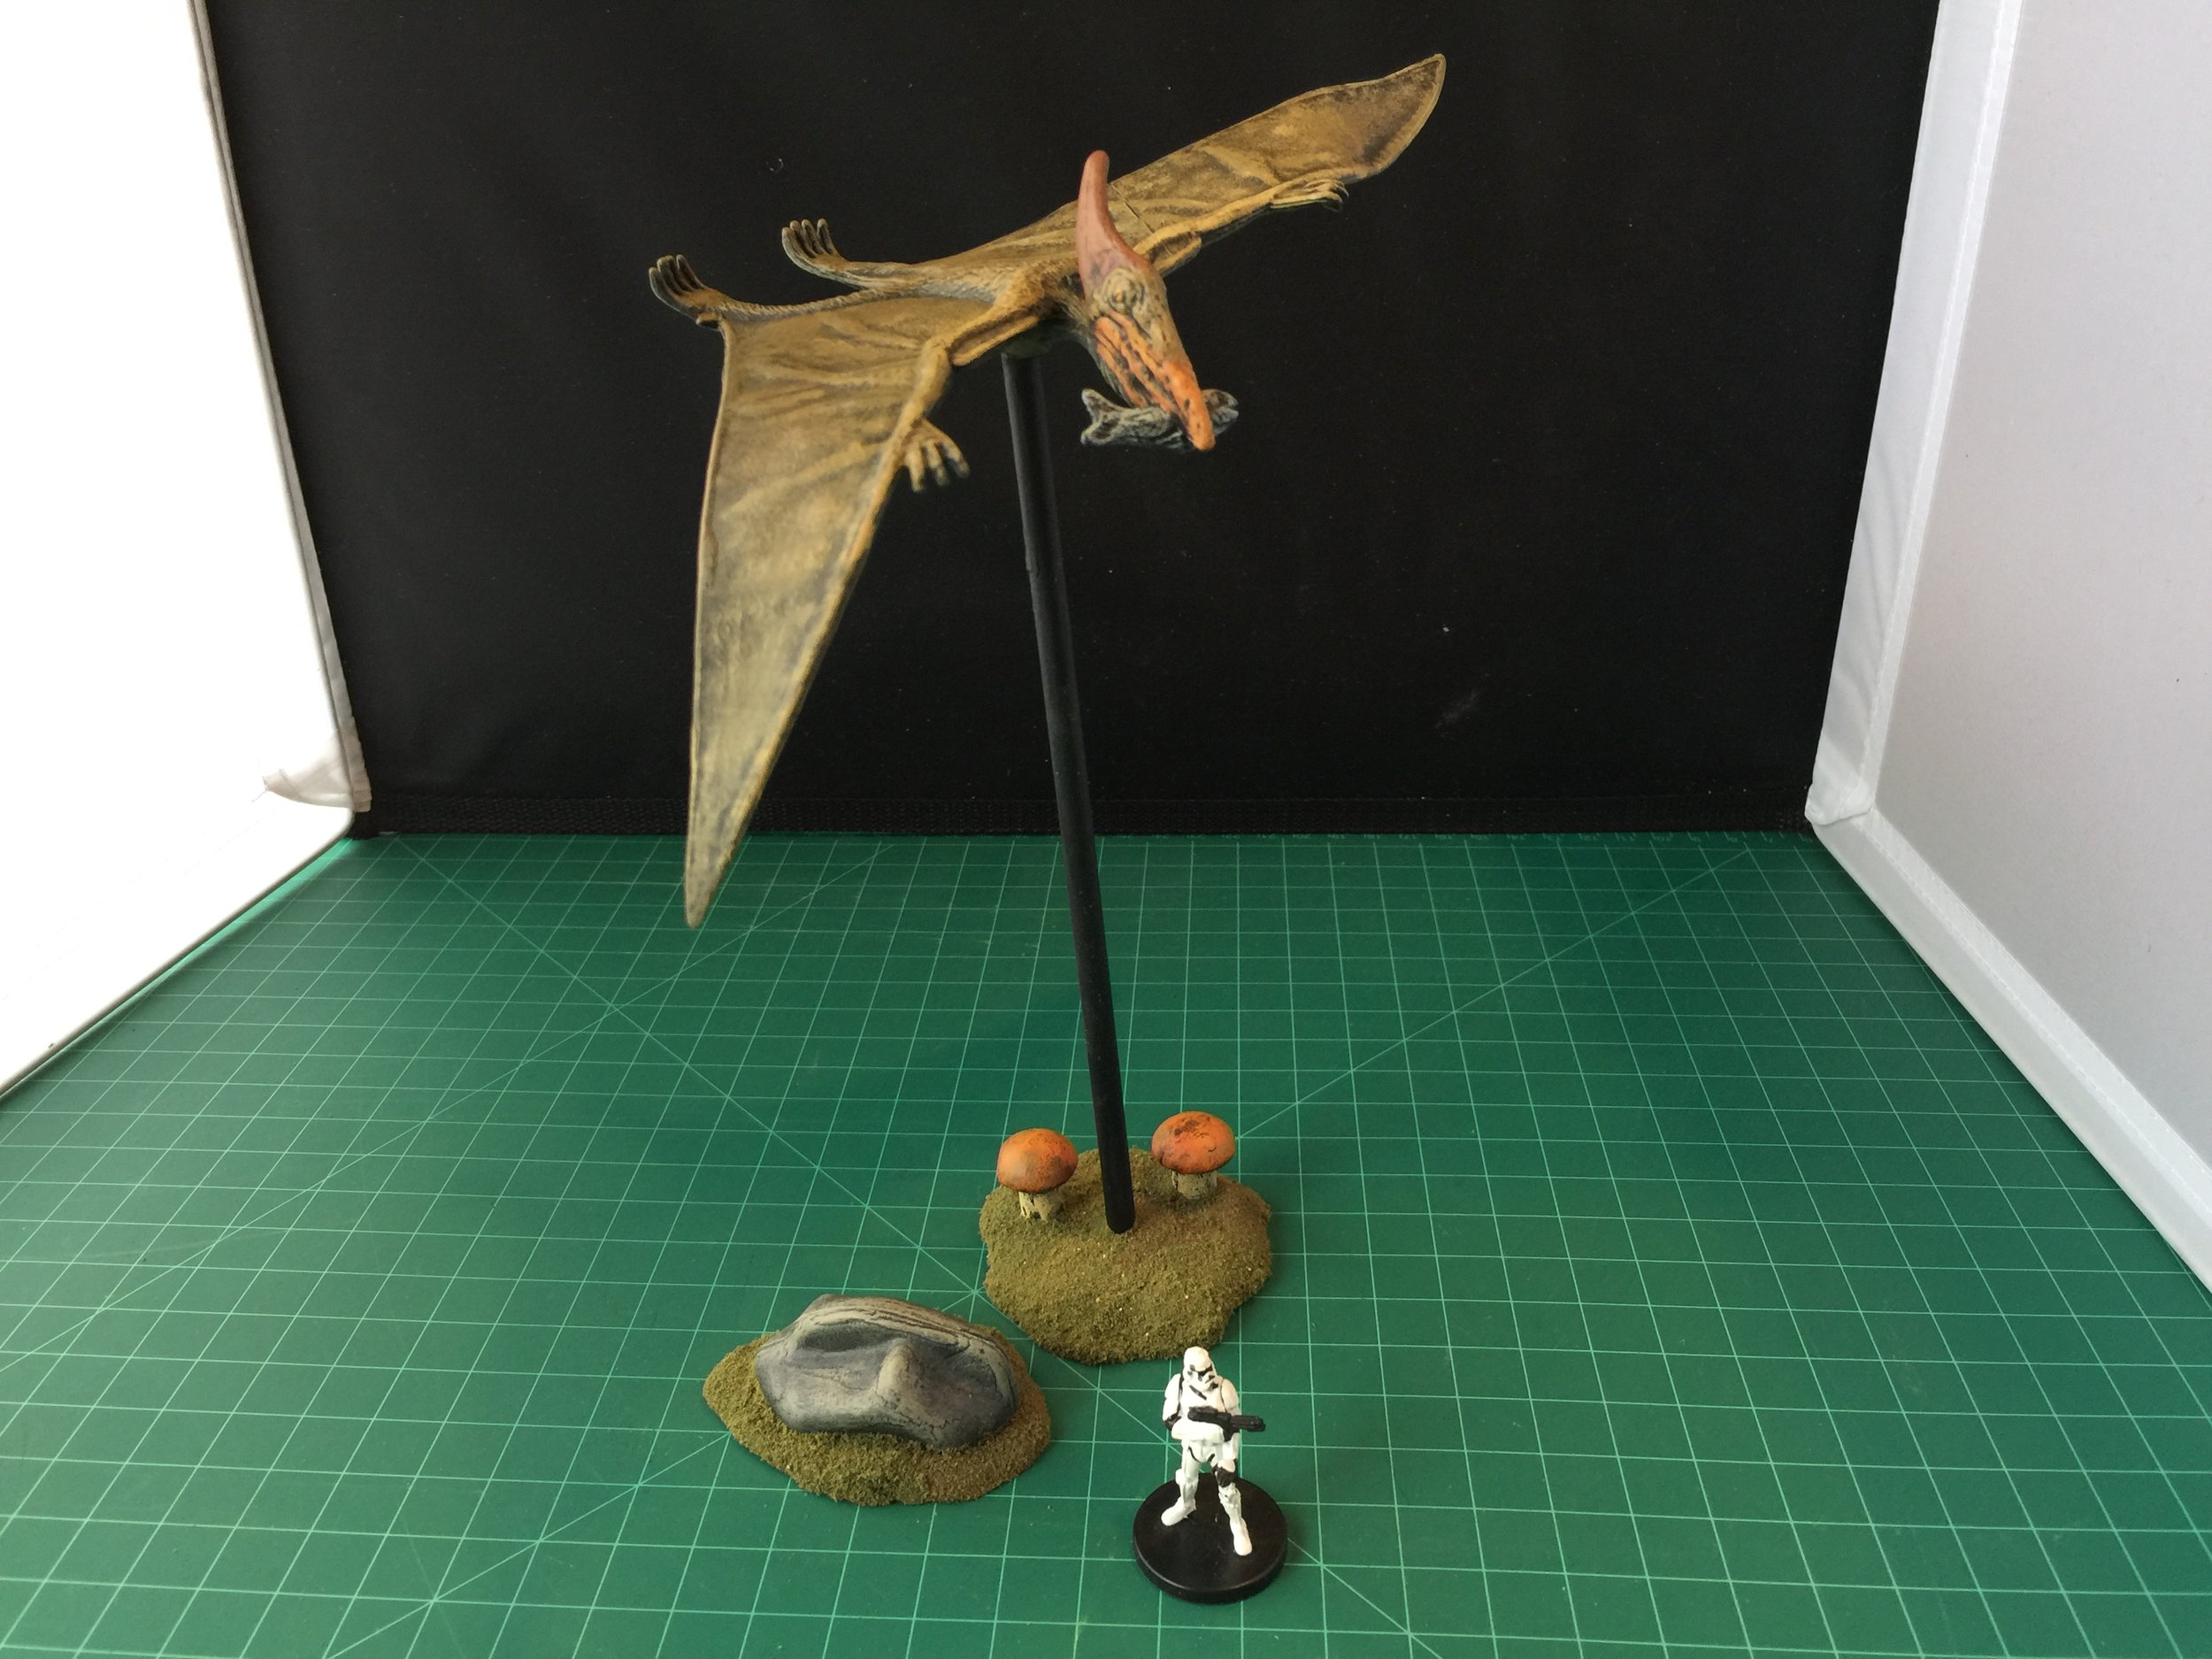
I finished the last of the Mattel plants, and moved on to my mystic circle which is composed of some stones by Snapdragon (seven of them), a Reaper altar, and a large stone entrance that I bought in a gift shop during a trip to Vancouver. I think it will be a great addition to my Dr. Who collection. Following my work on the mystic circle, I turned my attention to a Pteranodon I picked up at the swap meet last weekend. Since I wanted it flying I mounted it on an Evergreen plastic rod (about 8” long) which I then set in a base of Milliput covering a heavy metal washer. With that done I repurposed two Happy Meal Flintstone houses I picked up at the swap meet a couple months ago. I previously repurposed and painted 9 of these buildings a year or two ago, but haven’t seen them at the swap meet for more than a year so when I saw them at the swap meet for 50 cents each I couldn’t resist them. In addition to that I based six stands of bamboo and some mushrooms that I also painted. In repurposing my Playmobil volcano I used a plastic stone formation from a plastic terrain piece that also included a pond with a natural stone bridge. I decided I liked the pond so I used scored Milliput to hide the damage done by removing the stone formation, and painted that as well.
As the week drew to a close my workbench focus continued to be on terrain for my Dr. Who collection… lots of volcanoes, and I finally got around to giving the greenish tint to my Jade Canal for the Boxer Rebellion. We hope to be photographing that collection soon.
