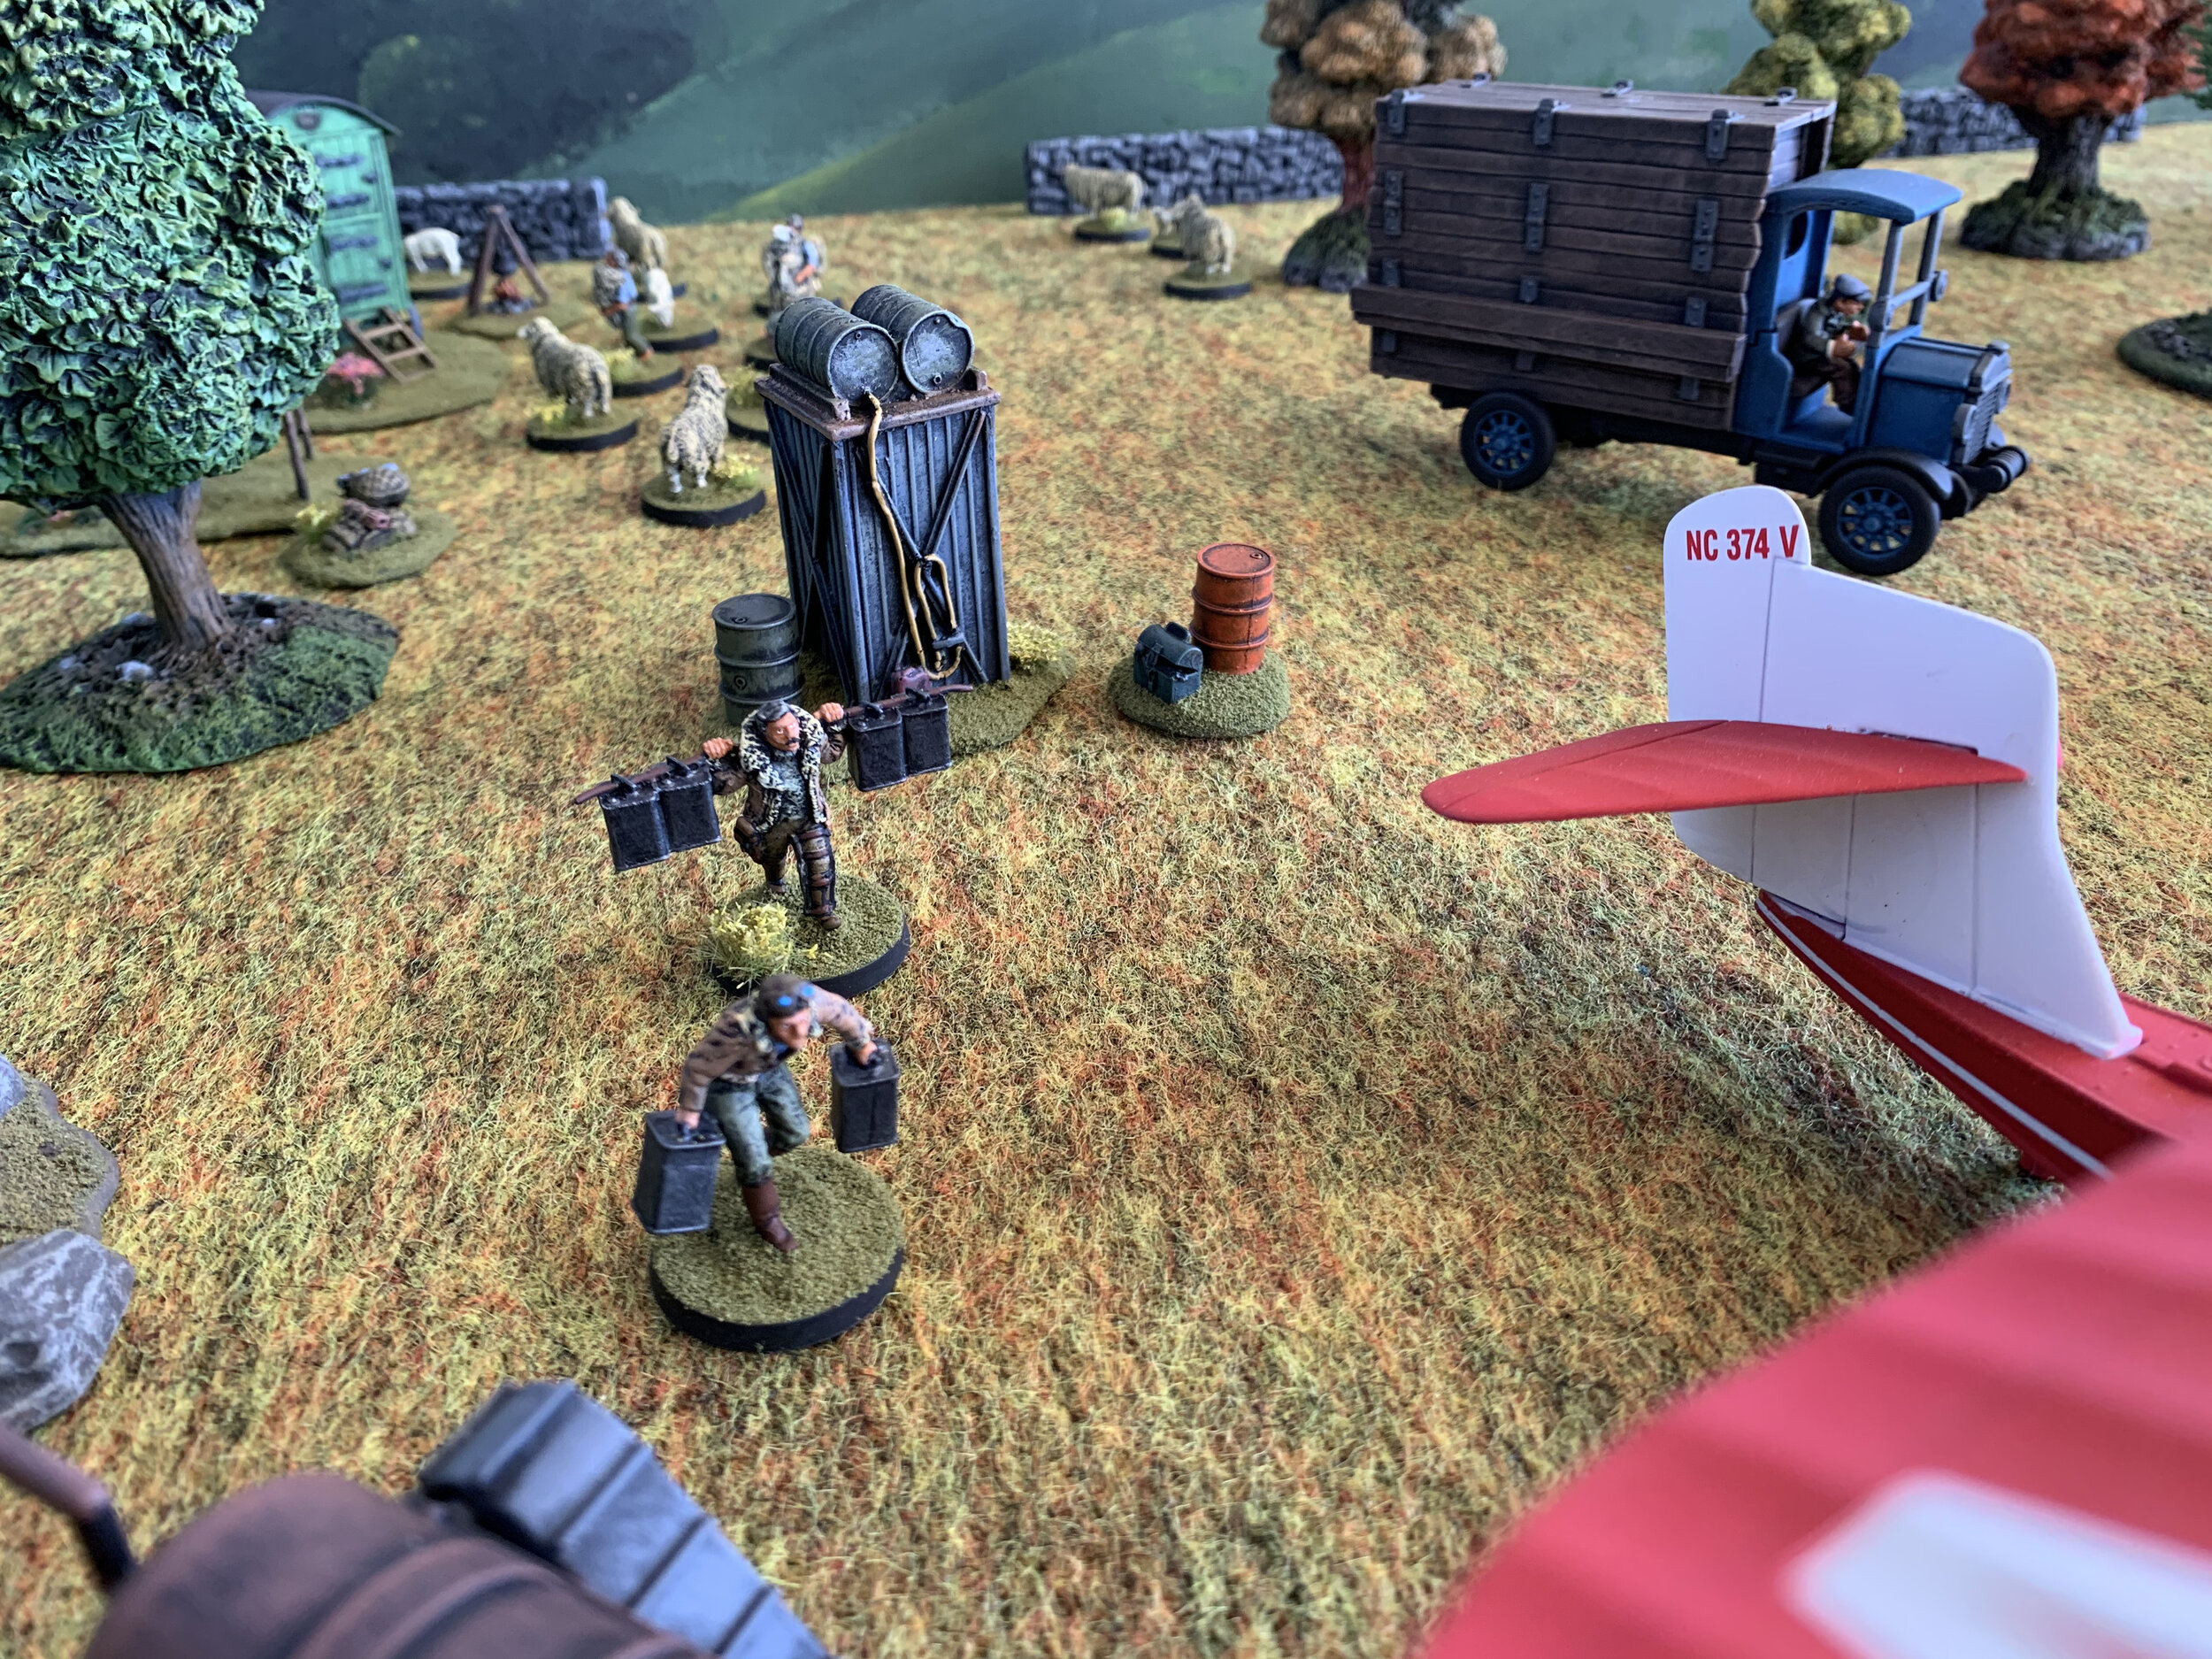
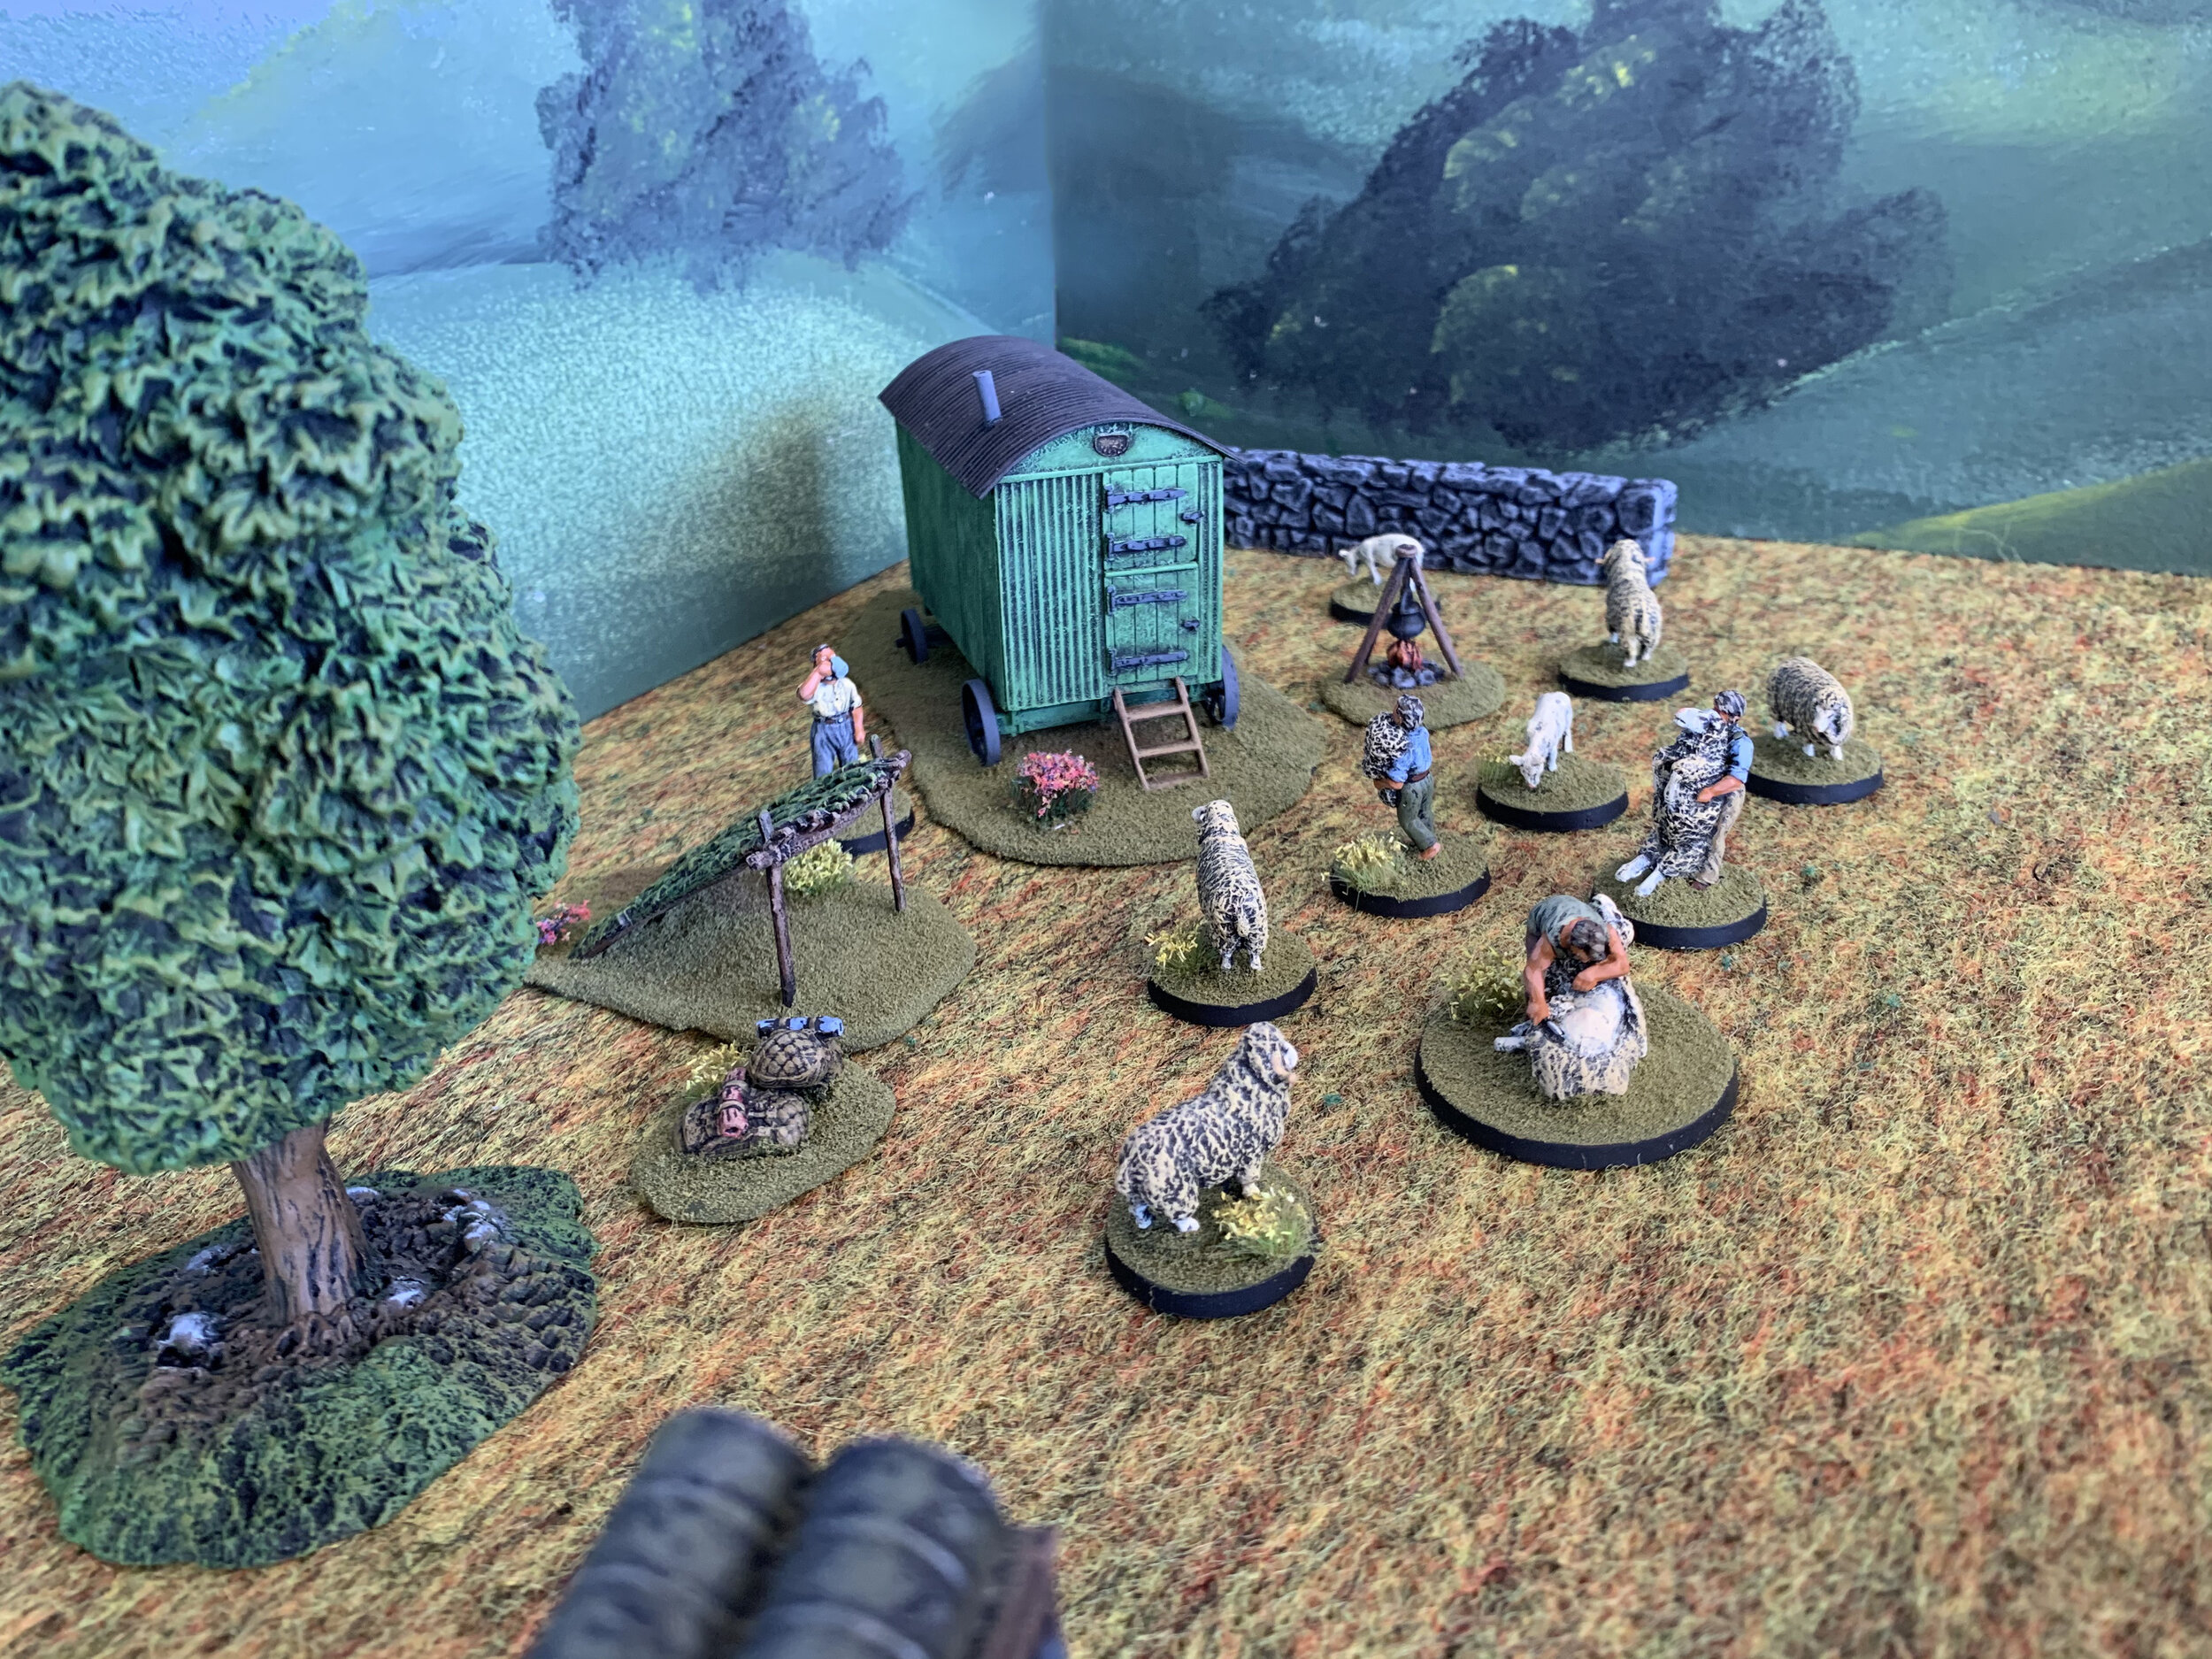
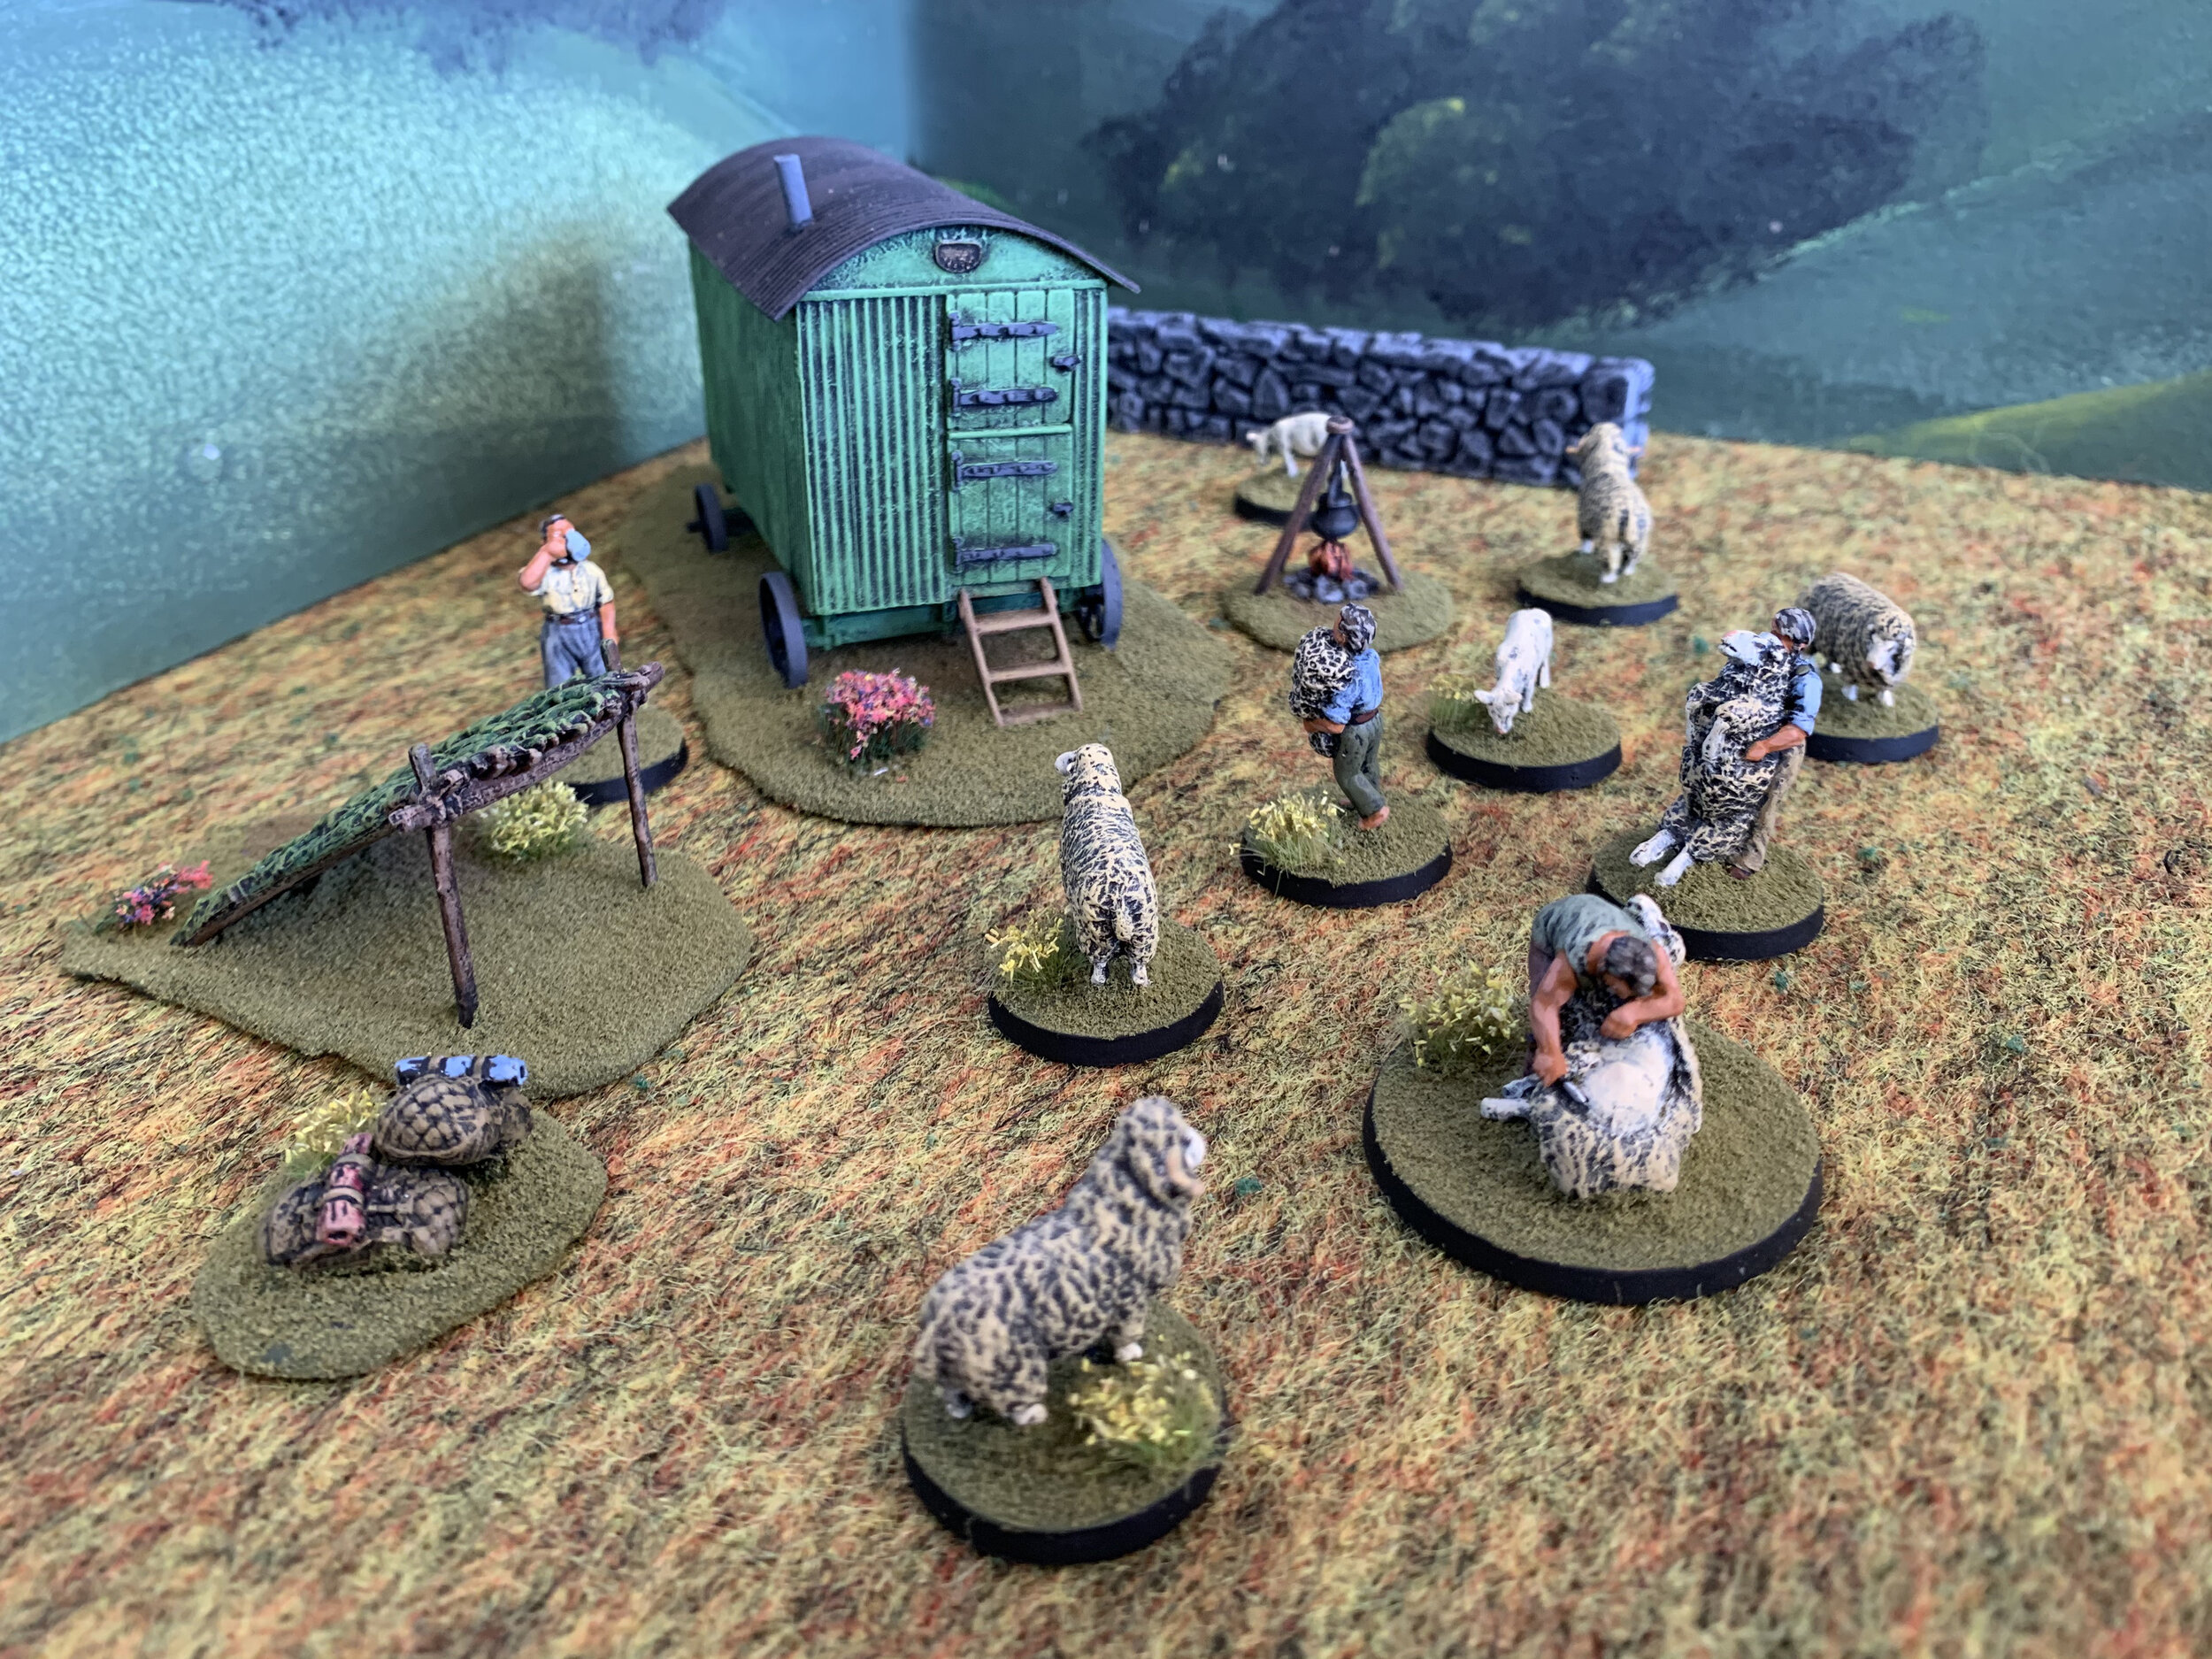
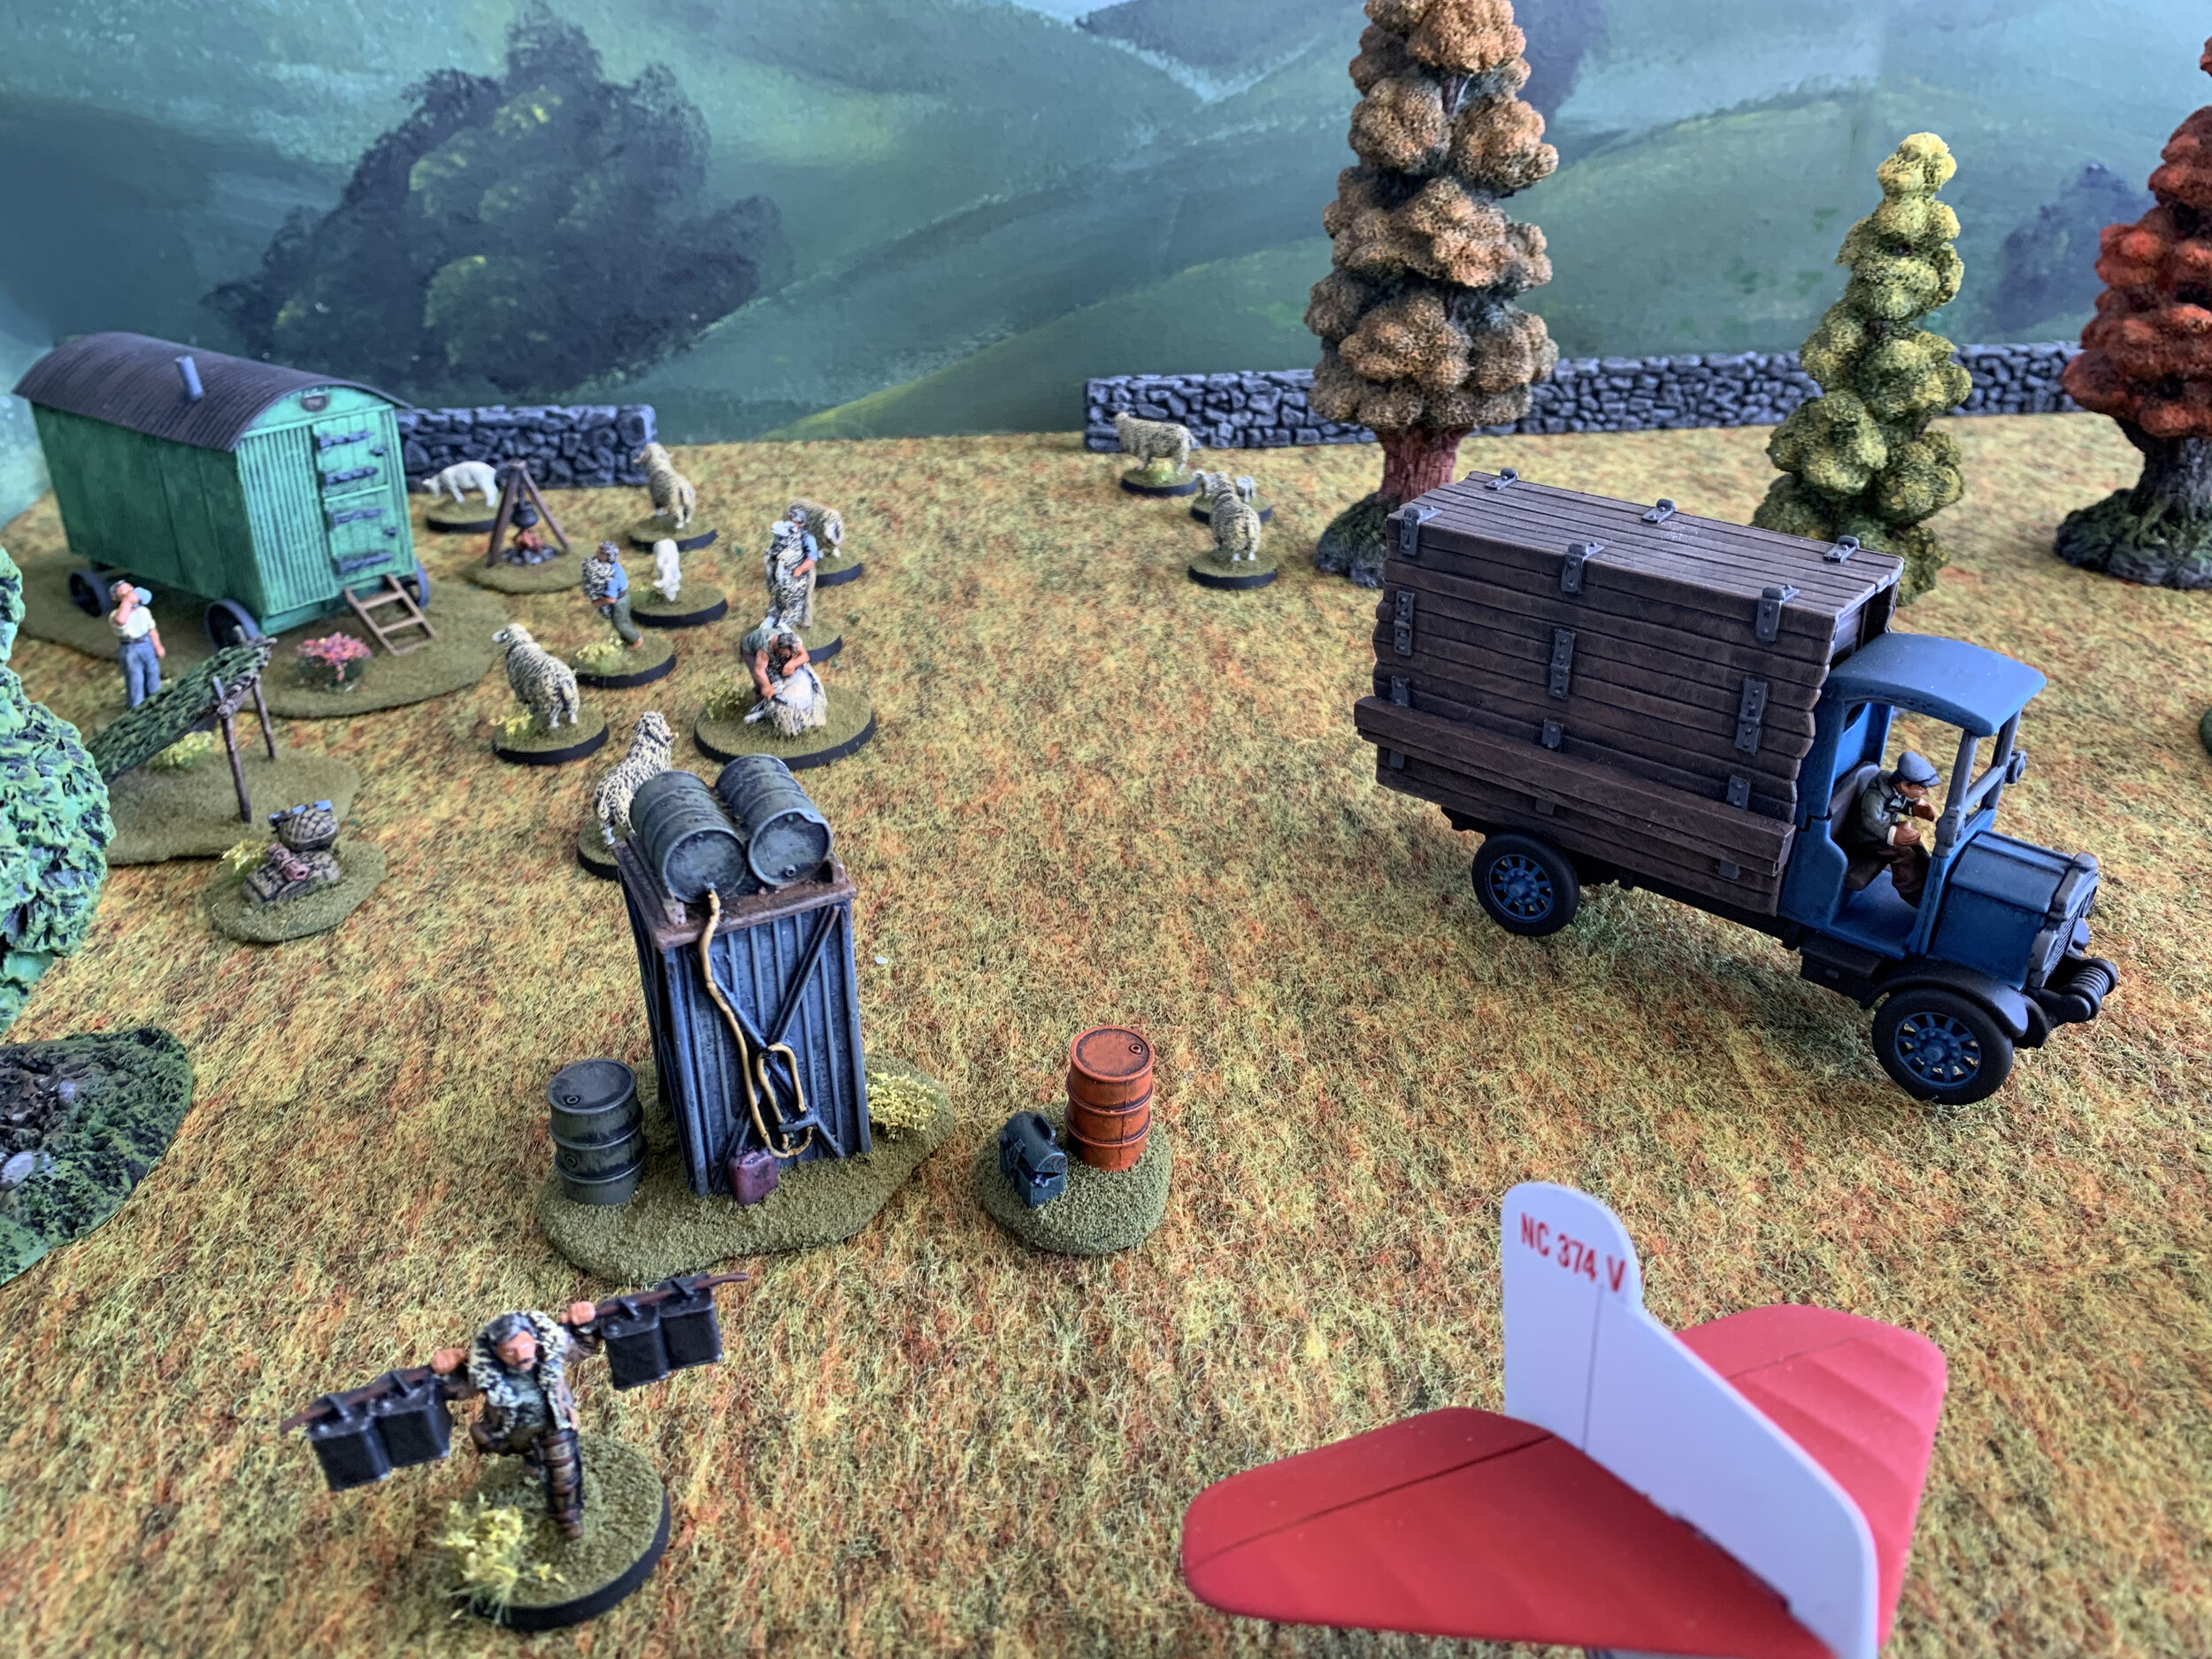
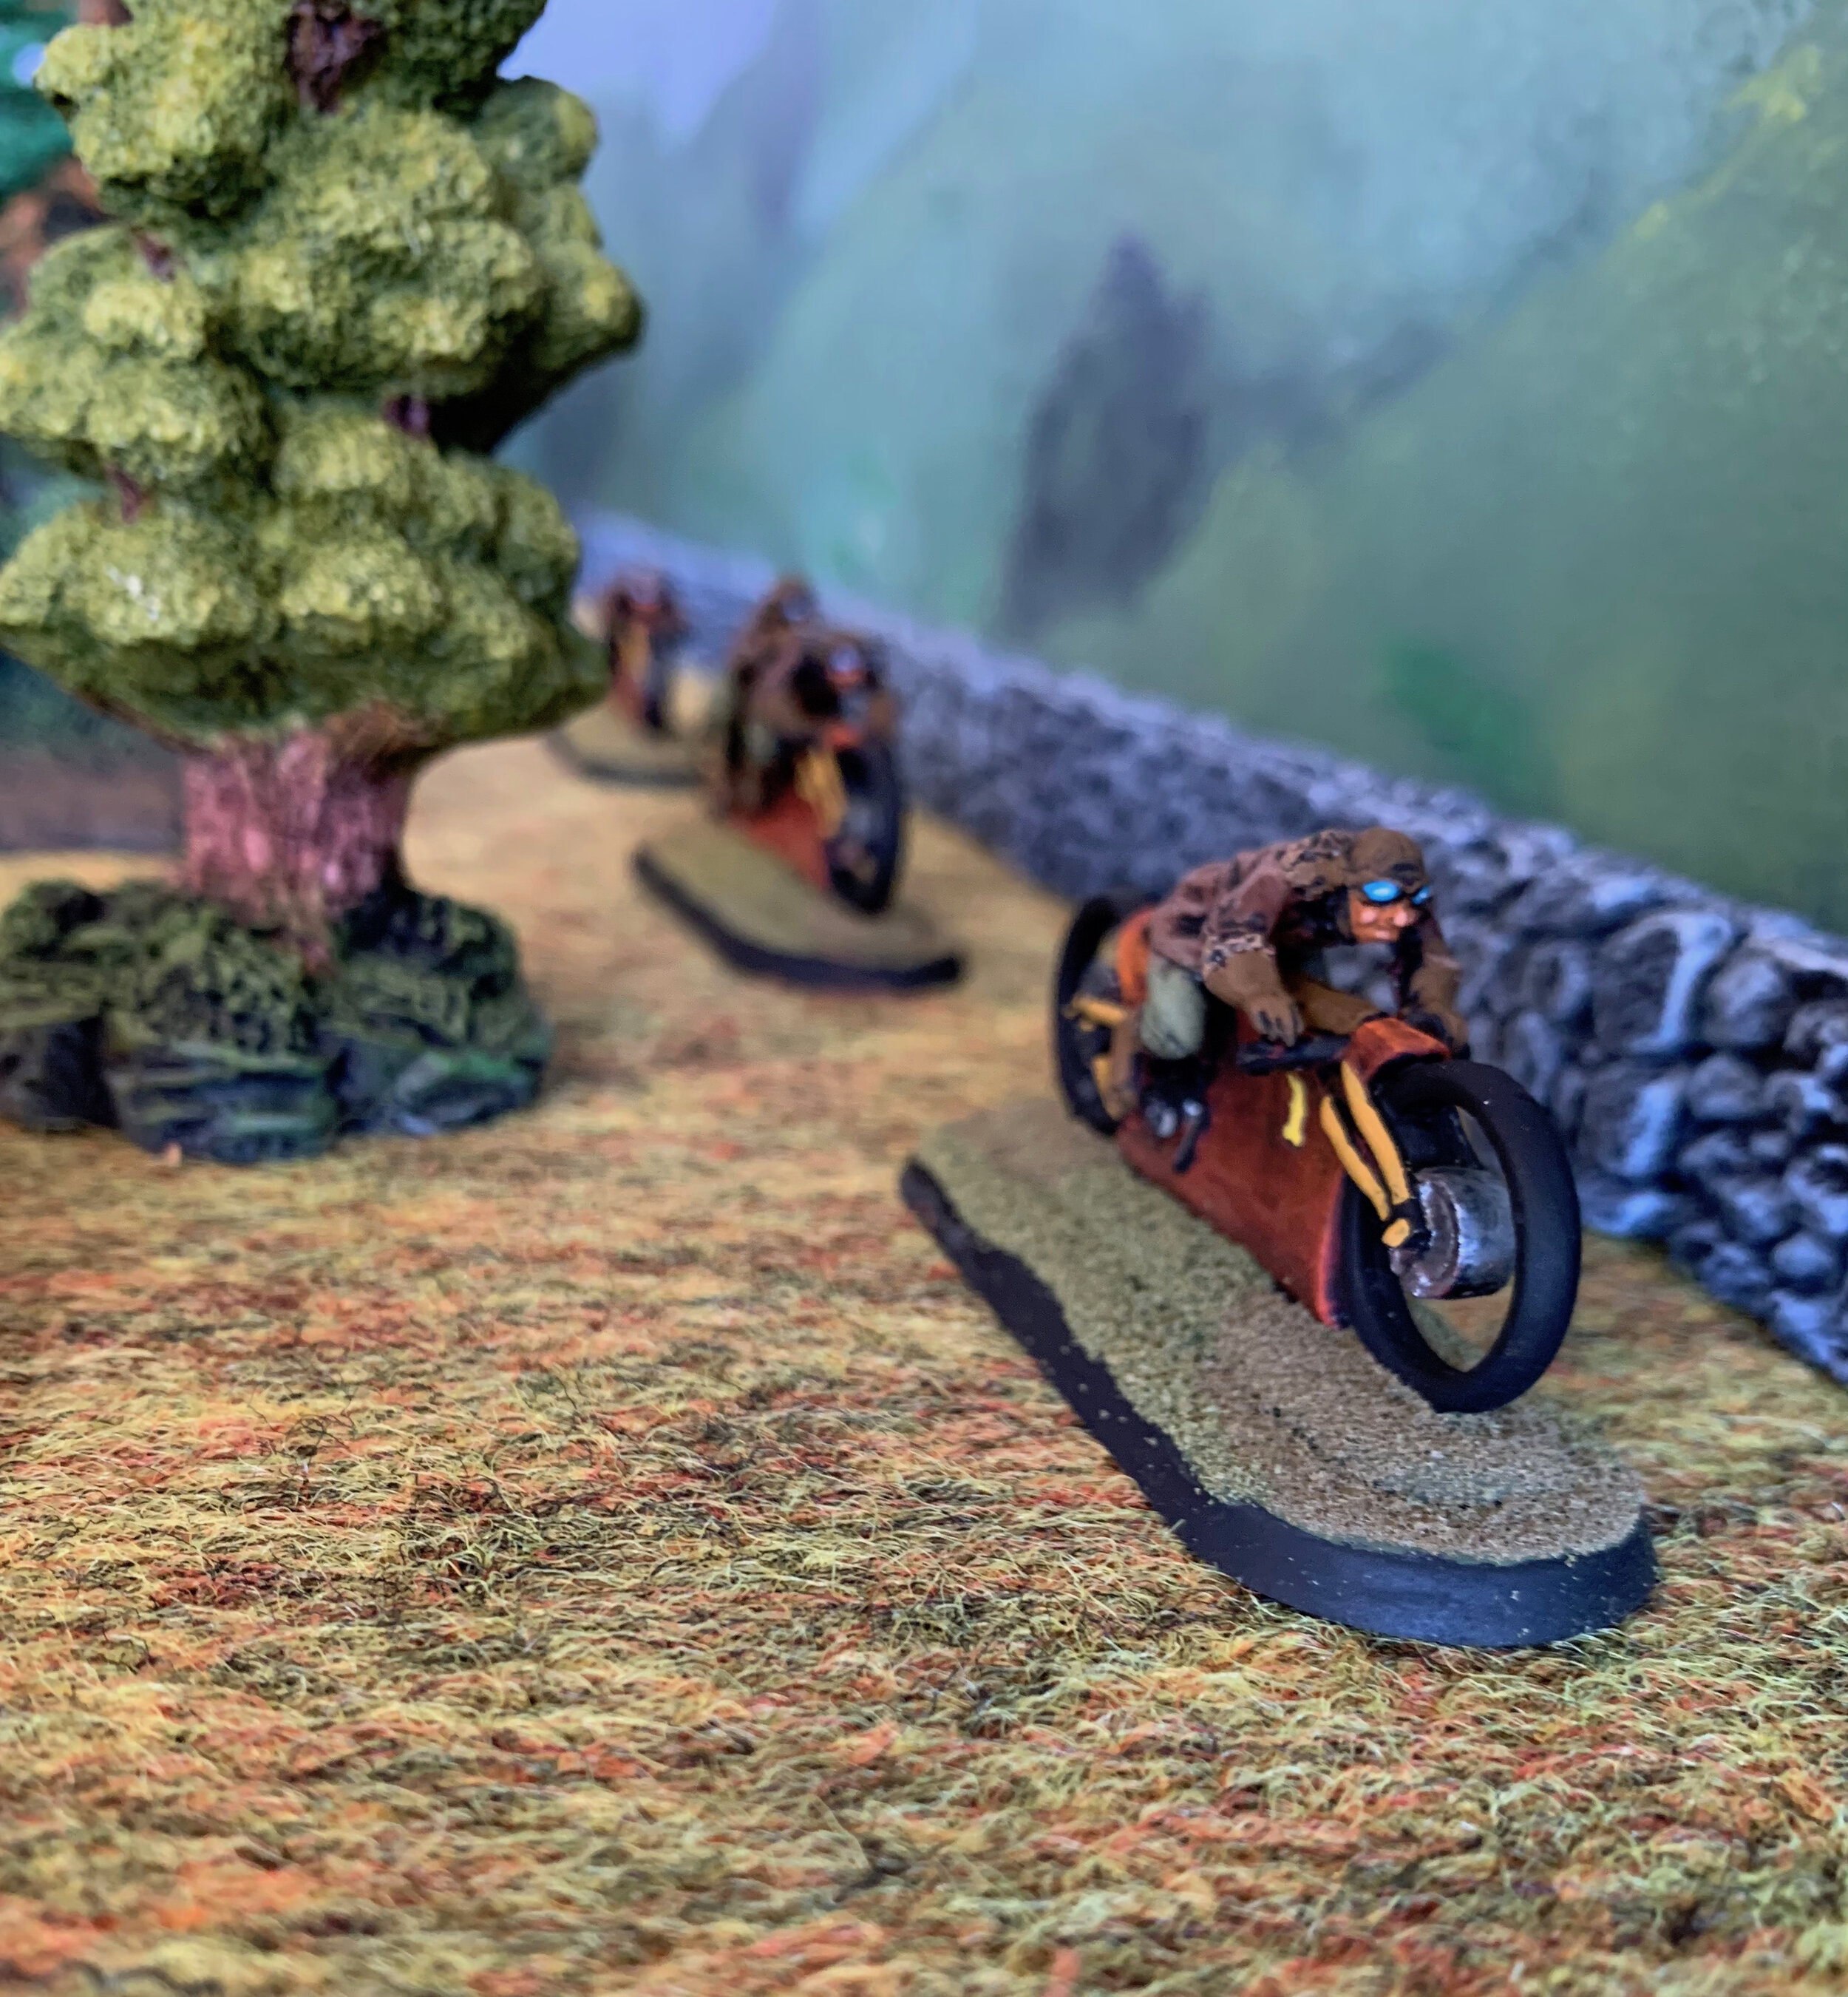
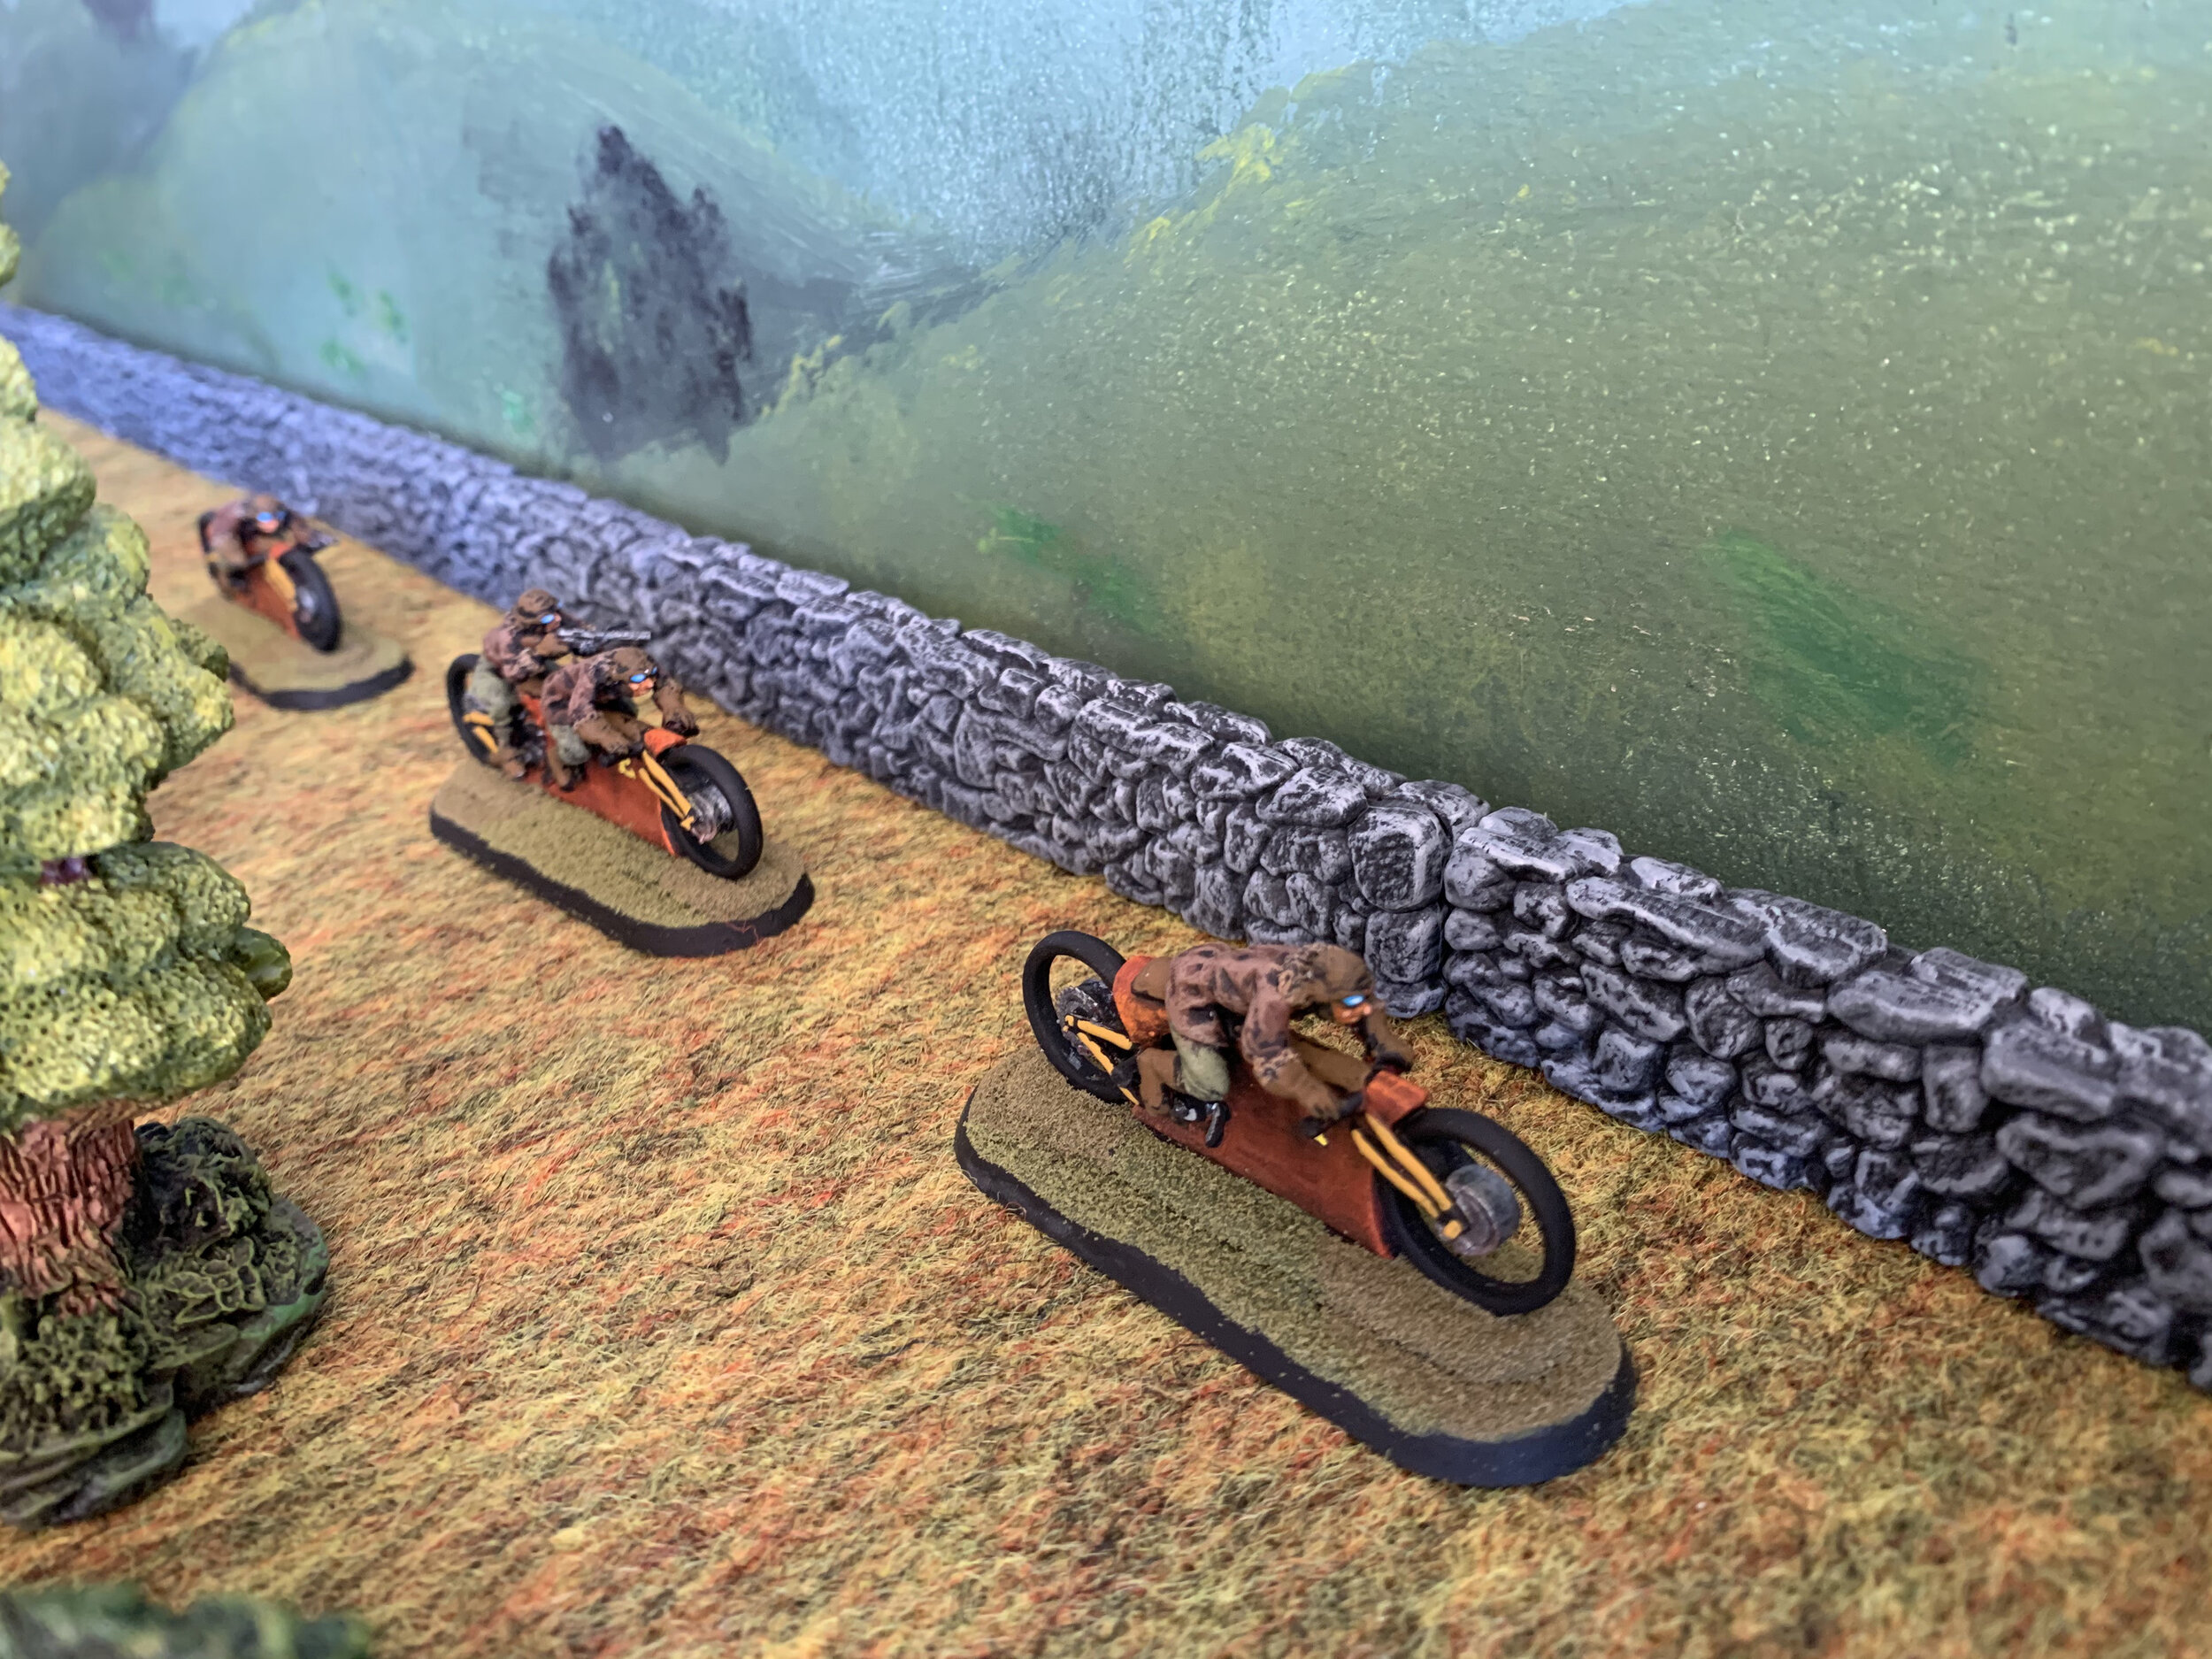
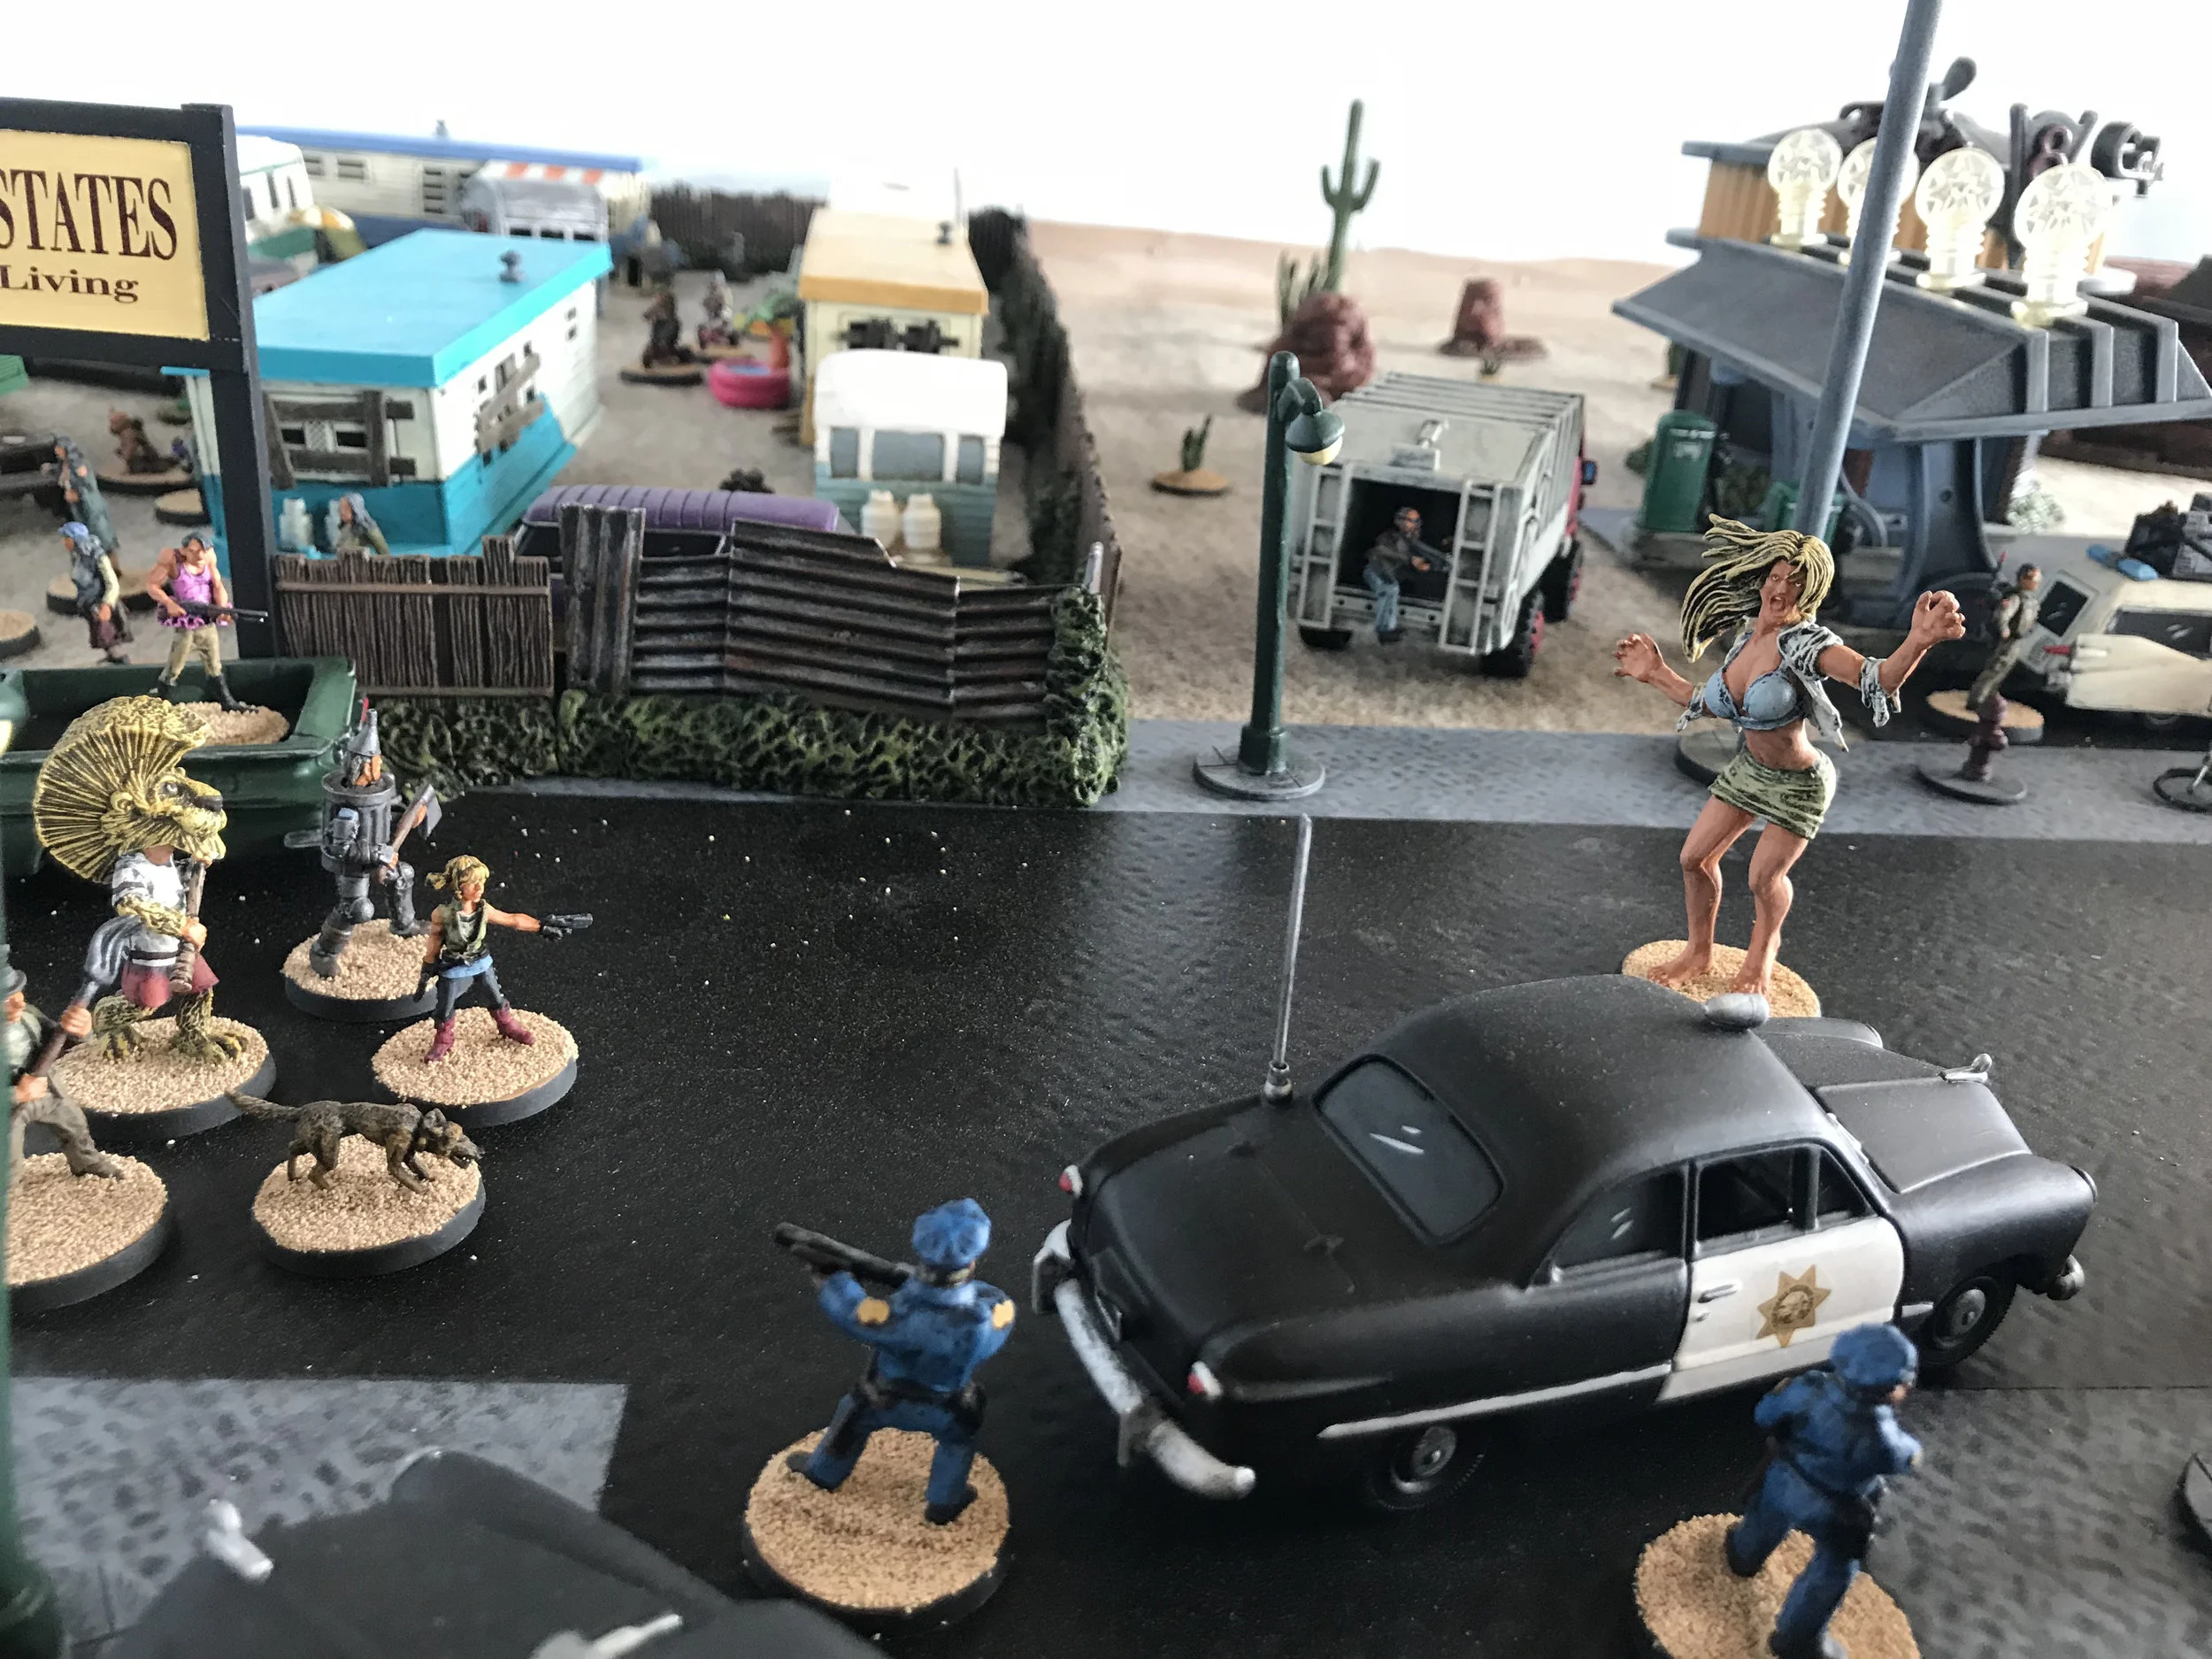
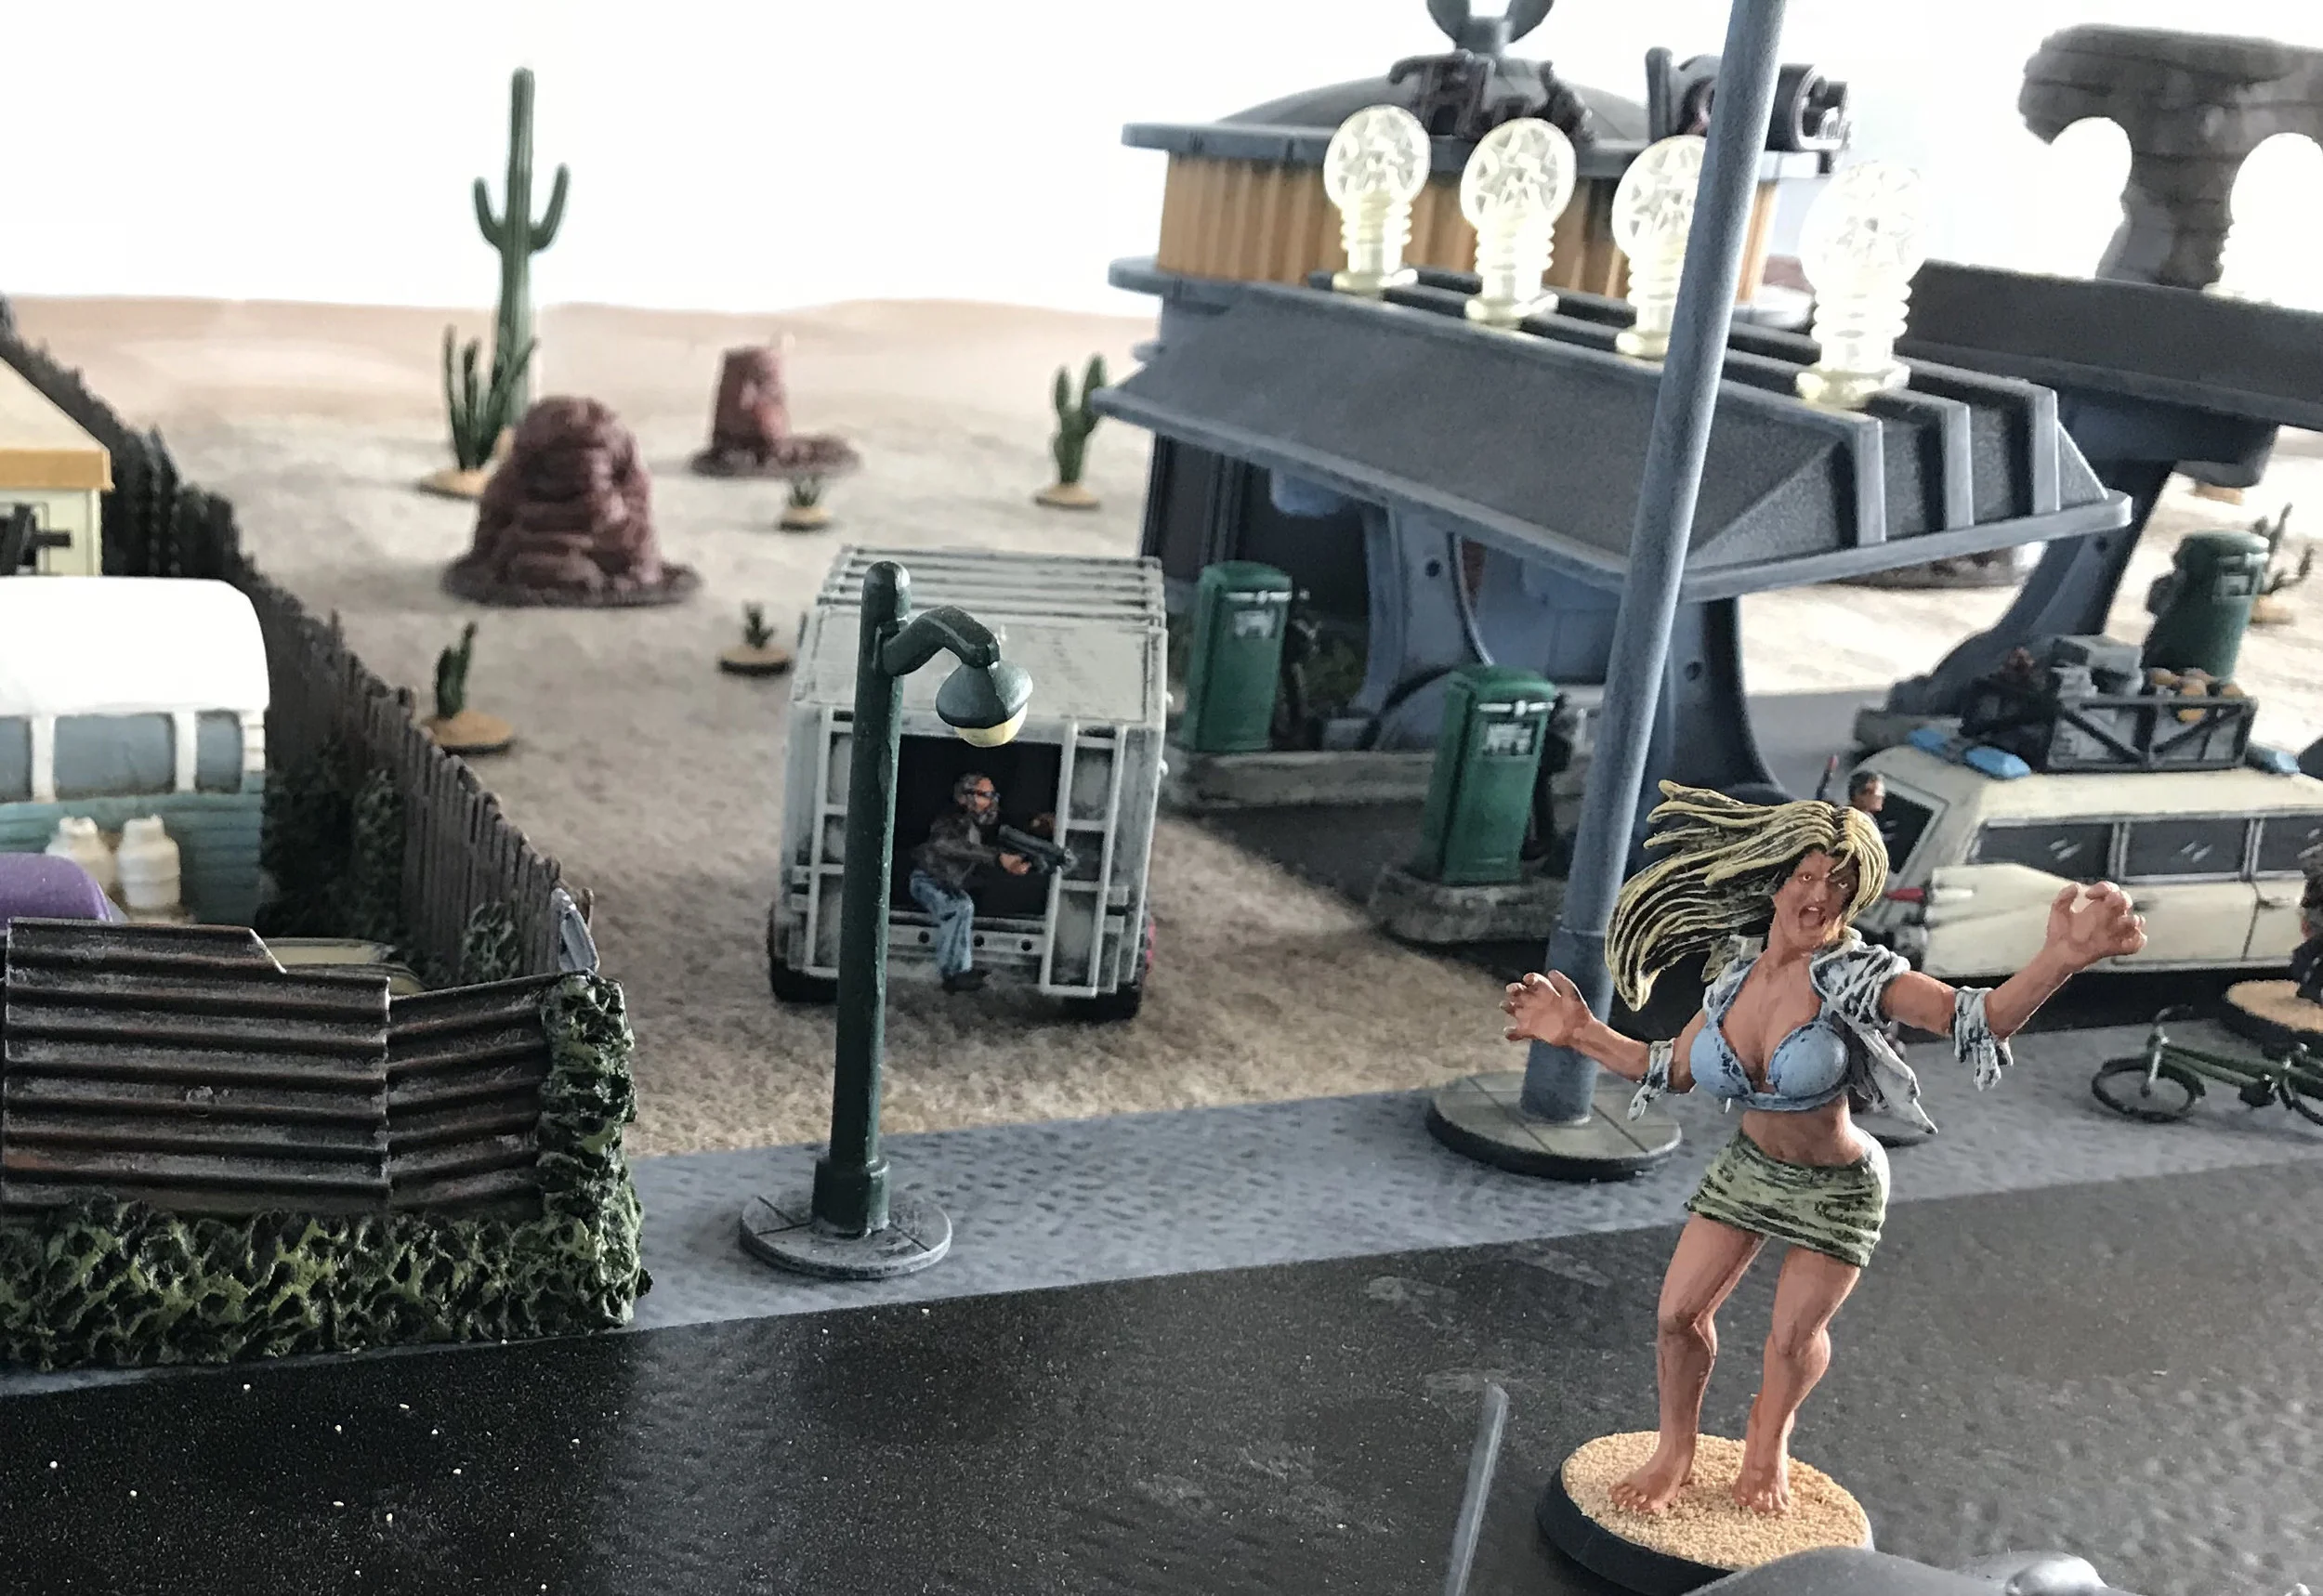
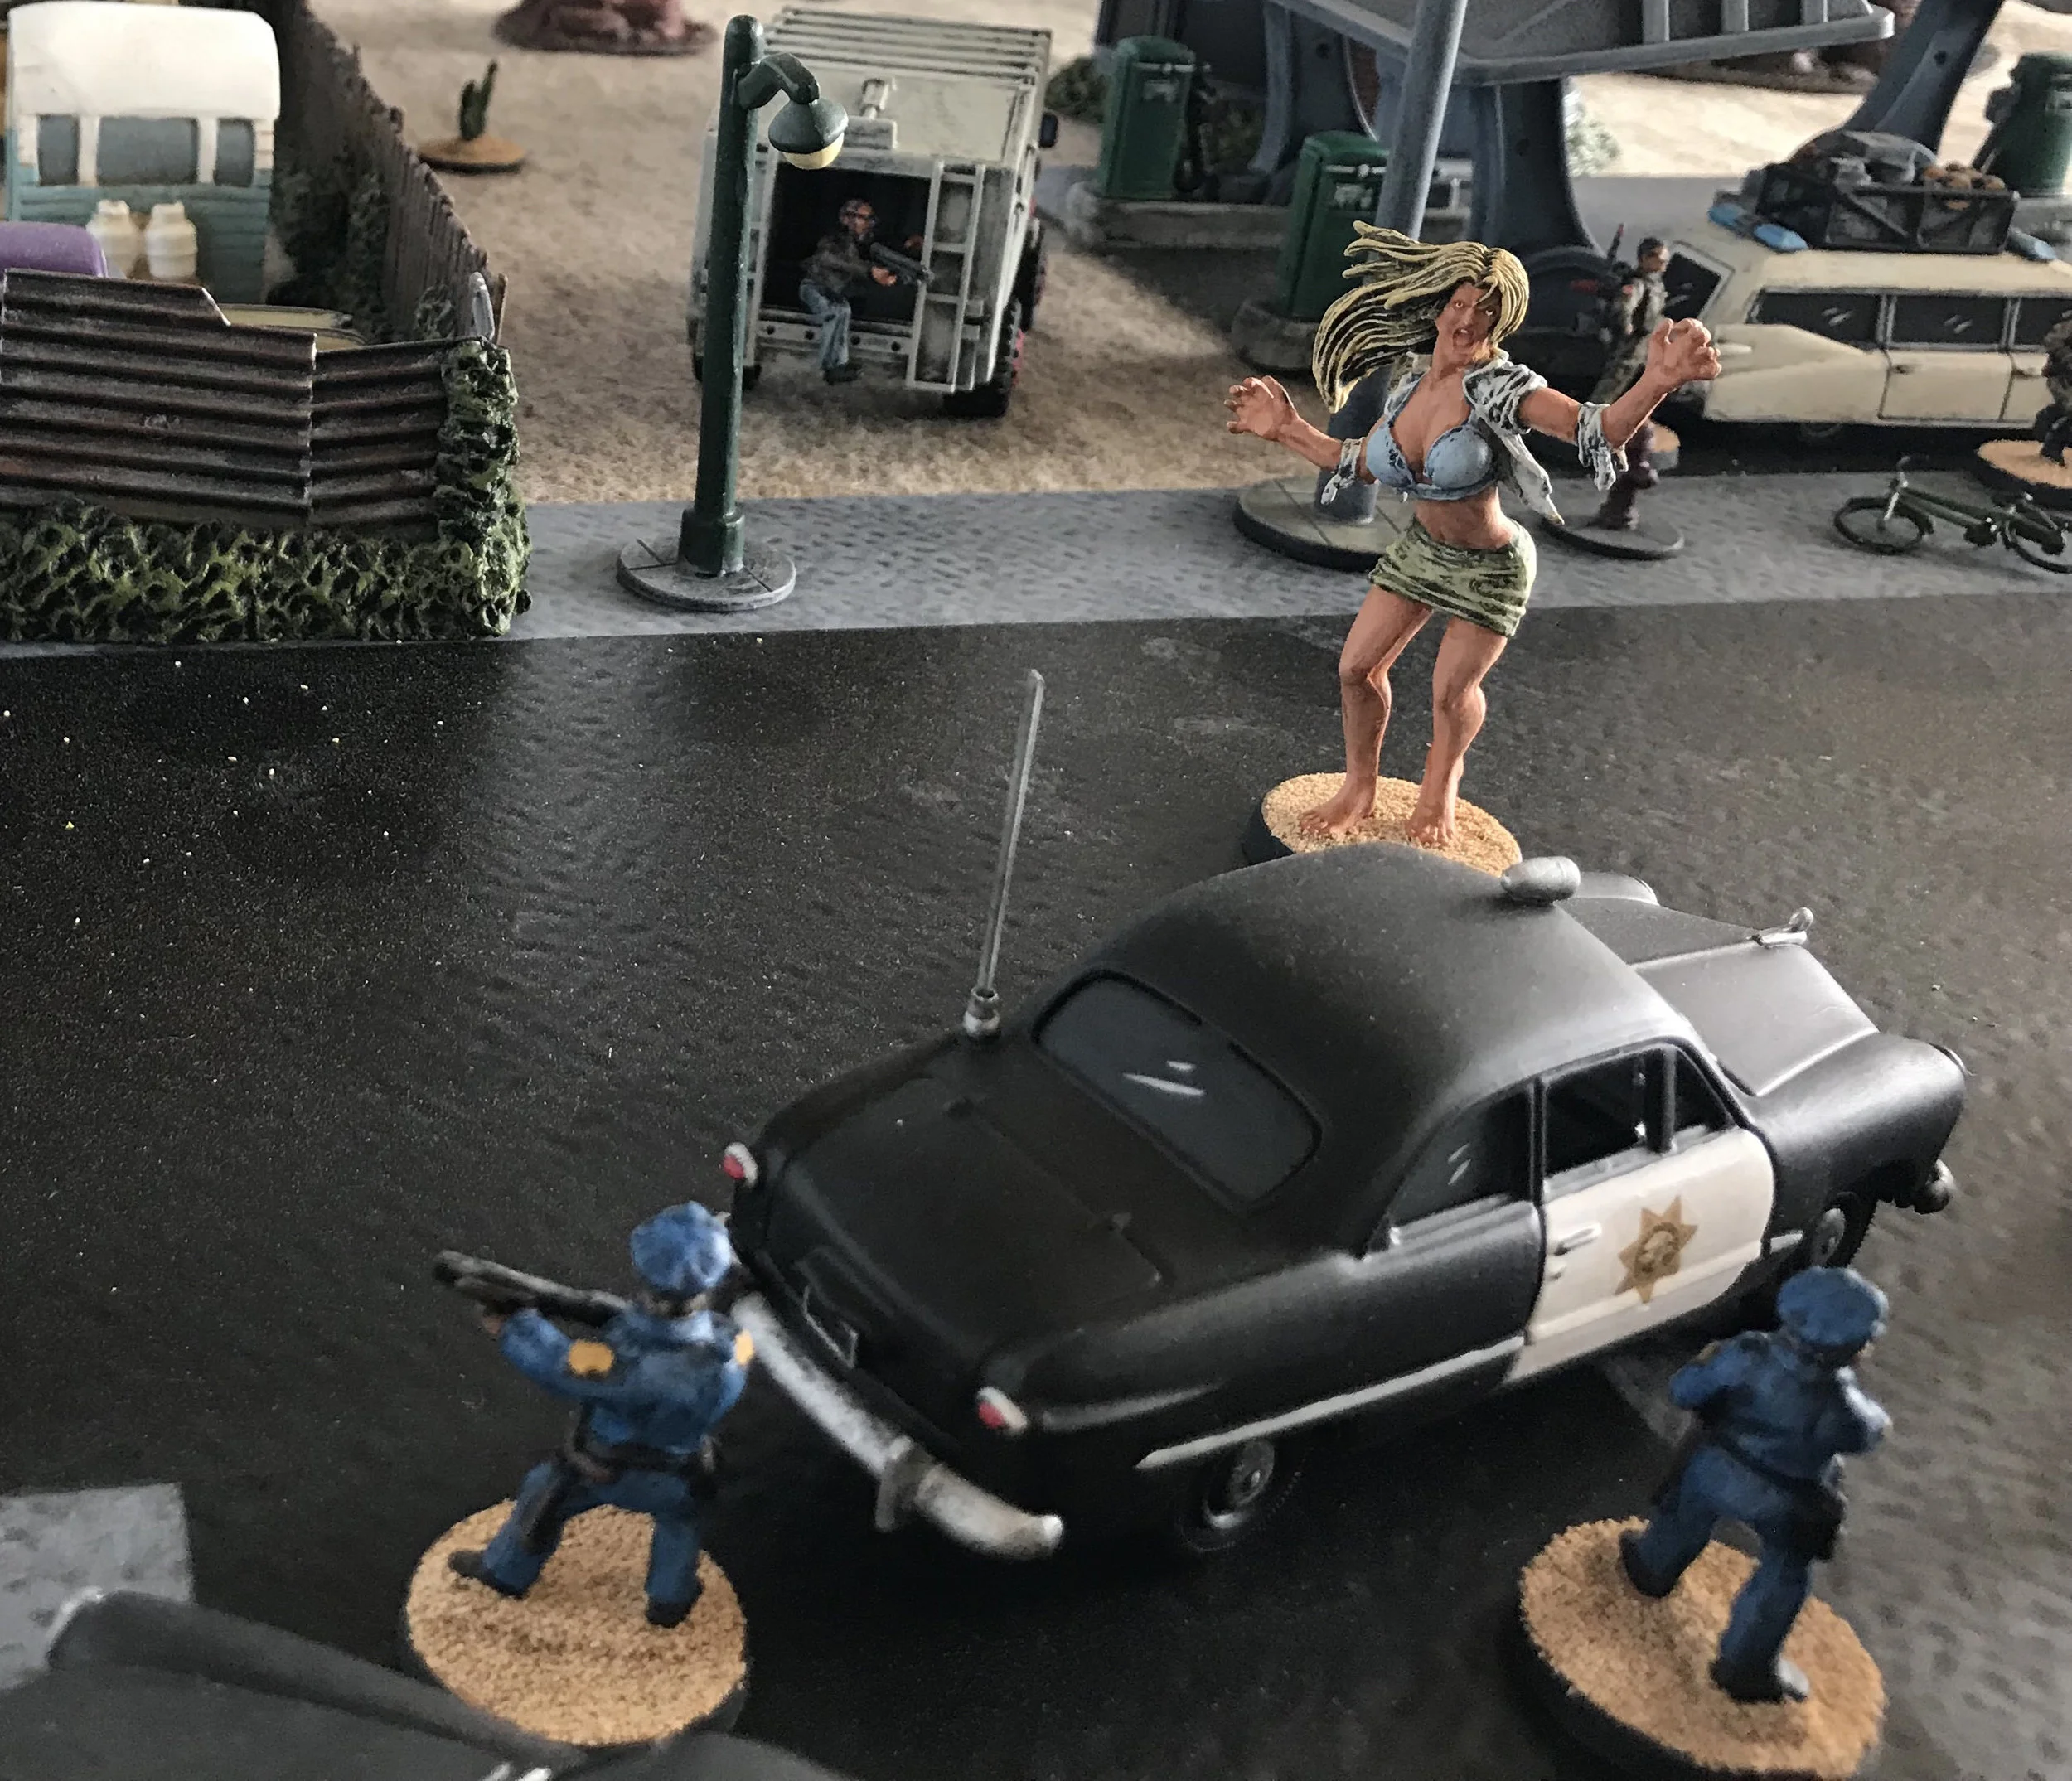
About a decade ago my attention was drawn to 28mm figures. Until that time I was a dedicated 15mm guy, but the Darkest Africa and Pirate figures of Foundry grabbed my attention, and I was hooked. That is not to say that 15s are not a big part of my miniatures’ world today, but that world is now divided into military (15mm) and Pulp/Adventure/Victorian Gothic (28mm). From Darkest Africa and Pirates, I was next drawn to the Gangster/Pulp figures of Bob Murch’s Pulp Figures and Mark Cobblestone’s Cobblestone Castings, and that is where the Gangster thing began, but 28mm figures offer so much opportunity for wonderful diversions that my Gangster thing ultimately became Gangsters “And Stuff” thus allowing me to add other marginally related figures with this collection. Those include my Gordon Institute for Archeology and Paranormal Study, Batman (a stretch of the time period but Batman was with us in the very late 30’s and 40’s and, after all, this is just for fun), and my Ghostbusters… why not? After all, you can’t tell me that if you take ghosts seriously you can’t have Ghostbusters in the gangster era… sure you can or at least I can.
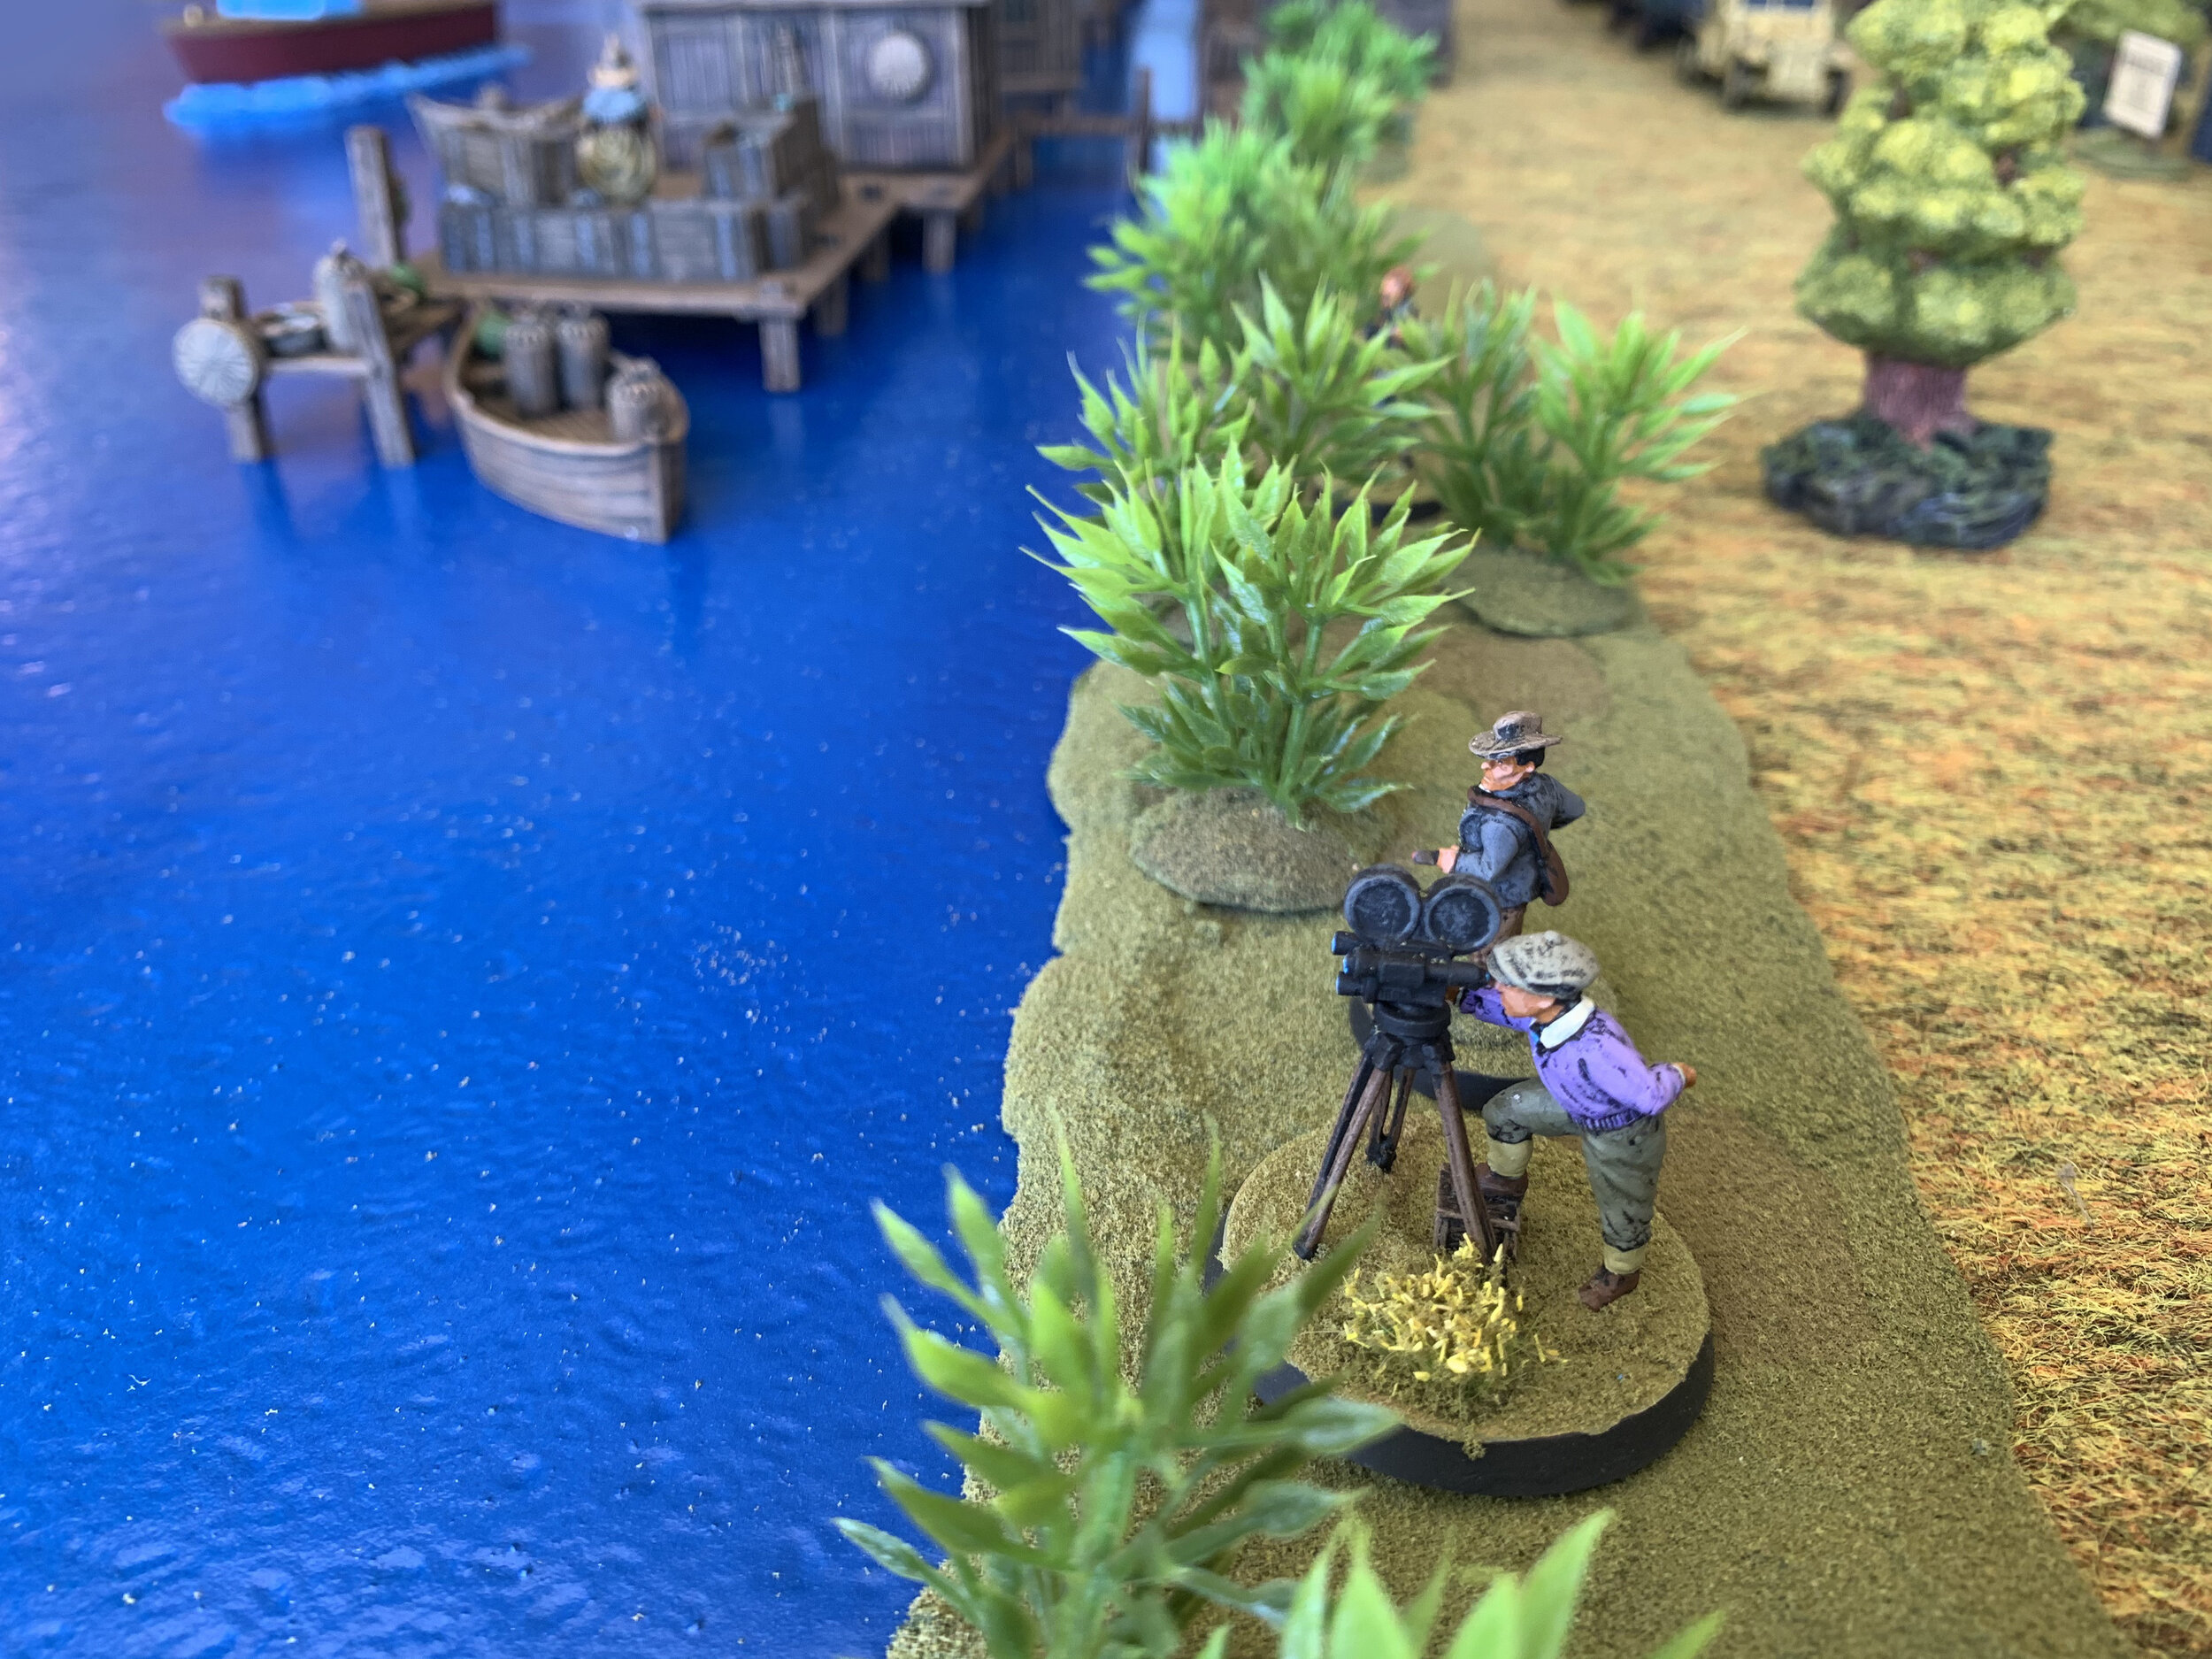
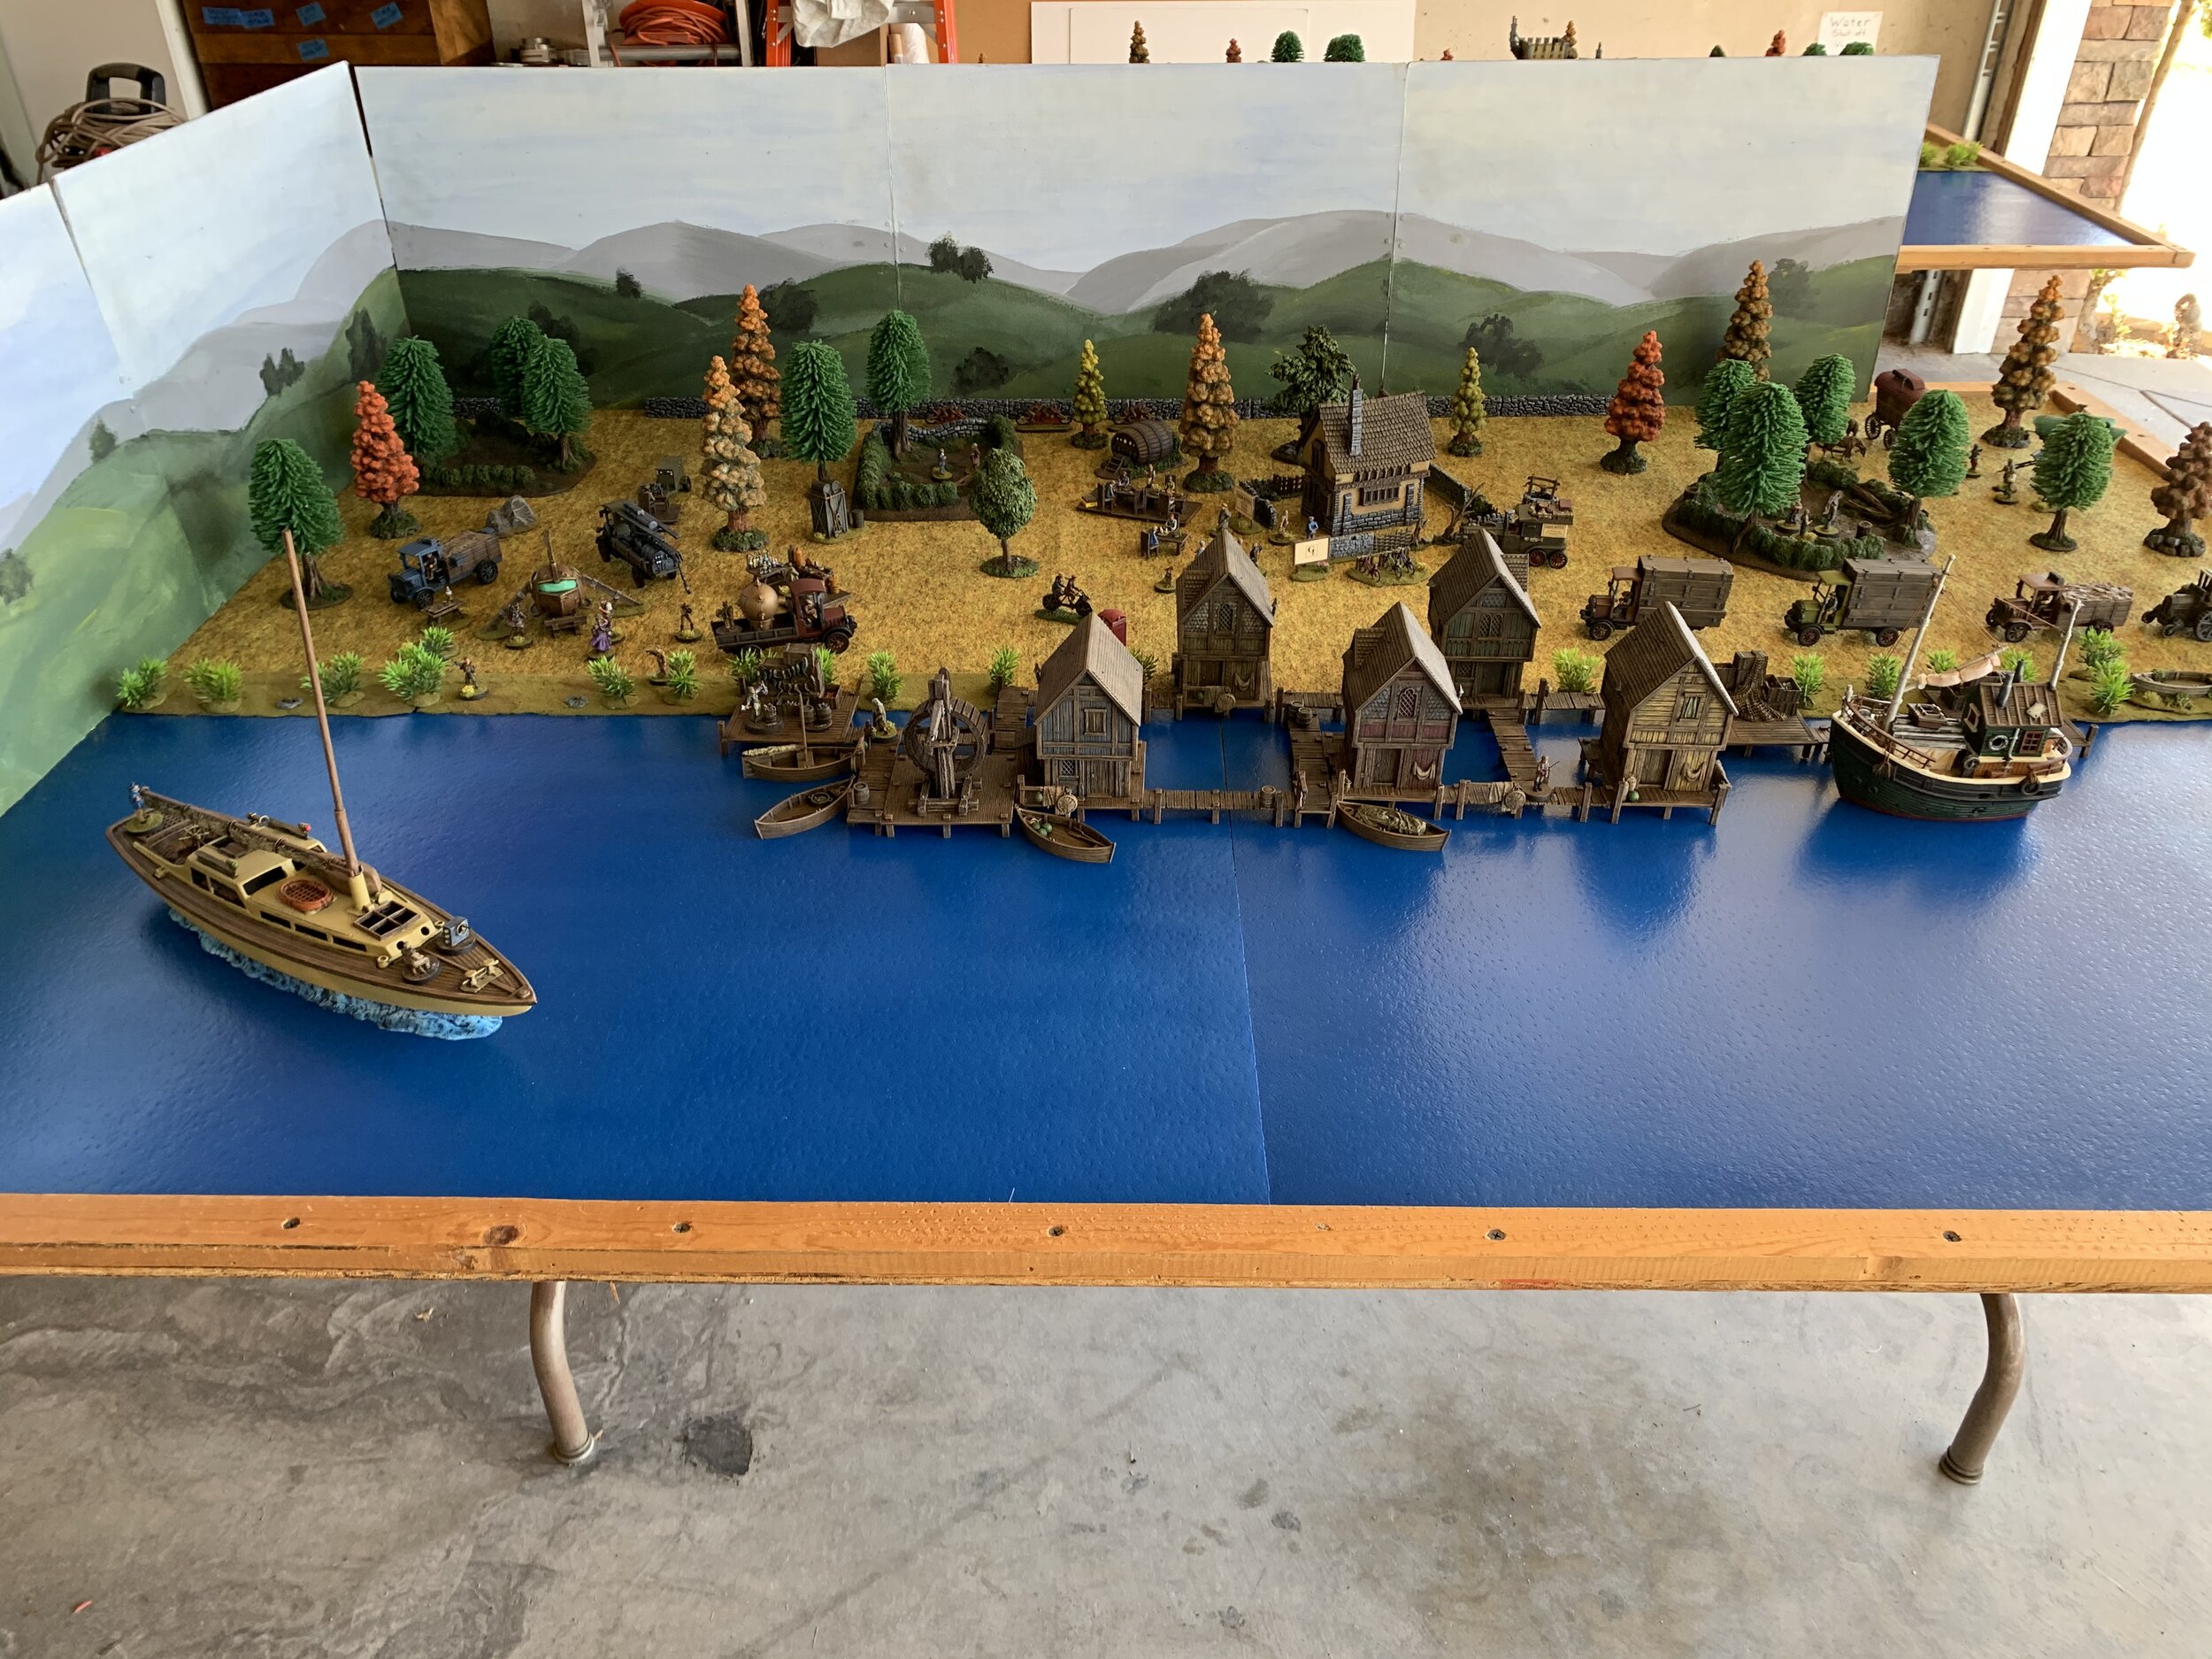
In terms of area used for the display of this gallery, this was one of my largest. I am using two 5 ft. x 7 ft. tables, and the photography required two days for picture taking. On the first day one of the two tables represented my gangster city and the second table represented my harbor area. On the second day the tables were used to display the campus of the Gordon Institute for Archeology and Paranormal Study, the Batman Cave and Wayne Manor, the city sewer system and a number of room interiors. The city buildings (more than 35), streets, vehicles (more than 80 painted cars and trucks), a trolley, vessels (a freighter, tugs, a fishing boat and speedboats), a park, a cemetery, a huge dock area, 3 warehouses, a dock crane, a fish cannery, and more than 650 figures for the collection were completed on the last day of October 2016… pretty close to one year after work began.
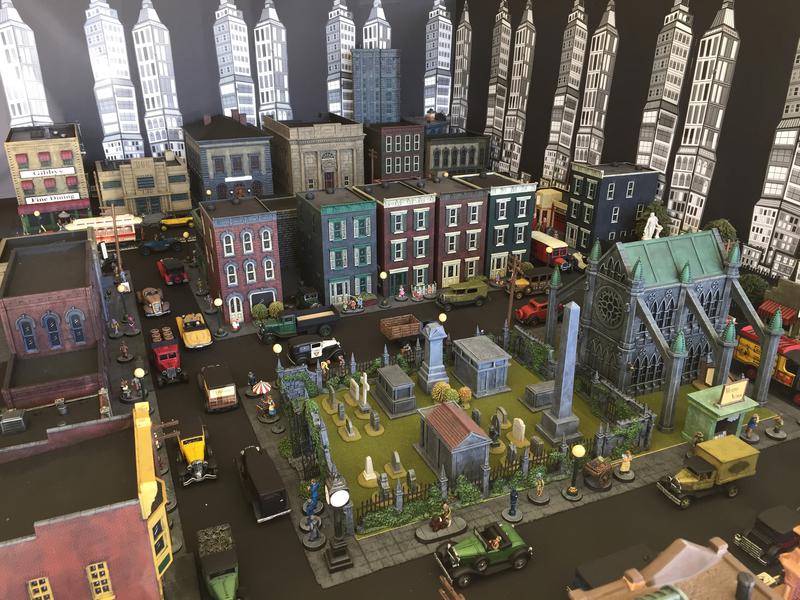
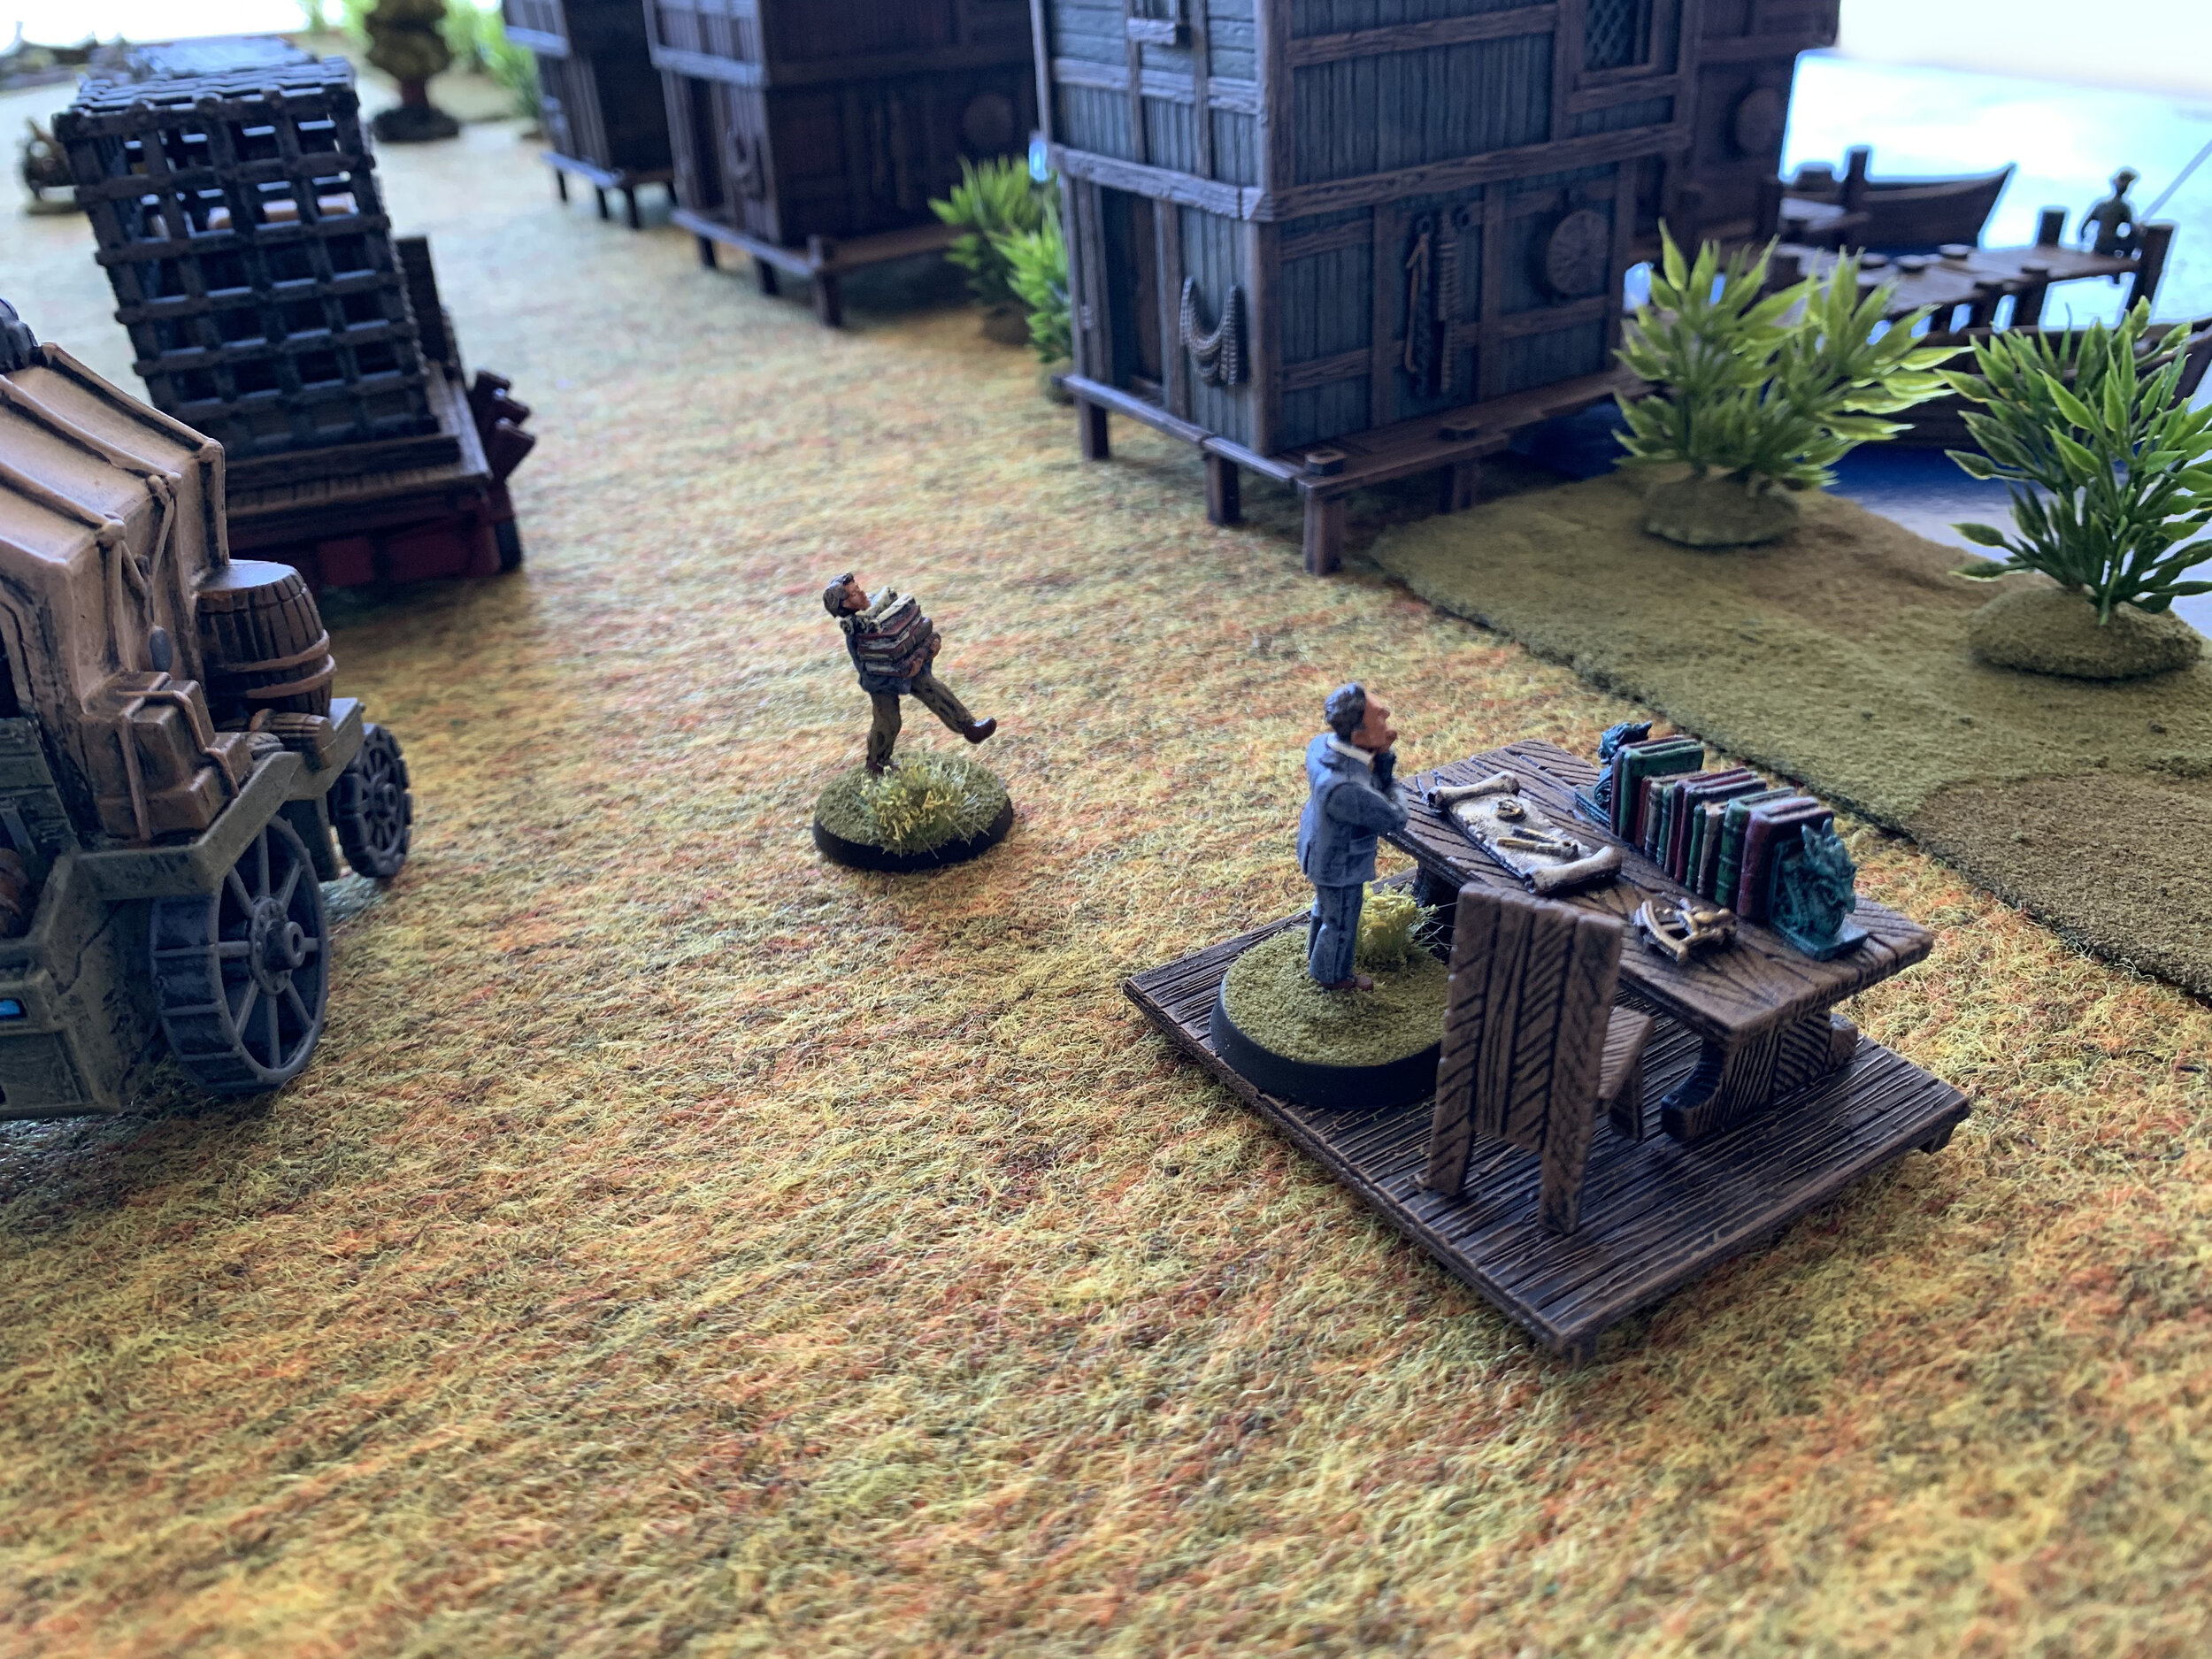
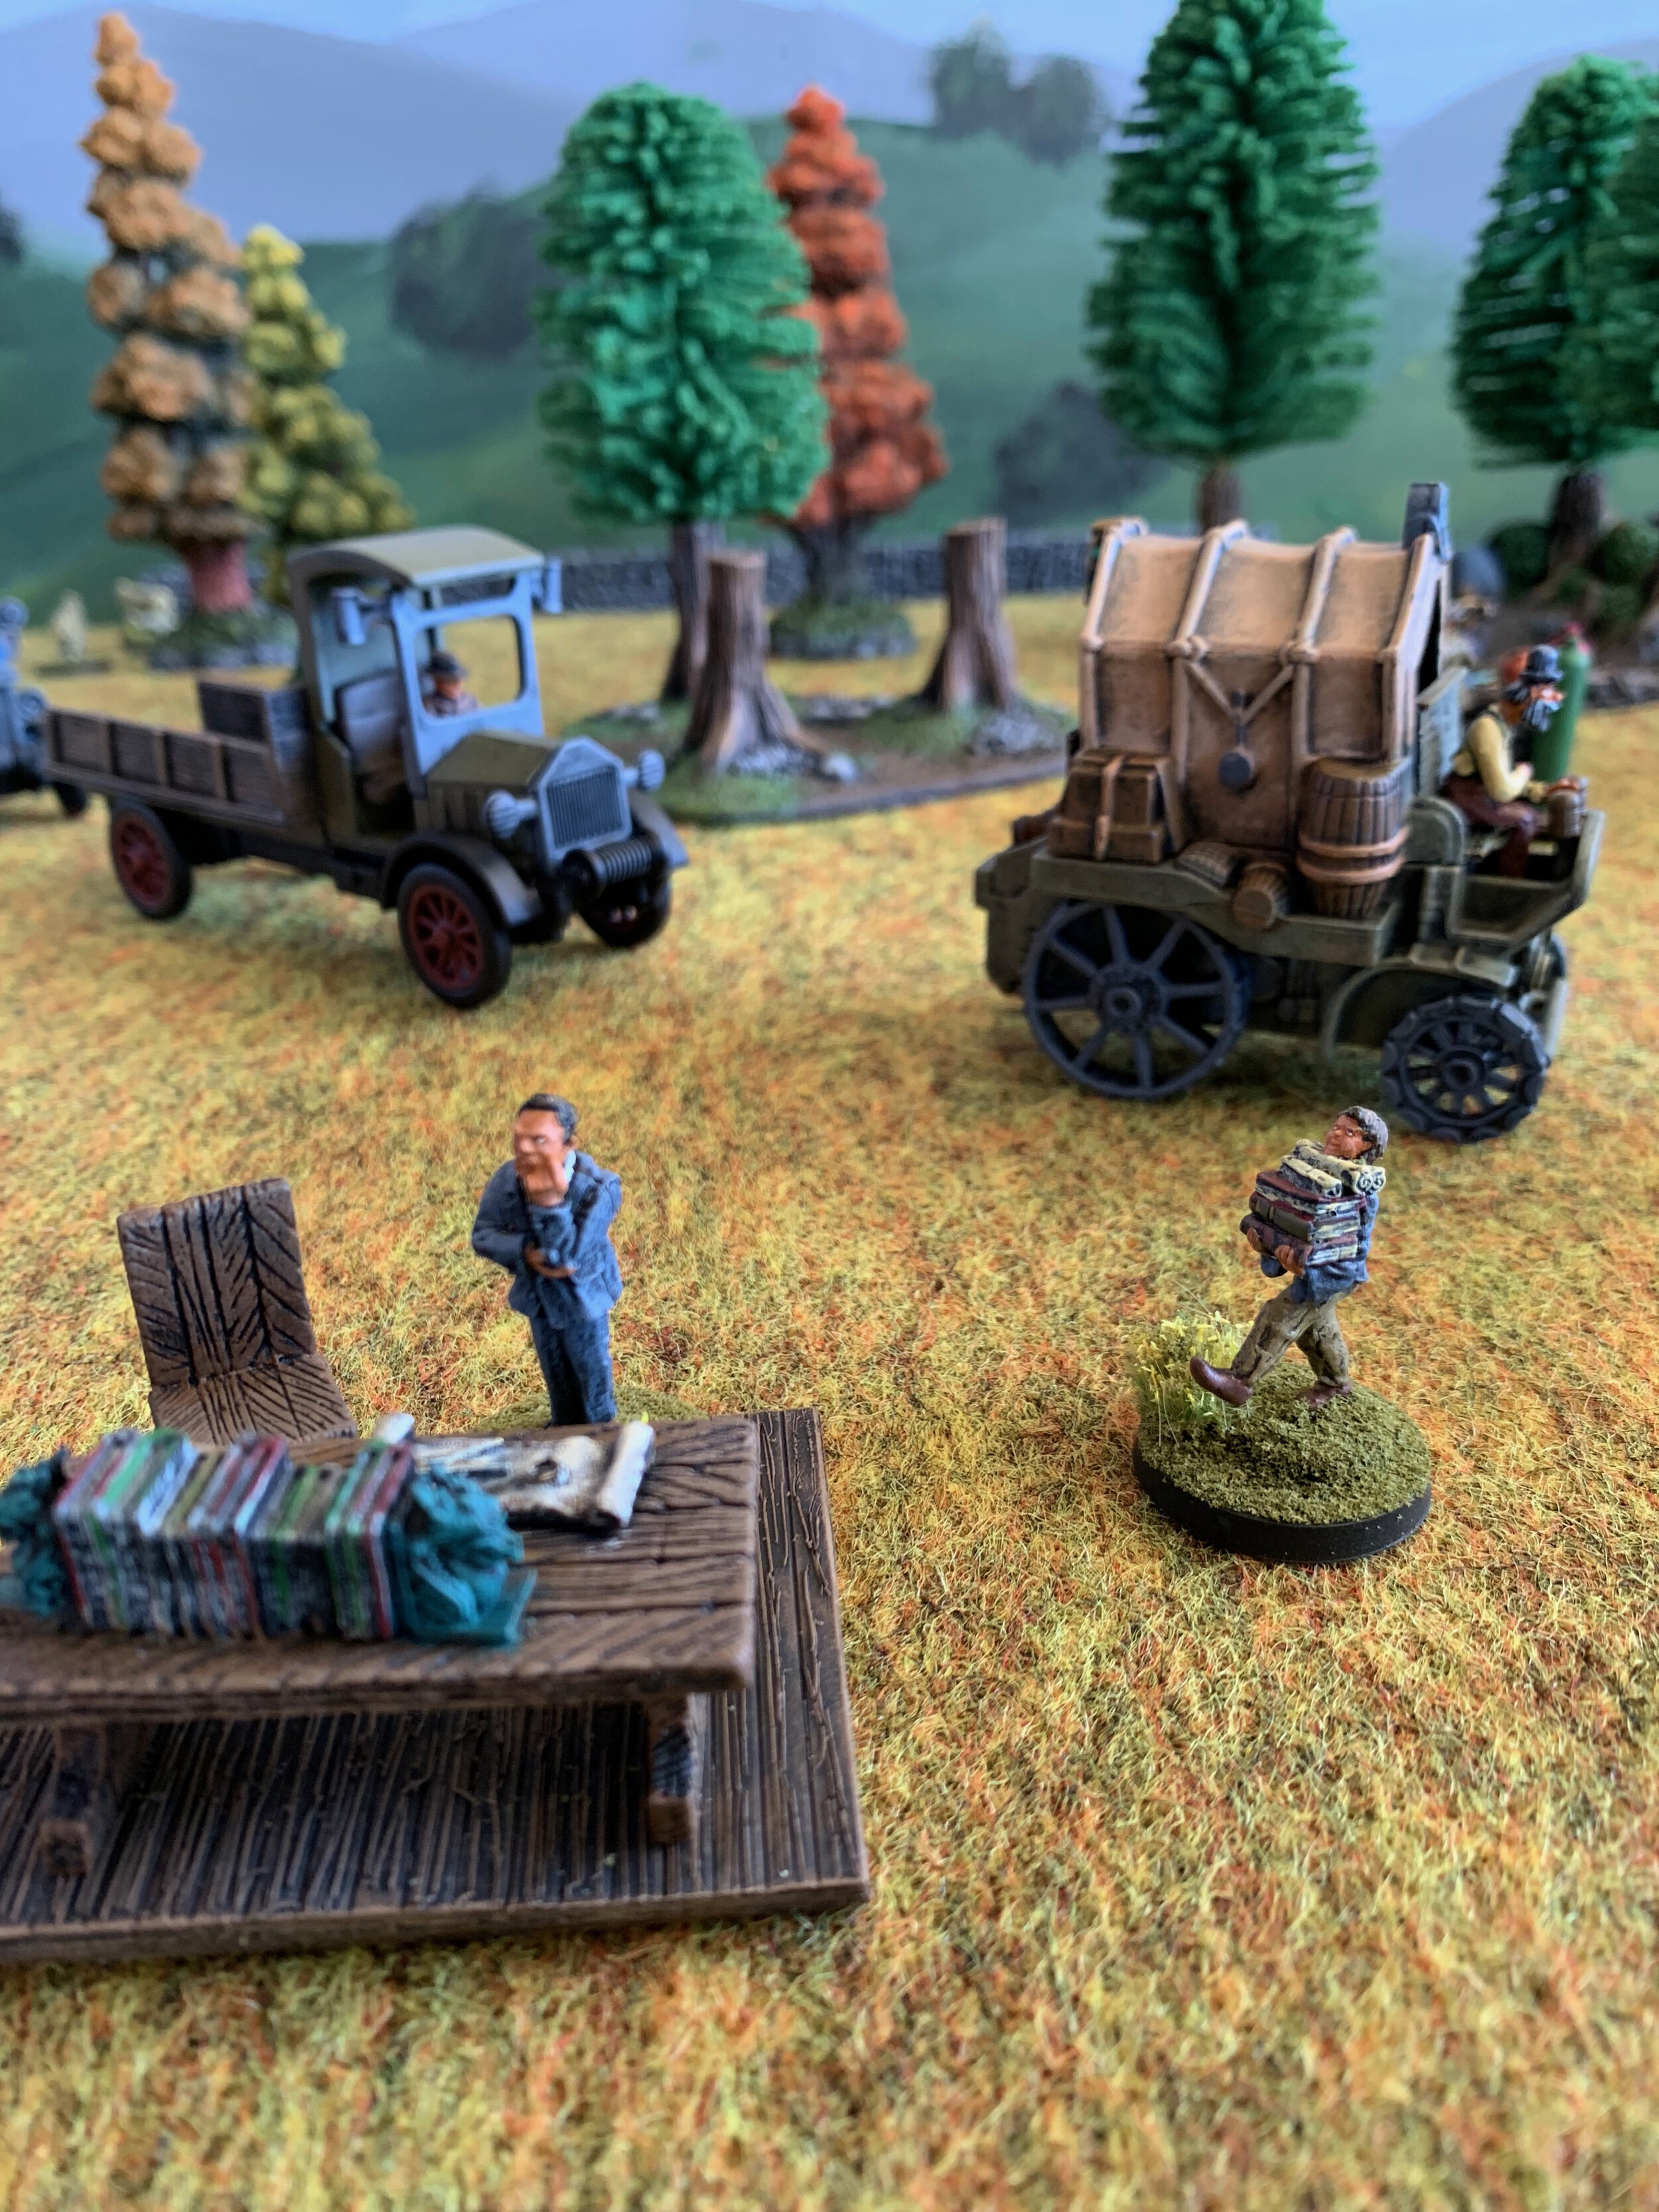
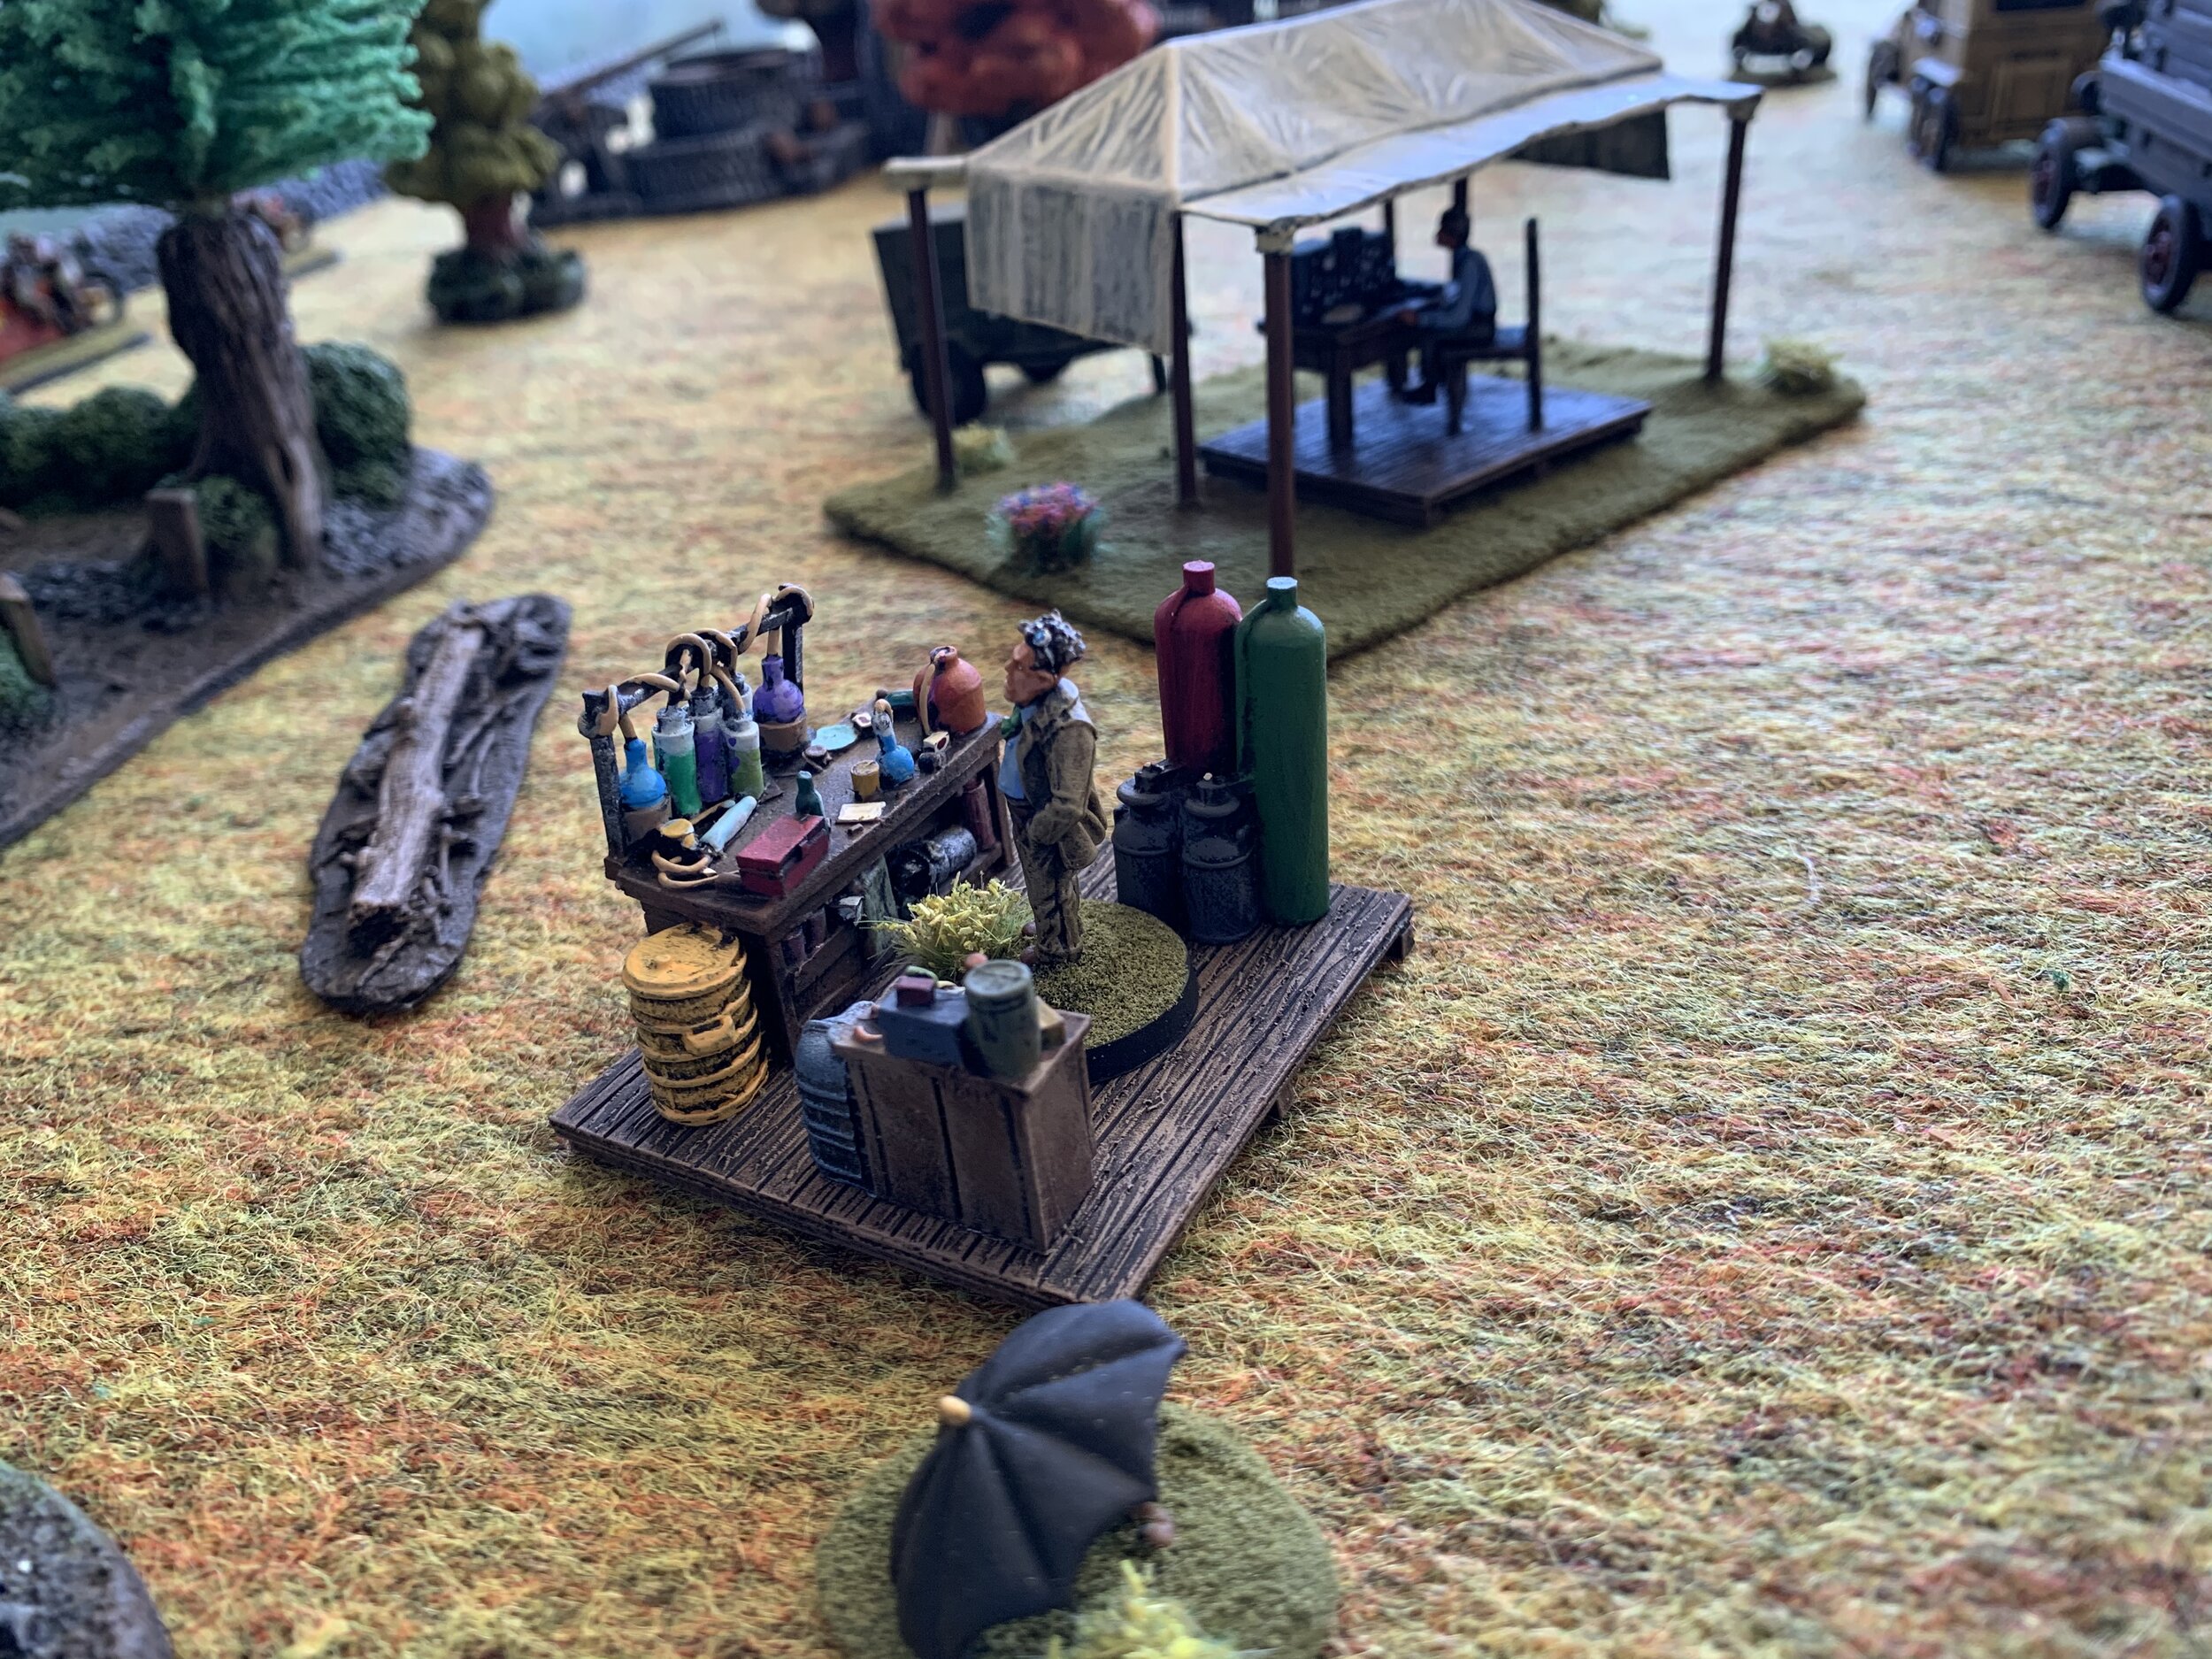
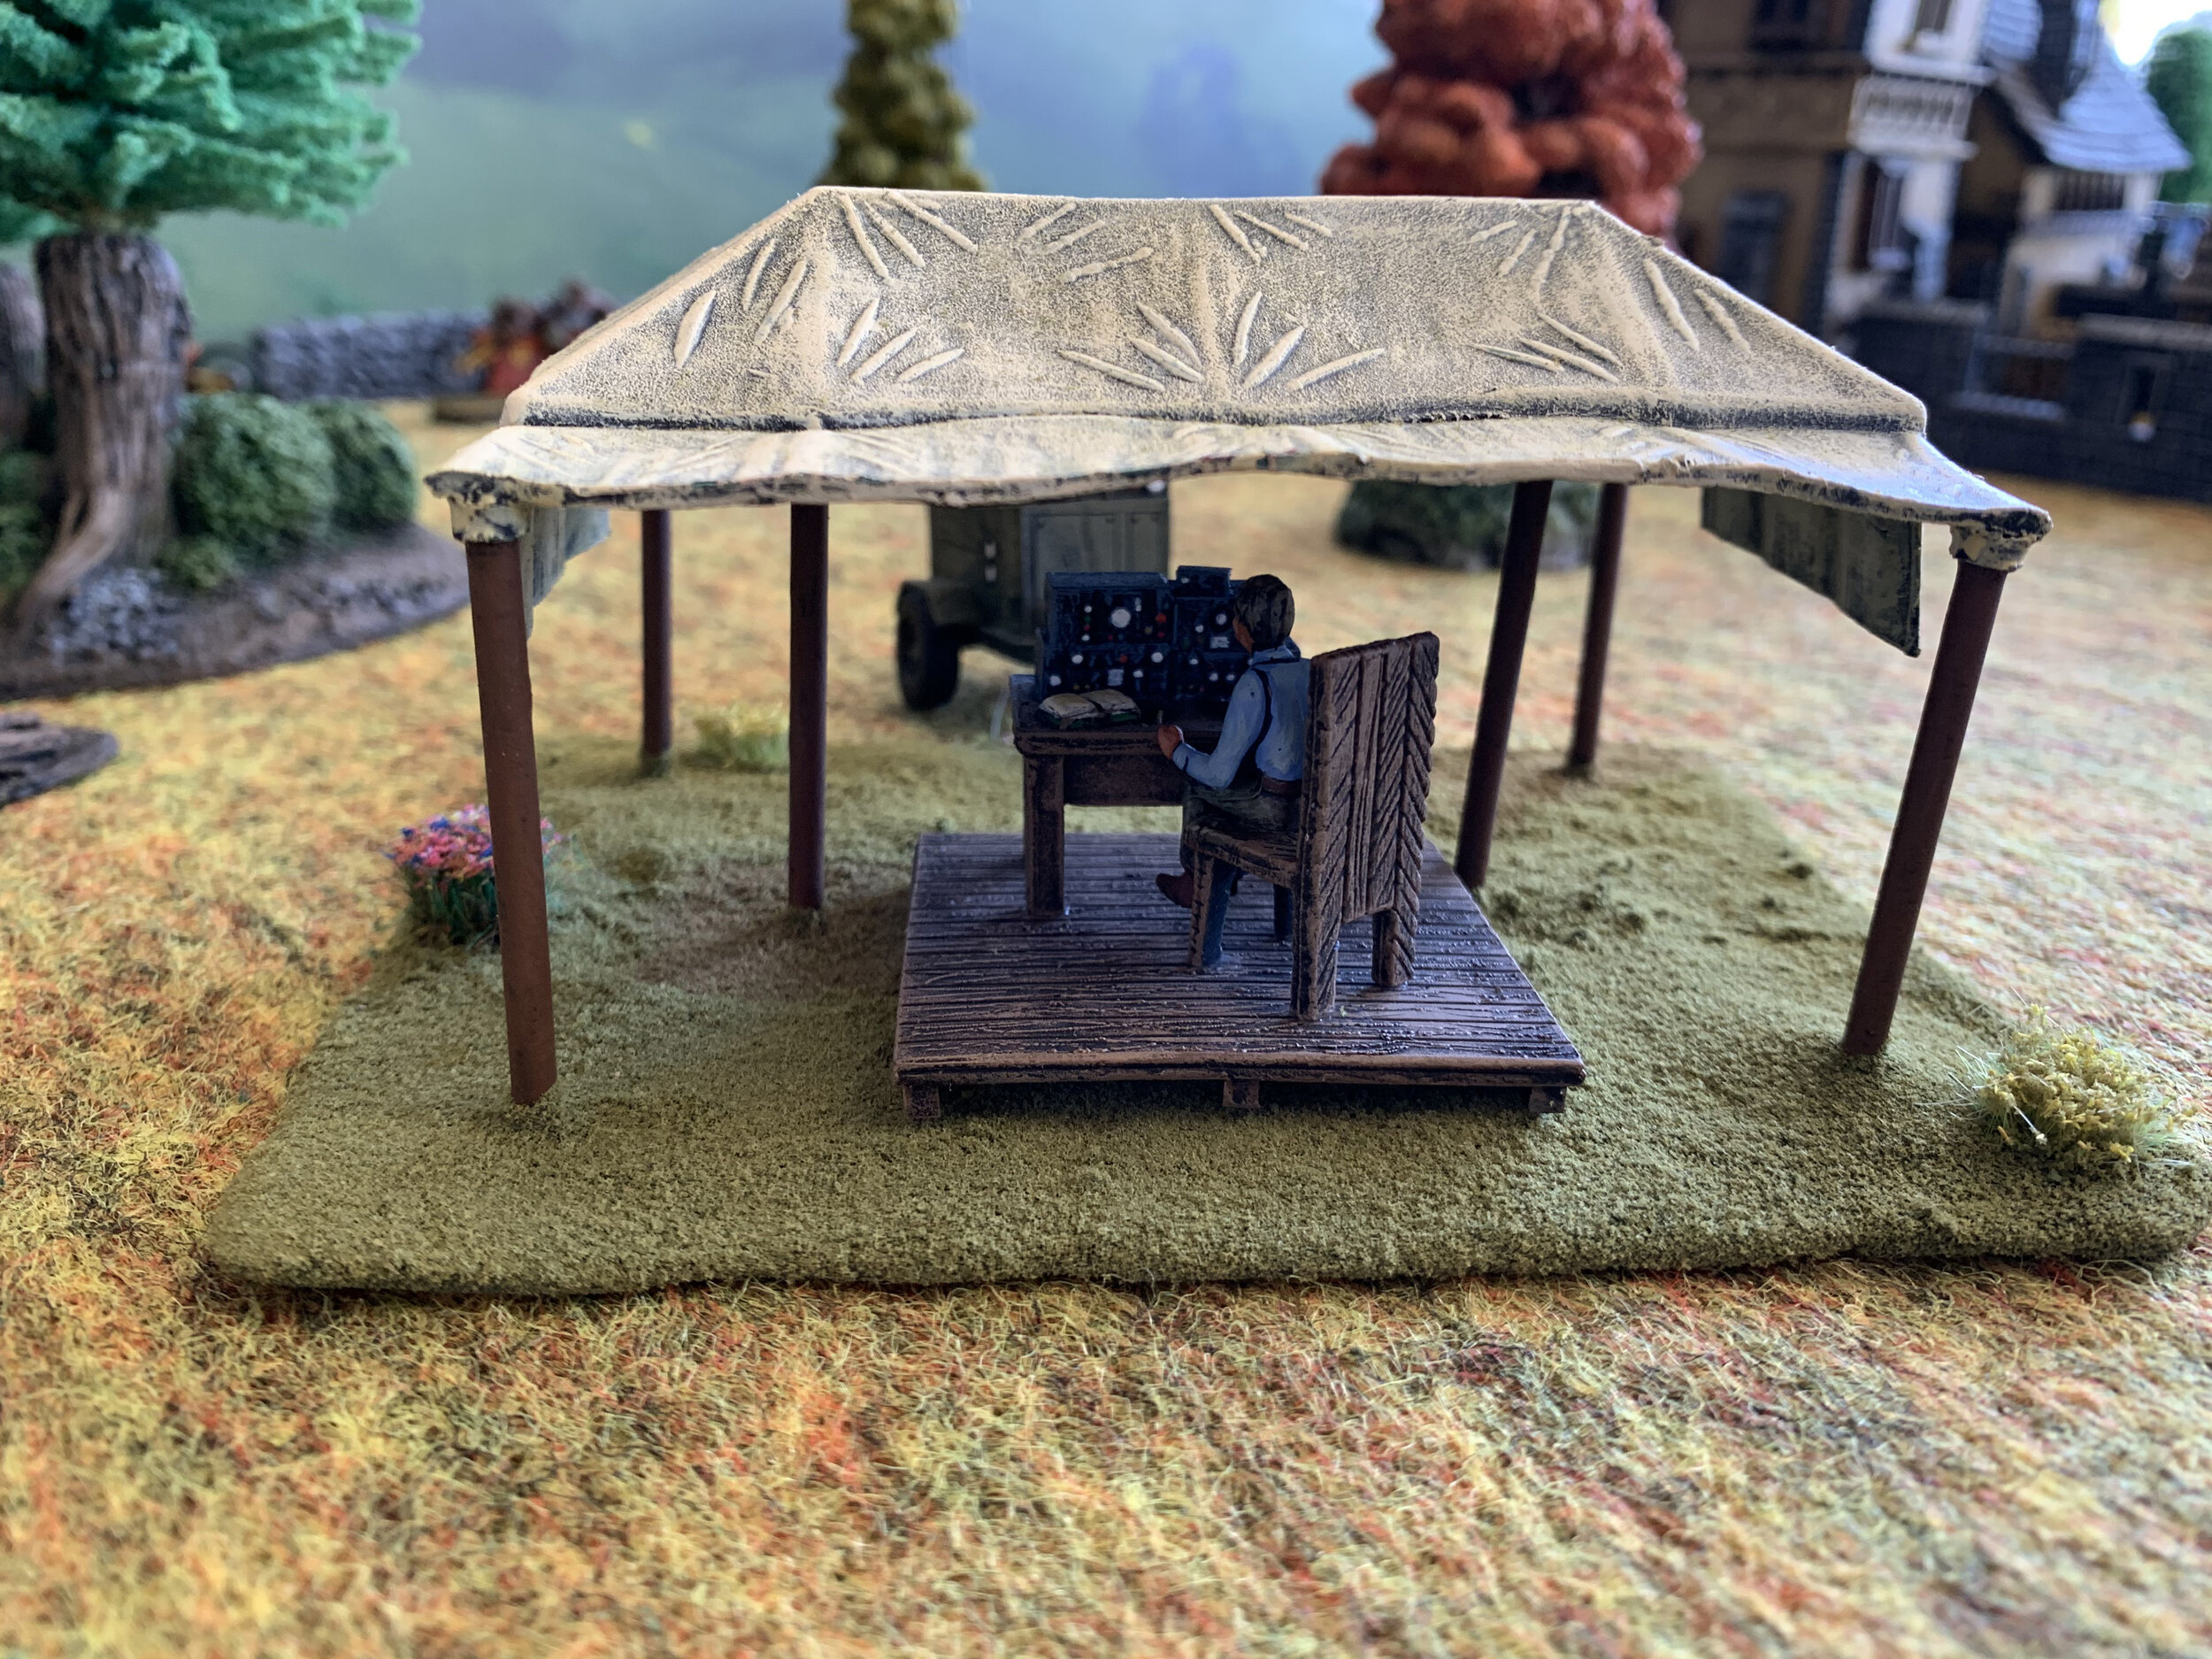
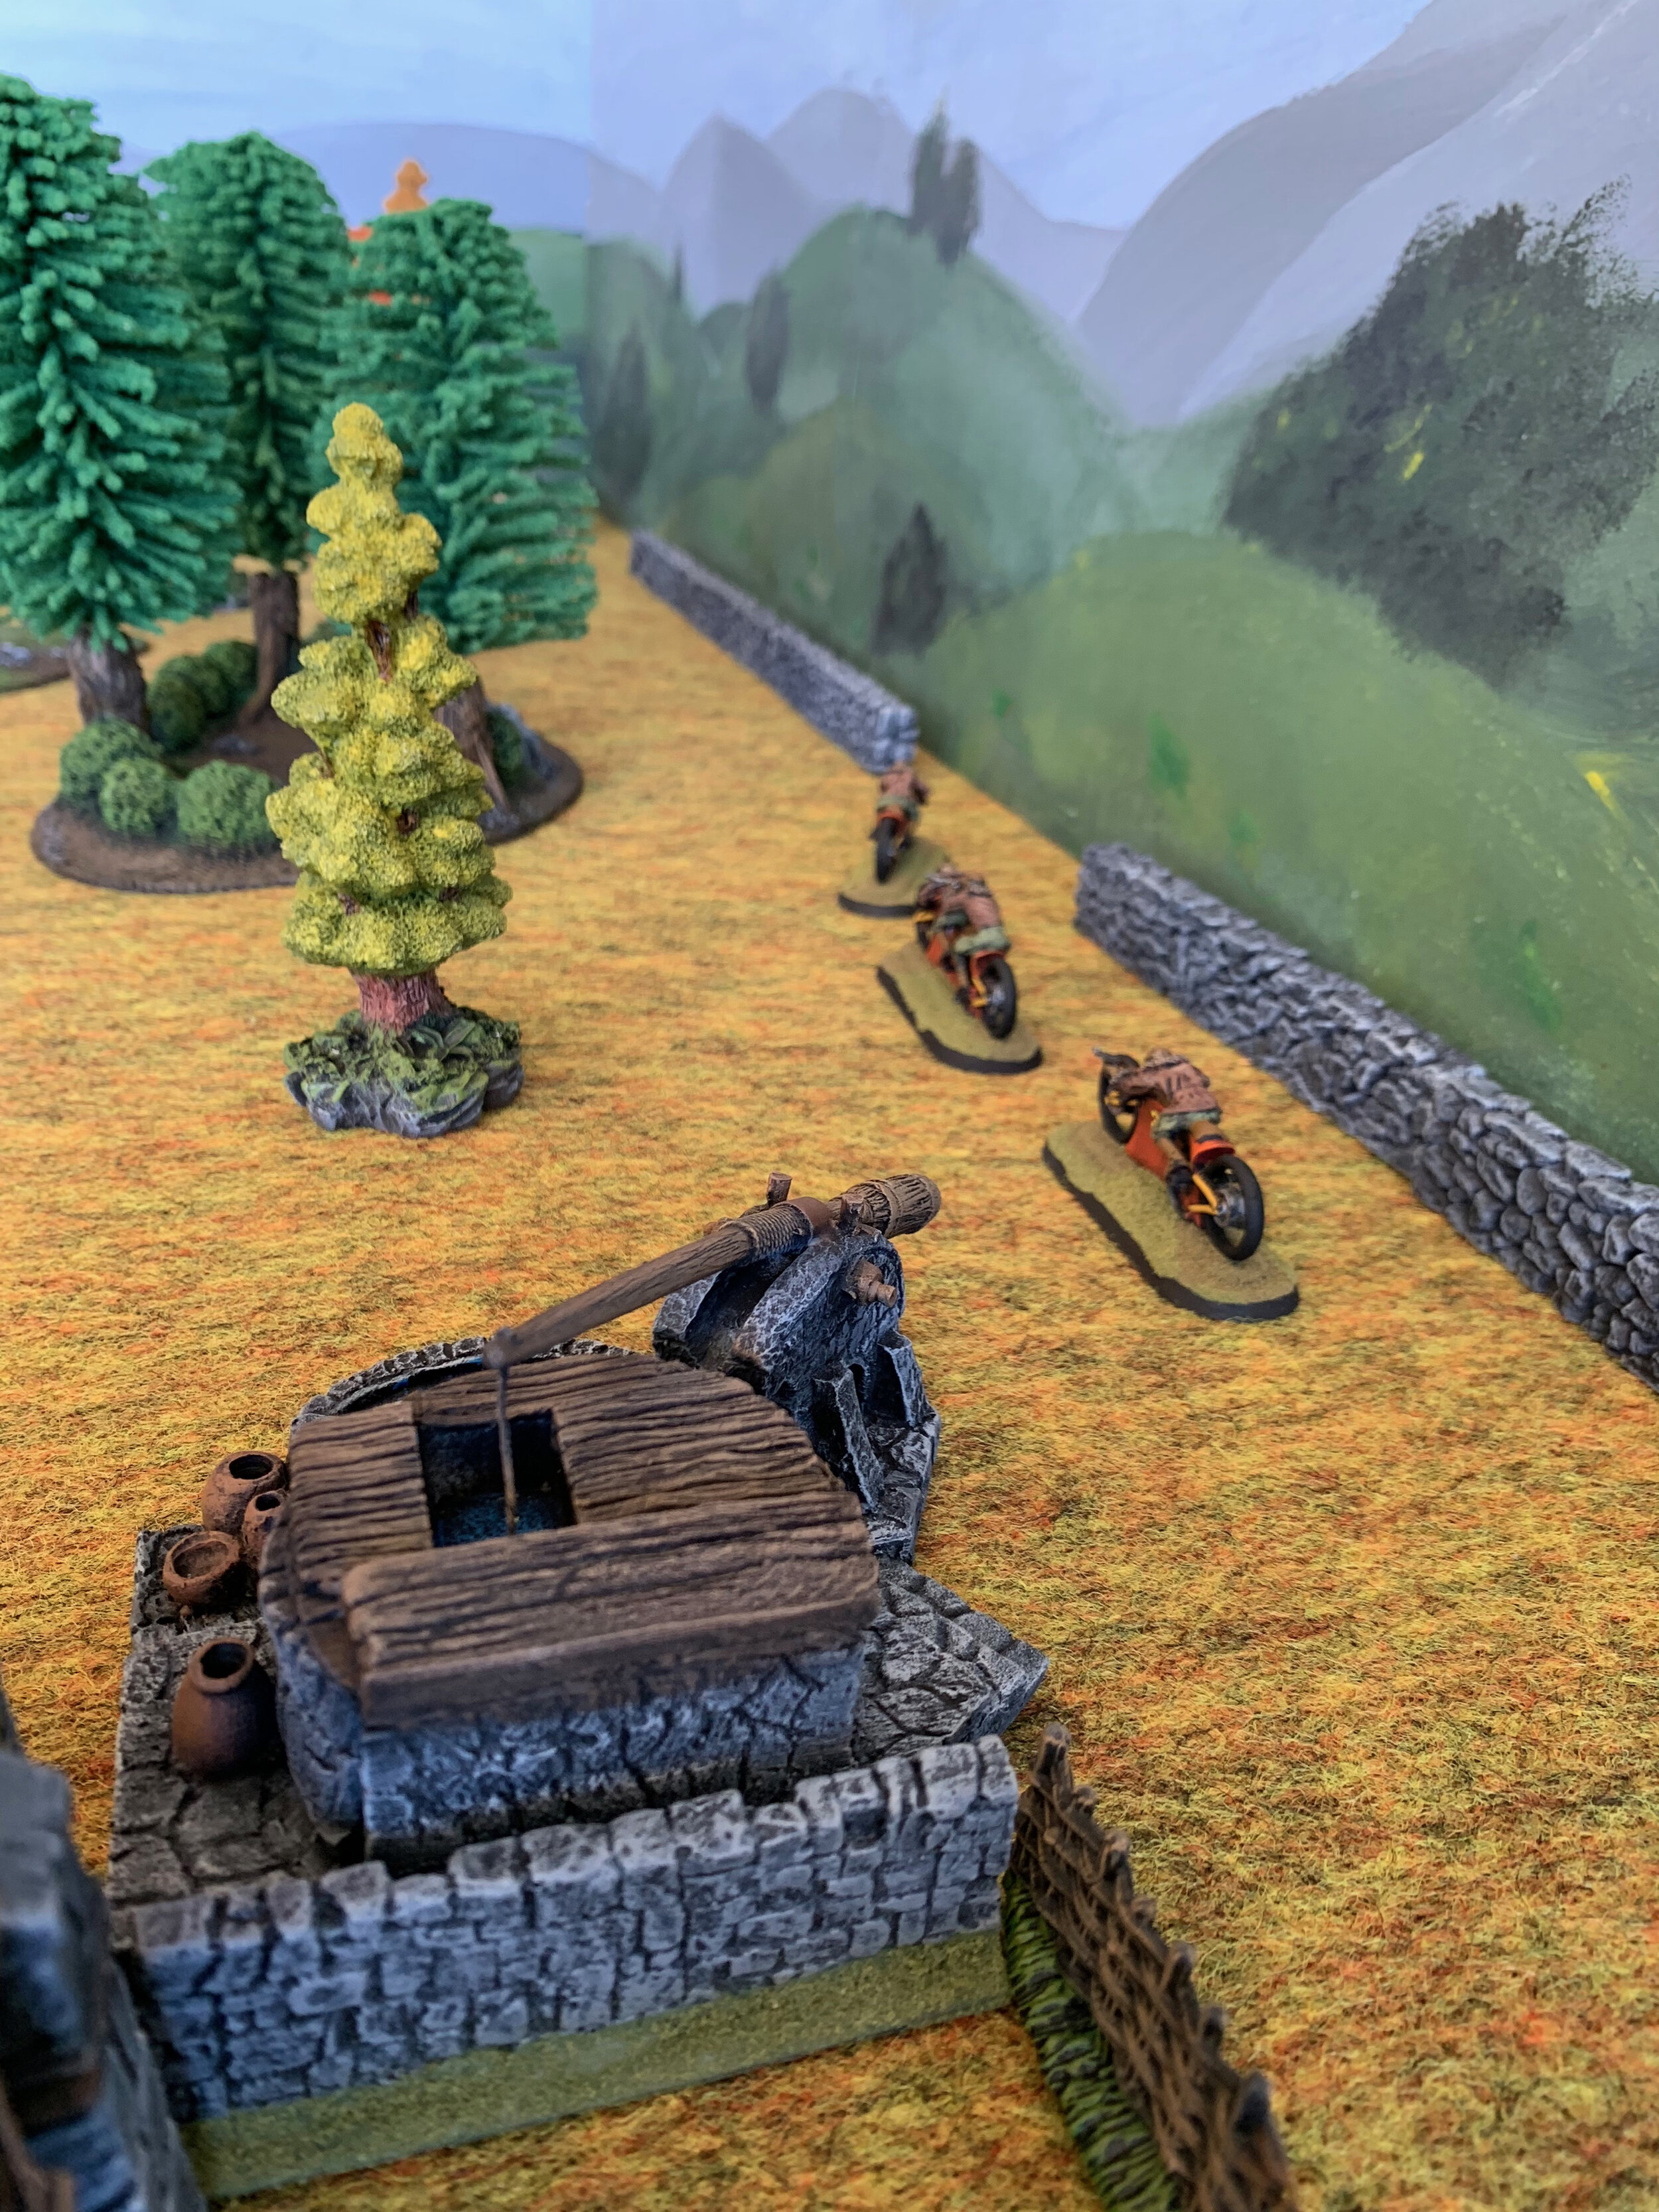
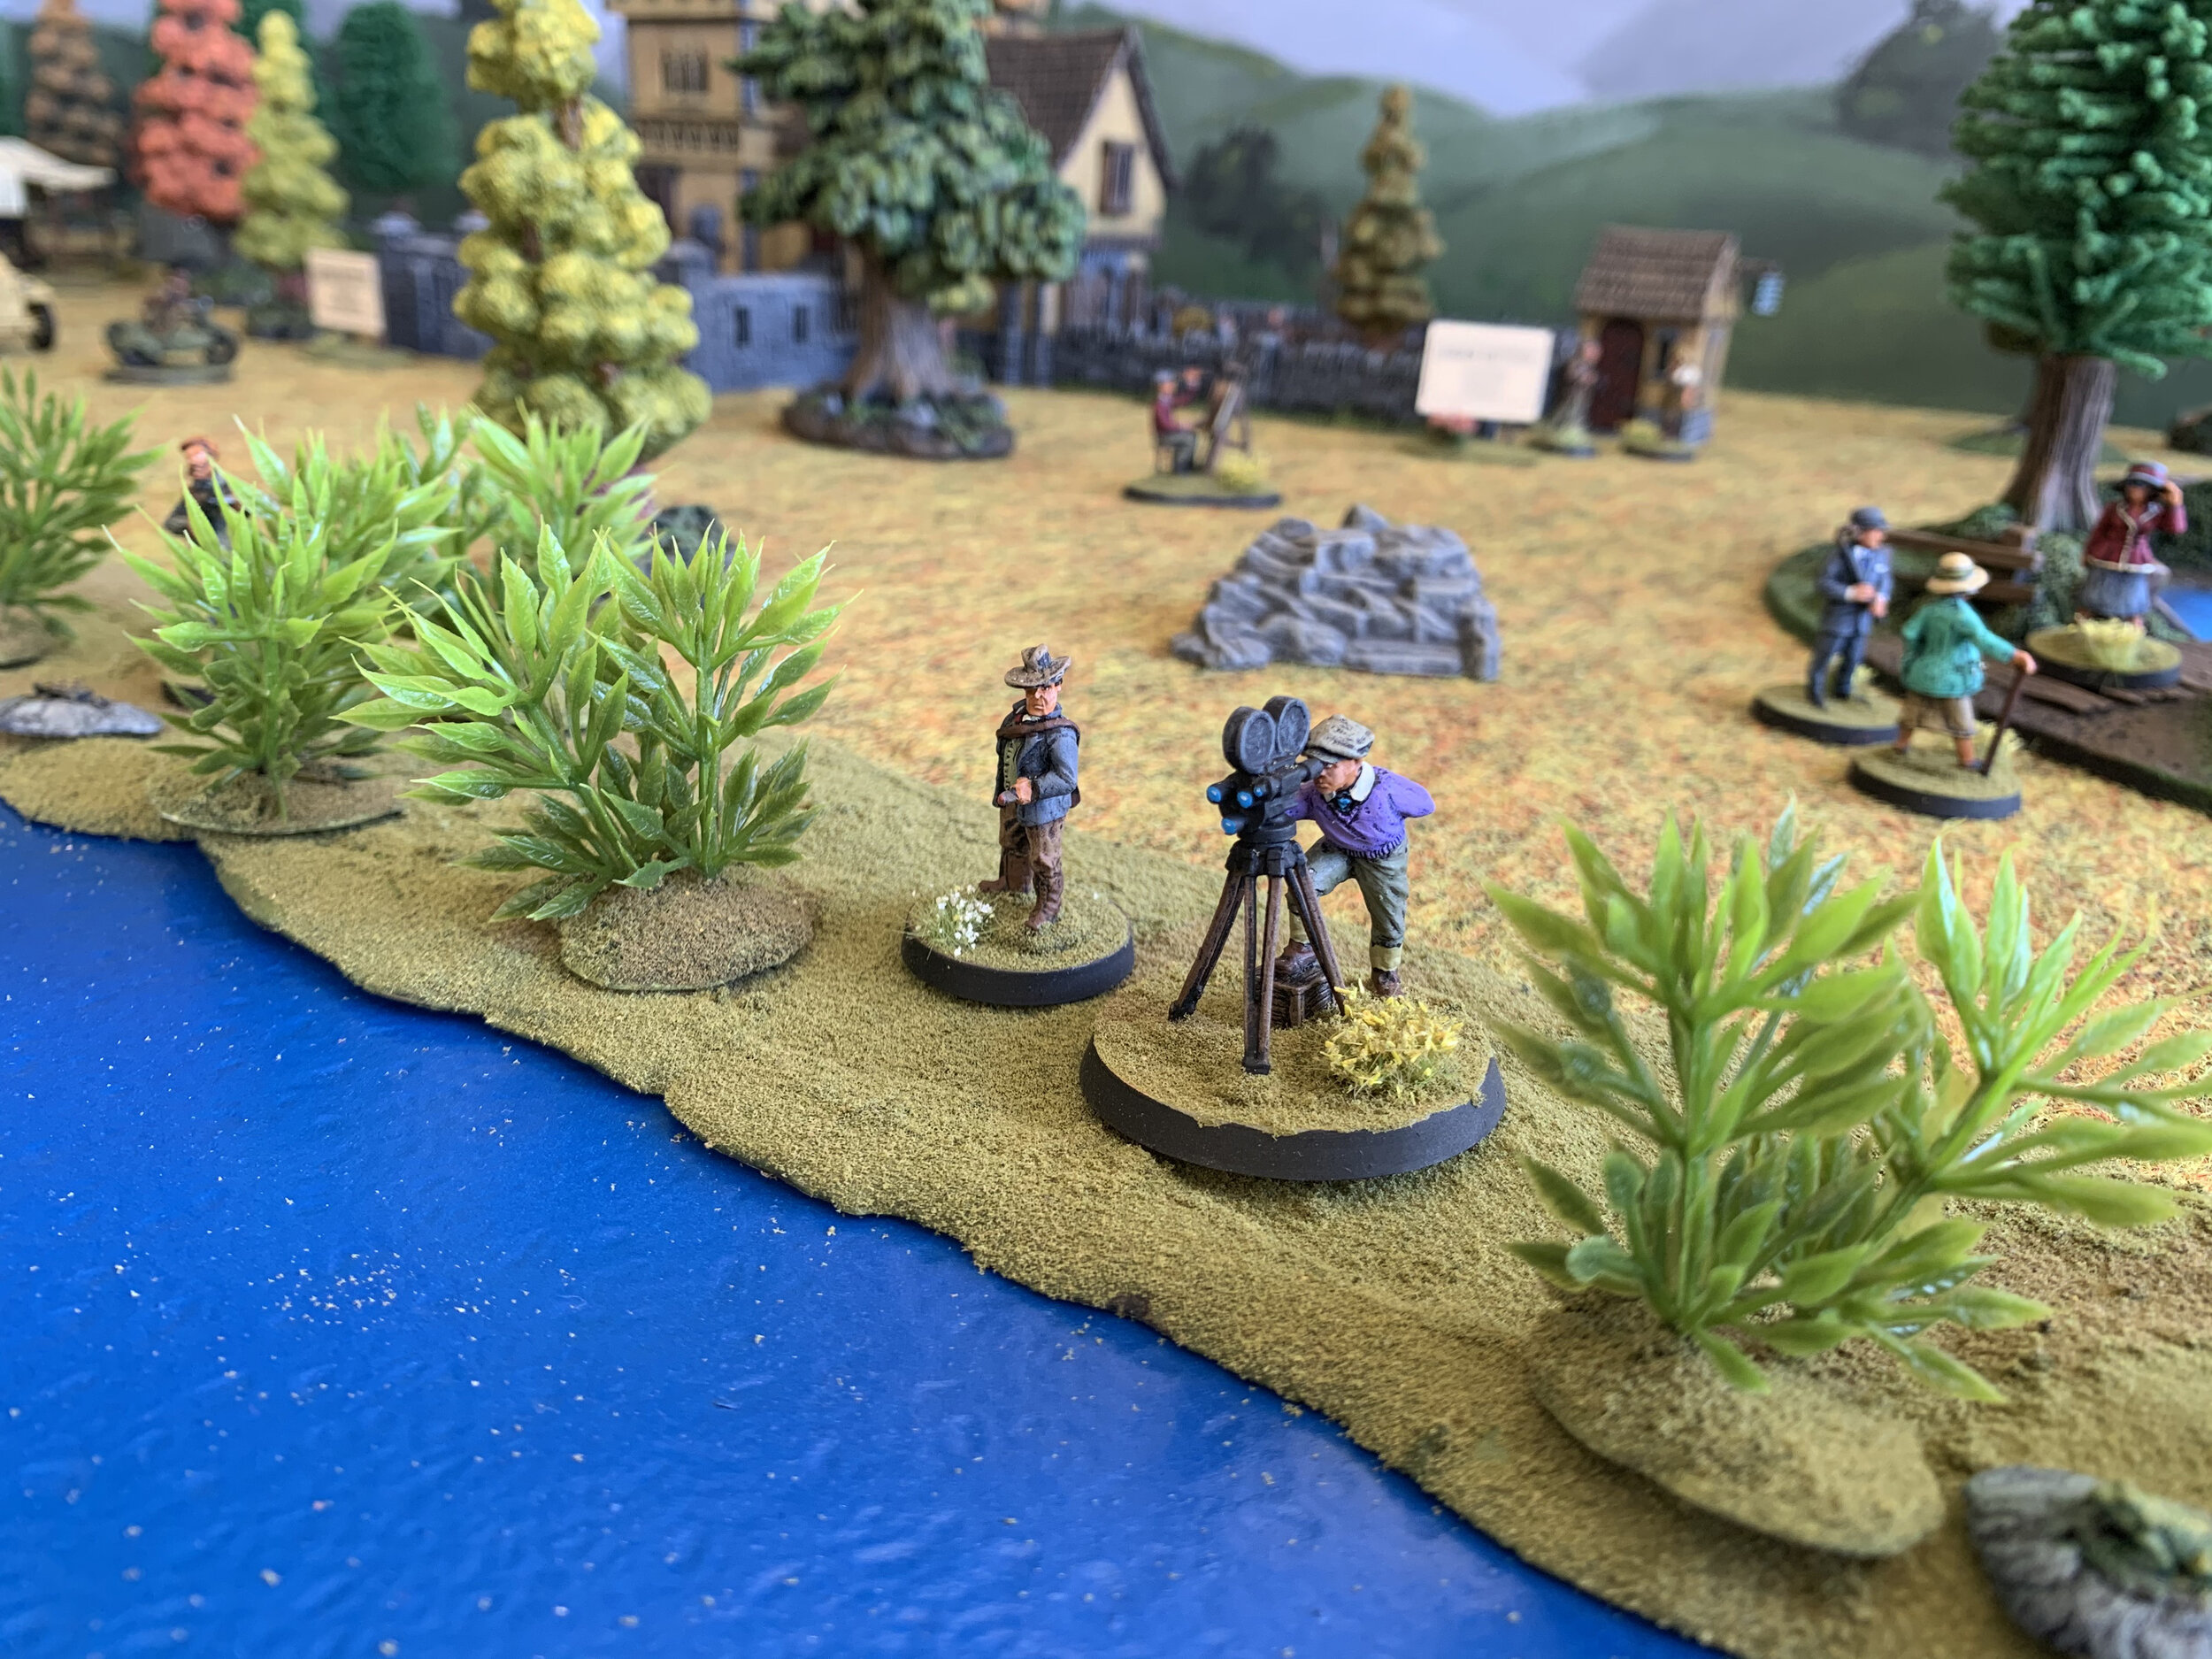
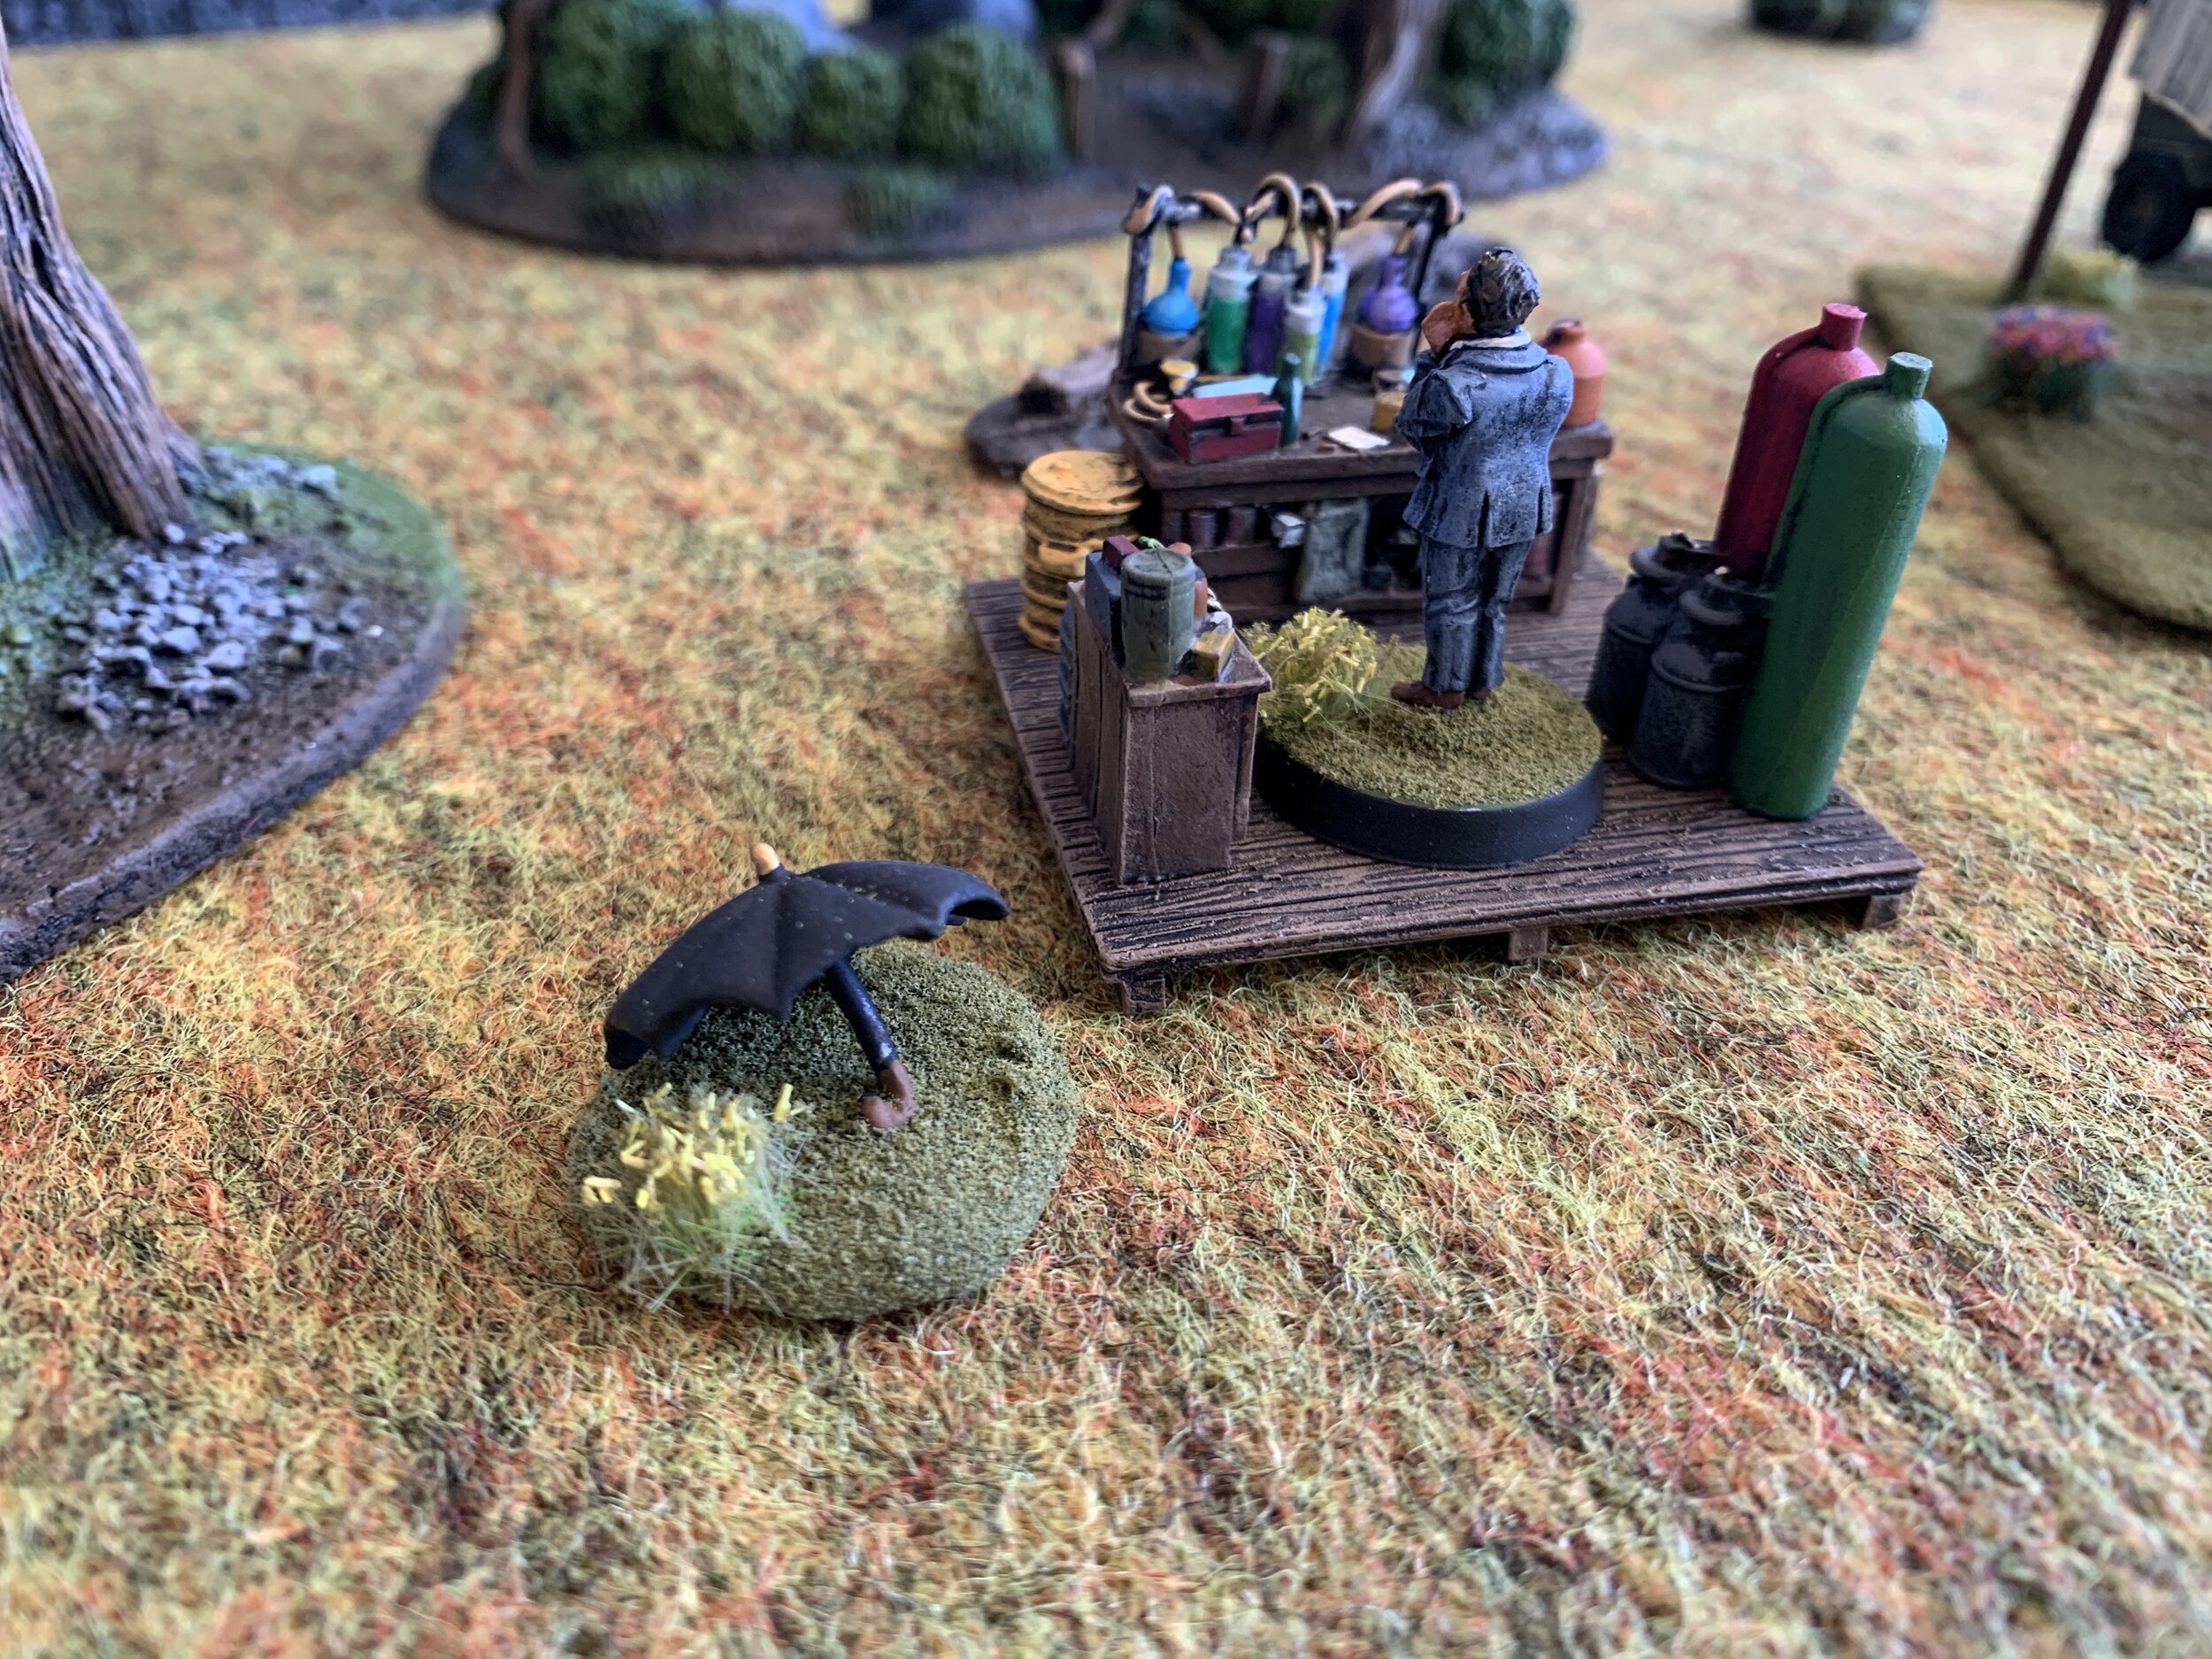
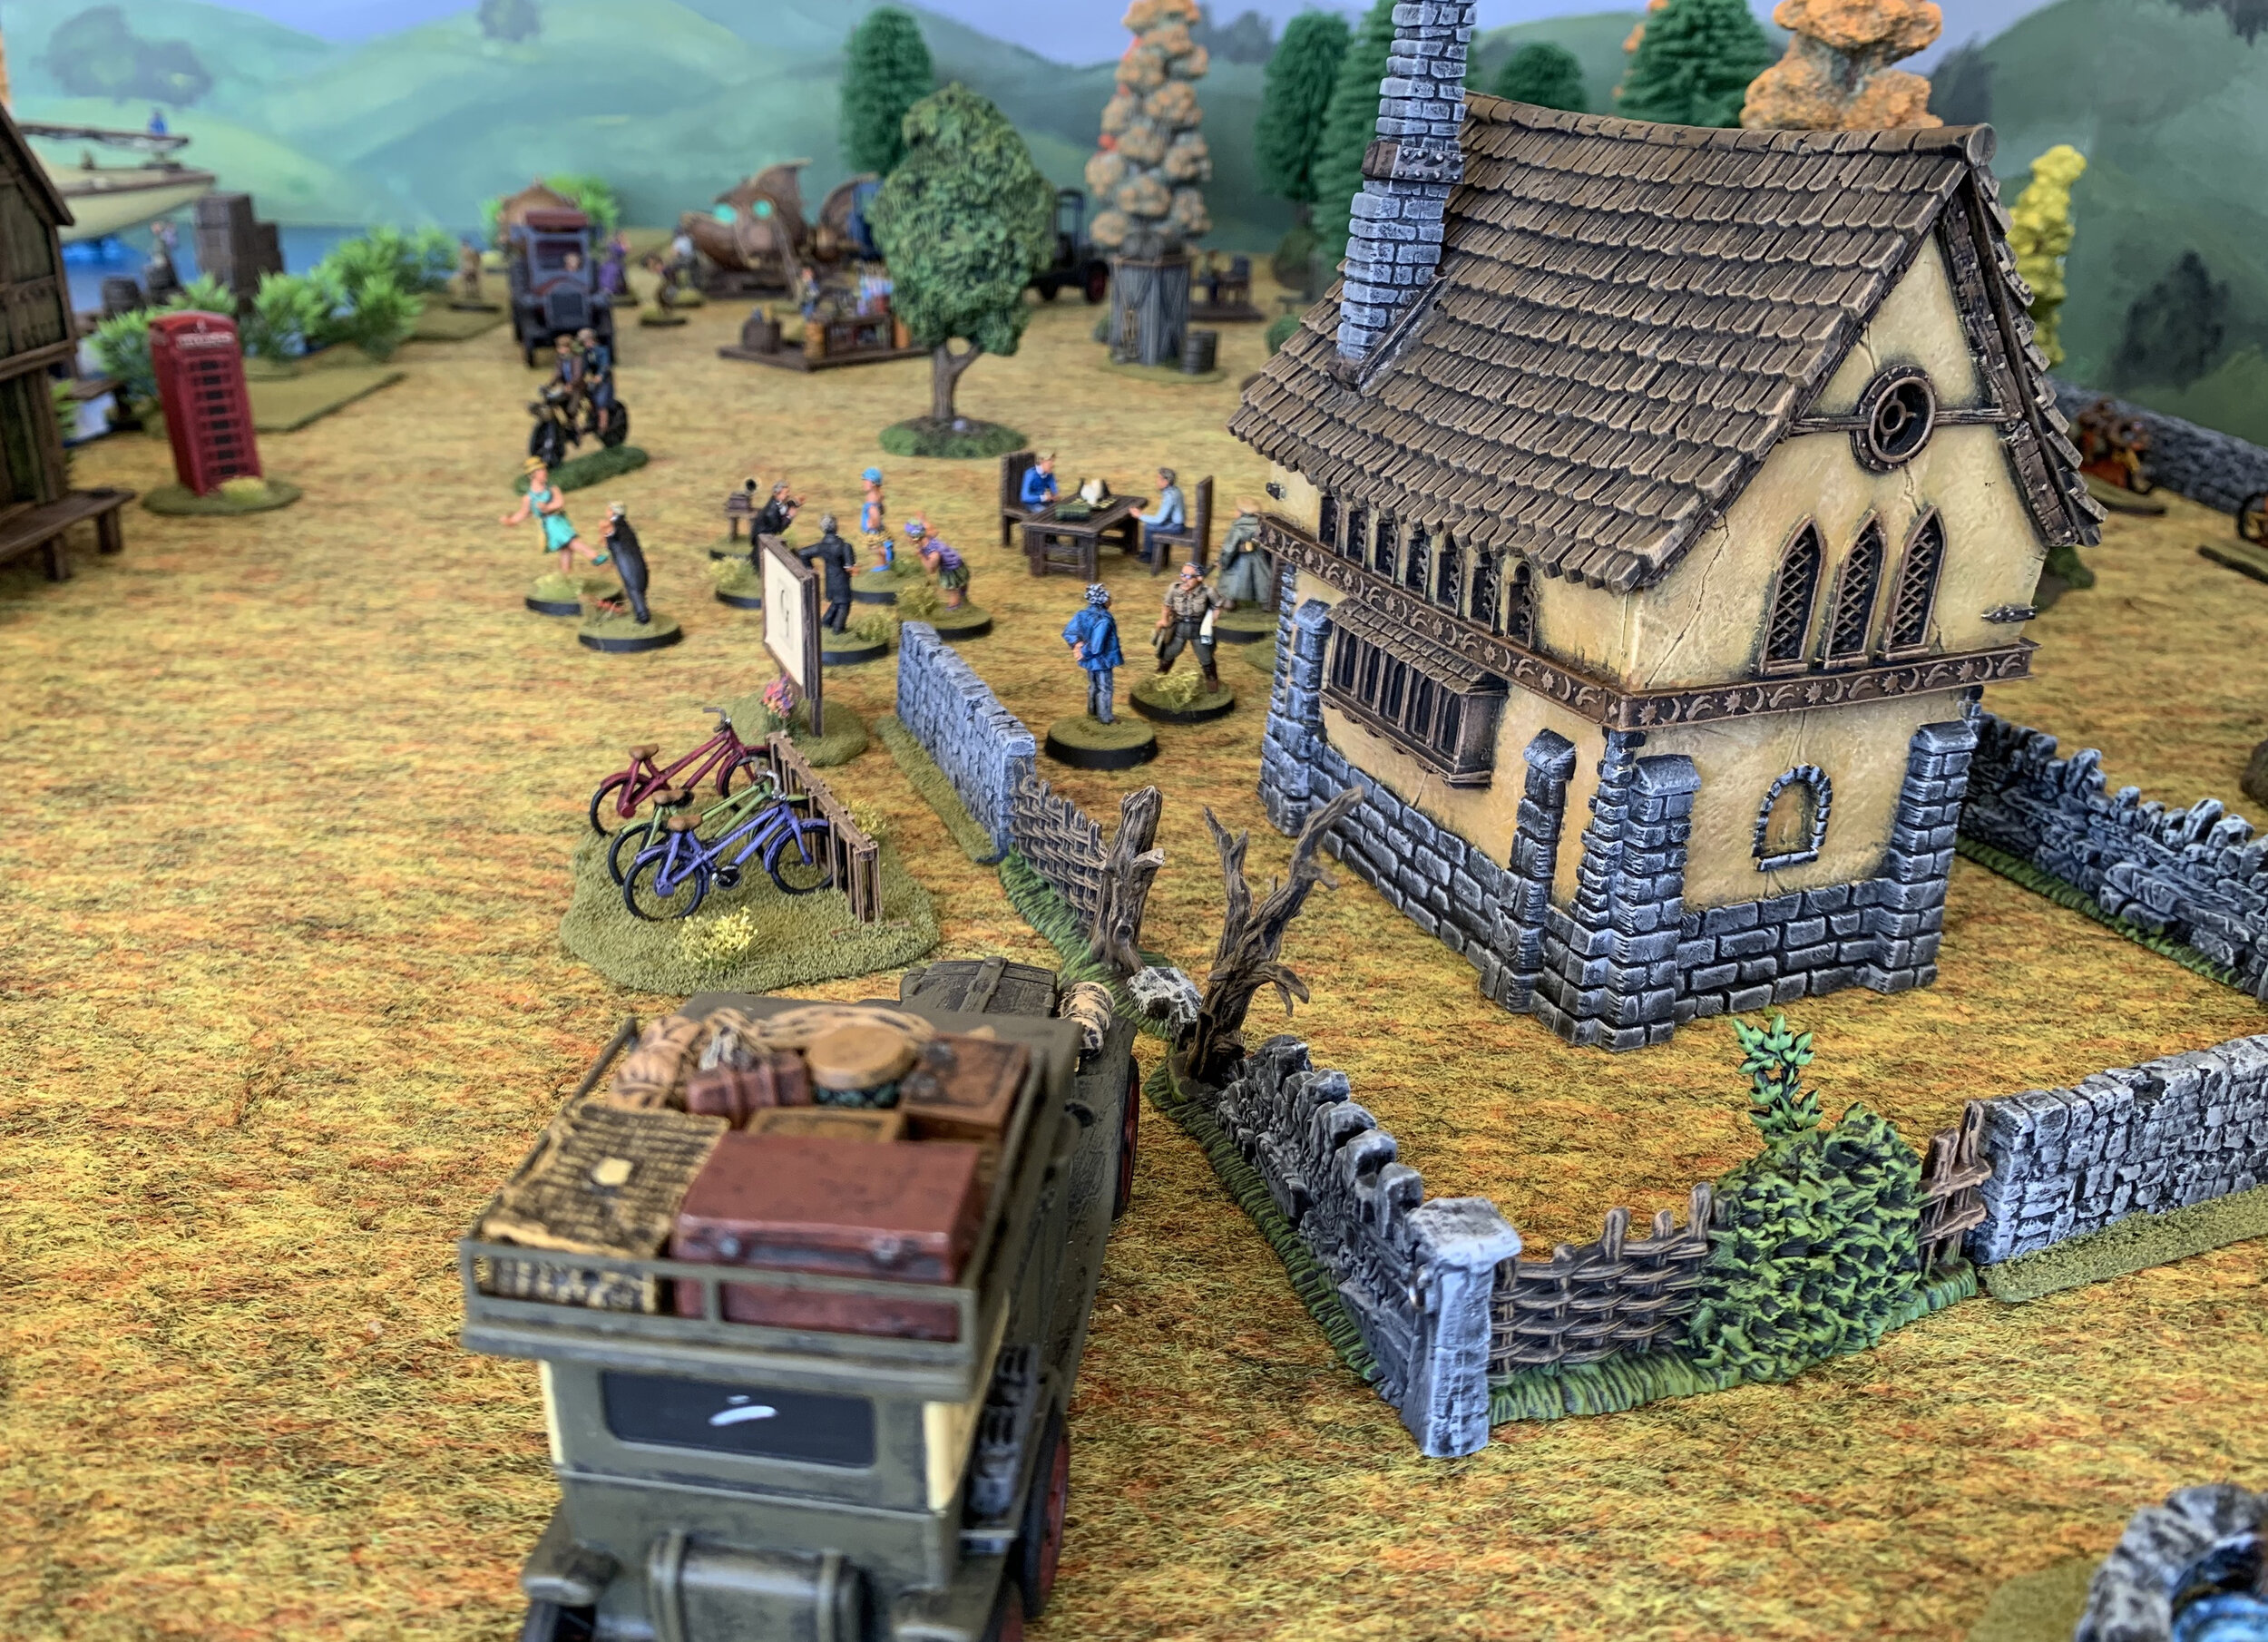
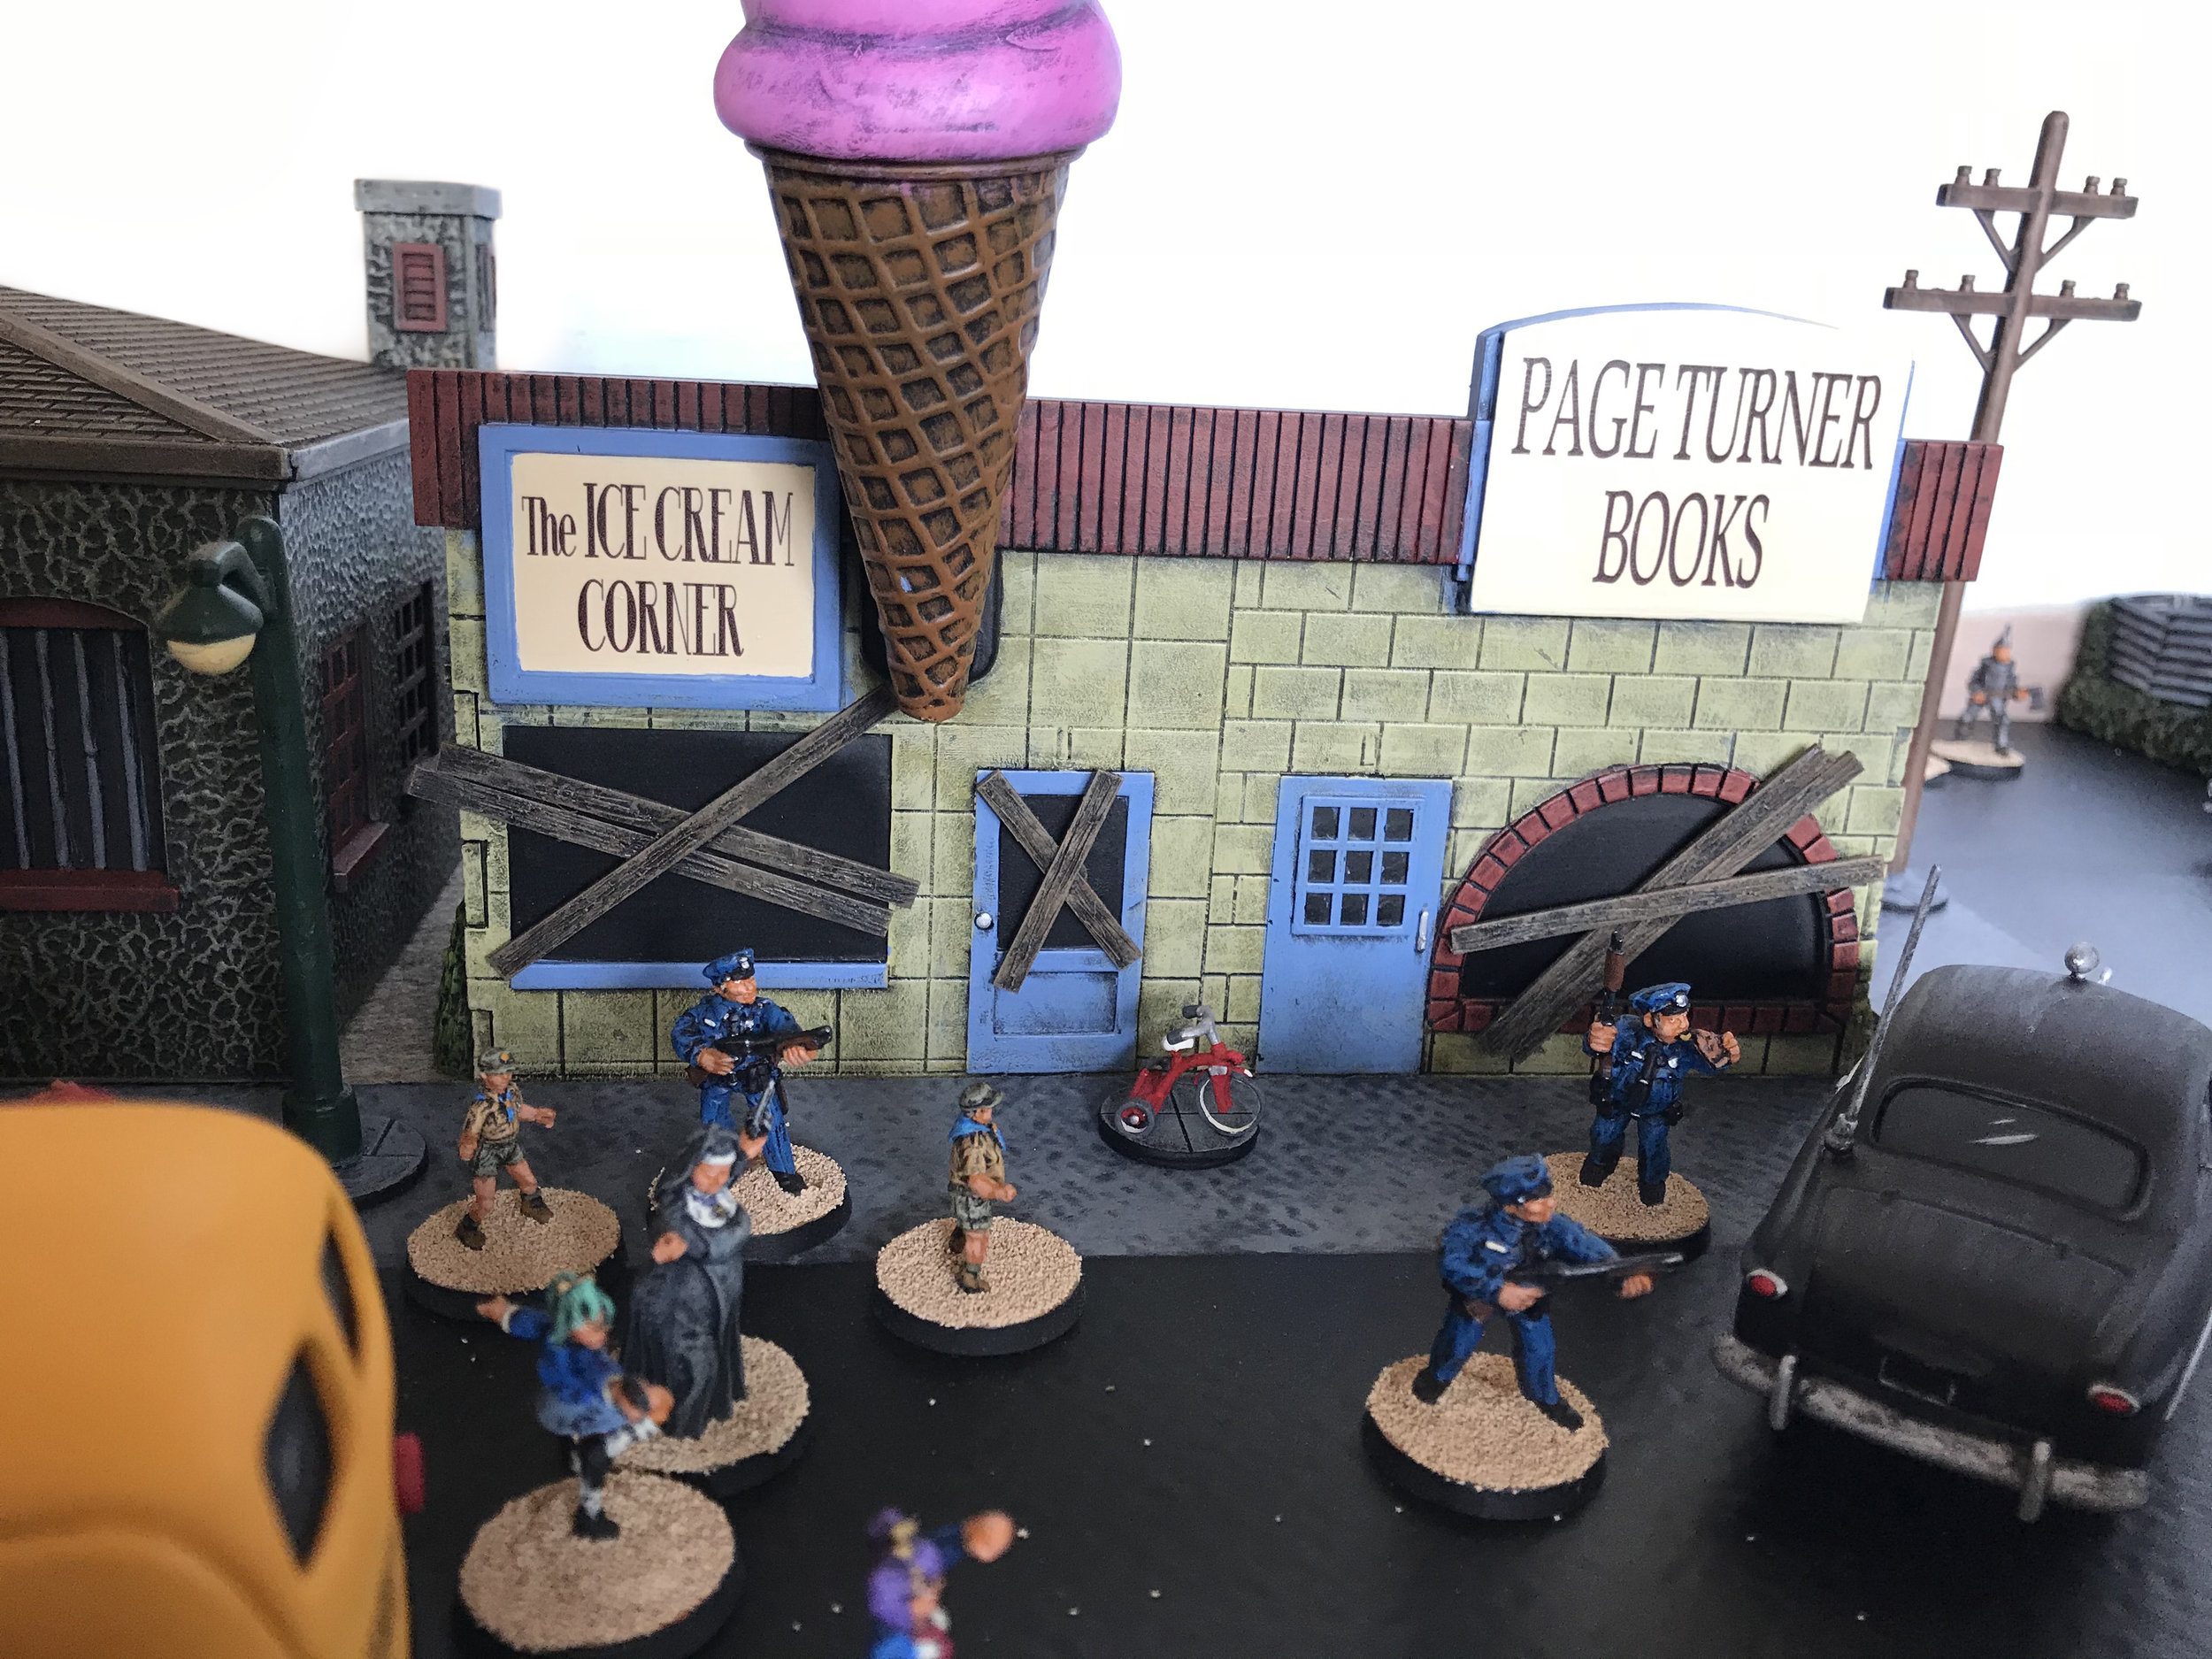
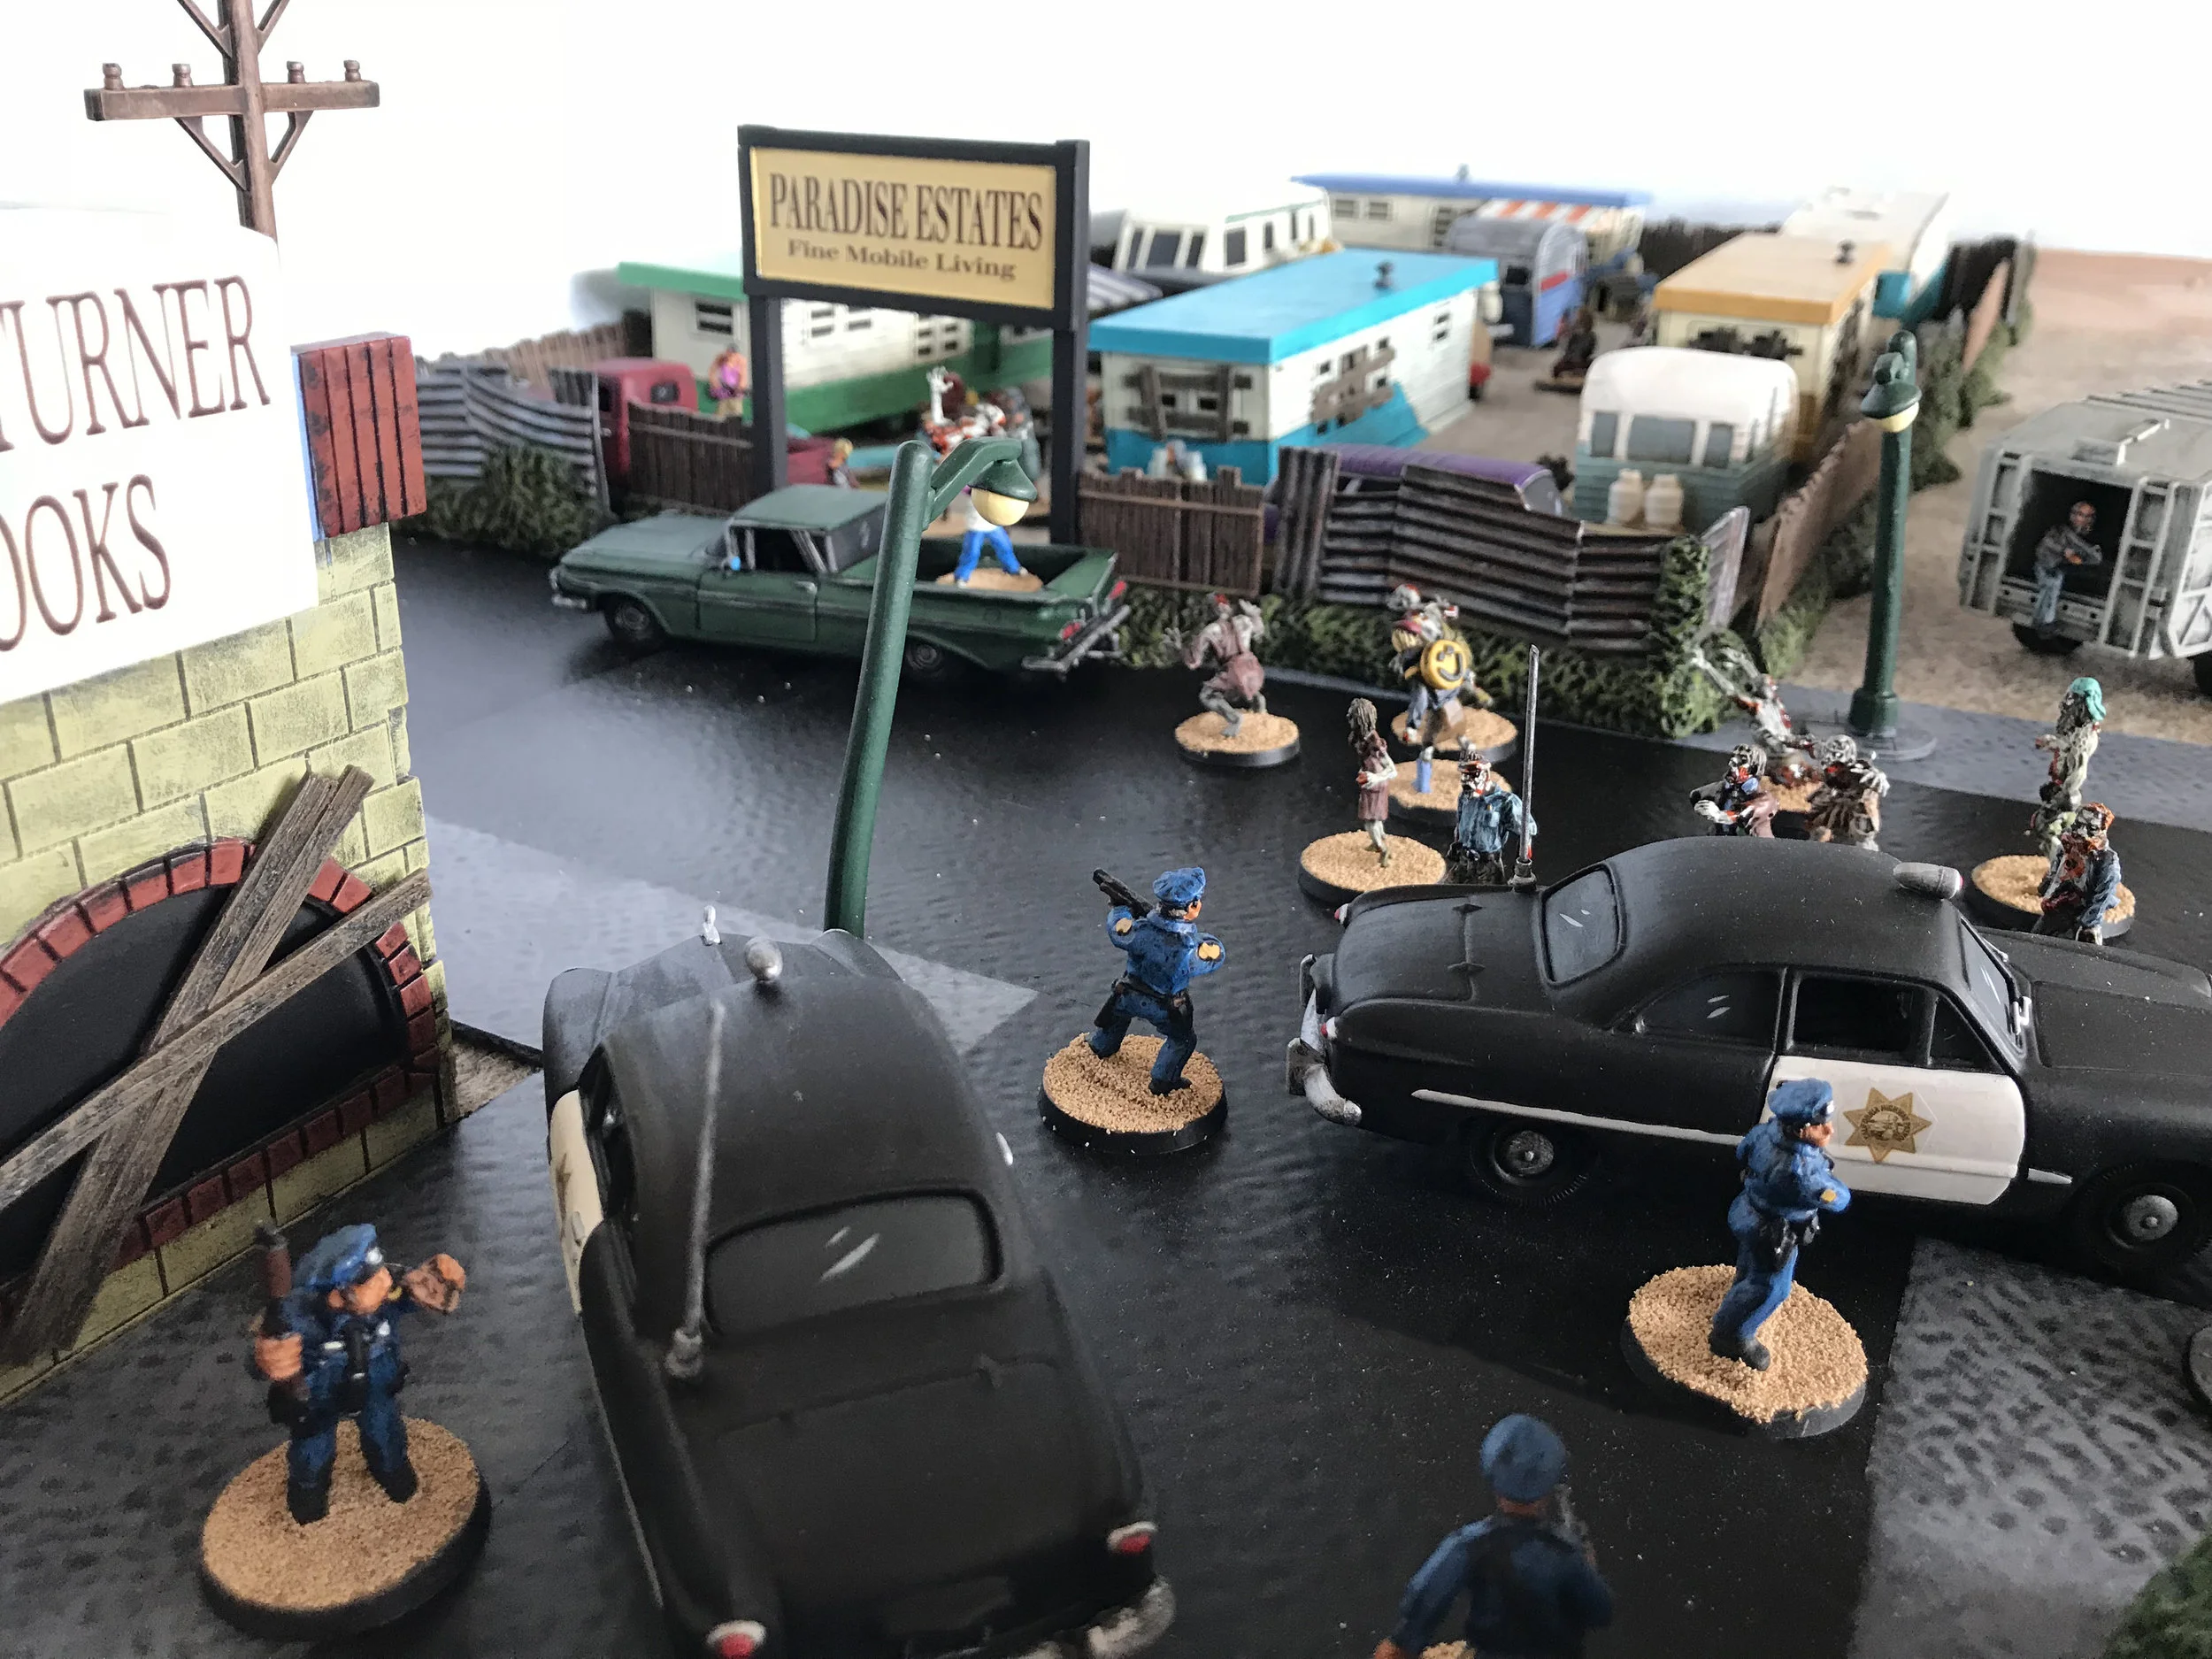
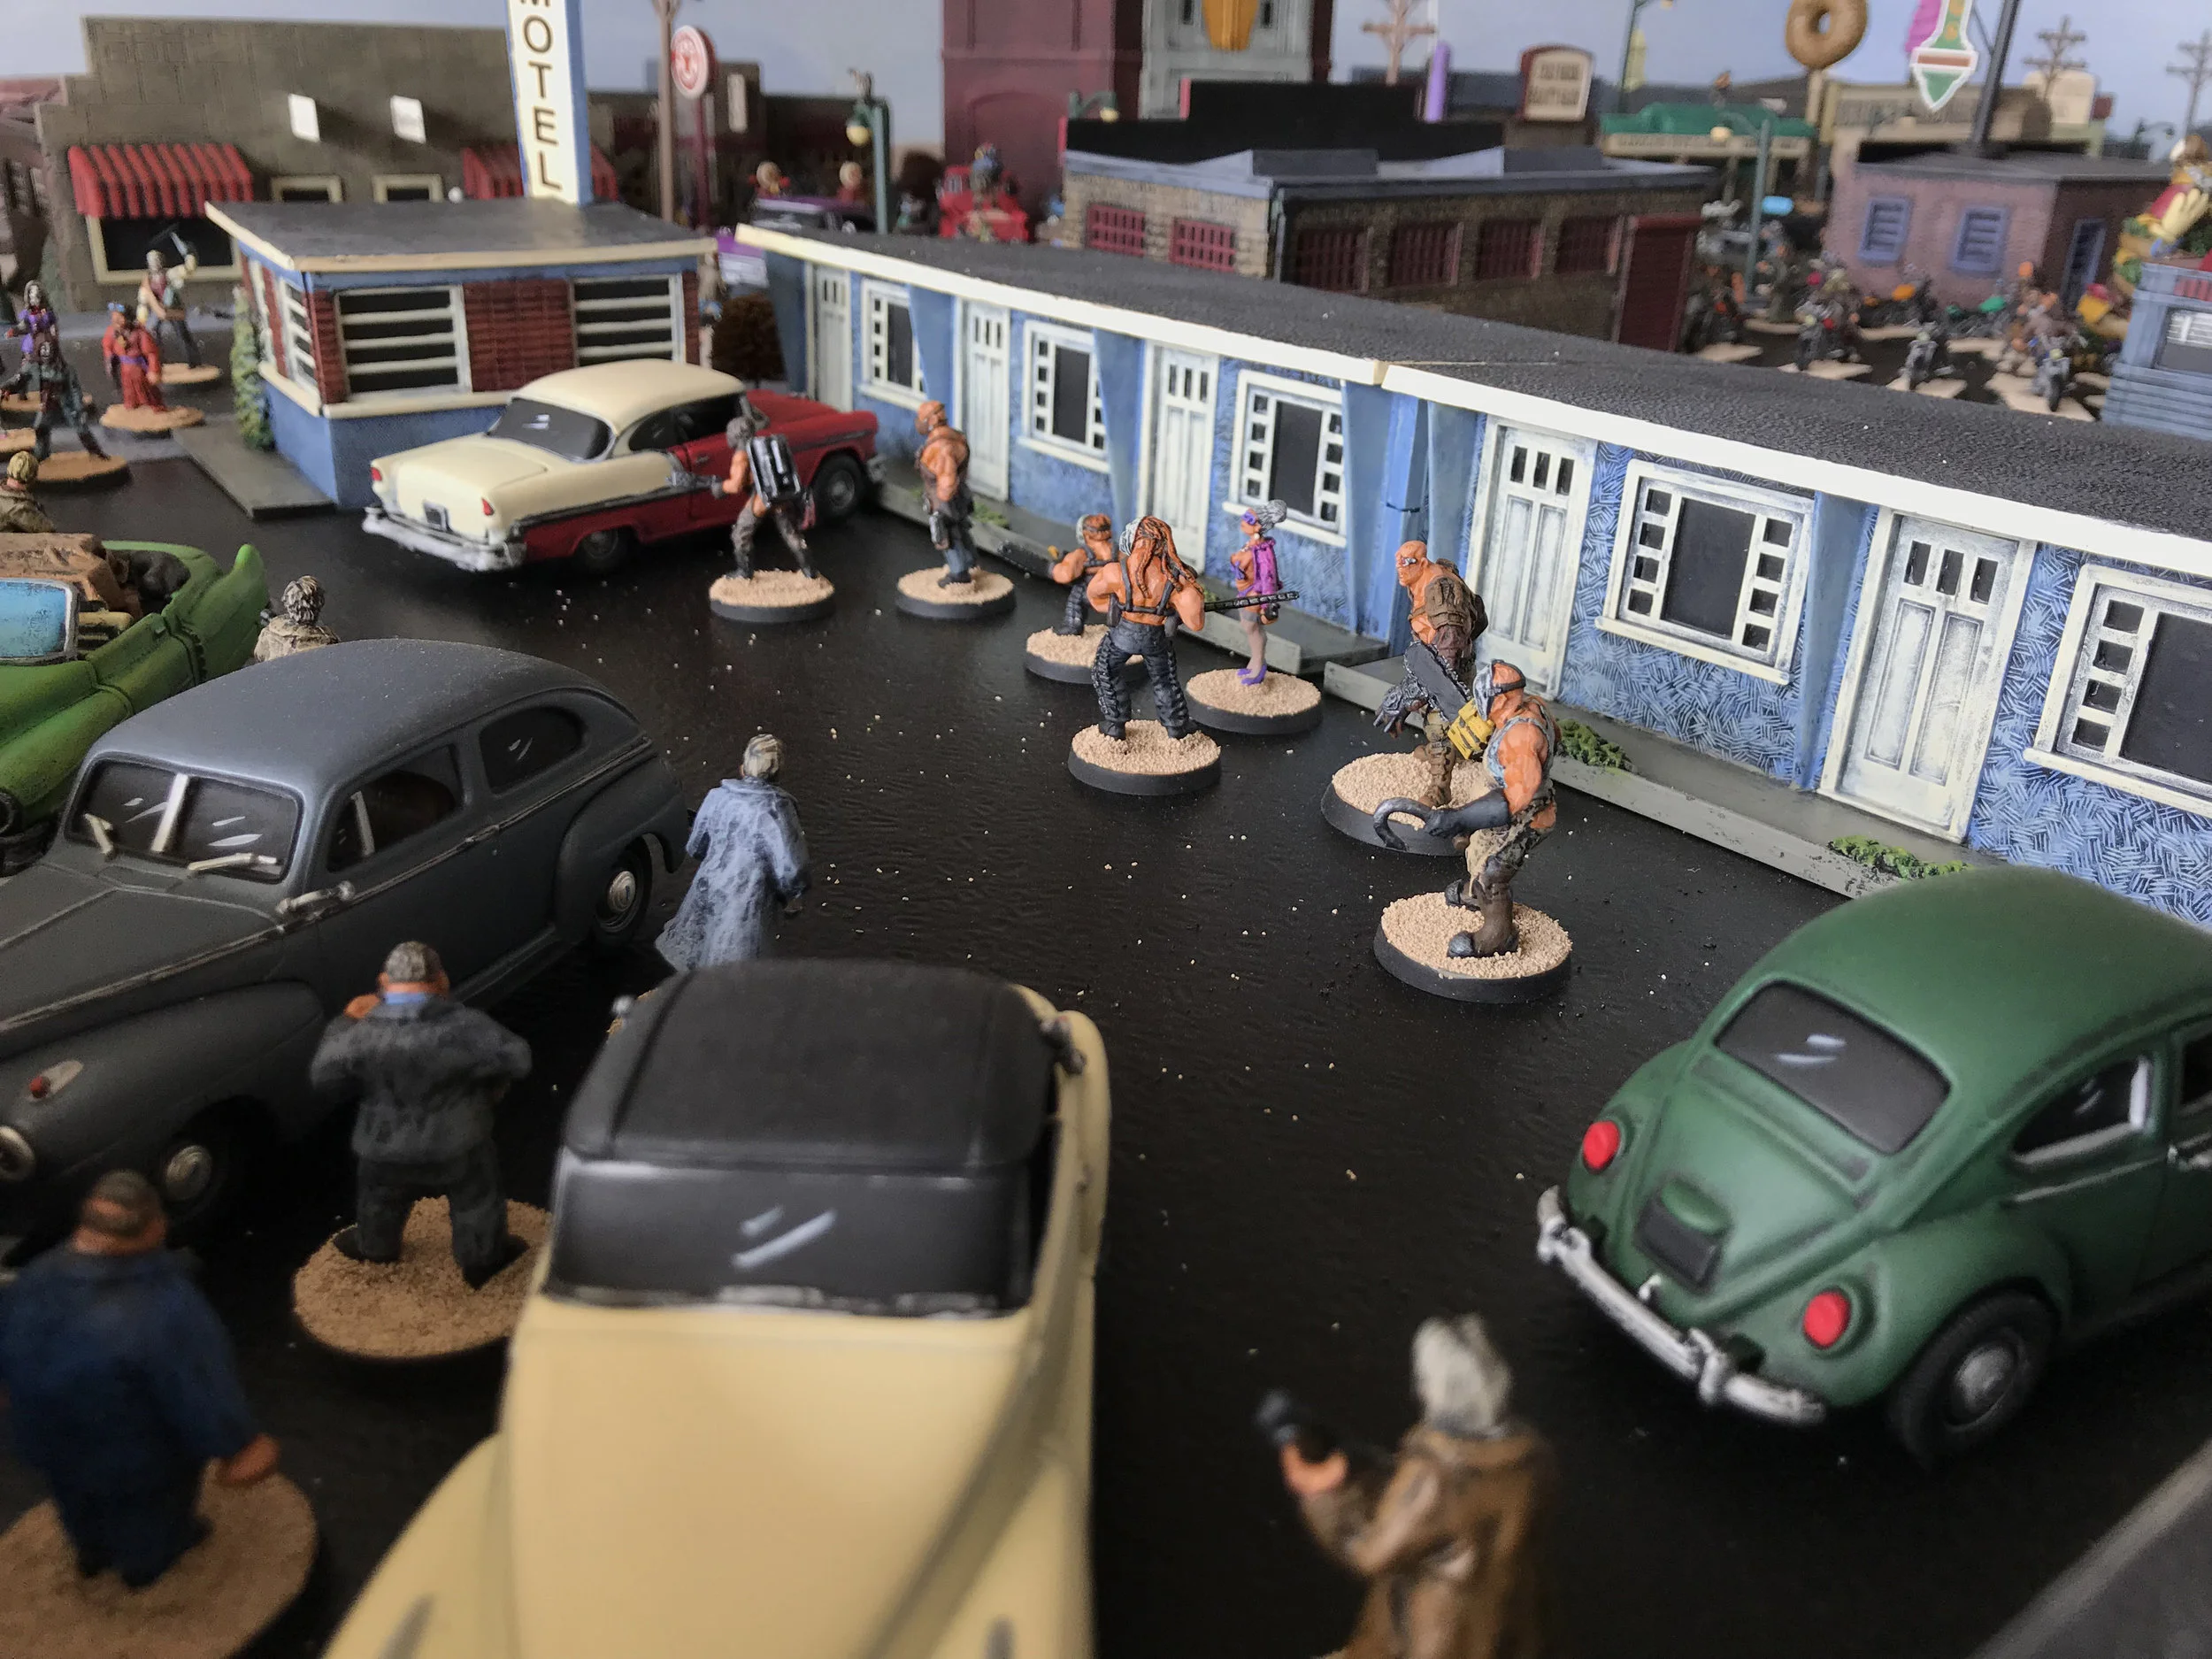
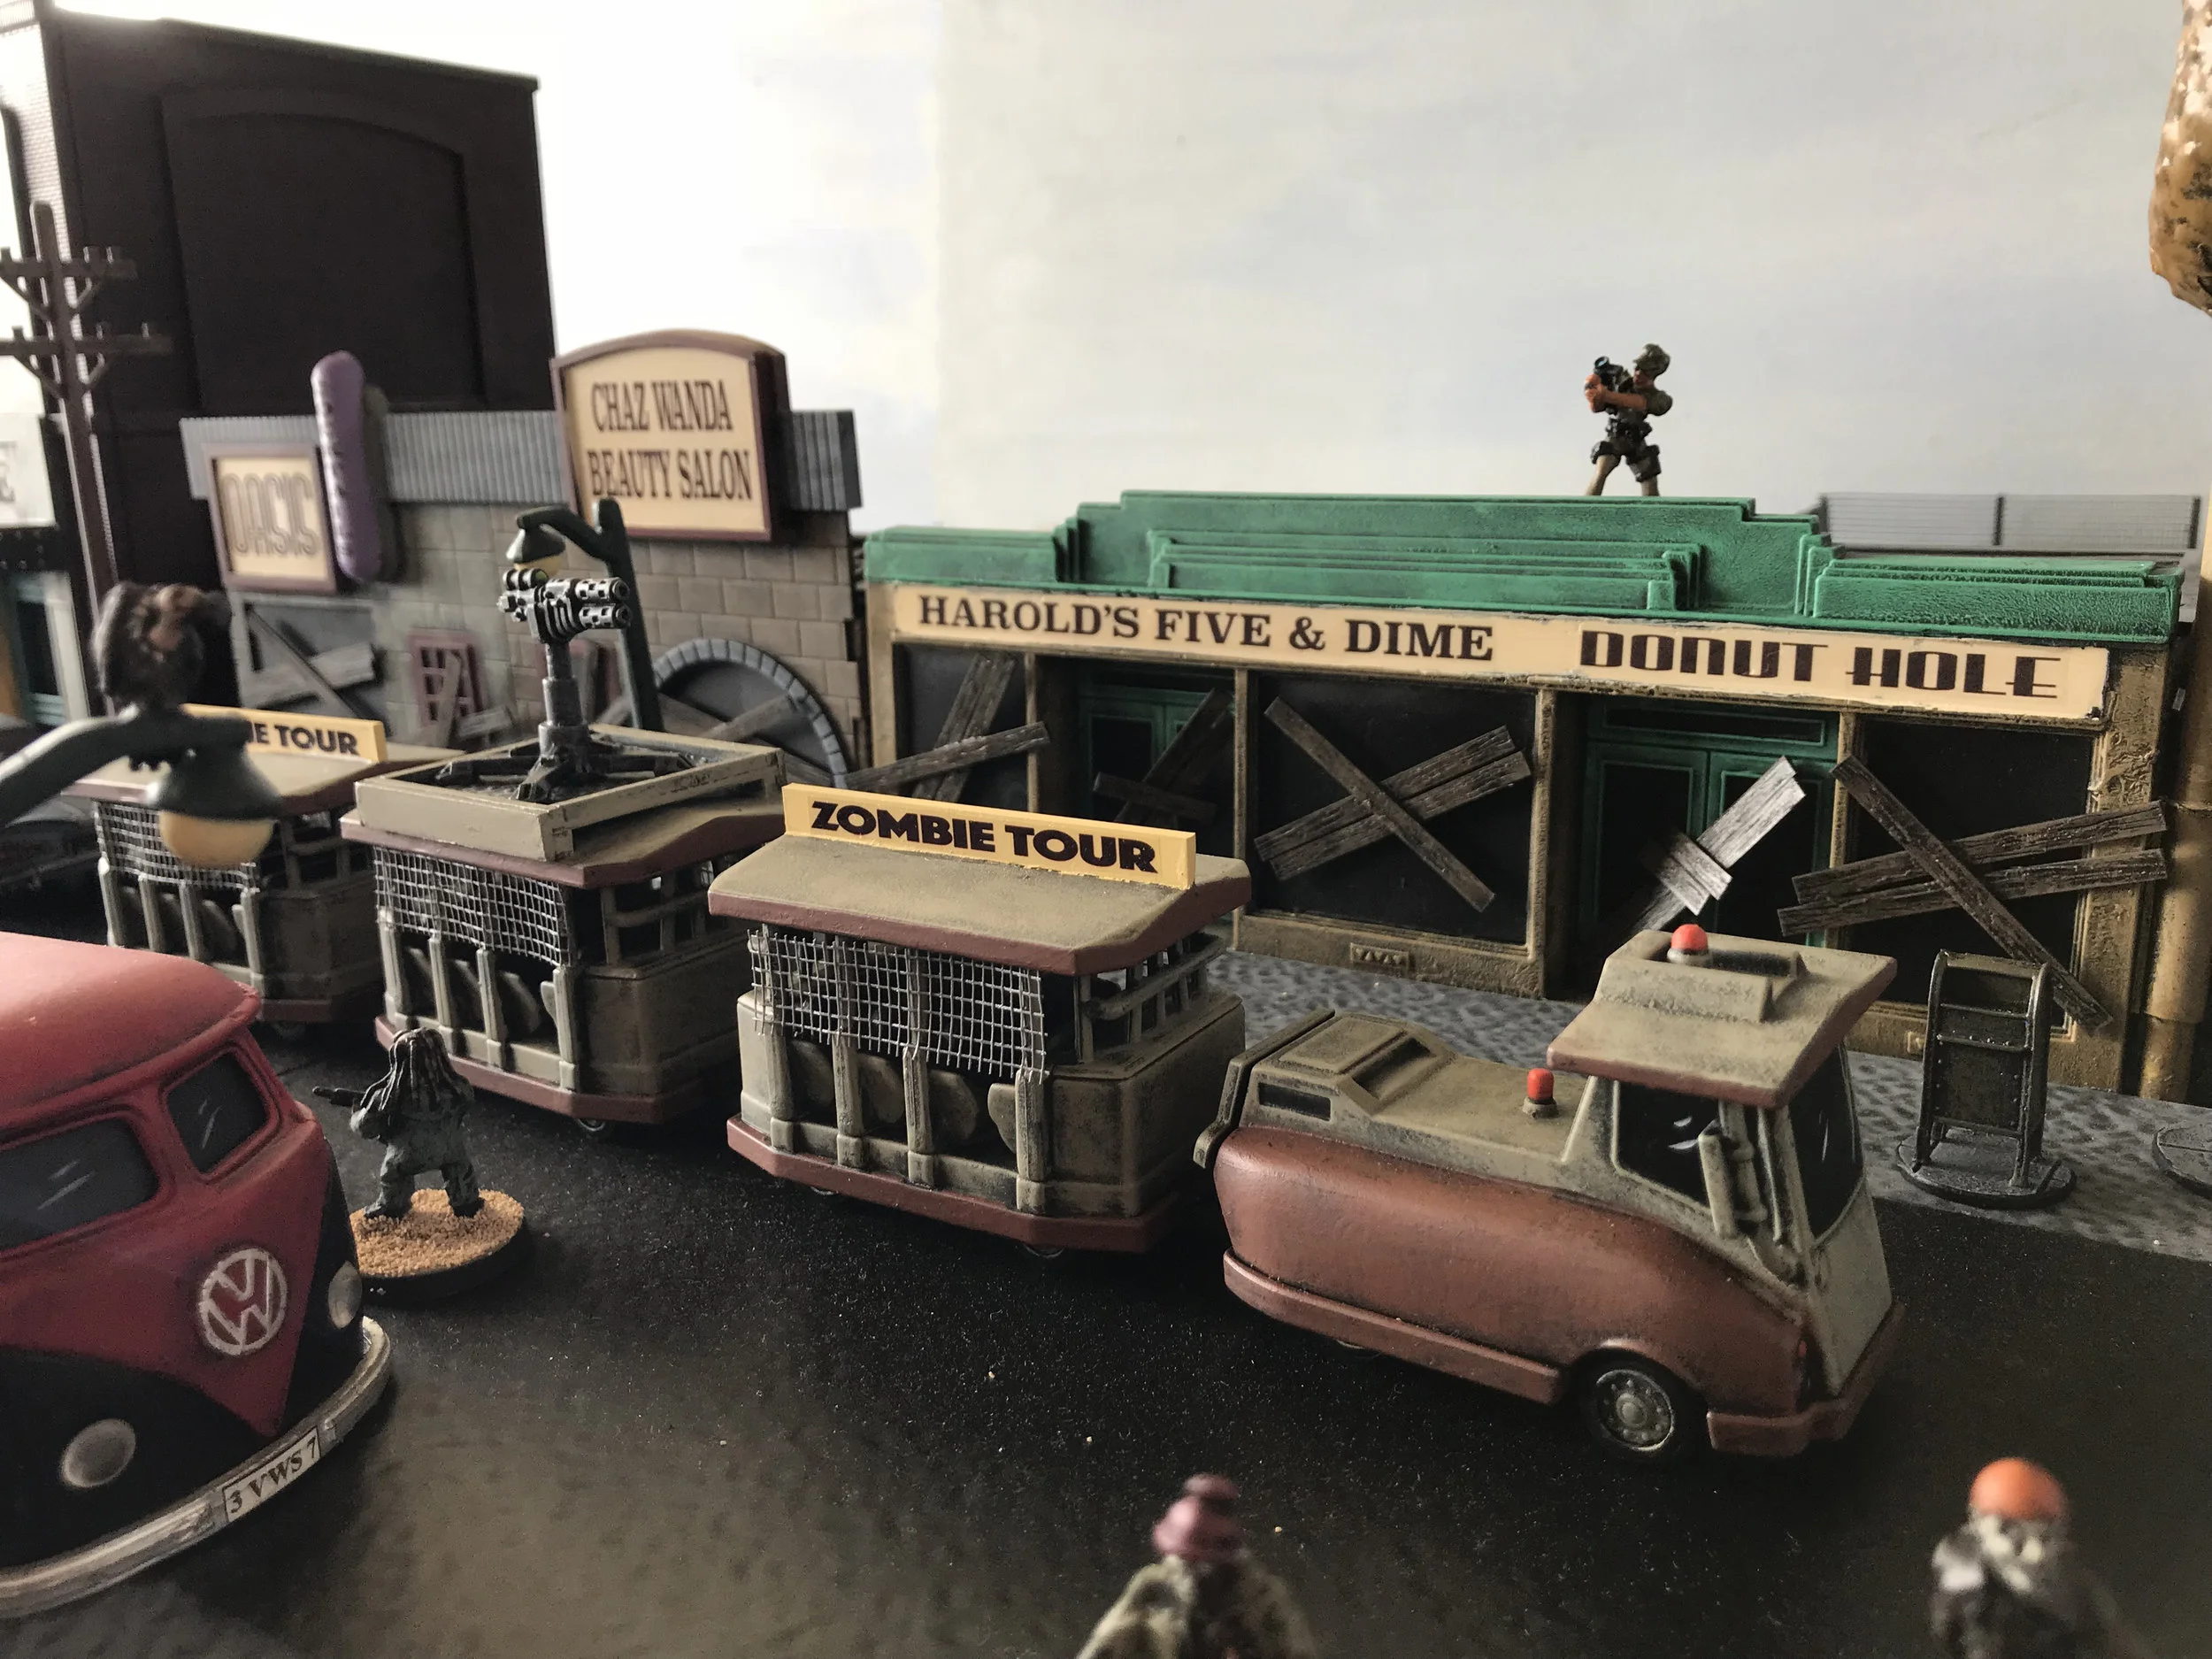
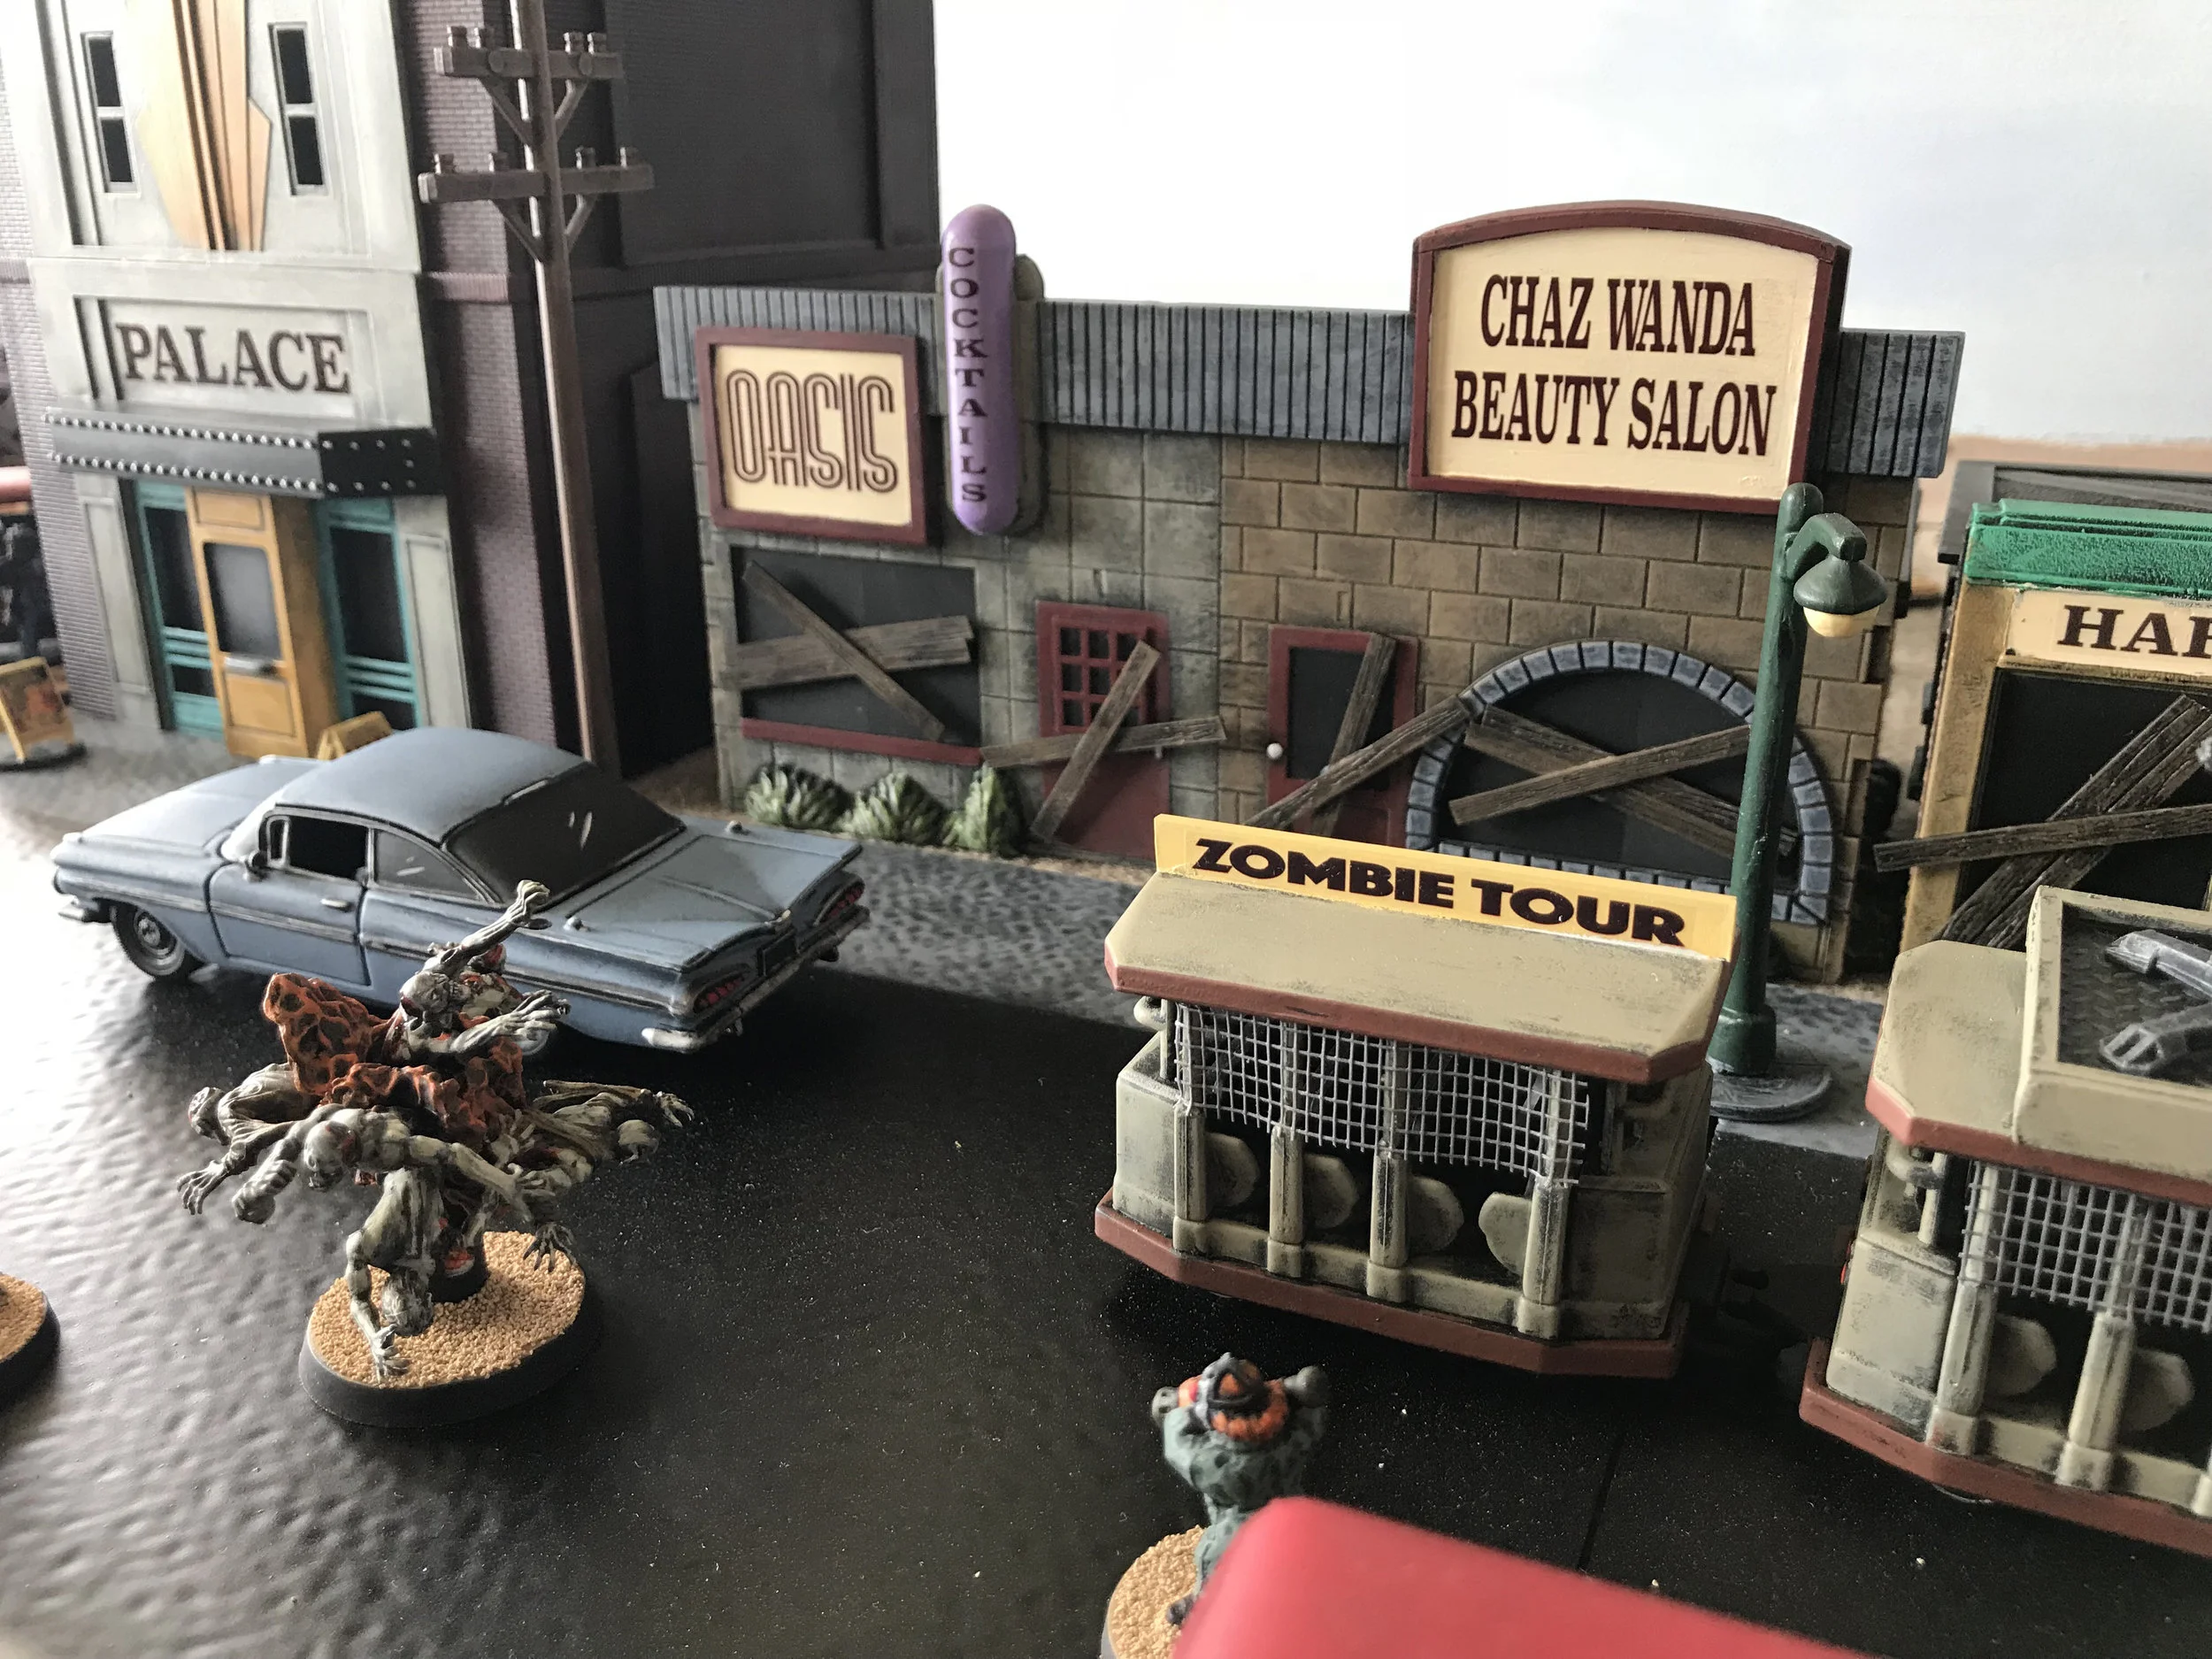
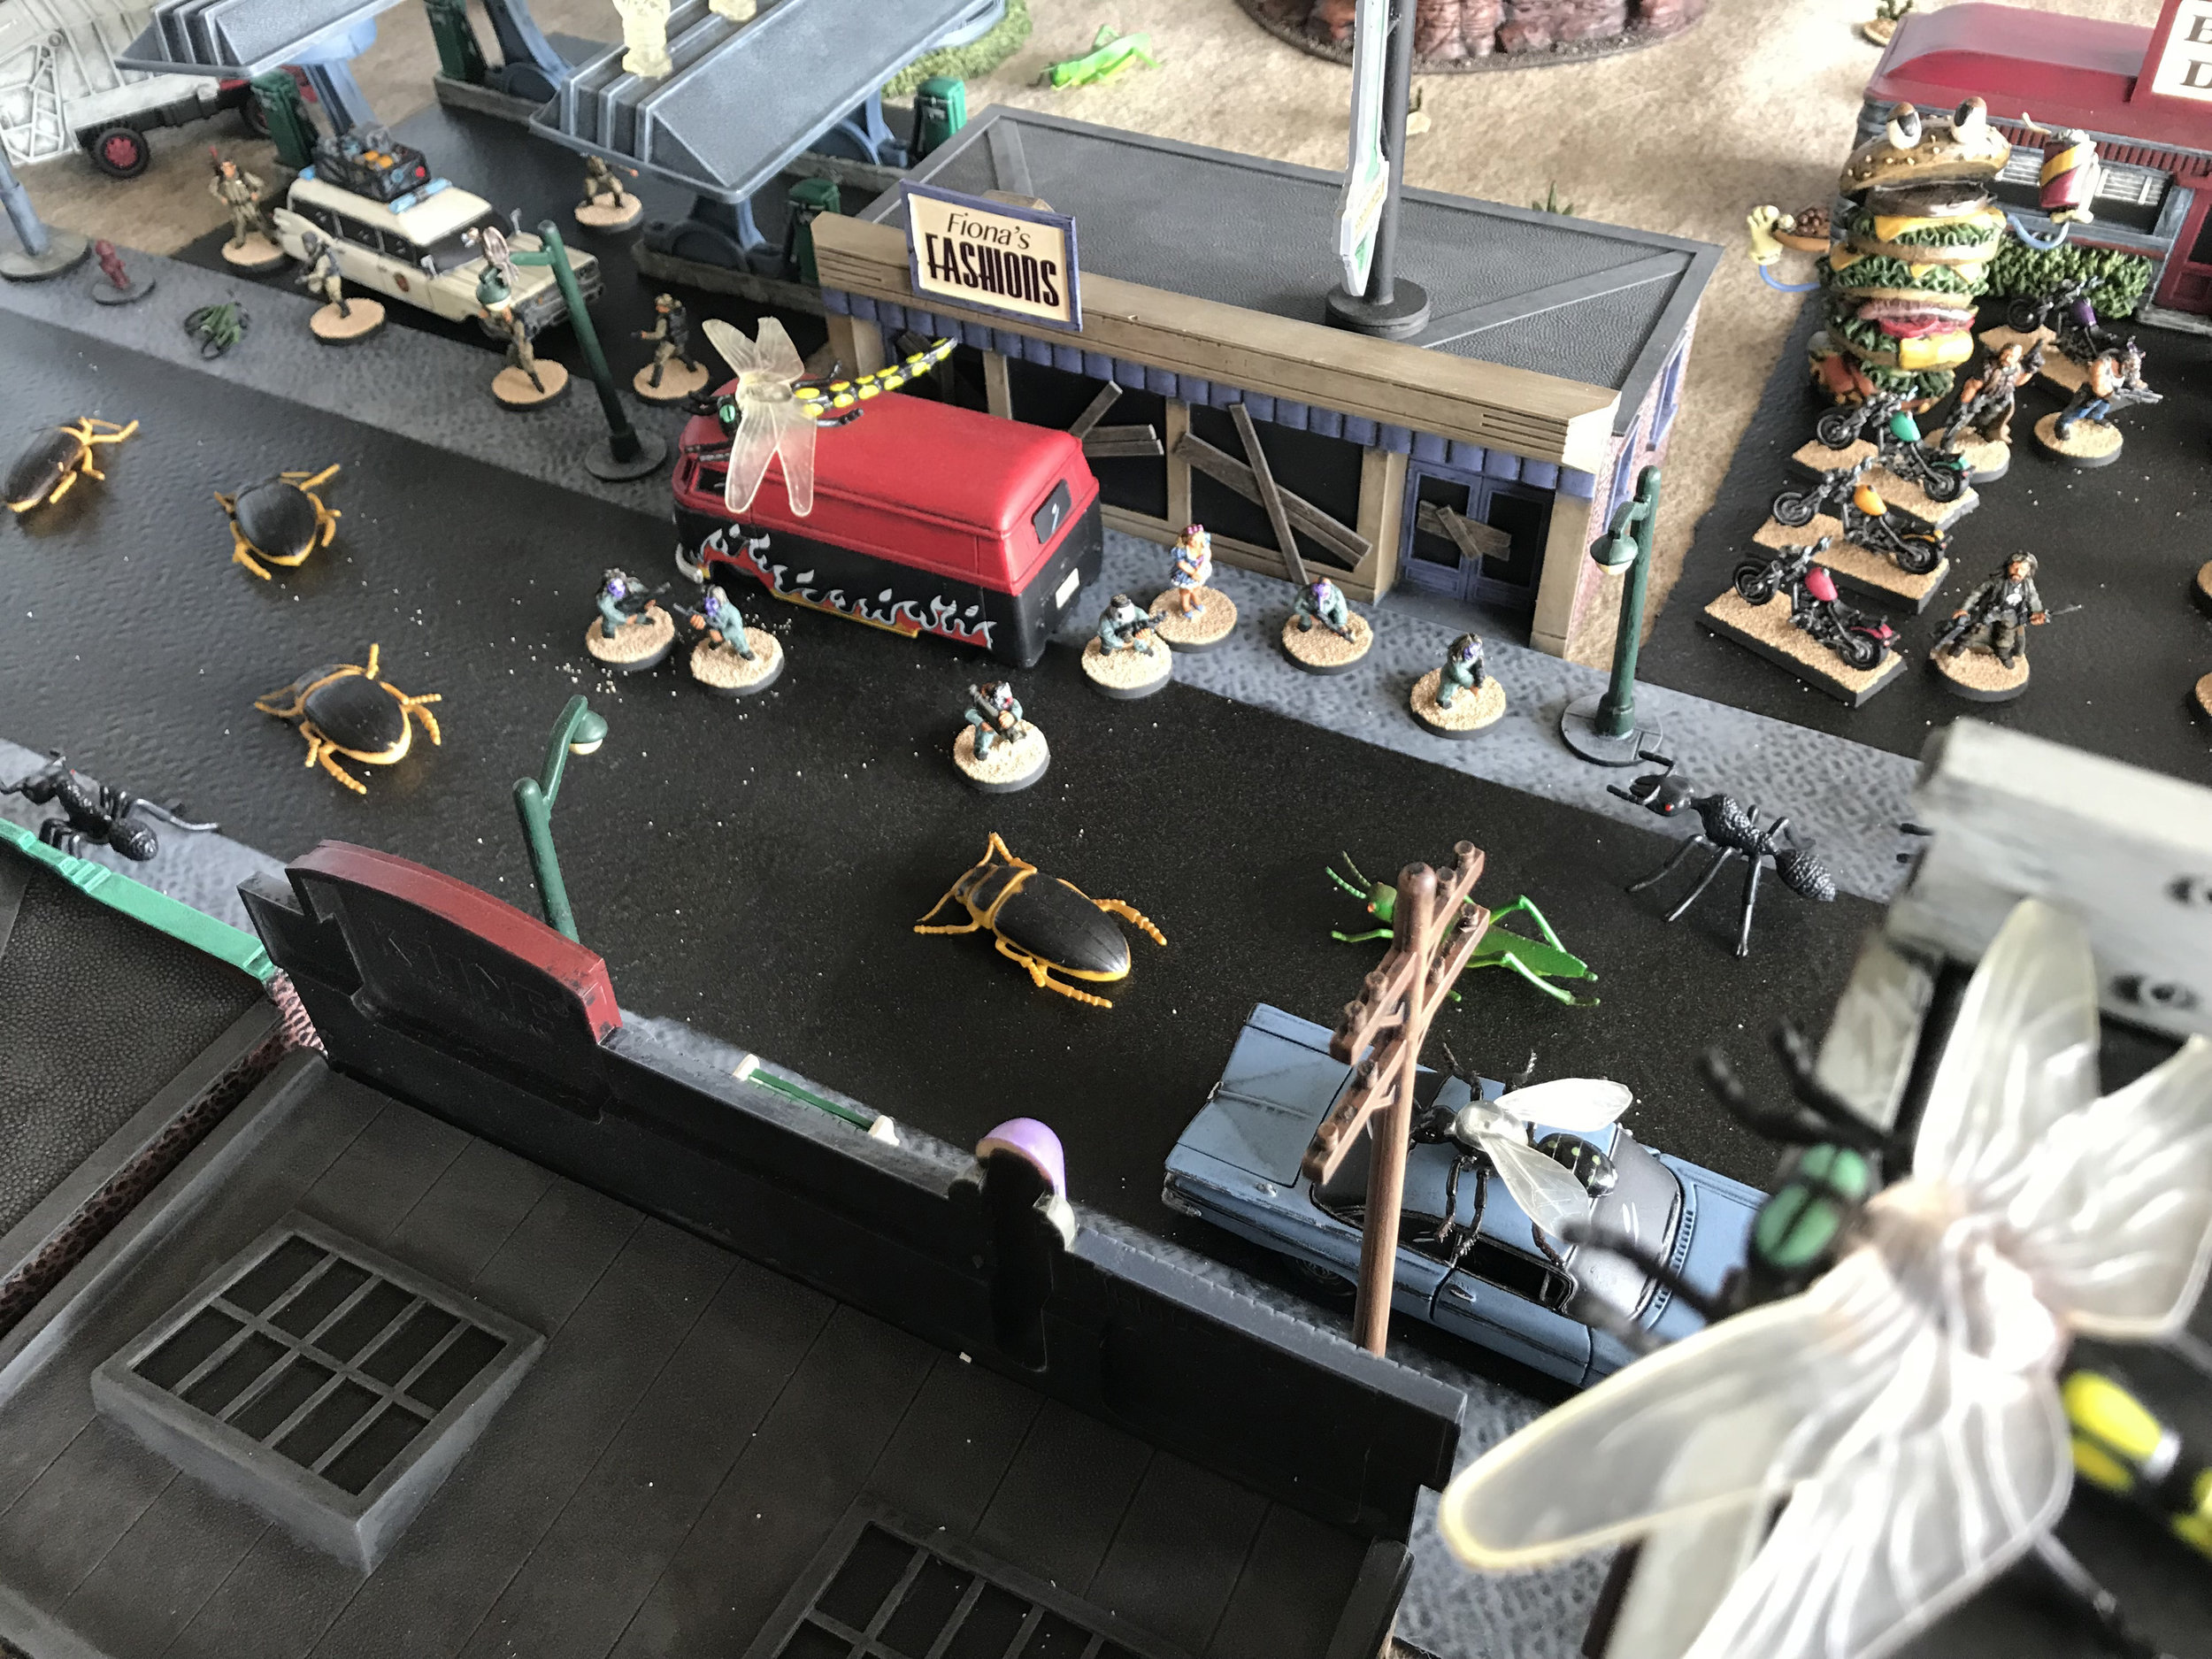
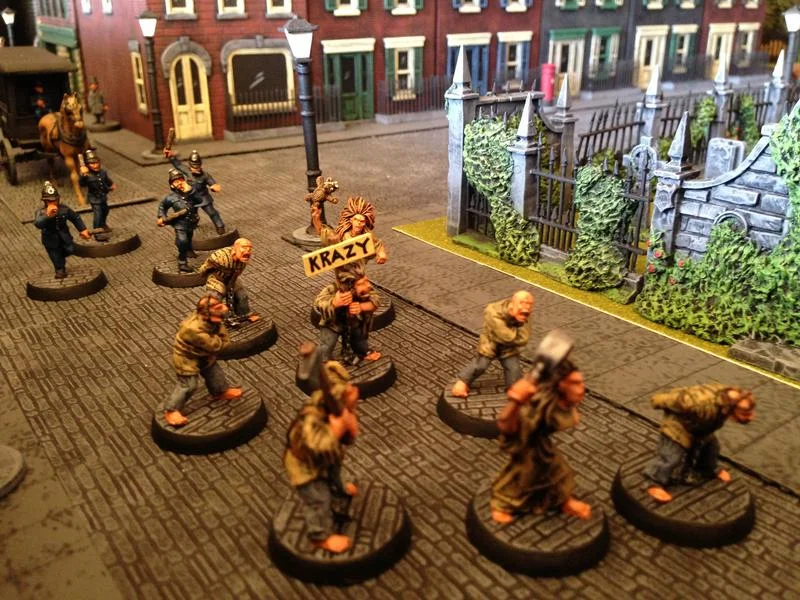
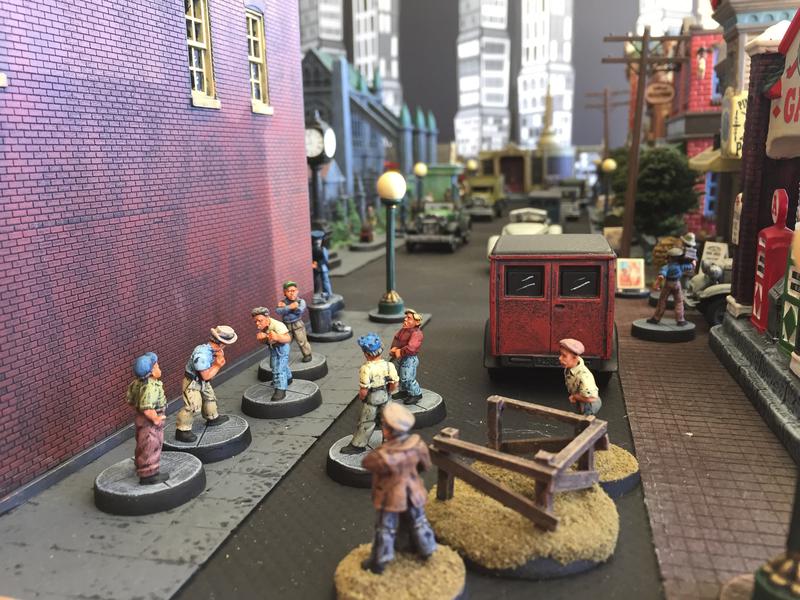
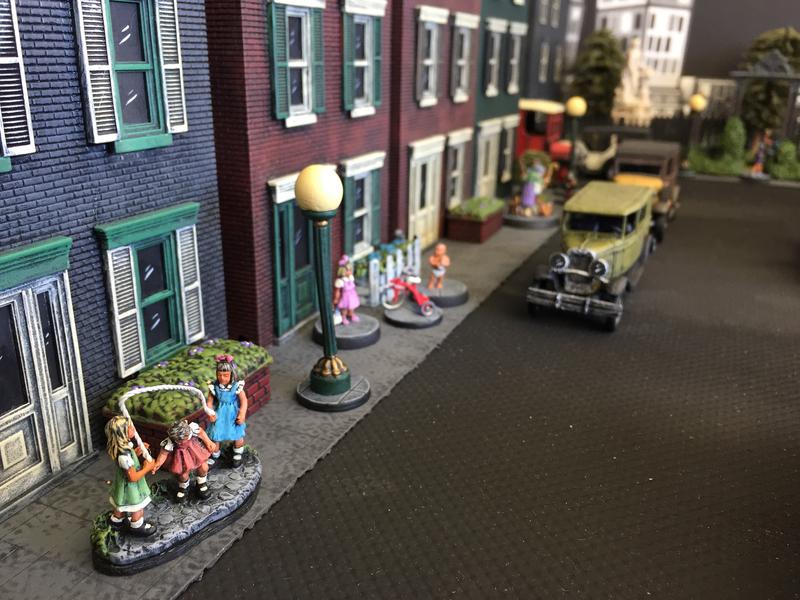
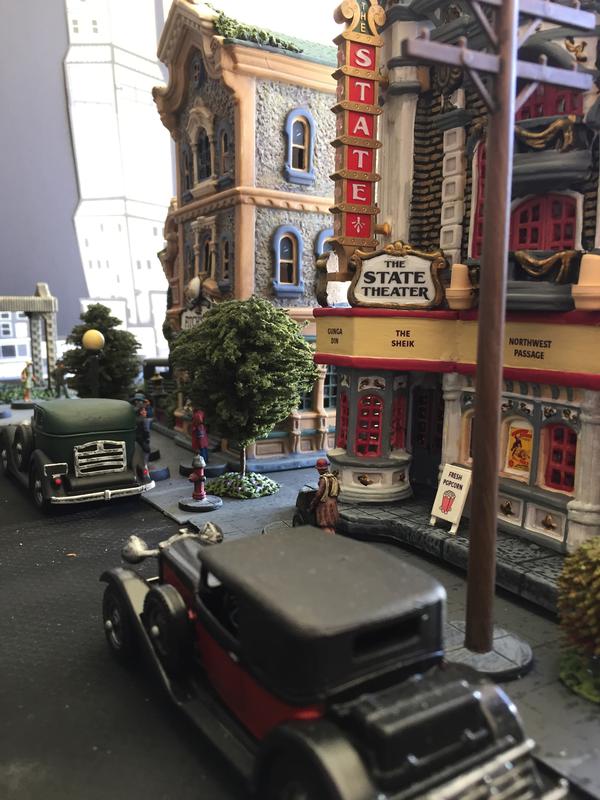
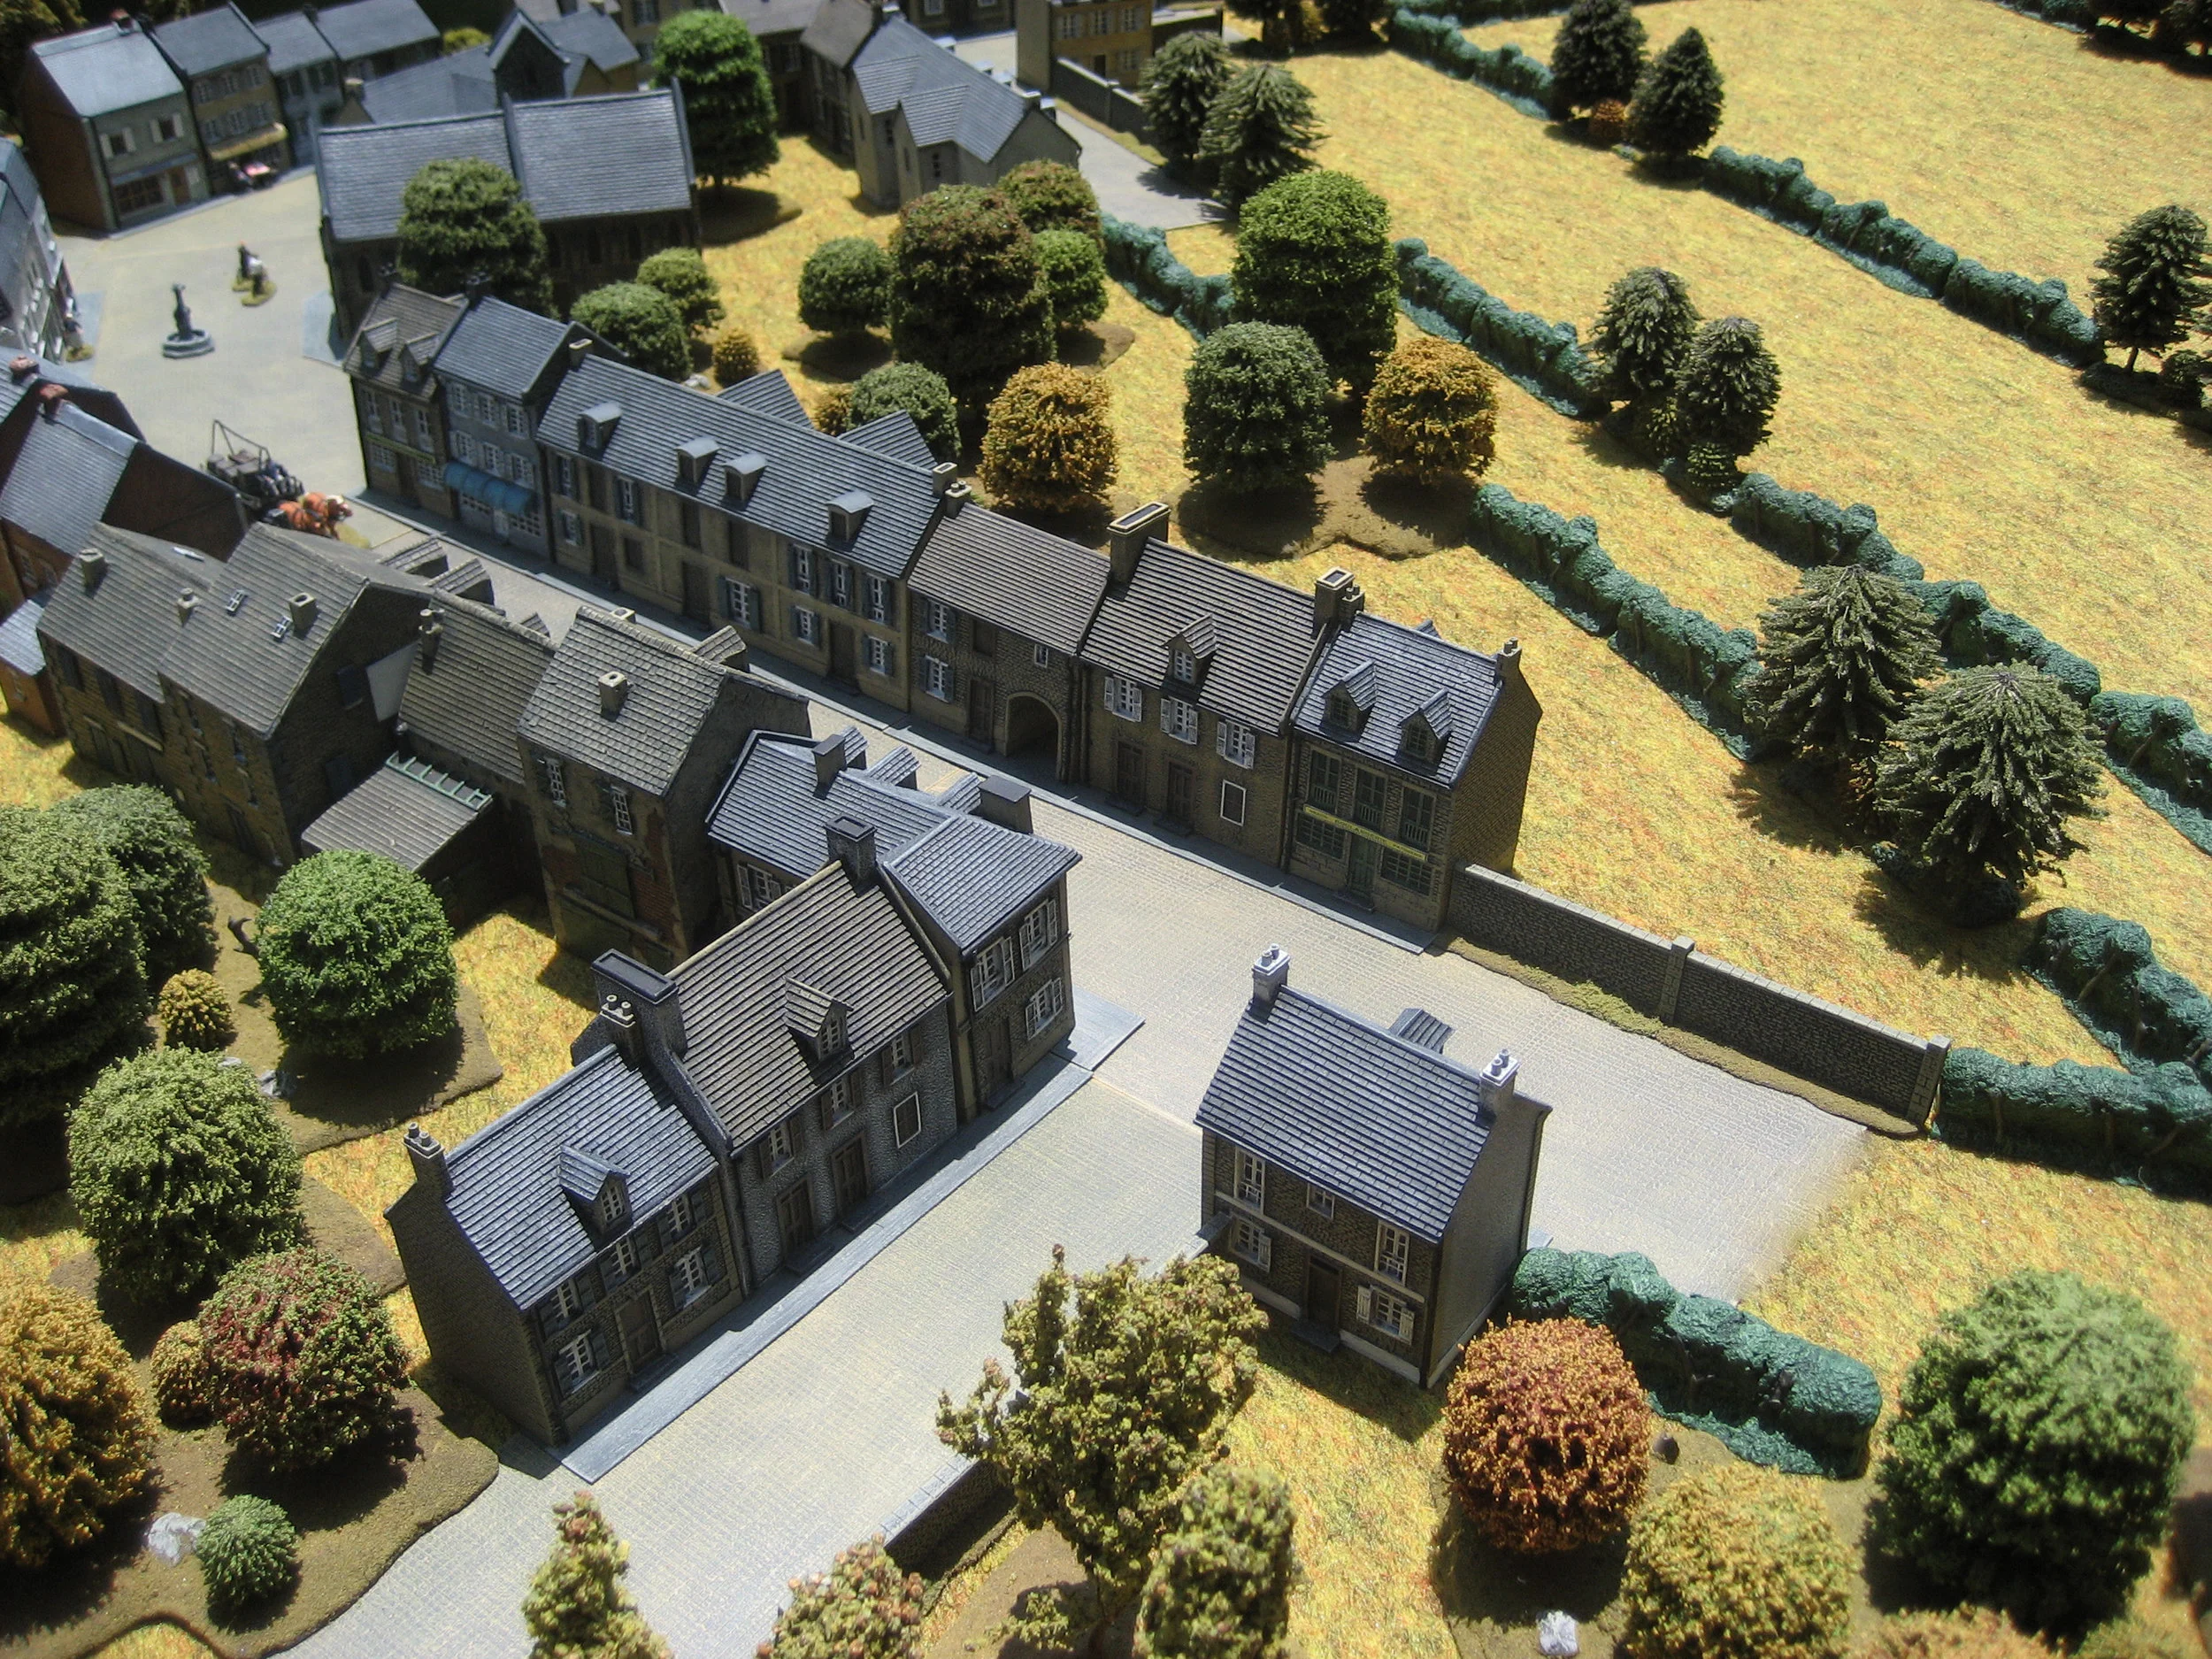
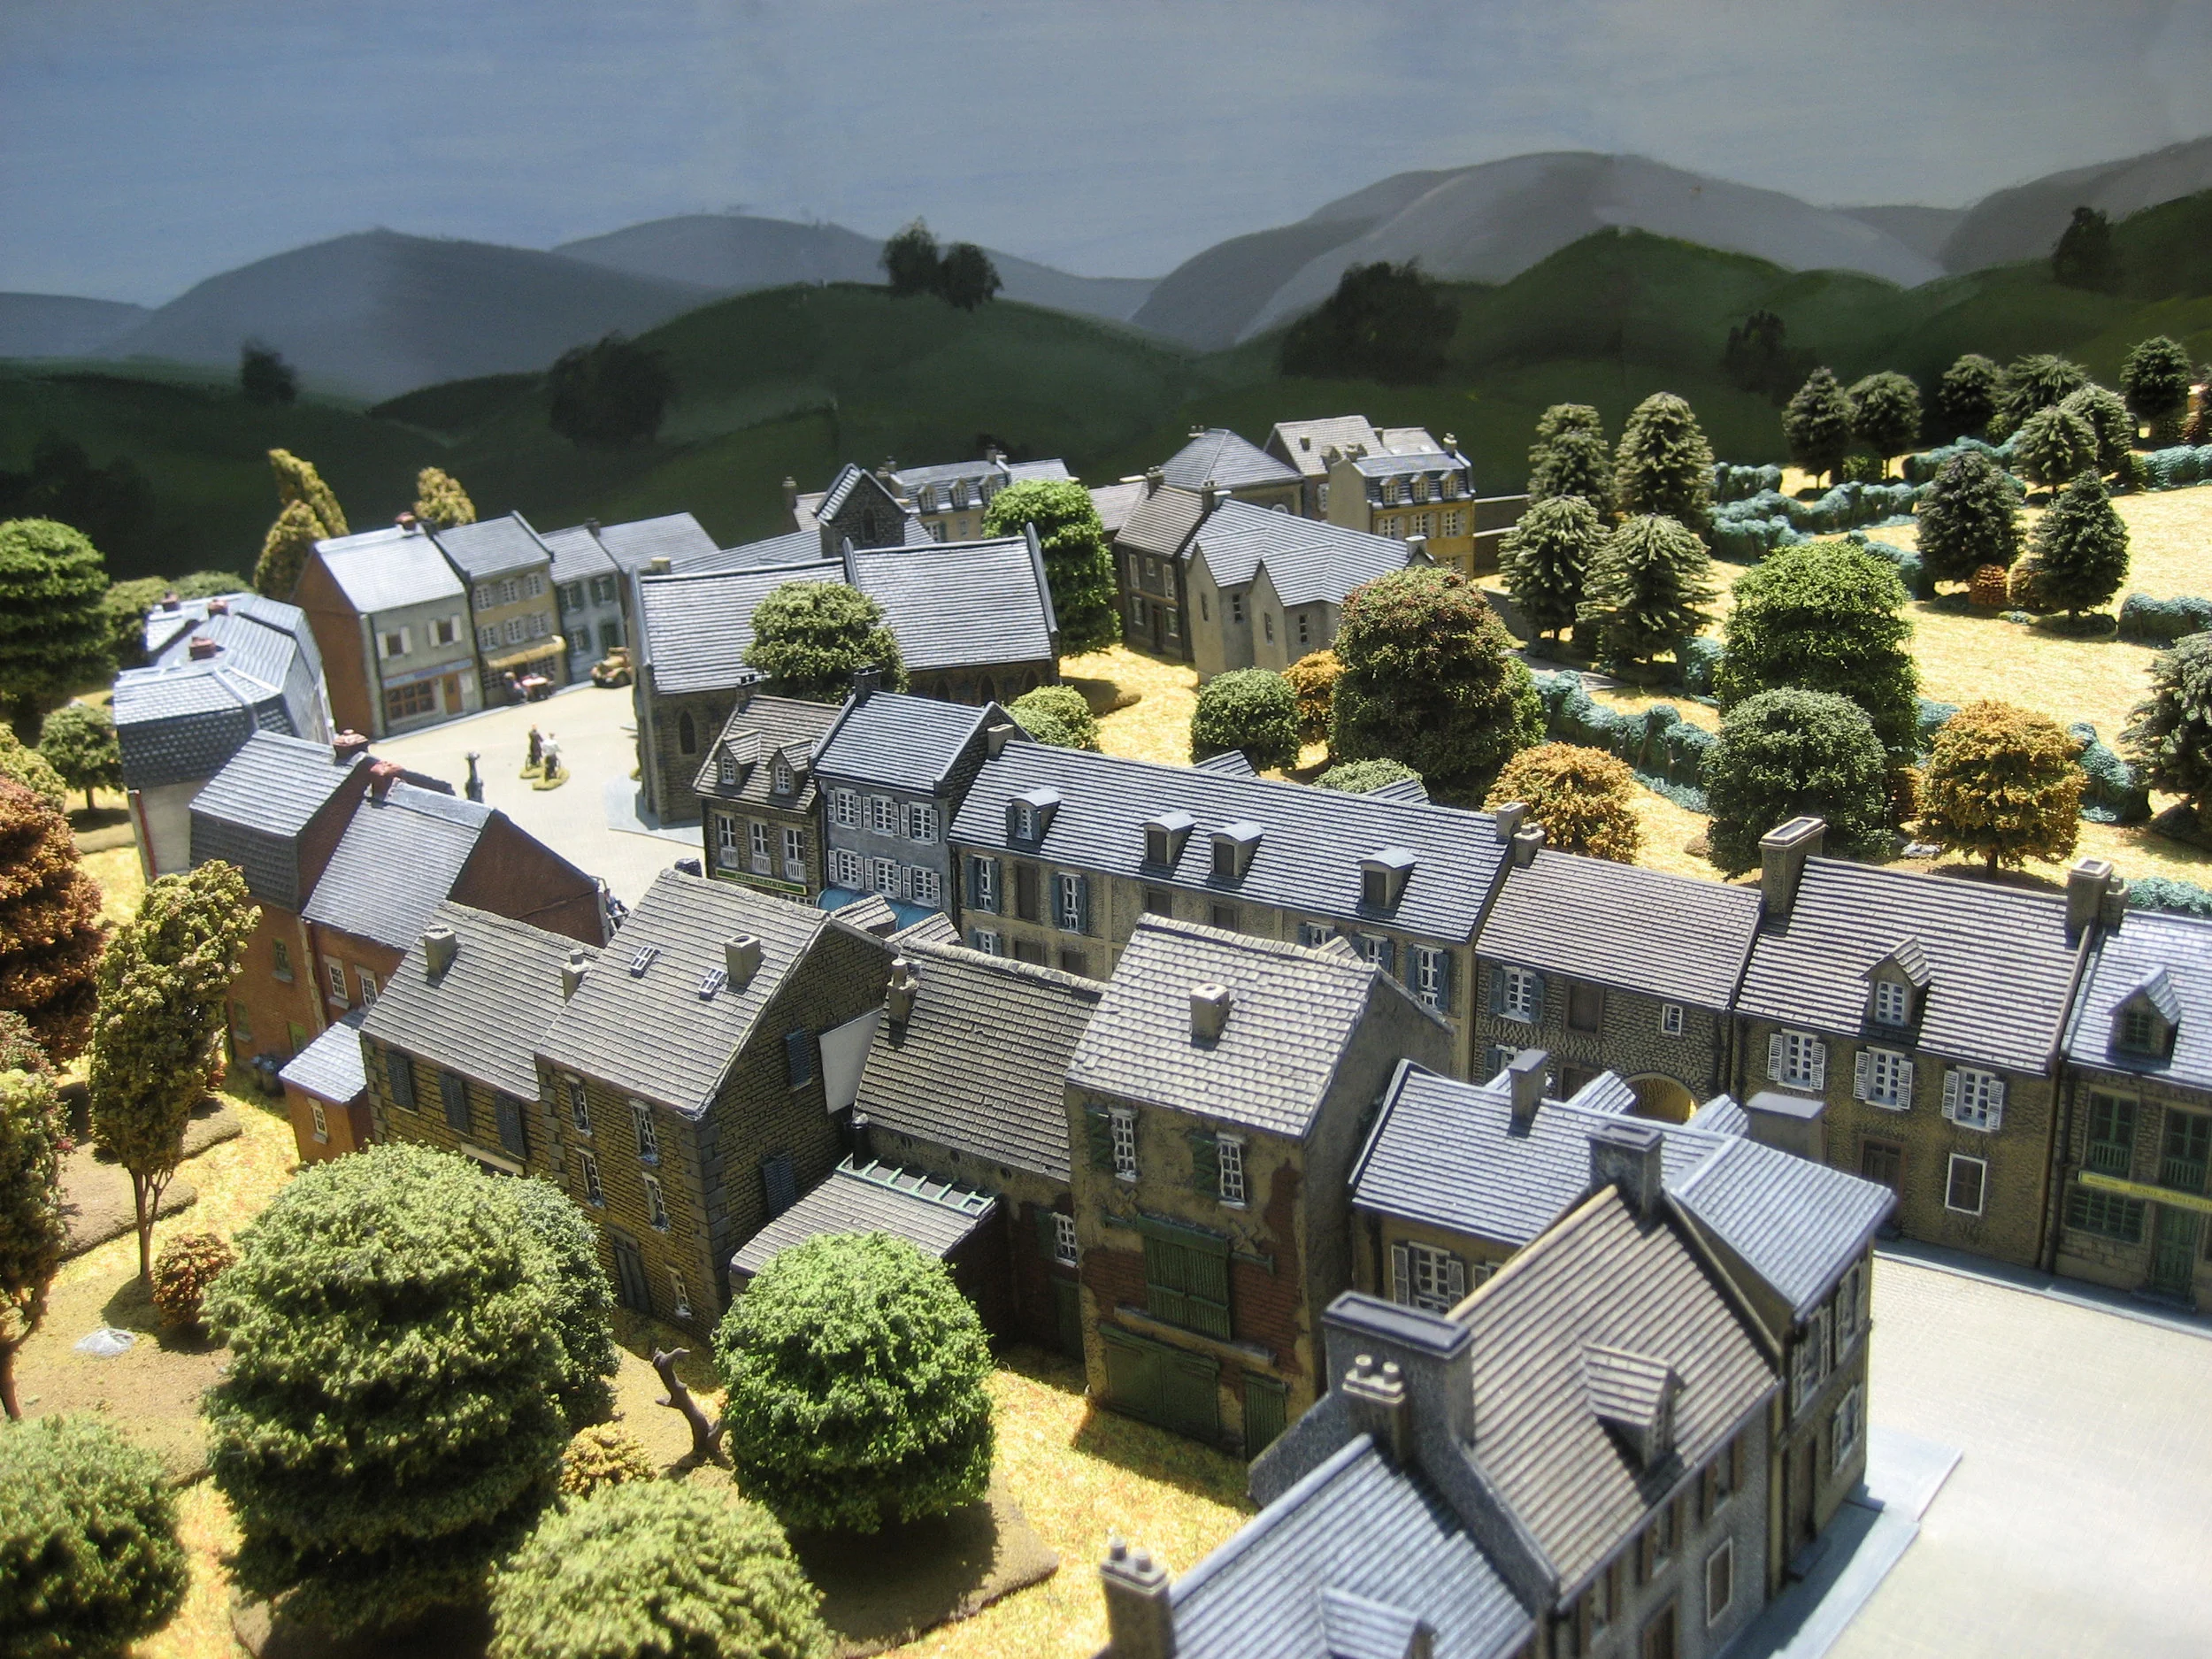
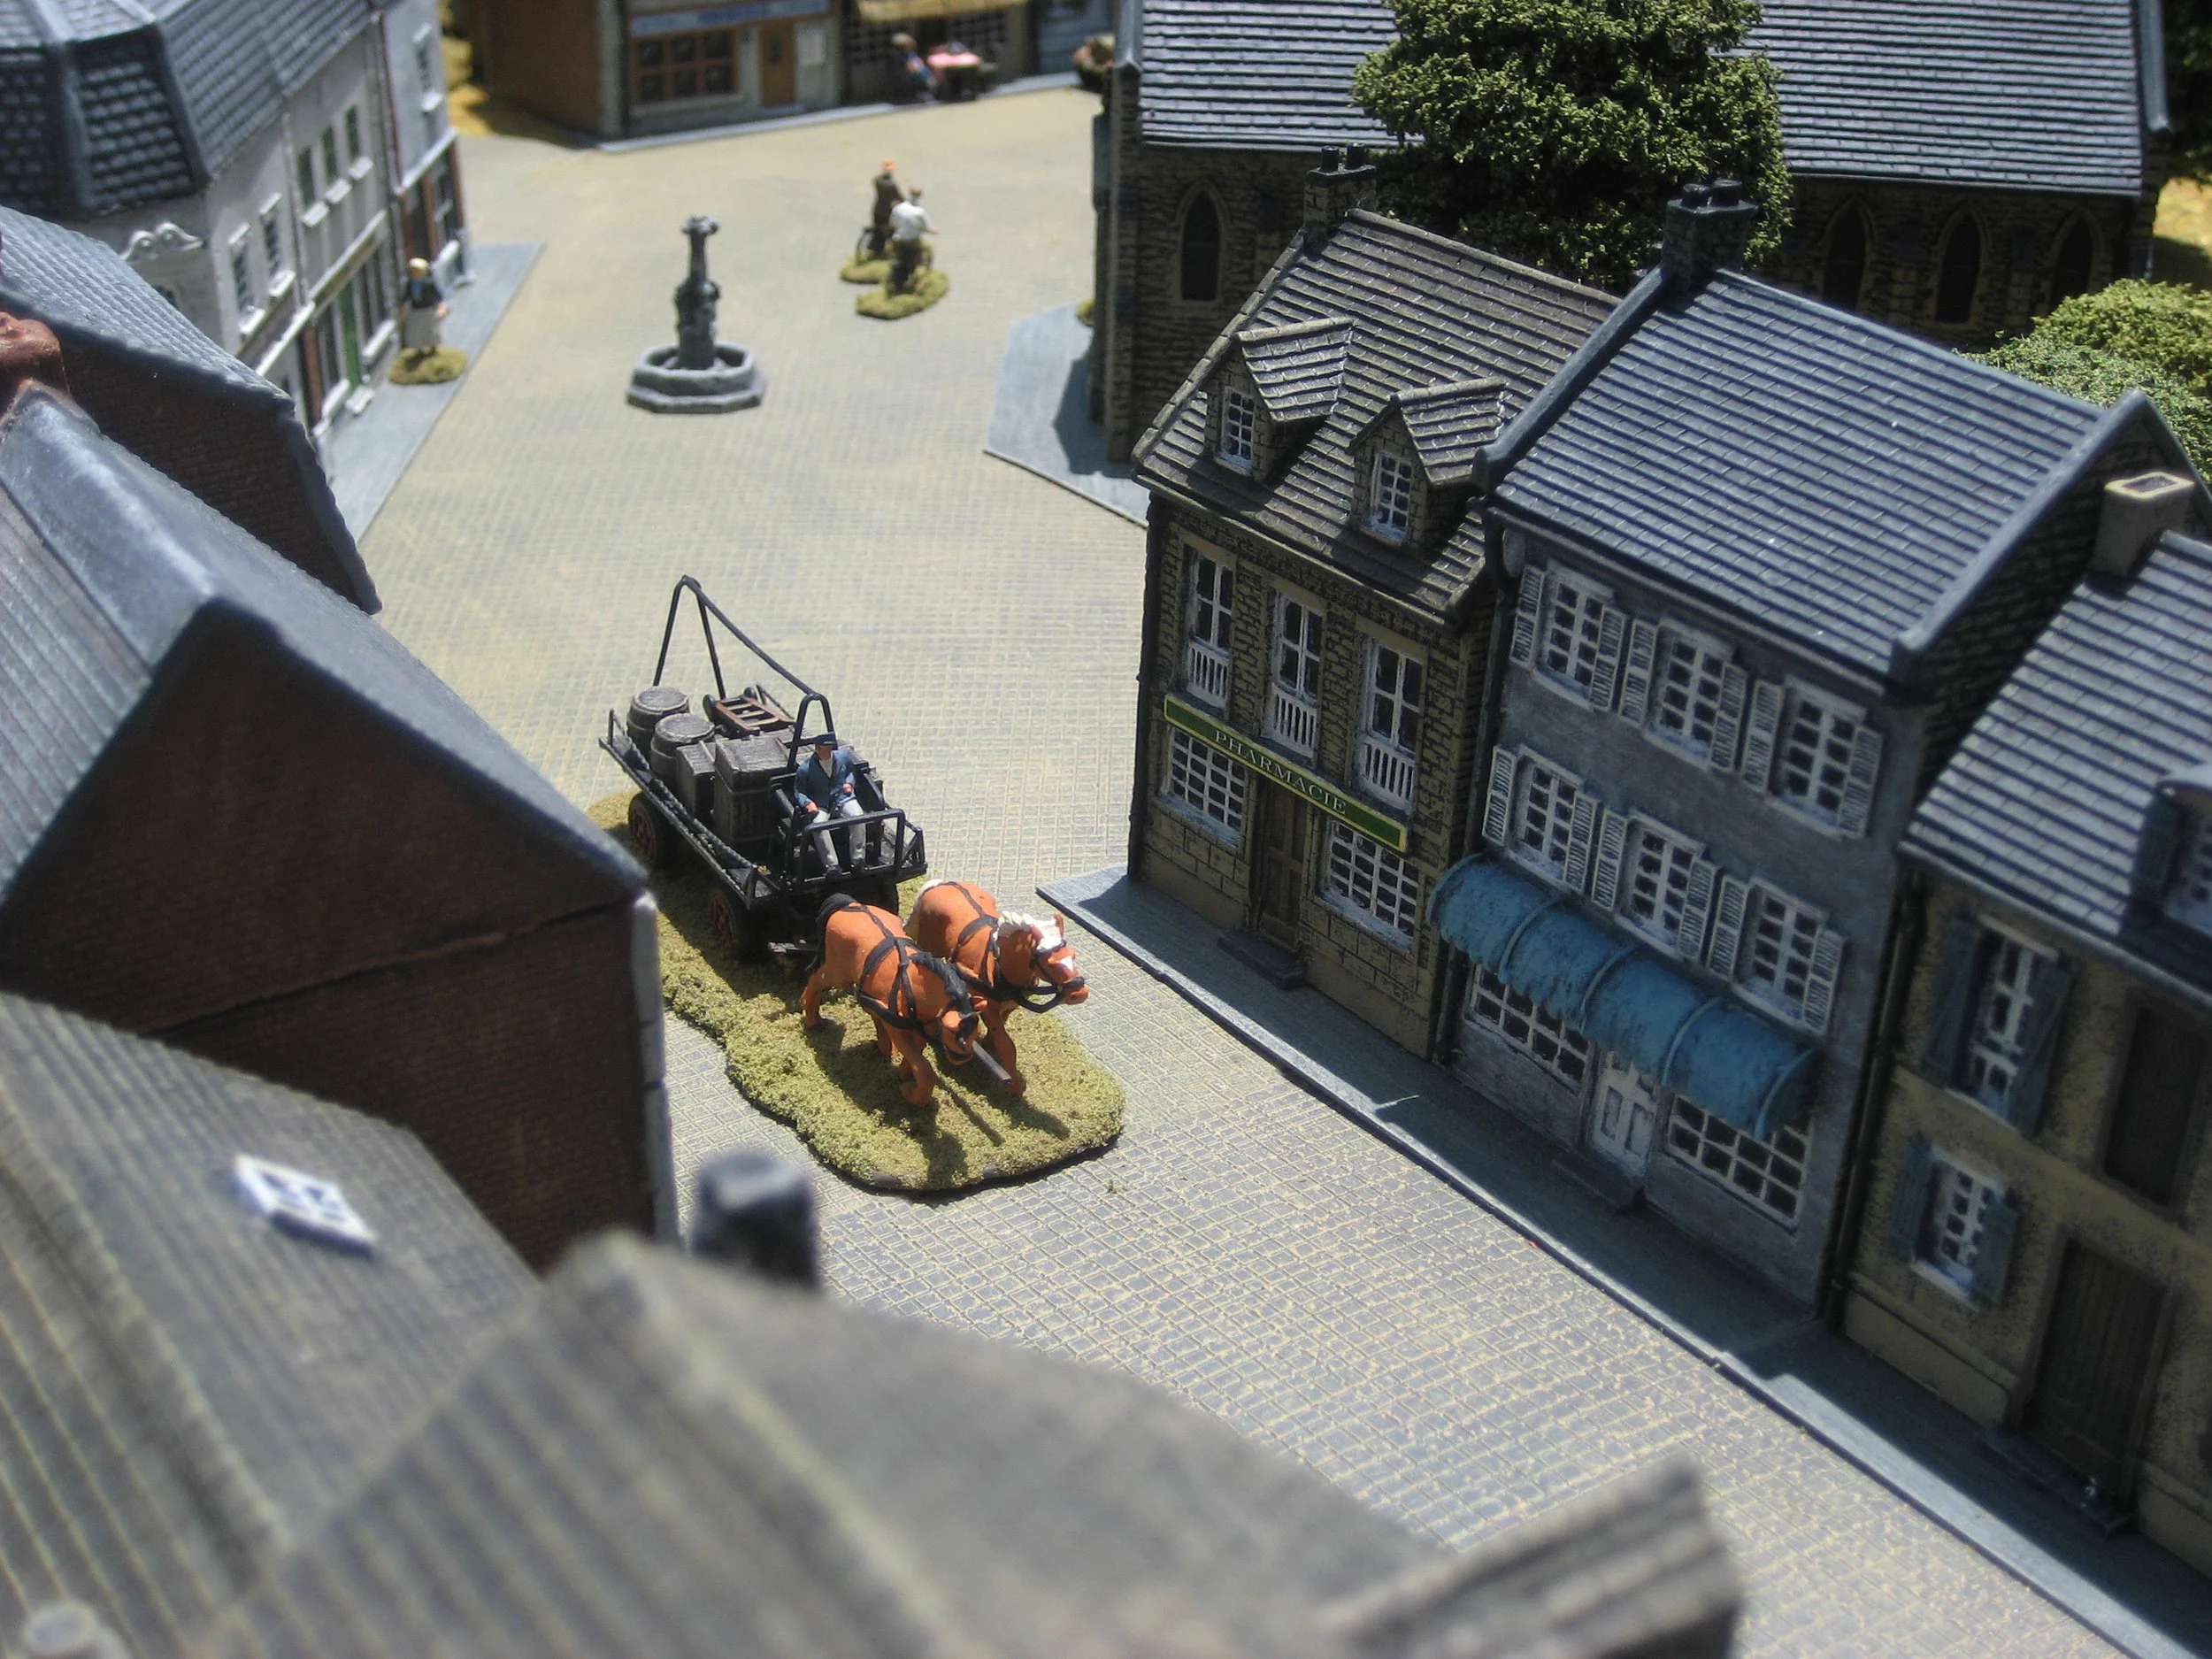
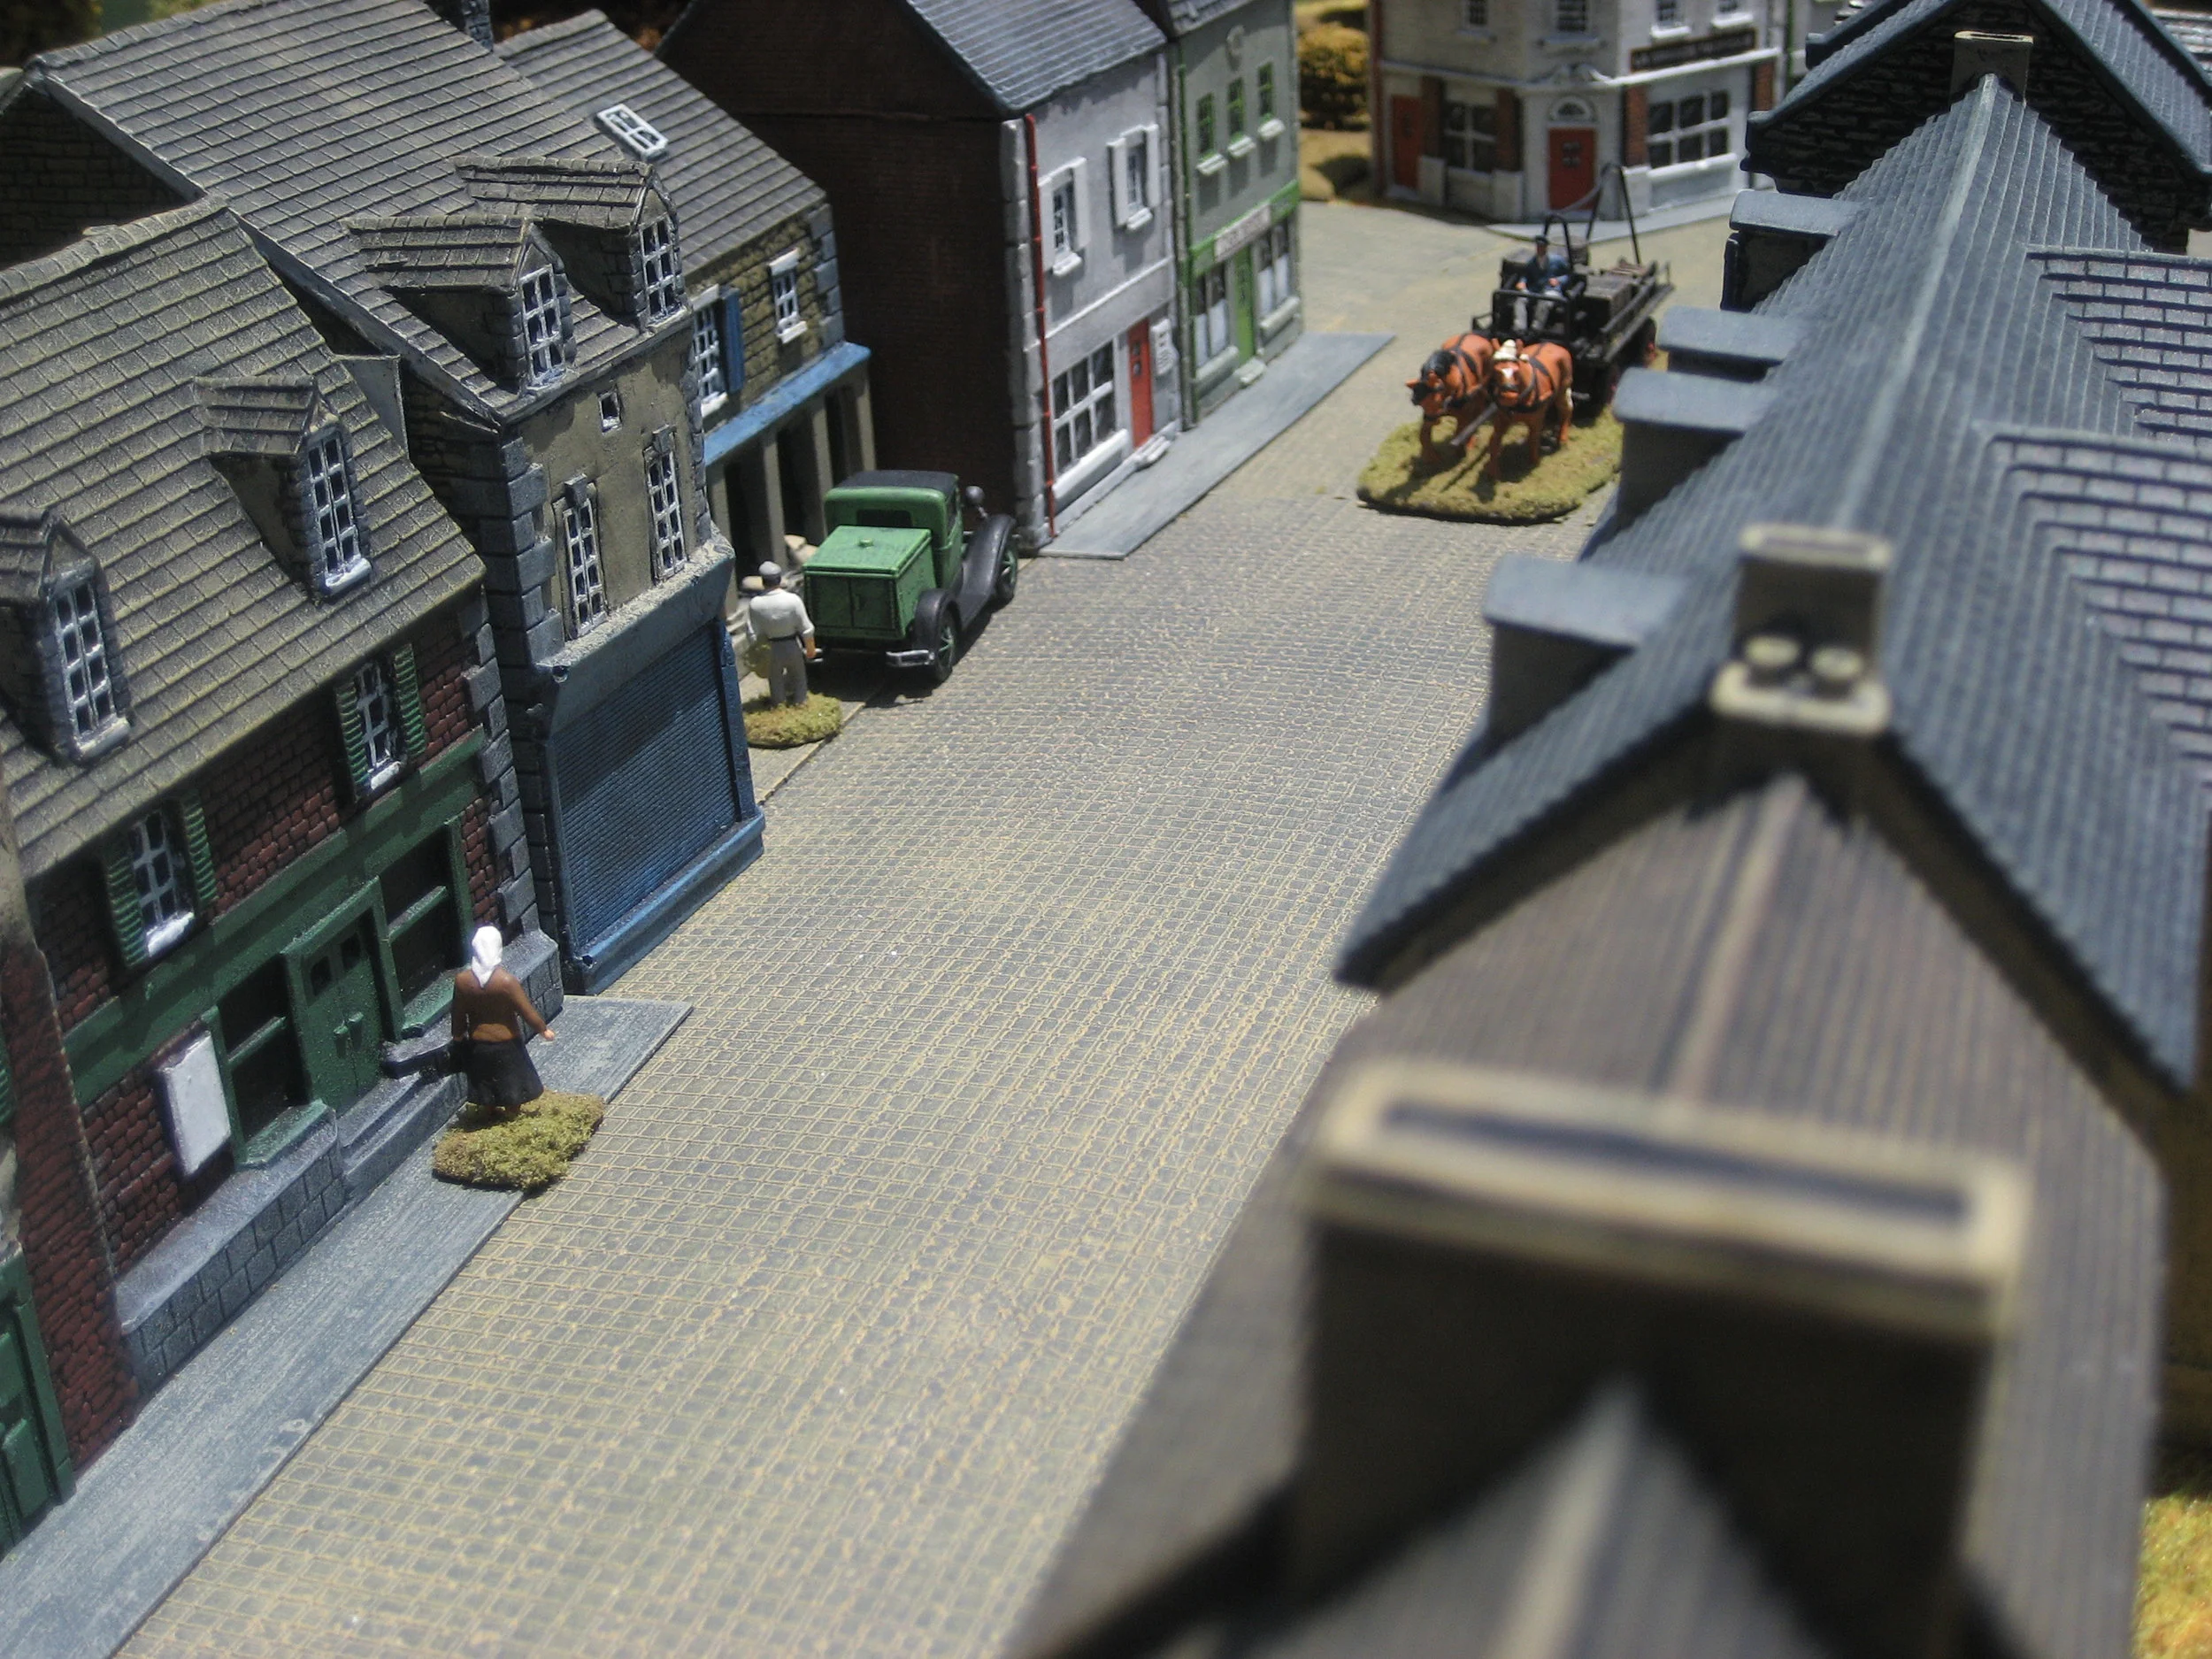
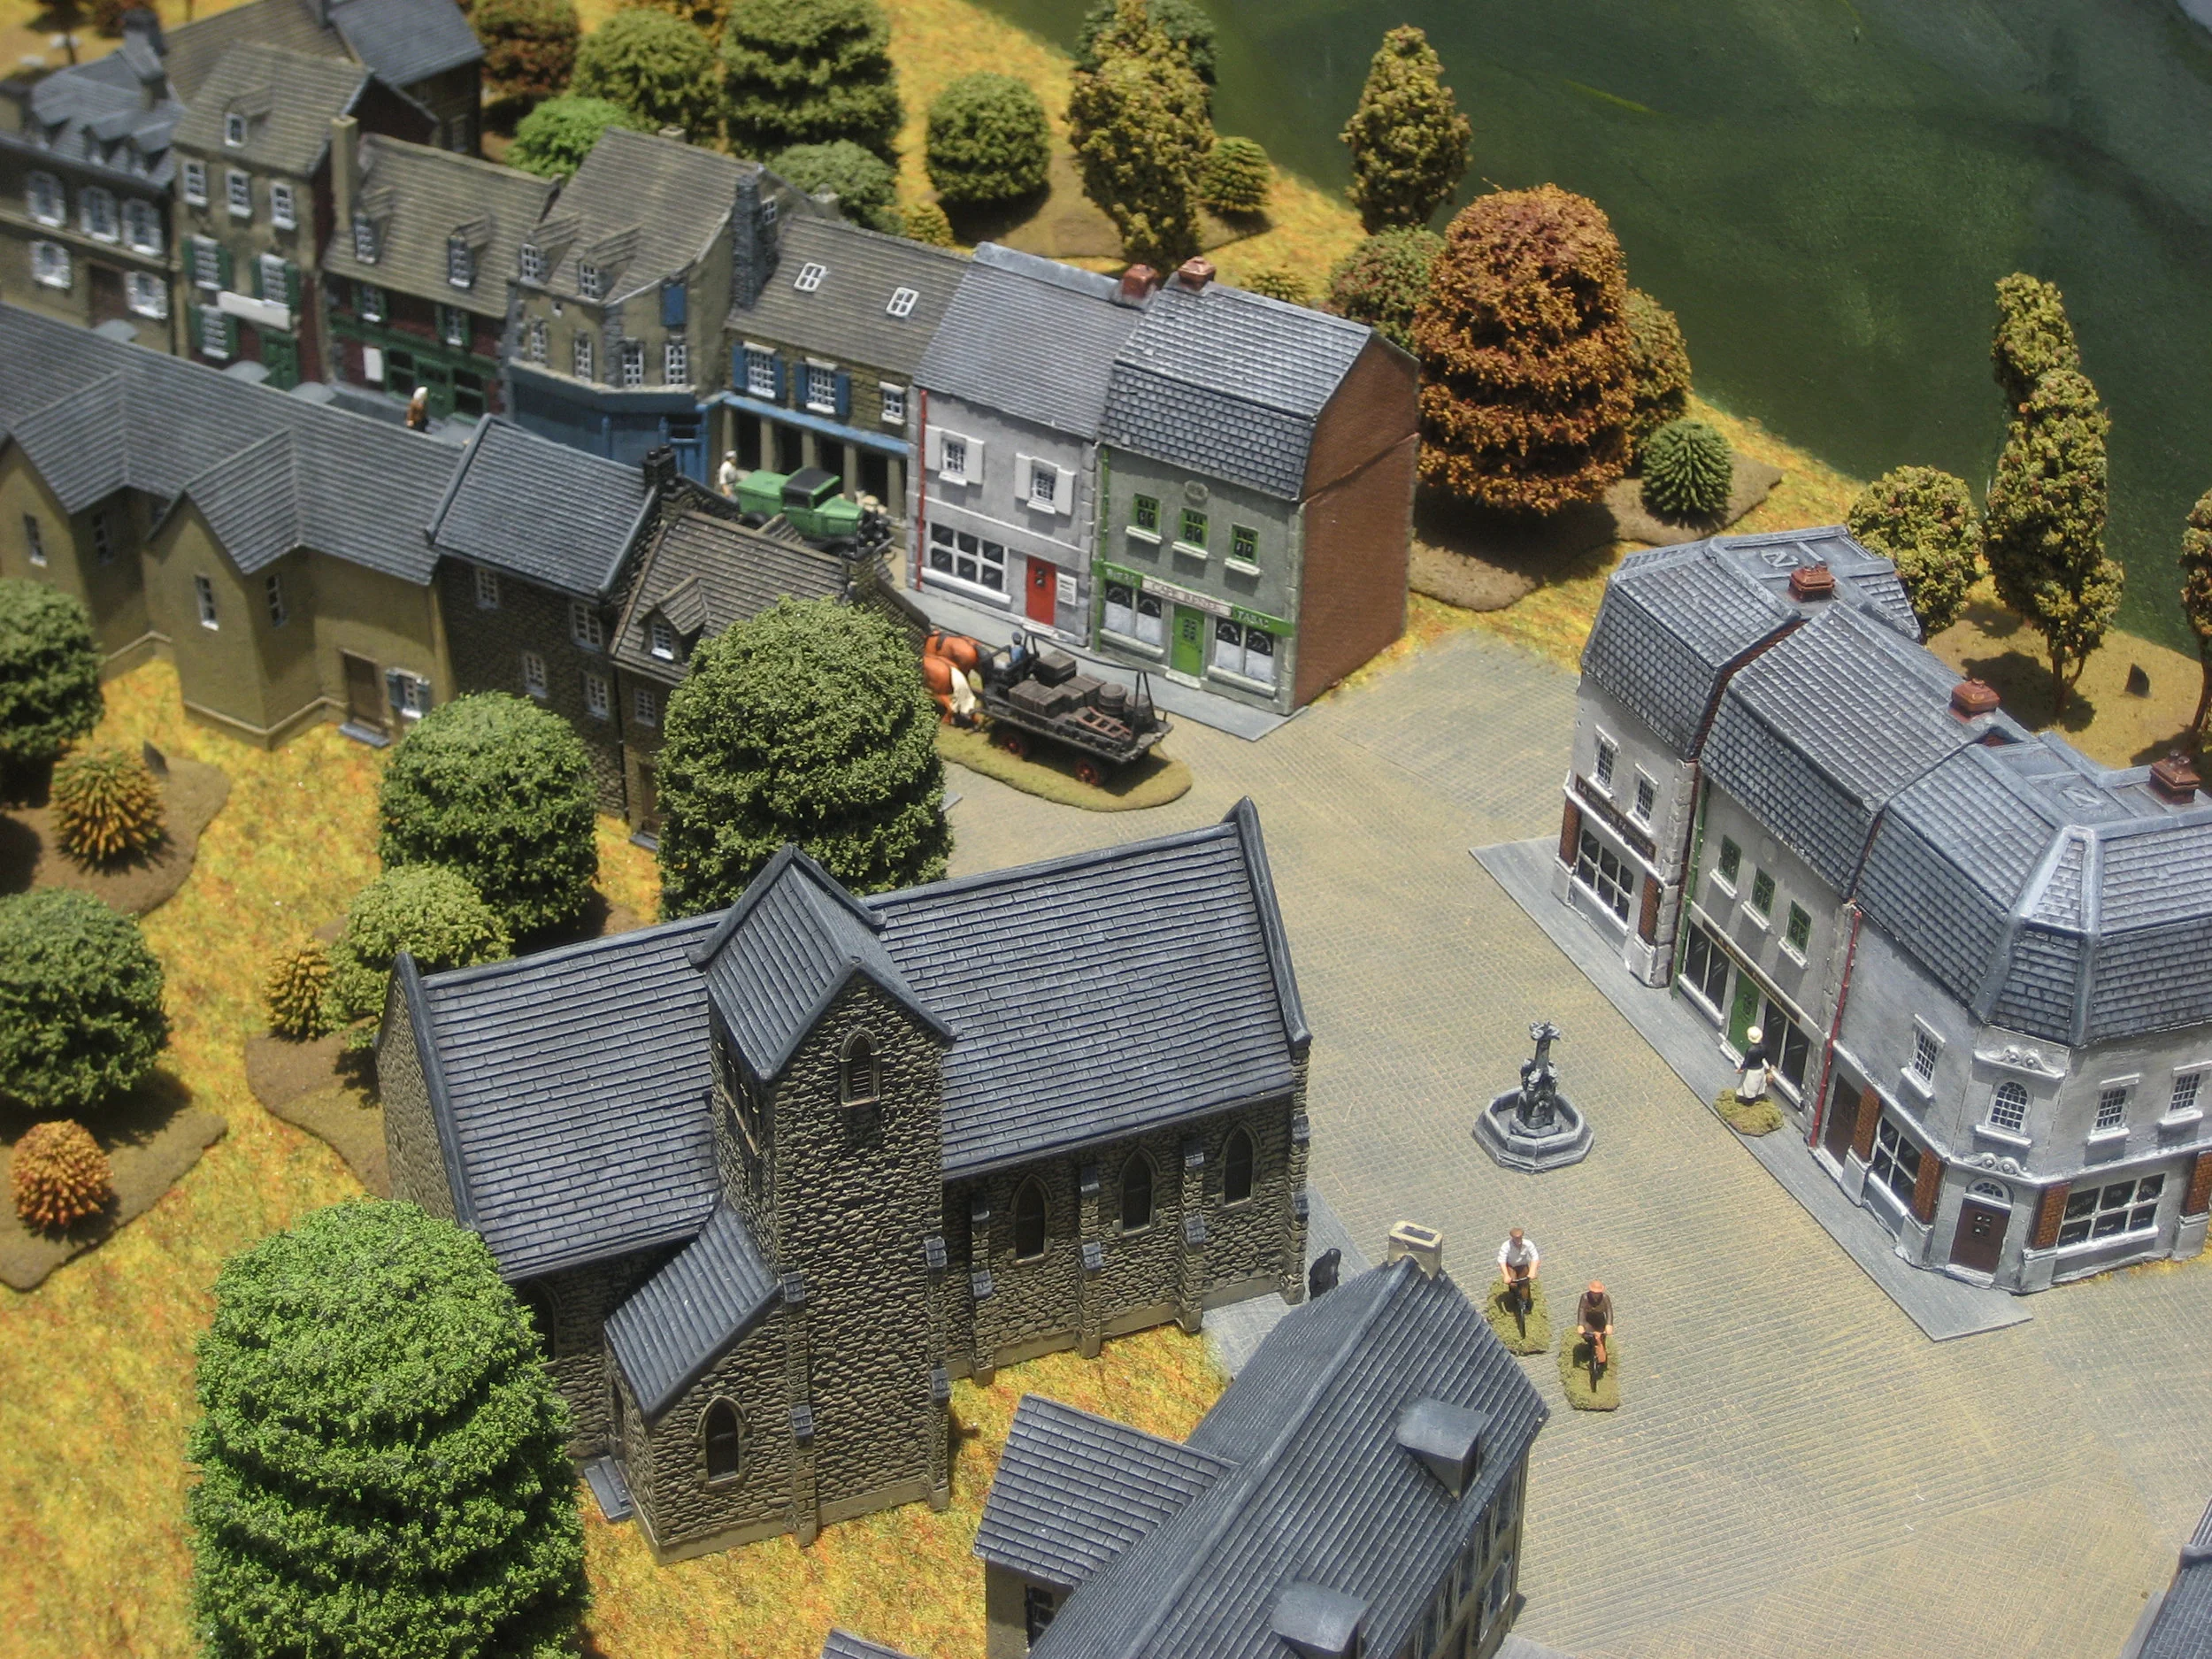
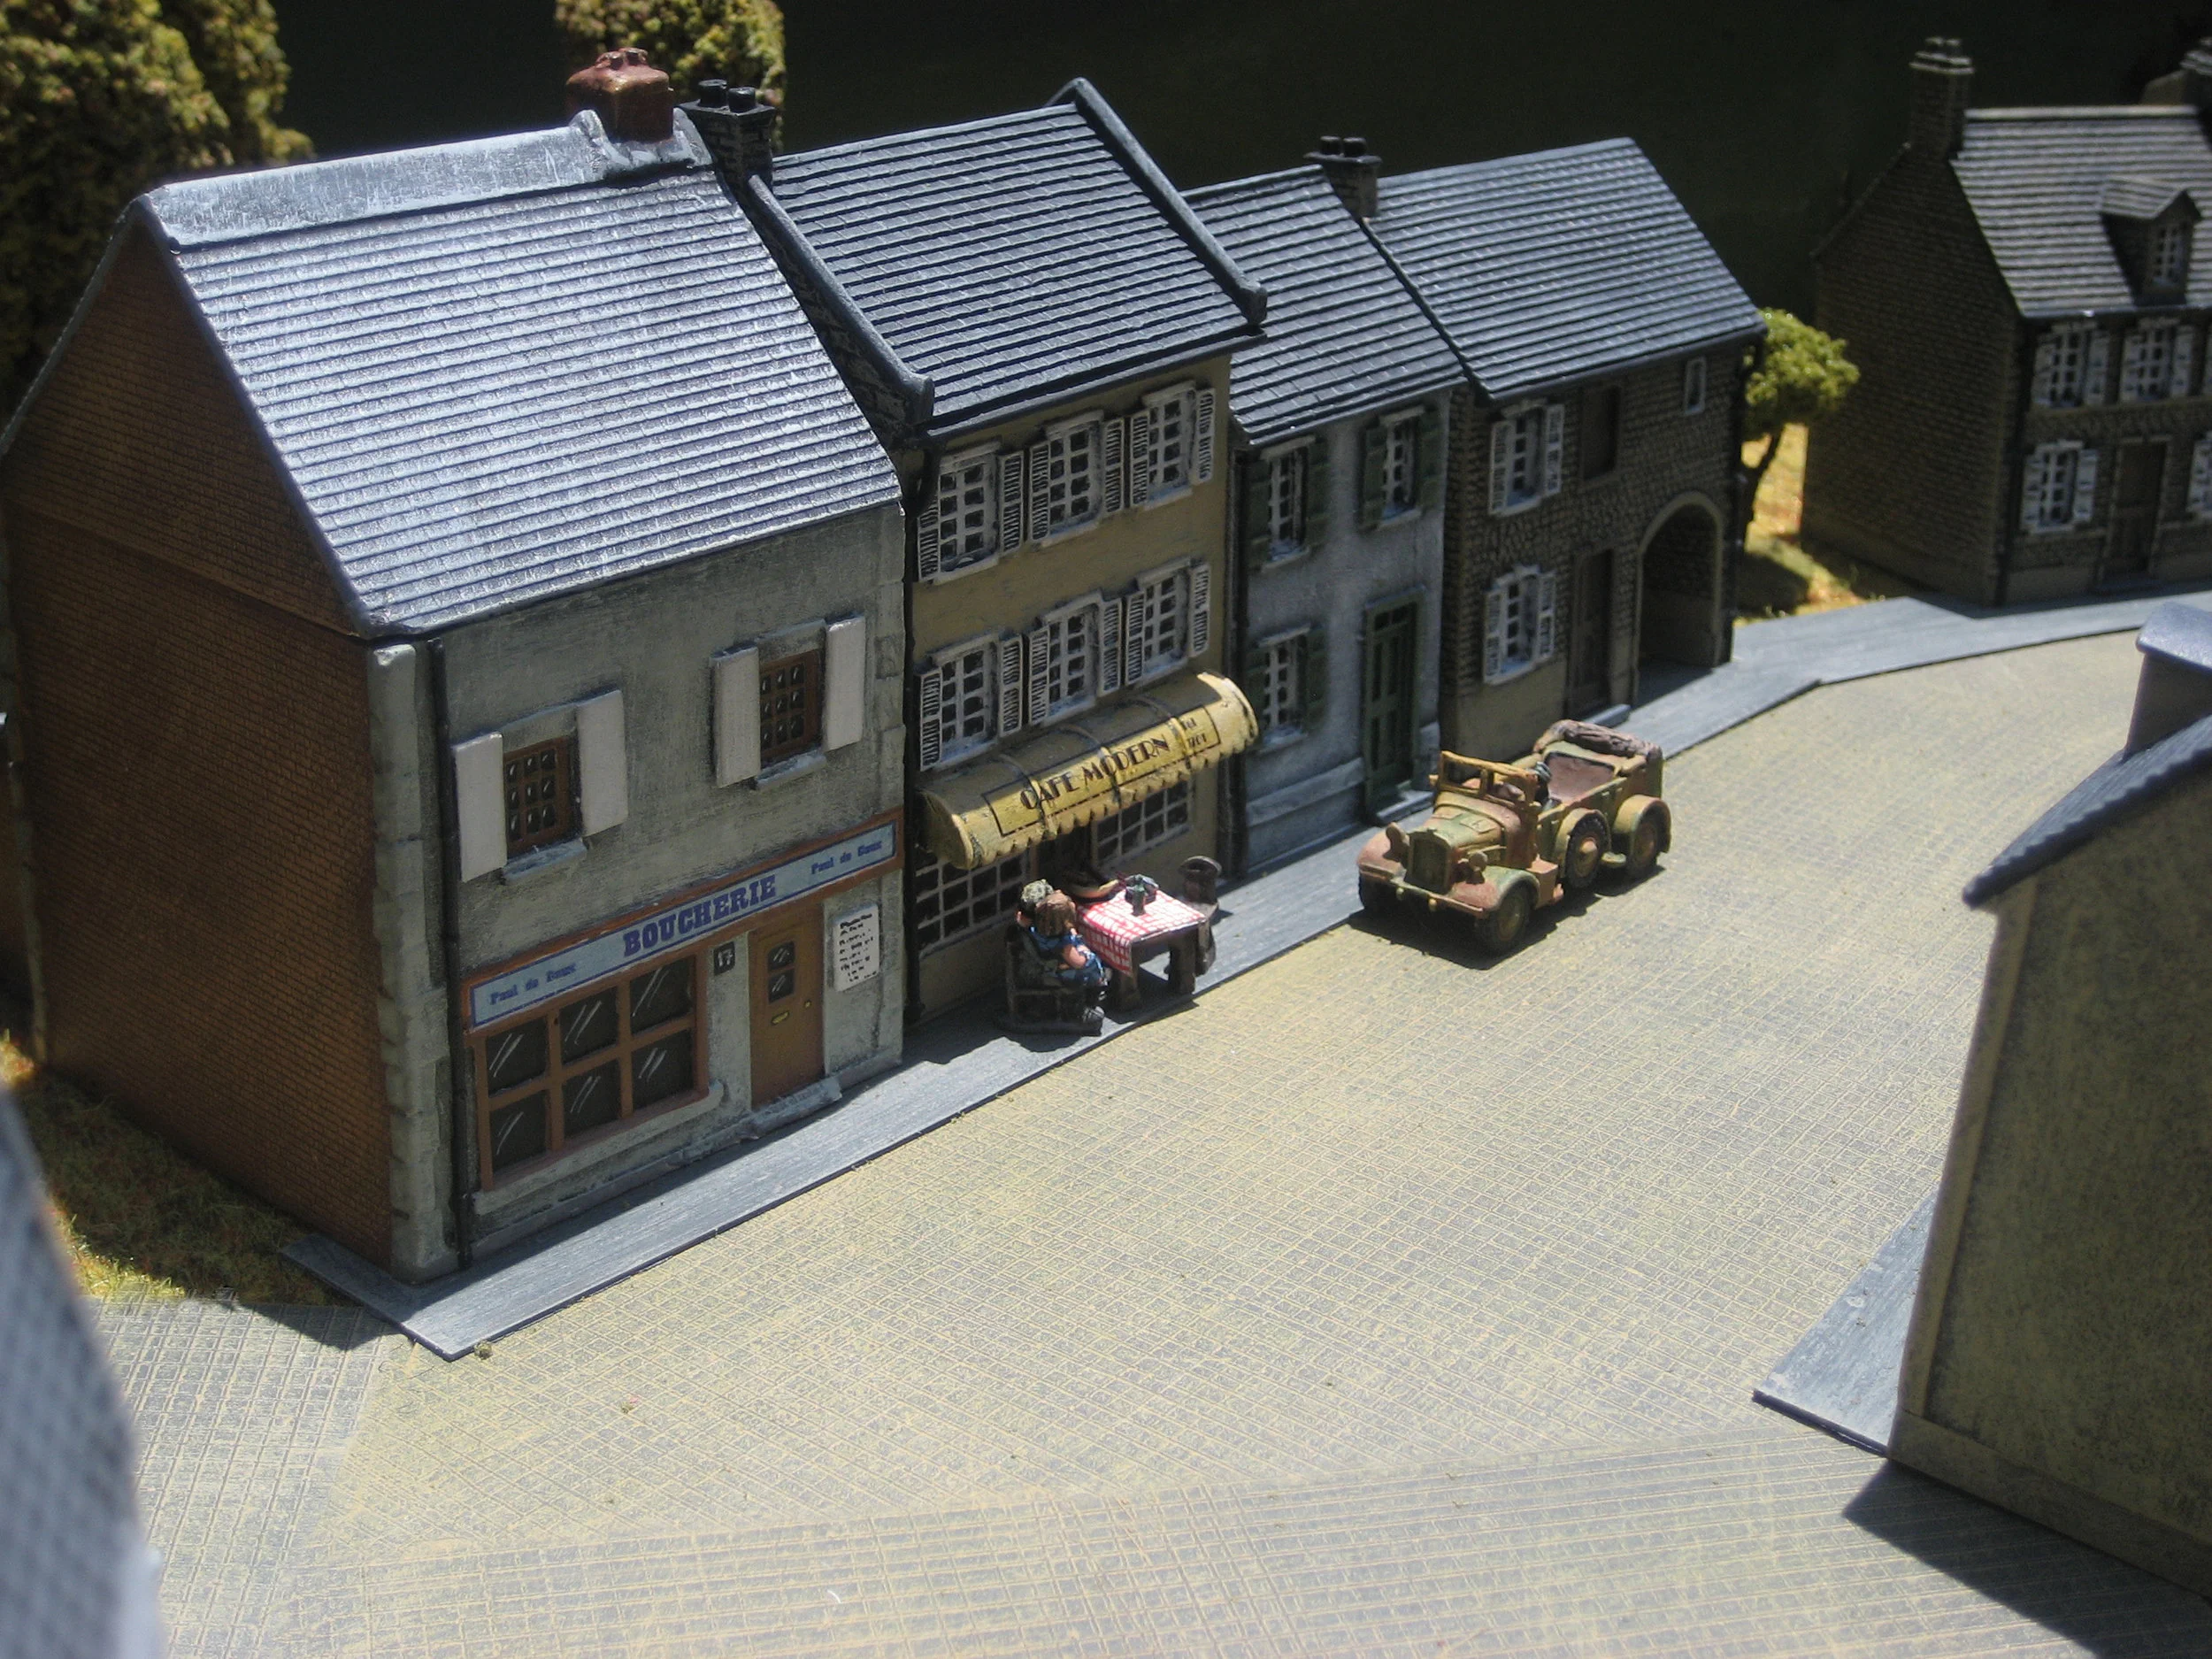
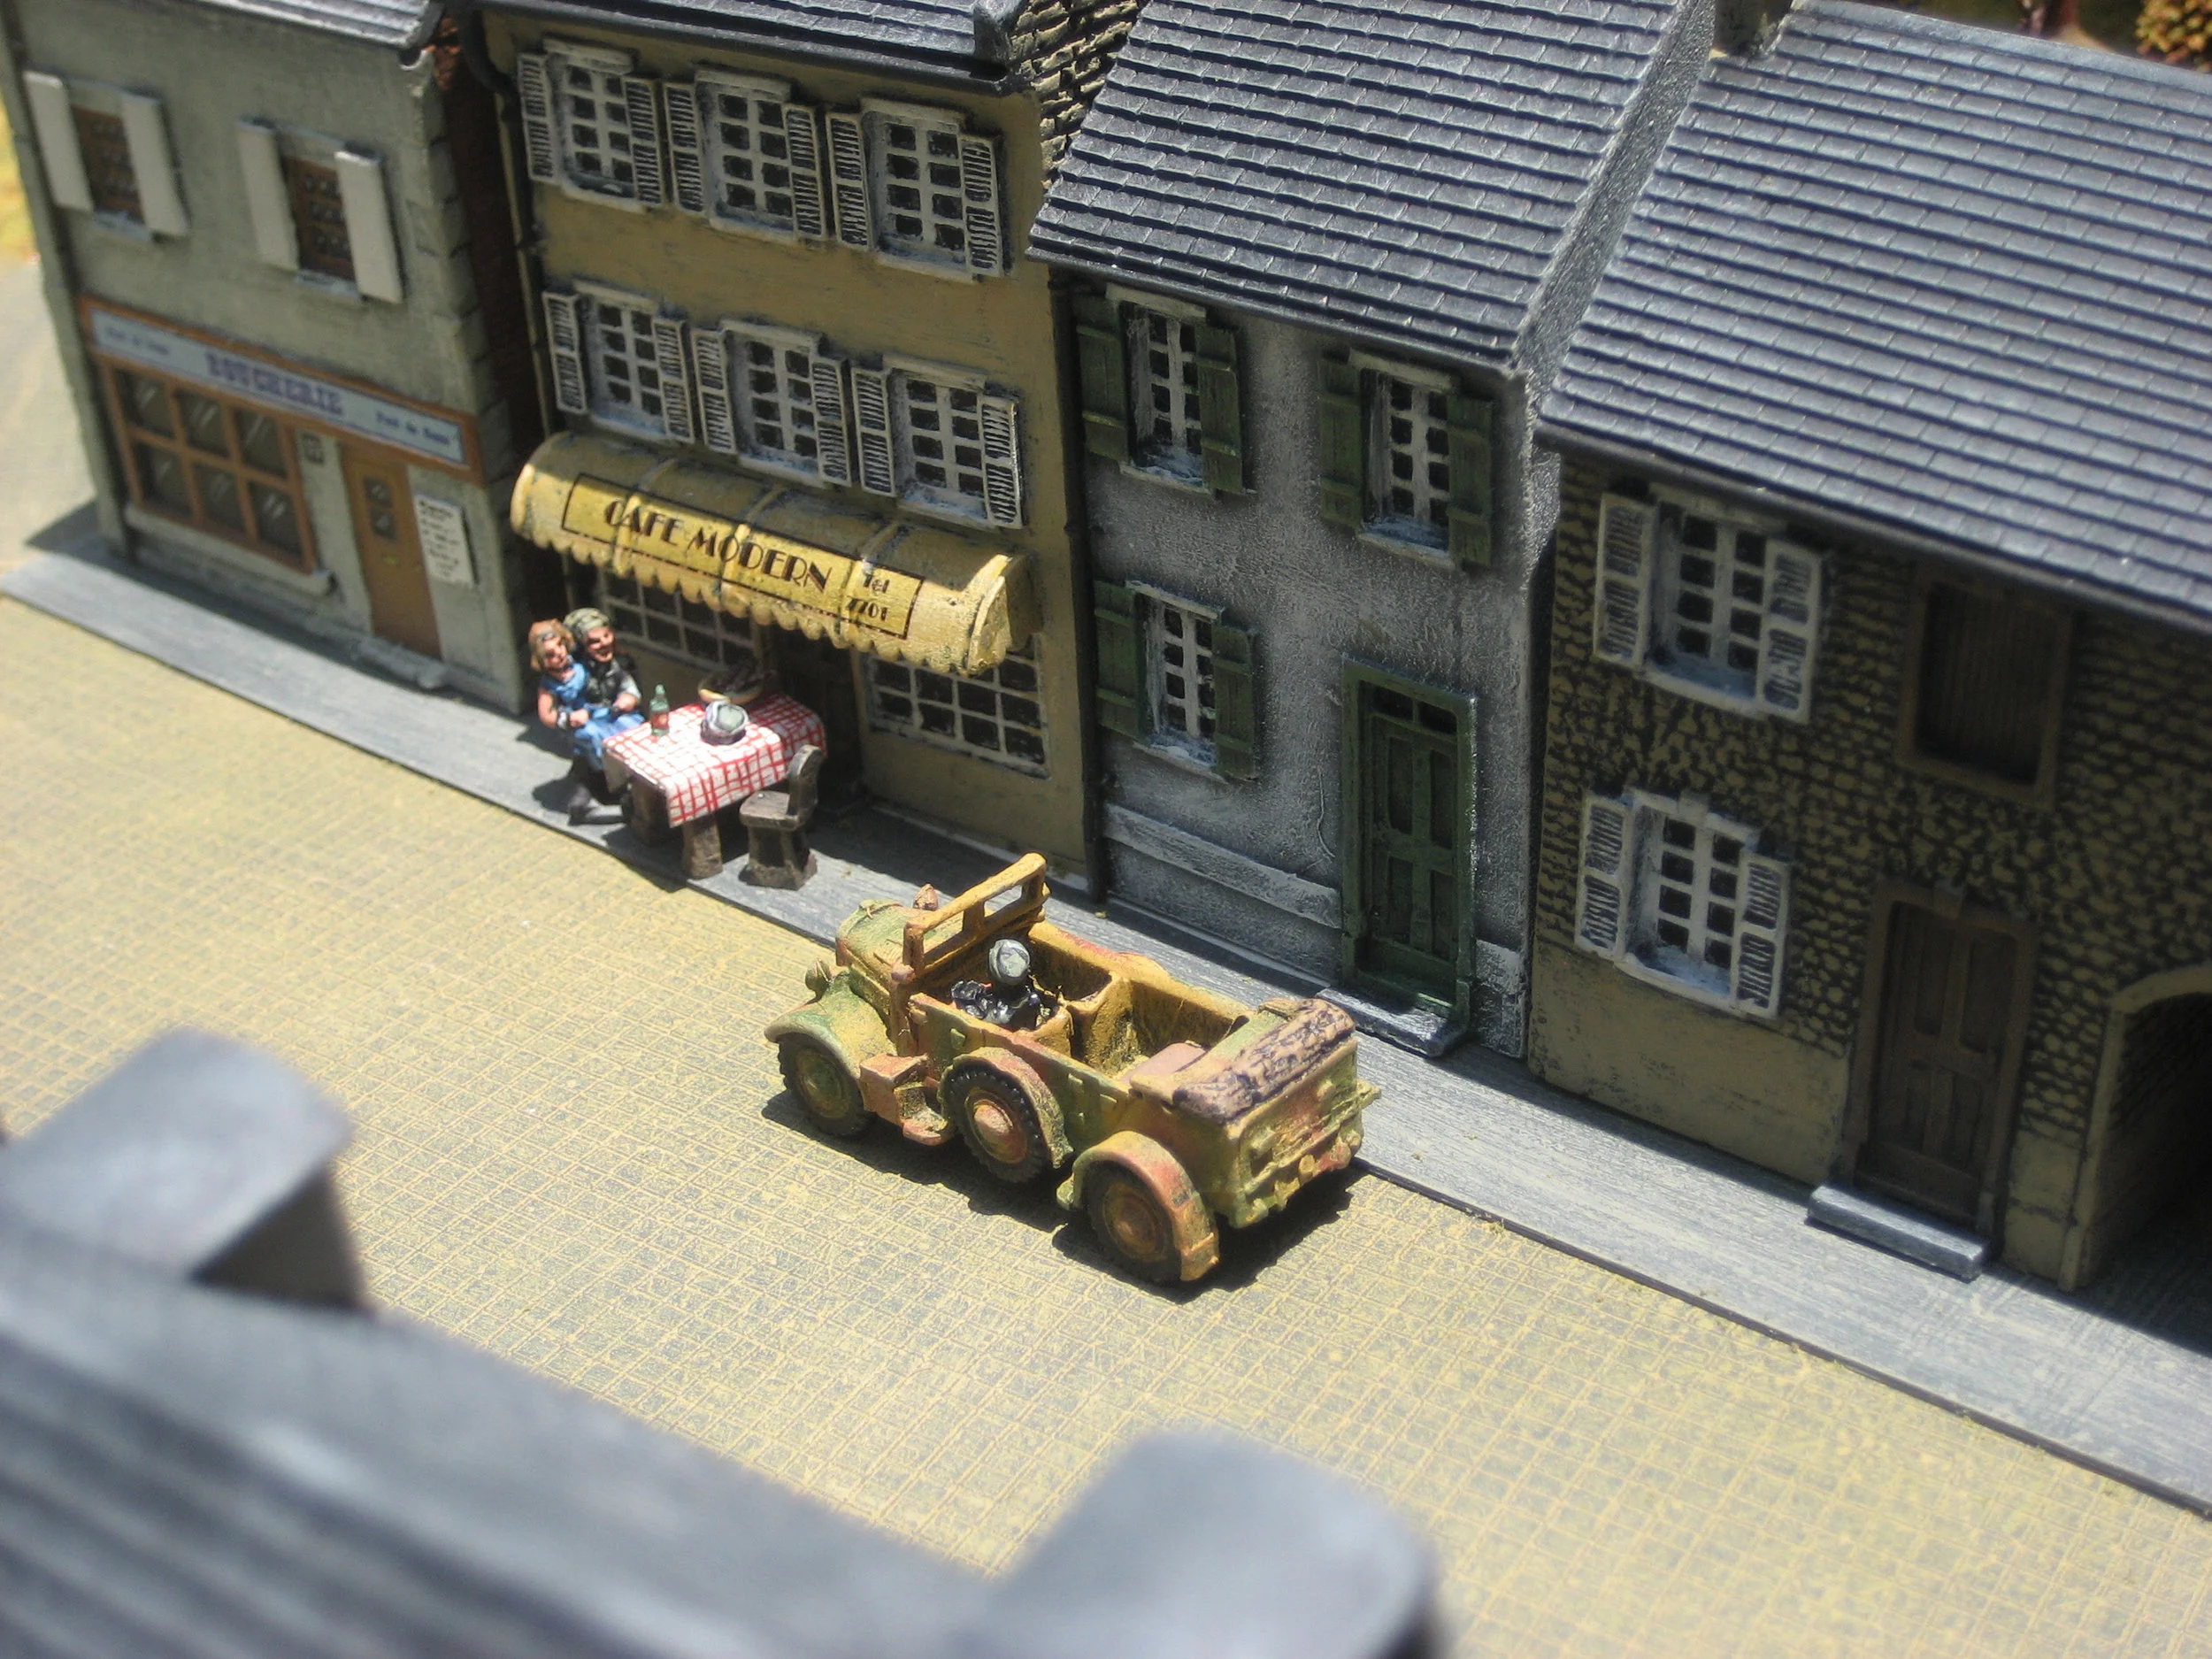
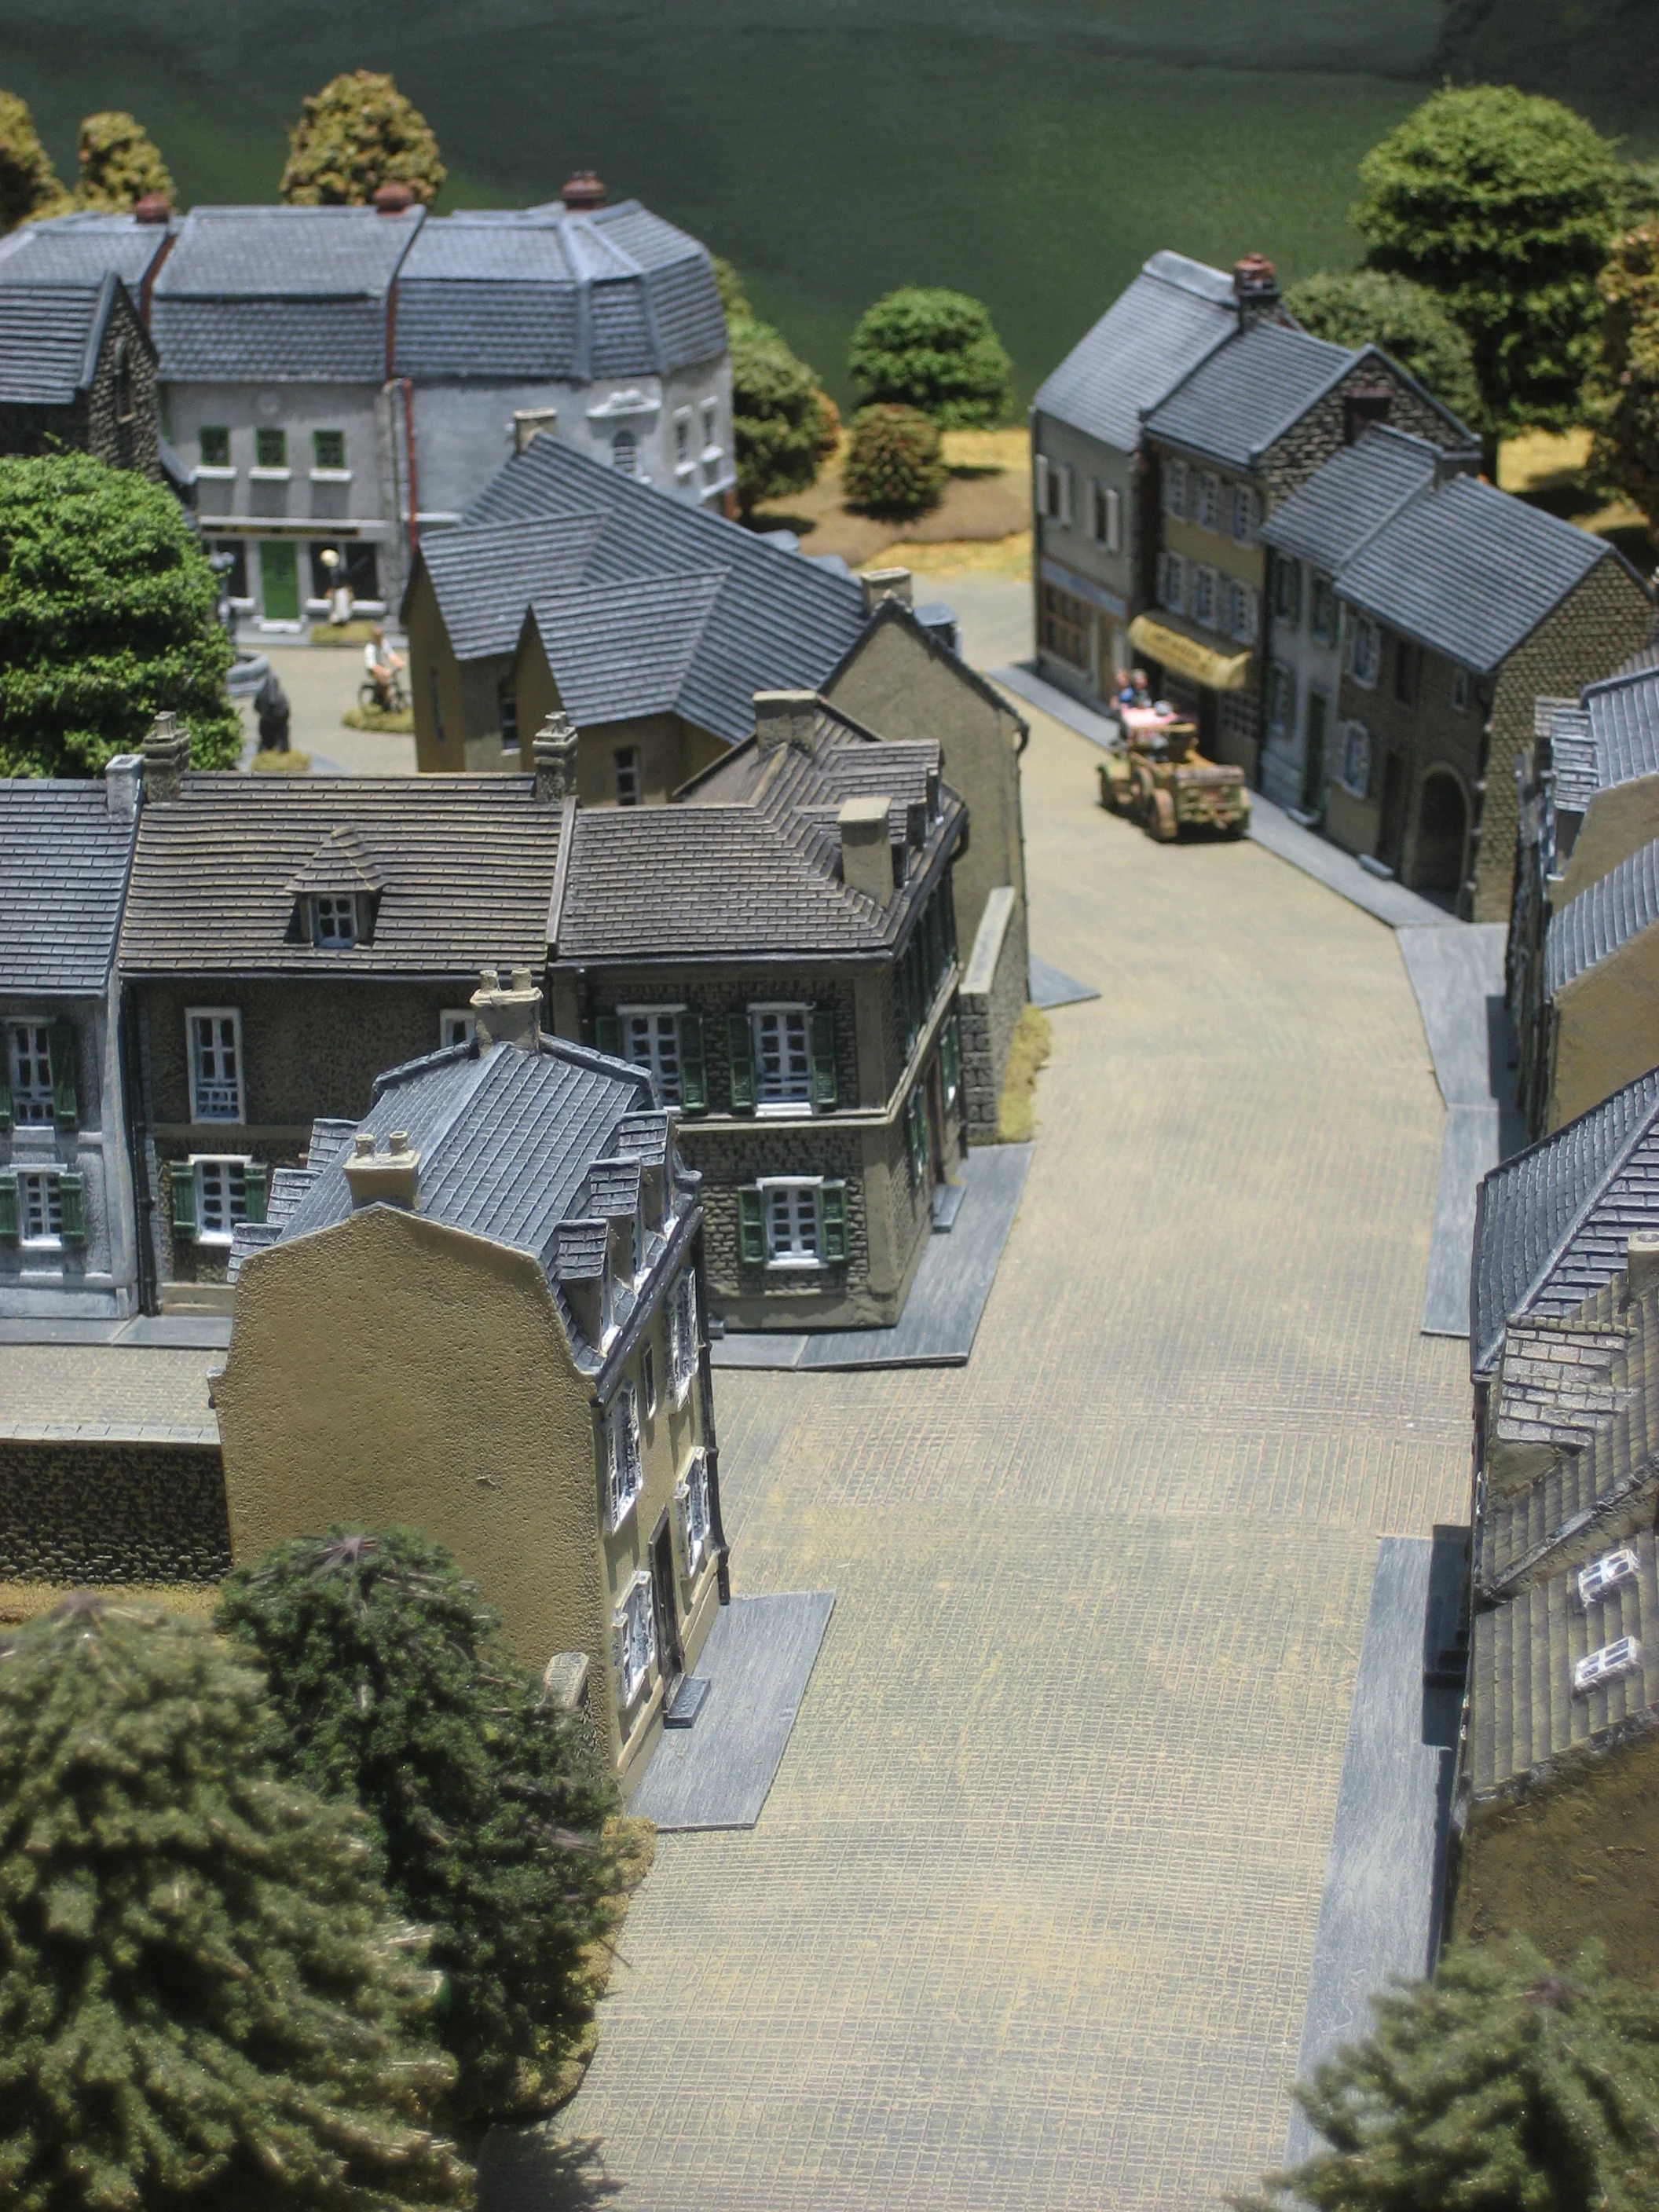
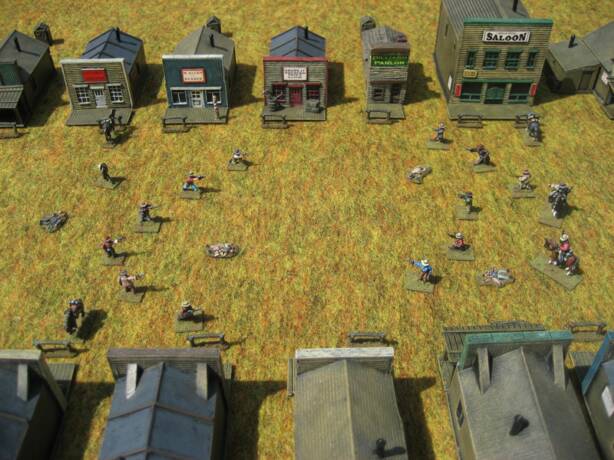
As I indicated above, this collection is rather wide ranging, so I’ll begin with the city portion of the collection In the collection there are obviously lots of figures with lots of guns, but I have gone to great lengths to include as much of the everyday stuff as possible. I believe that was central to the look and success of my Victorian city, and I think it will prove a standout feature of my gangster era city as well. About half of the buildings I am using in the gangster city were also used in my Victorian city. When I built the Victorian city I used a lot of American buildings (RailKing and Old Glory Chicago Buildings), but I added some removable features to those buildings to give them a more English look… removable peak roofs and removable English style chimneys, and removable iron fencing in front of the upper class residences. Those removable features were removed for this project so those buildings now have their more American look. I made an intentional decision in putting this city together to include a wide variety of sources and materials for the buildings incorporated in the city… resin, plastic and porcelain. I supposed it was kind of a personal test to see if I could pull it off. I hope that because they were all painted by the same guy (me) and in the same basic style they will have a compatible look despite the different materials that went into their manufacture. Whitechapel was a real area of pride for me in my Victorian city because at the time I put that collection together I had to scratch build the row houses and pub for that area, and I love they way they turned out, but the gangster city has no Whitechapel so that entire street had to be replaced with other buildings. I decided that would be exactly the right place to use as the setting for my porcelain Lemax and Dept. 56 style buildings (with the exception of the Deli, they are all swap meet finds; the Deli is a 60% off post-Christmas purchase at Michaels from a couple years ago). As I indicated earlier most of the other structures in the city are by RailKing and Old Glory 25s, but there are also buildings by Plasticville, Design Preservation Models, Pegasus, and repurposed toy buildings from The Cars Movie. The light posts are Old Glory; the fire hydrants, mailboxes and trash cans are by Model Power. I think the telephone poles are also Model Power, but I am not sure because I got them in a baggie on the bargain table at my local train store.
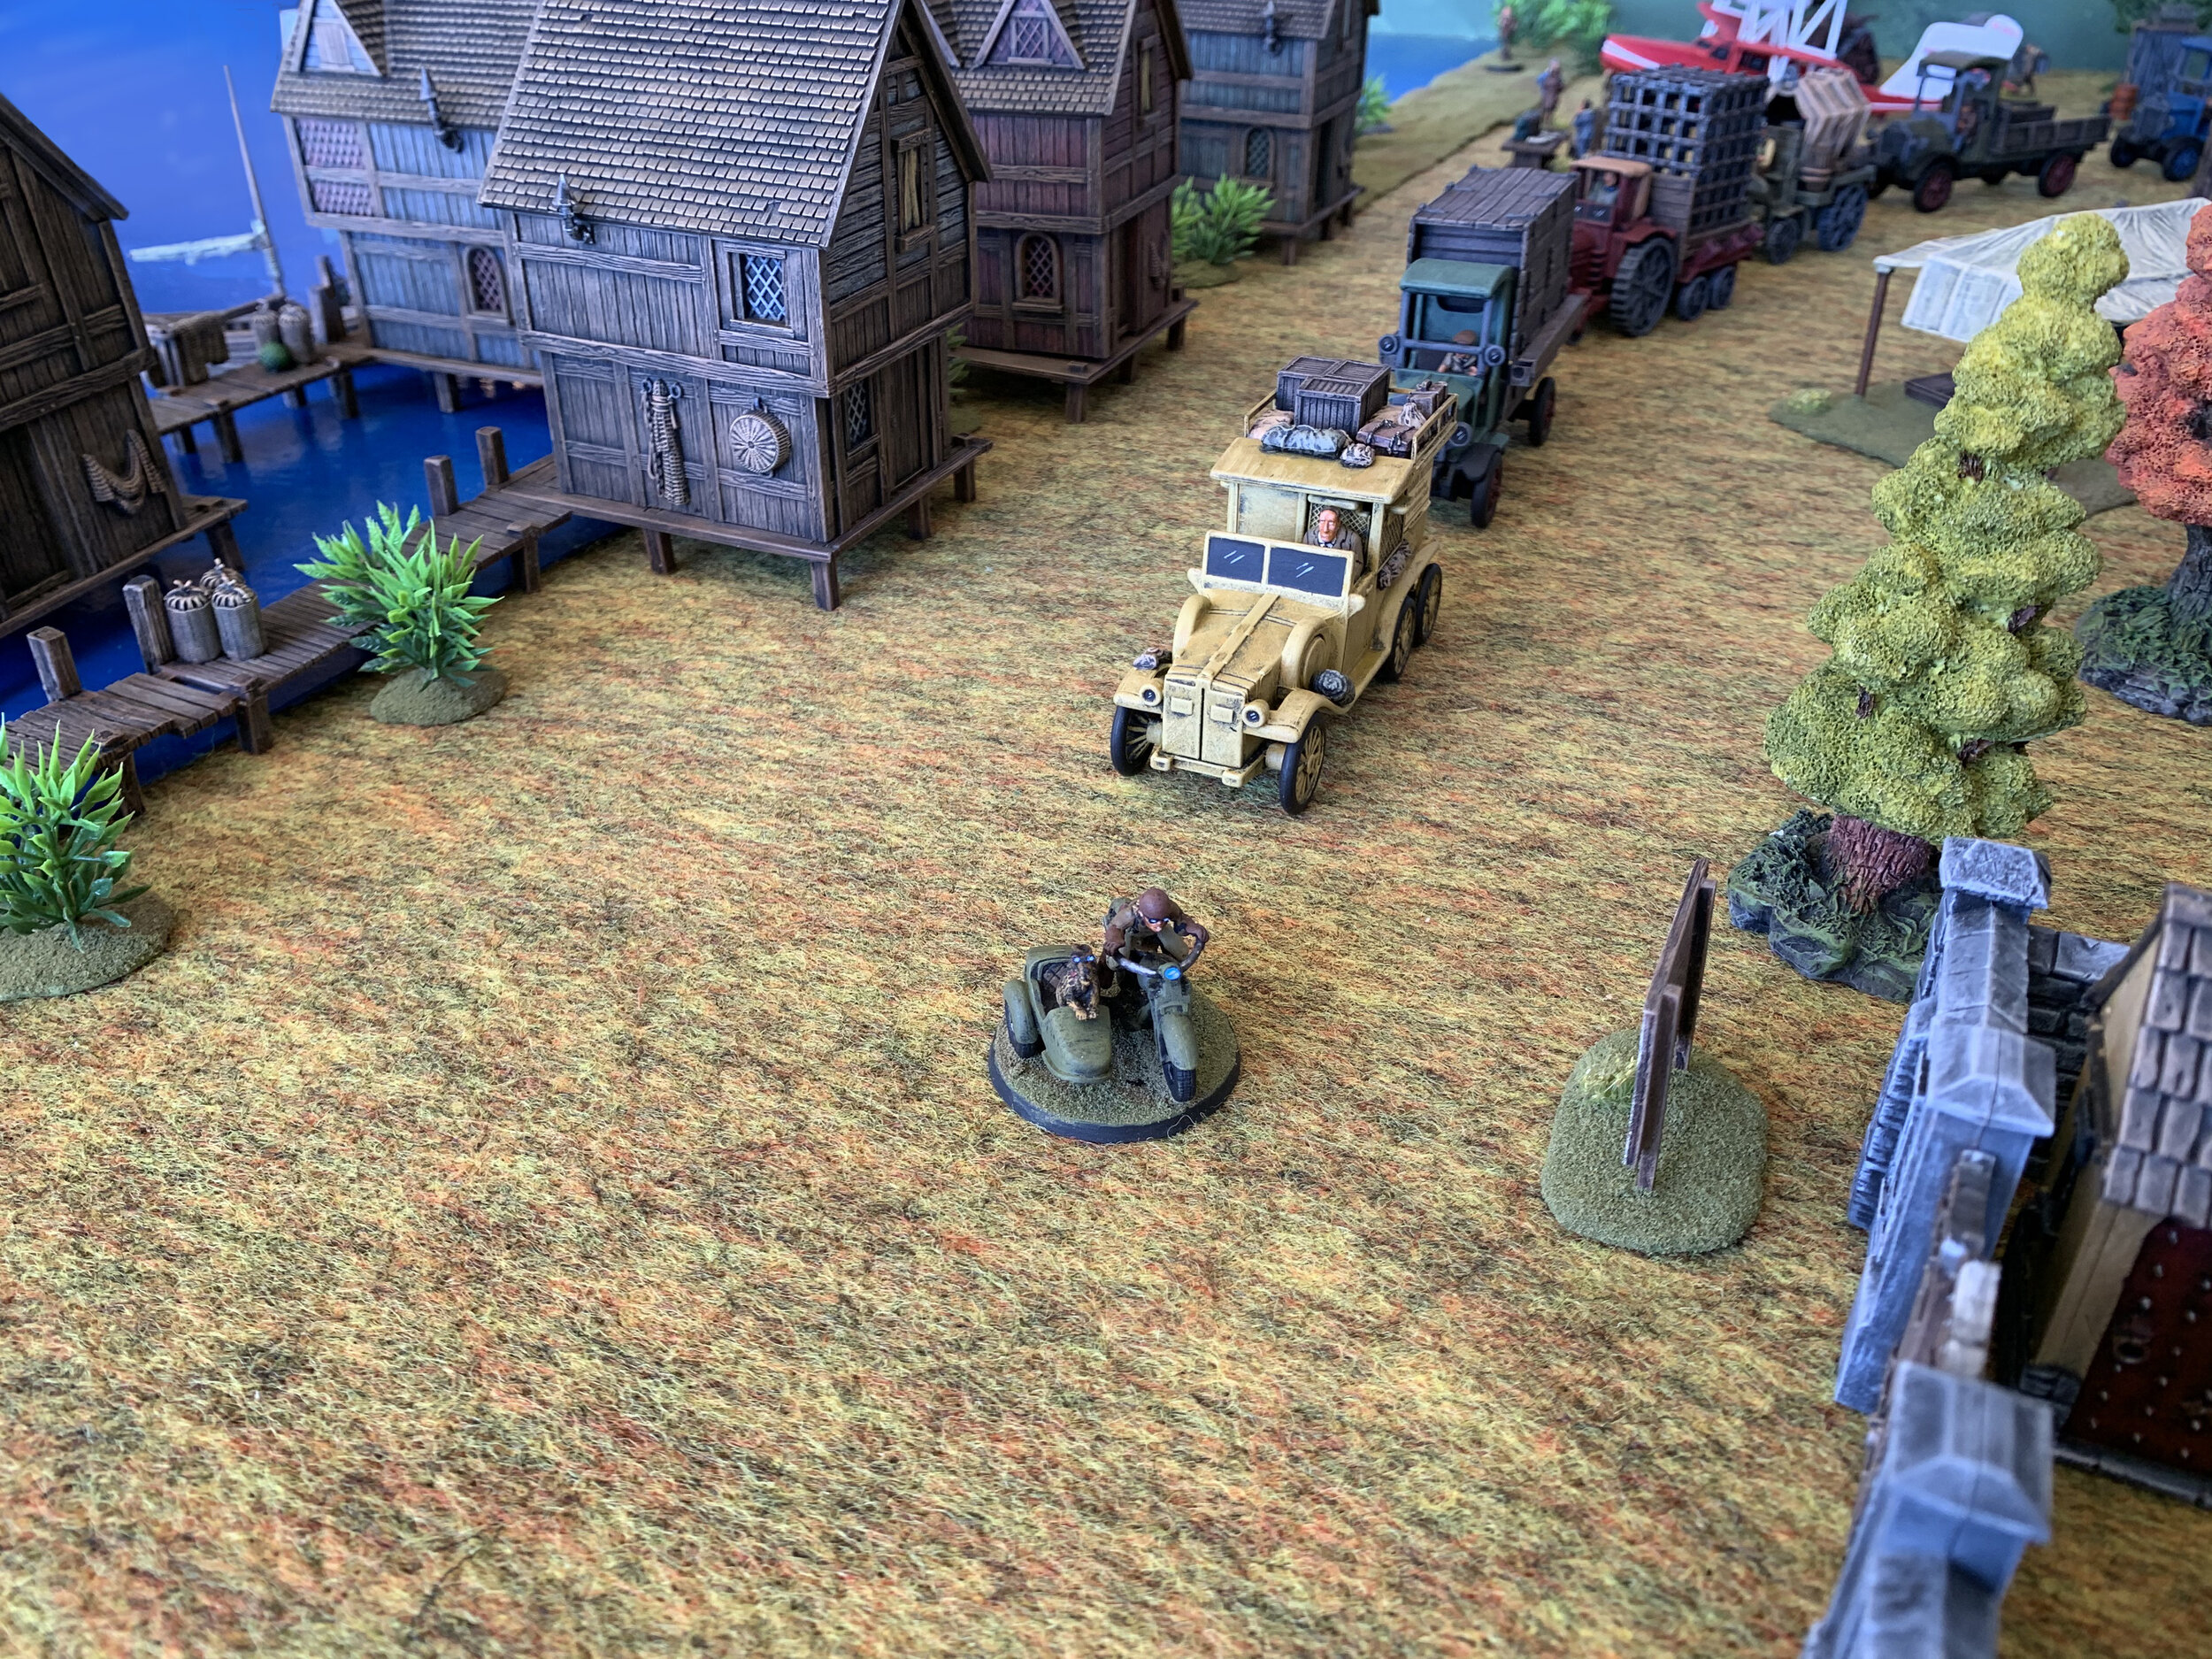
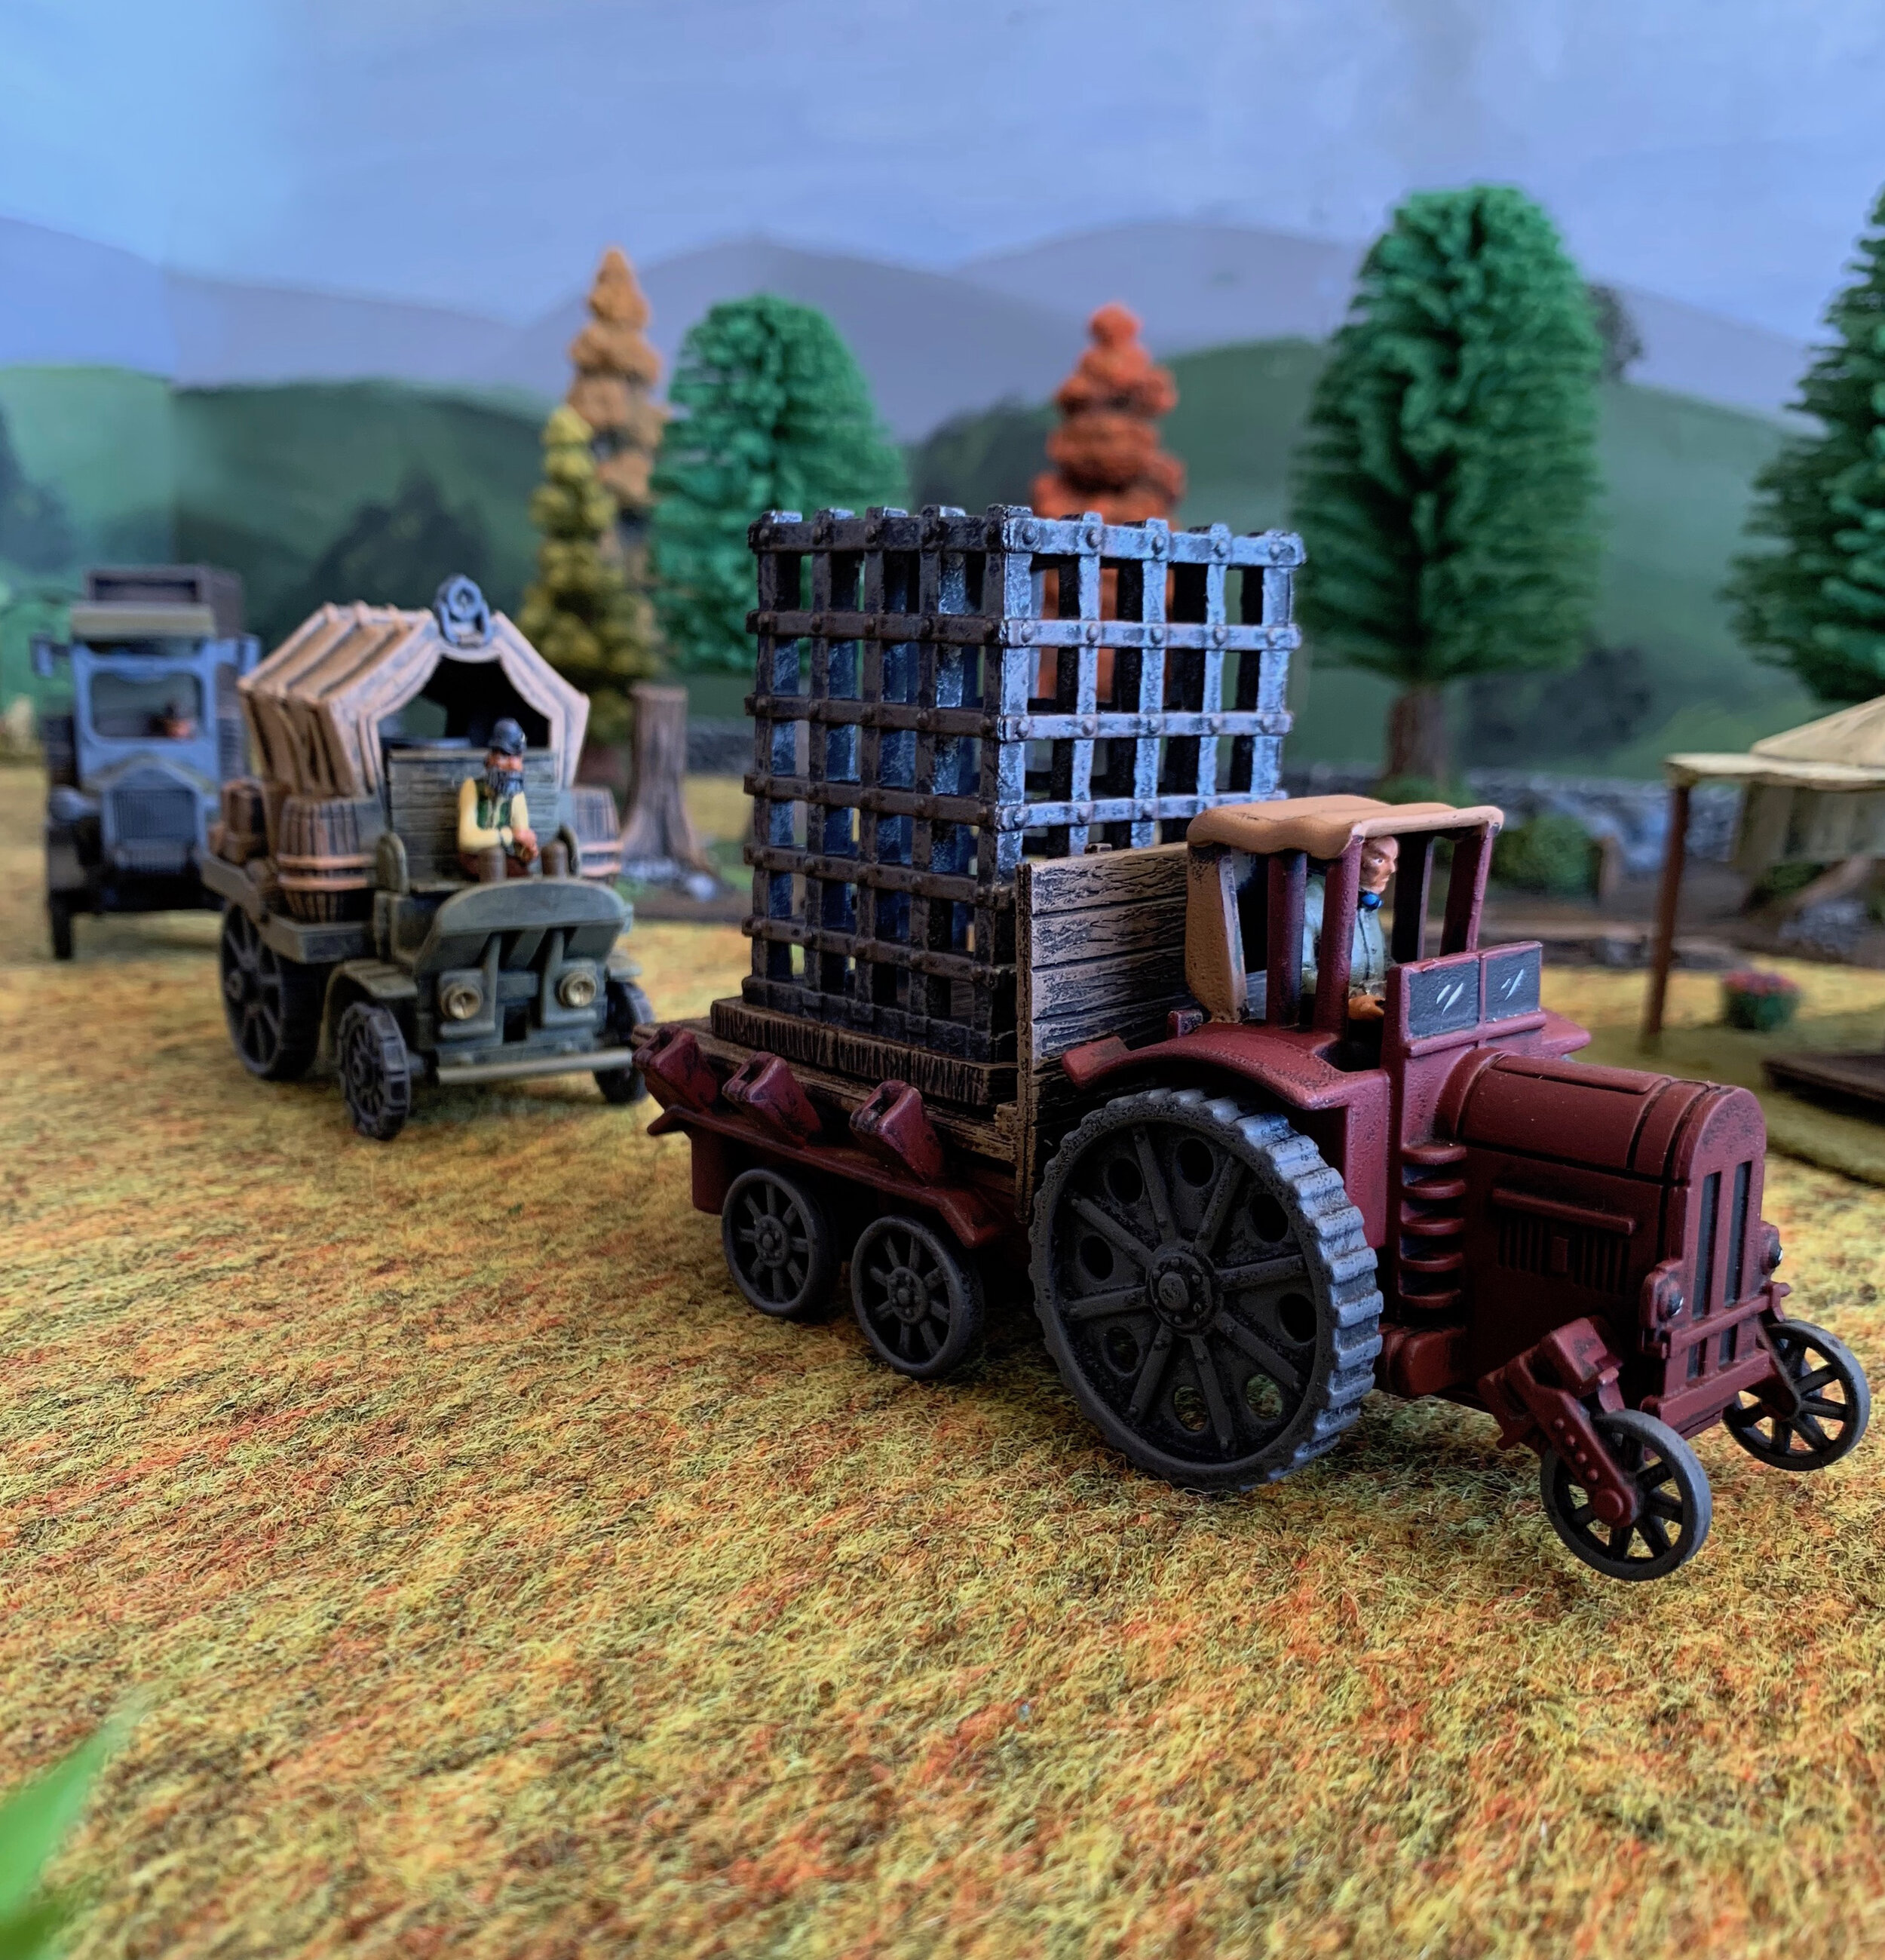
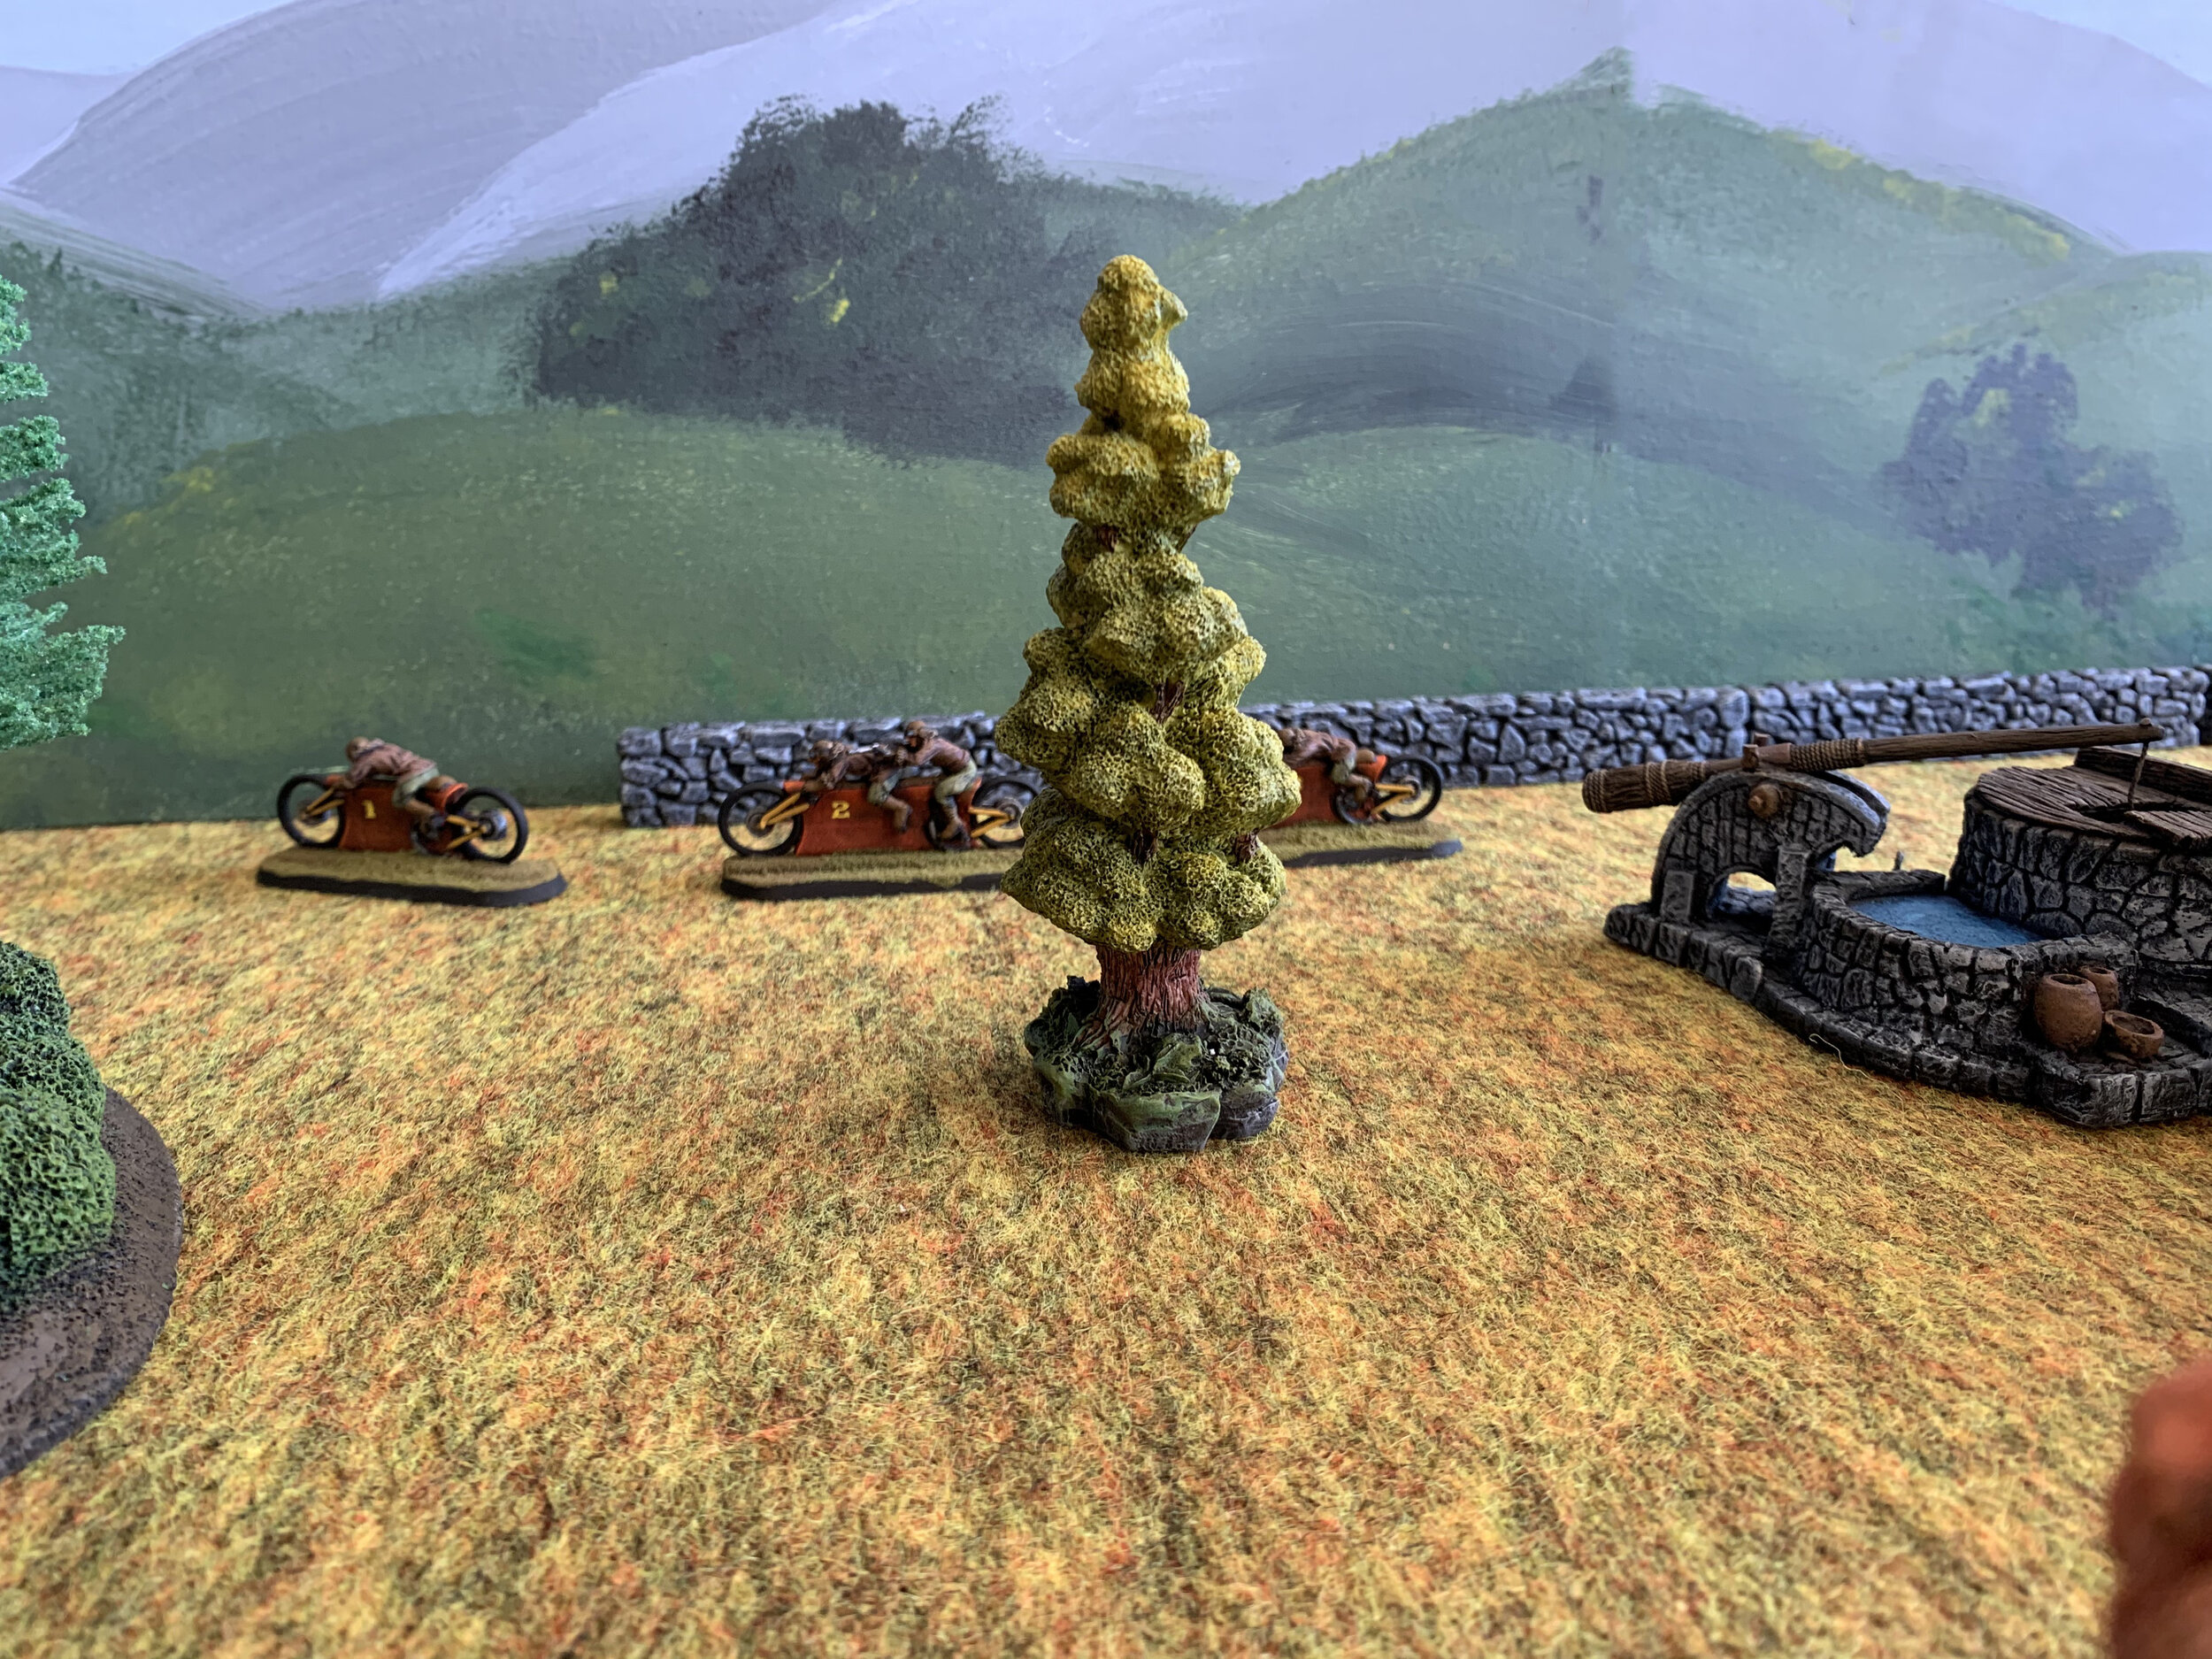
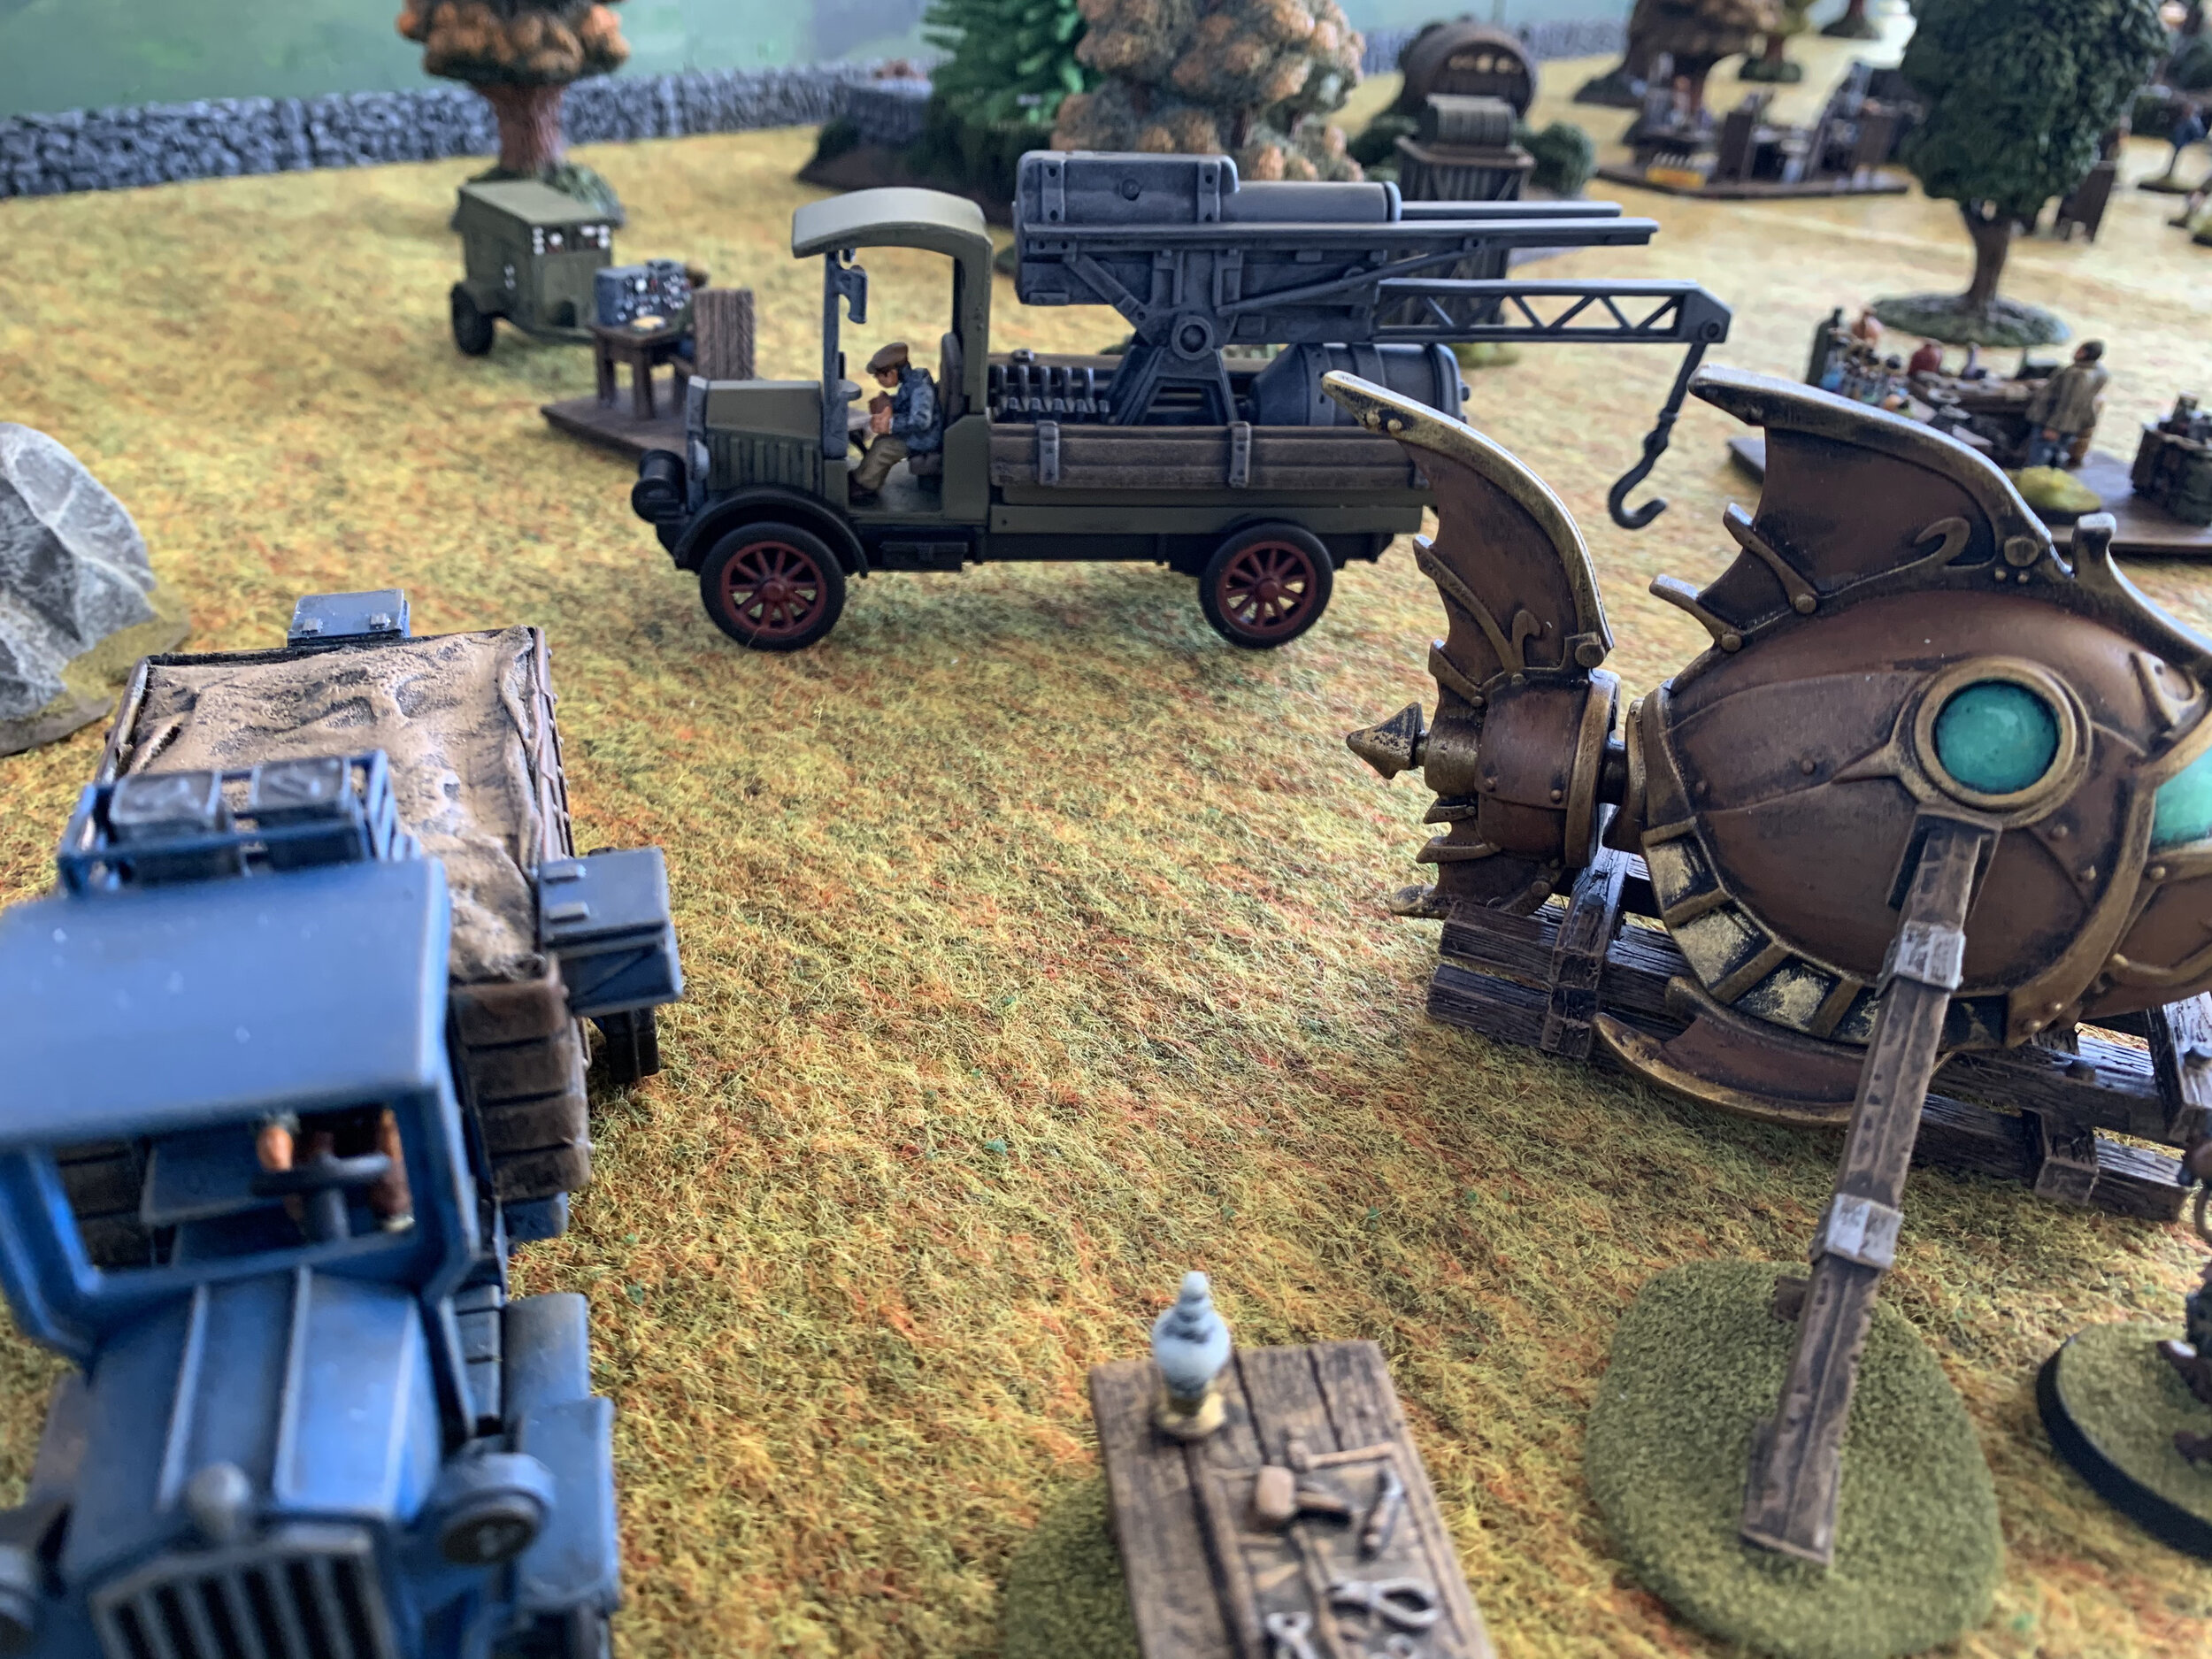
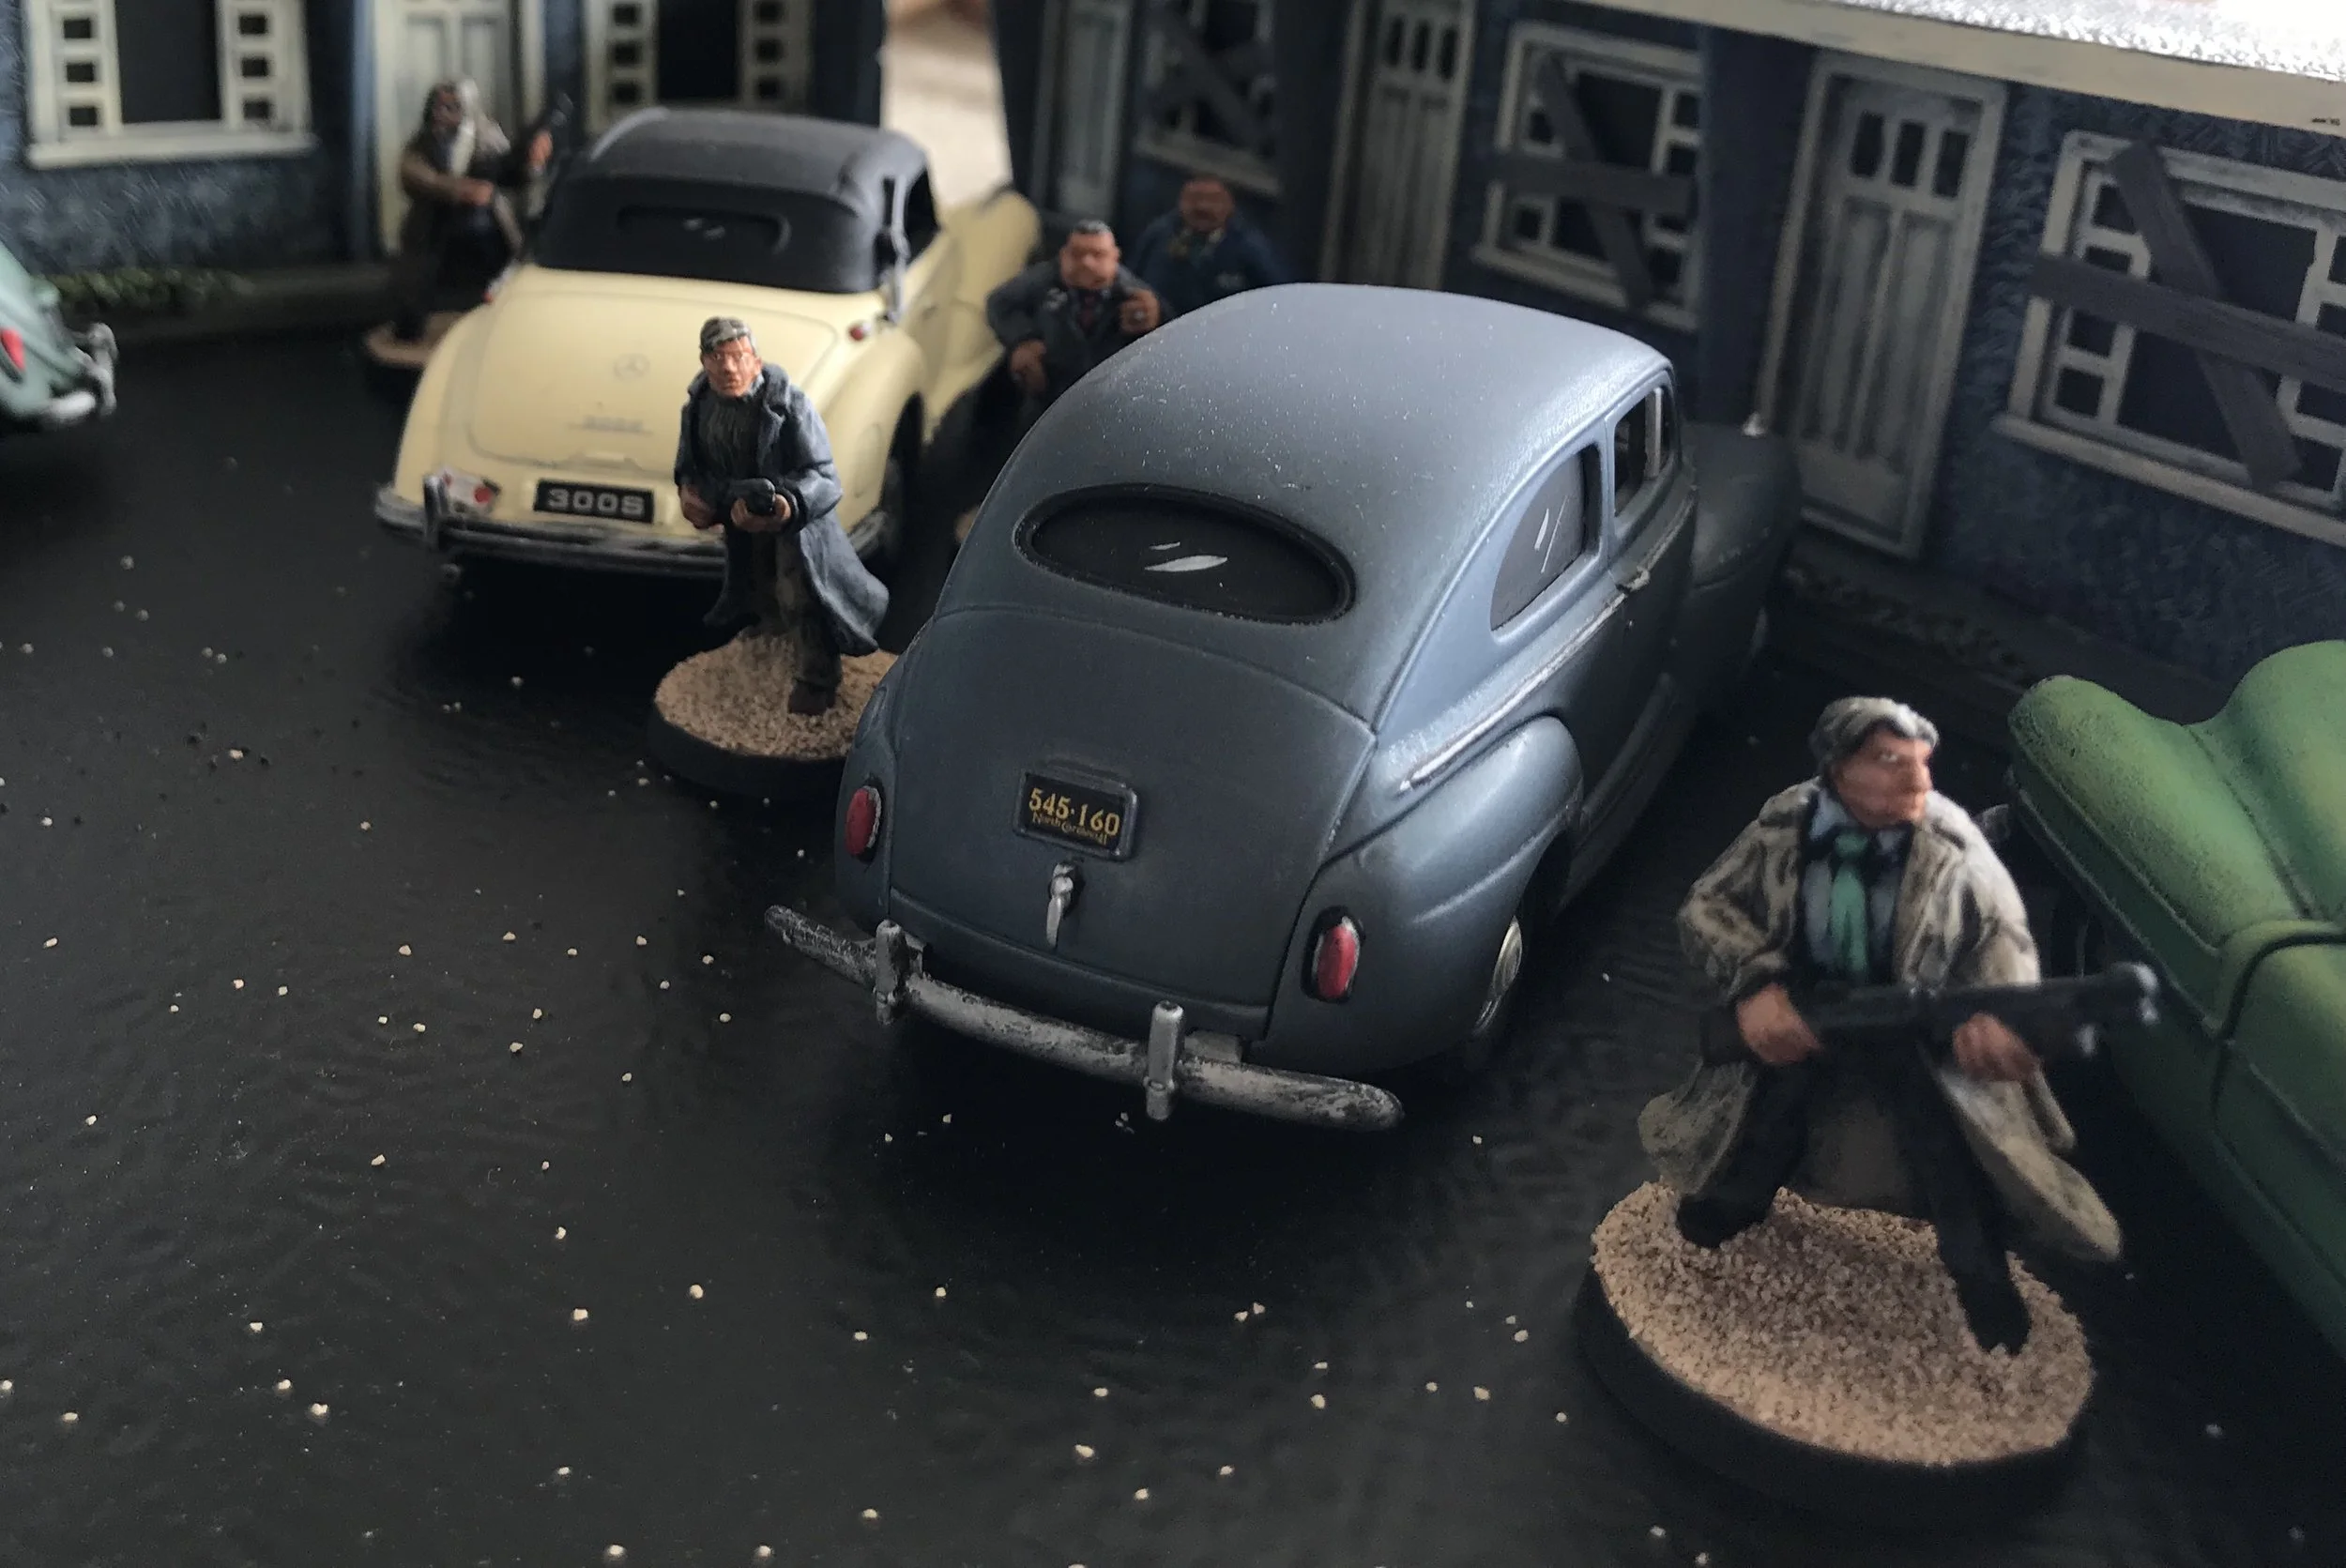
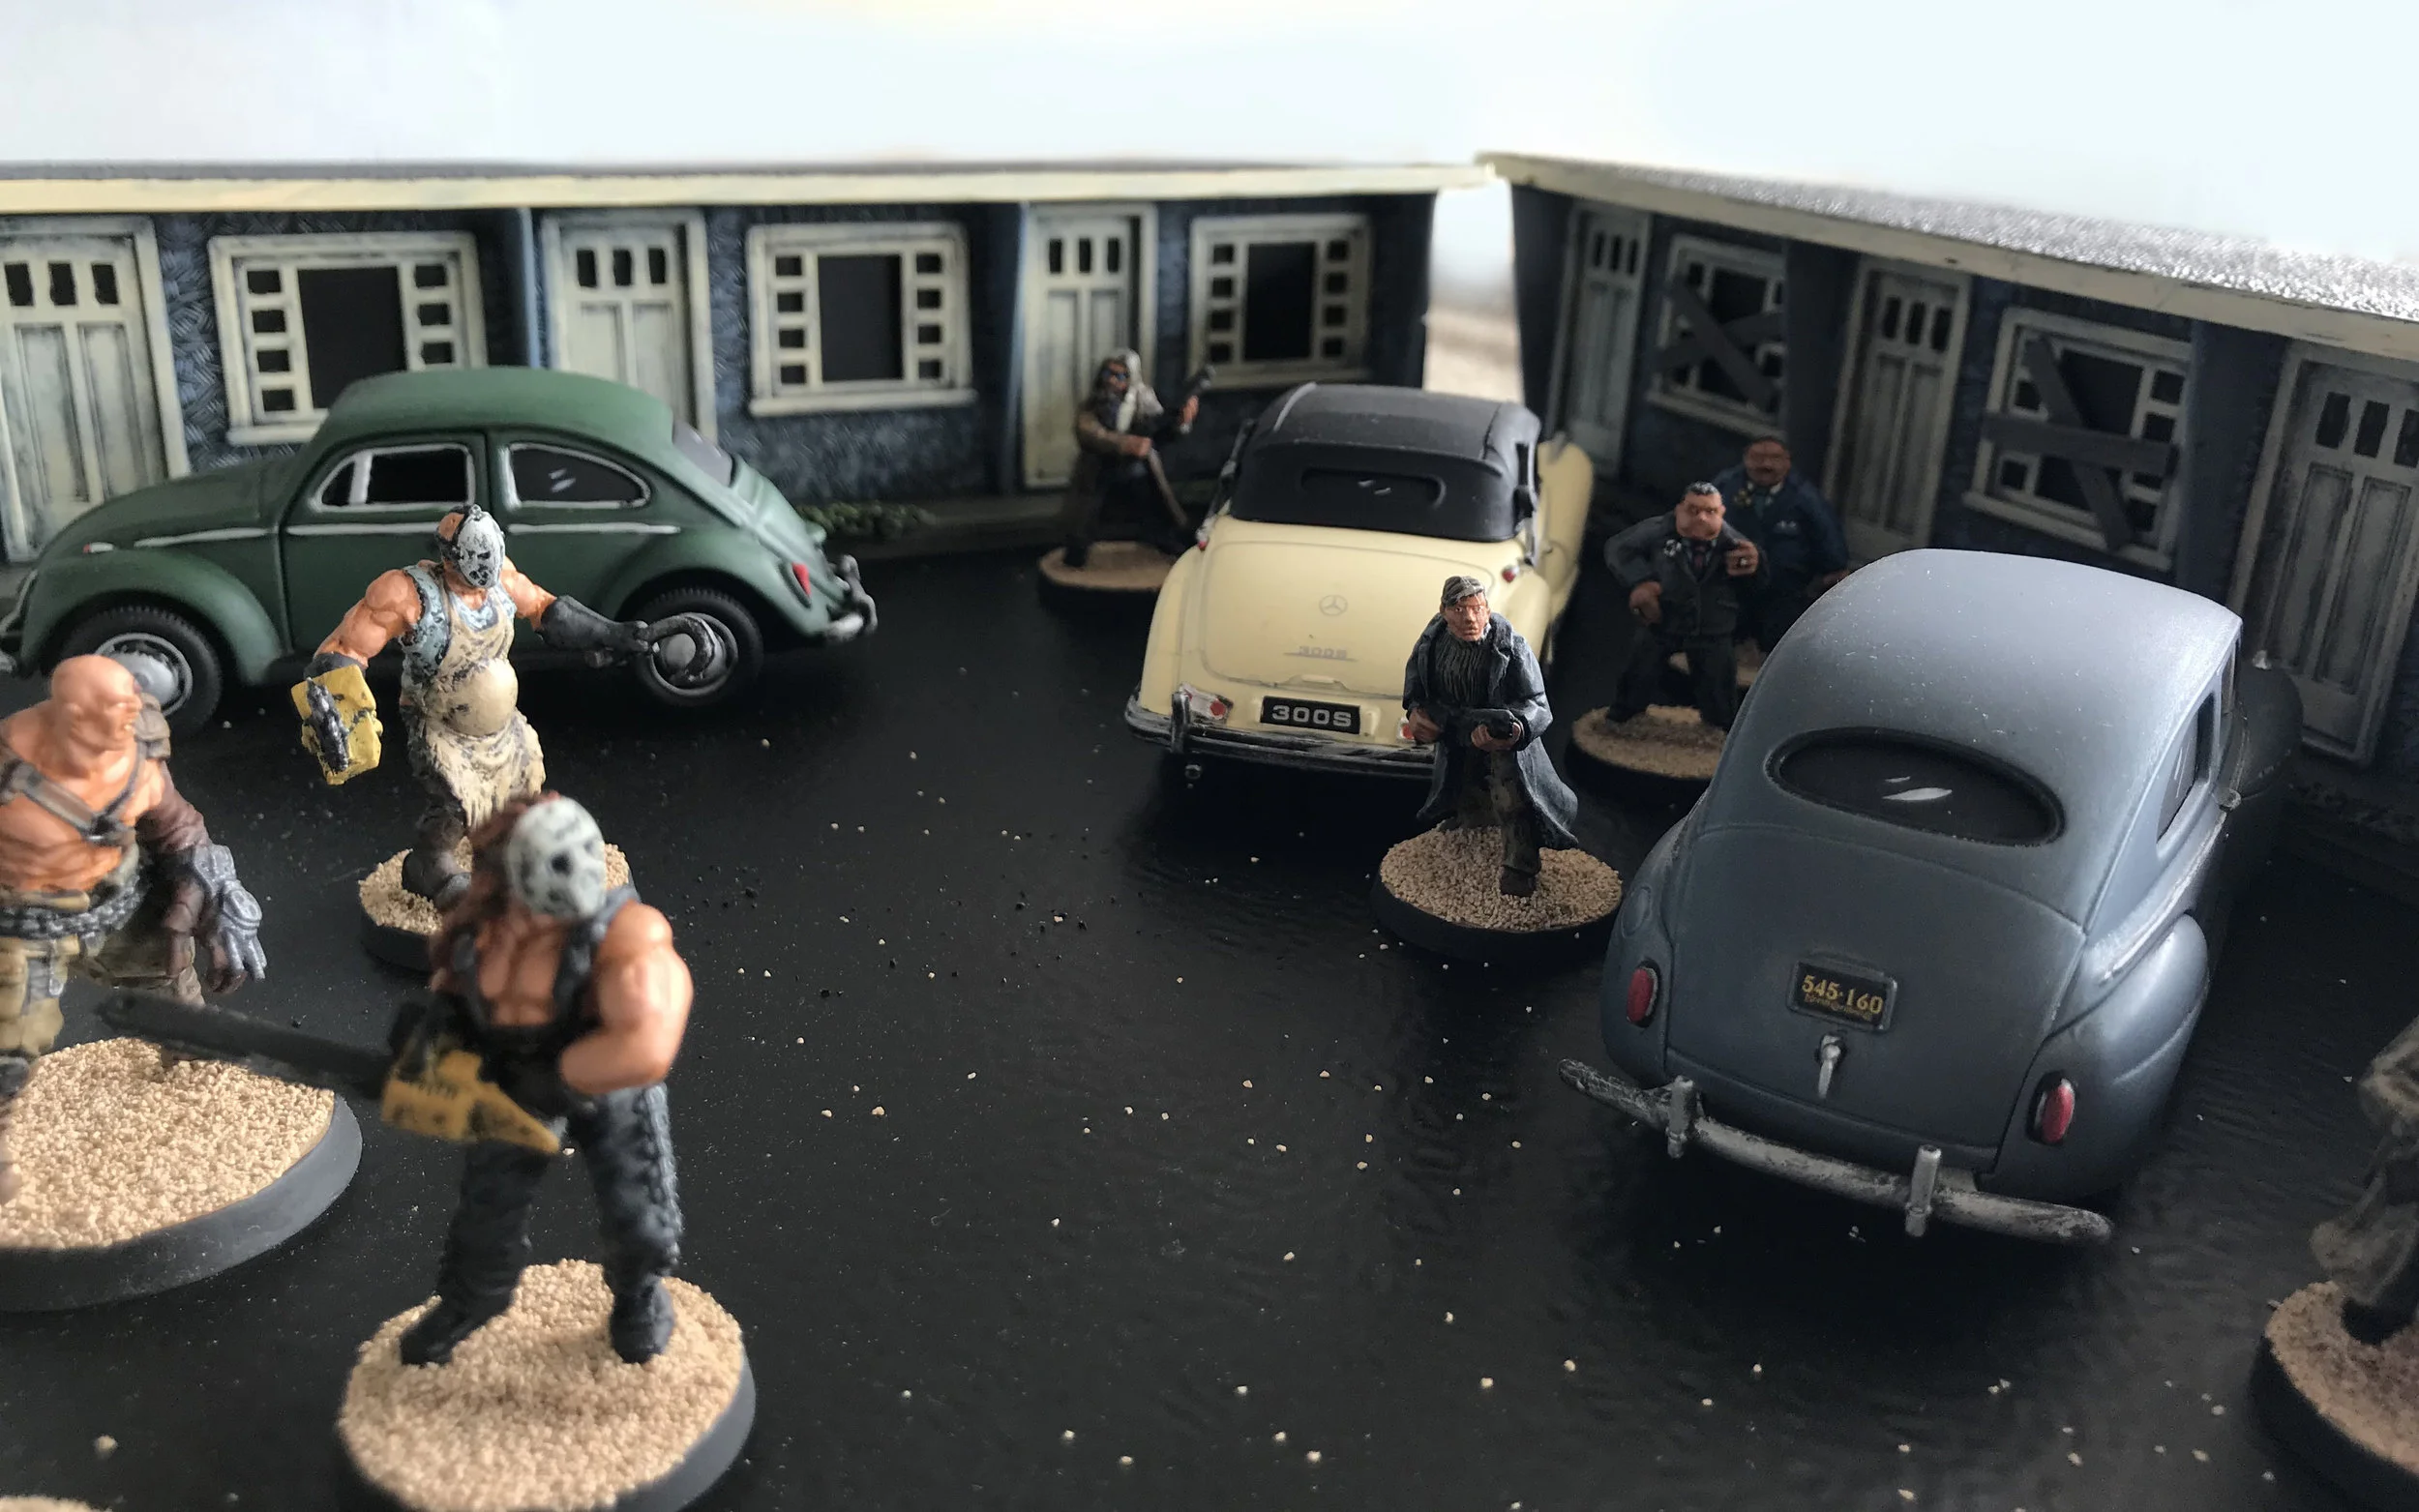
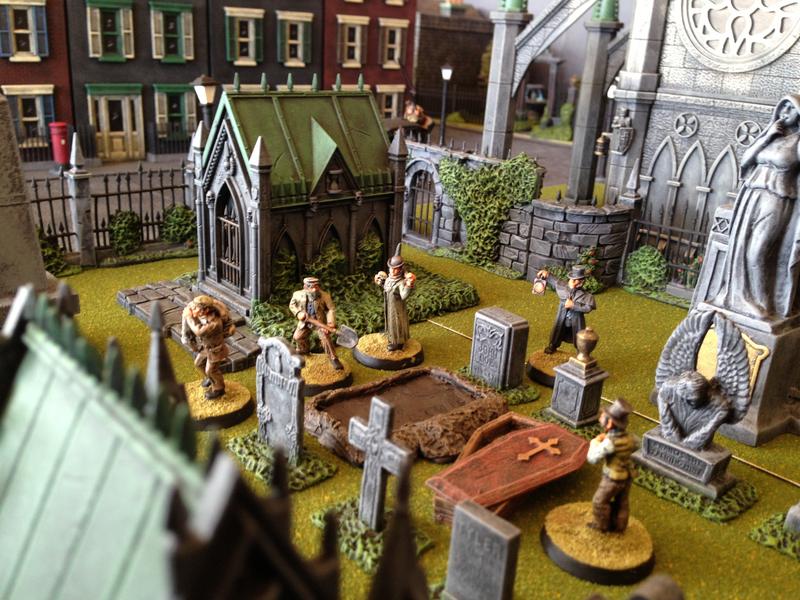
Most of the cars are repainted die cast 1:43 scale cars I picked up at the swap meet for about $3 each over many years. I bought a few of the vehicles at a model train show and a couple on eBay, but those represent a very small part of the 80-plus cars and trucks in this collection. Early on, before I really got a feel for what I could get in 1:43 scale vehicles, I bought quite a few of the Blue Moon Highways and Byways cars and trucks… expensive, but really nice pieces. The trolley is O gauge by Bachmann… got it at the swap meet still in the box for $7 (that was a very nice find). The shoeshine stand is Pulp Alley (beautiful piece). The iron fence around the park is by Model Power and the gate is probably Cobblestone Corners or something like that (swap meet find); the pond is Milliput, and the Mozart statue is Dept. 56. The news stands (I have two on the table but only one shows up in the gallery) are from toys marketed with the release of Shark Tale. Most of the trees are by Grand Canyon Gems. The cemetery fence is by Games Workshop/Garden of Morr (lots of Milliput to cover the skulls). The mausoleums are scratch built using Evergreen Plastic over Legos. I didn’t use the Garden of Morr mausoleums in this layout because I wanted to give this cemetery a slightly different look from my Victorian cemetery.
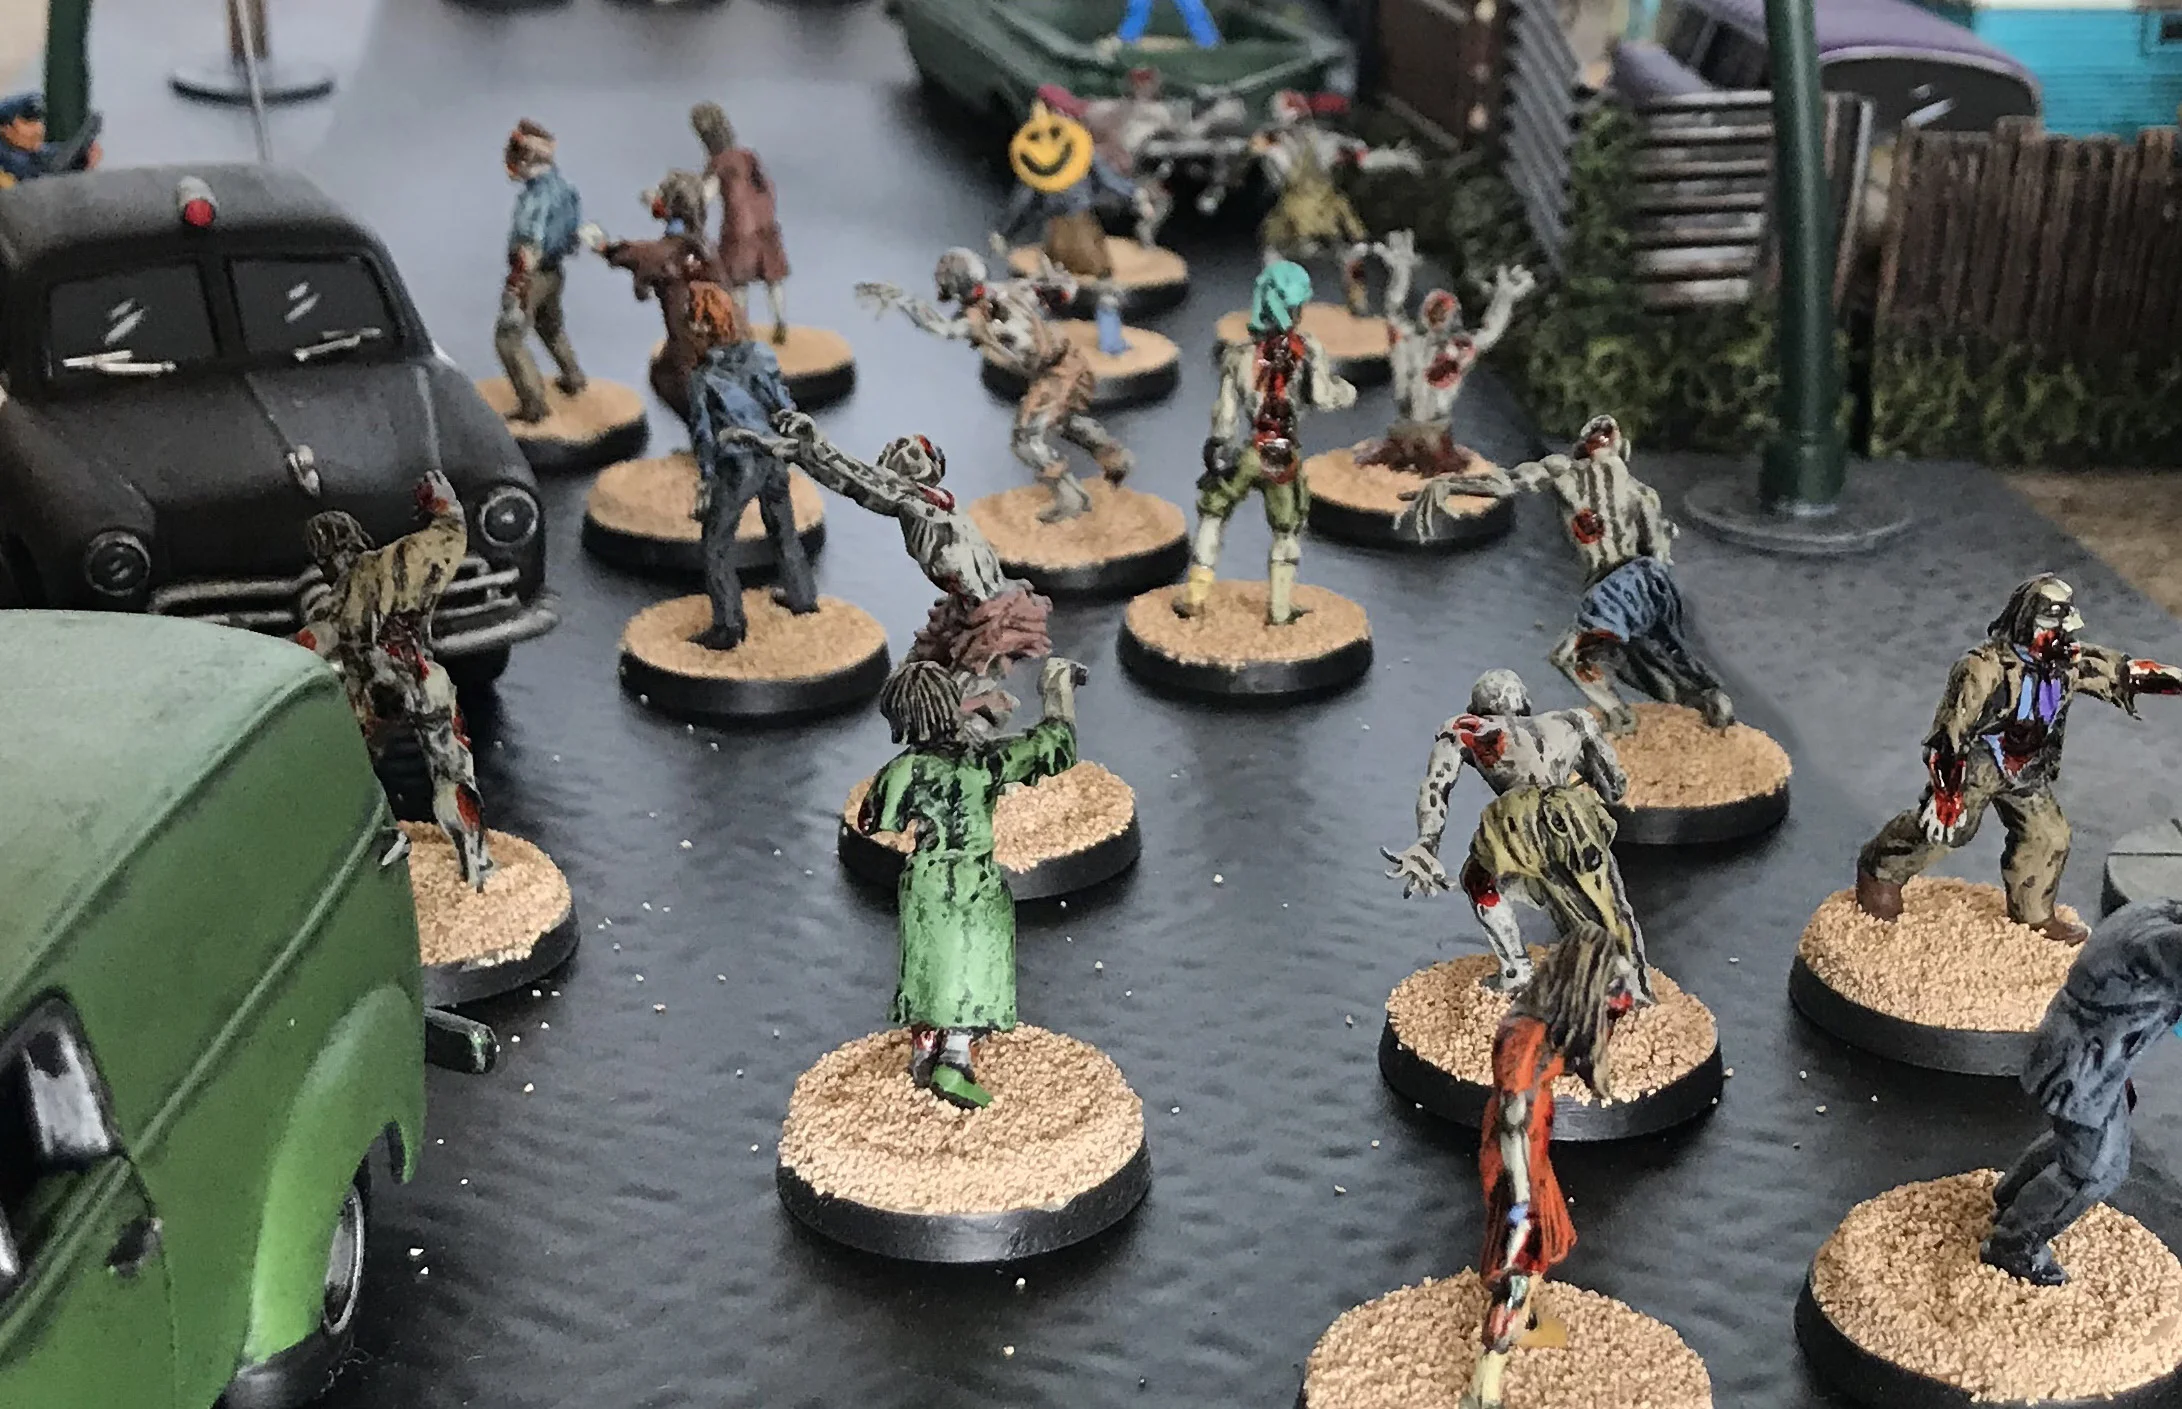
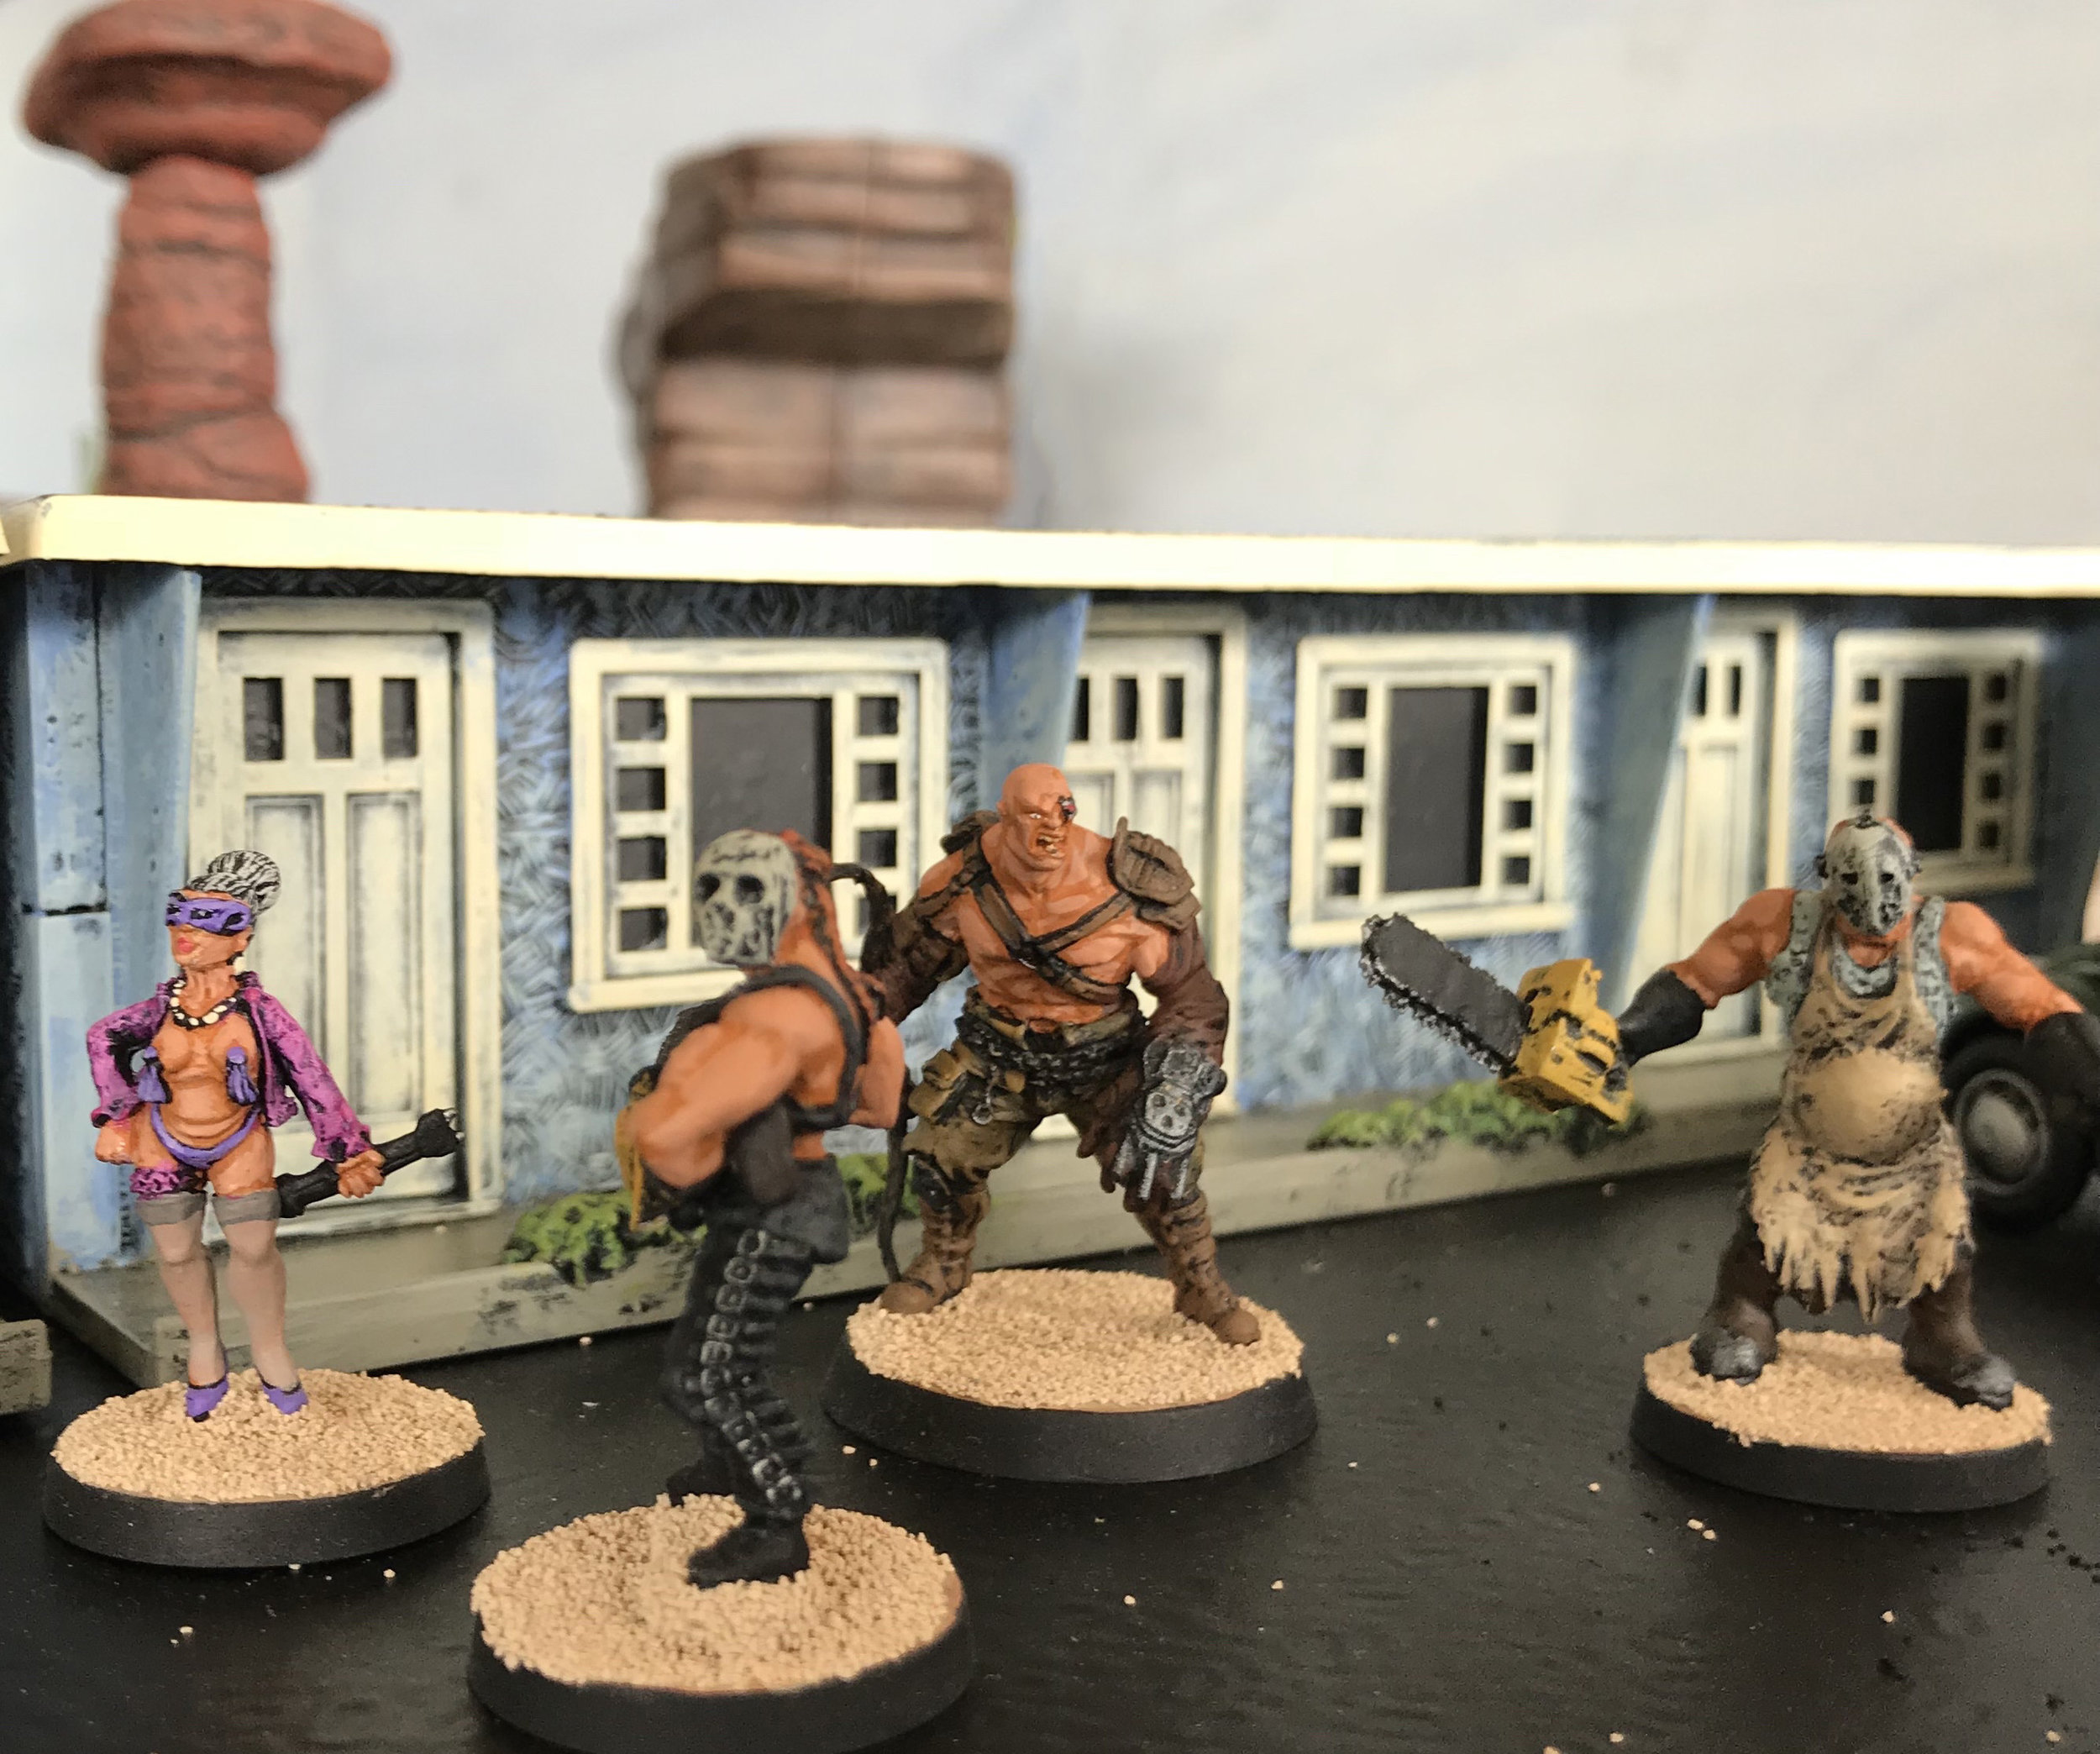
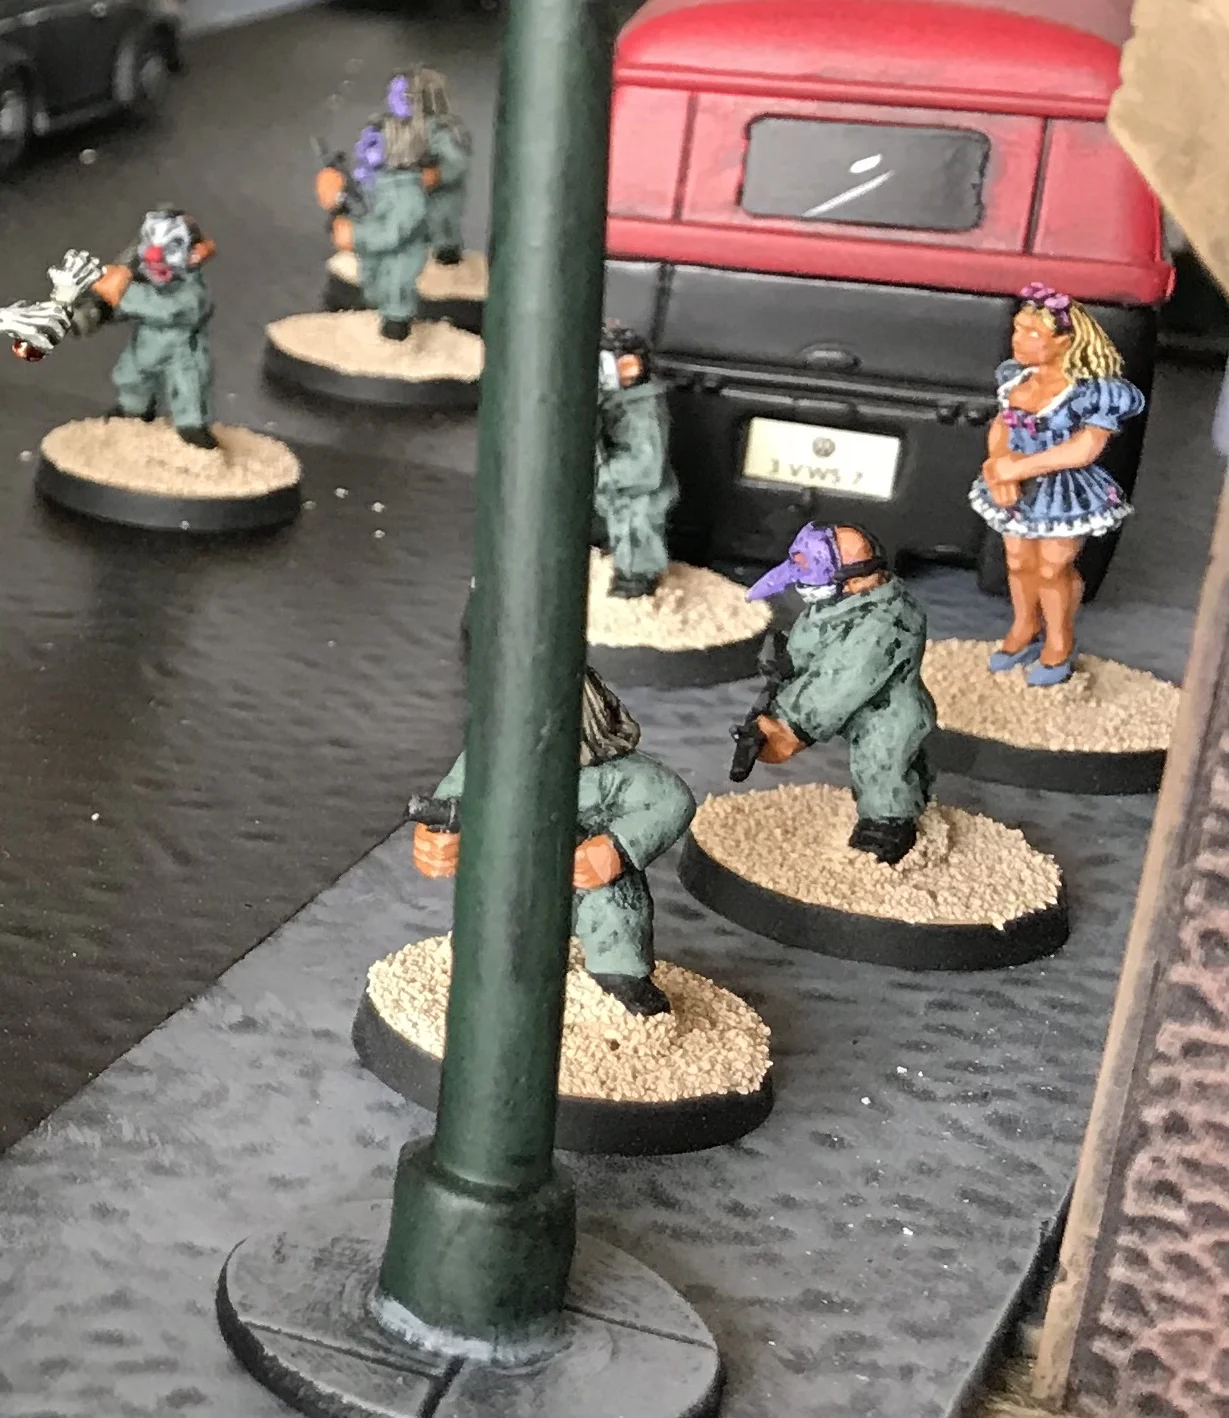
The figures are from a wide variety of sources: Pulp Figures, Copplestone Castings, Steve Barber, Heroclix, Horrorclix, Blue Moon, Artizan Design, Eureka, Reaper, West Wind, Foundry, Dixon, RAFM, Crooked Dice, Brigade Games, Hawthorne Village, Model Power, Knuckledusters, Mega Minis, Clue Game Figures by Hasbro, Artista Accessories, and Woodland Scenics. The 11” Stay Puft man is a plastic bank I bought at Walmart ($18), and the 9” Gumby is a toy I picked up for $1 at the swap meet (Prema Toy Co.). The streets and sidewalks are made from 2 ft. x 4 ft. plastic rectangles that were originally made to cover ceiling lighting… often used in kitchens. The cityscape backgrounds are photocopies of wooden supports used to support a game (unknown name) in which objects (unknown) are rolled down wooden slides presumably as part of a race. The wooden cityscape pieces are 21” tall x 13” wide. I really know very little about this because I picked it up at the swap meet, and all I got was what I described above. My plan was to mount the photocopies on corrugated cardboard backing covered with railboard (heavy construction paper) in light blue (for day) and black (for night). I copied them in color (the primary colors used reminded me of Dick Tracy) for day and the black and white photocopies are for night… that was the plan. I’ve made 10 of each. In the end the plan changed as plans do during these projects. The color copies of the background just didn’t work… drew too much attention away from the miniatures on the table. So I decided to go with the black and white for the whole thing because it added a film noir feel to the board without being a distraction.
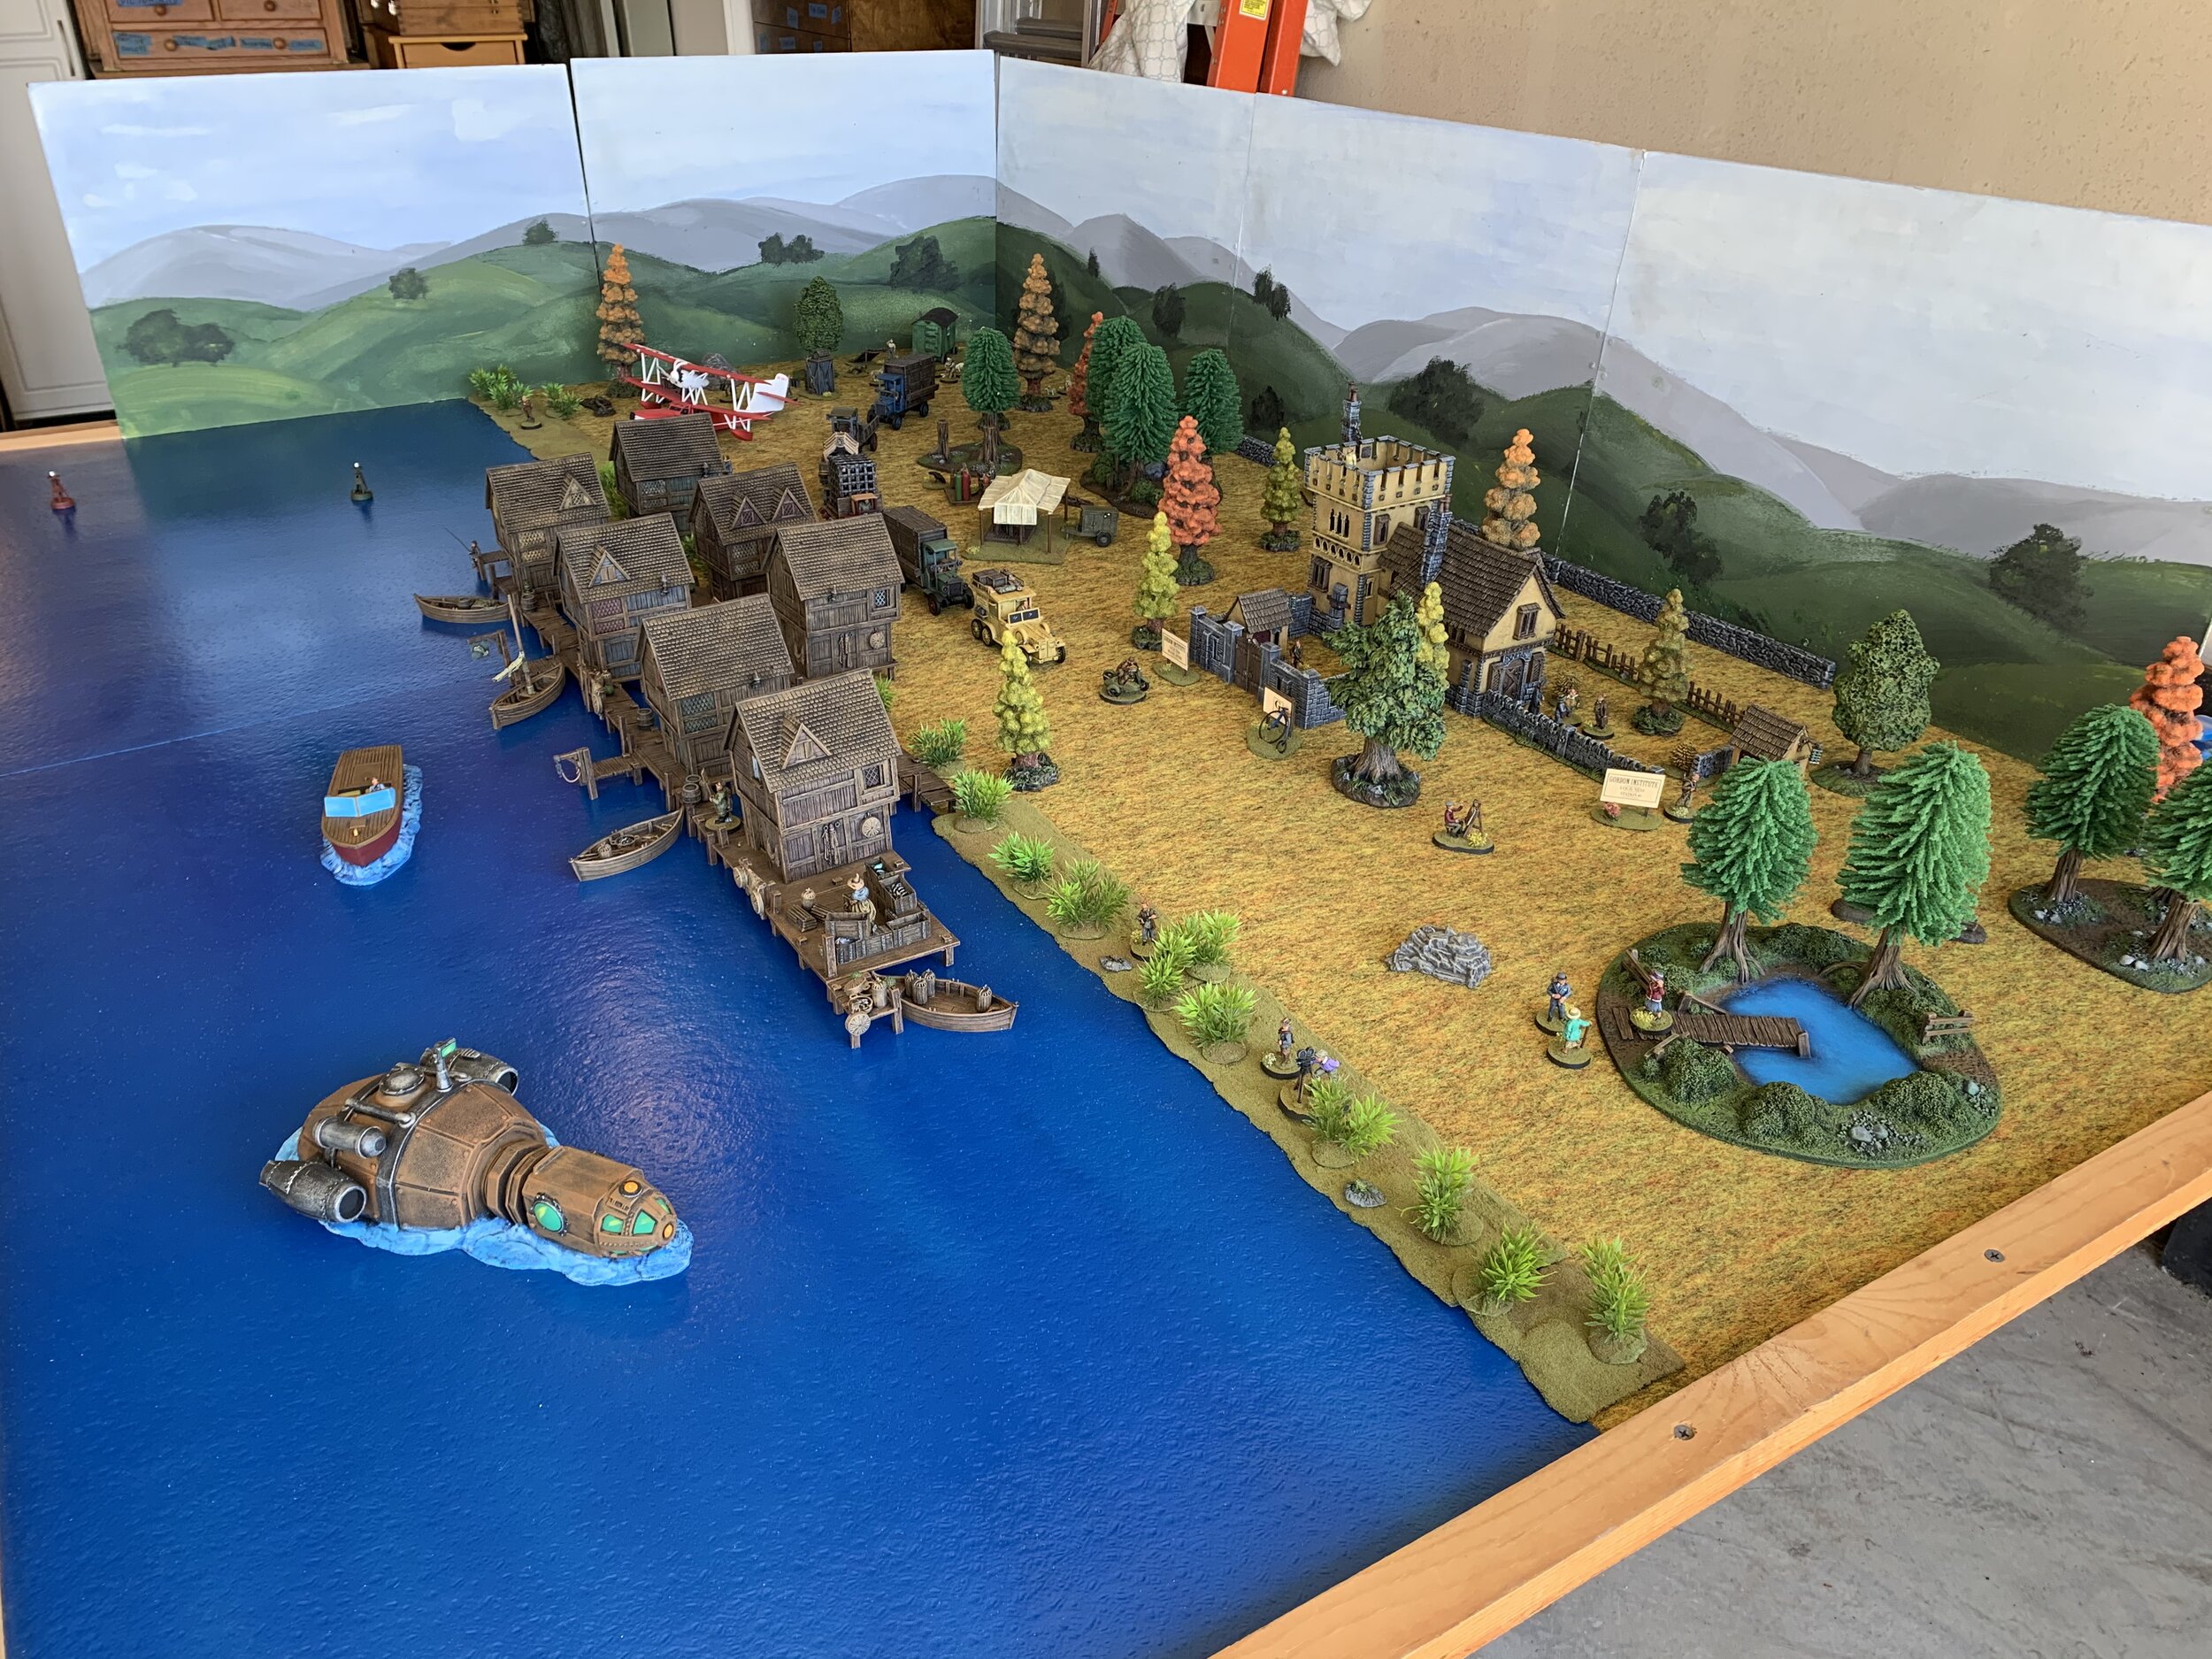
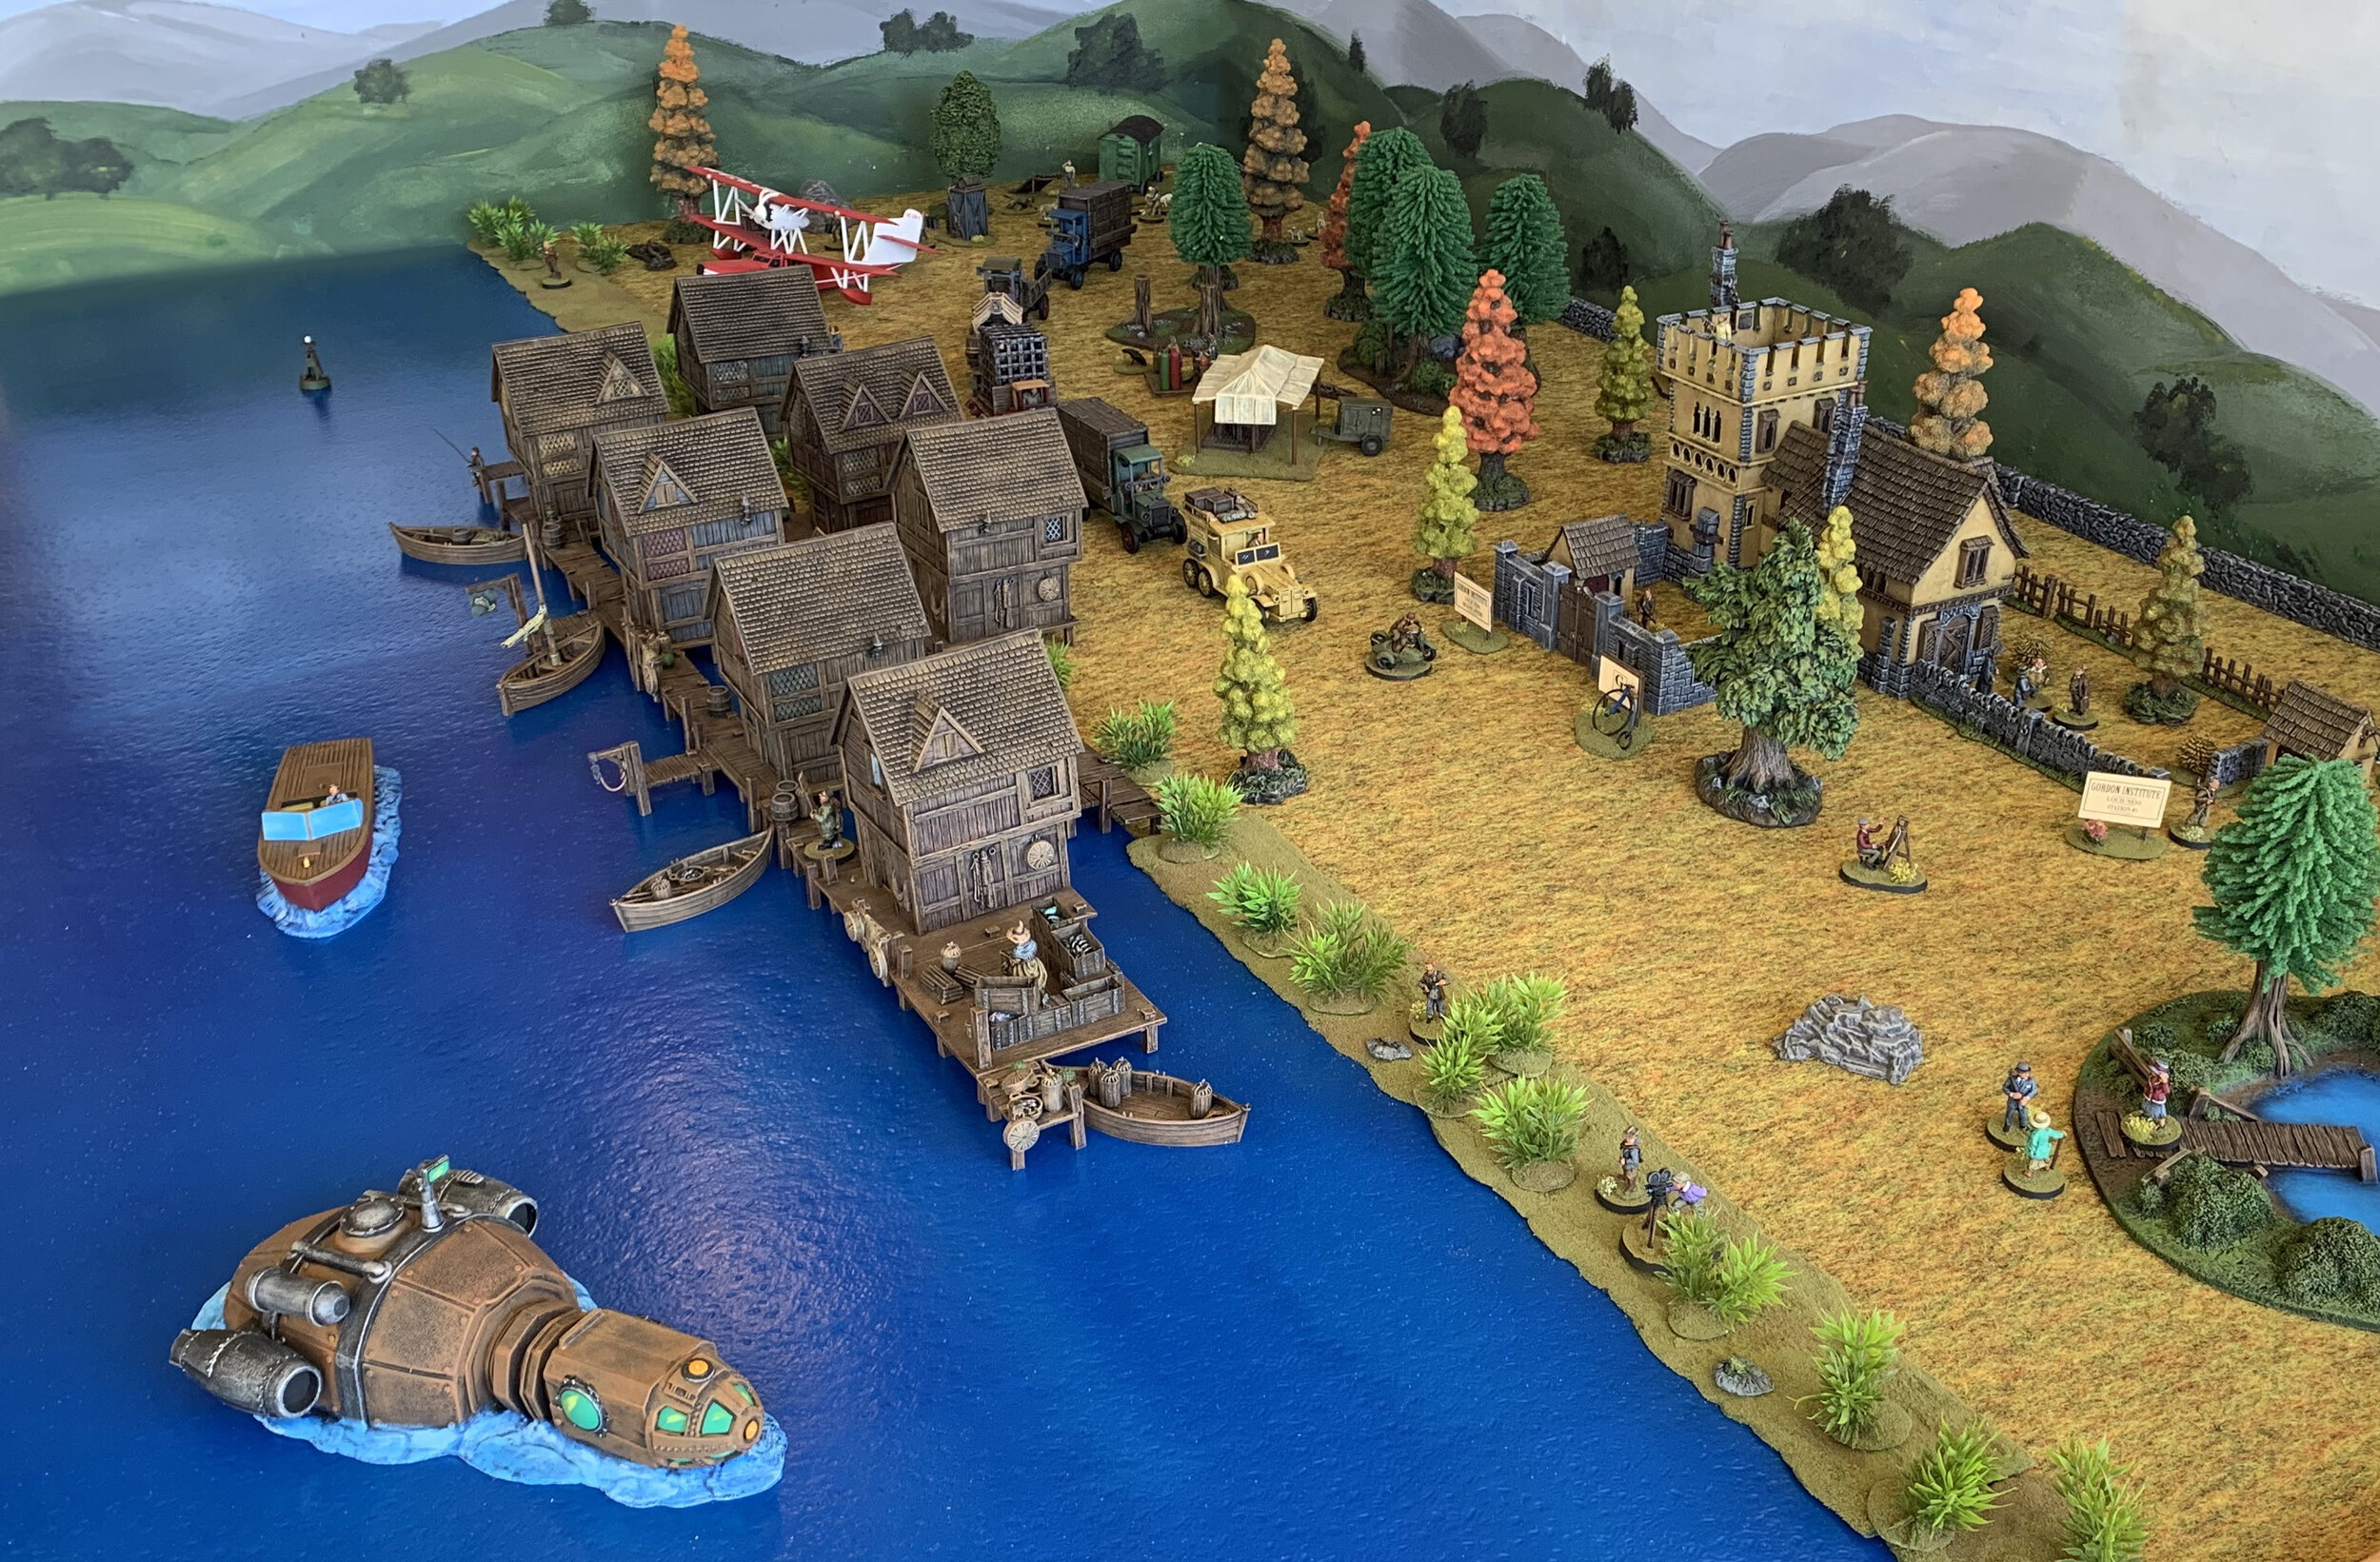
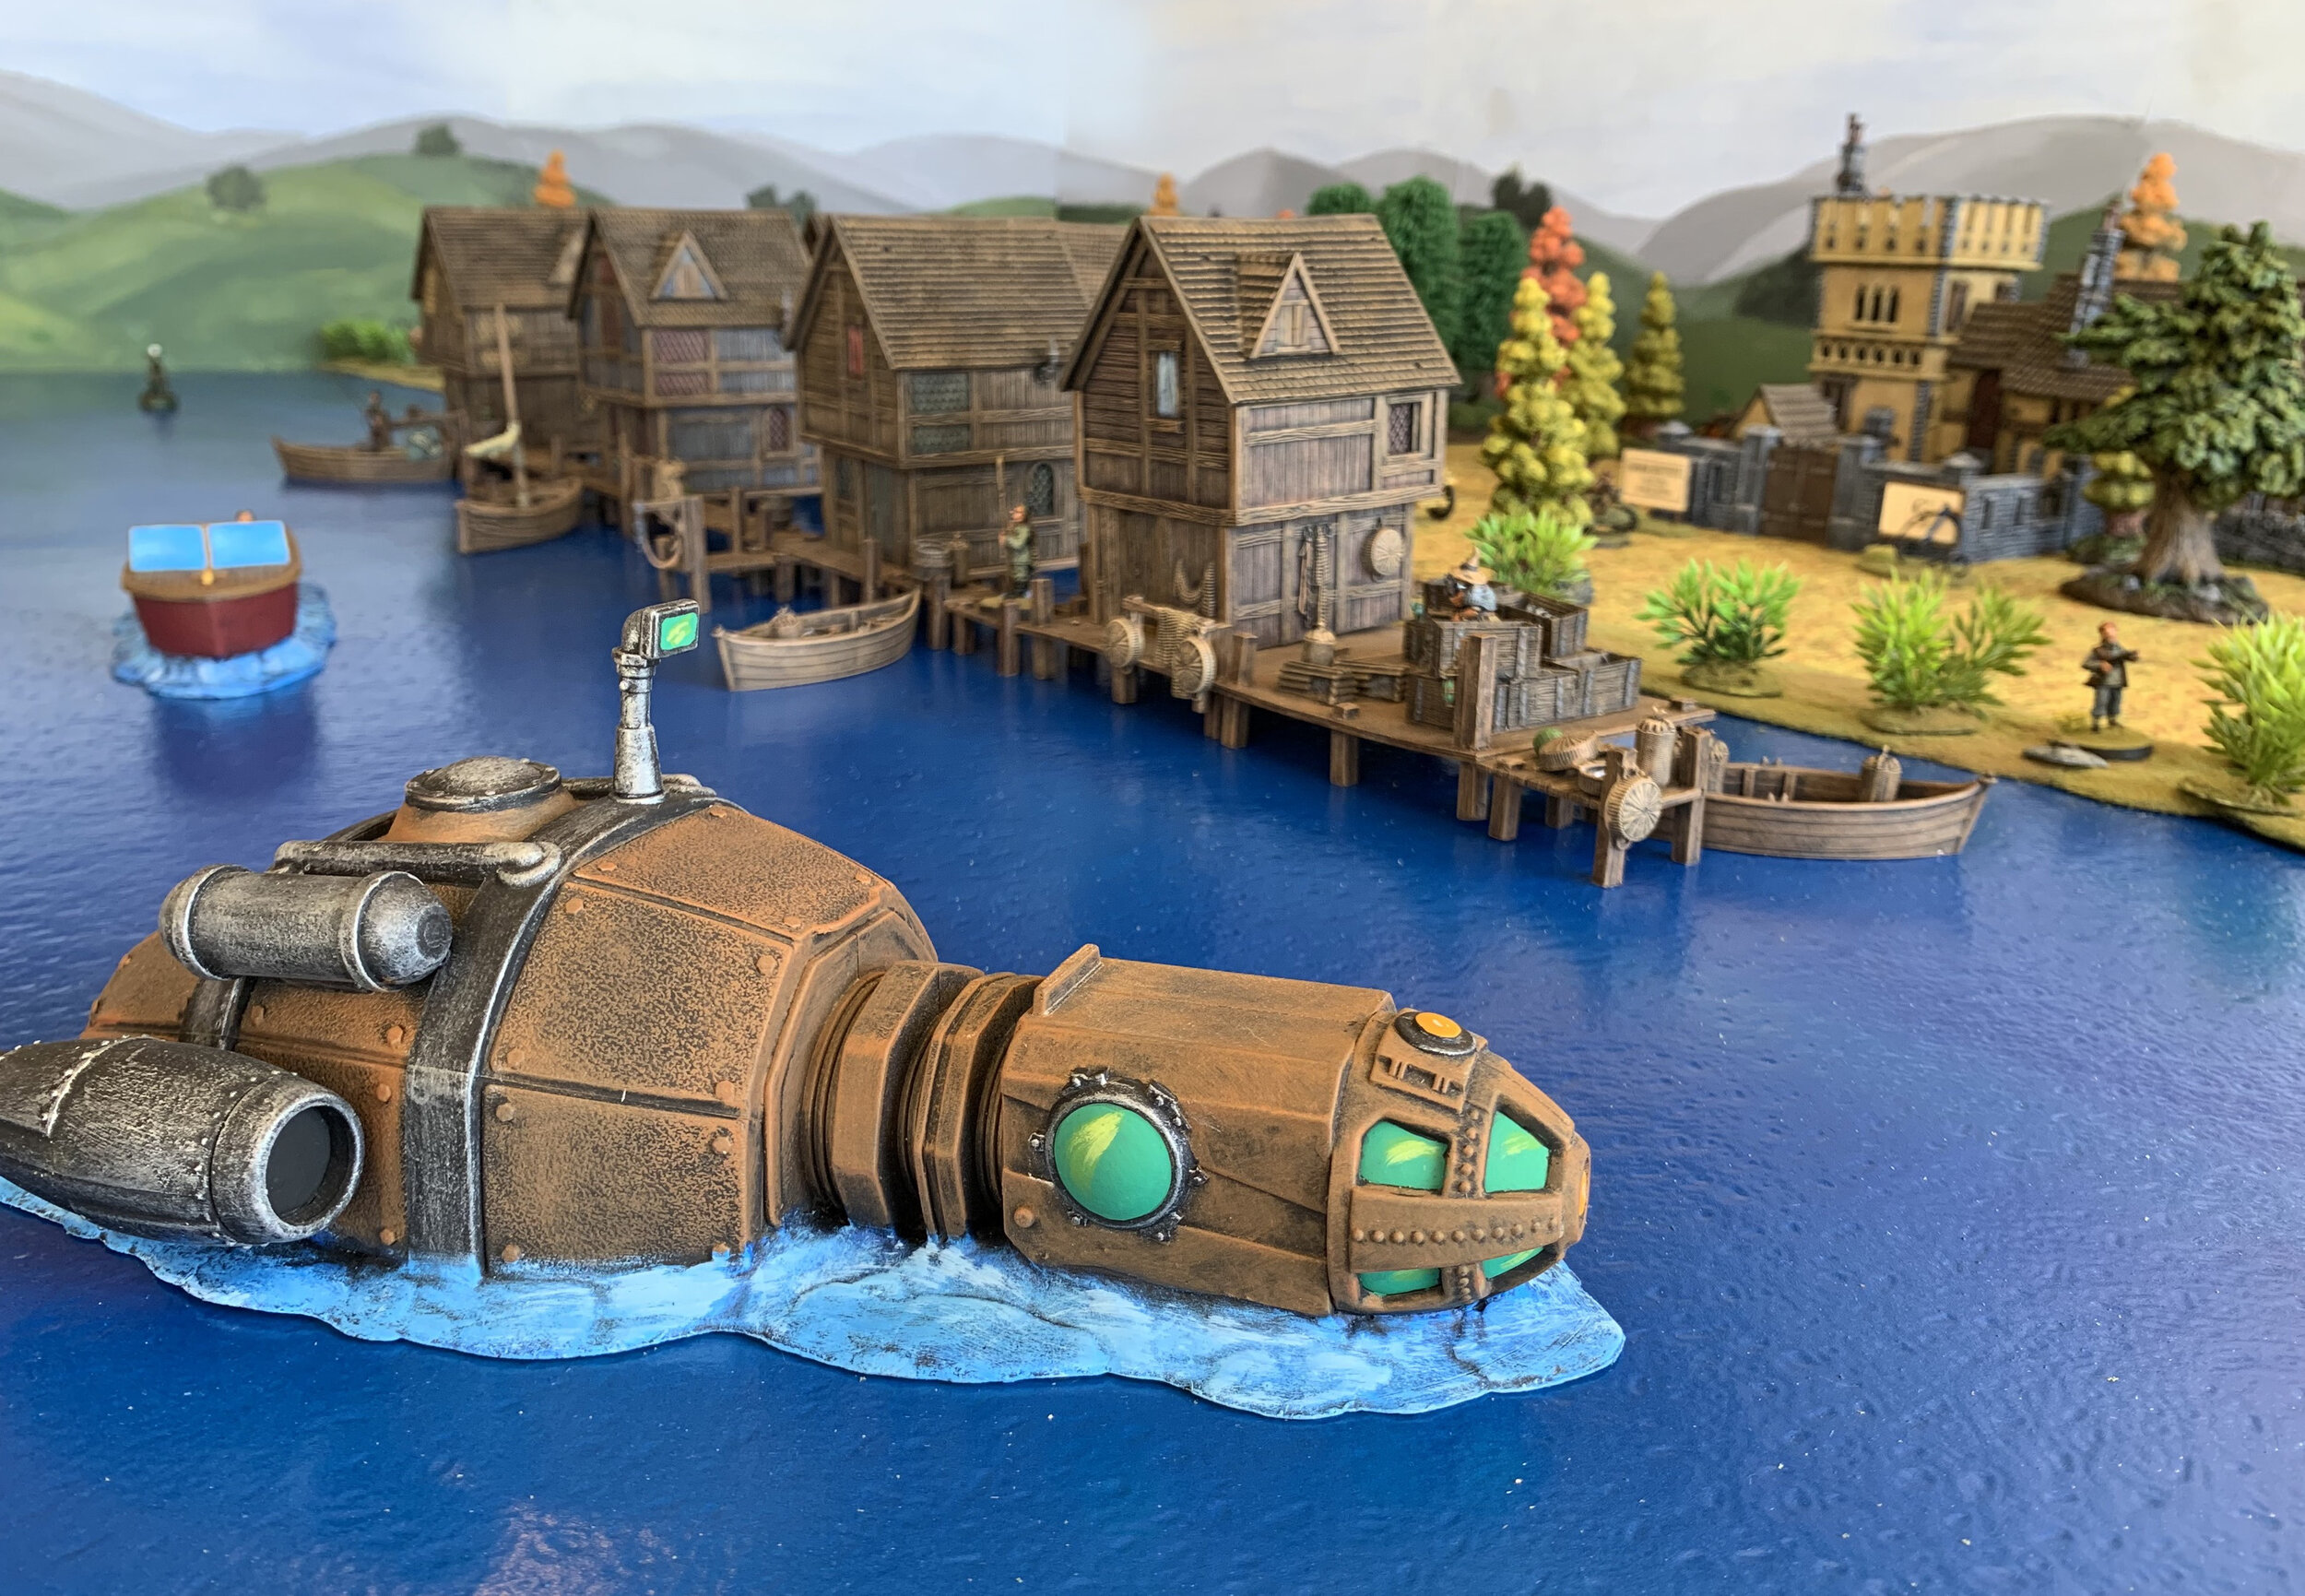
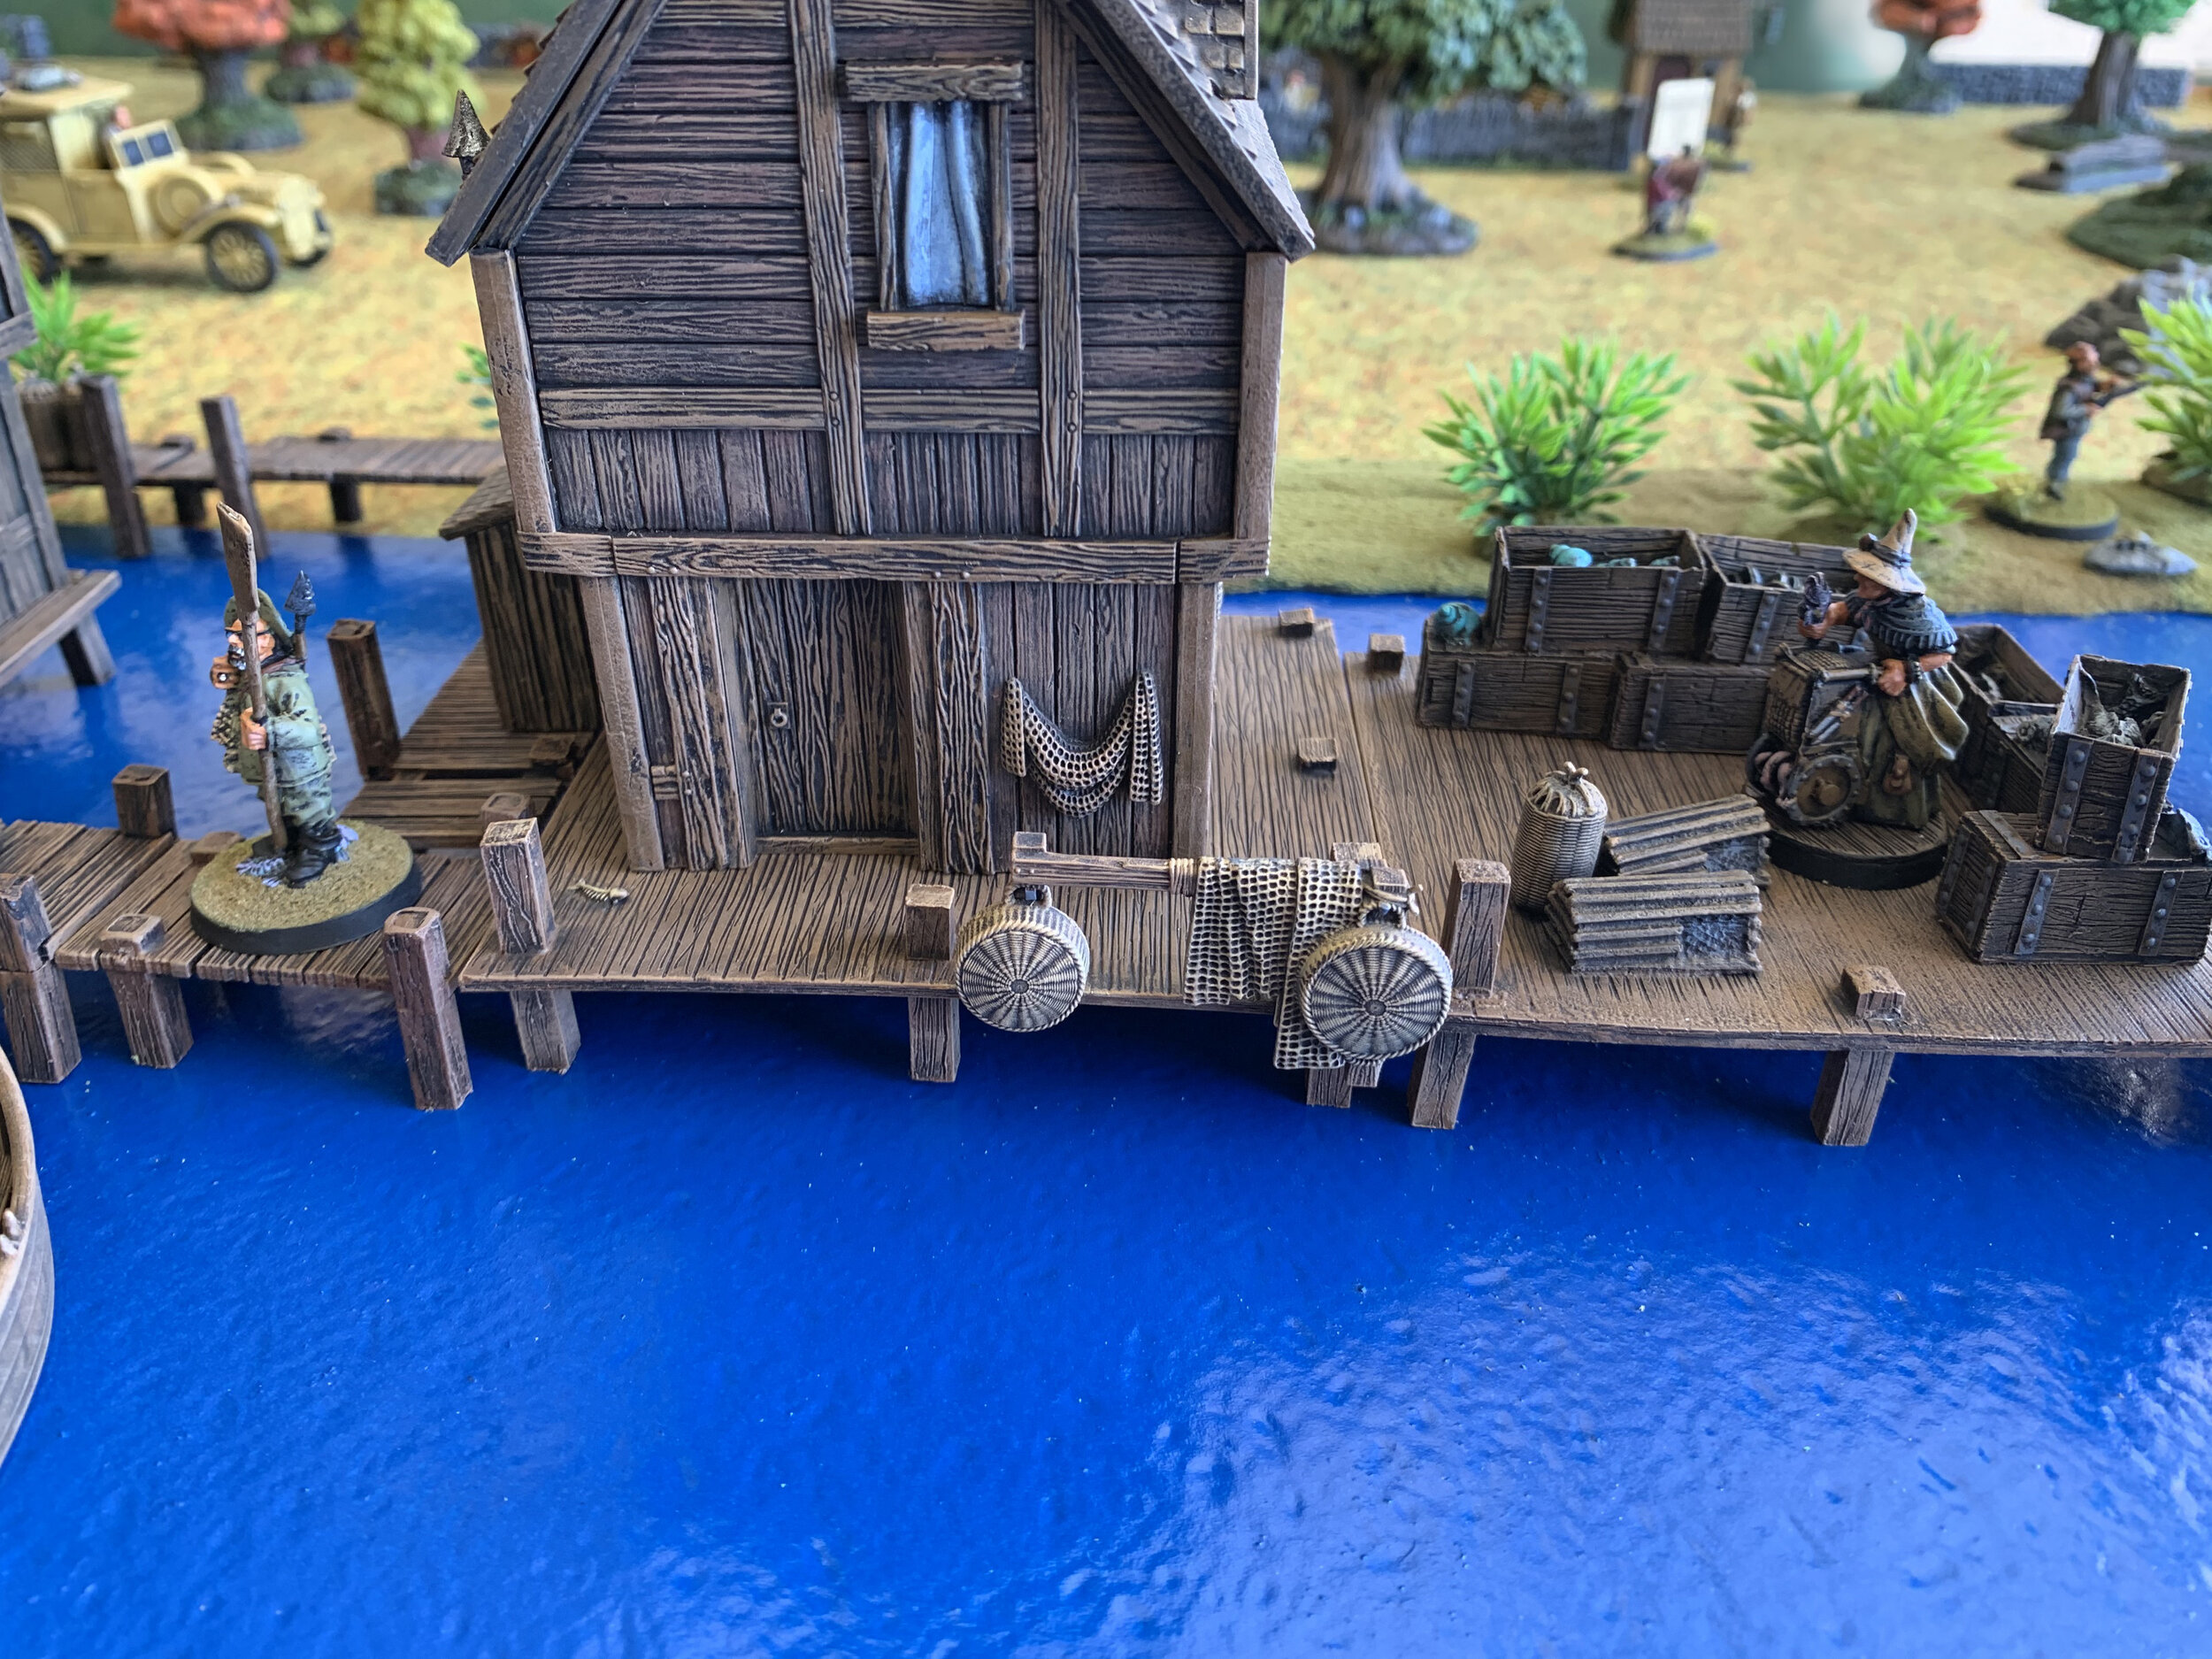
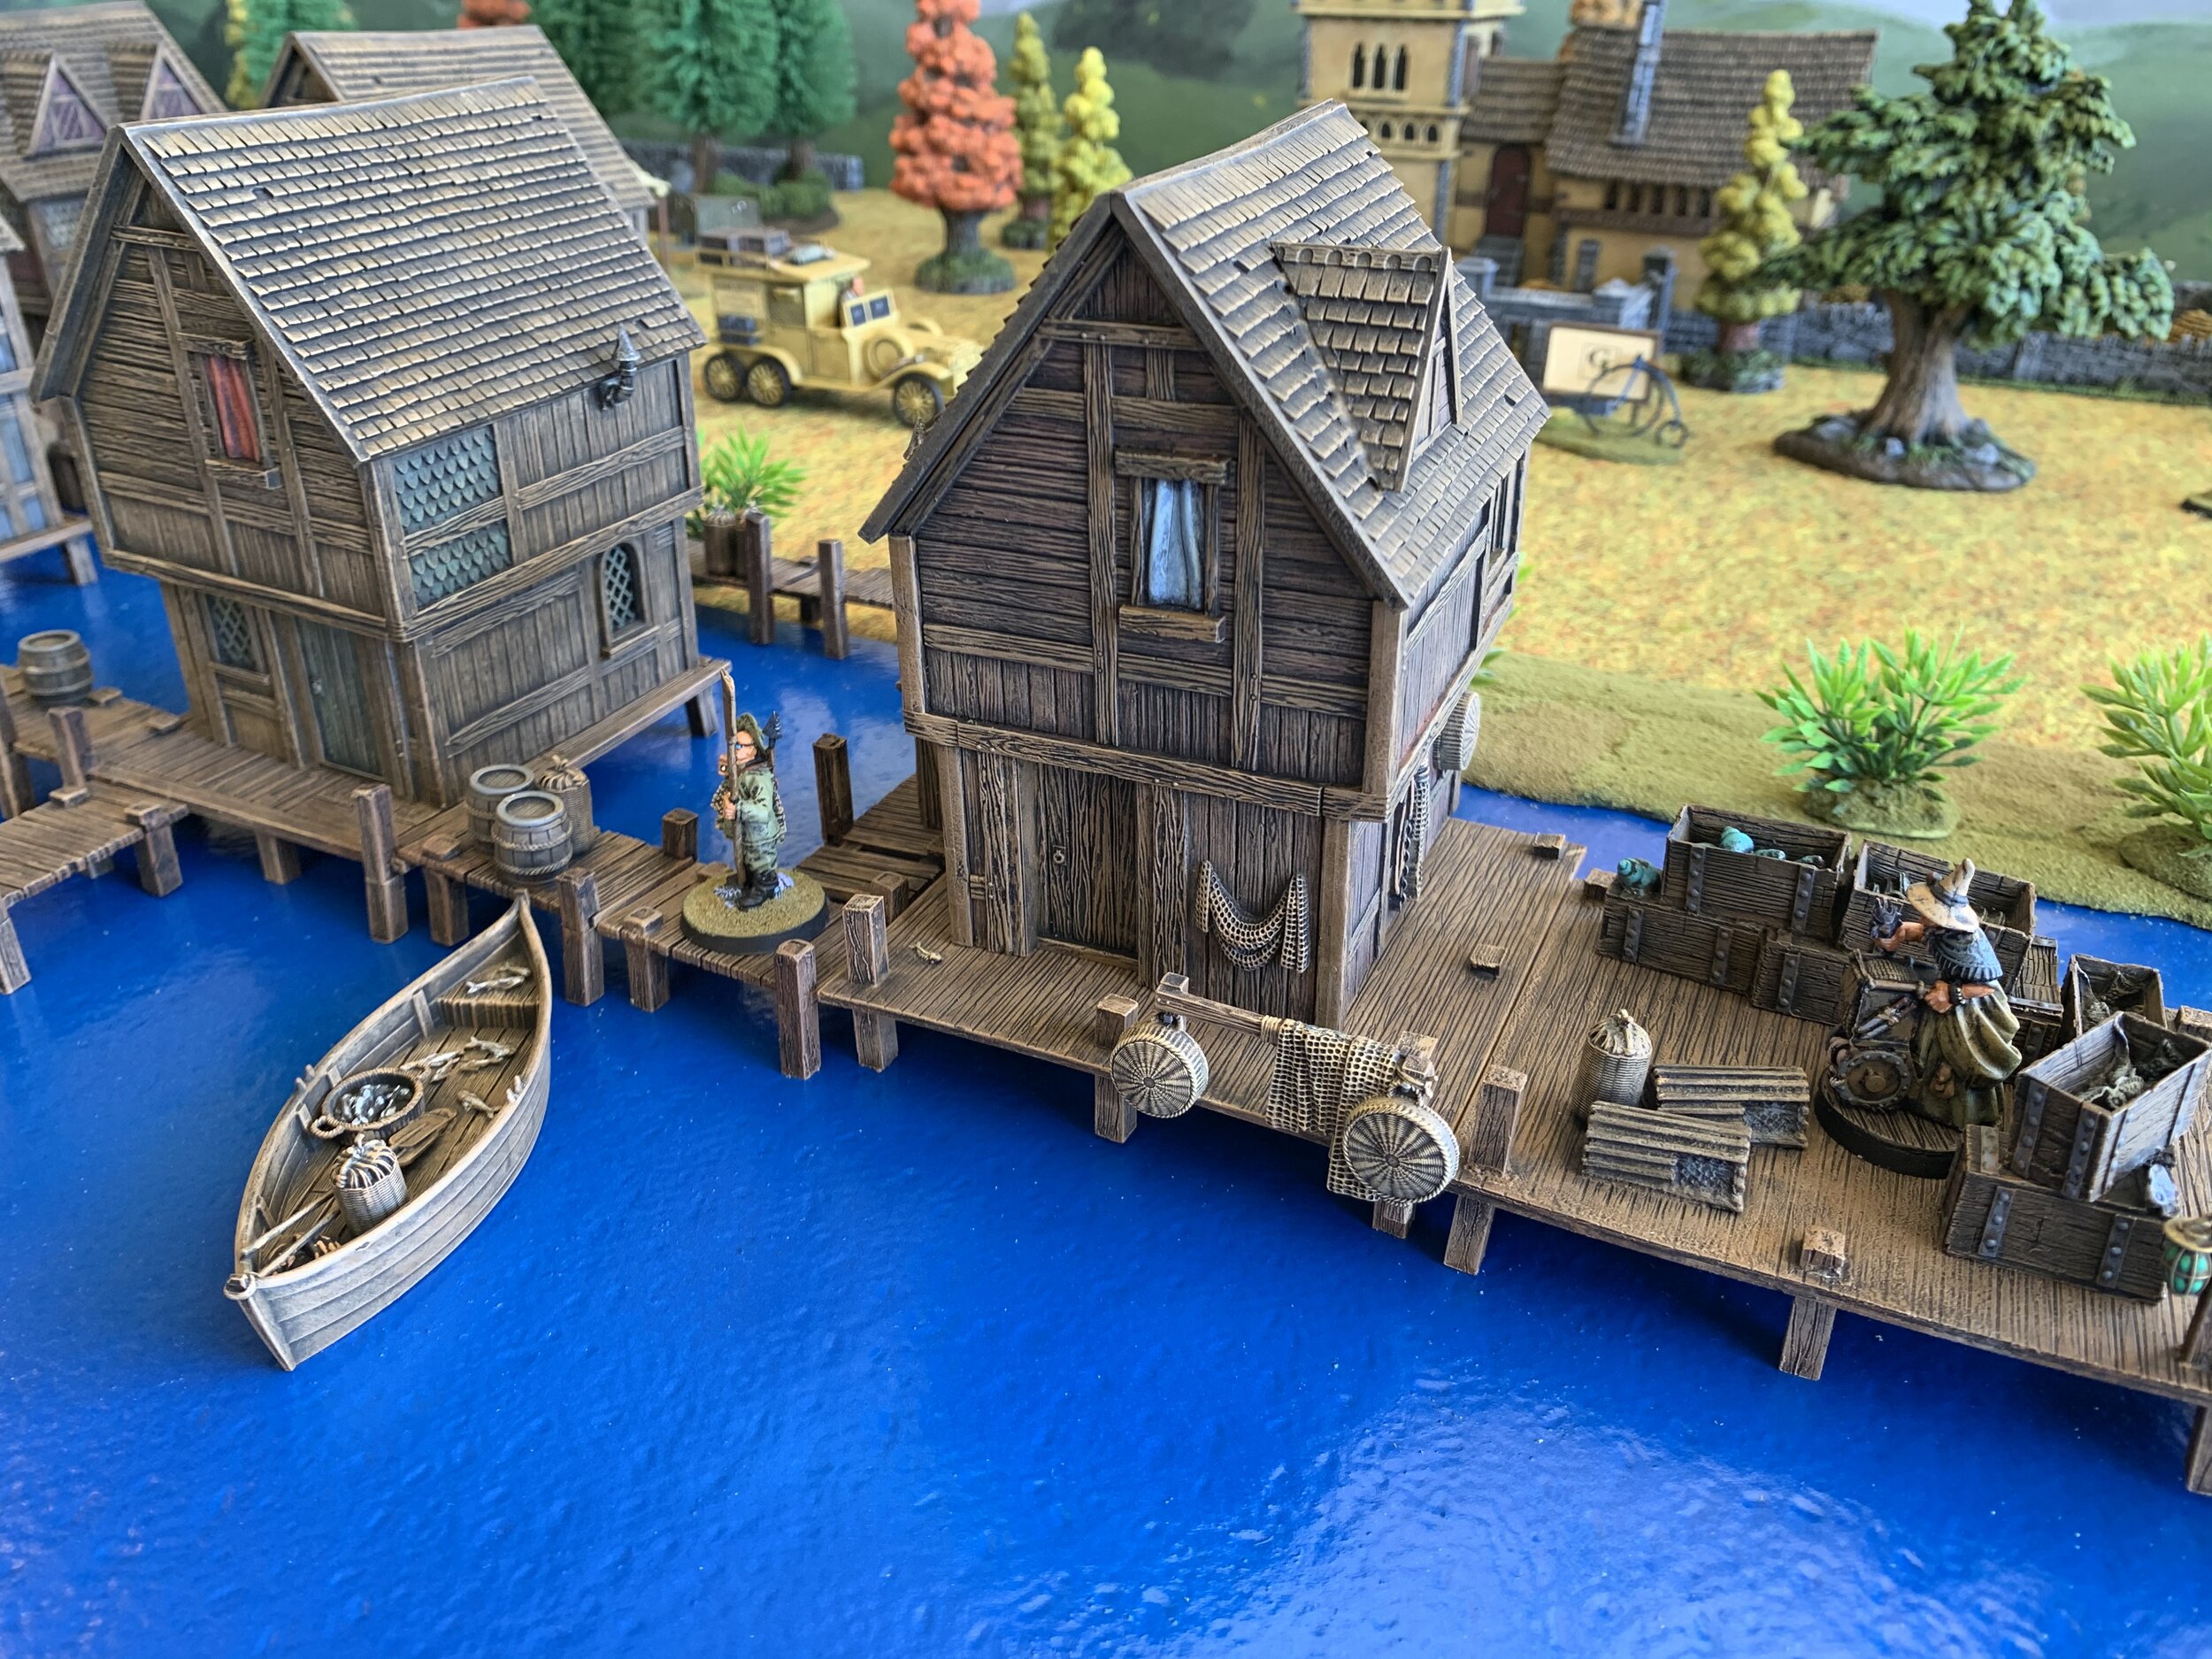
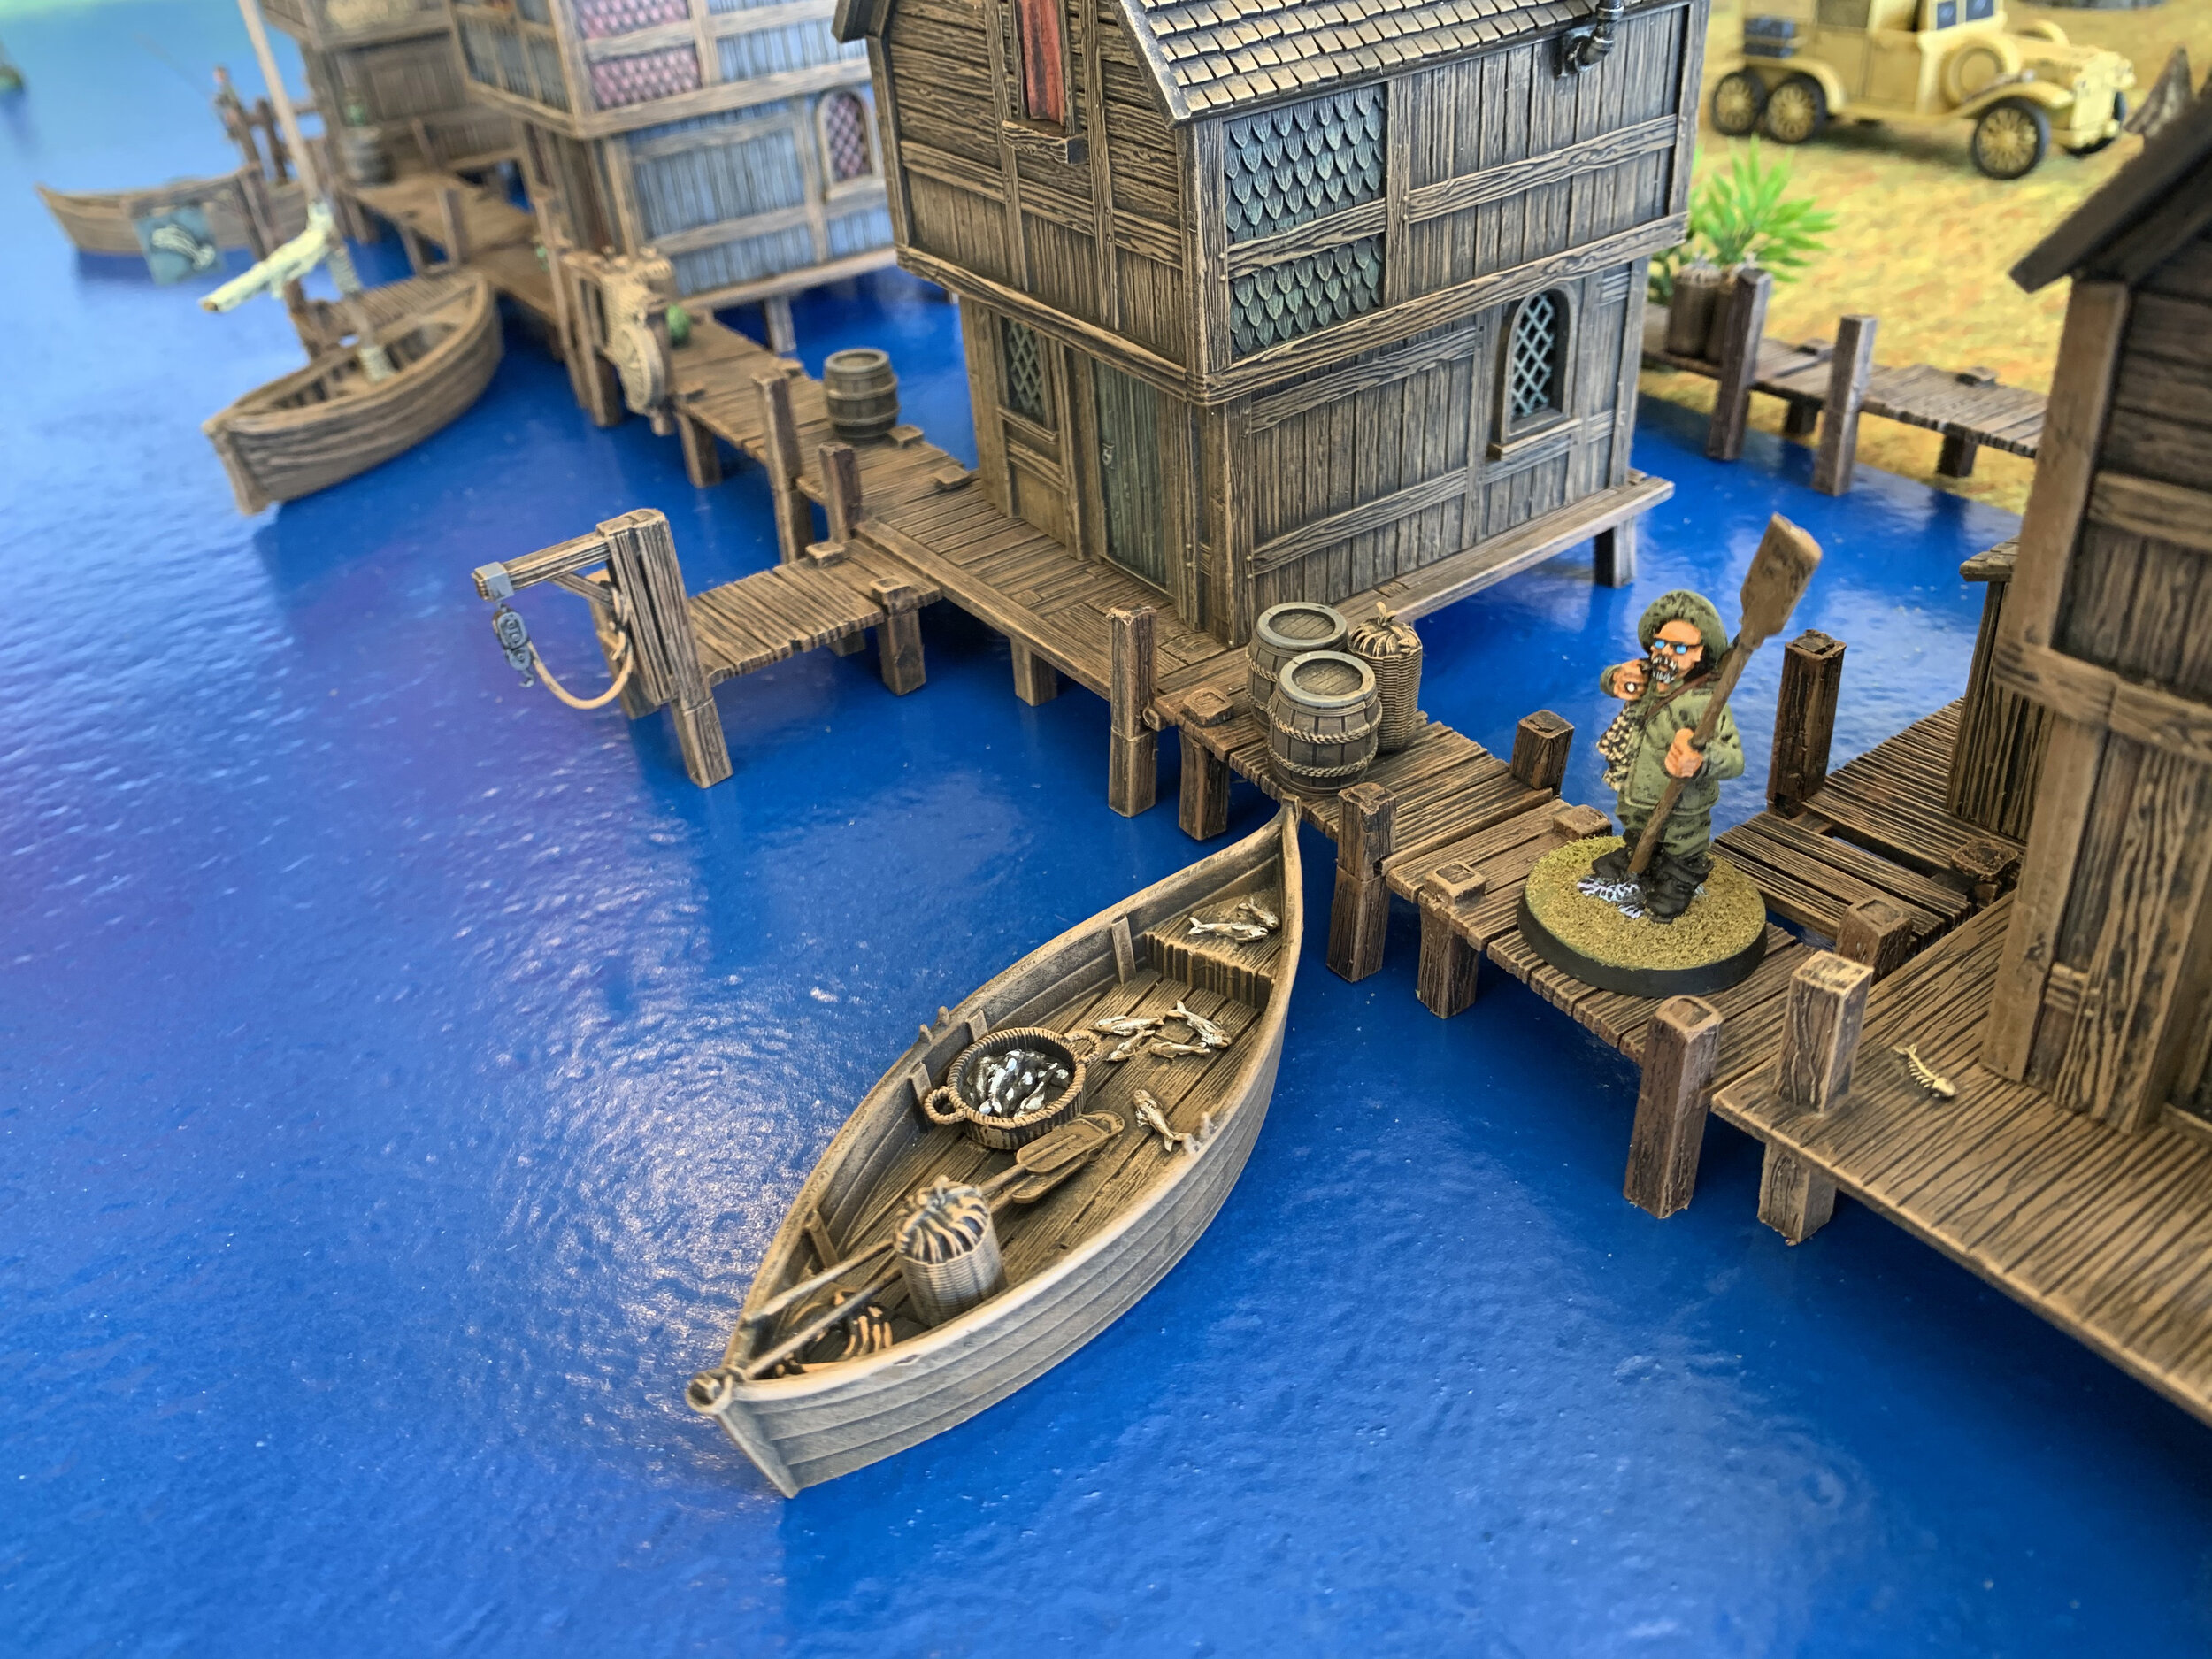
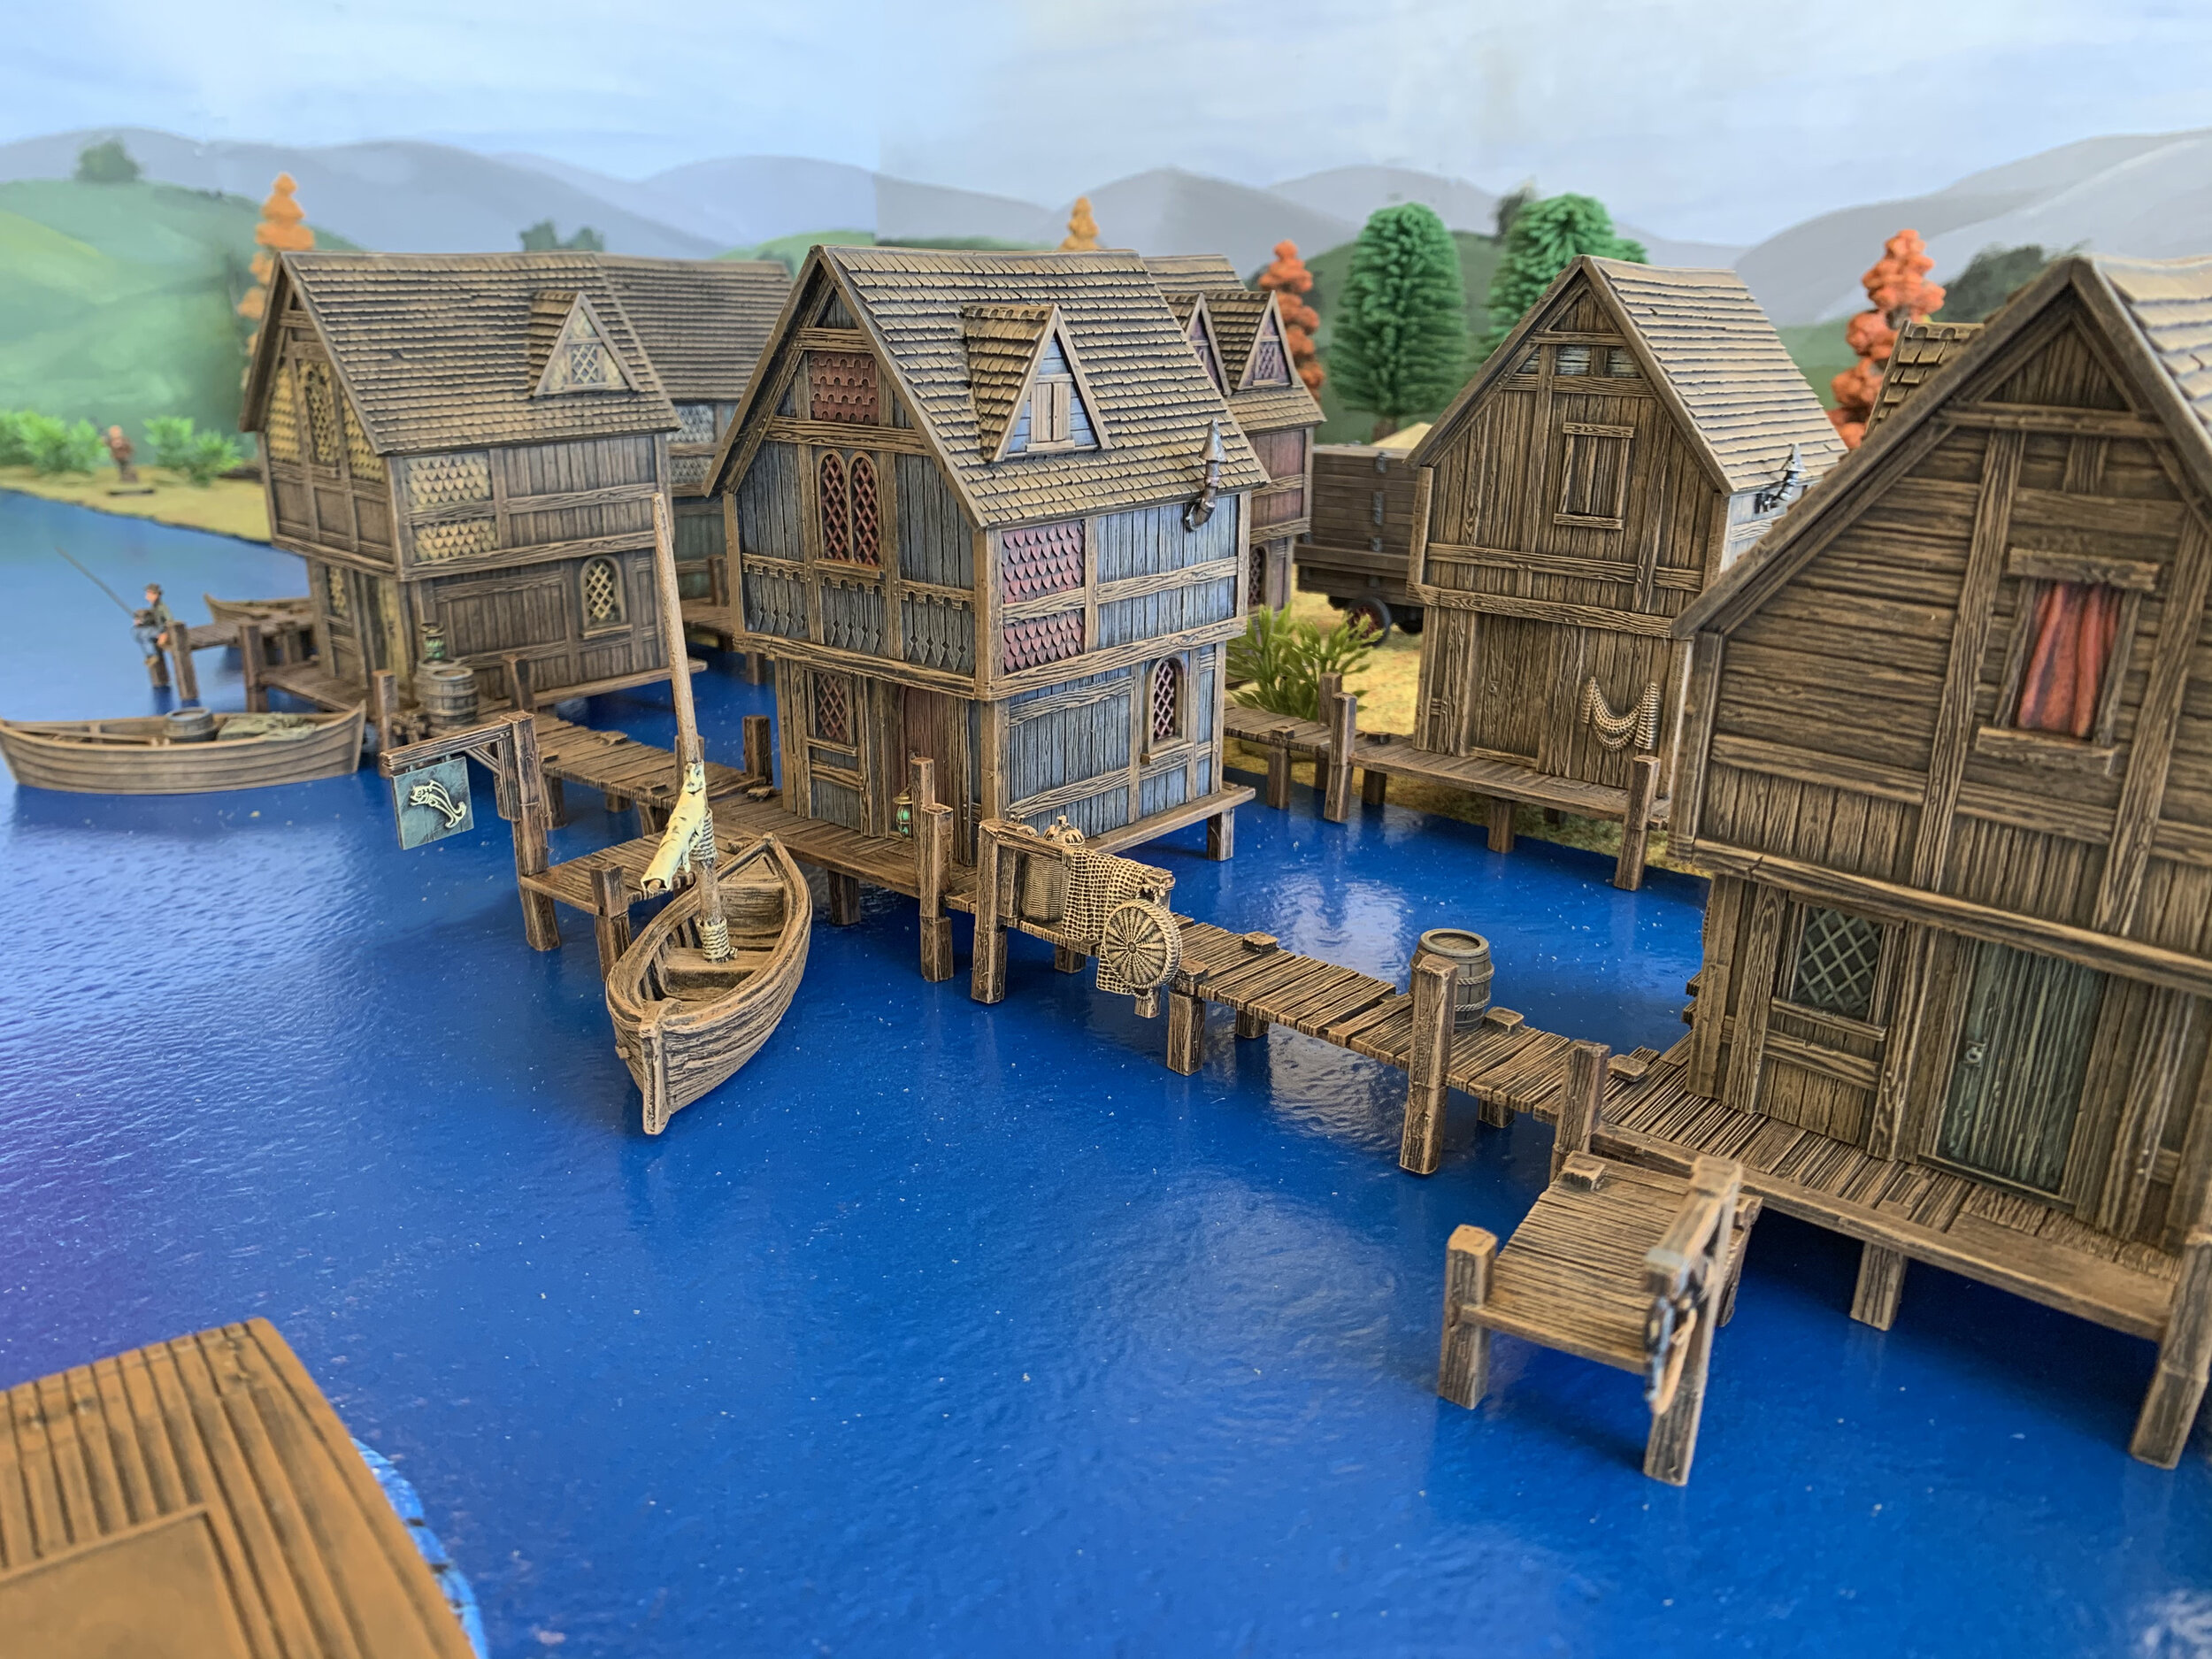
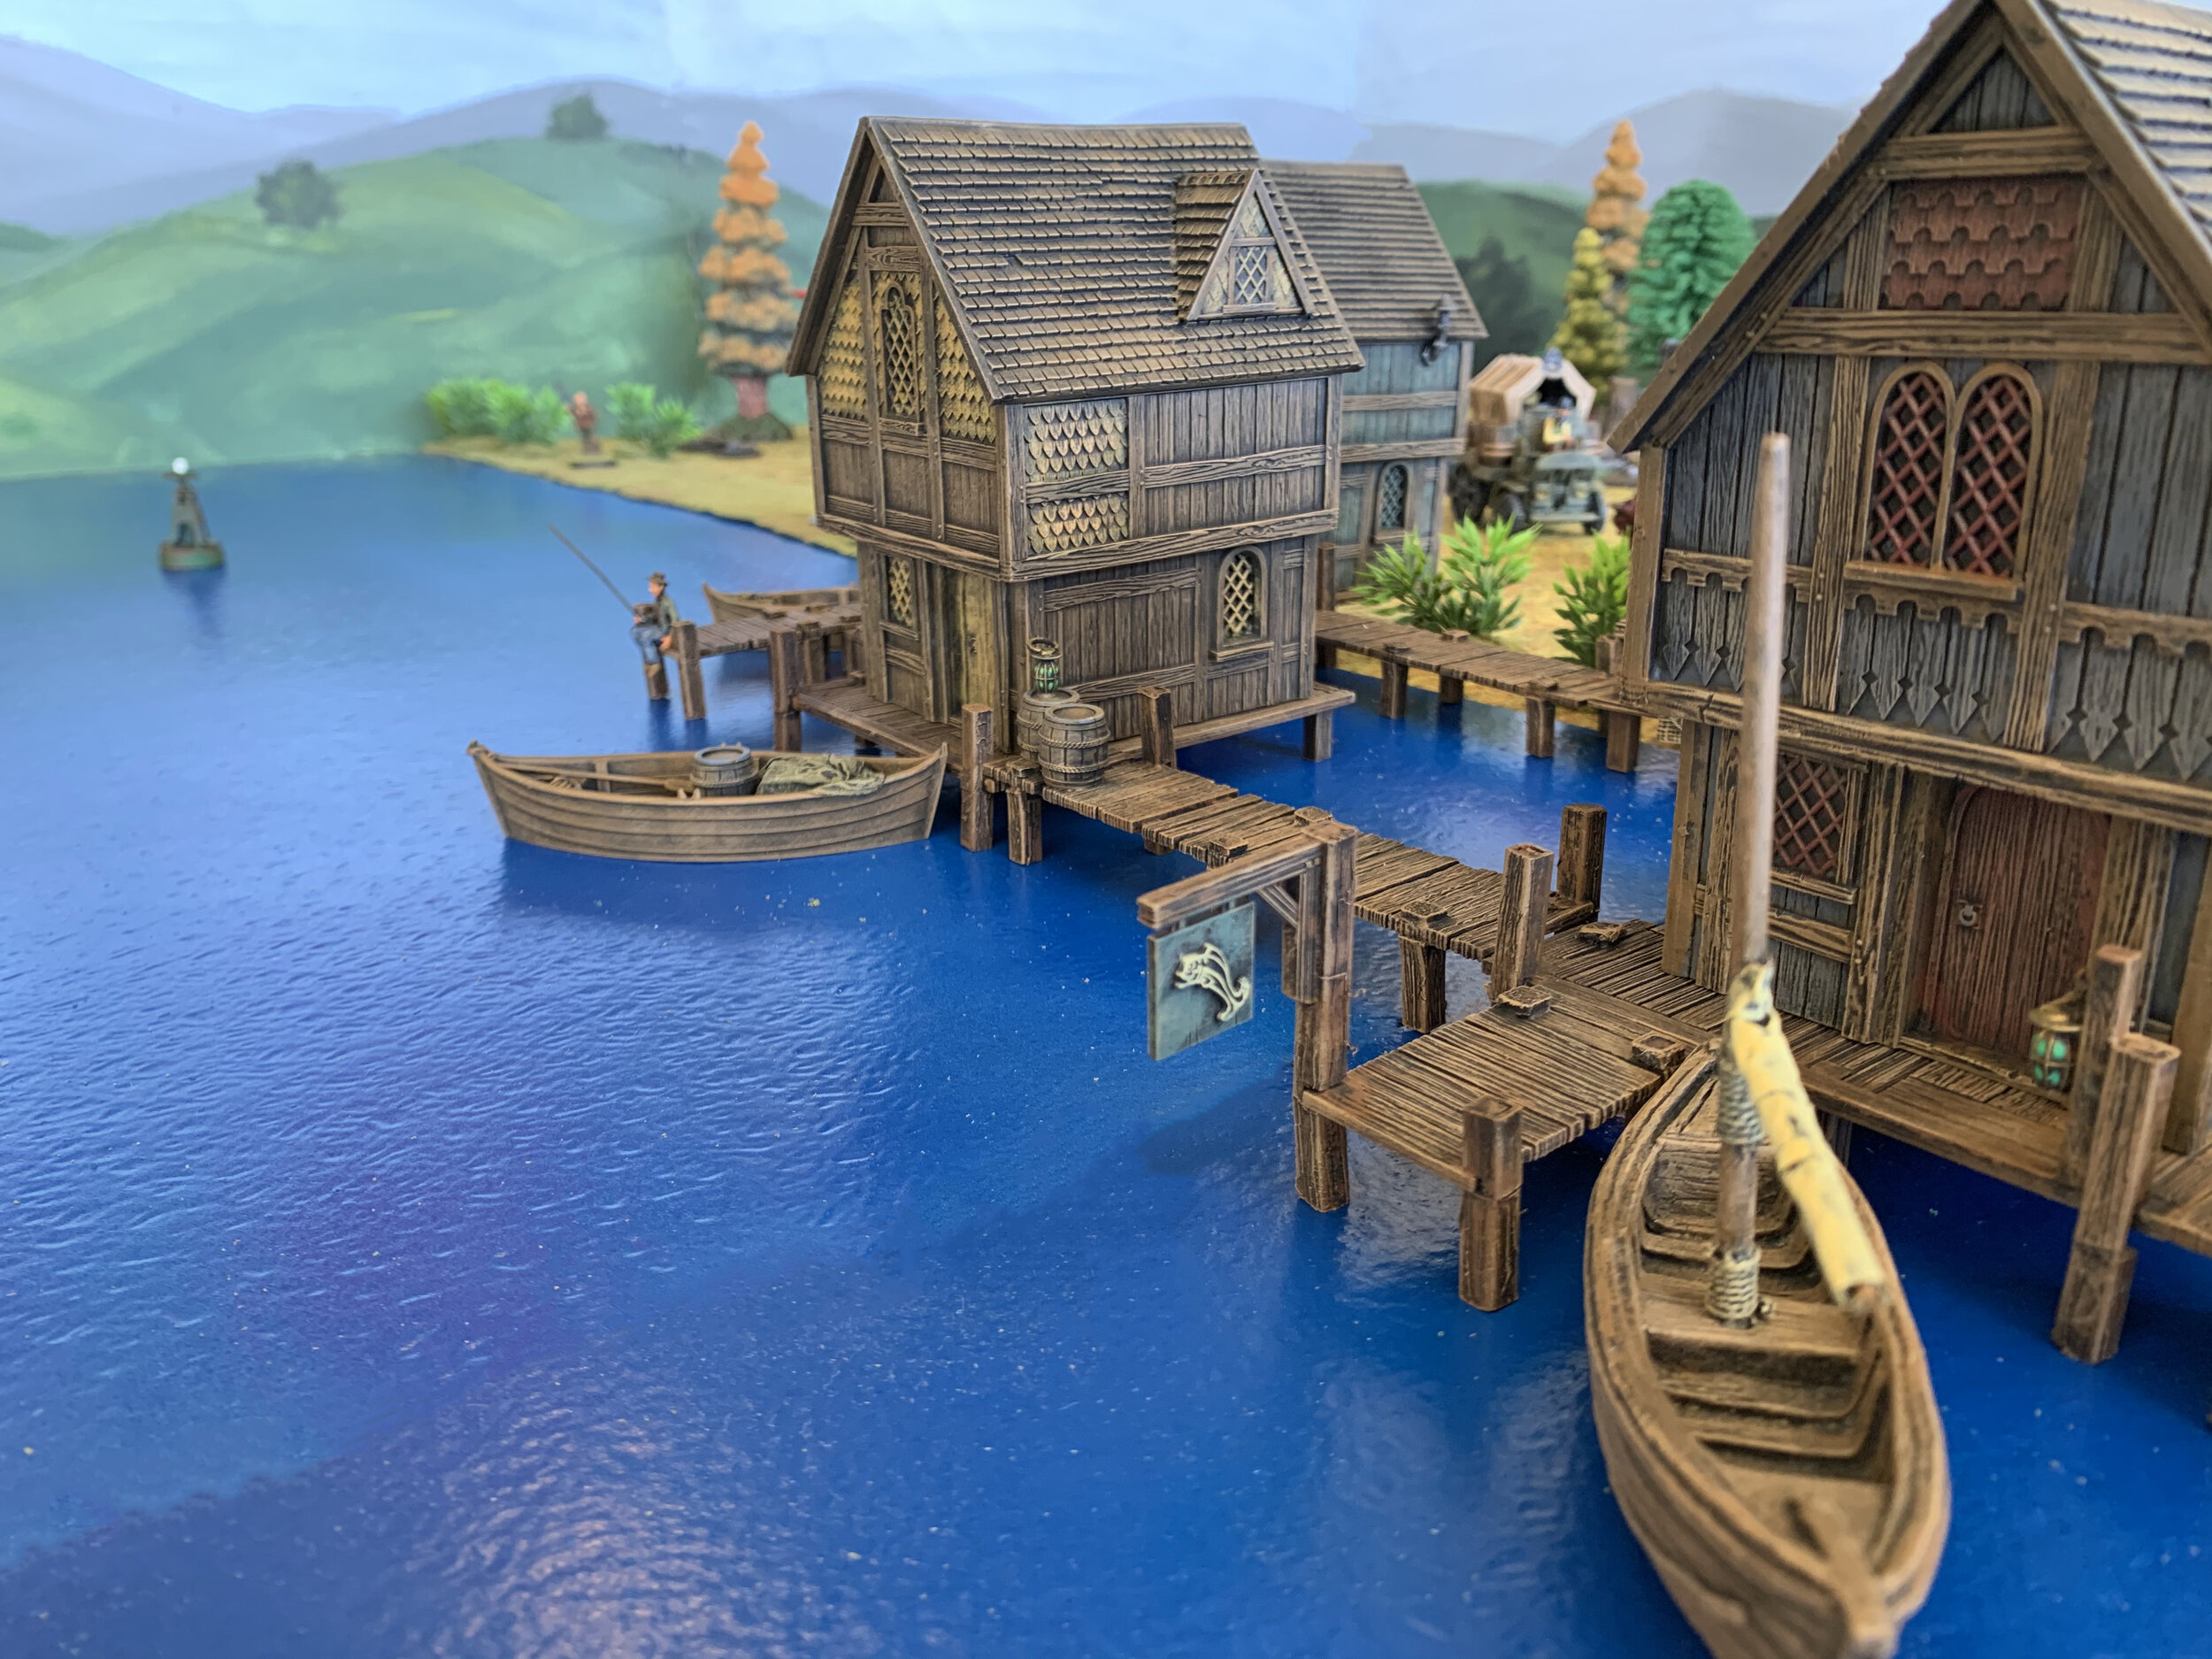
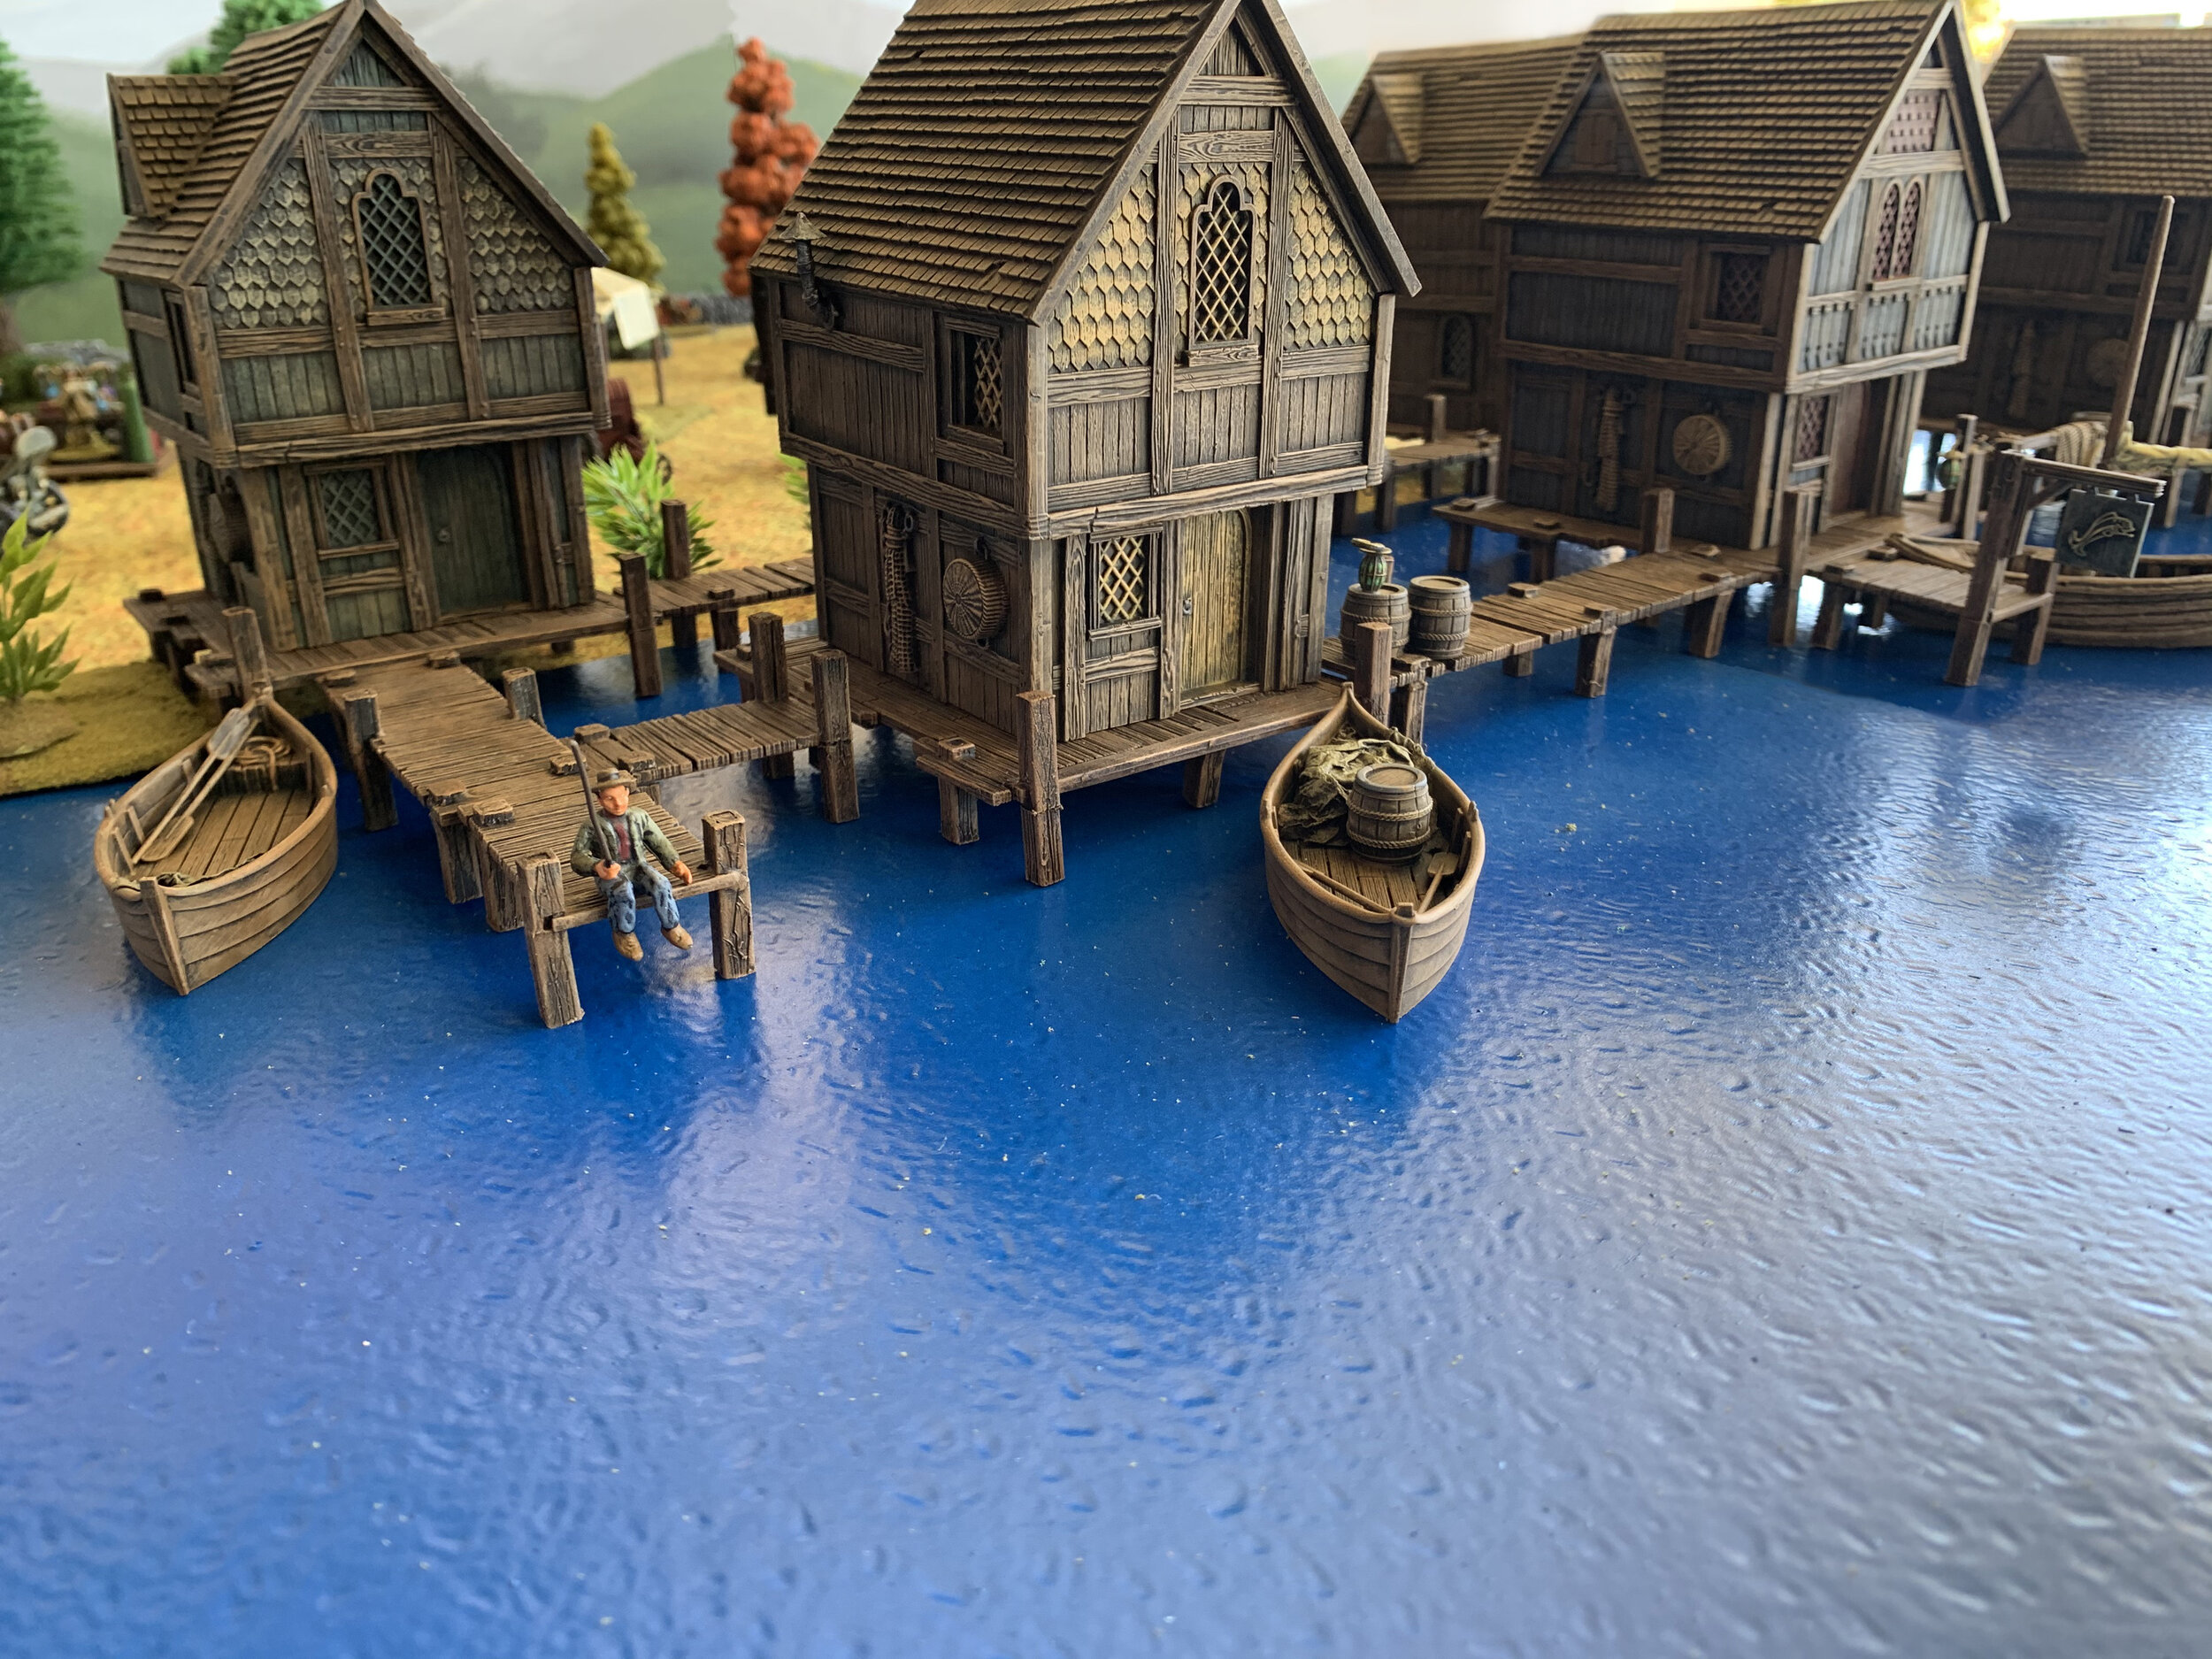
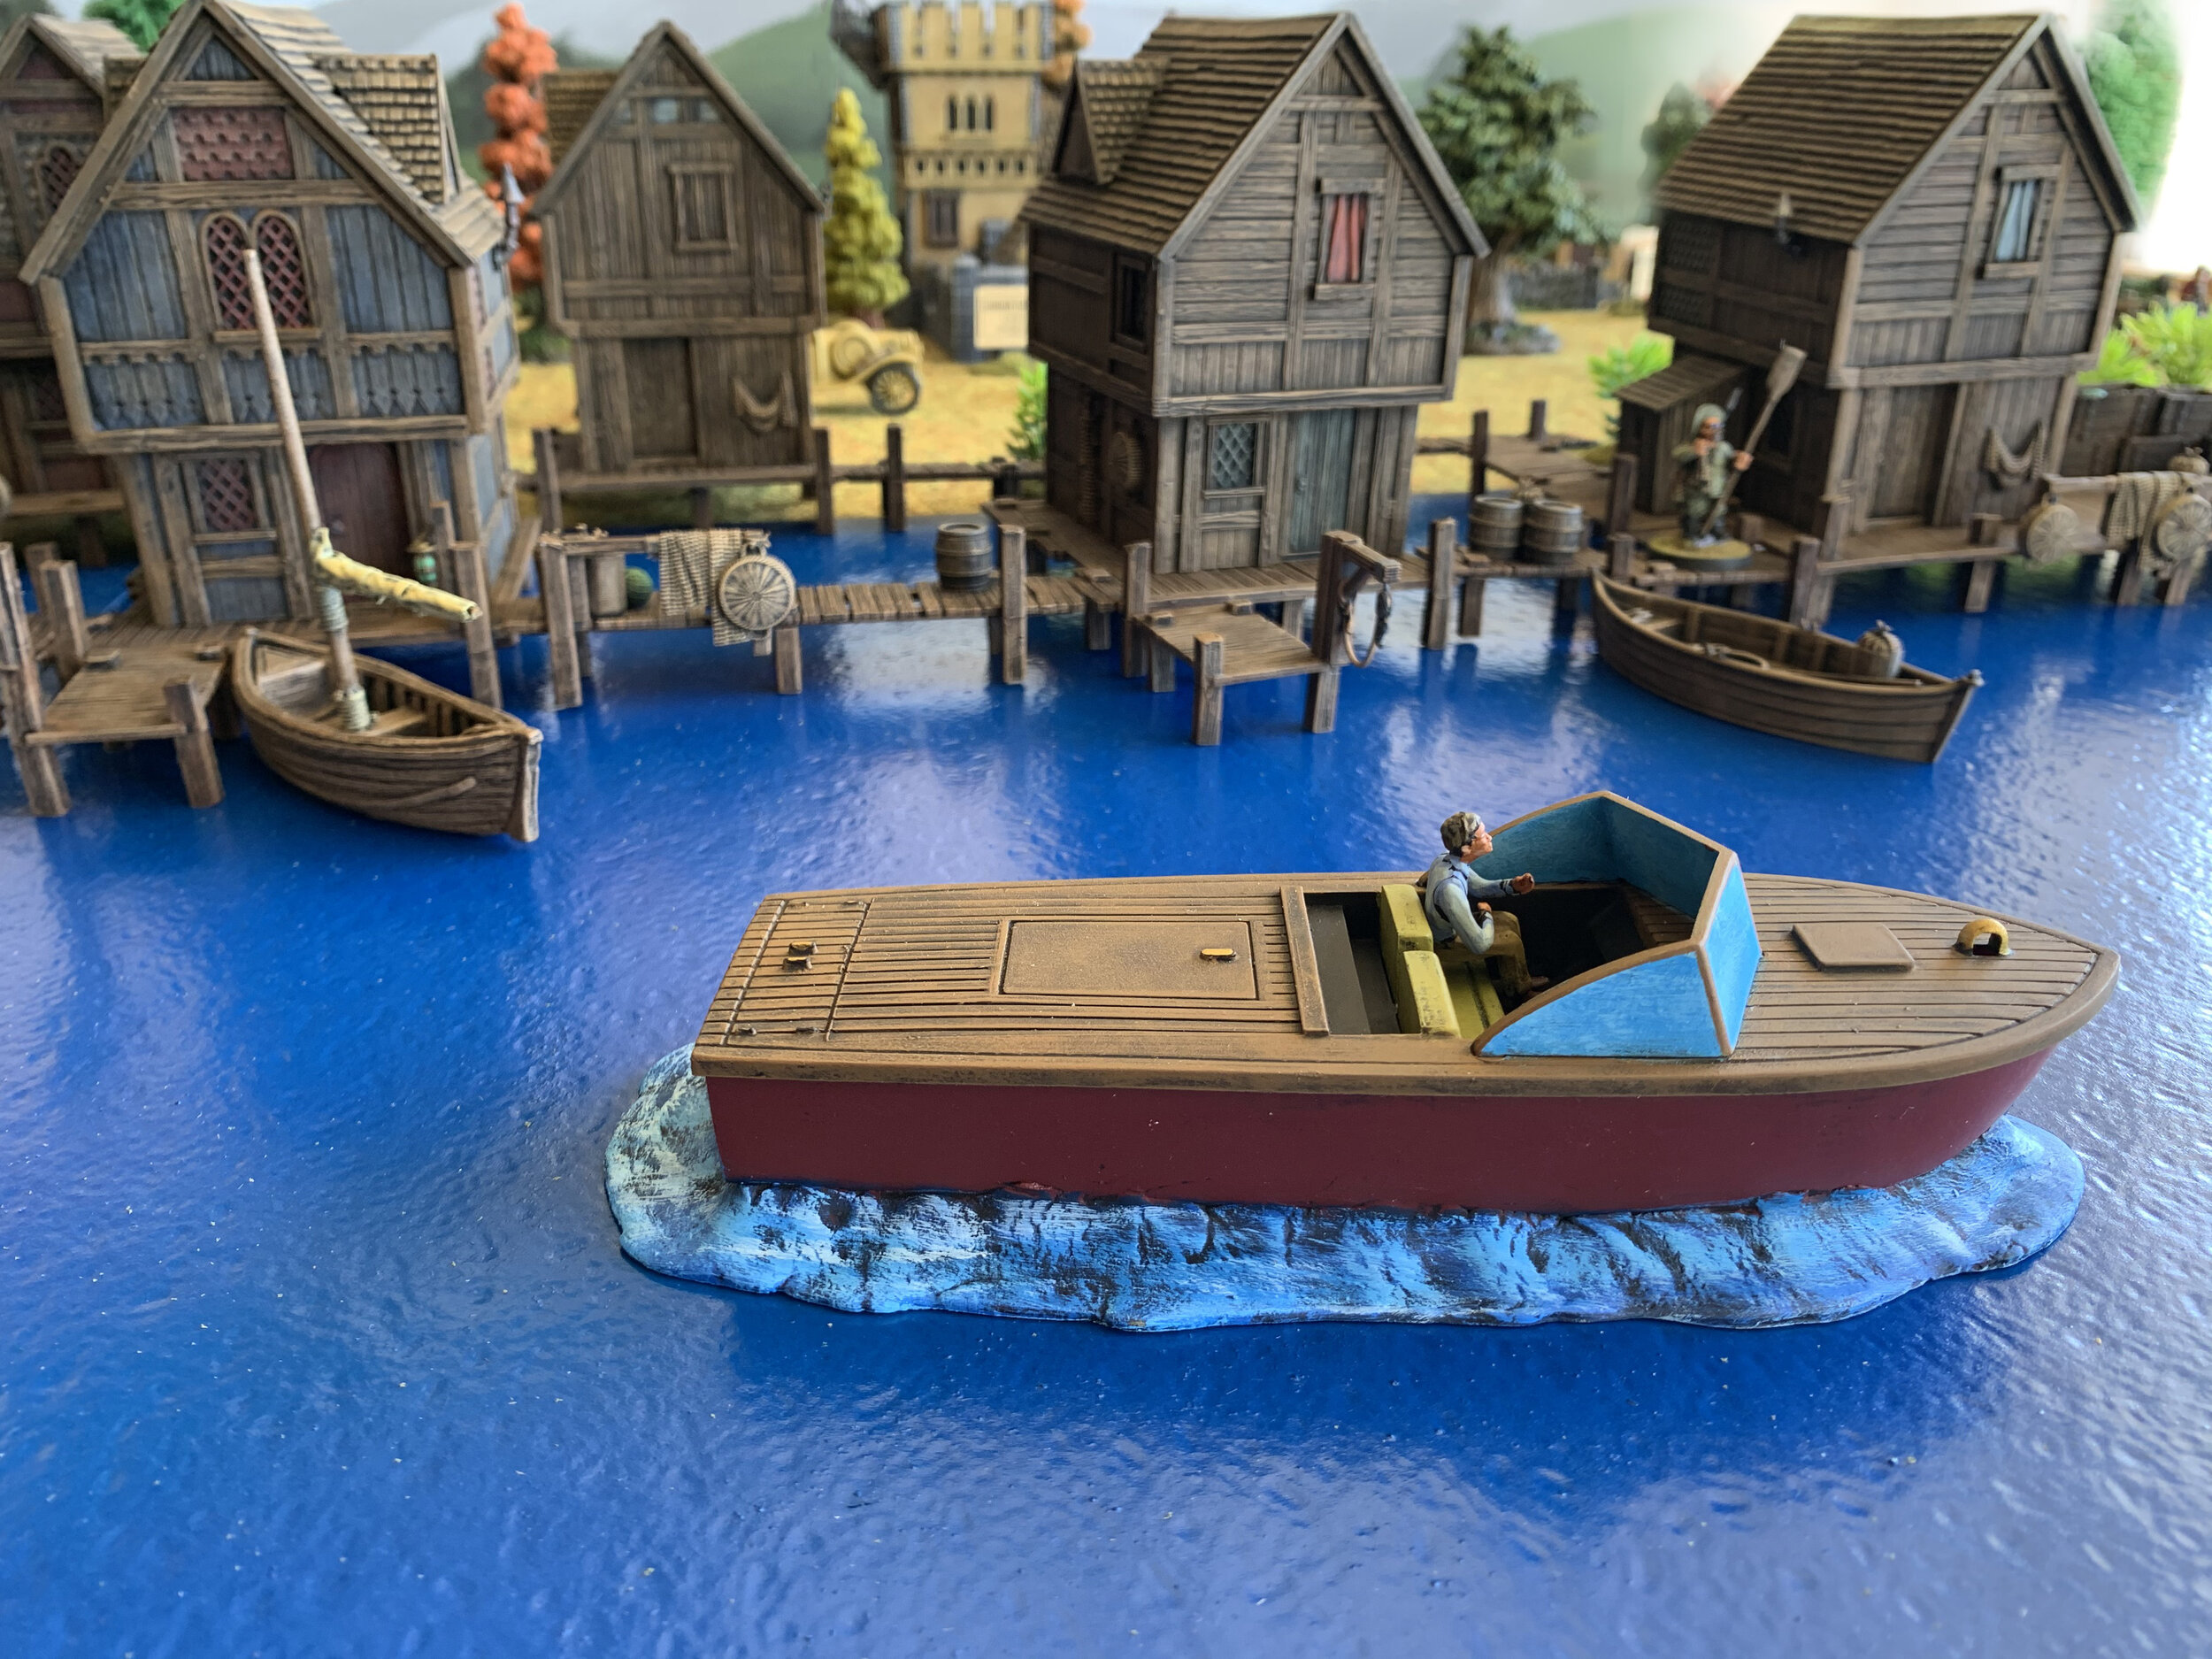
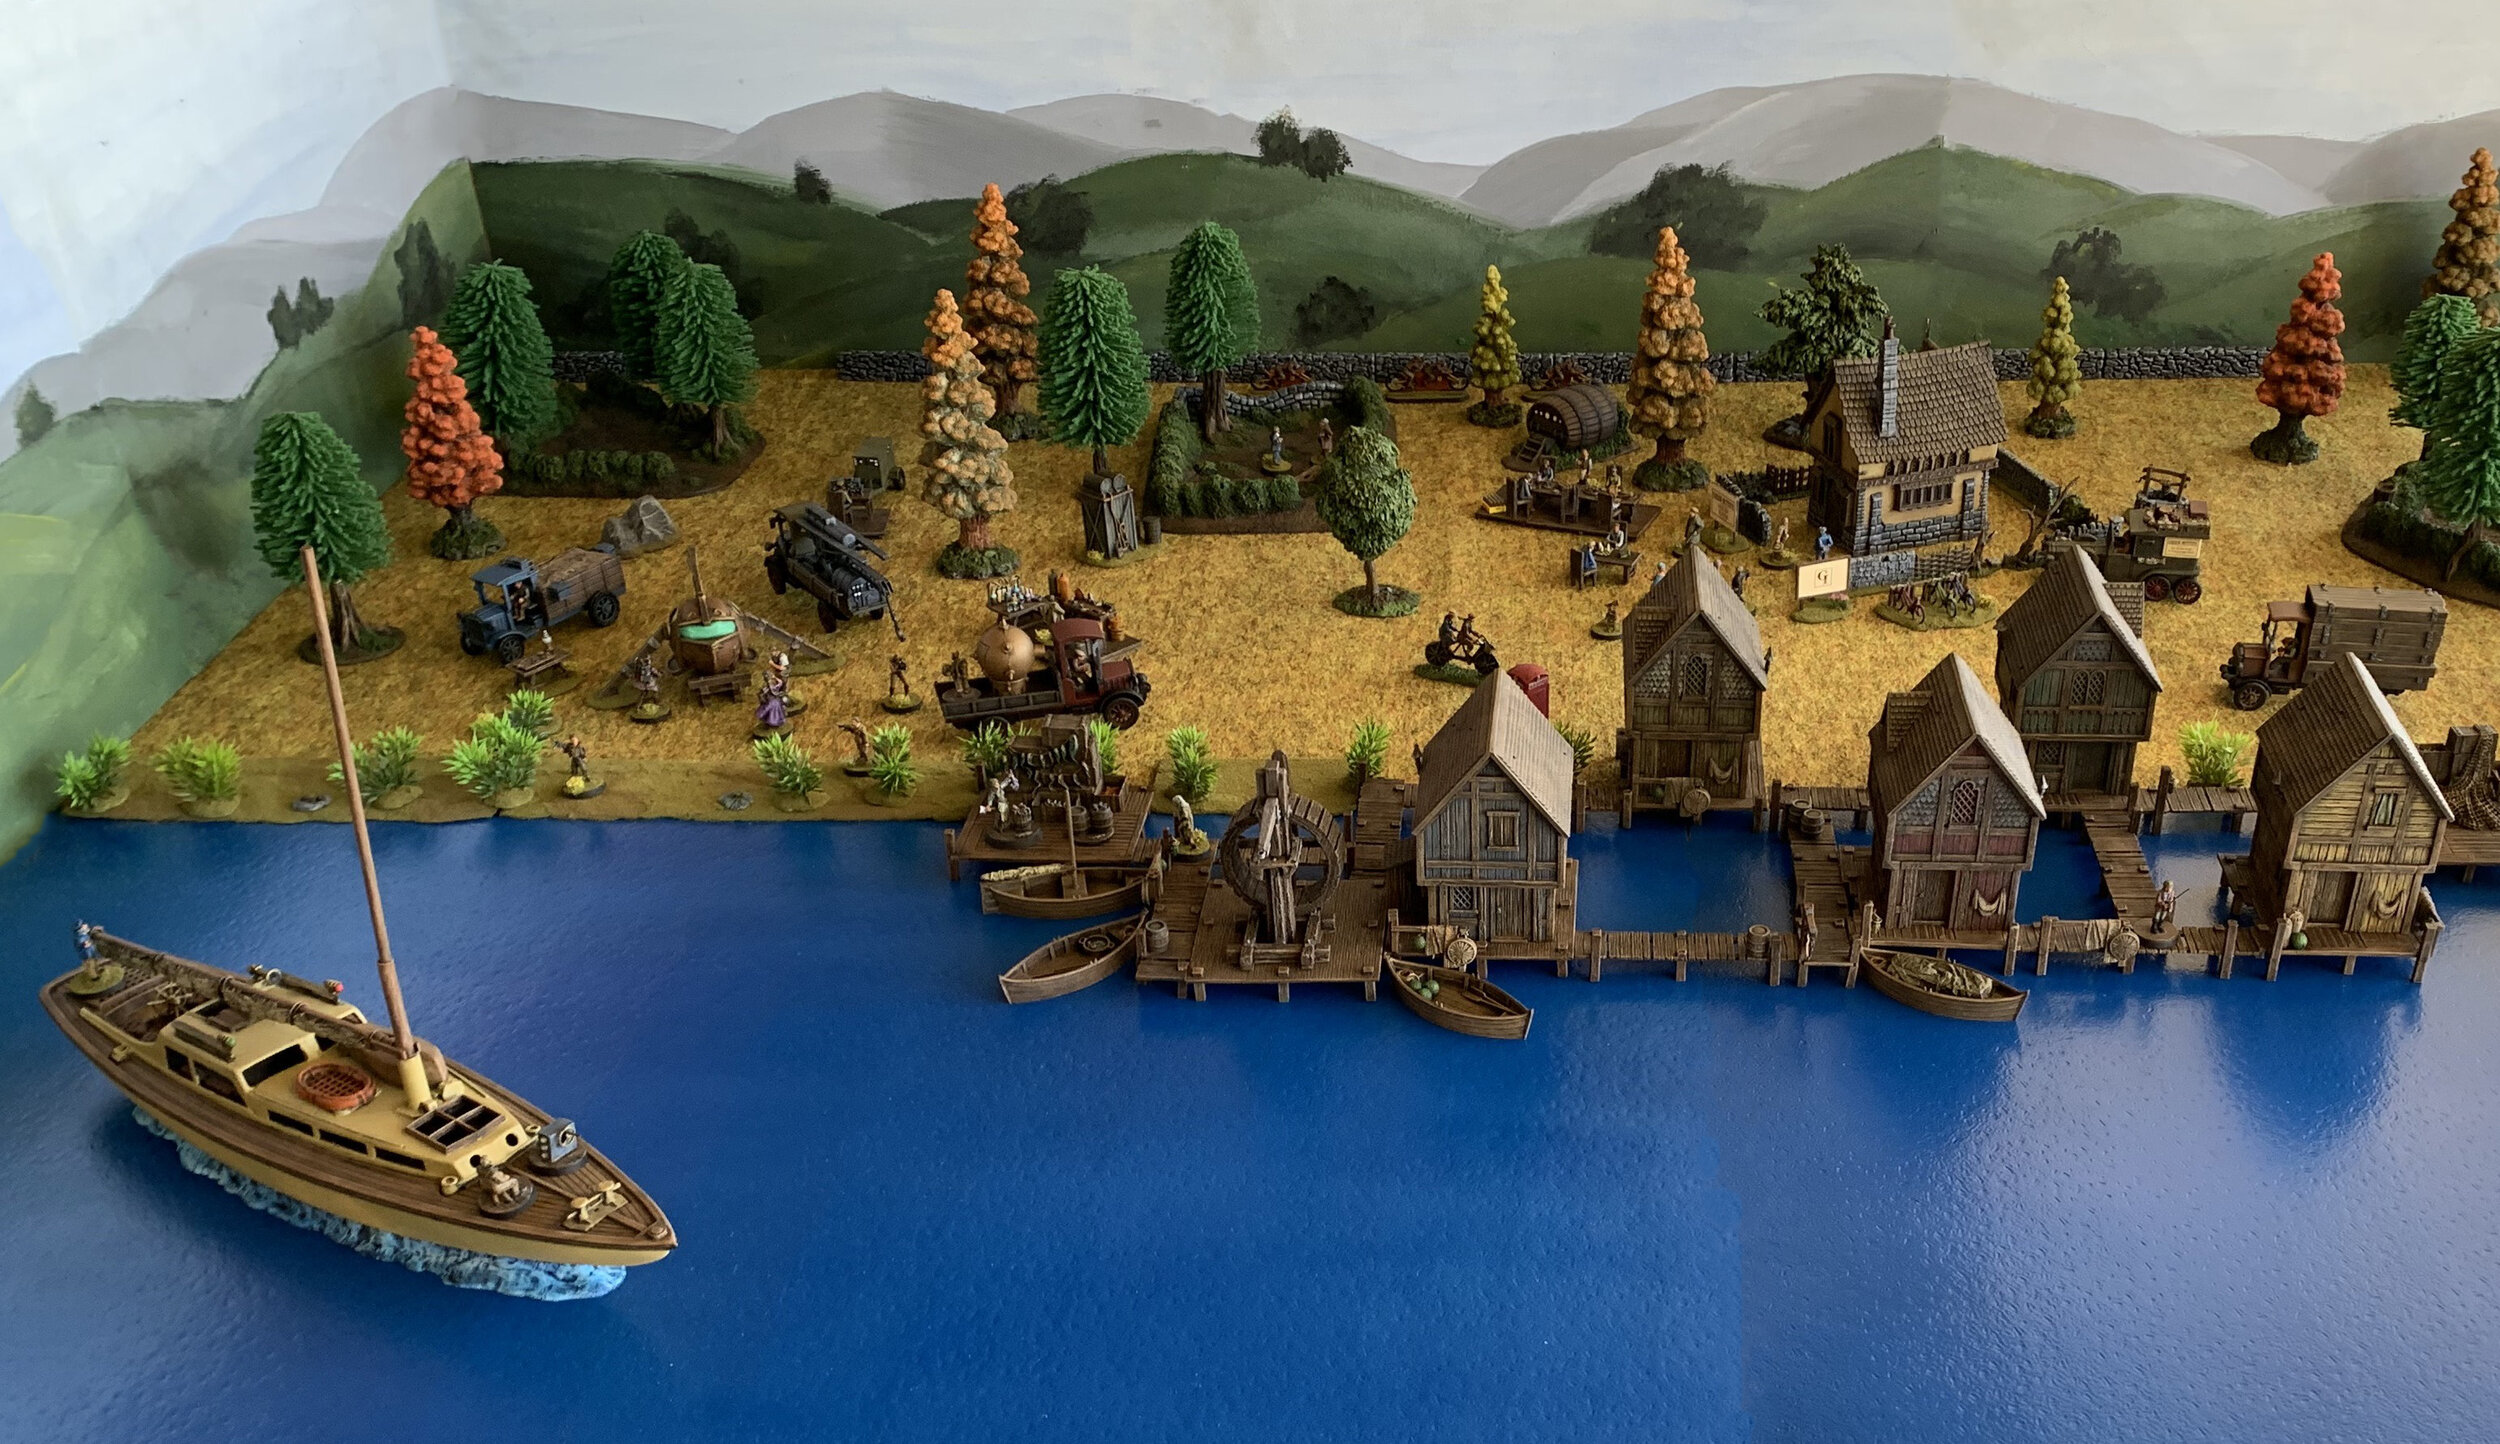
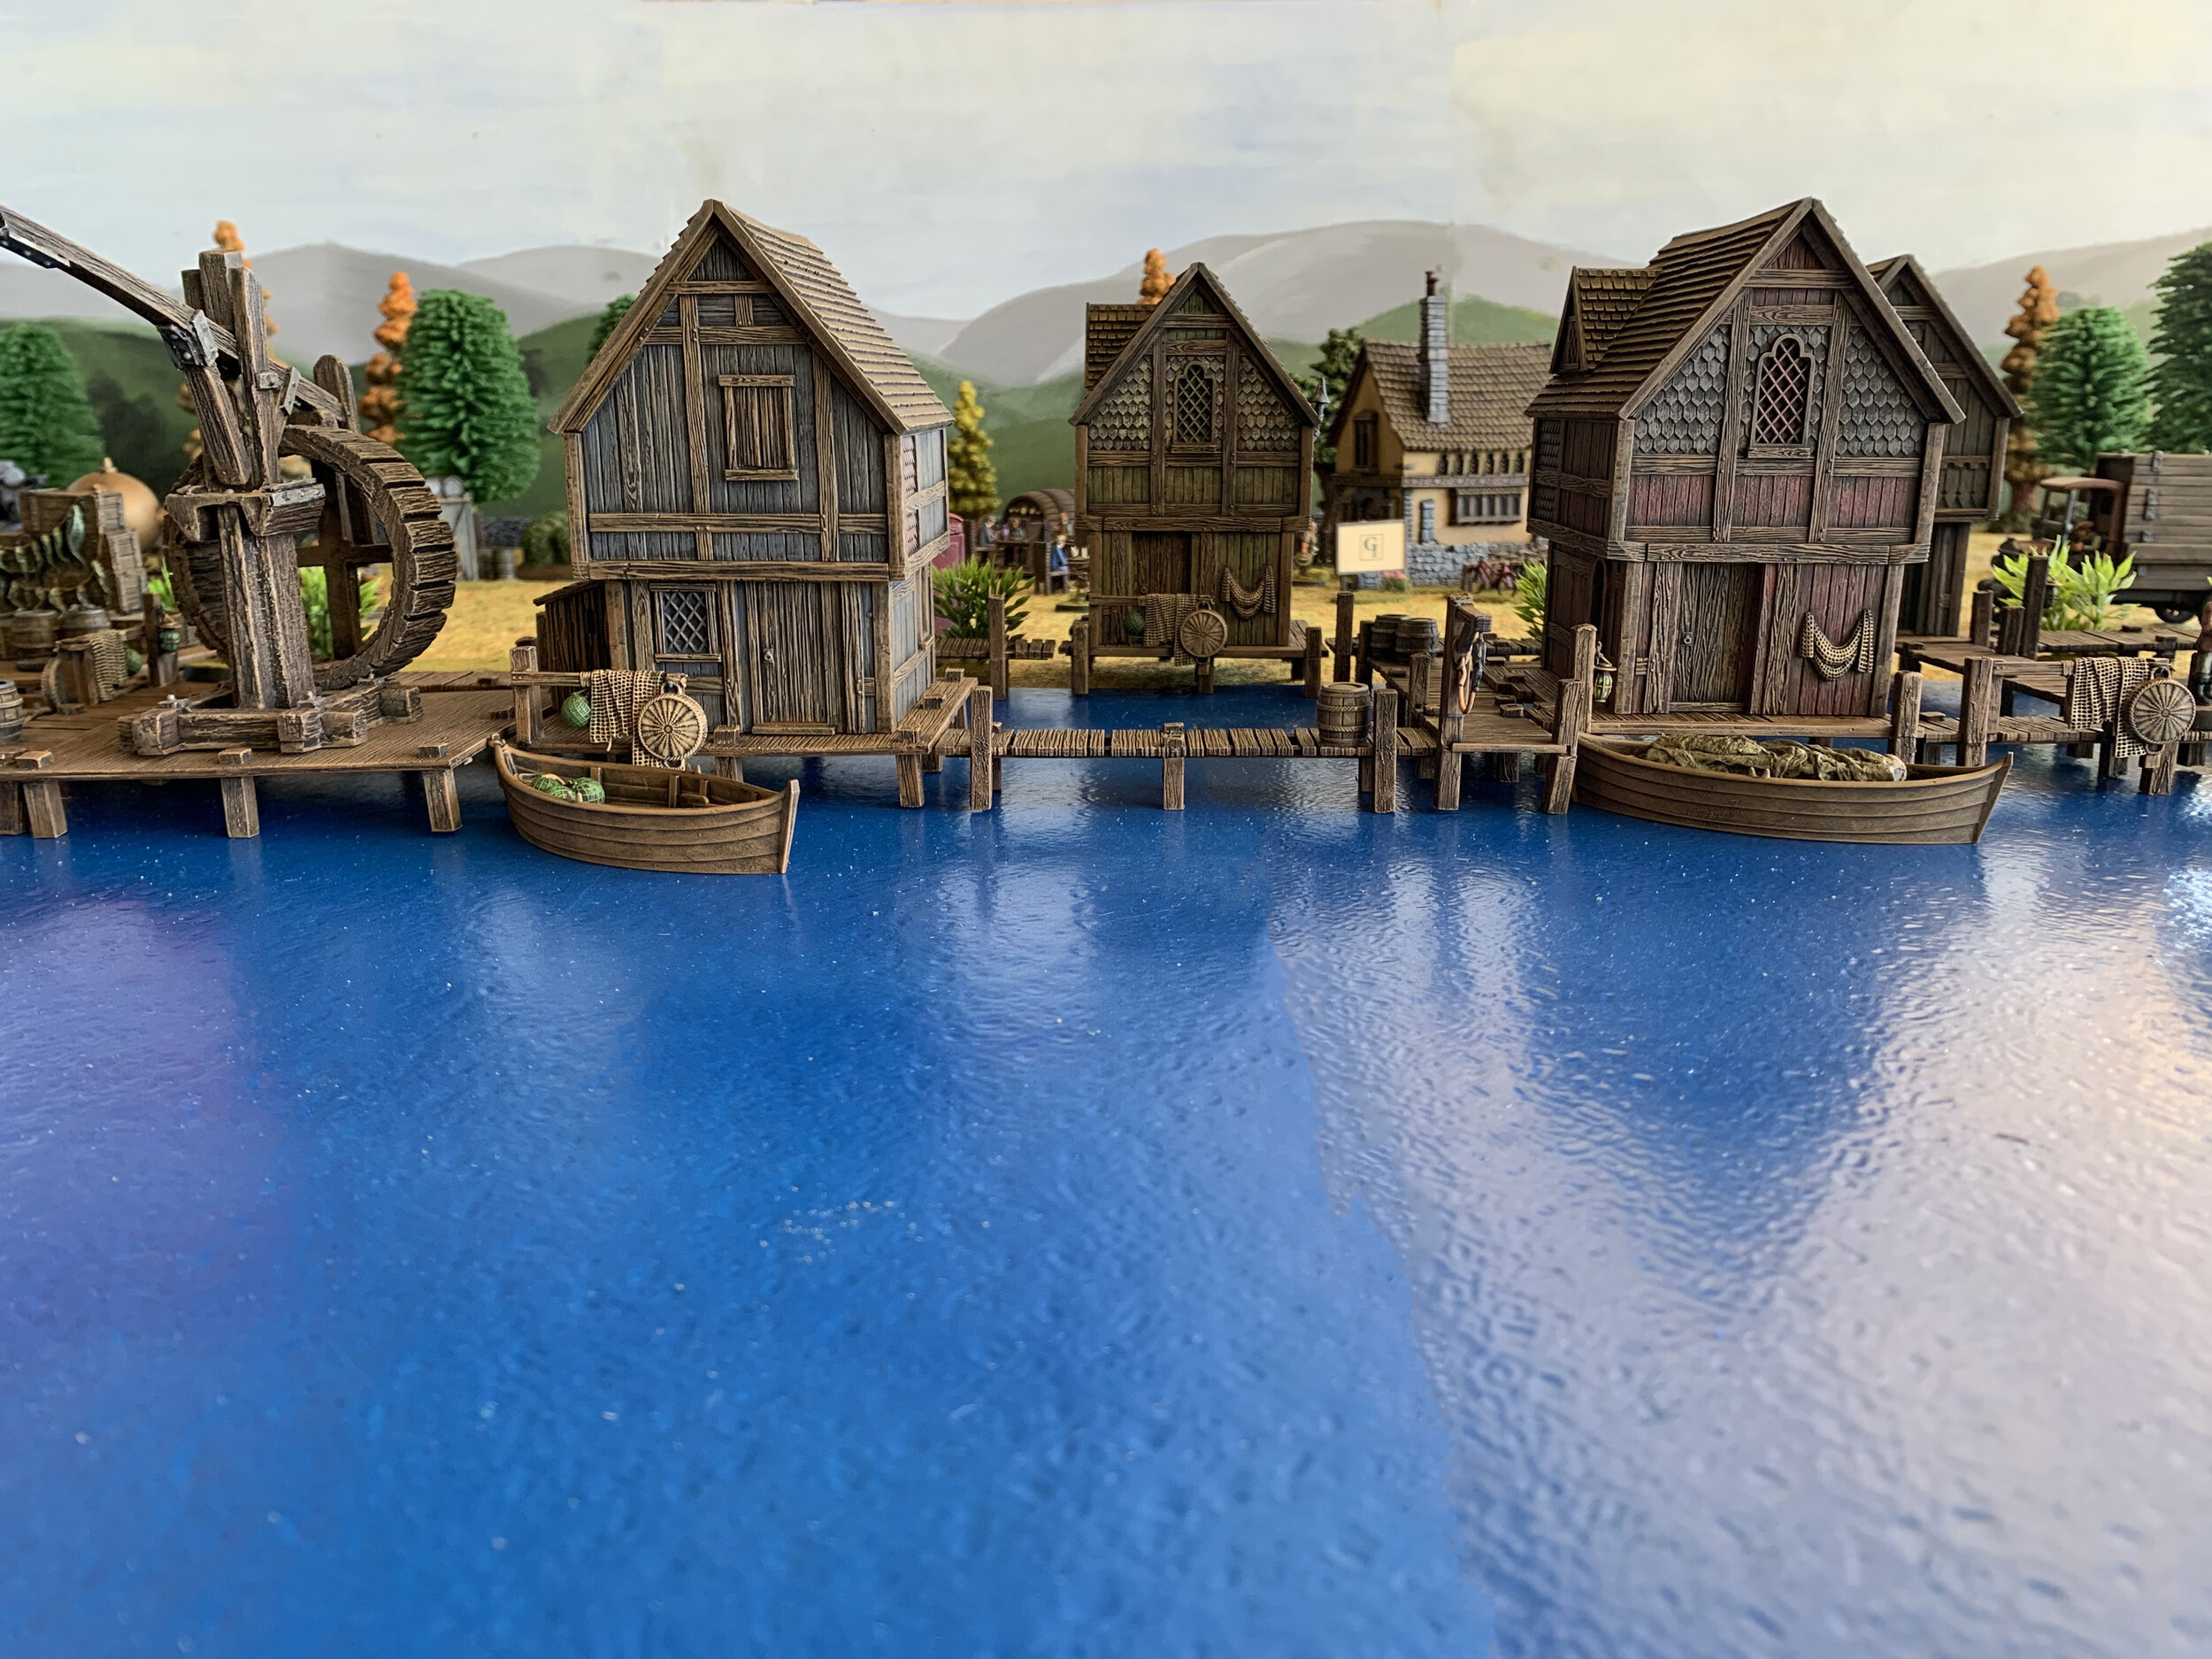
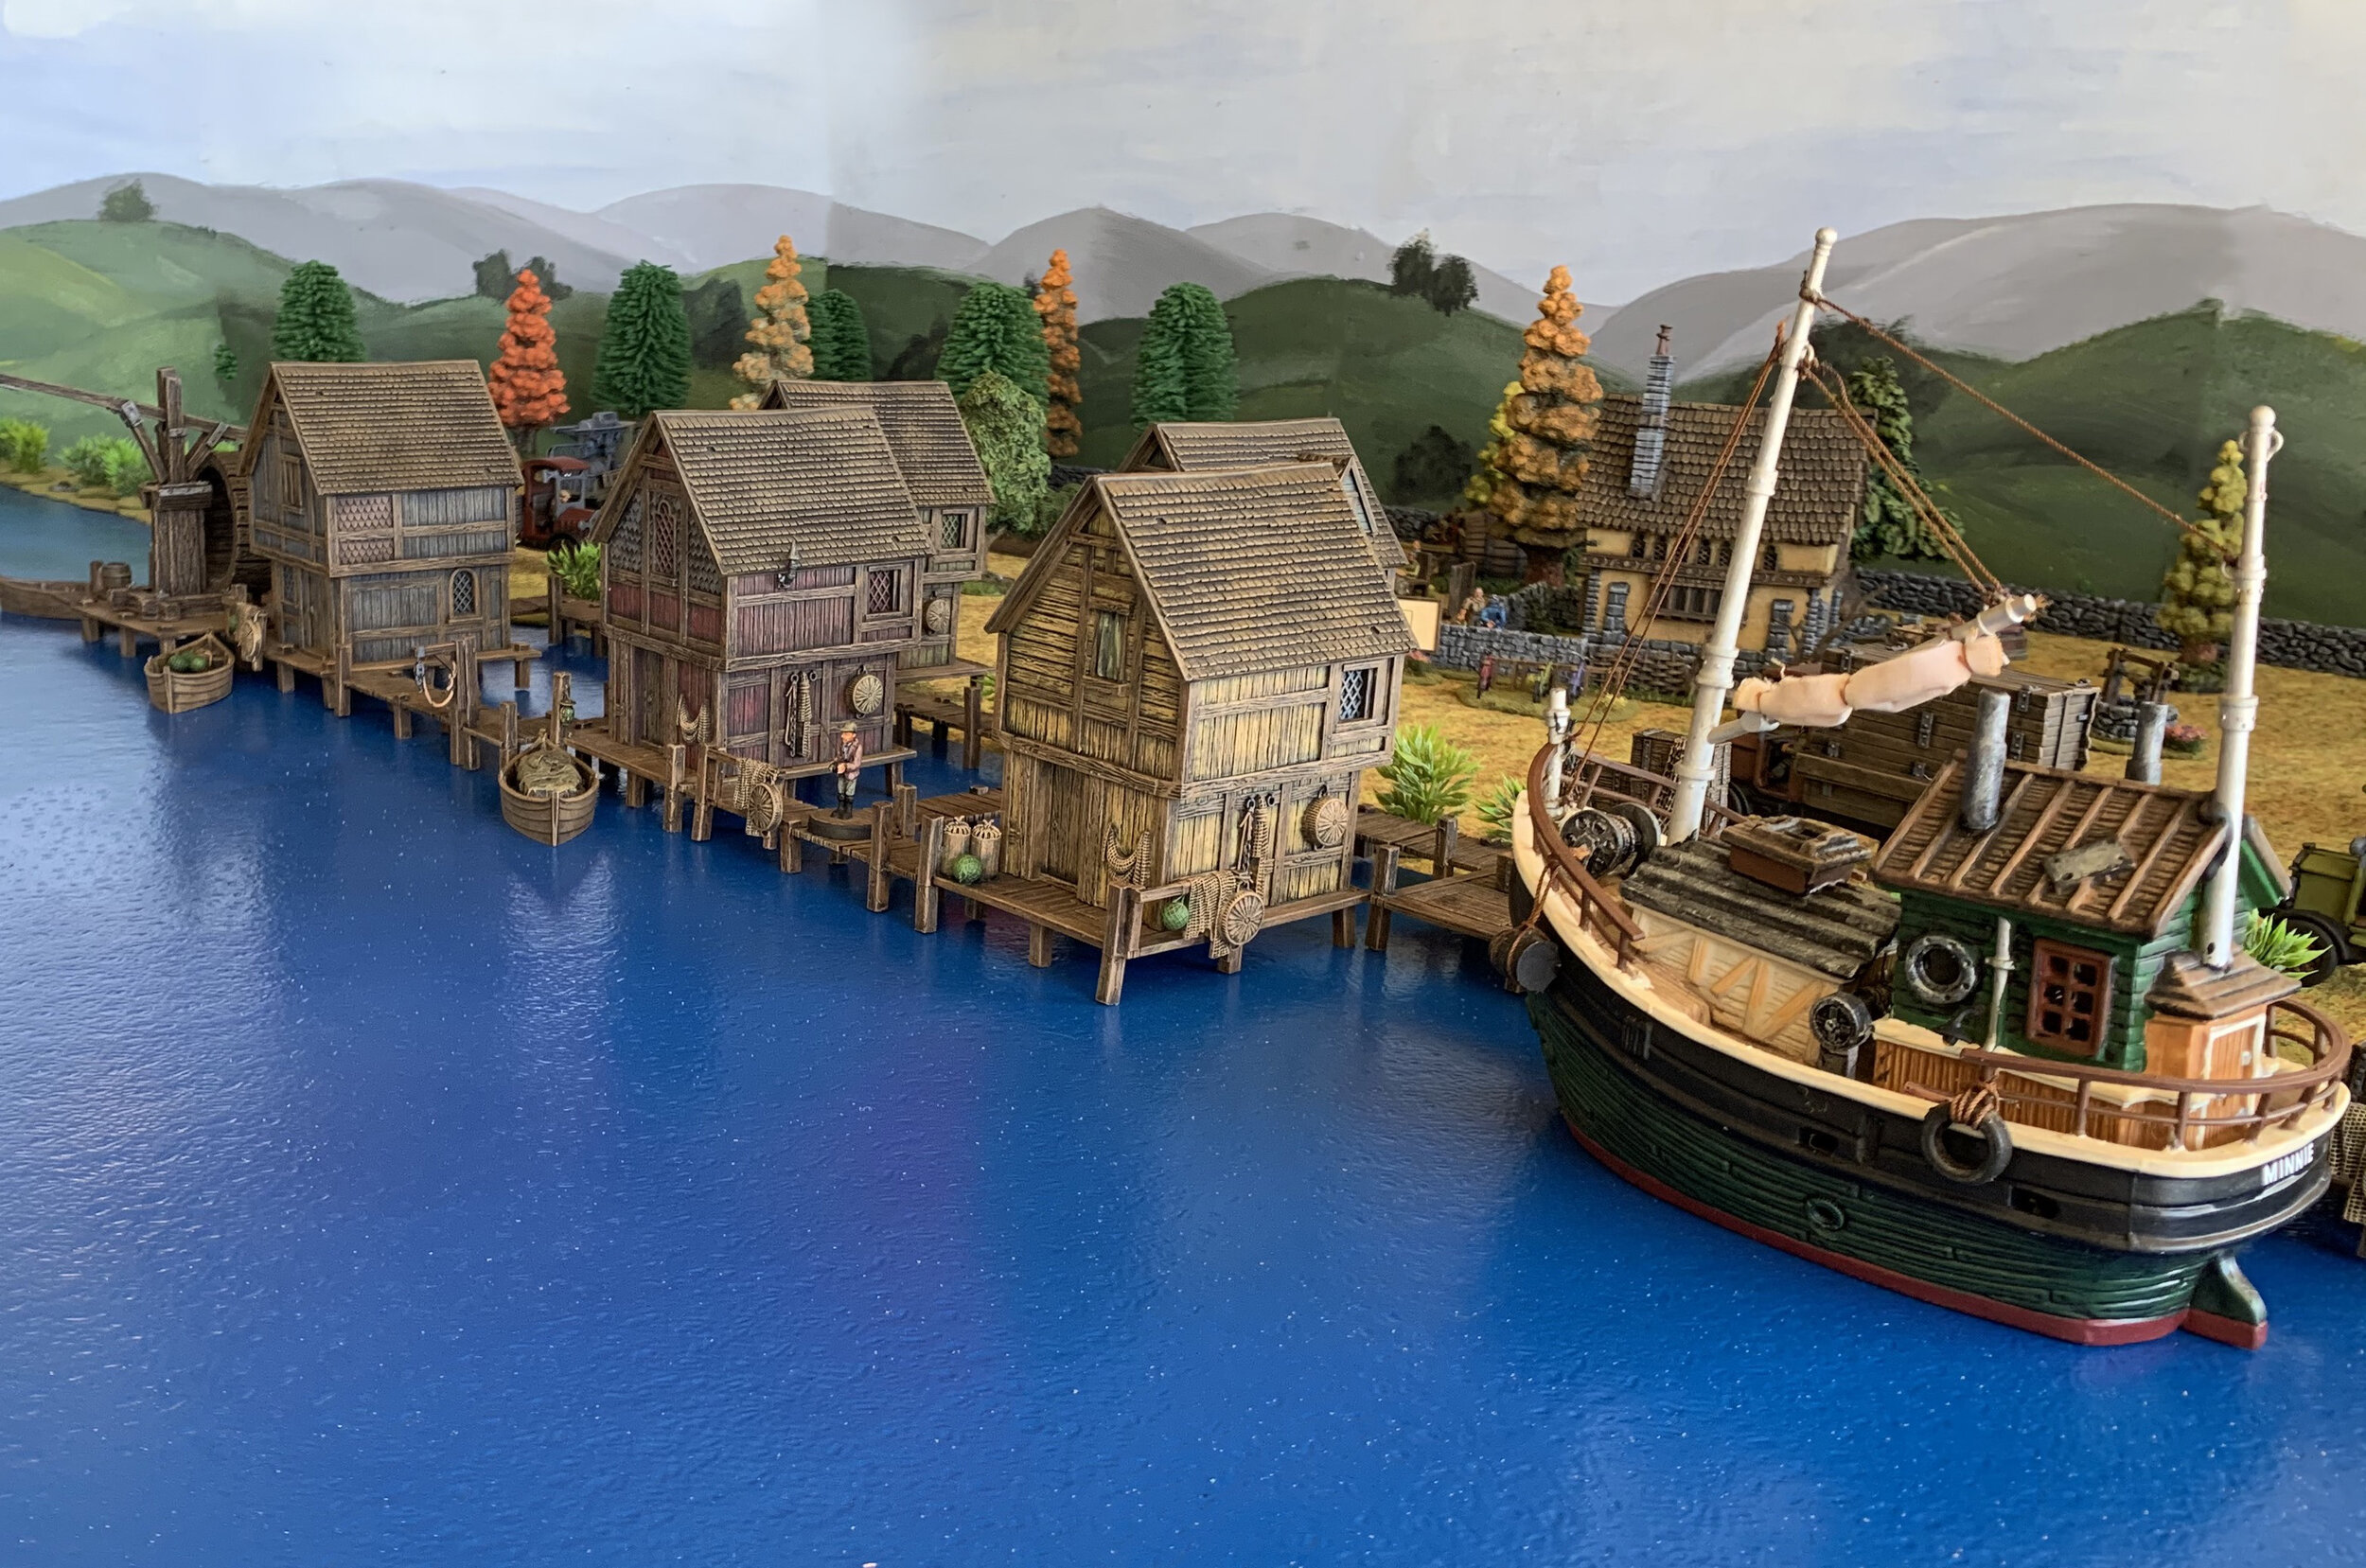
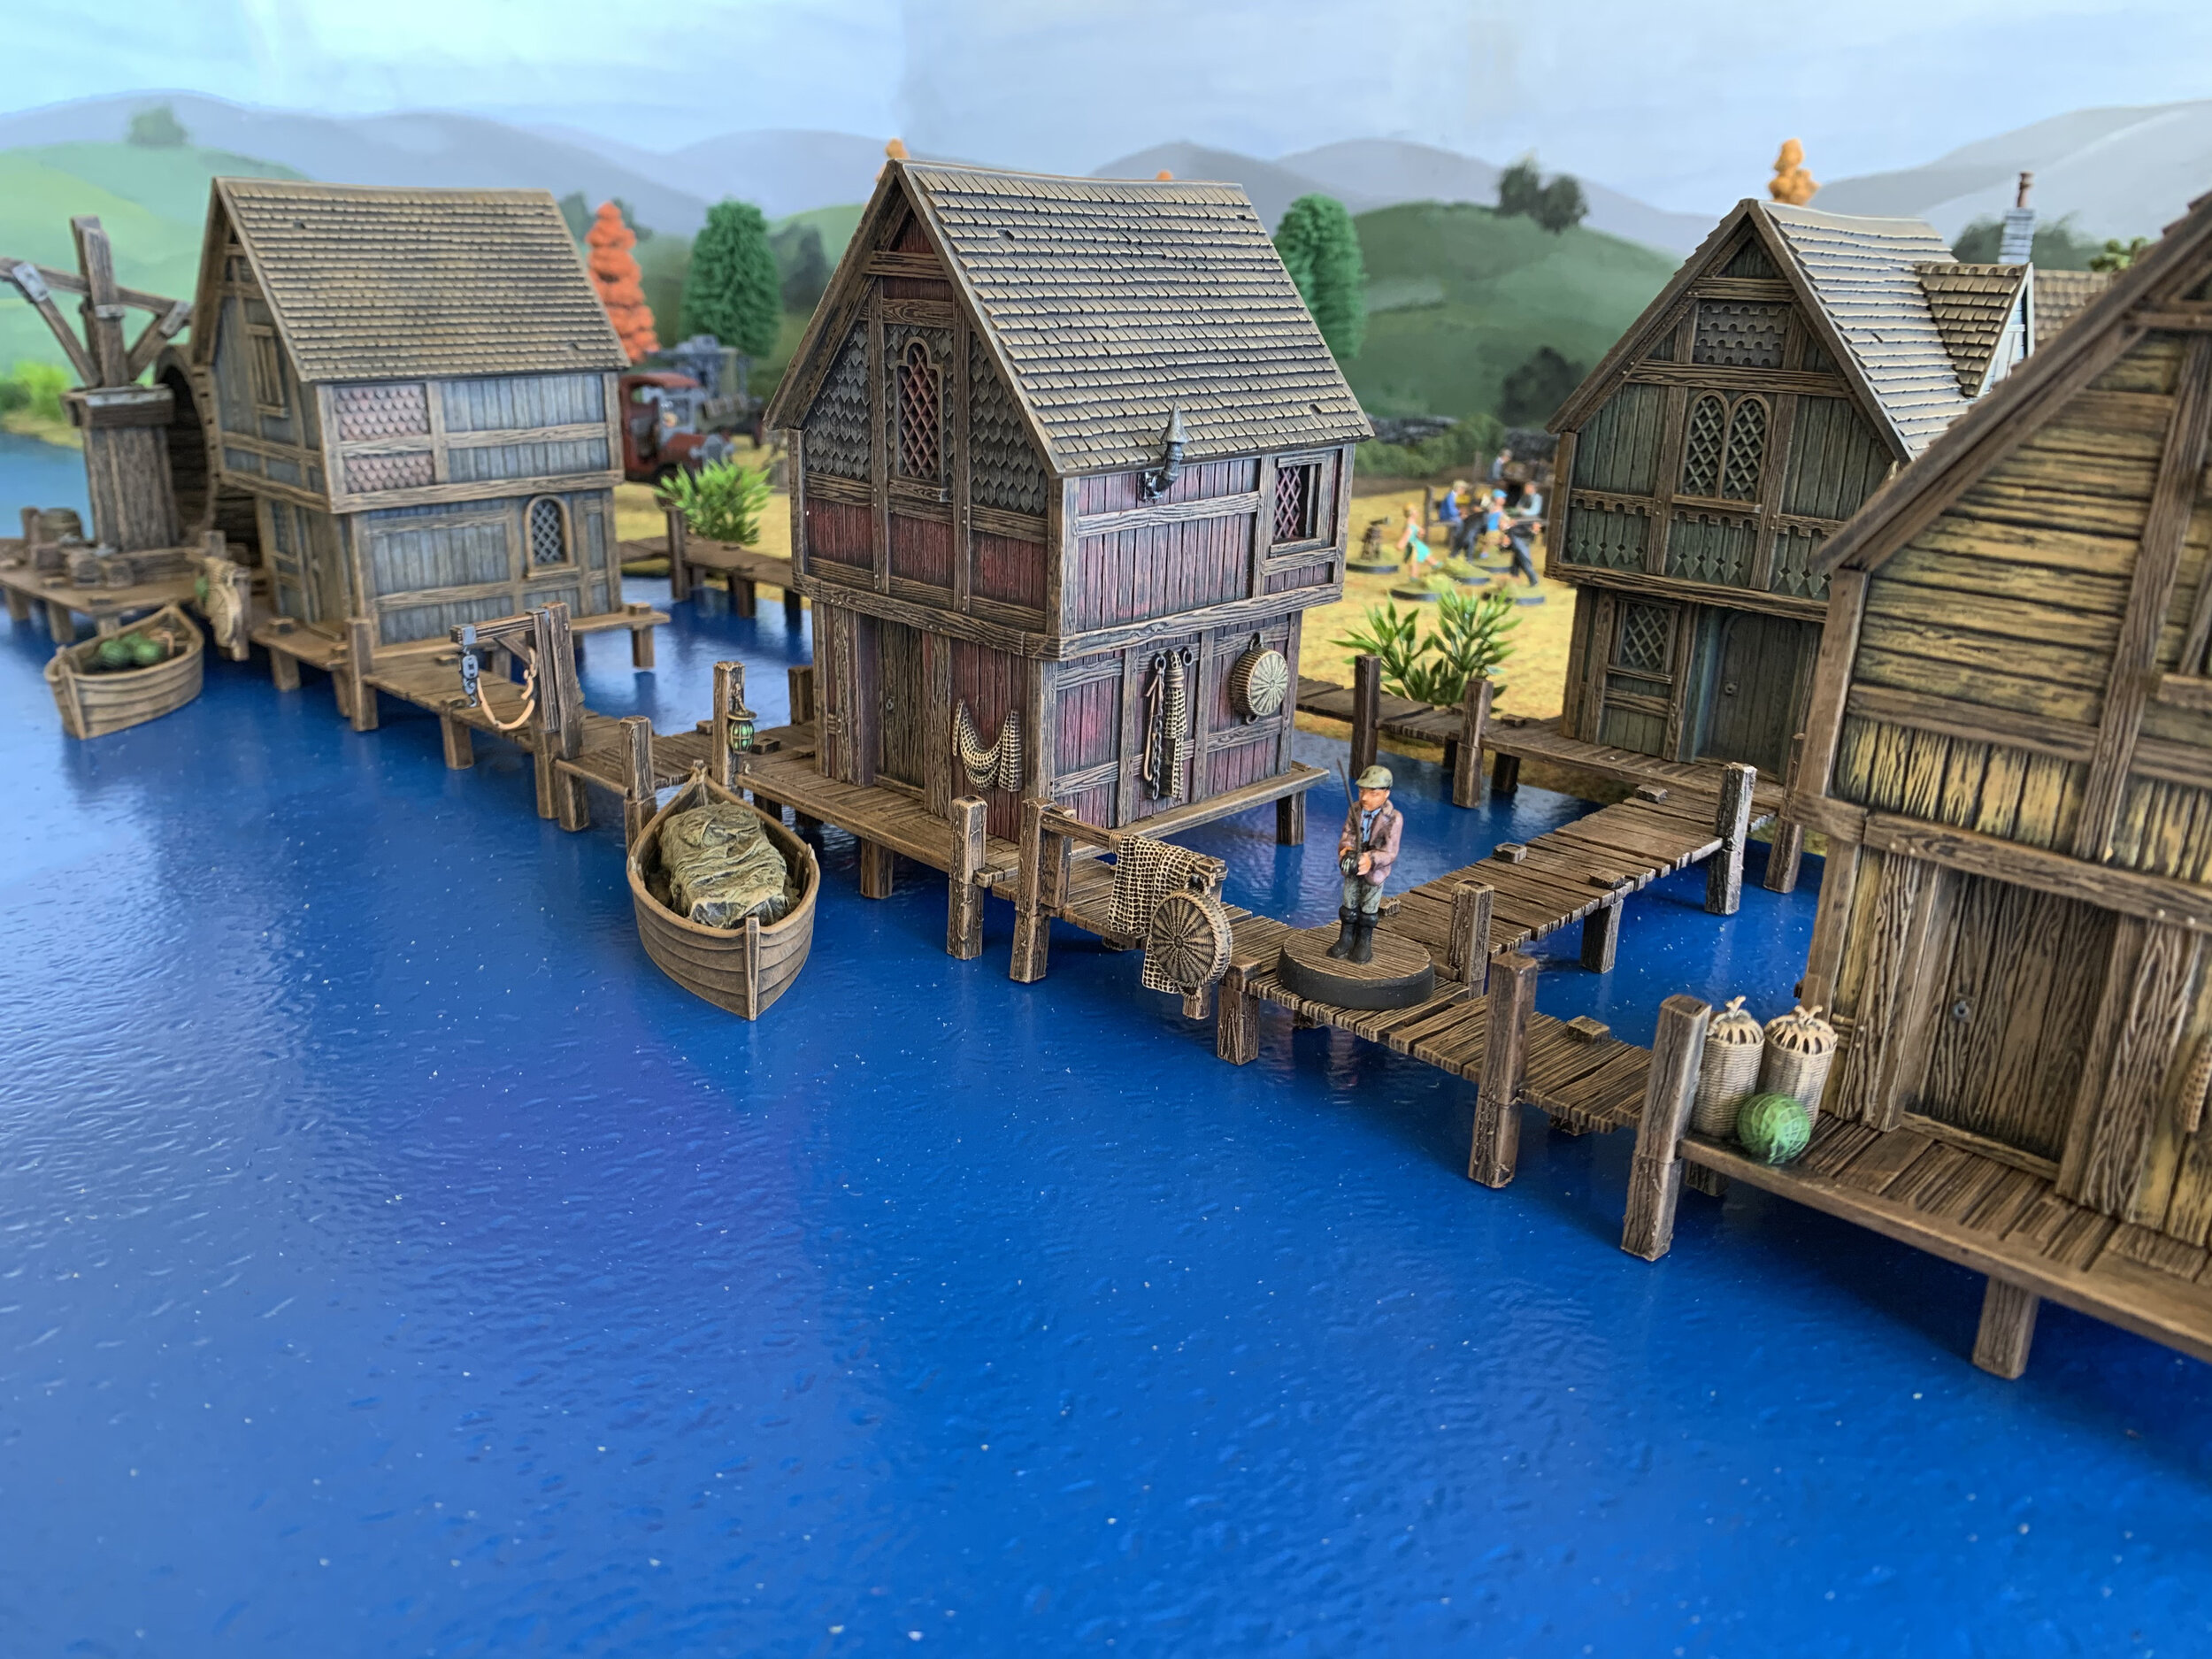
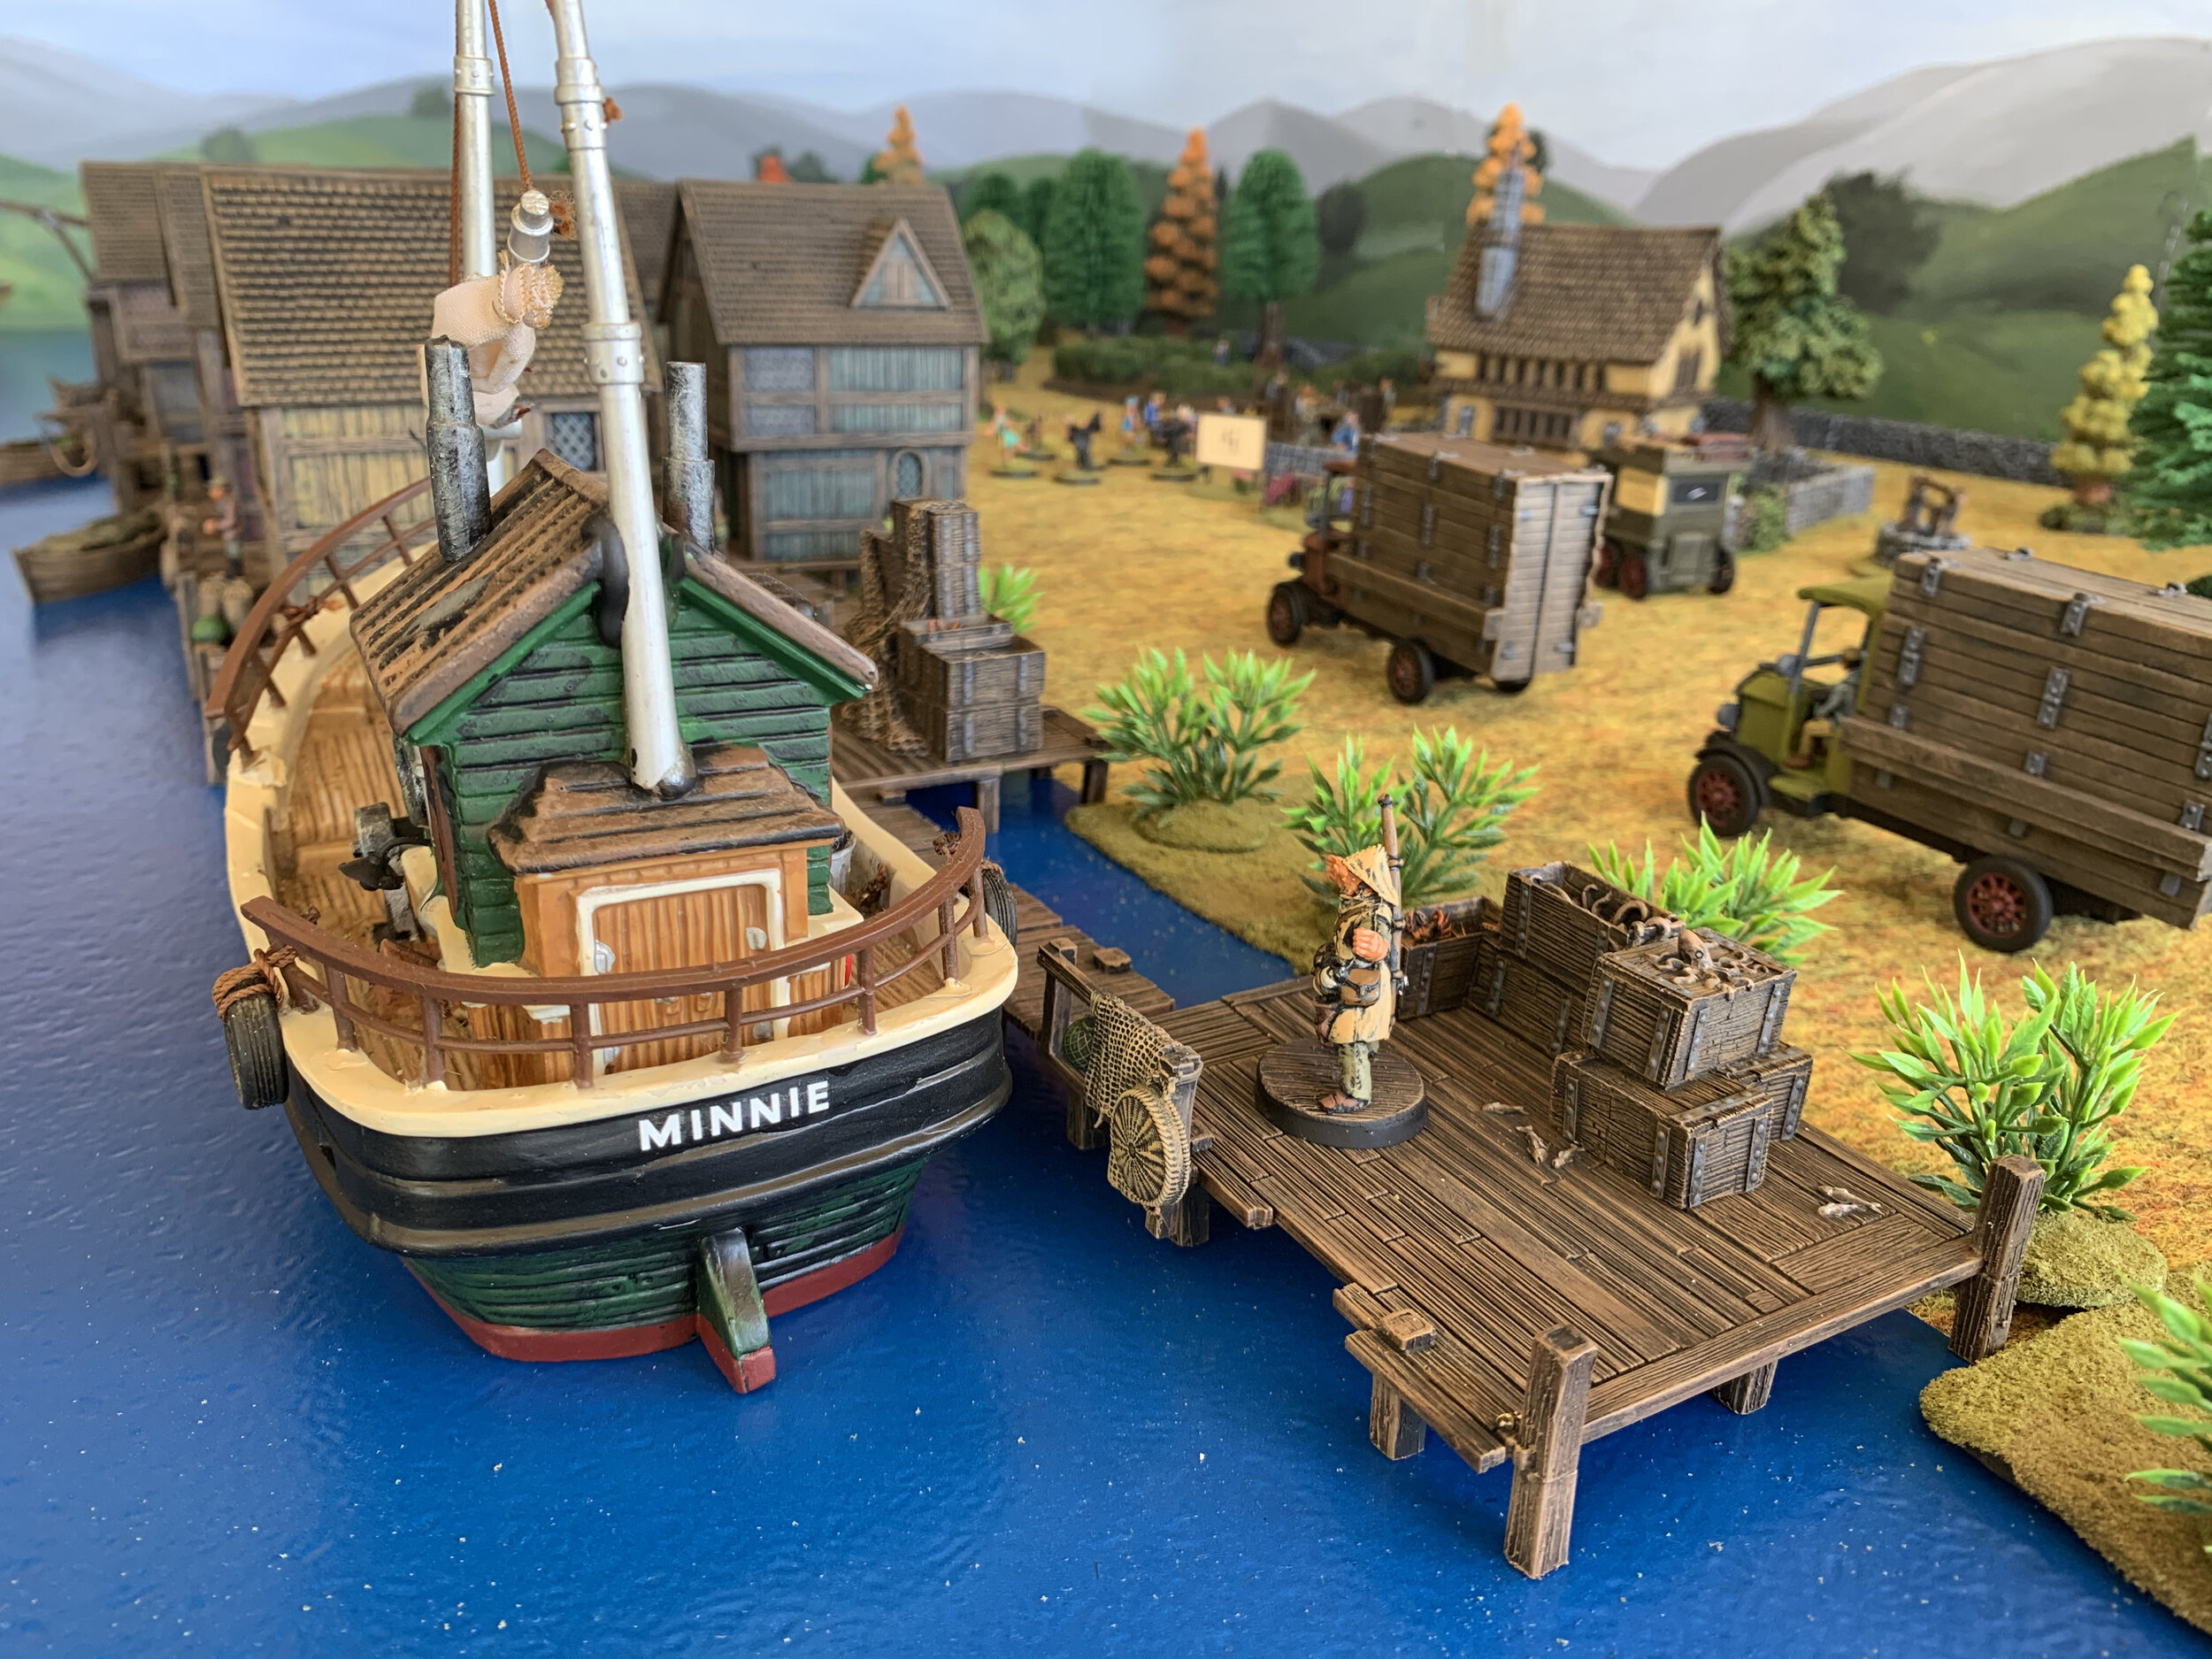
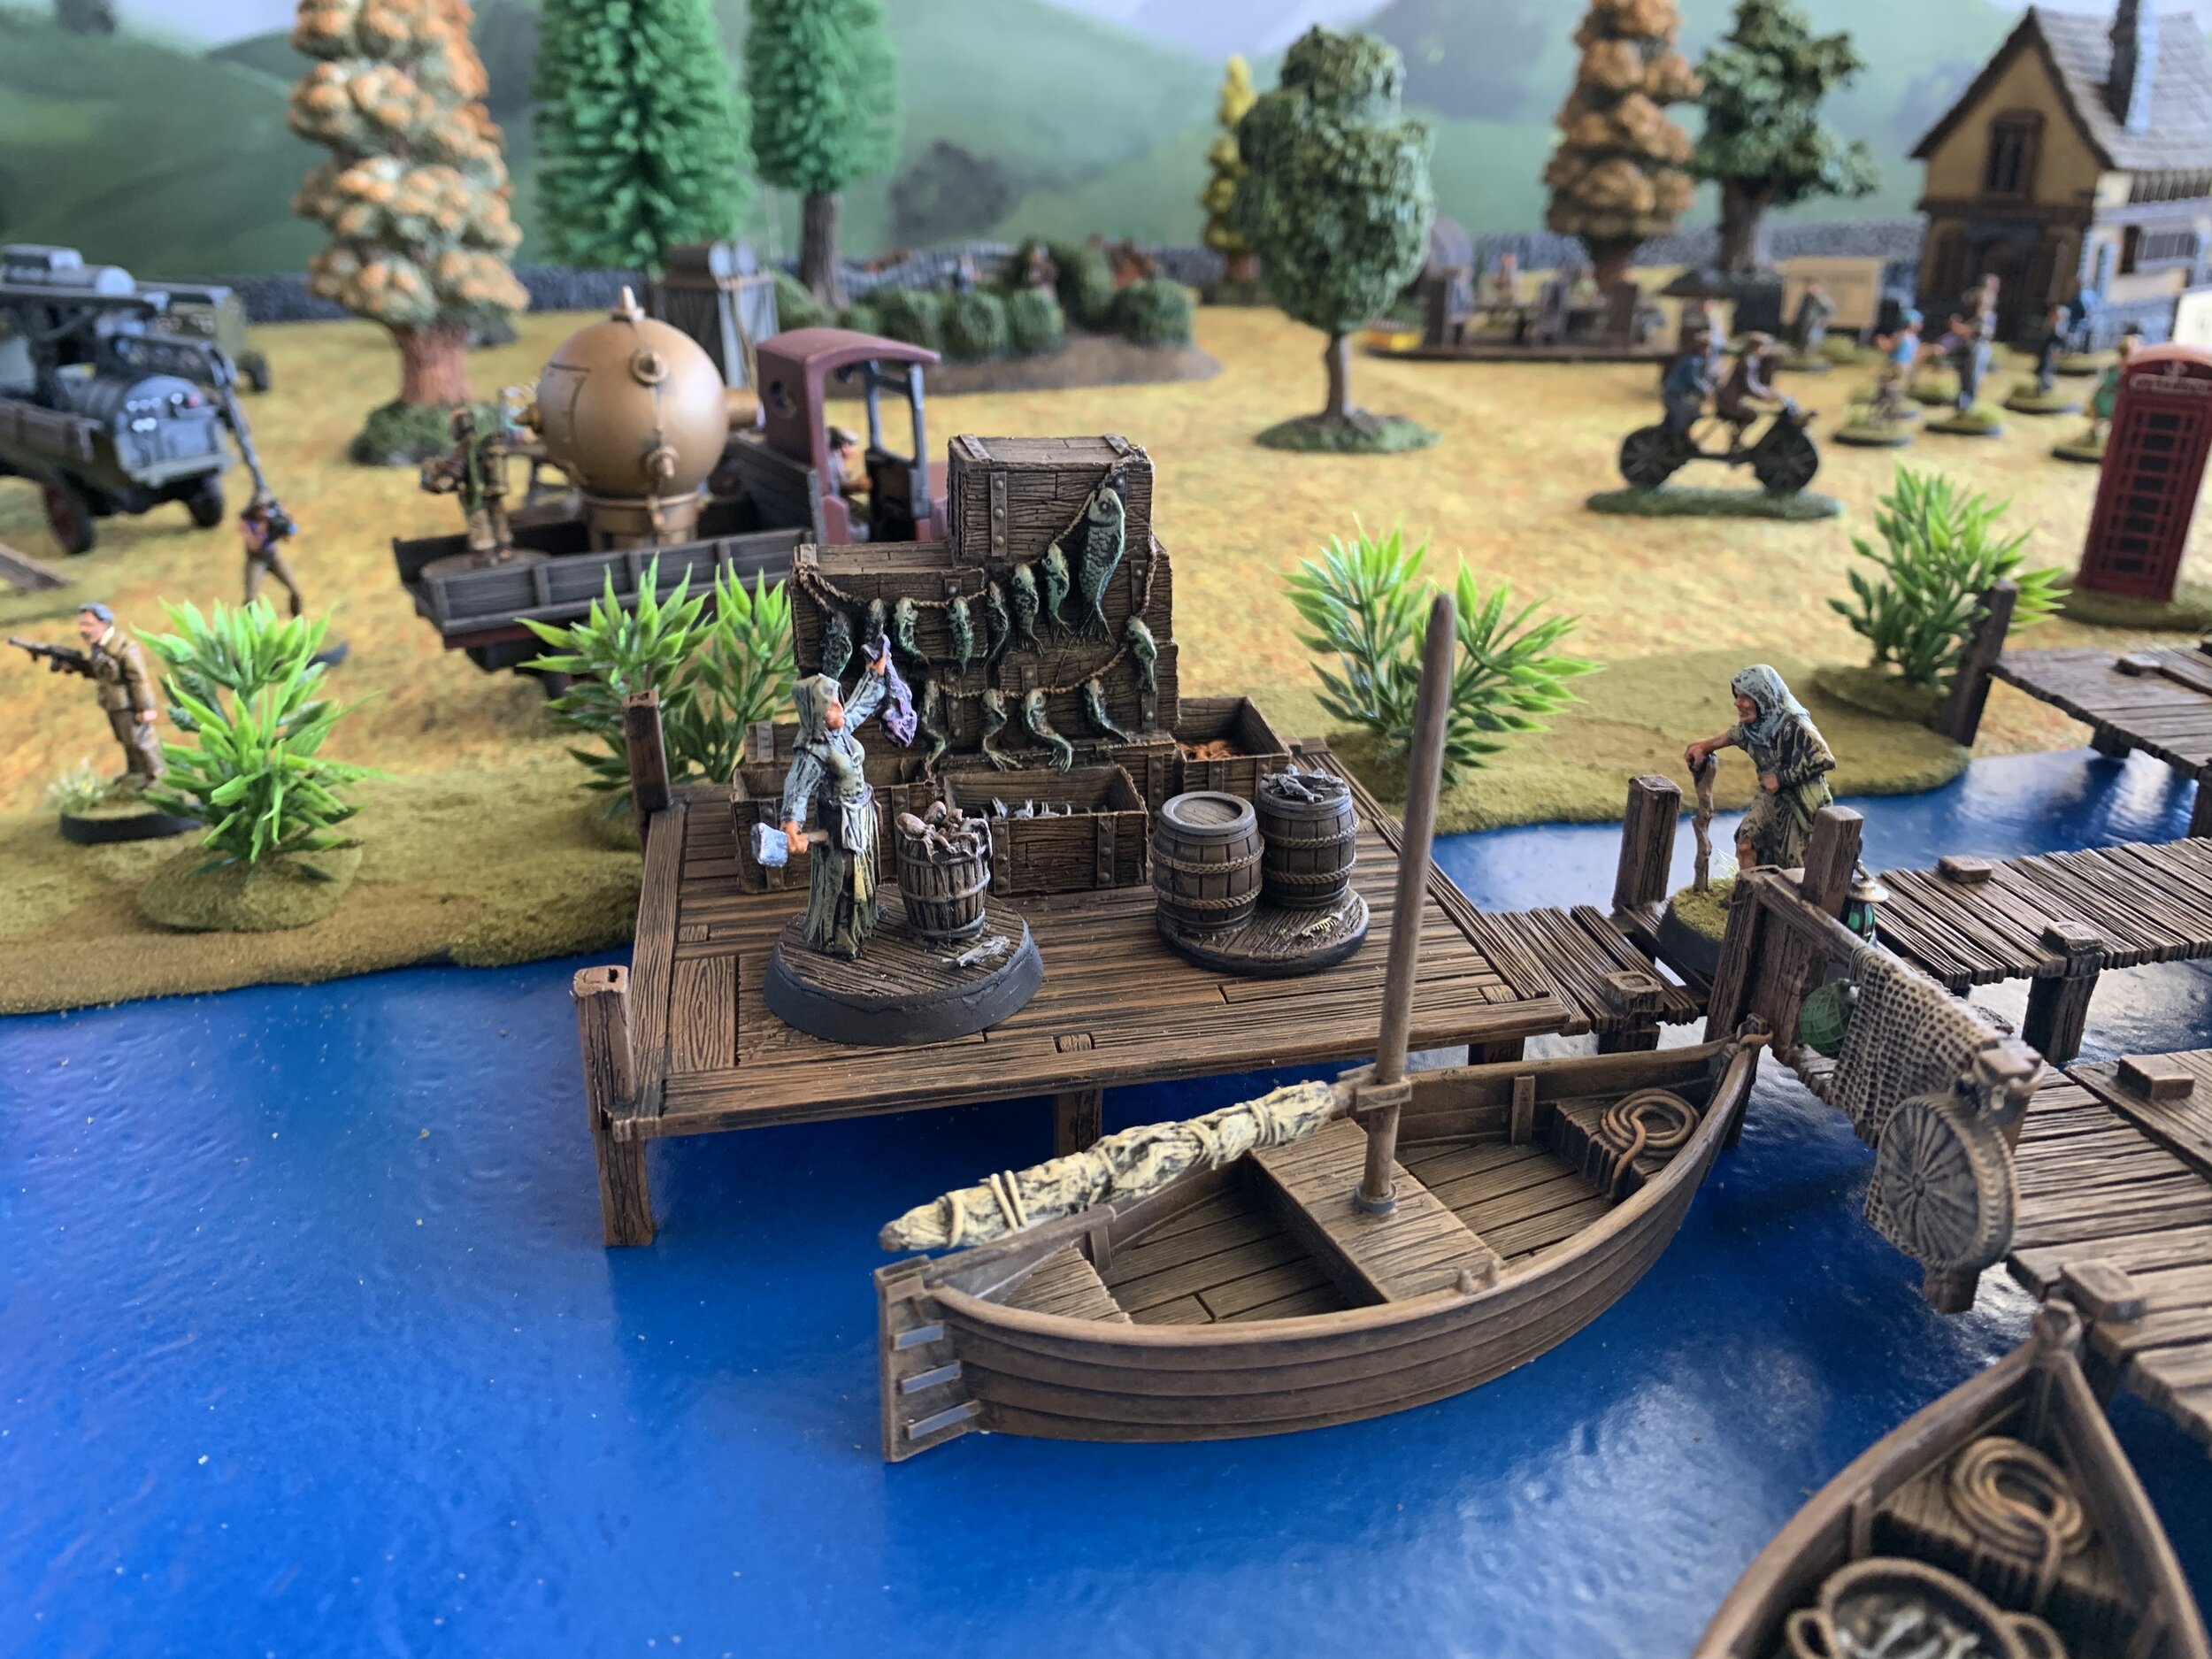
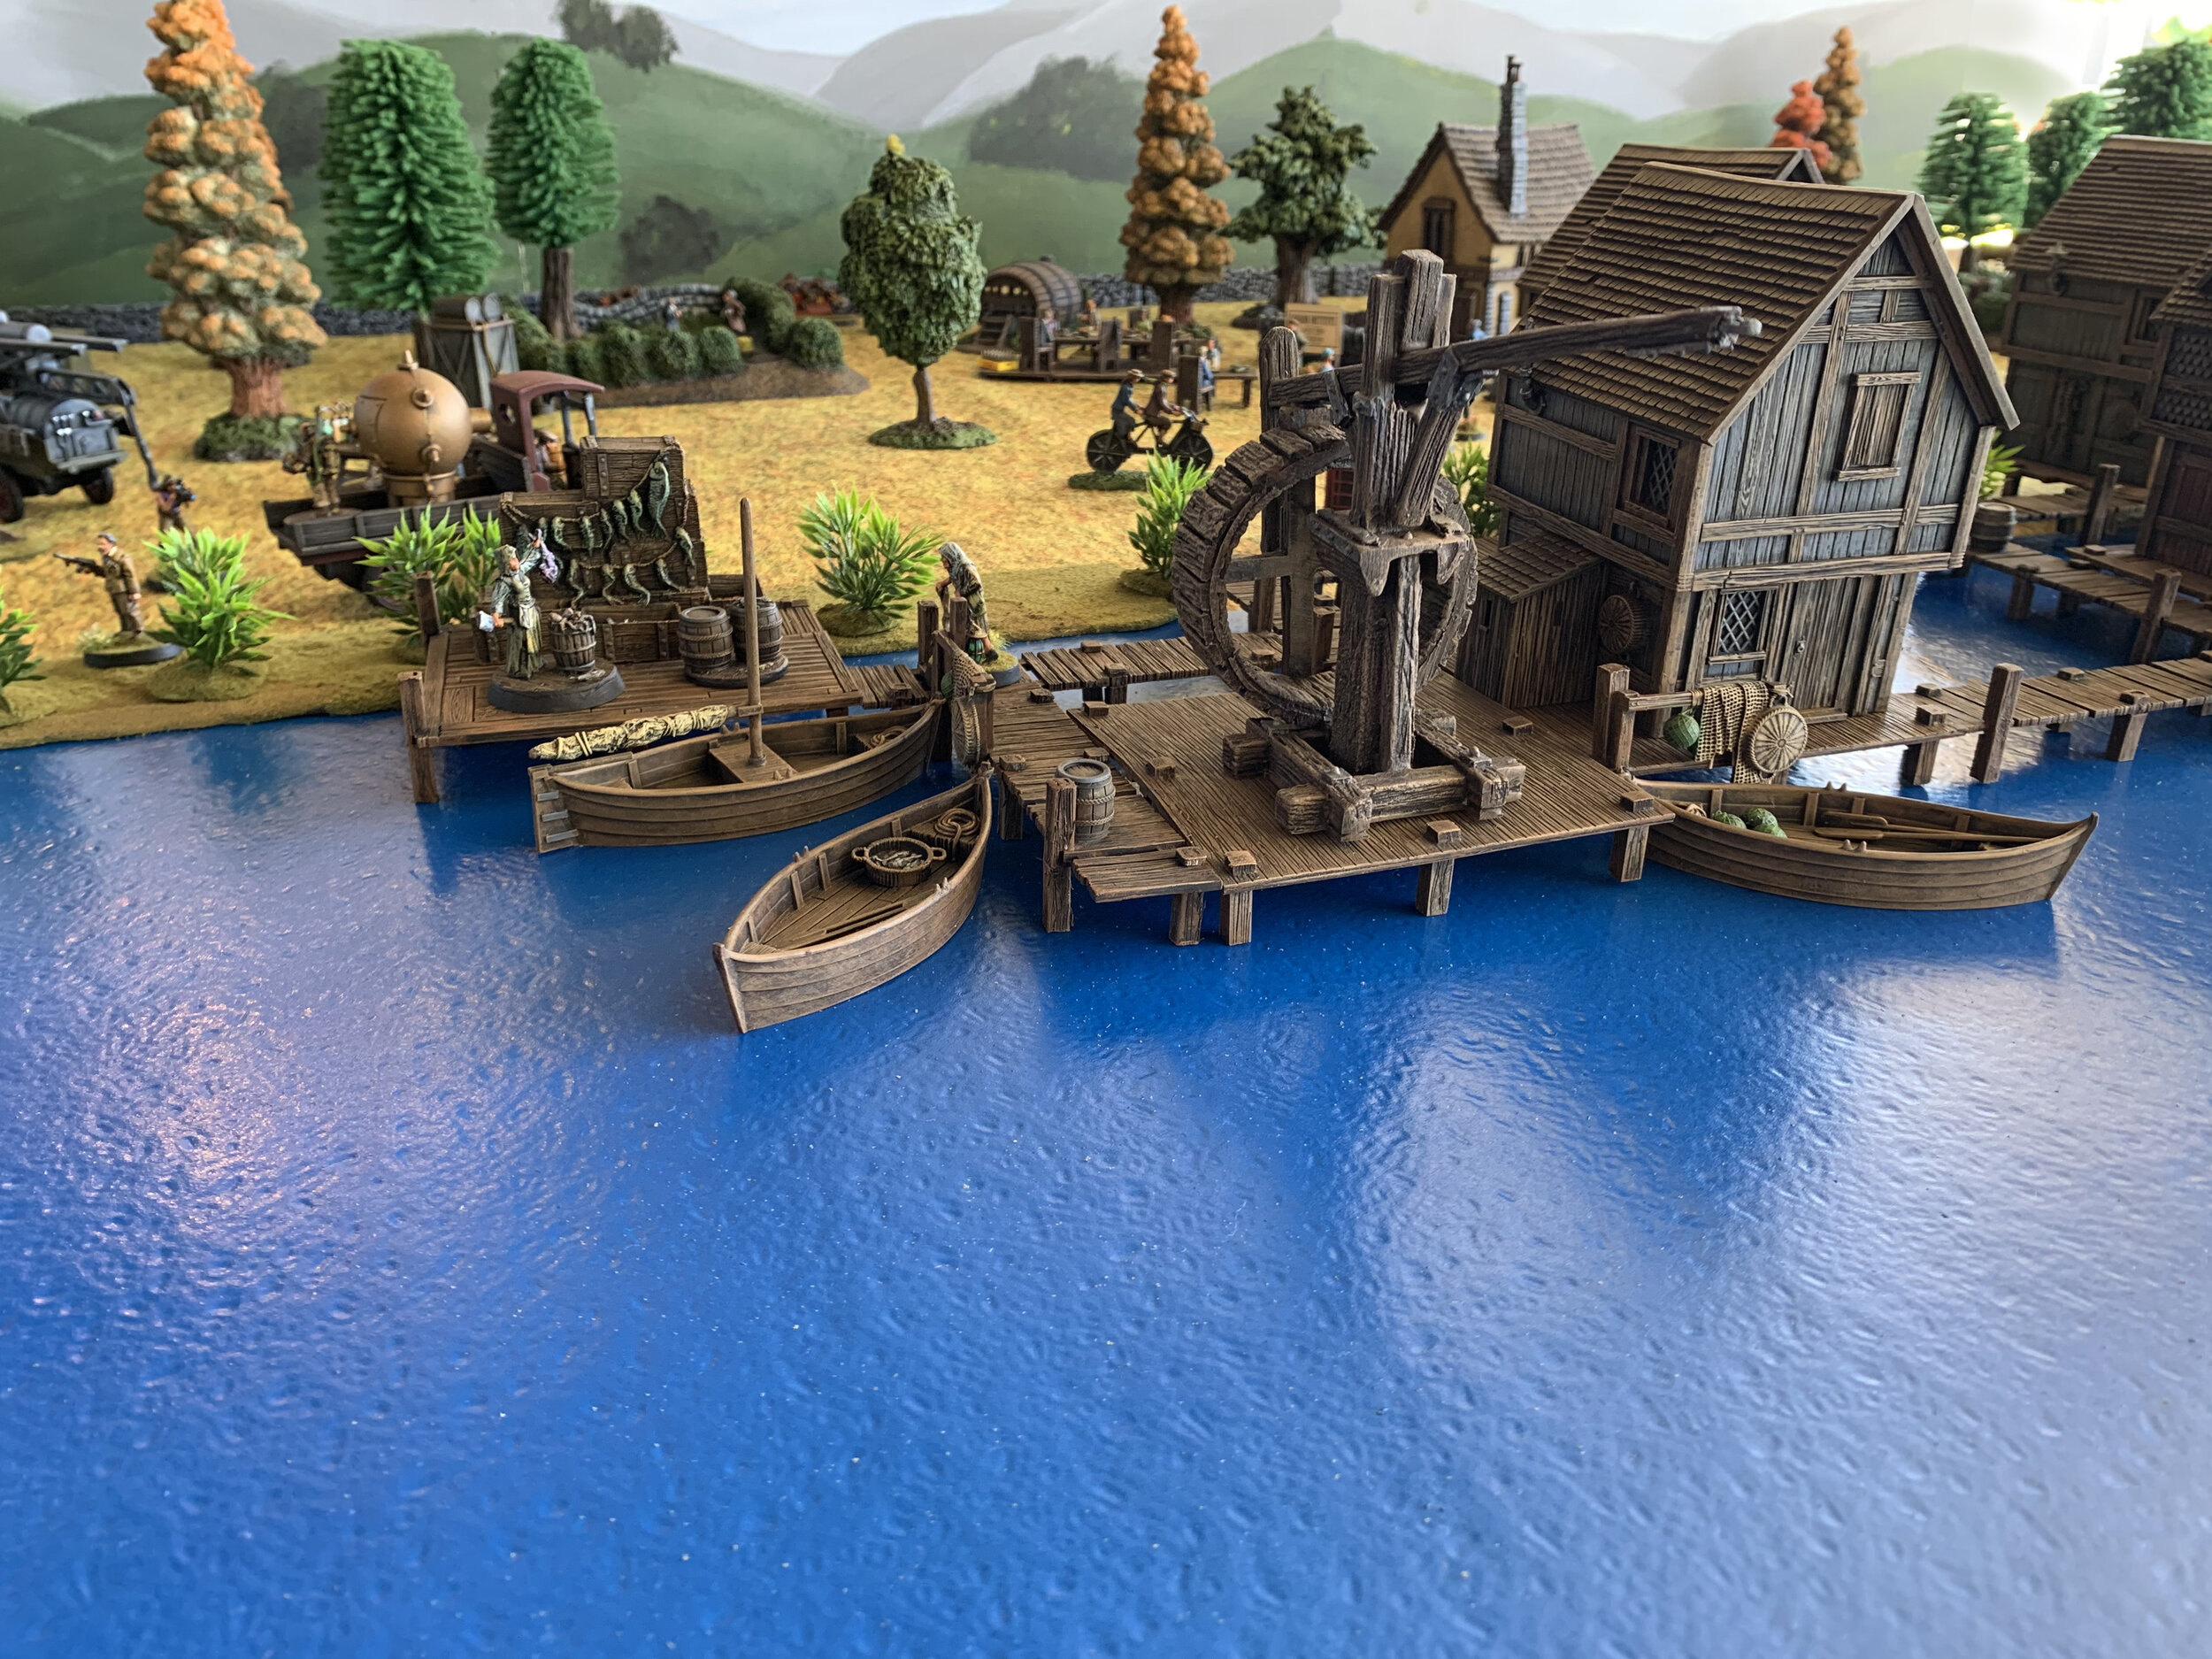
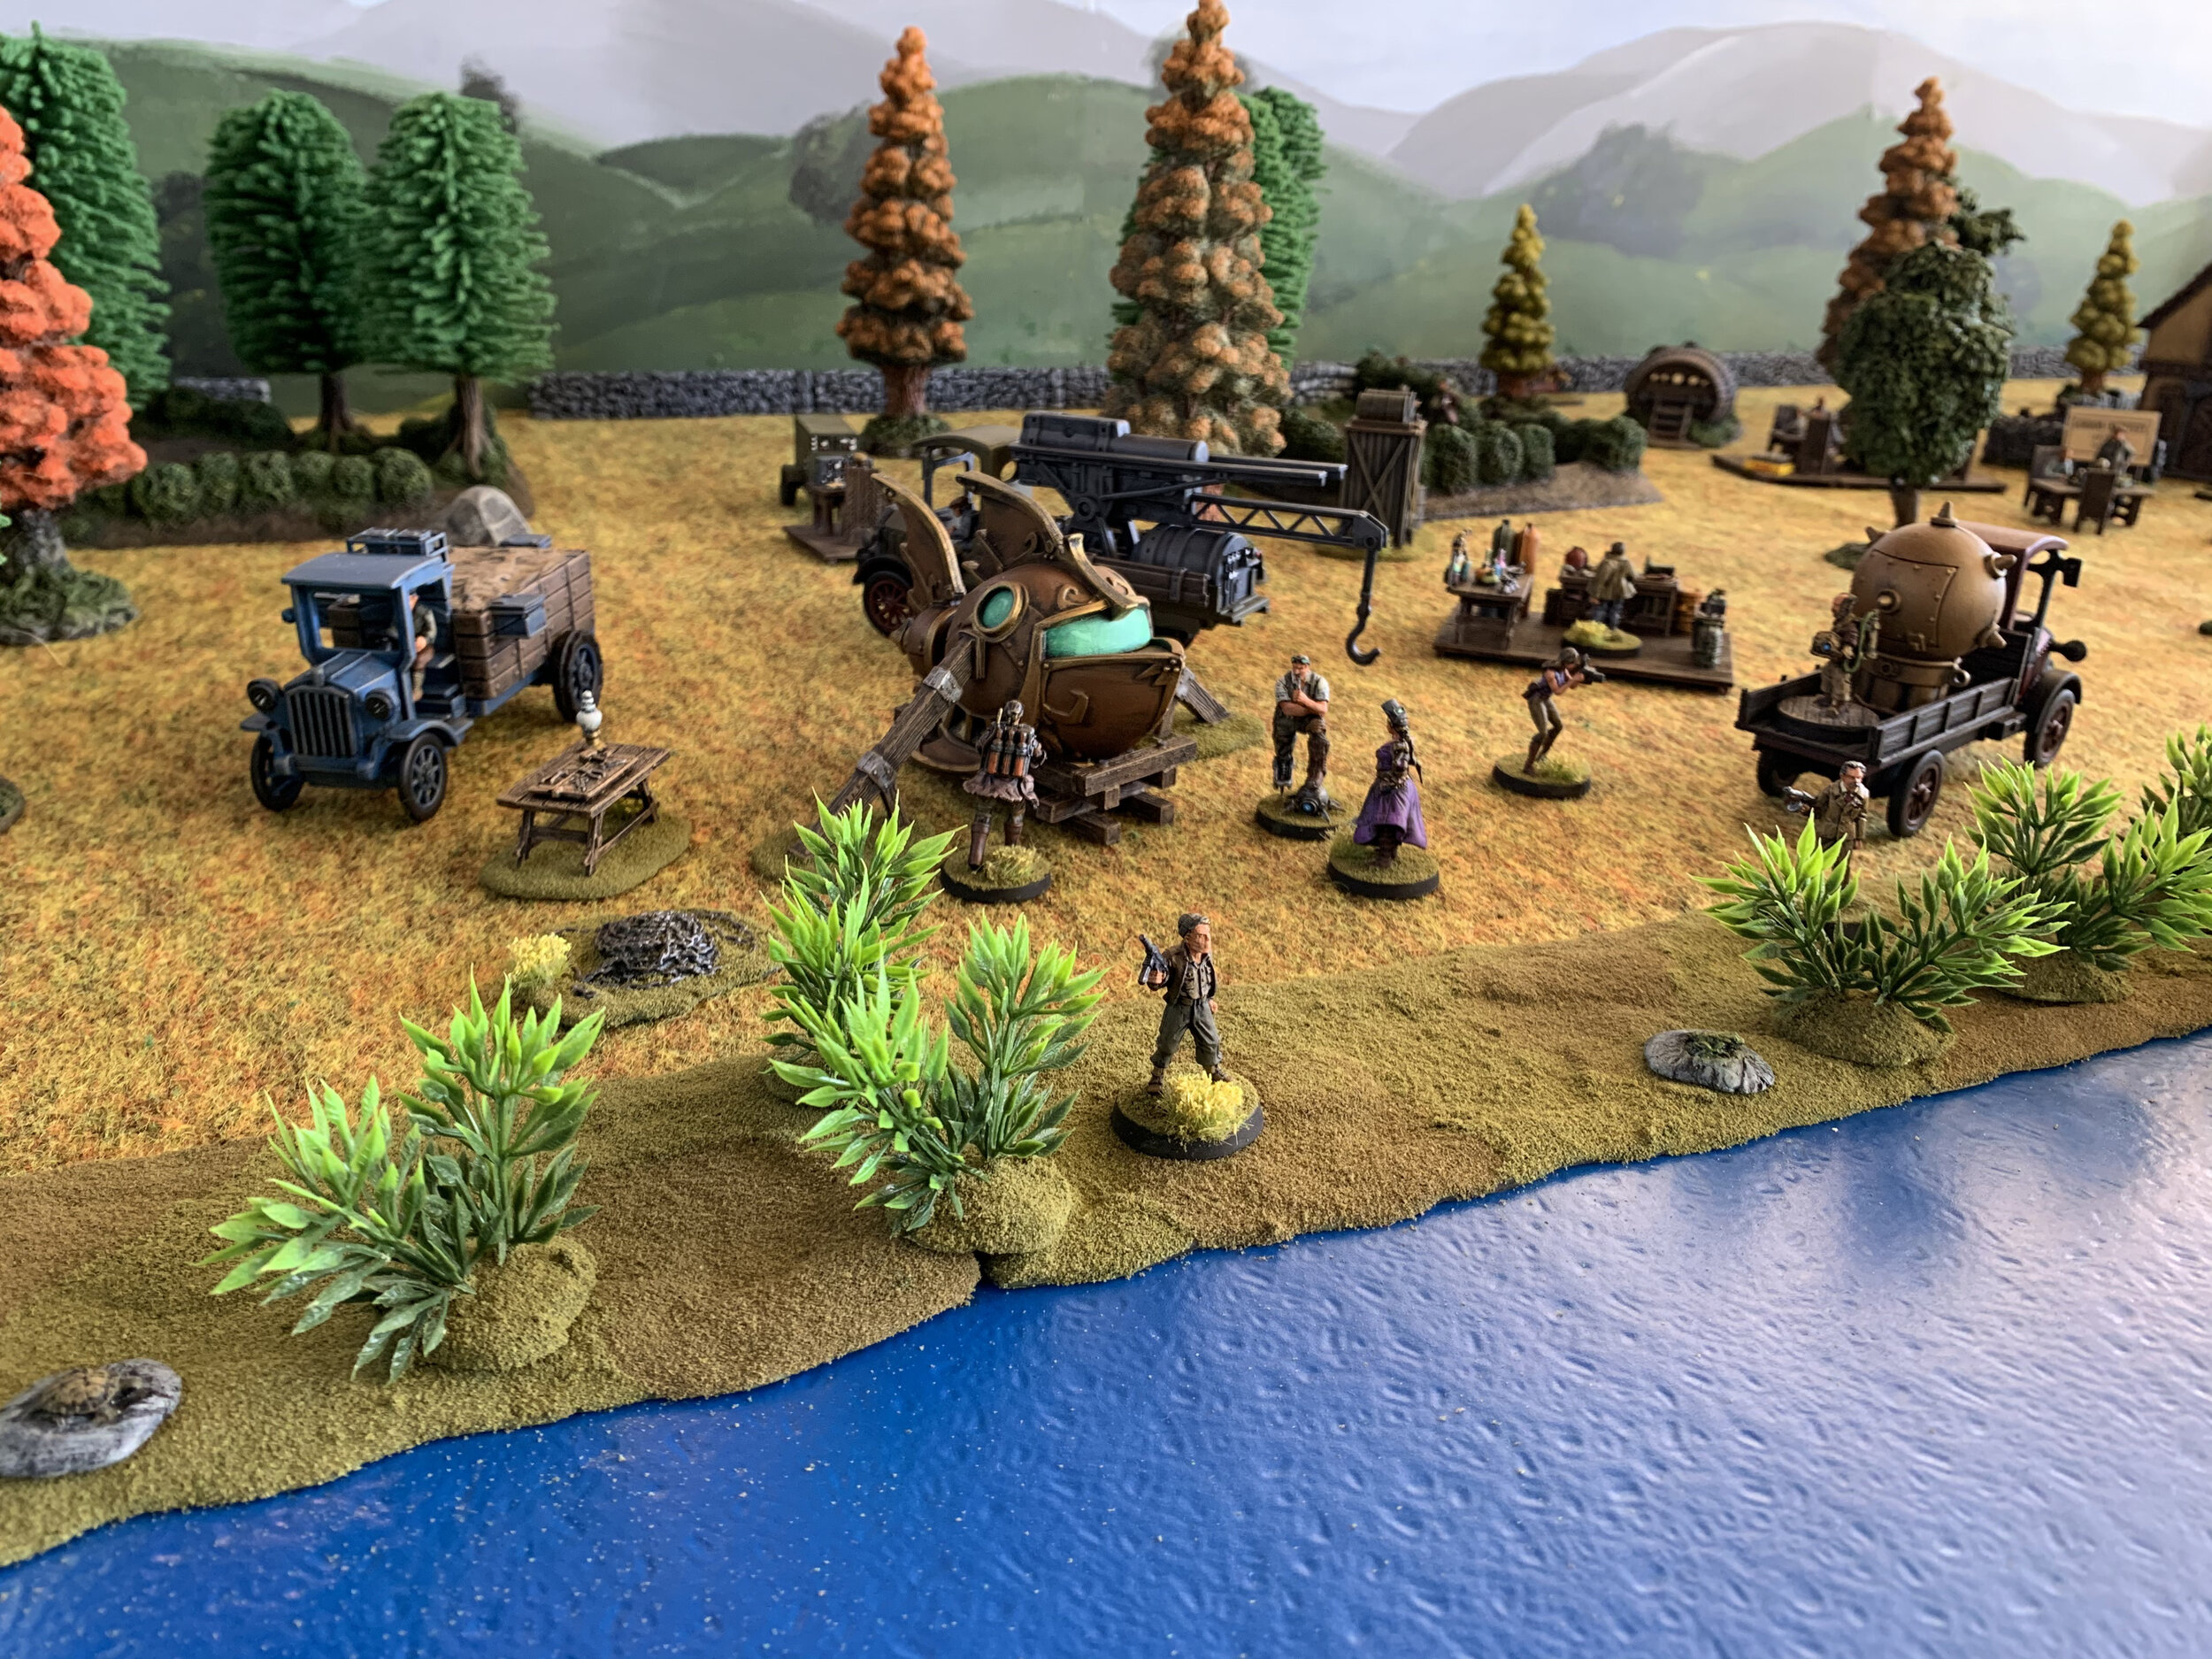
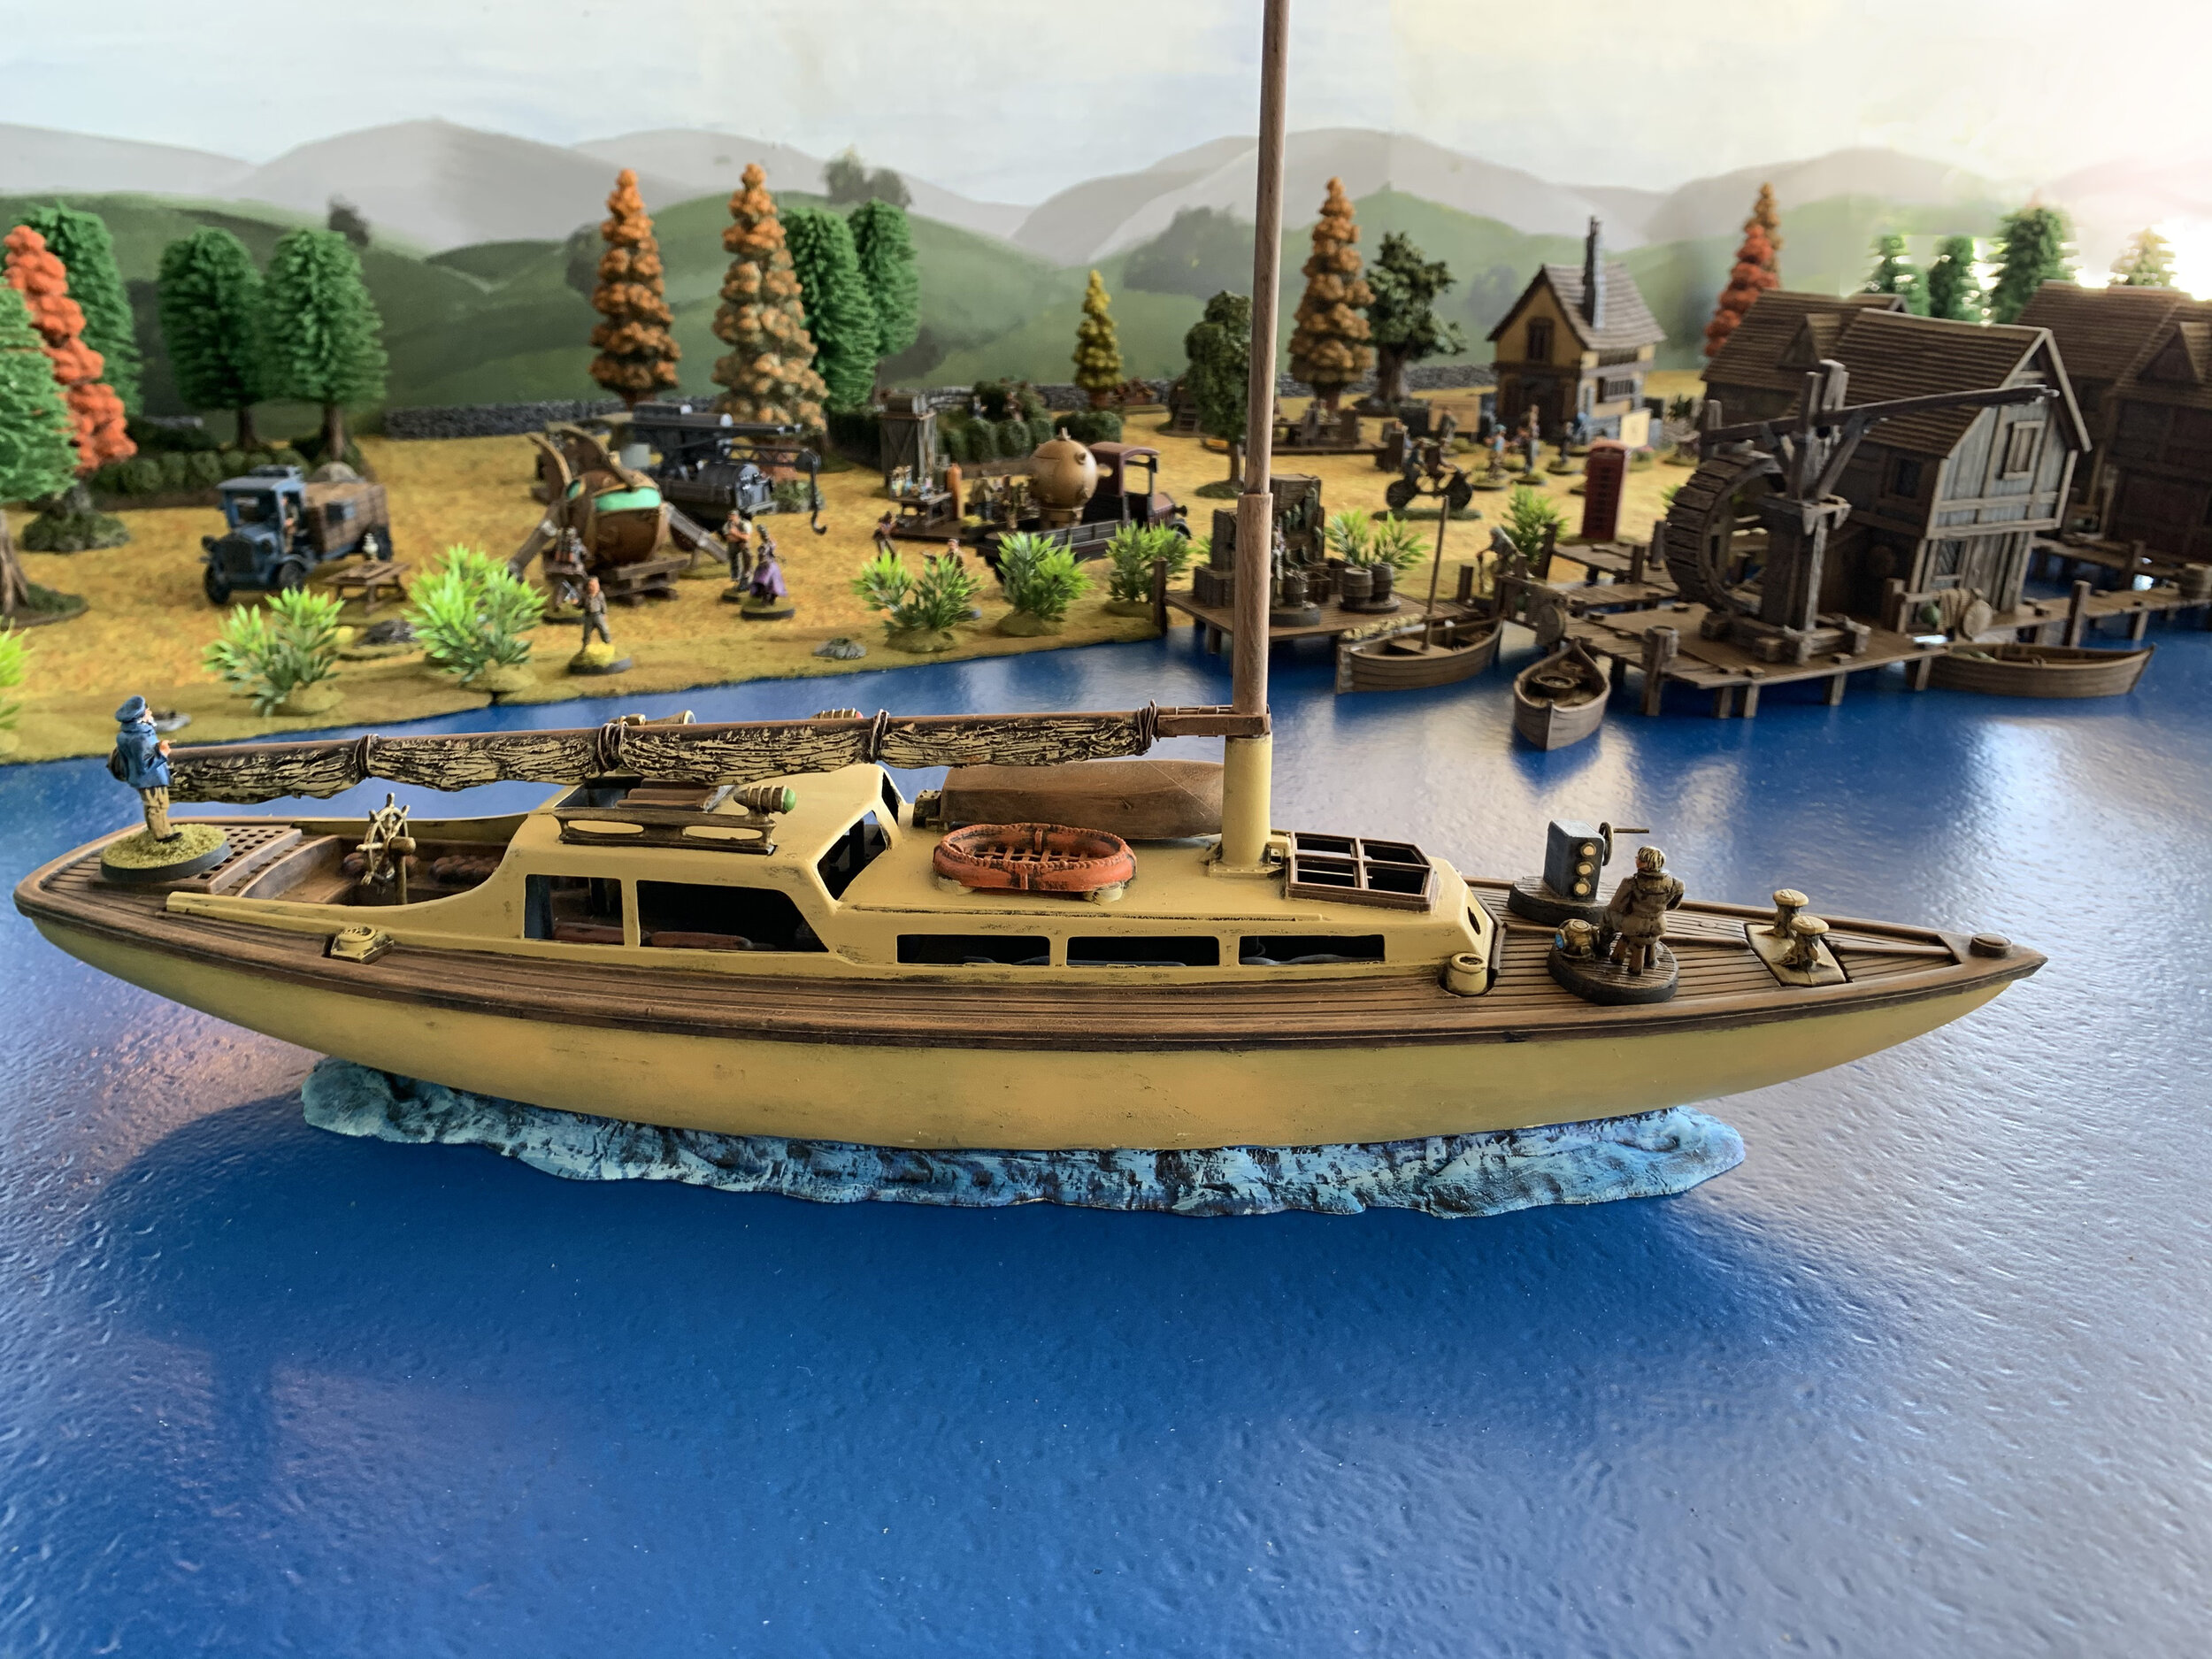
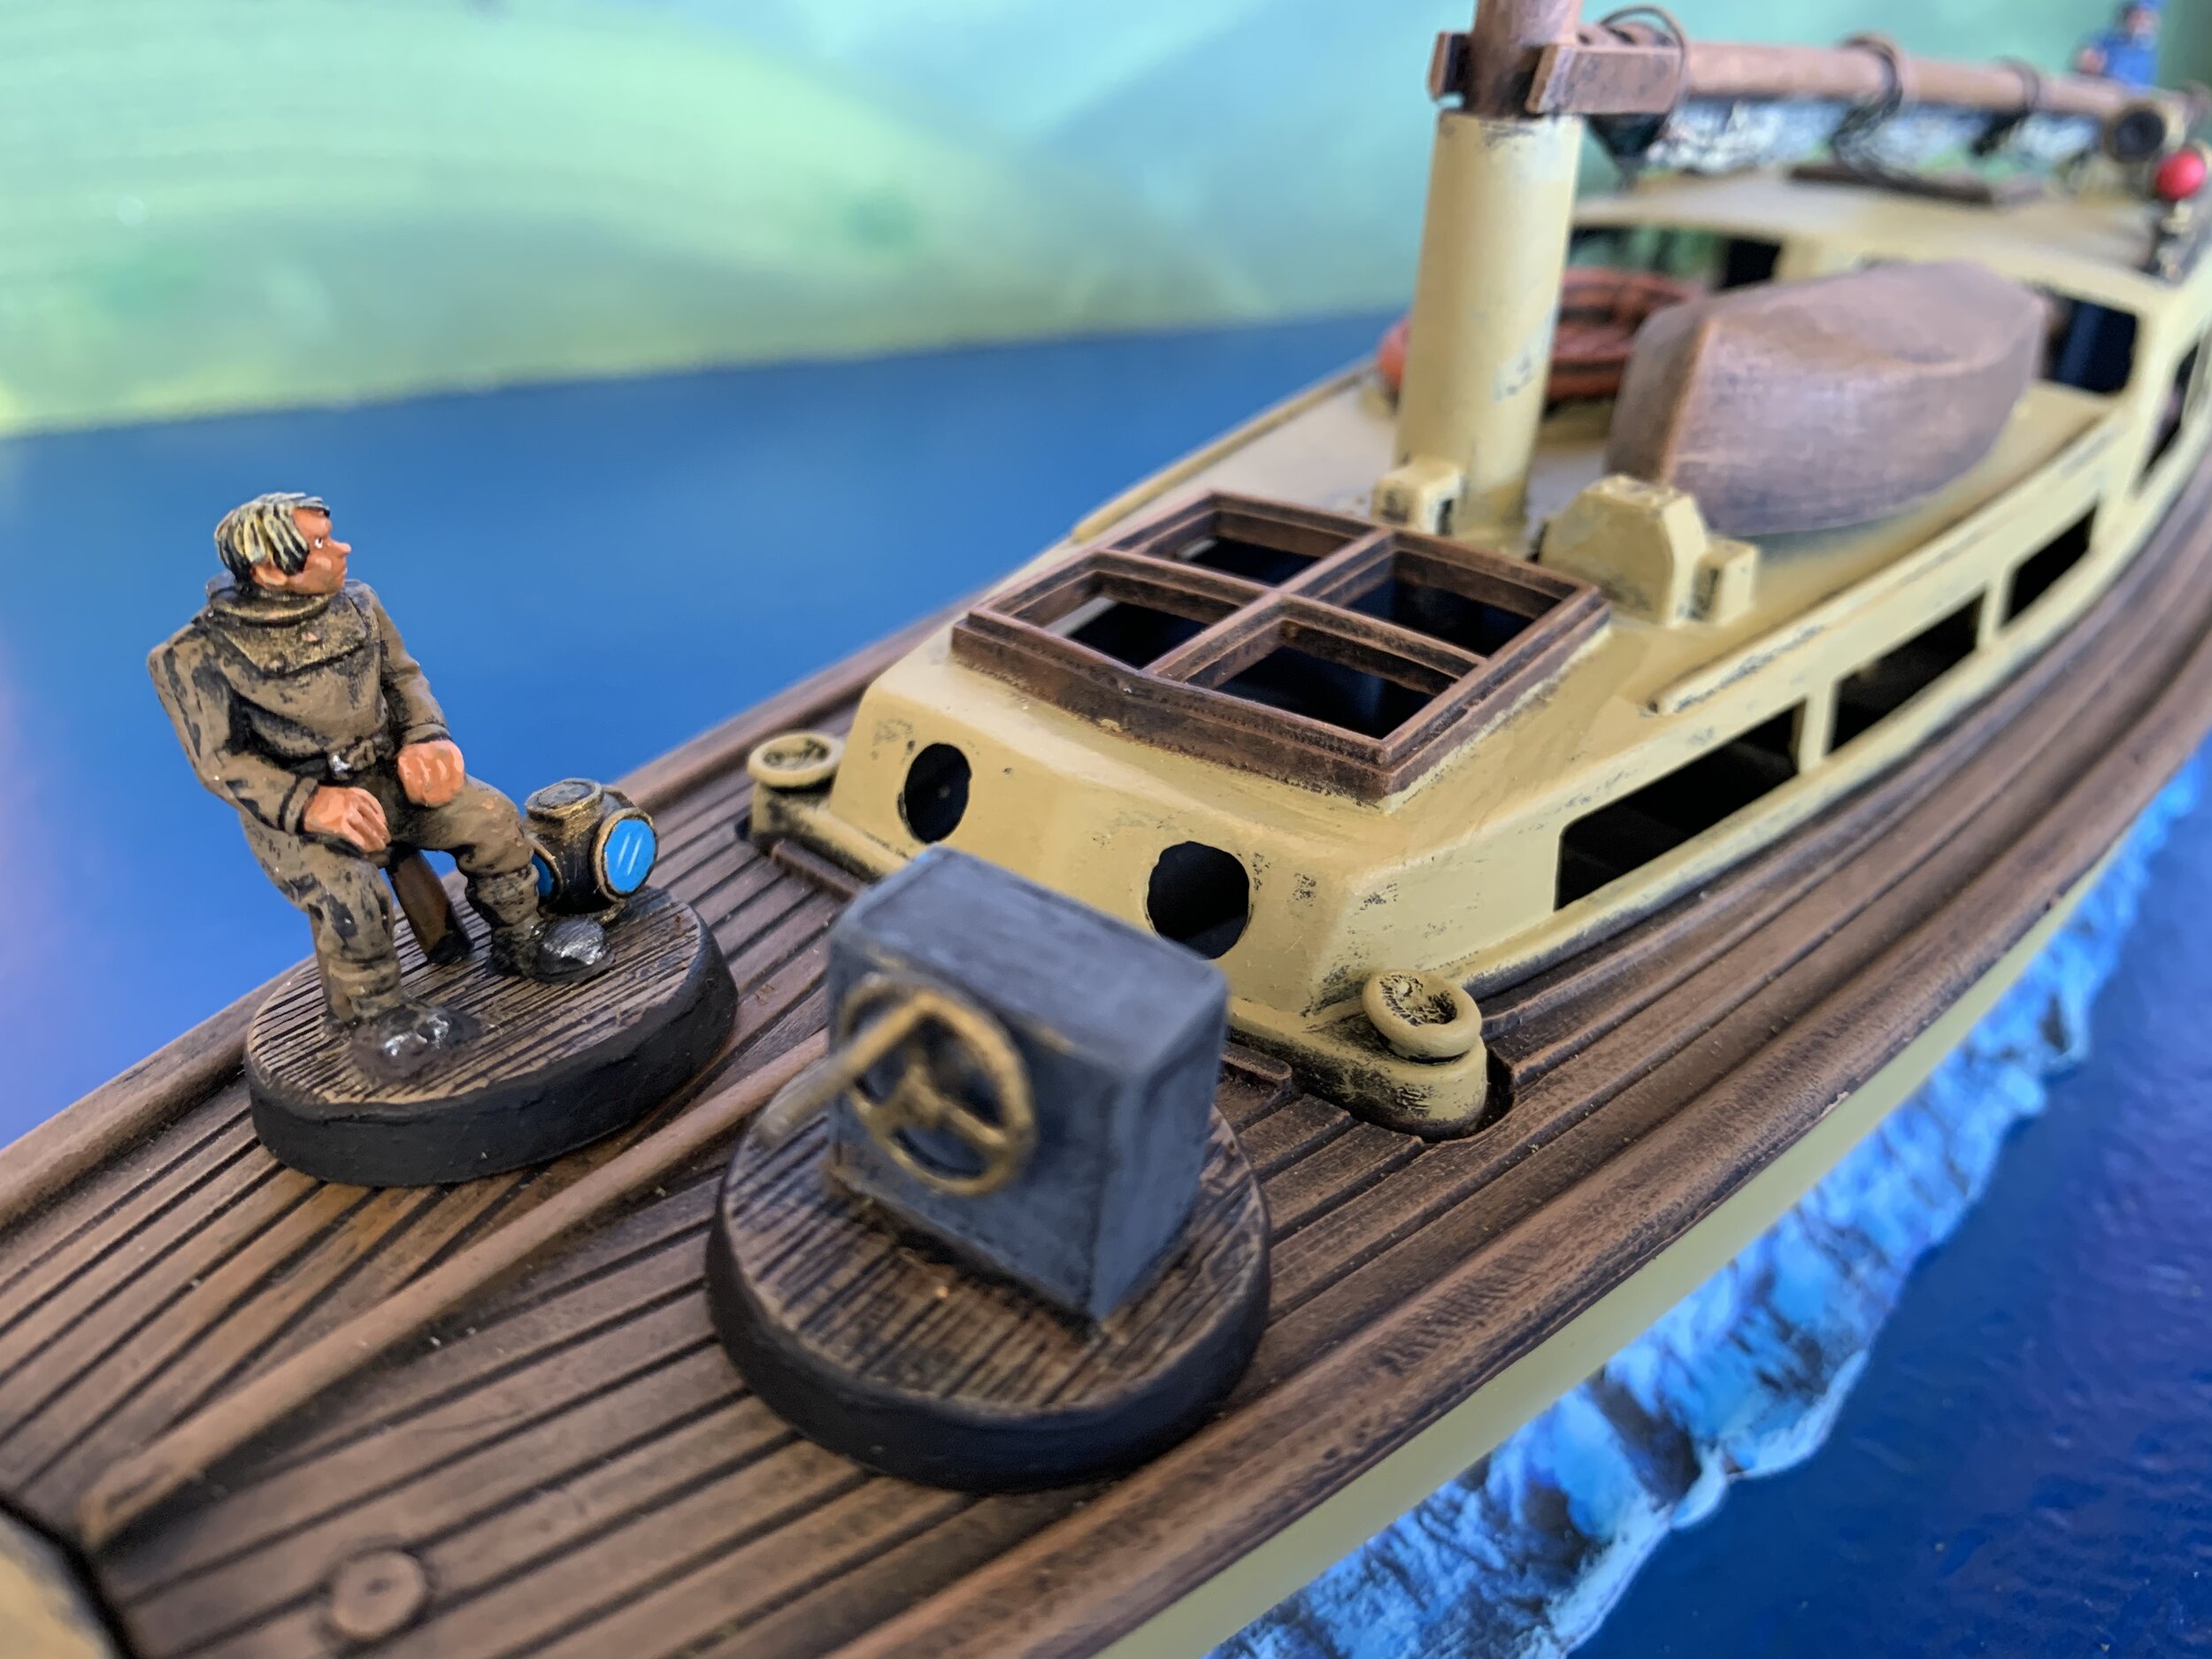
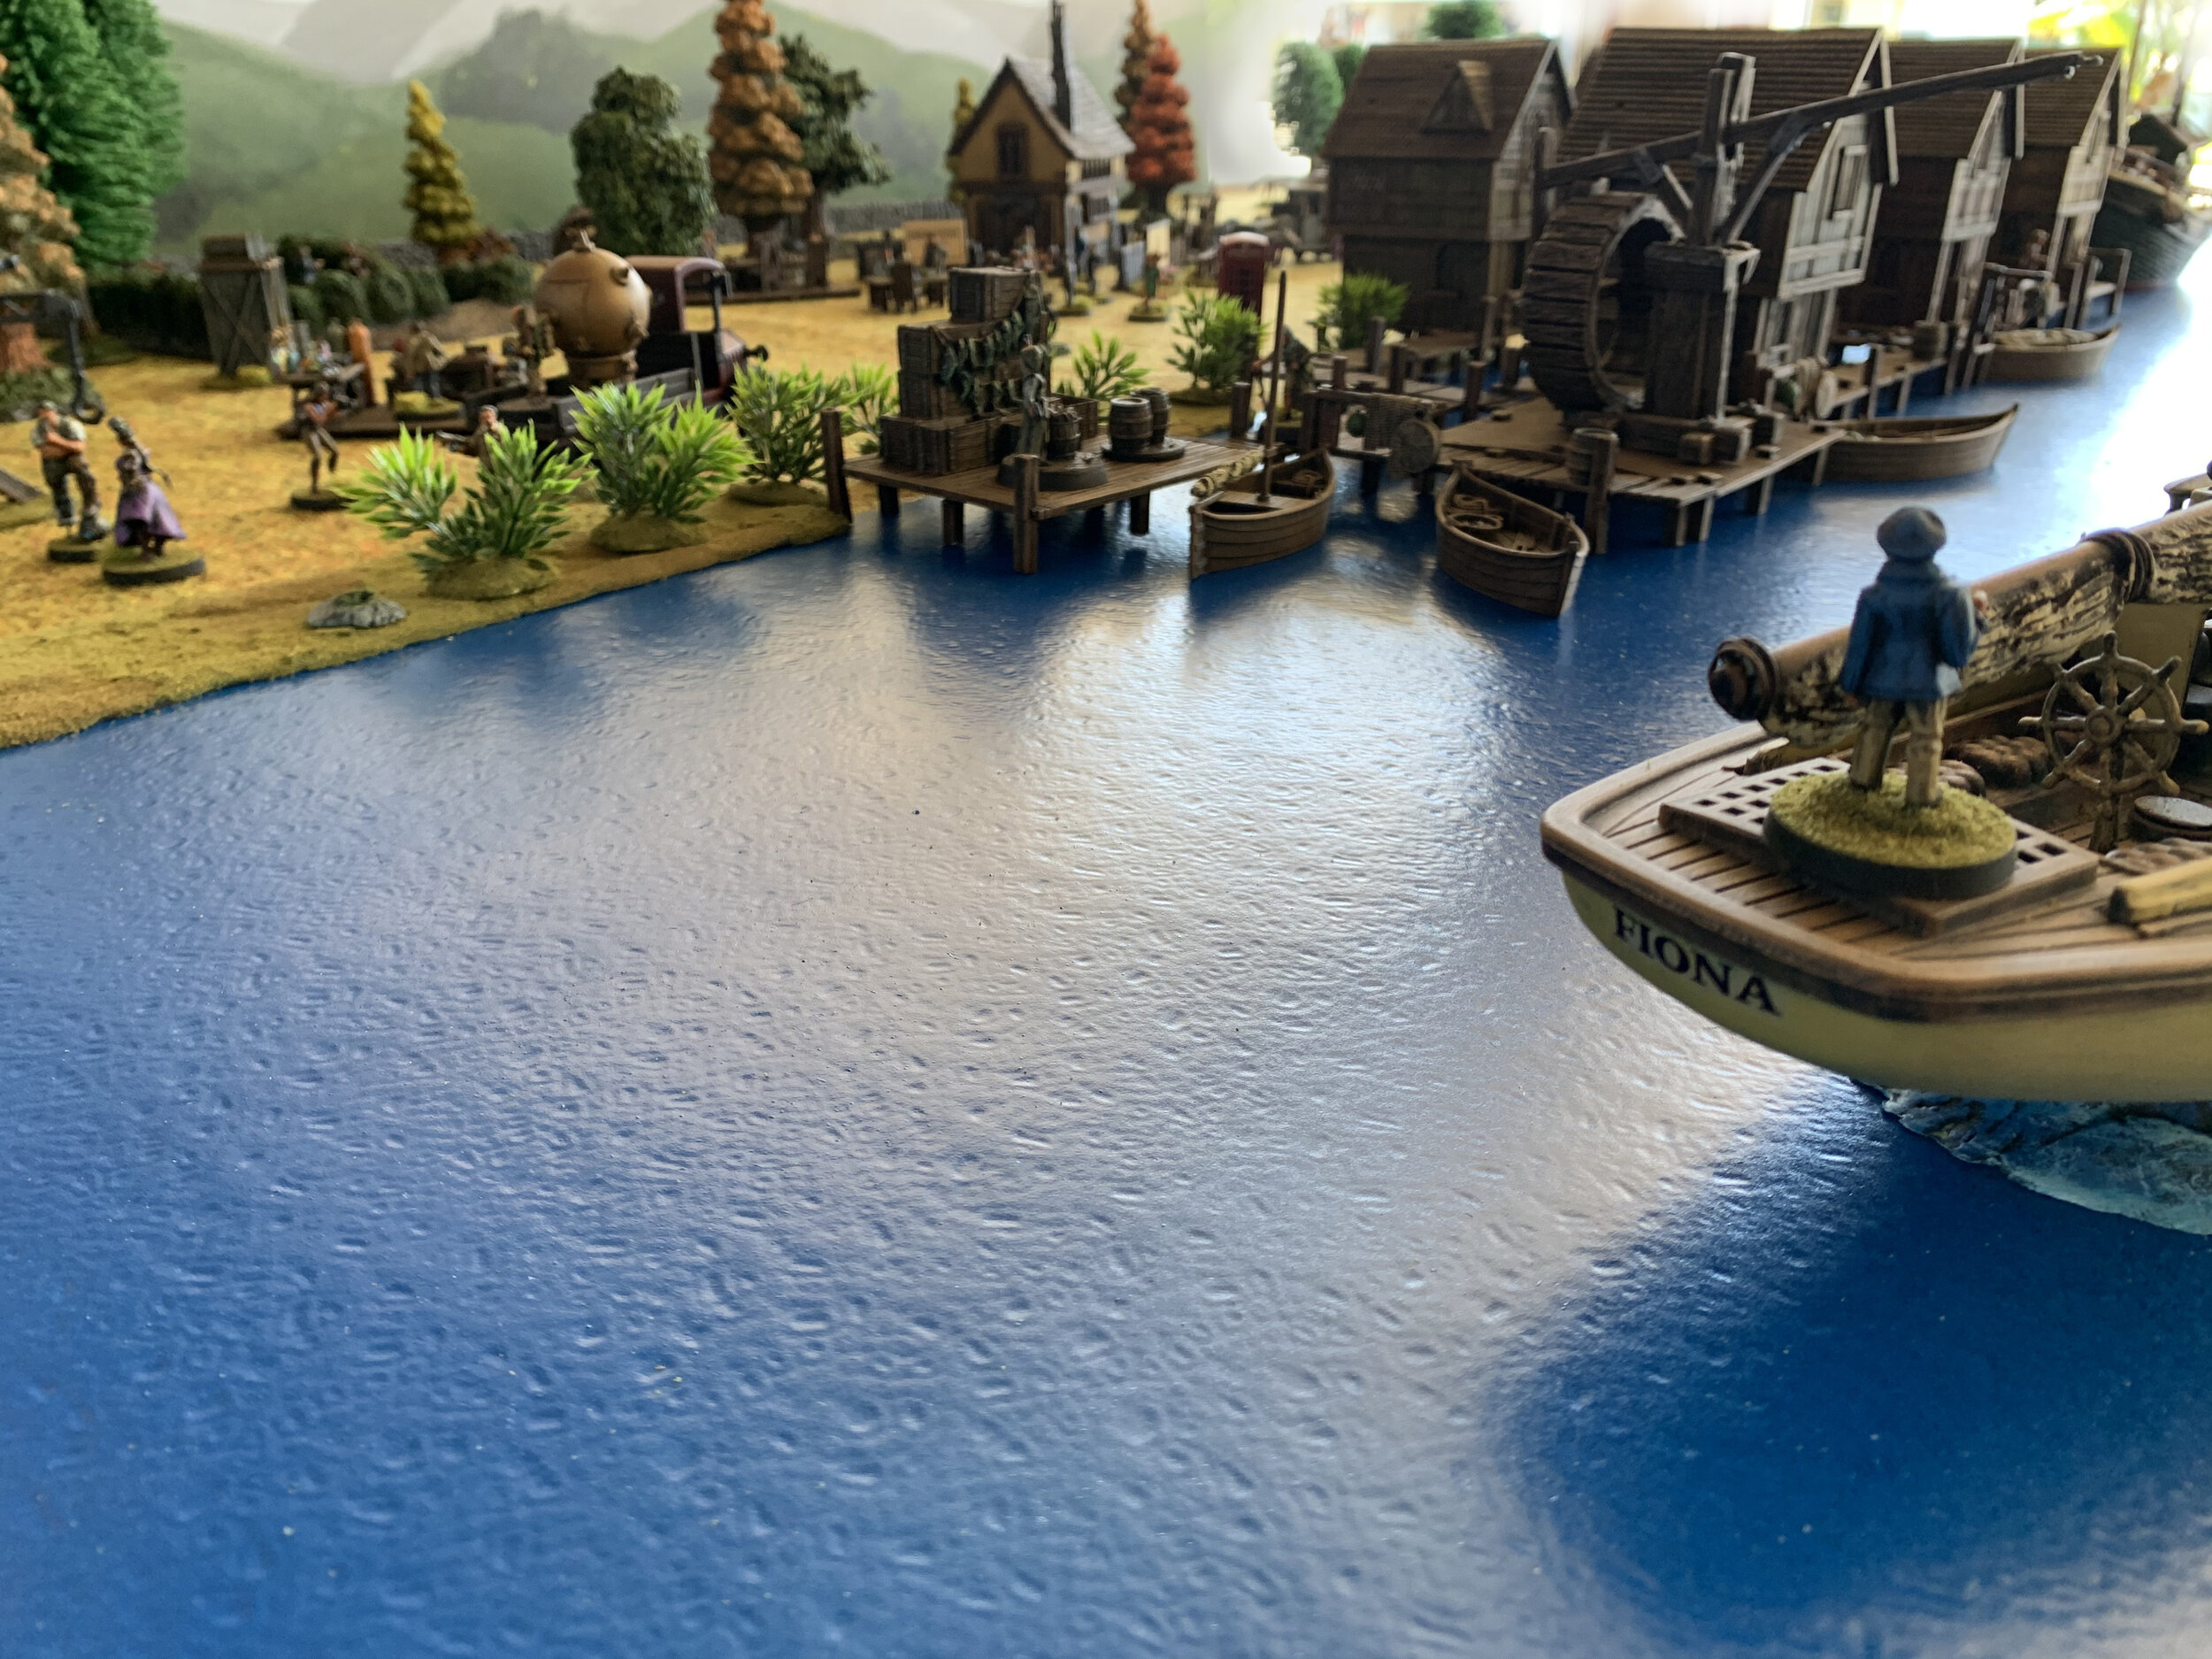
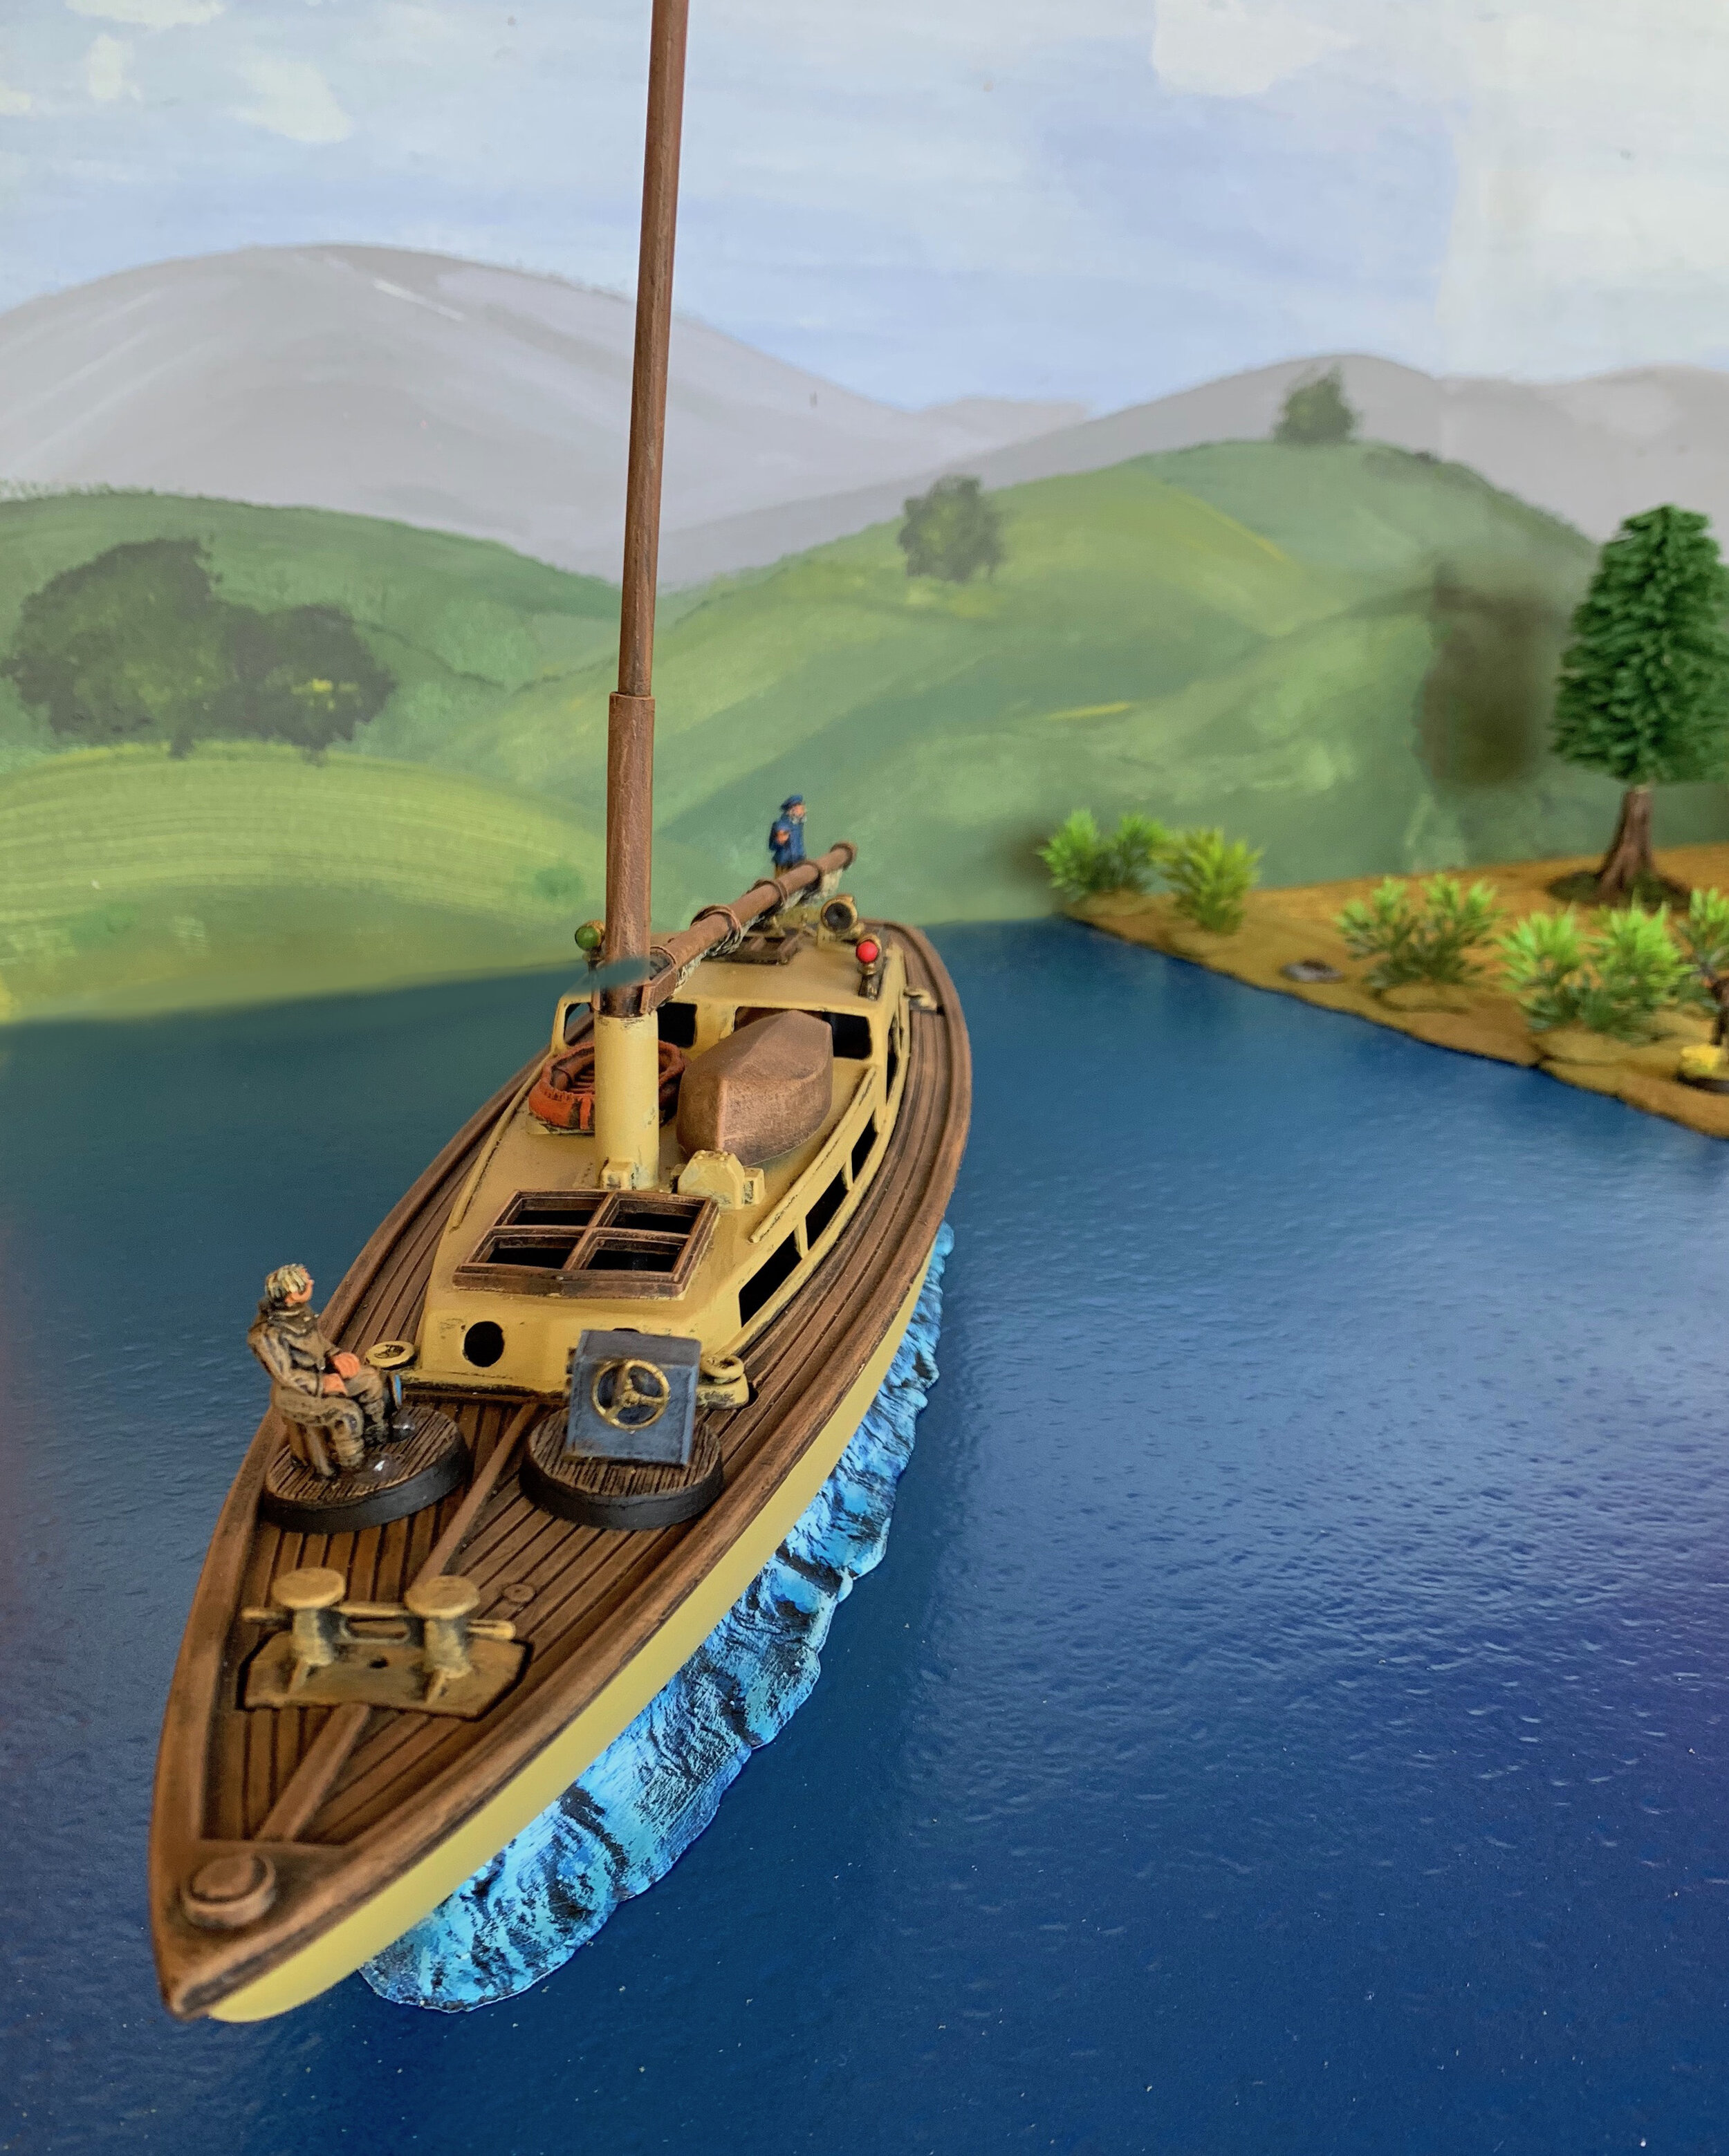
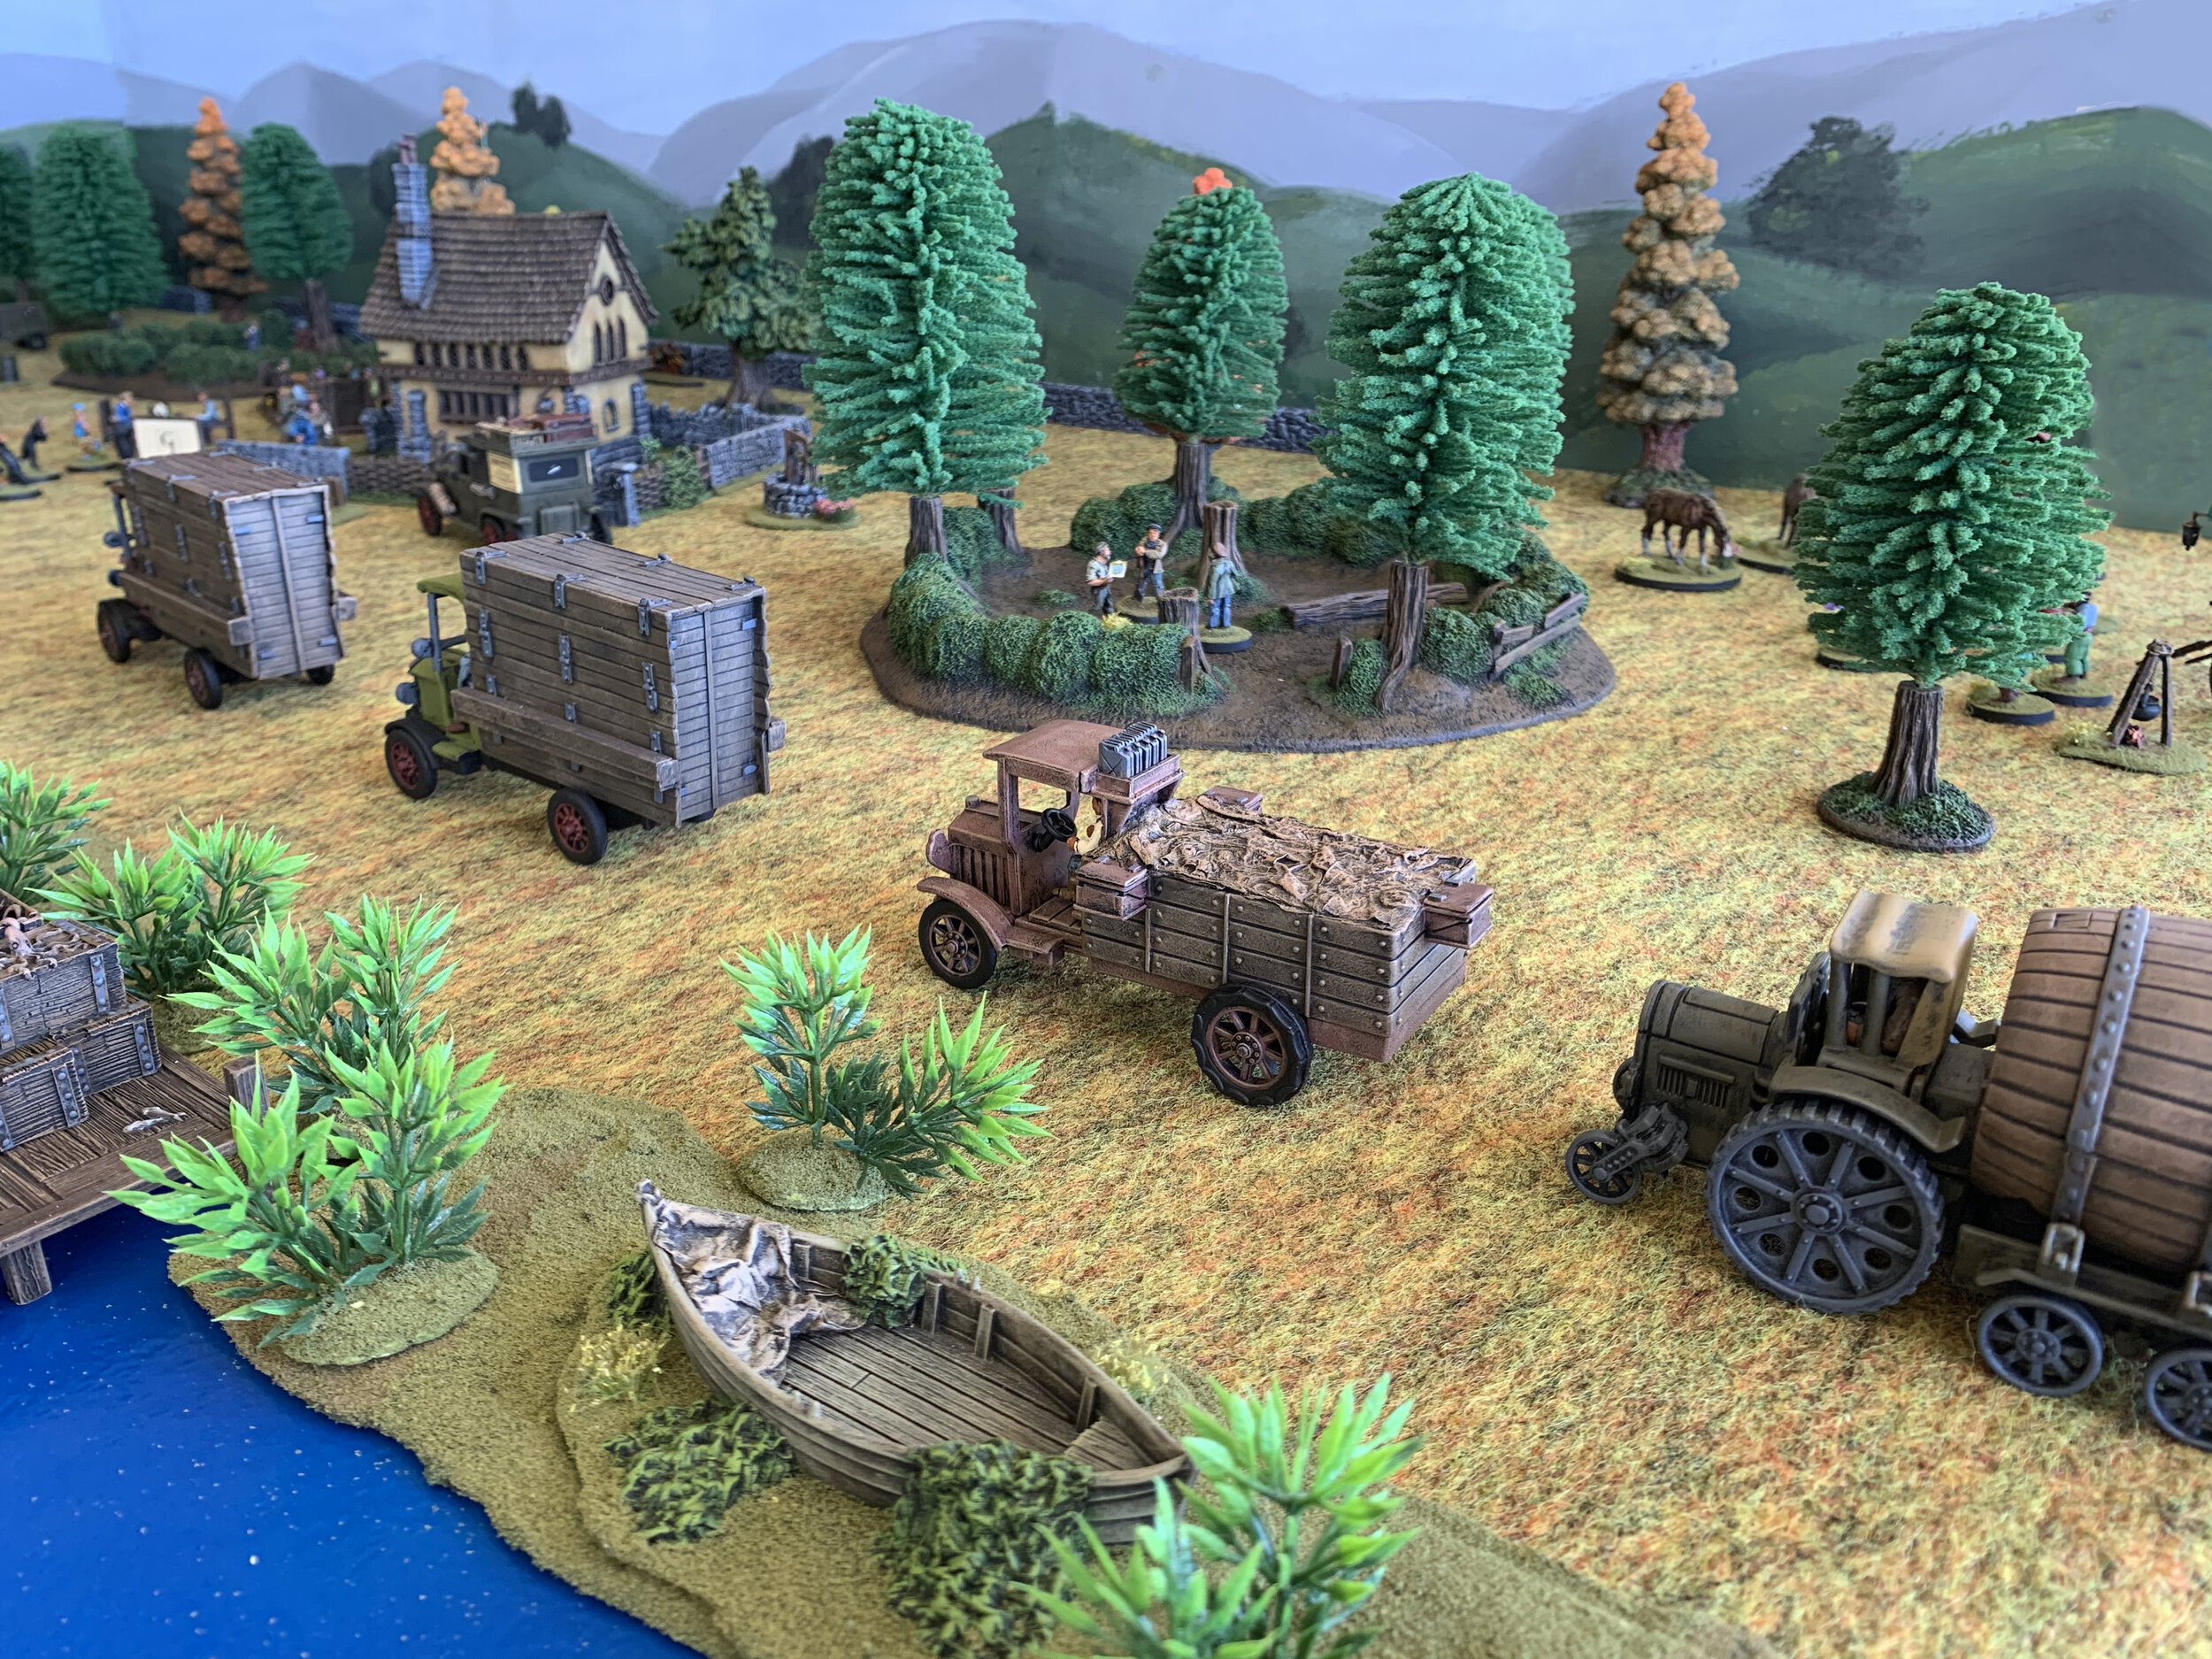
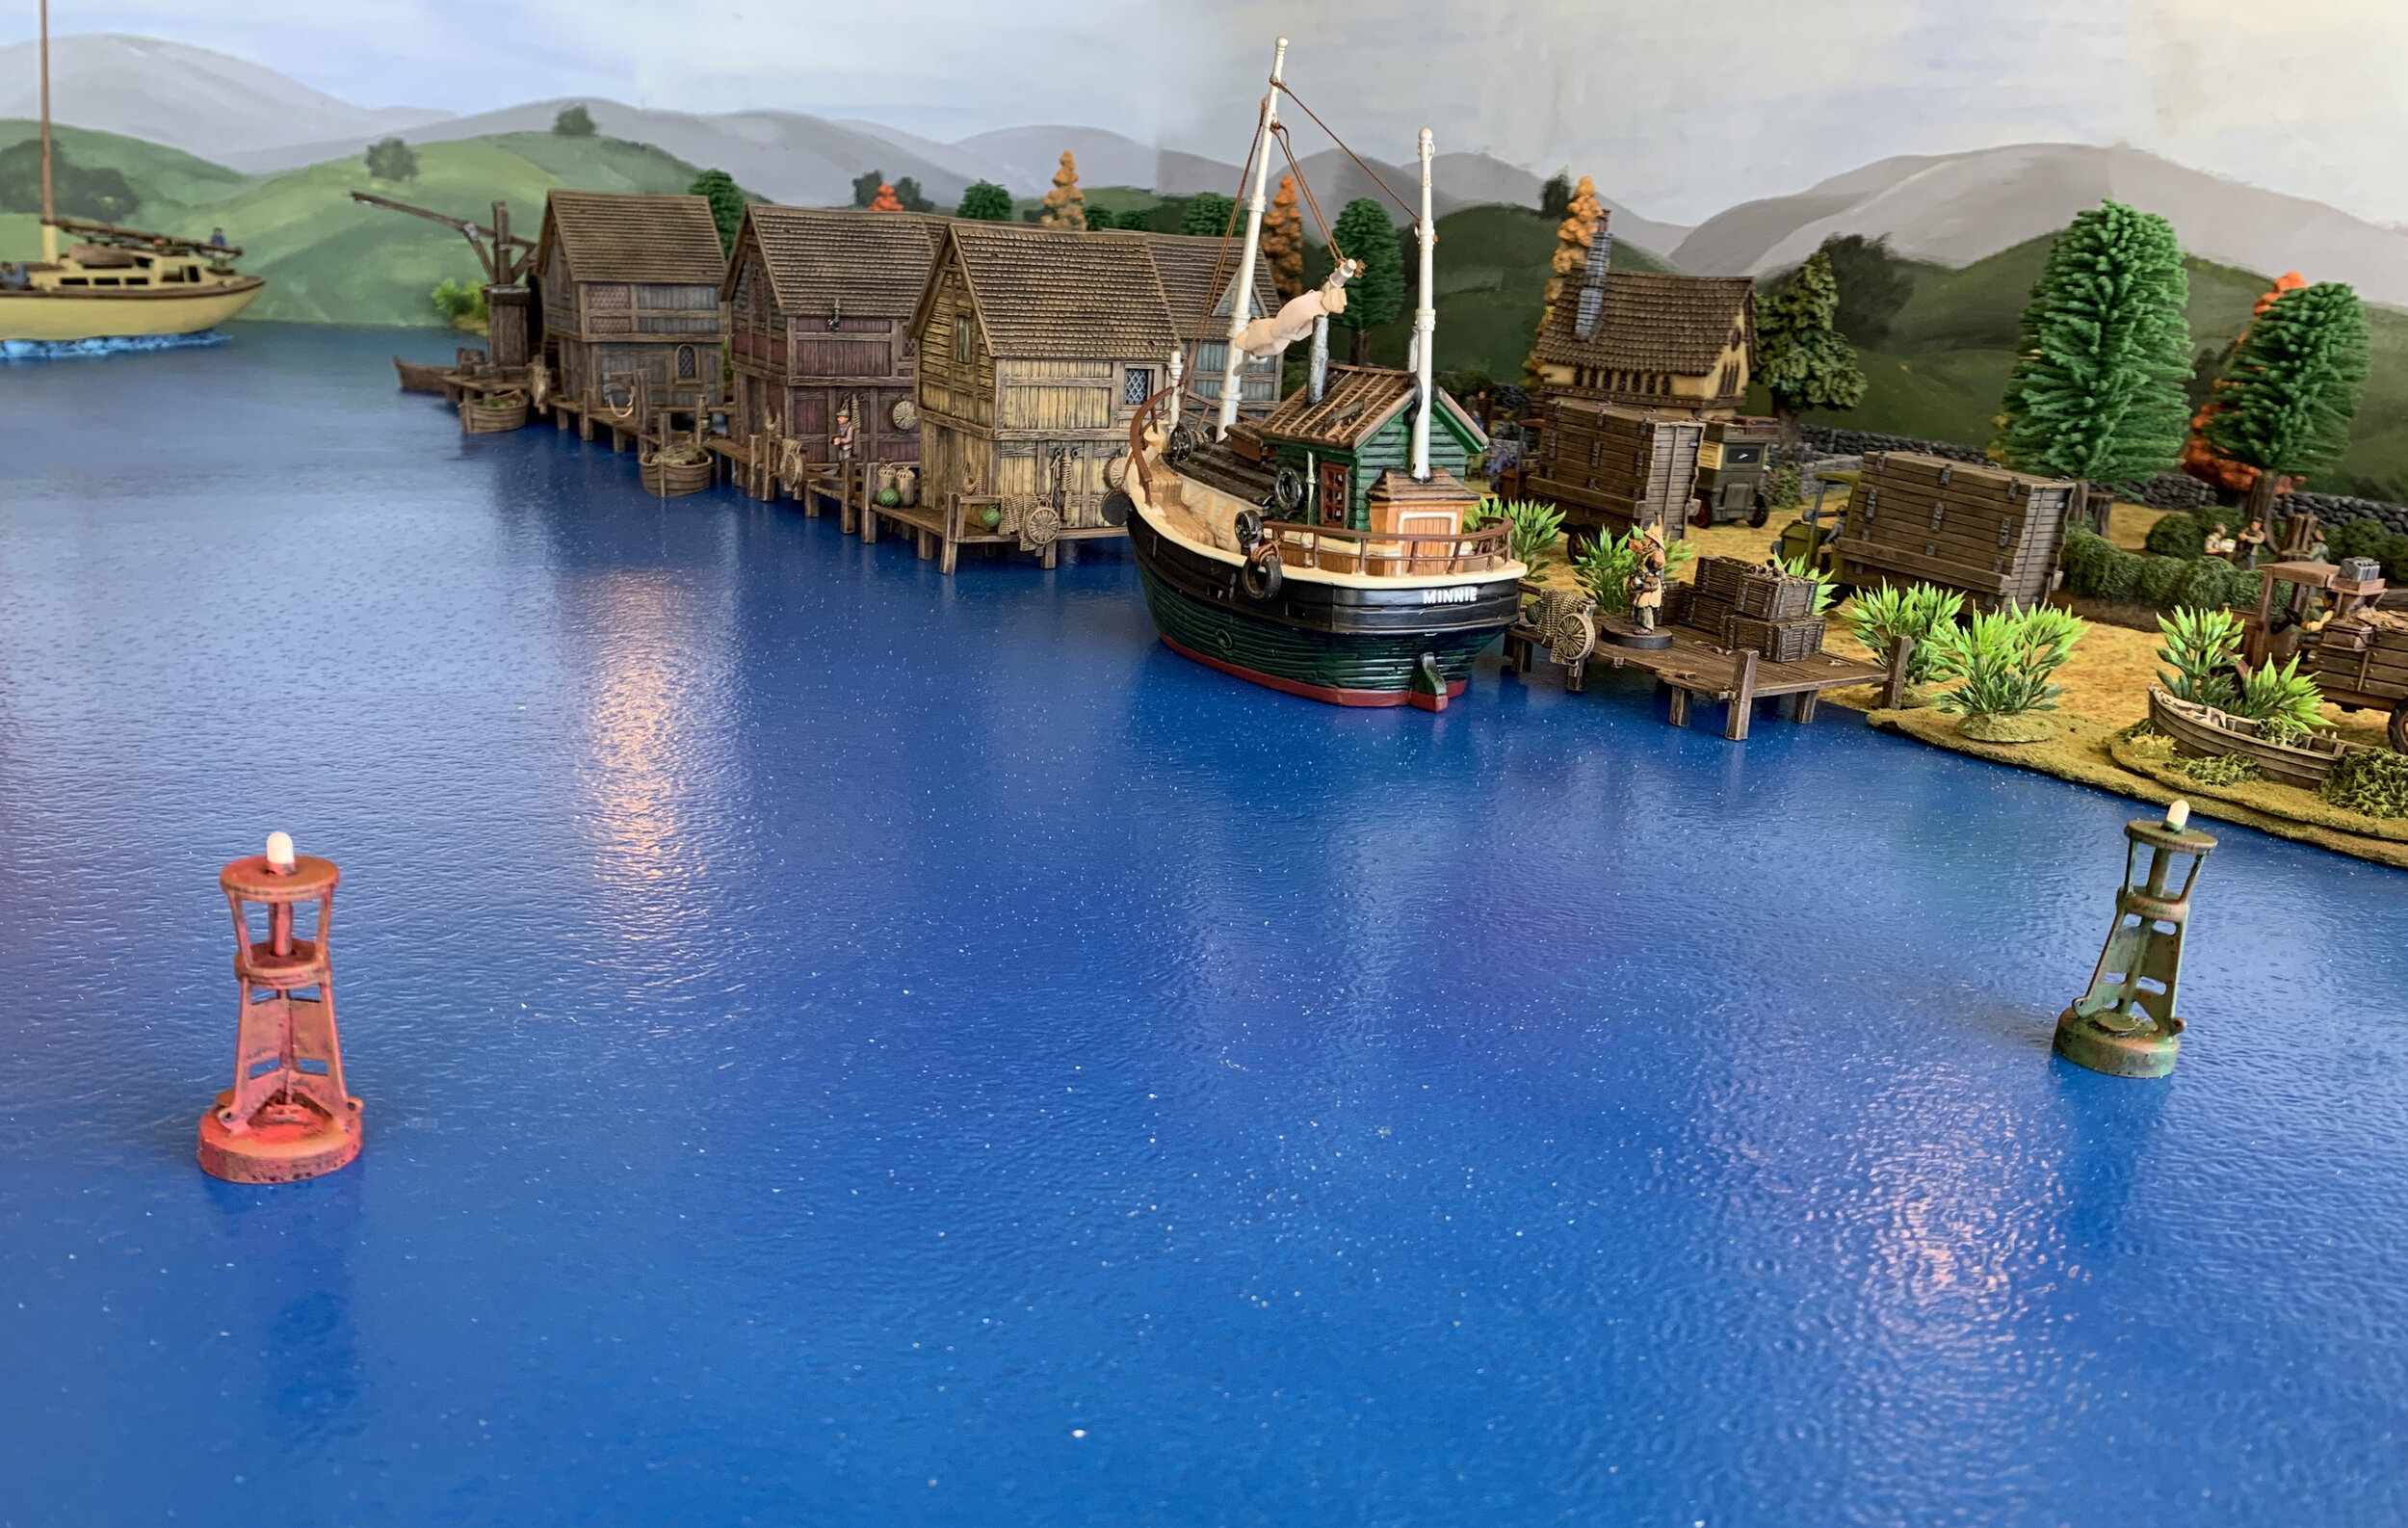
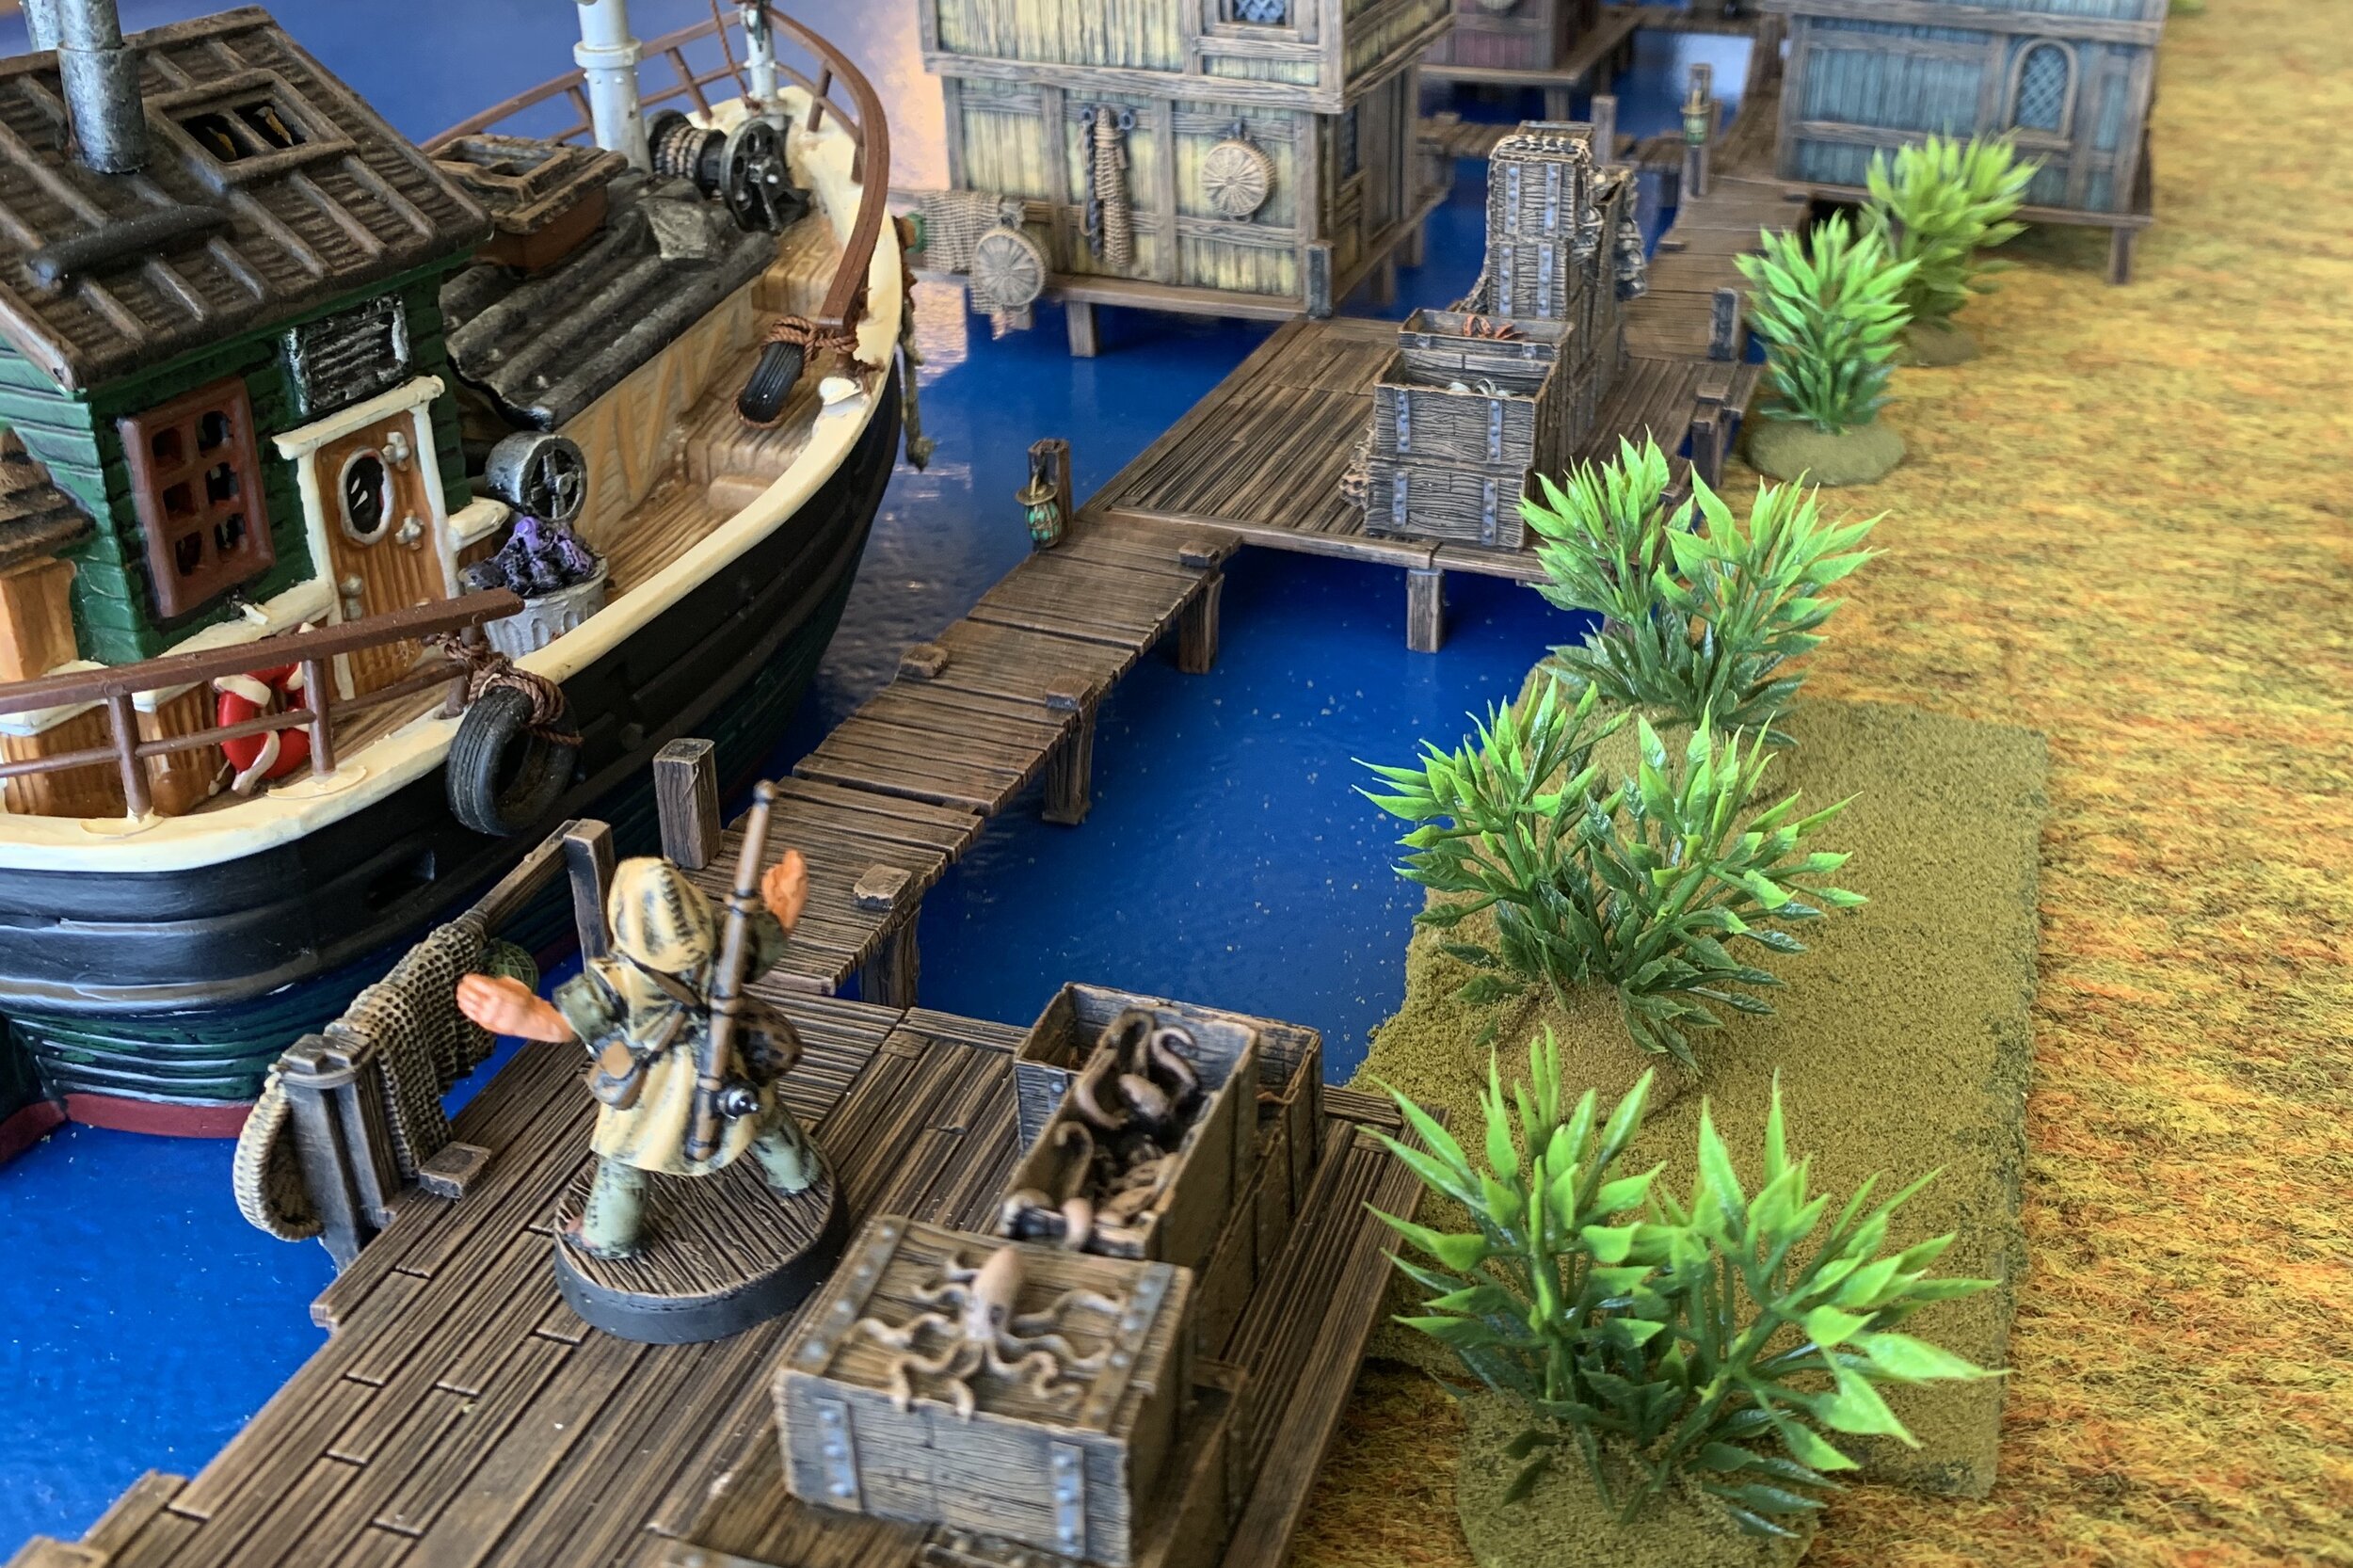
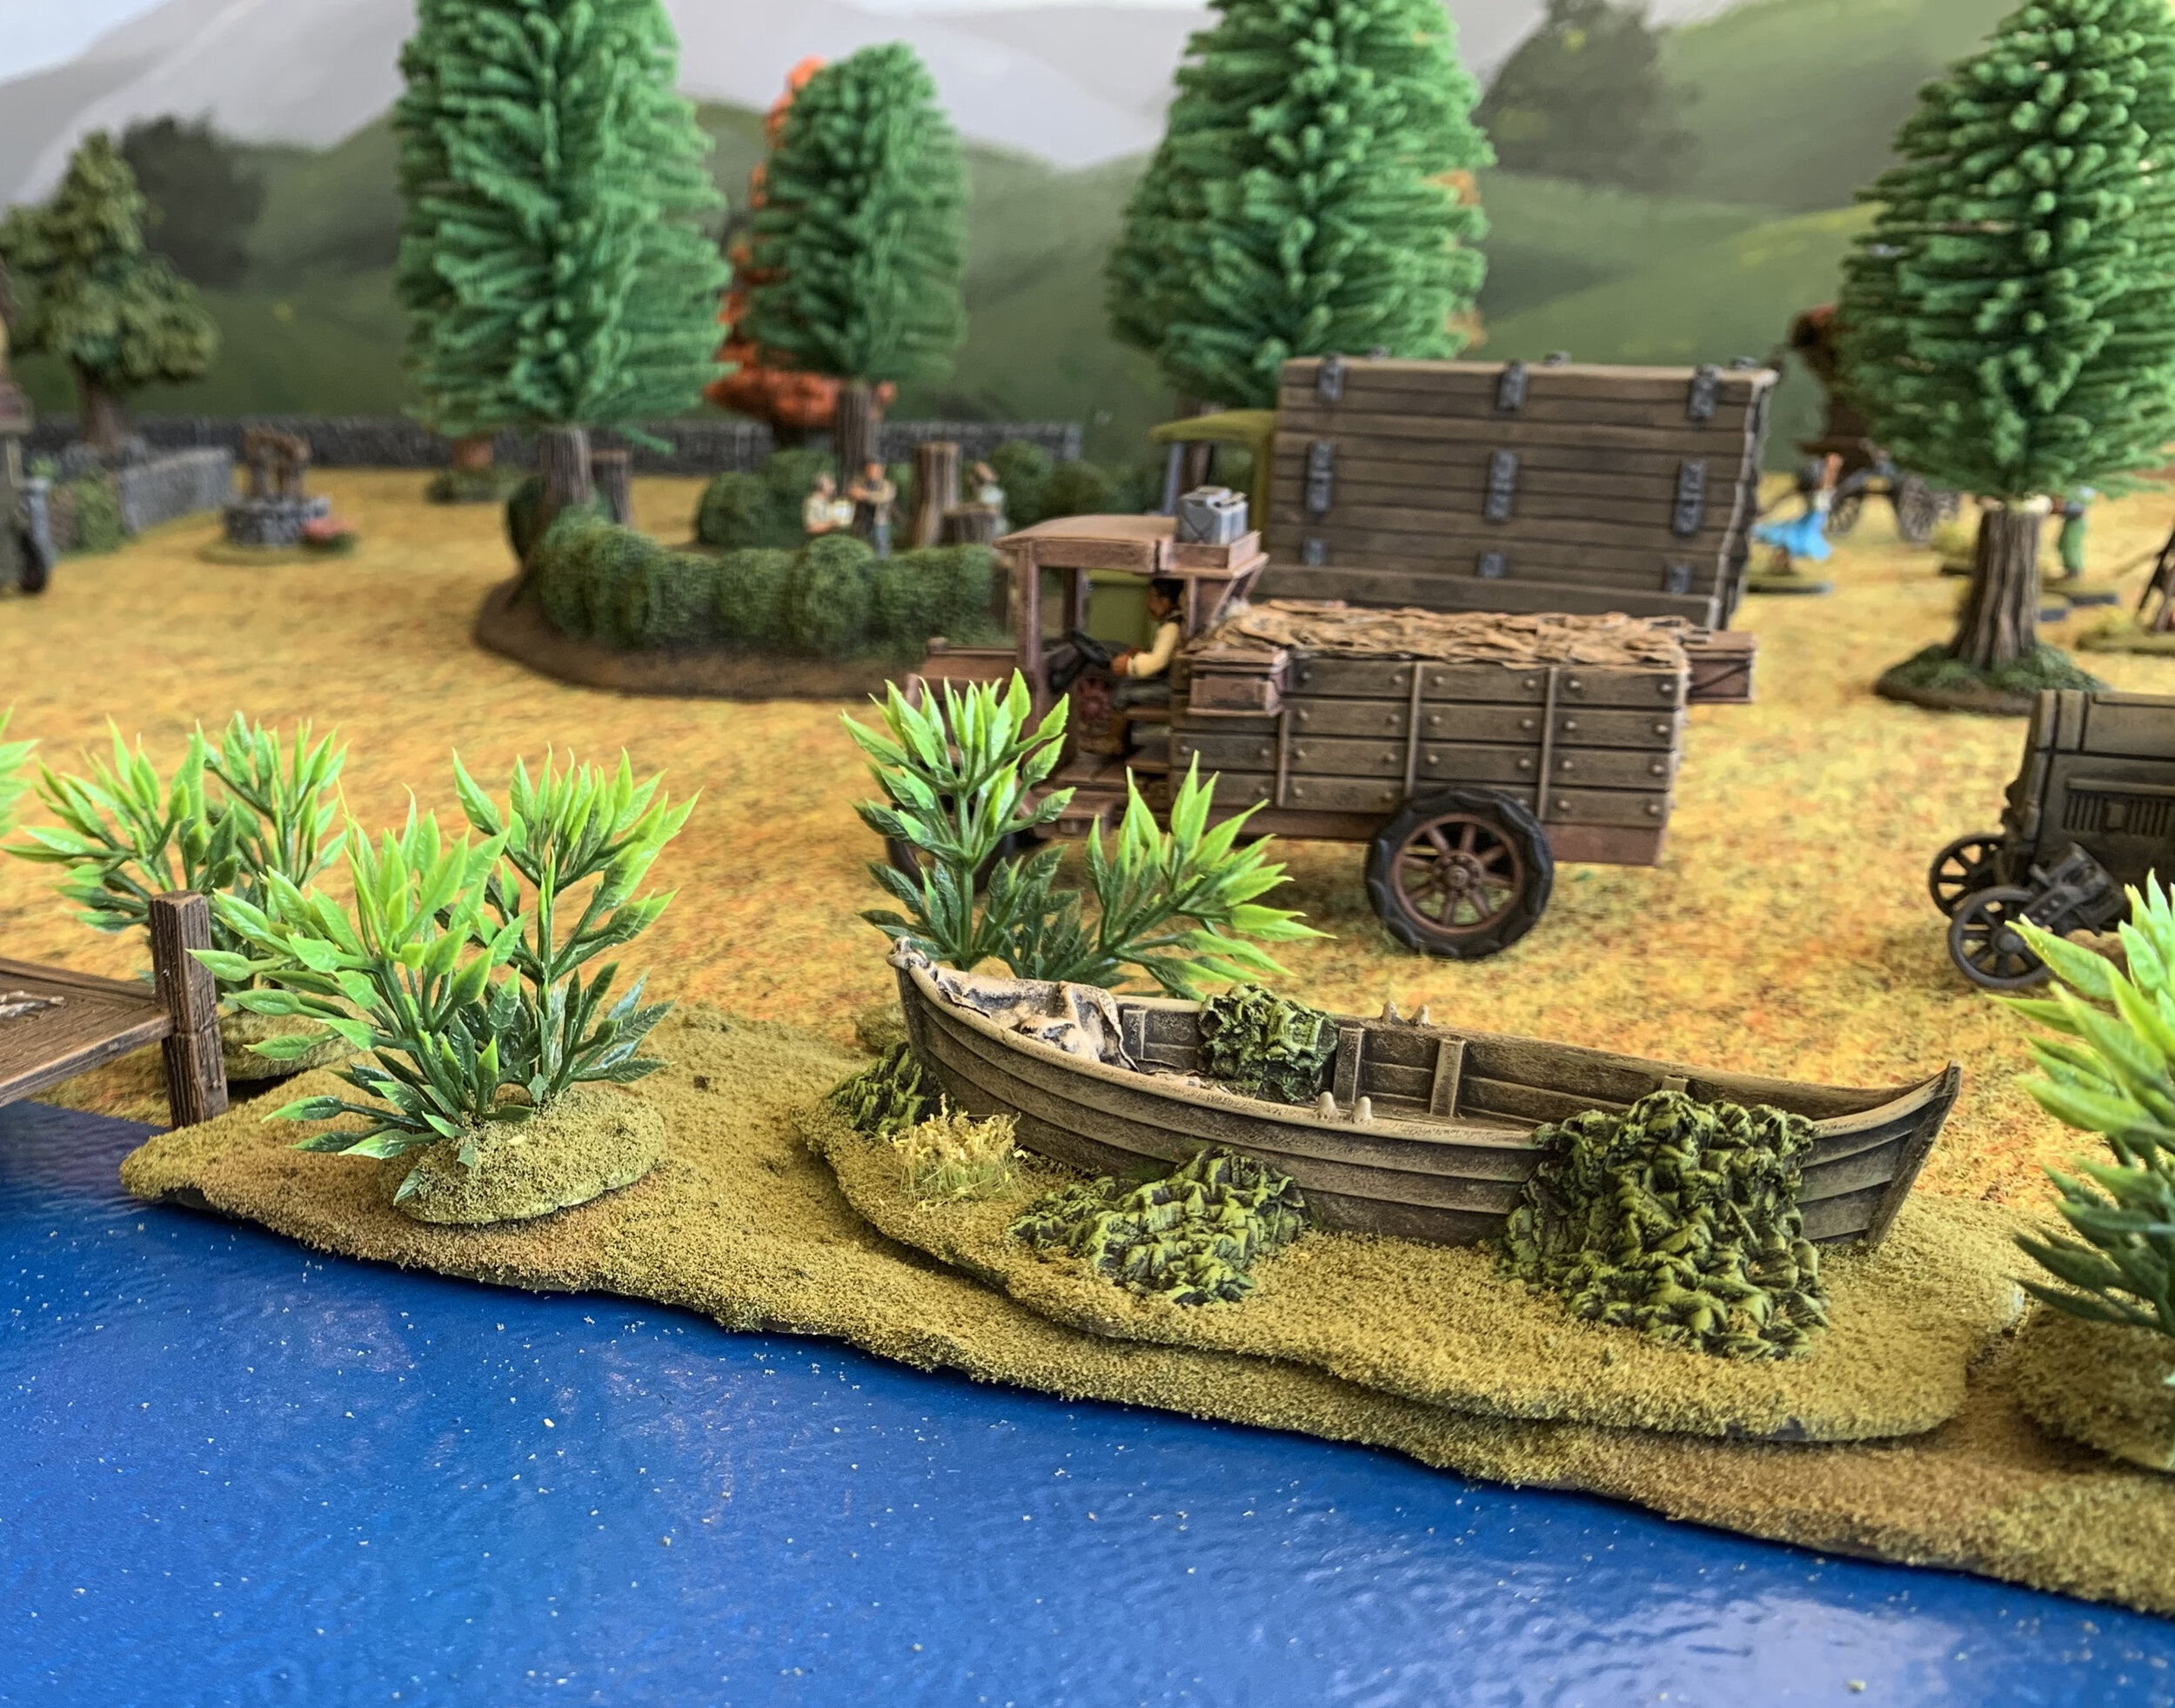
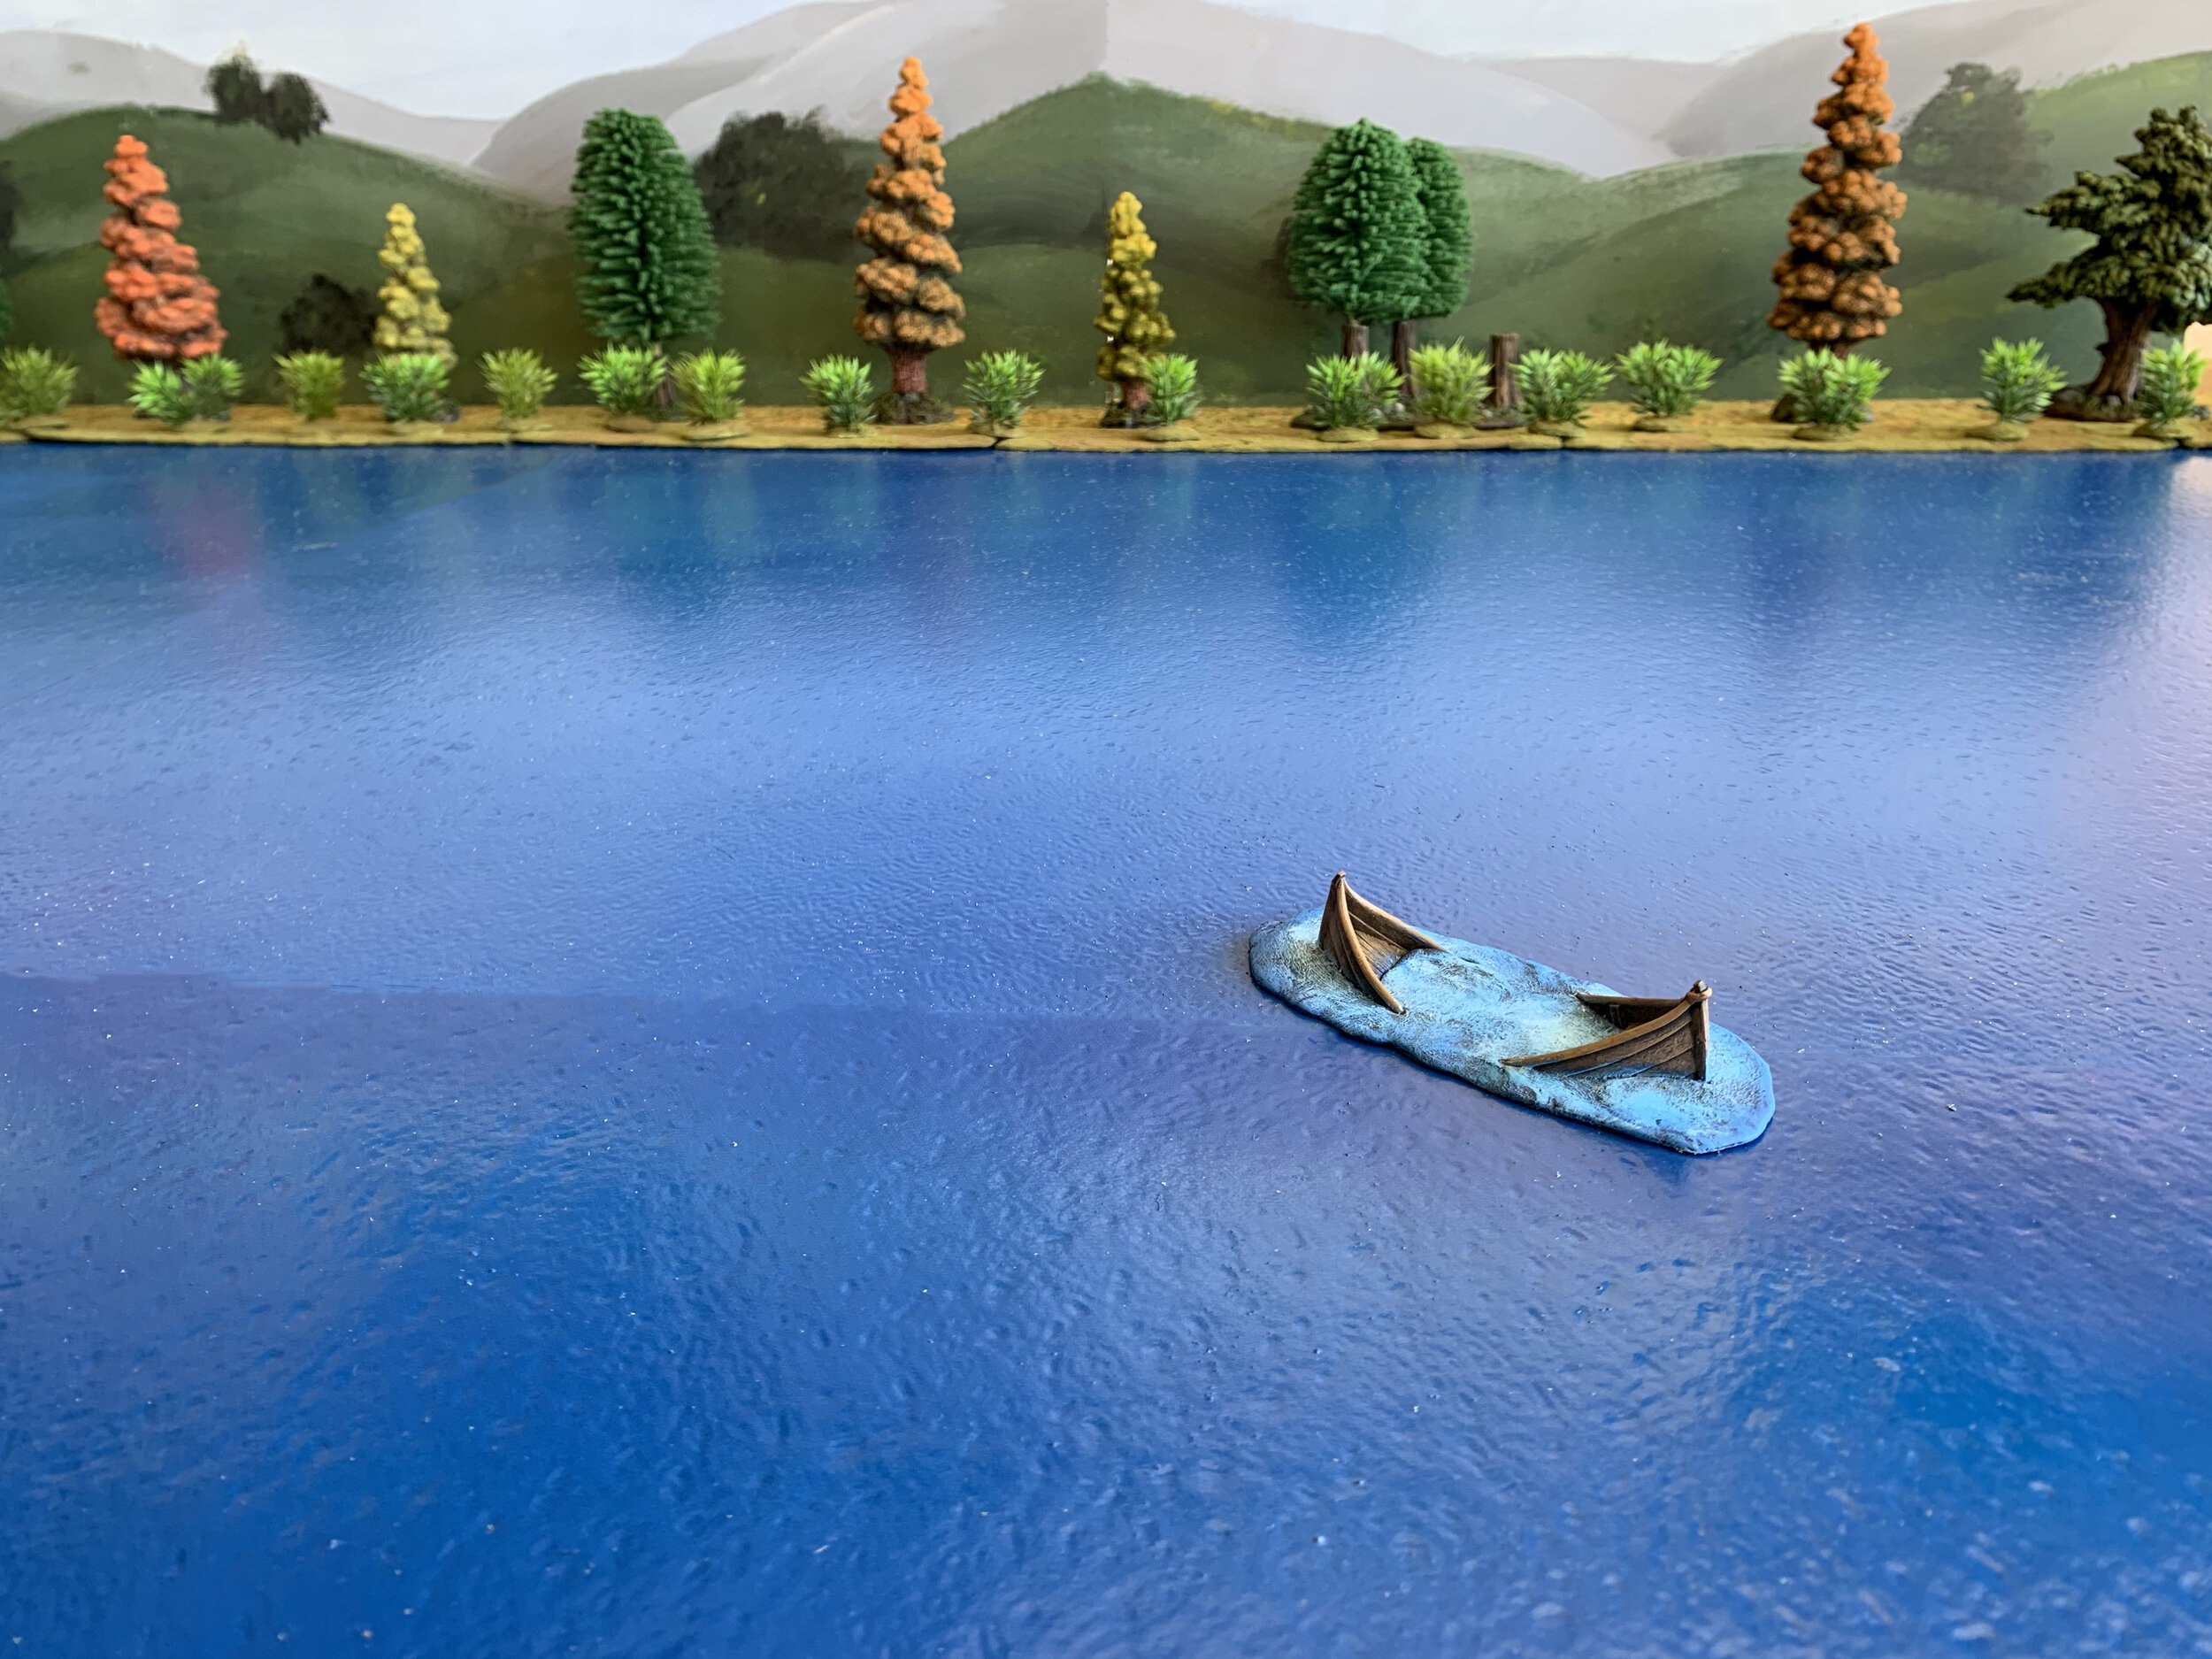
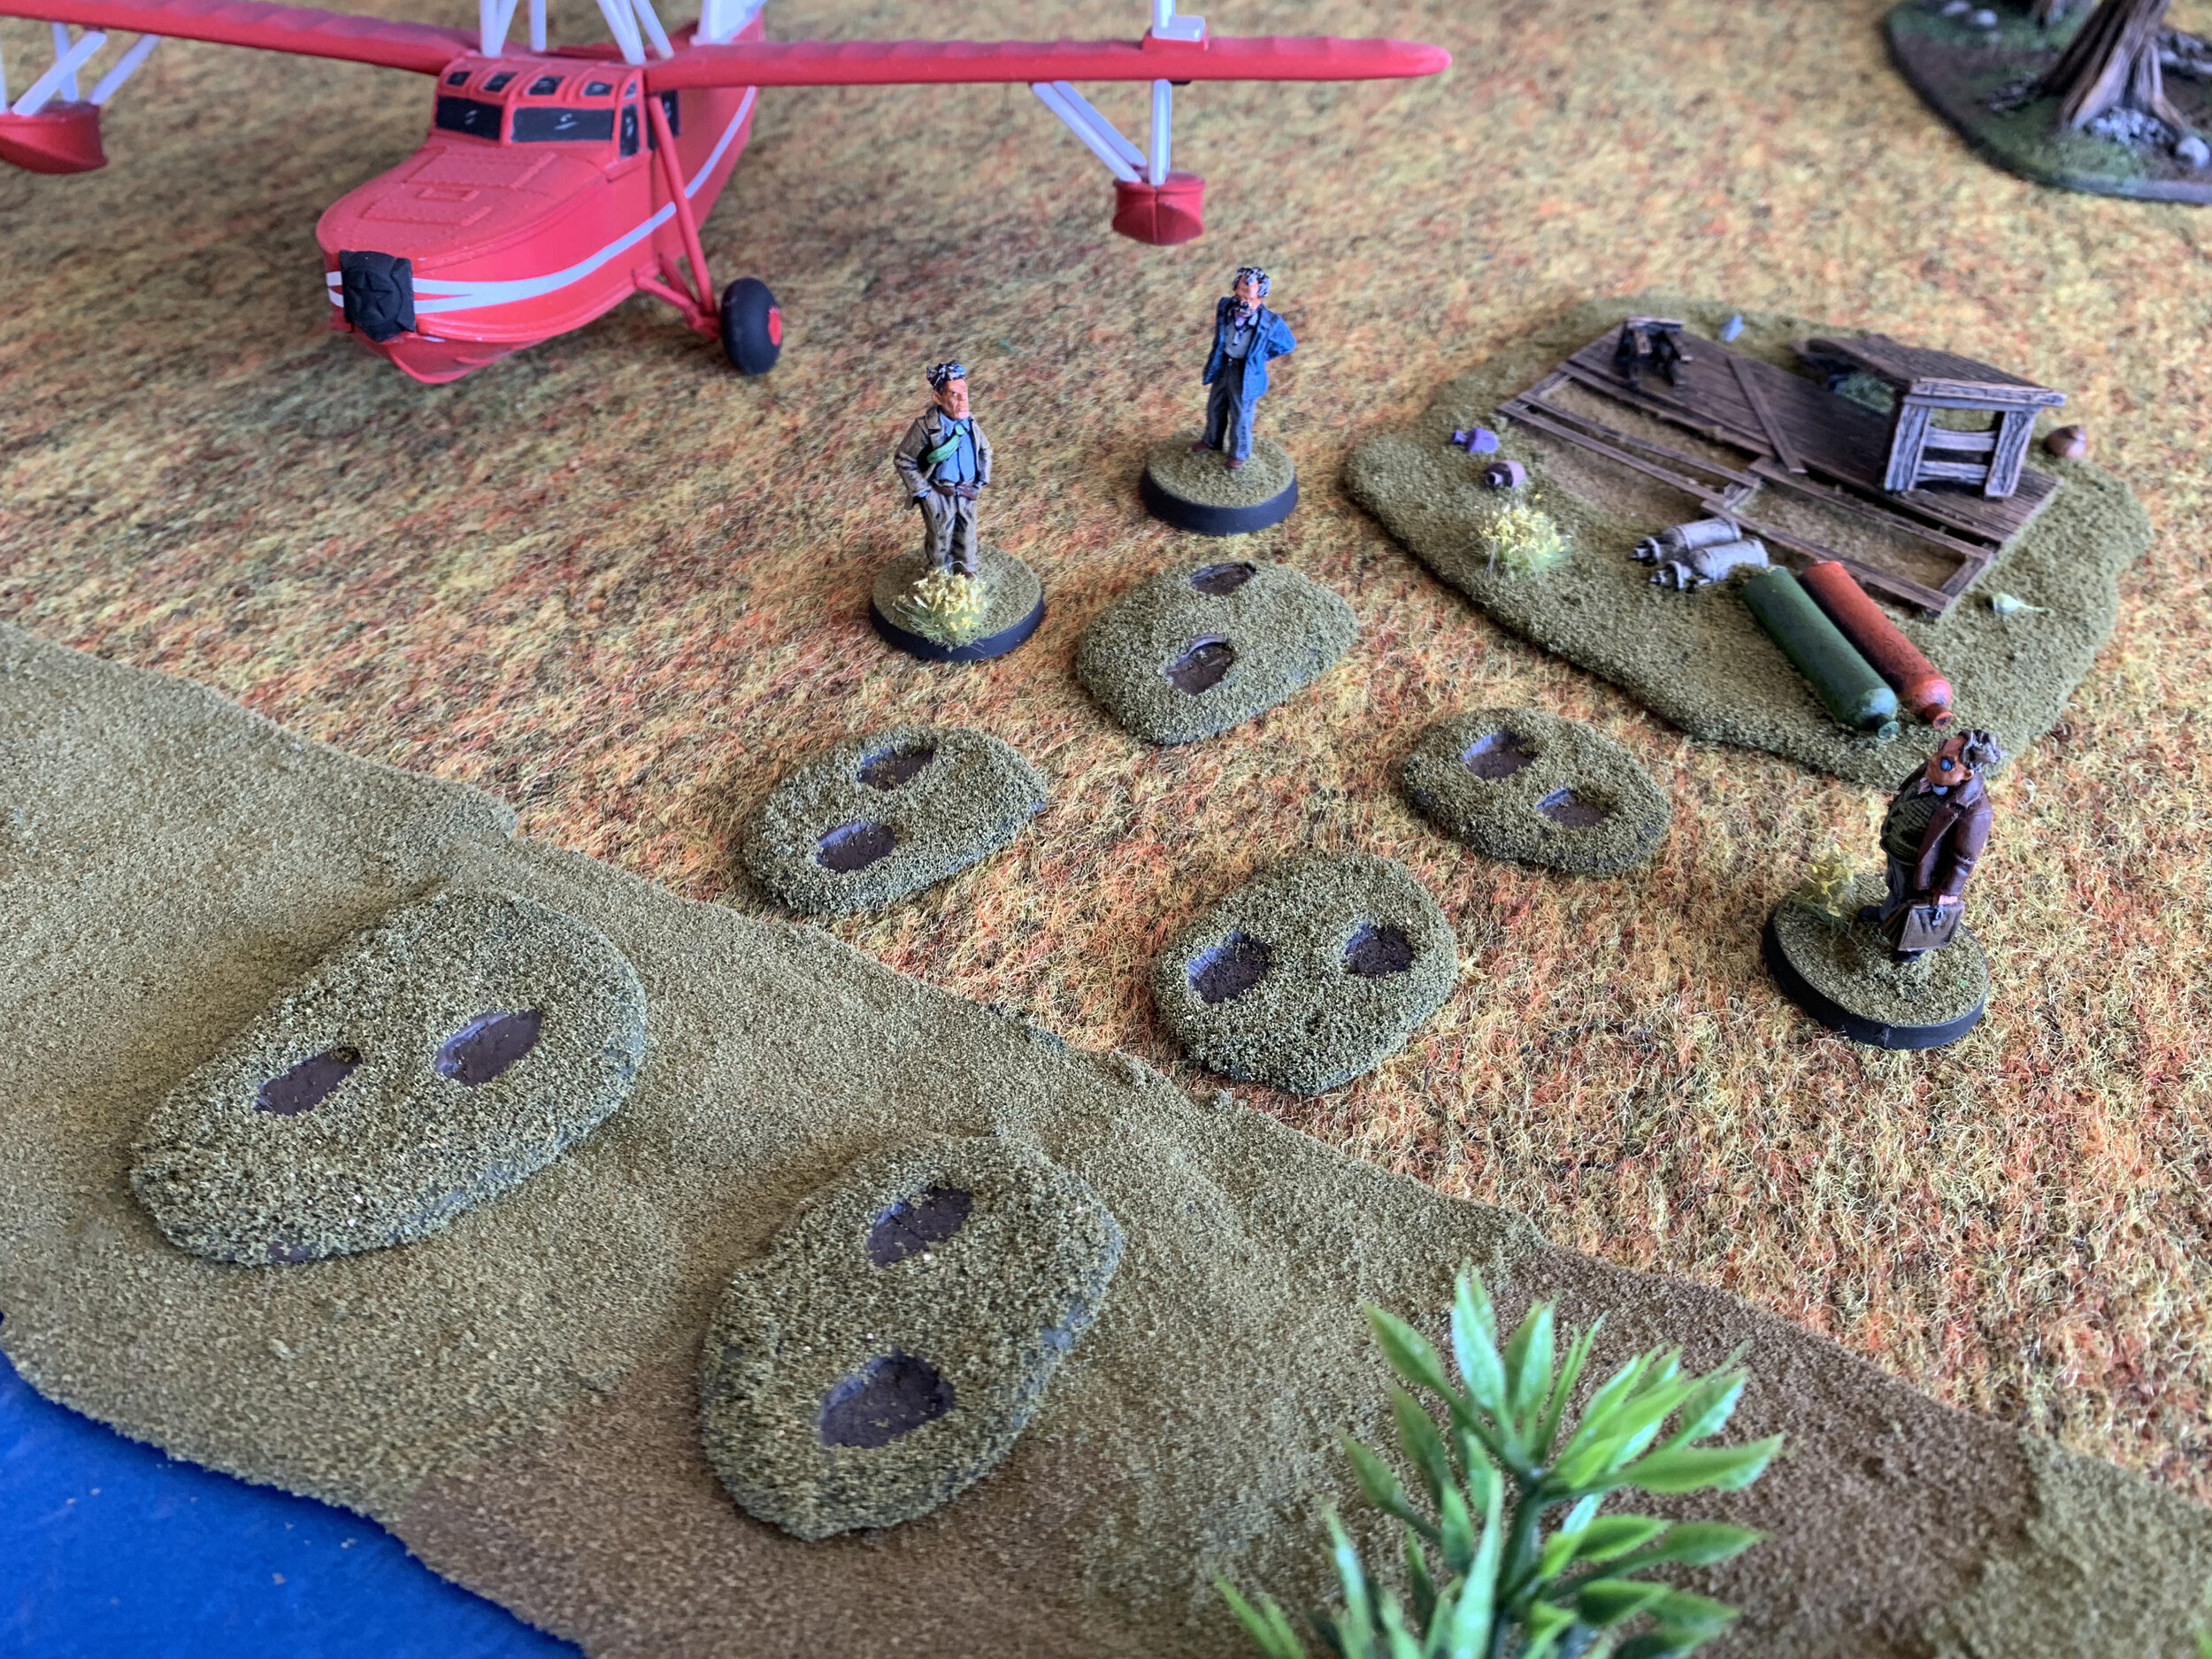
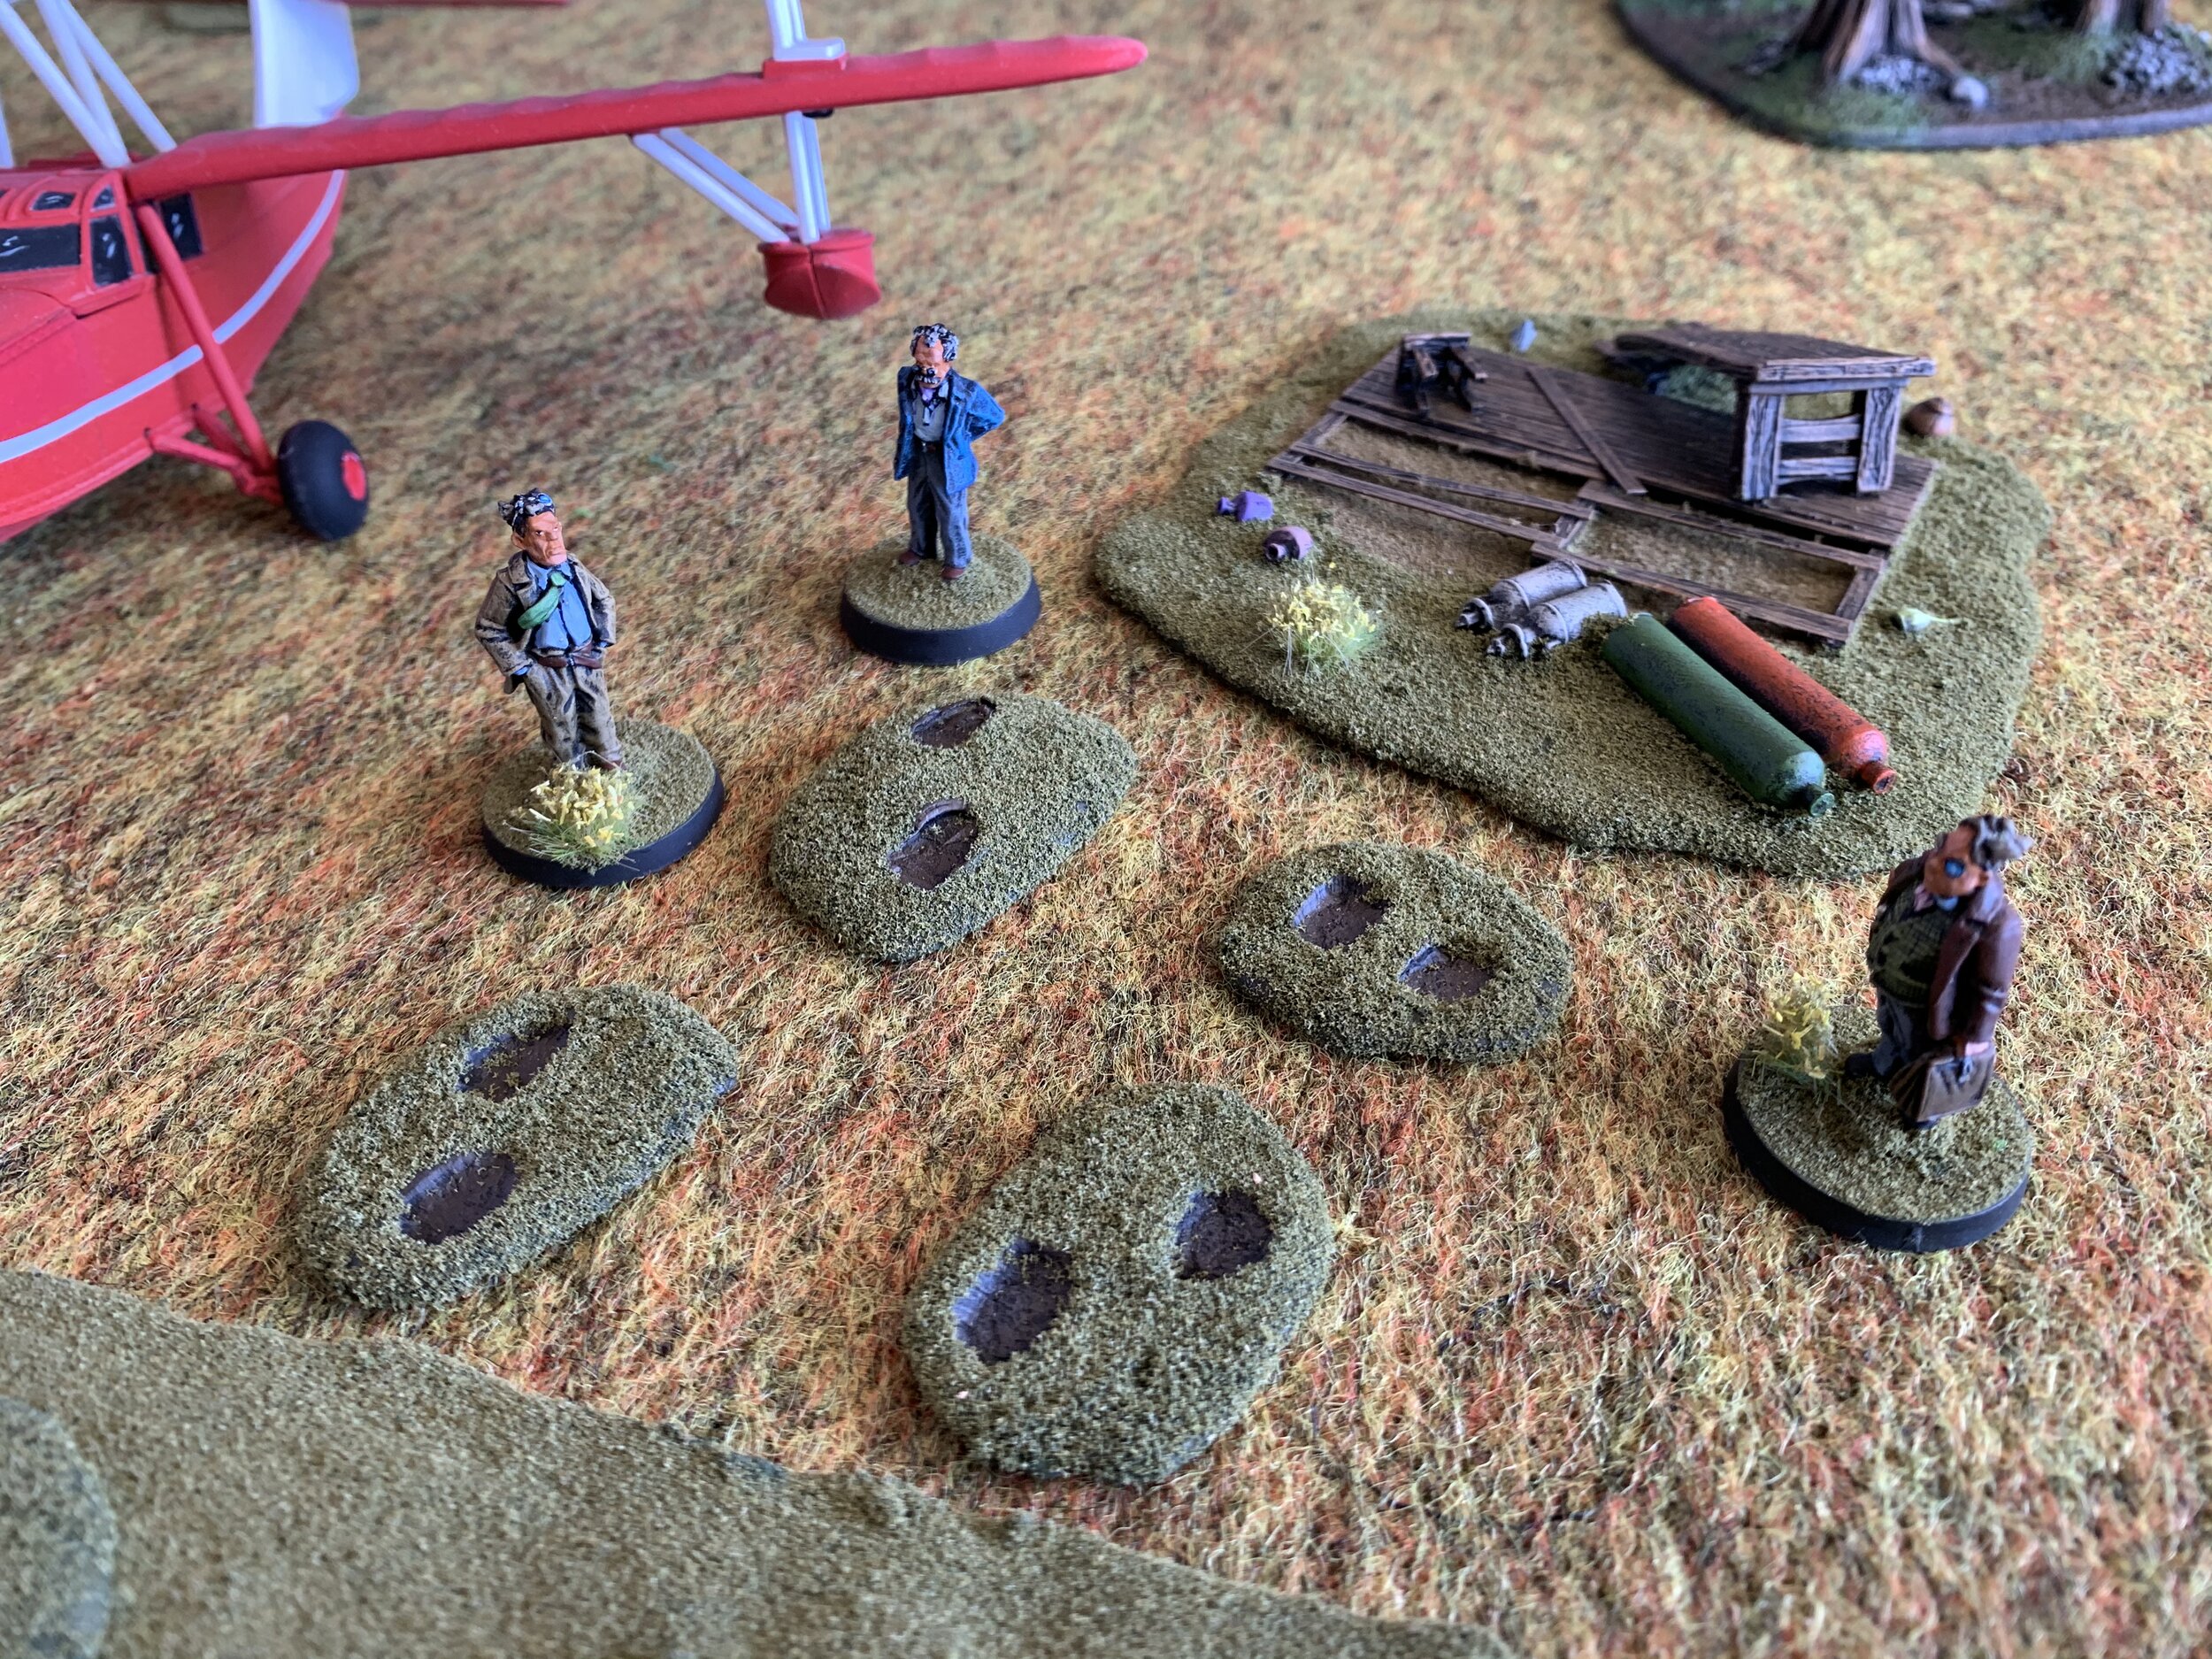
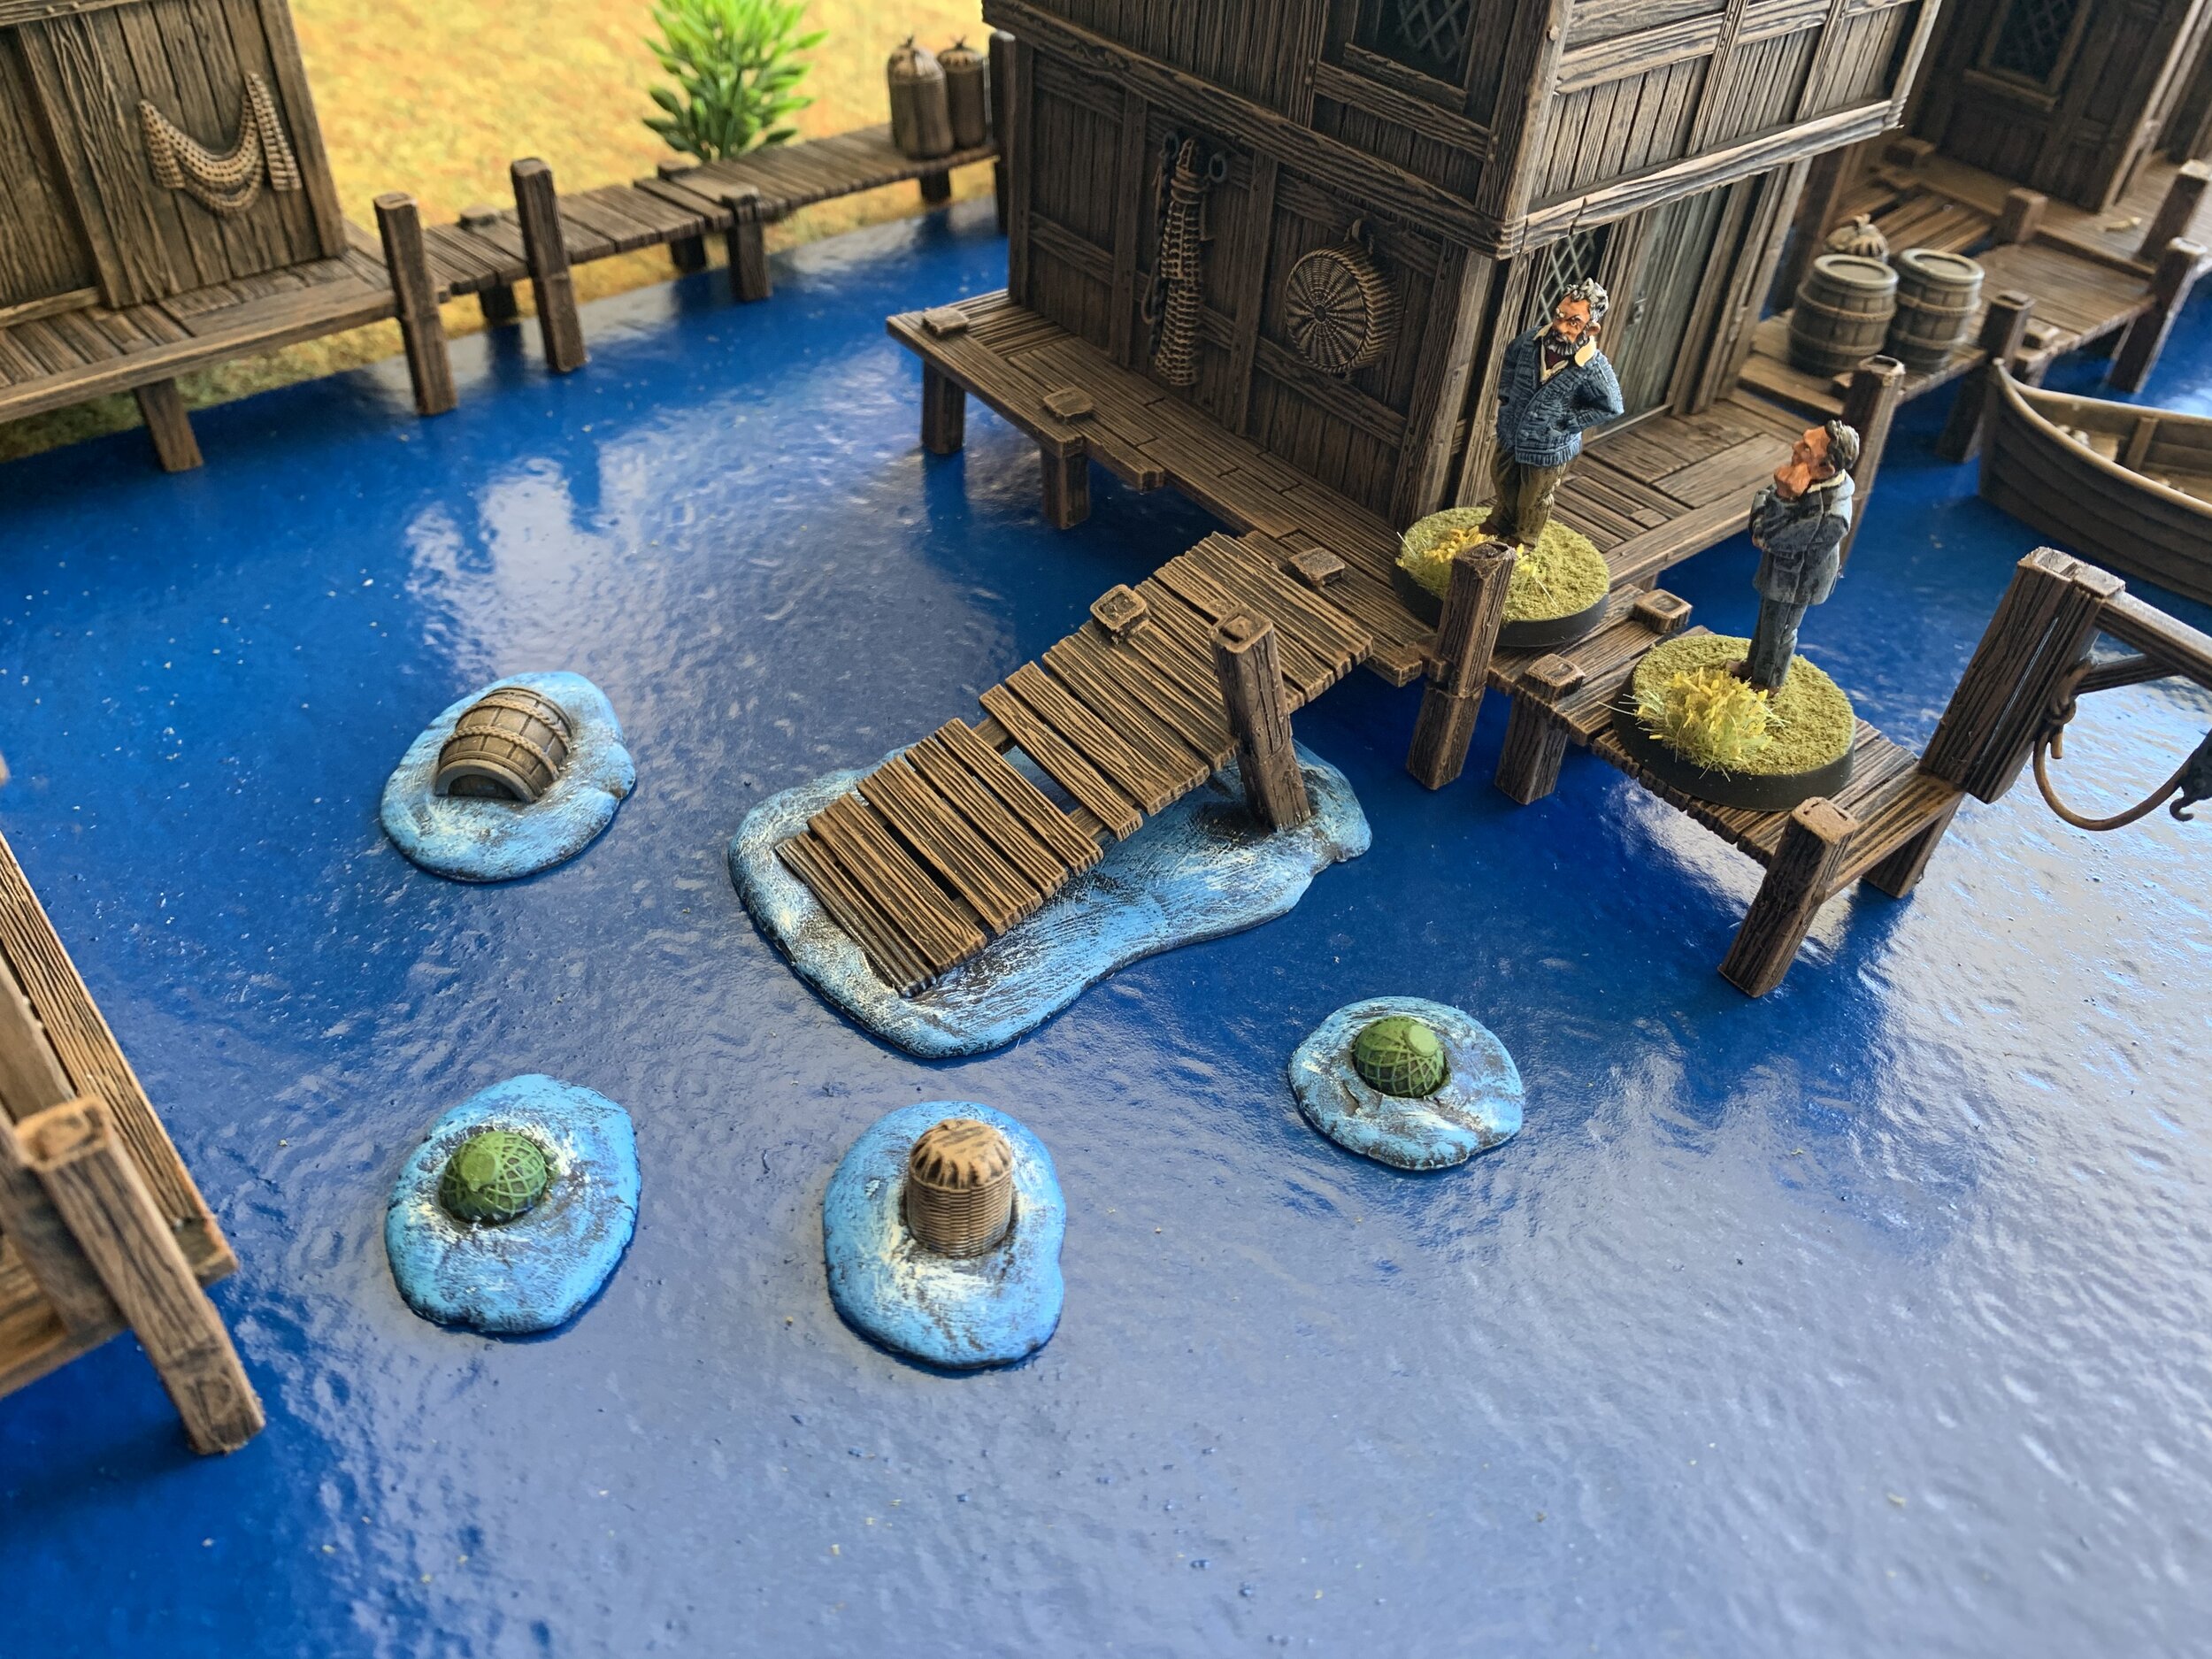
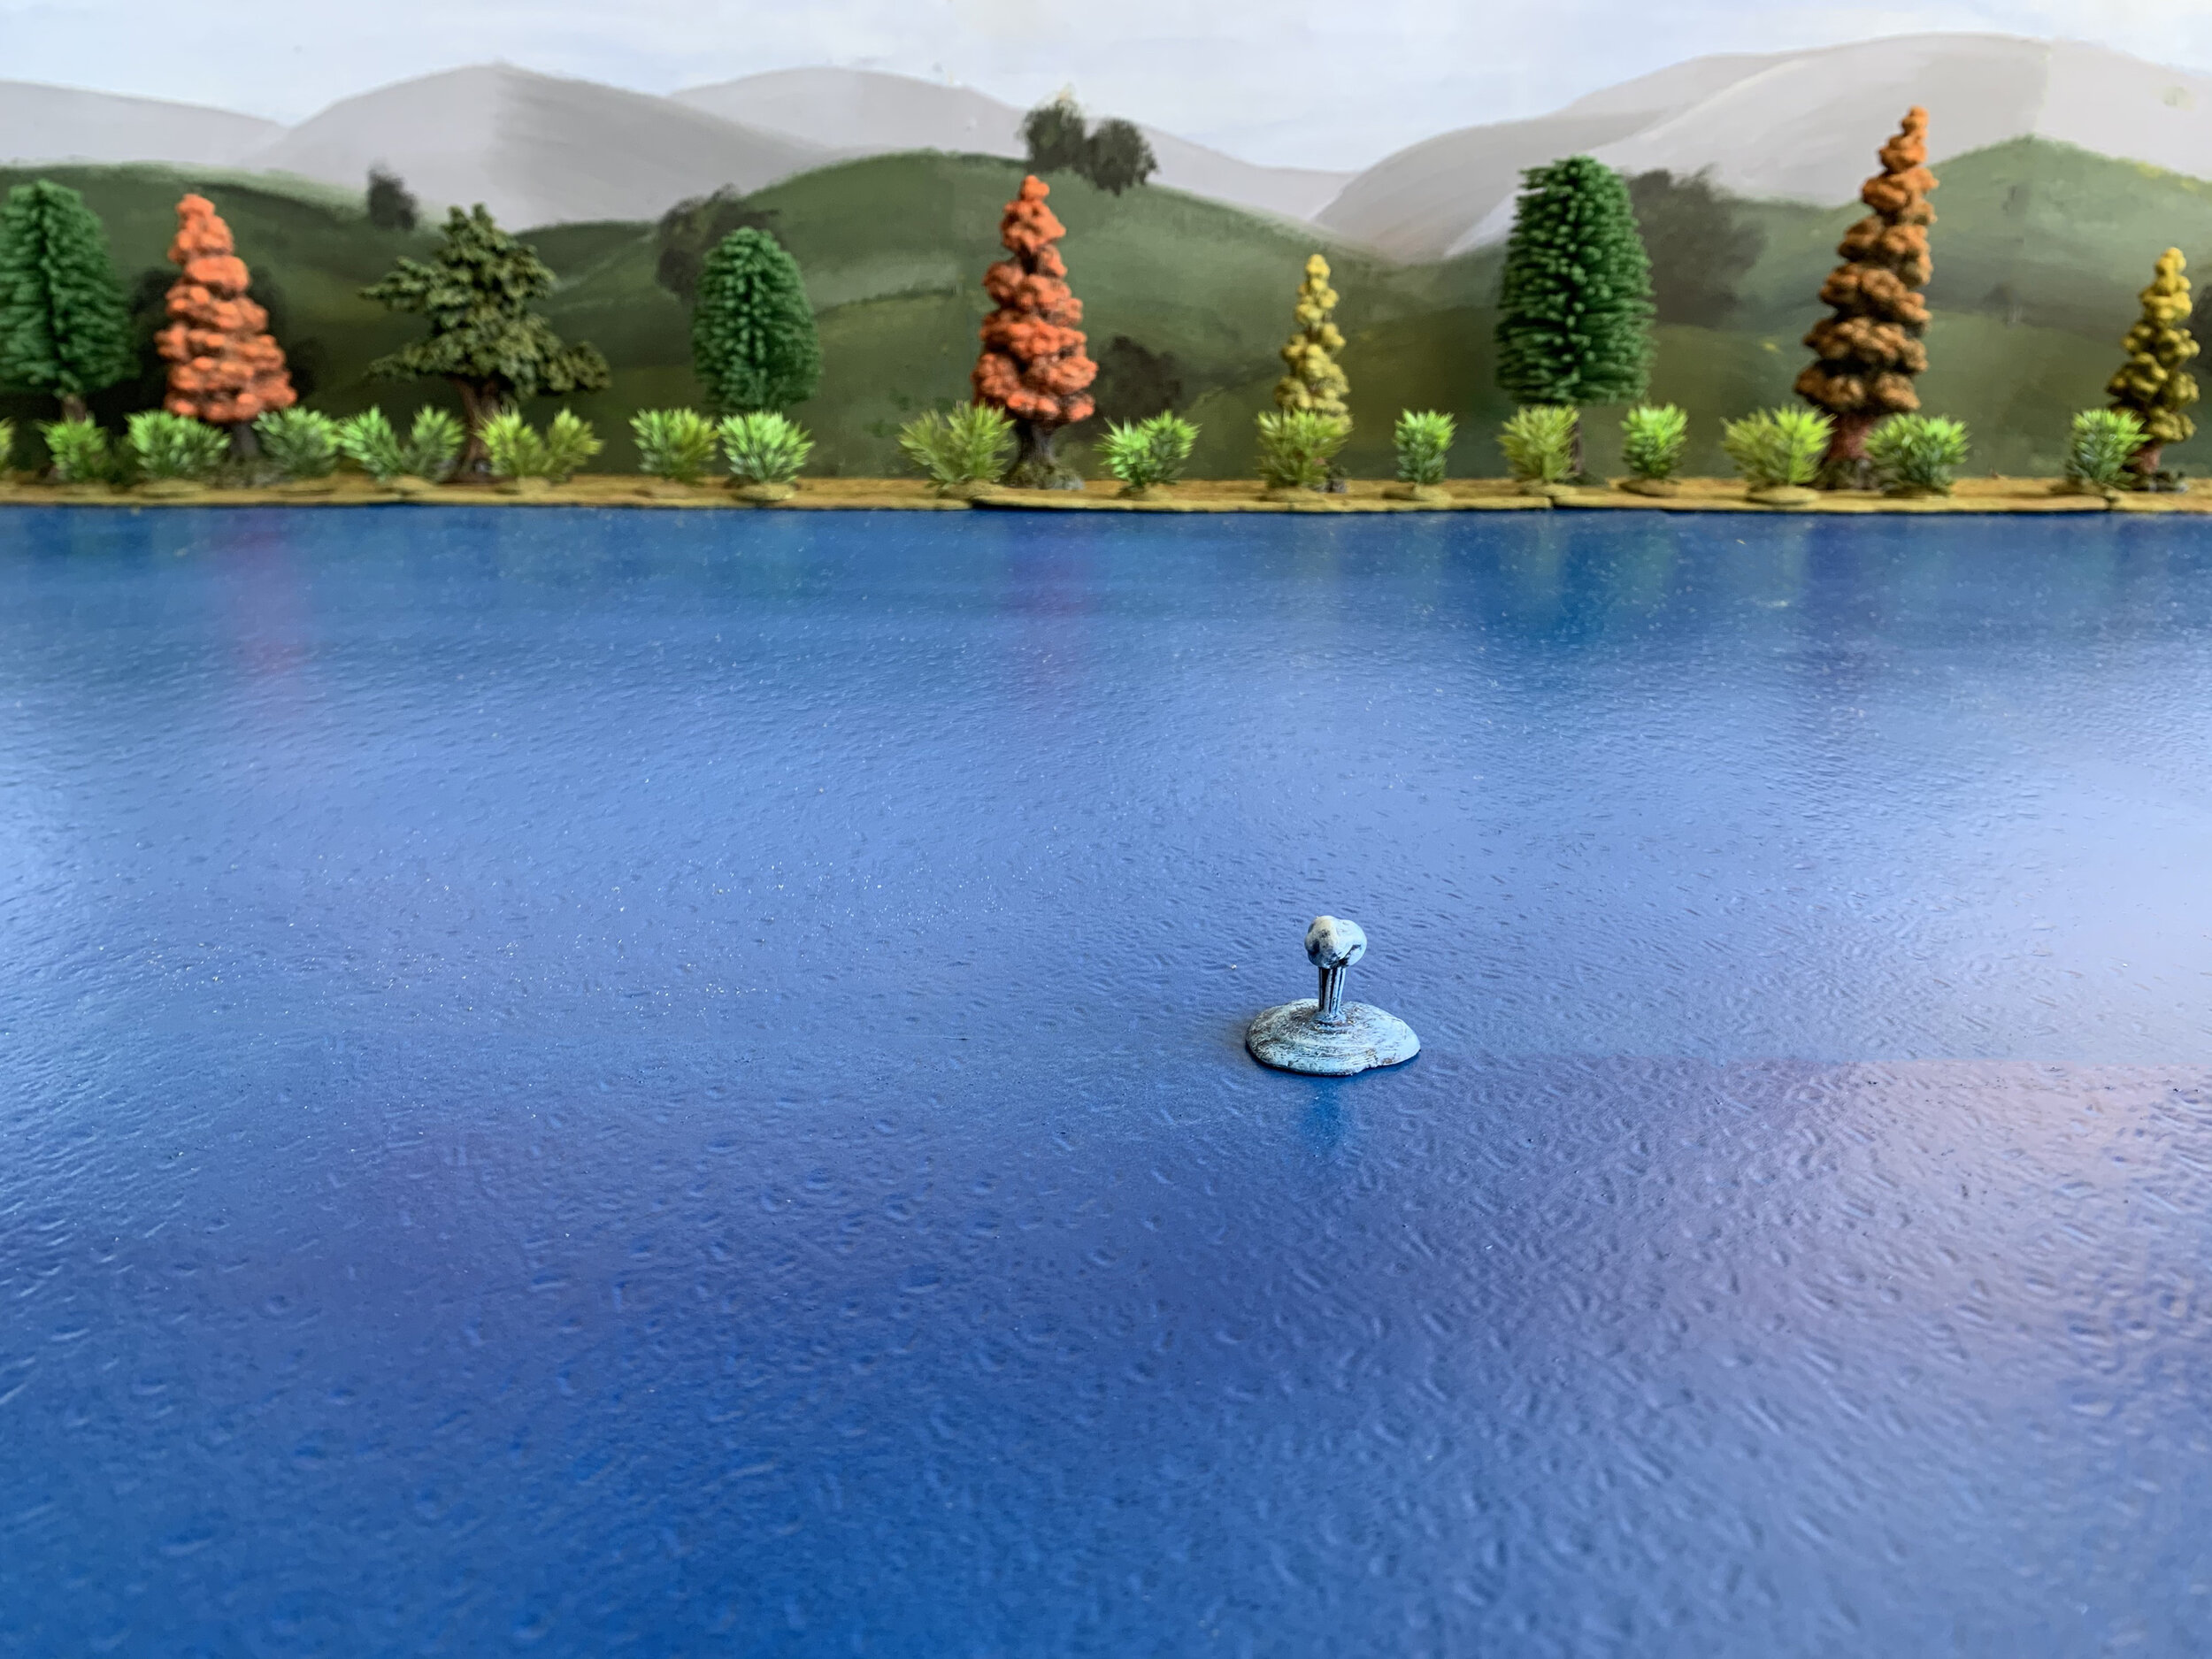
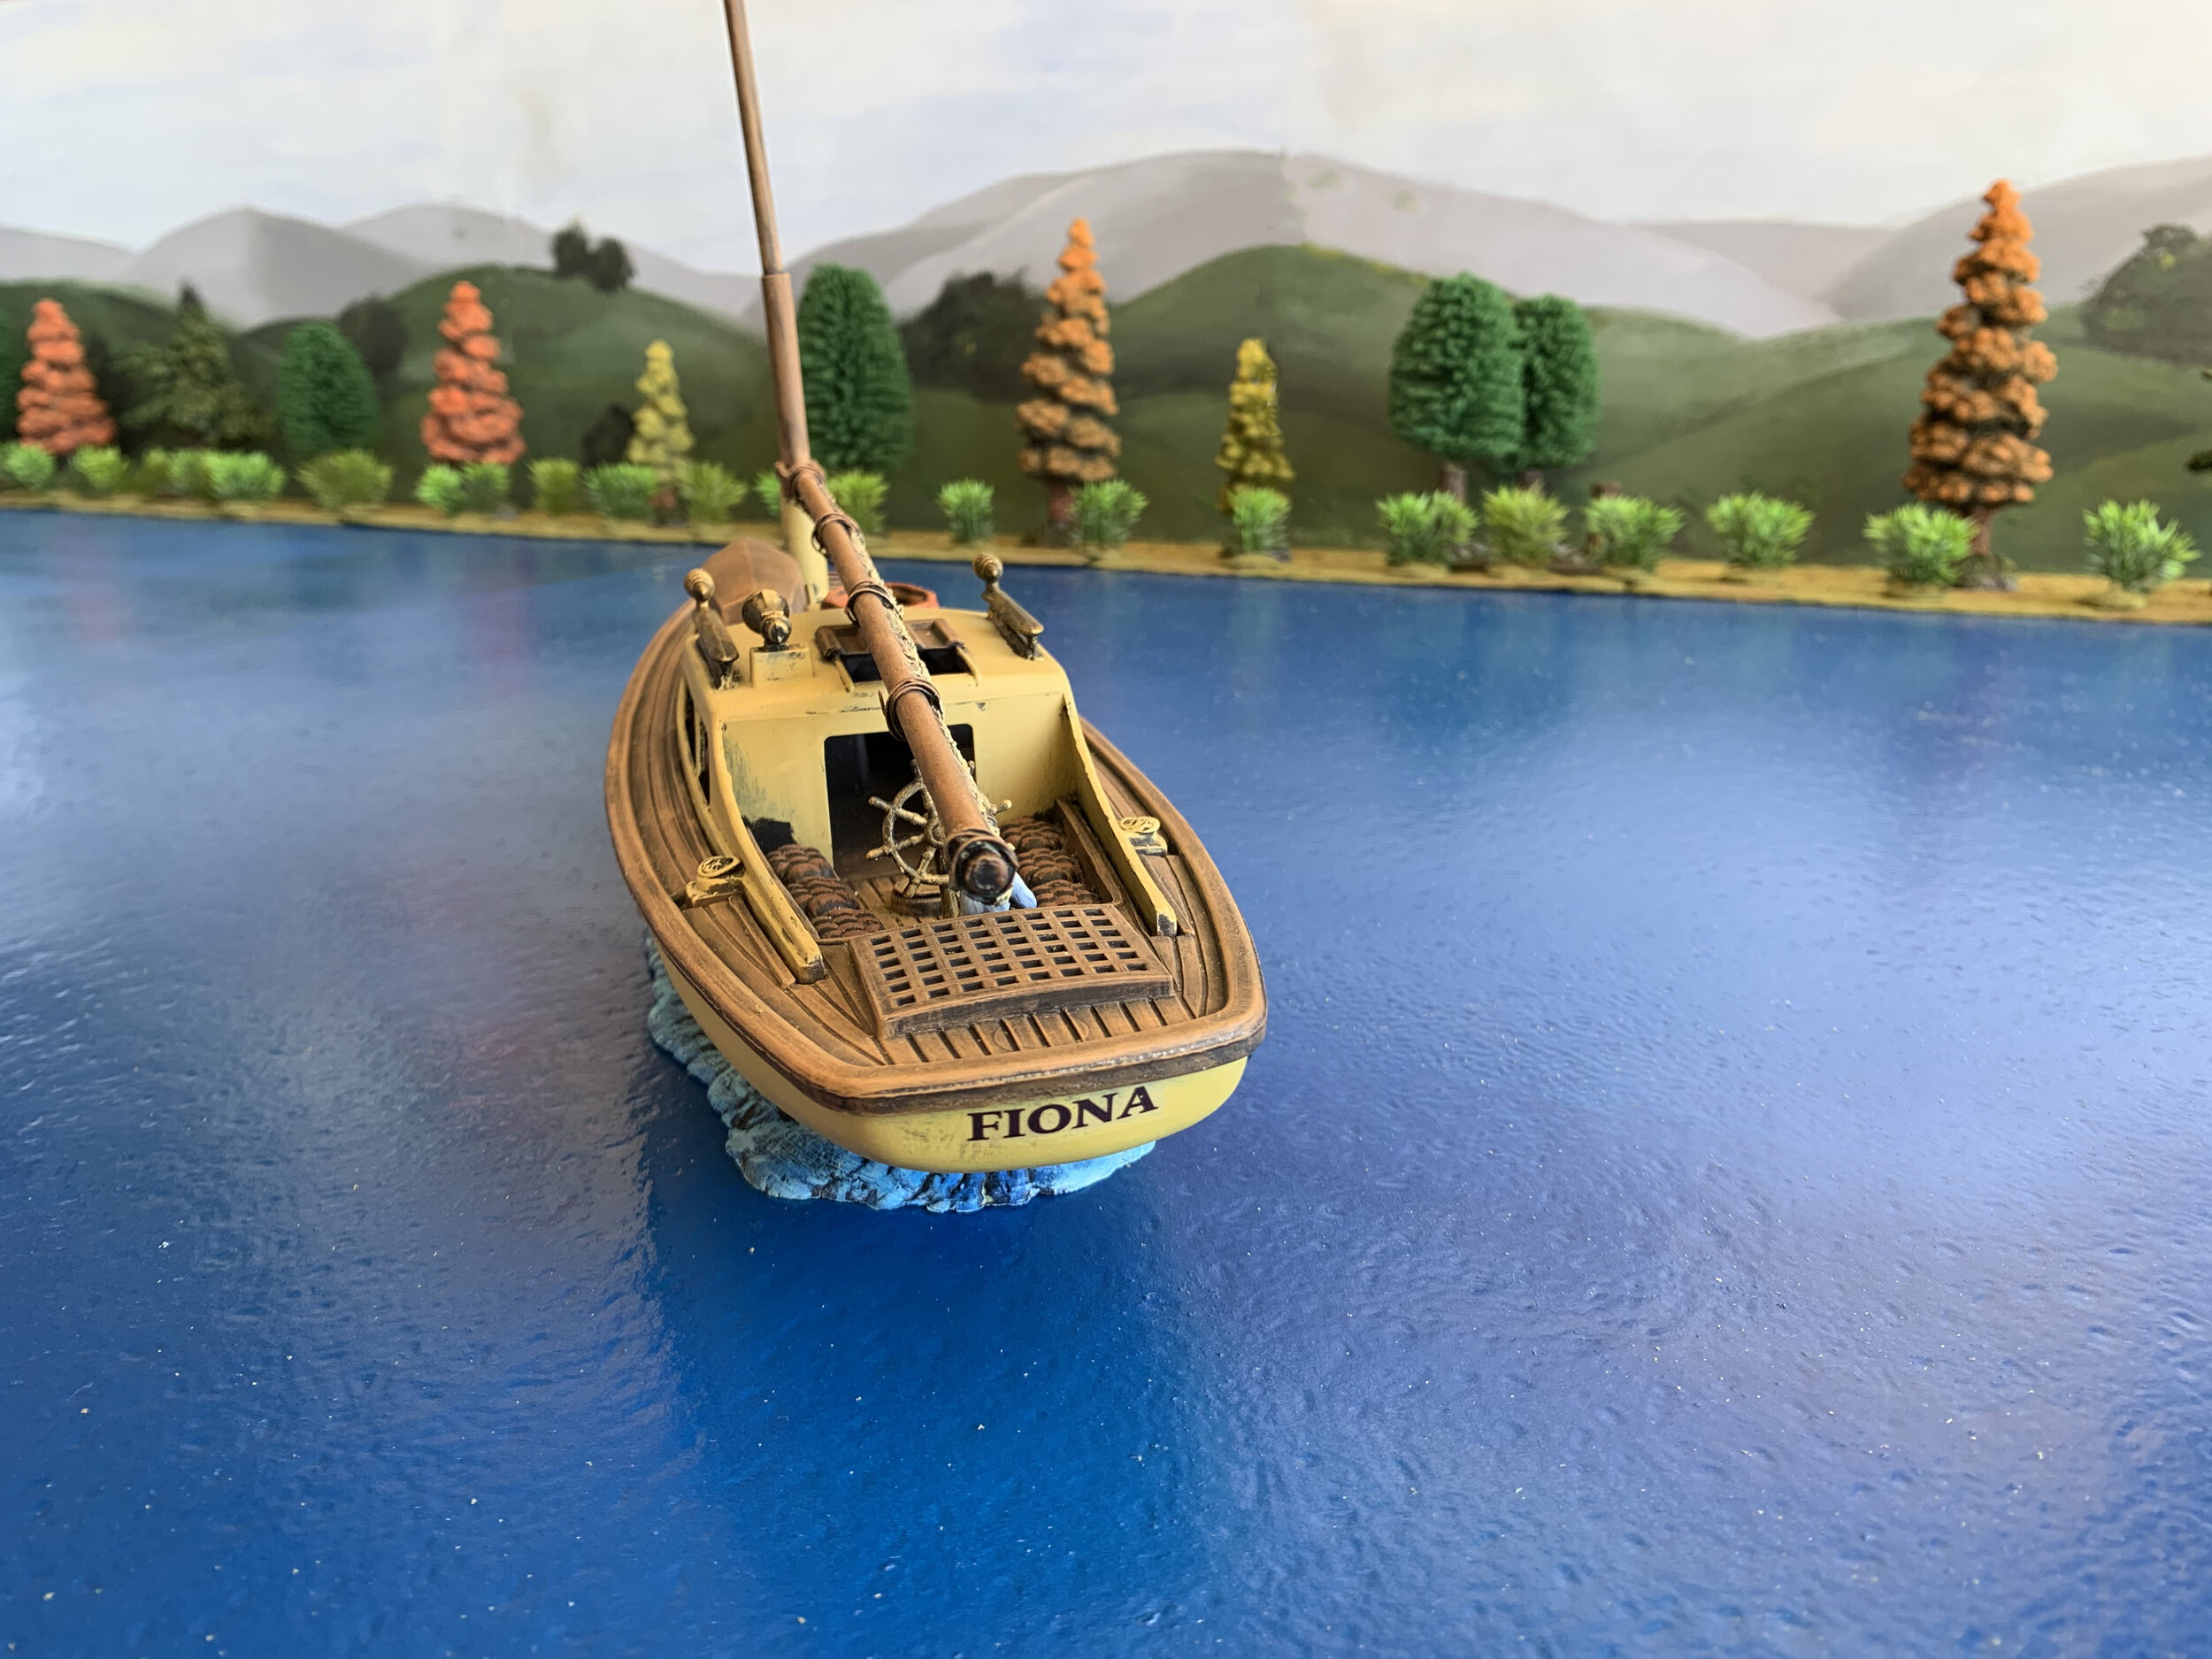
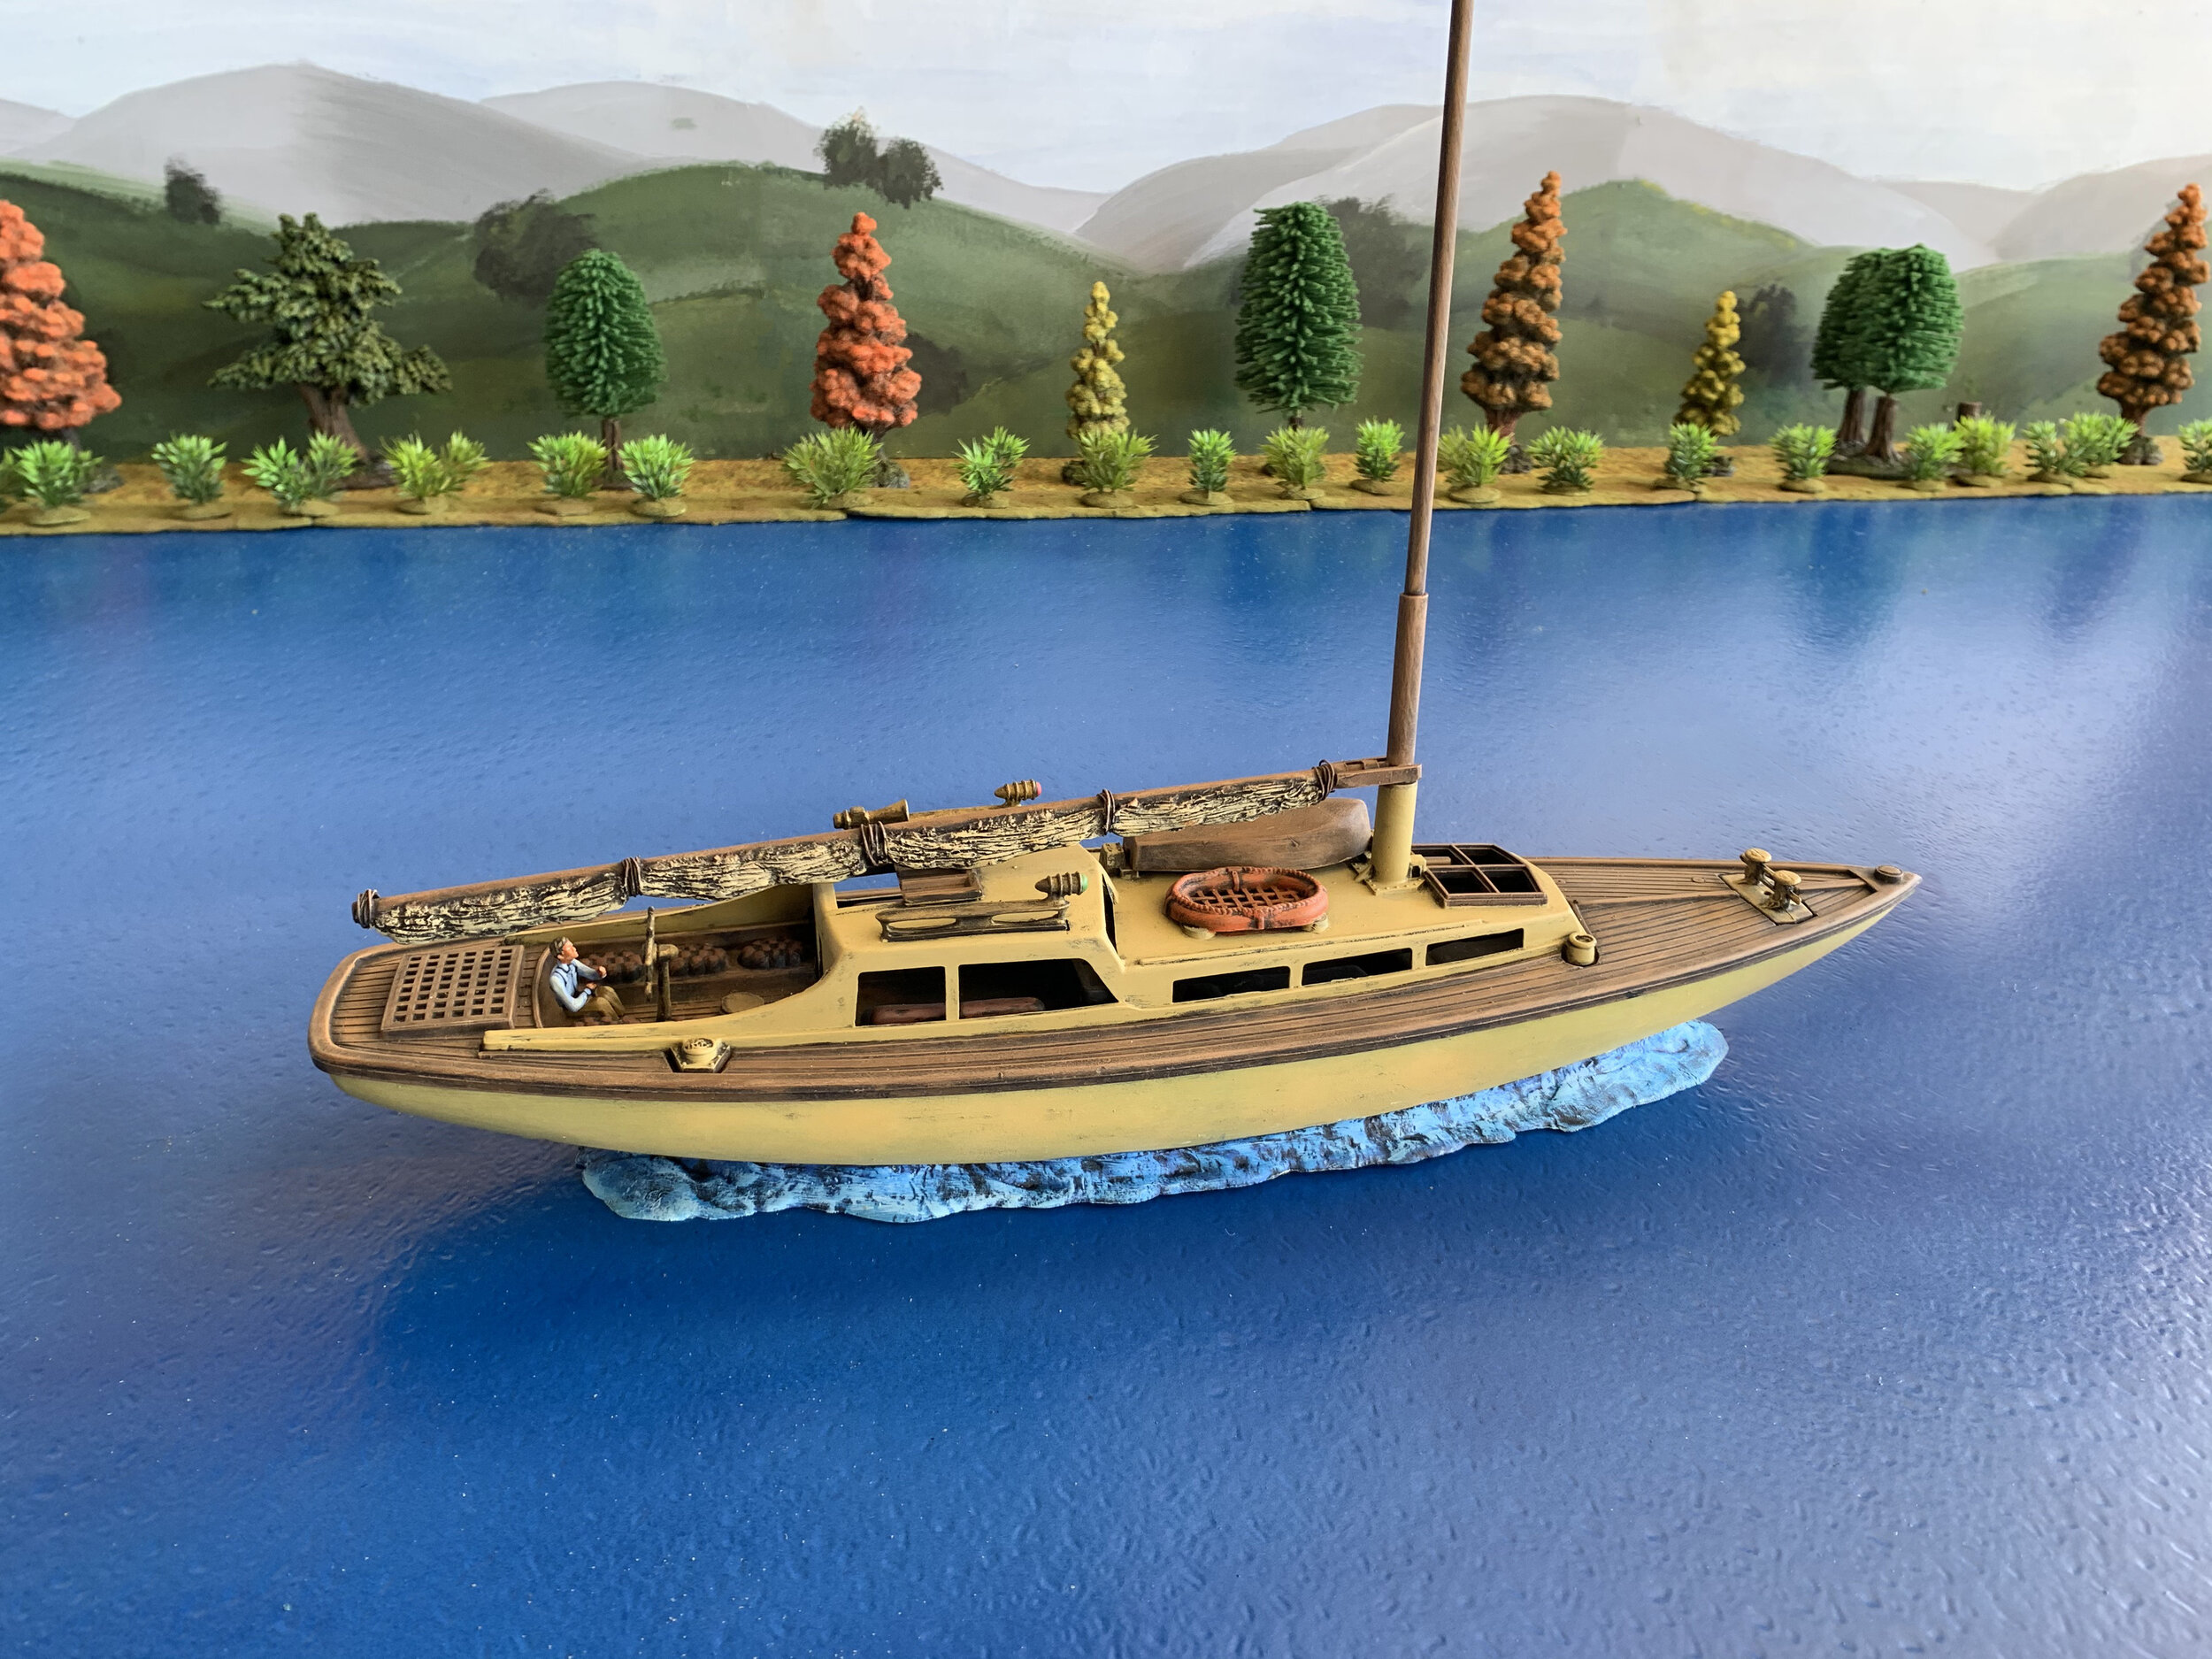
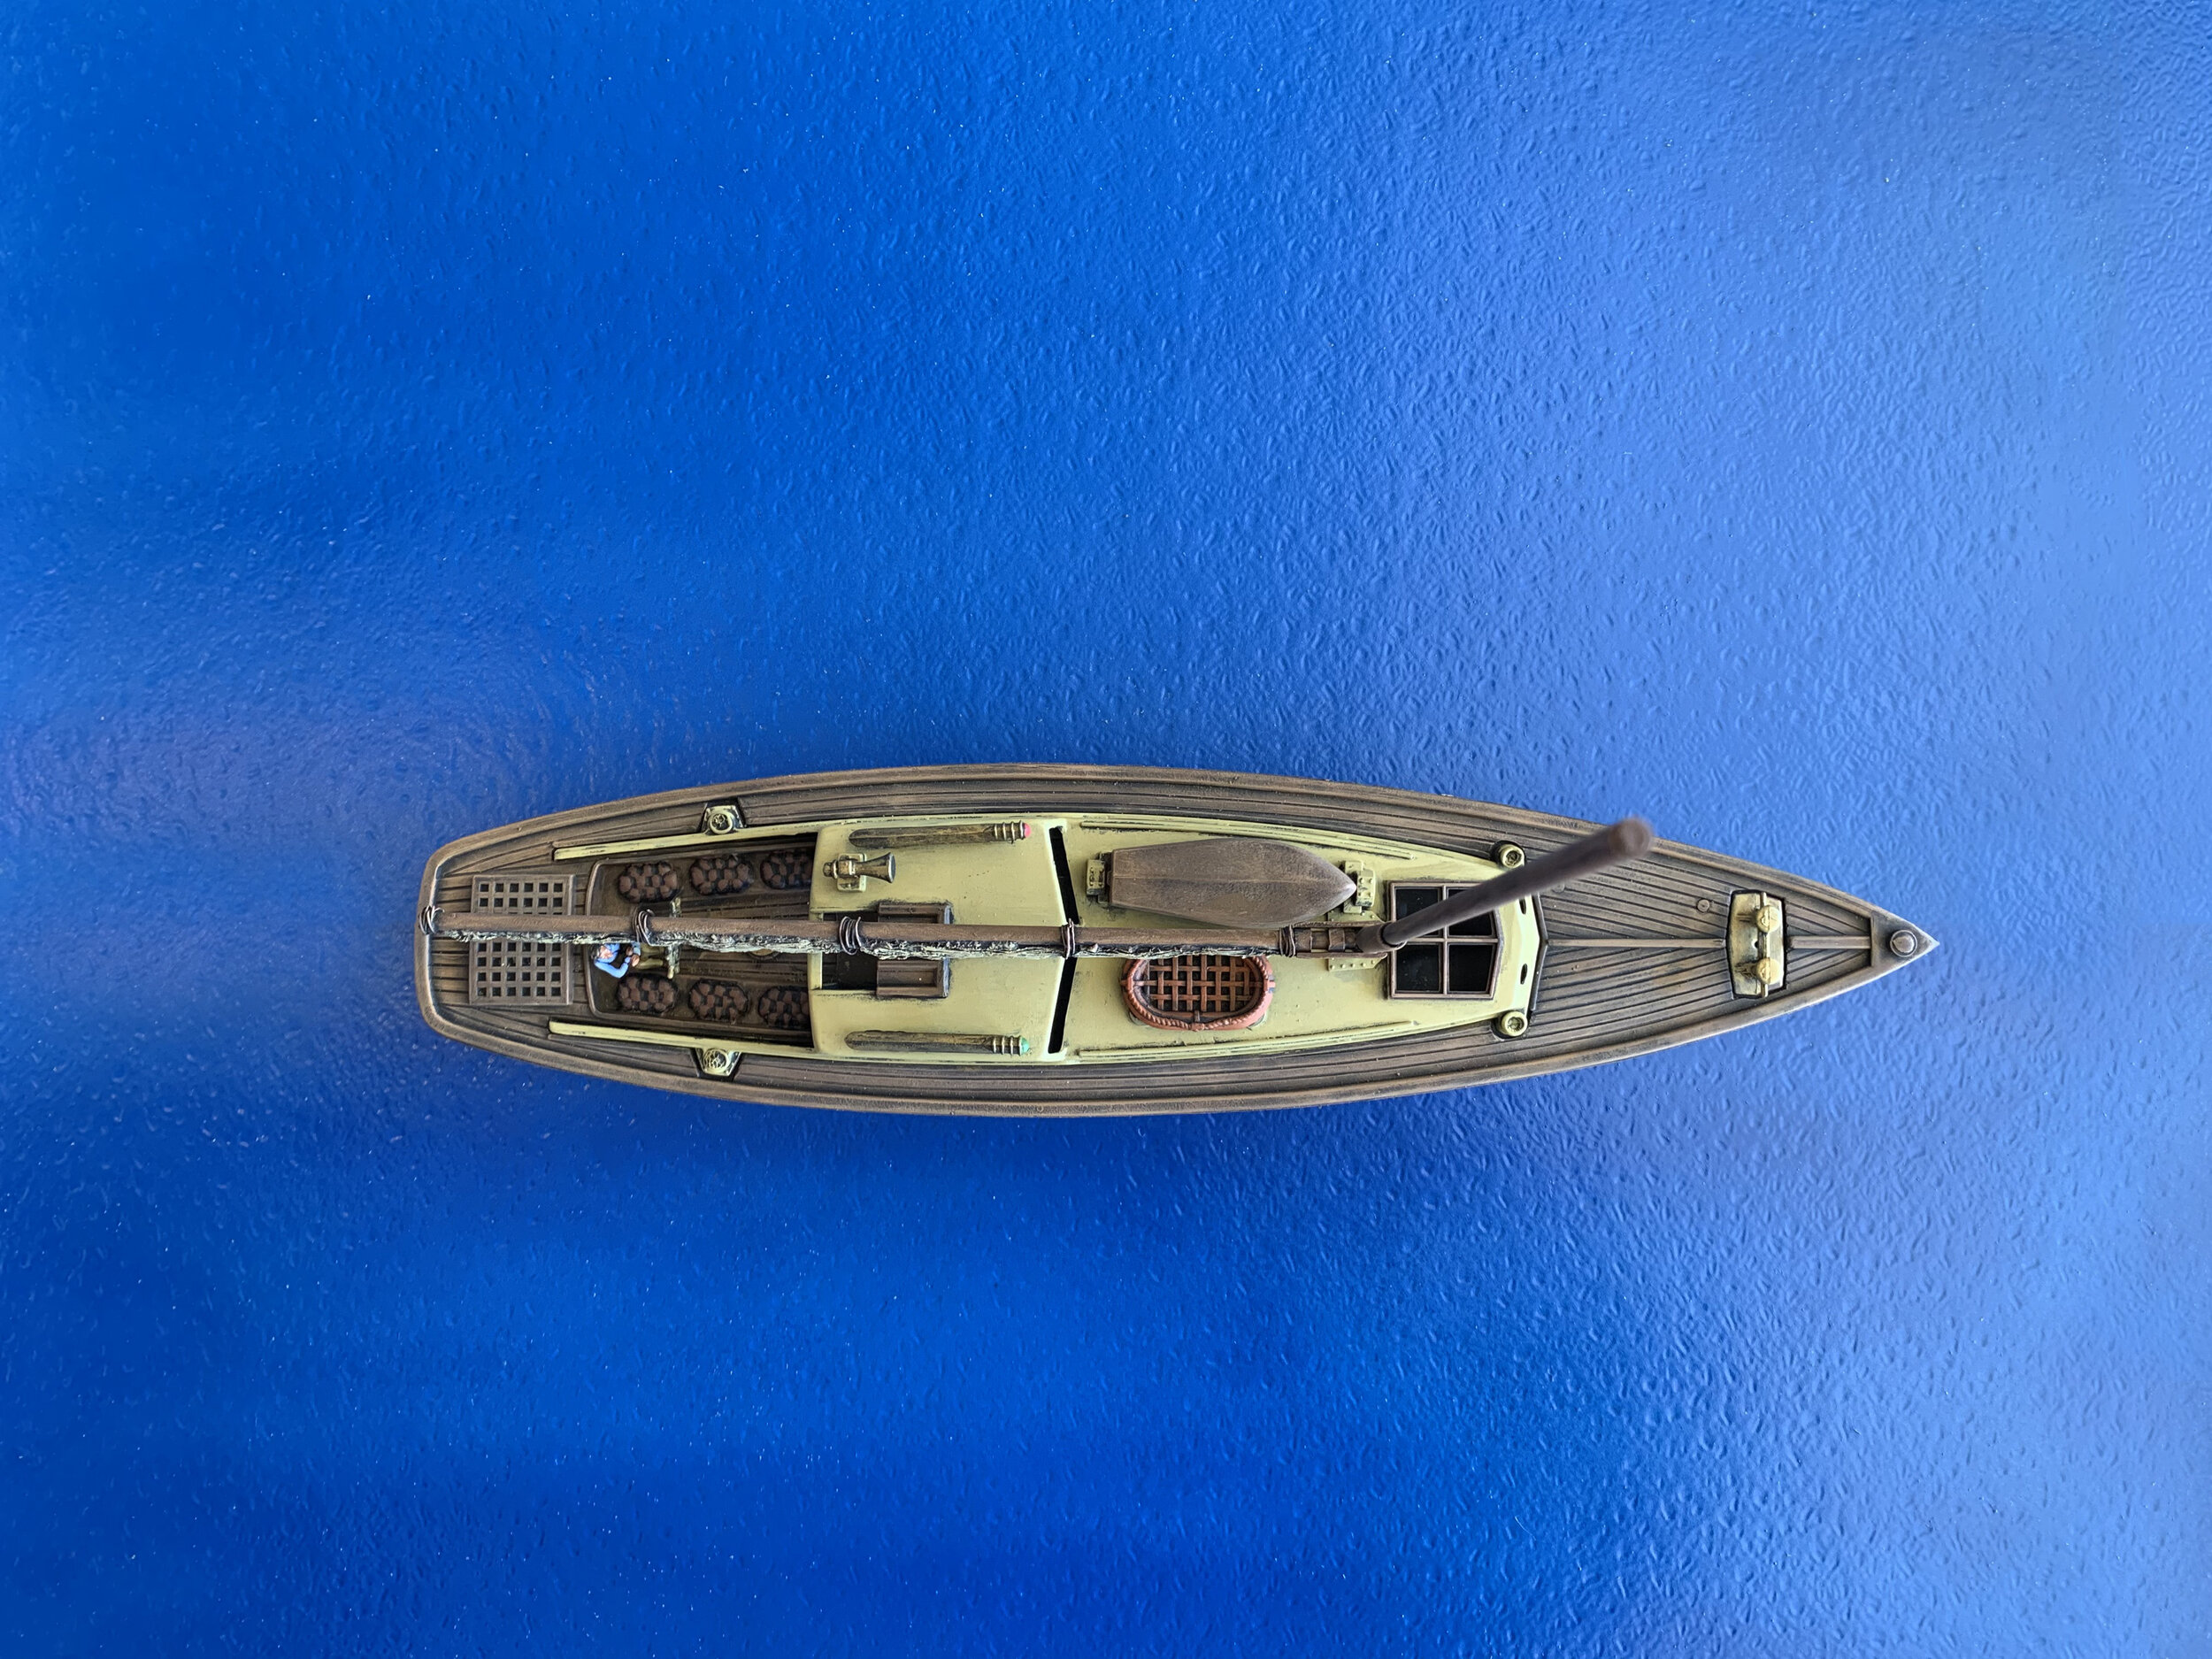
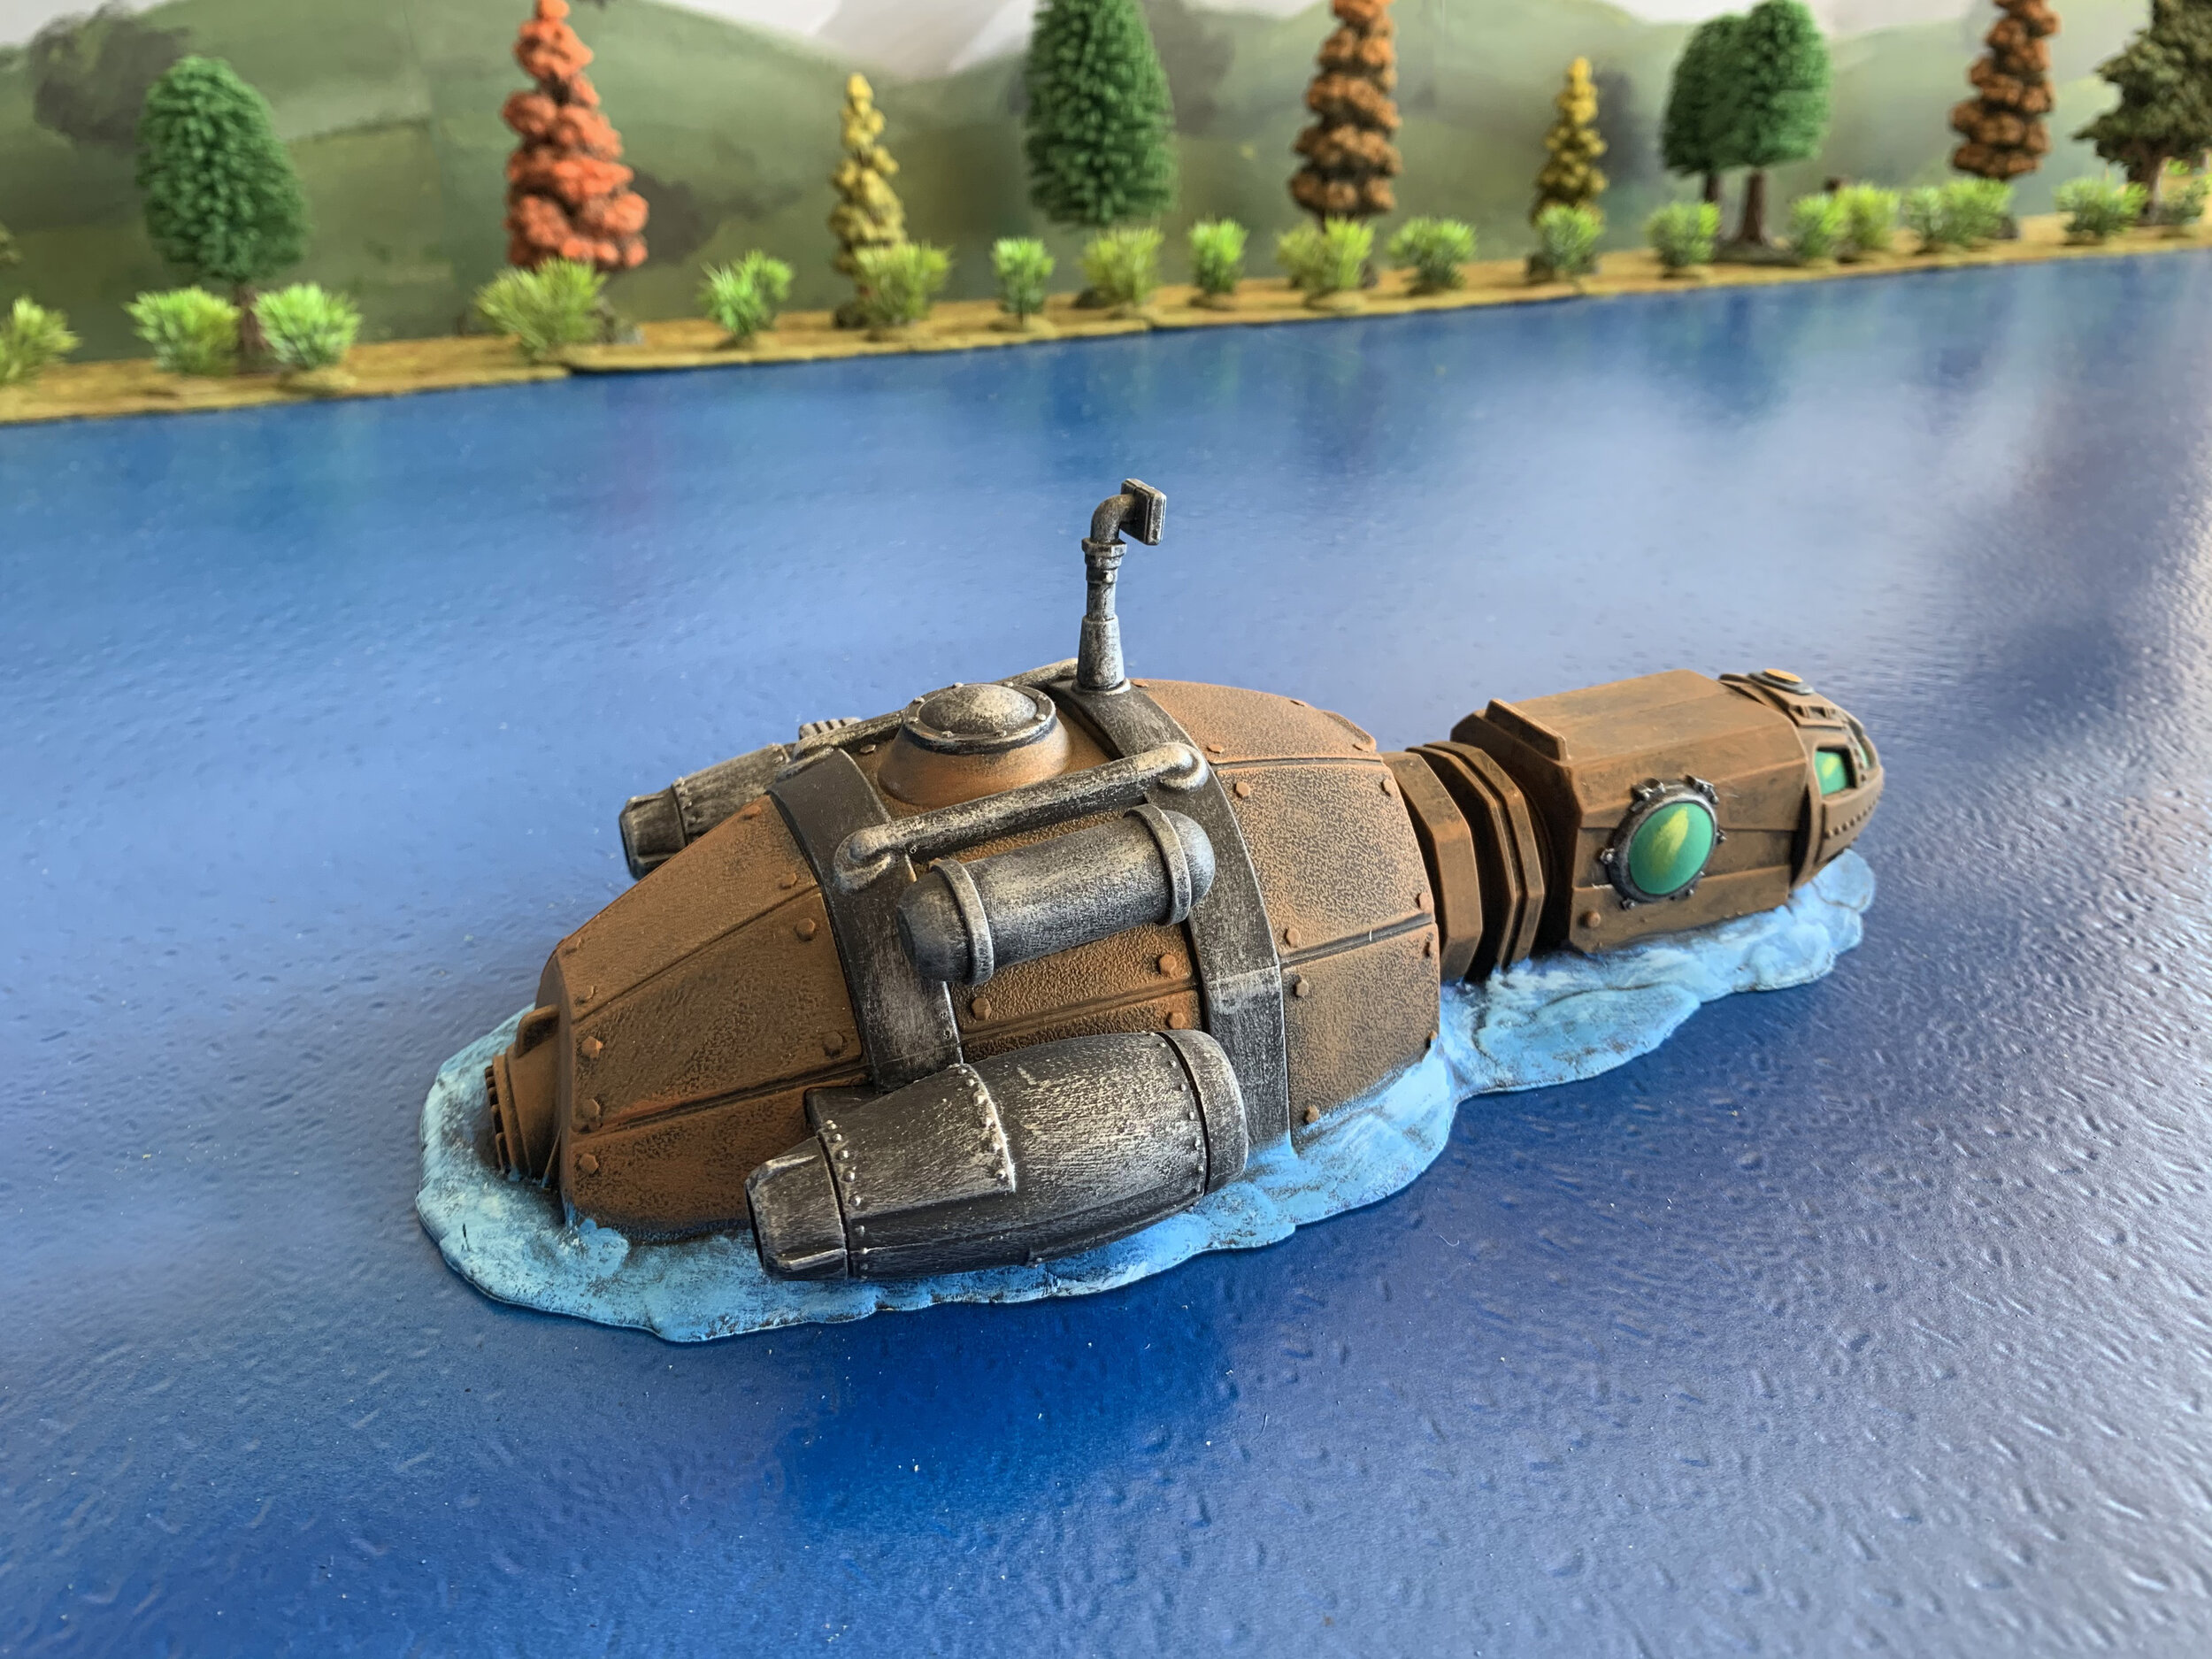
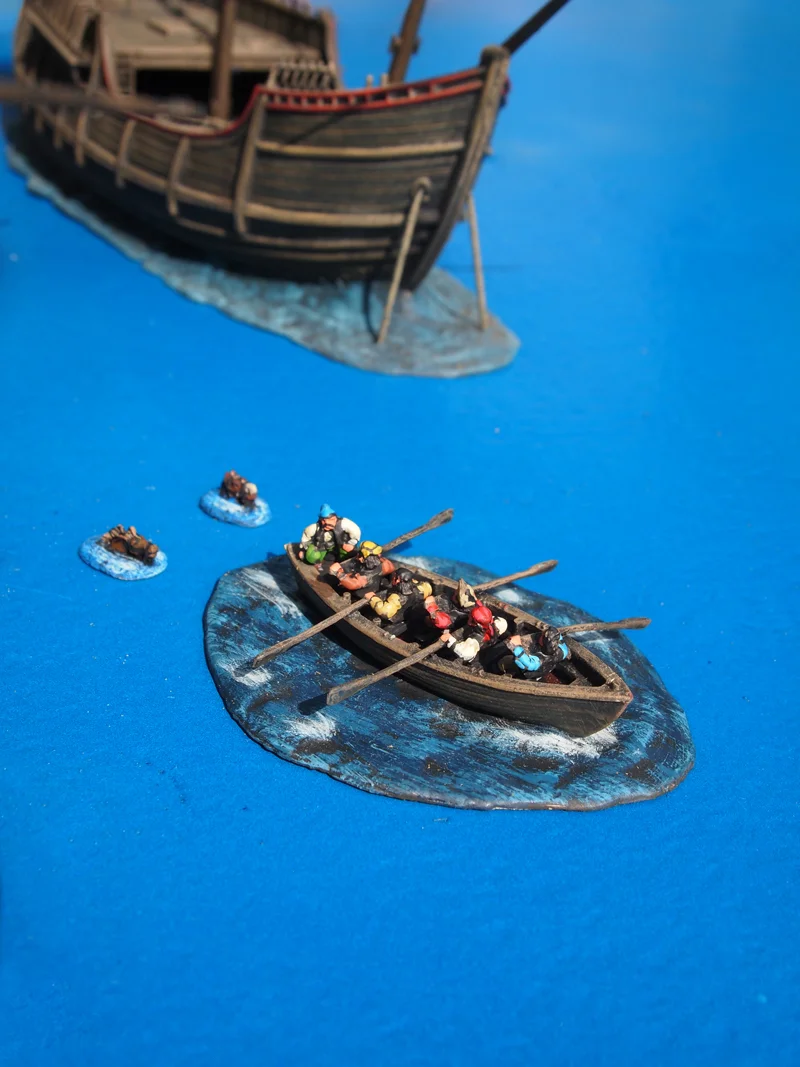
The harbor area has a dock or wharf composed of 84 blocks that are 2 ½” x 5.” The blocks are made from Duplos that are glued together with their upper connecting knobs cut off and sanded smooth. Each block was then covered with a piece of Evergreen V-groove plastic (4125). The V-groove was scored to give it a wood grain appearance. The 12 blocks that face the ocean also have a facing of stone blocks made from JTT plastic. This part of the project was hell… absolutely boredom for more than three weeks. Nonetheless, I’m glad I got it done. The 17 1/2 inch x 5 ft. dock area holds three warehouses (2 by RailKing and 1 by Old Glory 25s Chicago line of building). The crane is a modification of Cranky by Thomas Trains (purchased at the swap meet for $1) and the fish cannery is by Lemax (also purchased at the swap meet for $1/broken and repaired and painted). The freighter is by Old Glory 25s. The two tugboats, one by Lemax (purchased at the swap meet for $5) and one by Lindberg (required a lot of modification to make it work with 28mm figures) are personal favorites… I love tugs. I also have two fishing boats; one is by Lemax… another swap meet purchase for $3. The second fishing boat is a wooden display piece that I got at the swap meet for $10 (big money in terms of my swap meet spending). I gave it my daughter’s nickname. It required a lot of repair work because cutting it to waterline was a destructive process, but in the end it came back together and painted up well. The speedboats are marketing toys put out by Chevron. I got them at the swap meet for between 50 cents and $1 each. The lighthouse is a repurposed toy I got at the swap meet years ago for $2, and the land it sits on is by Lemax… purchased at a Michael’s after-Halloween clearance sale. The small dock is Miniature Building Authority. The dockworkers and forklifts are by Artista (O gauge). The fisherman is a Hawthorne Village figure.
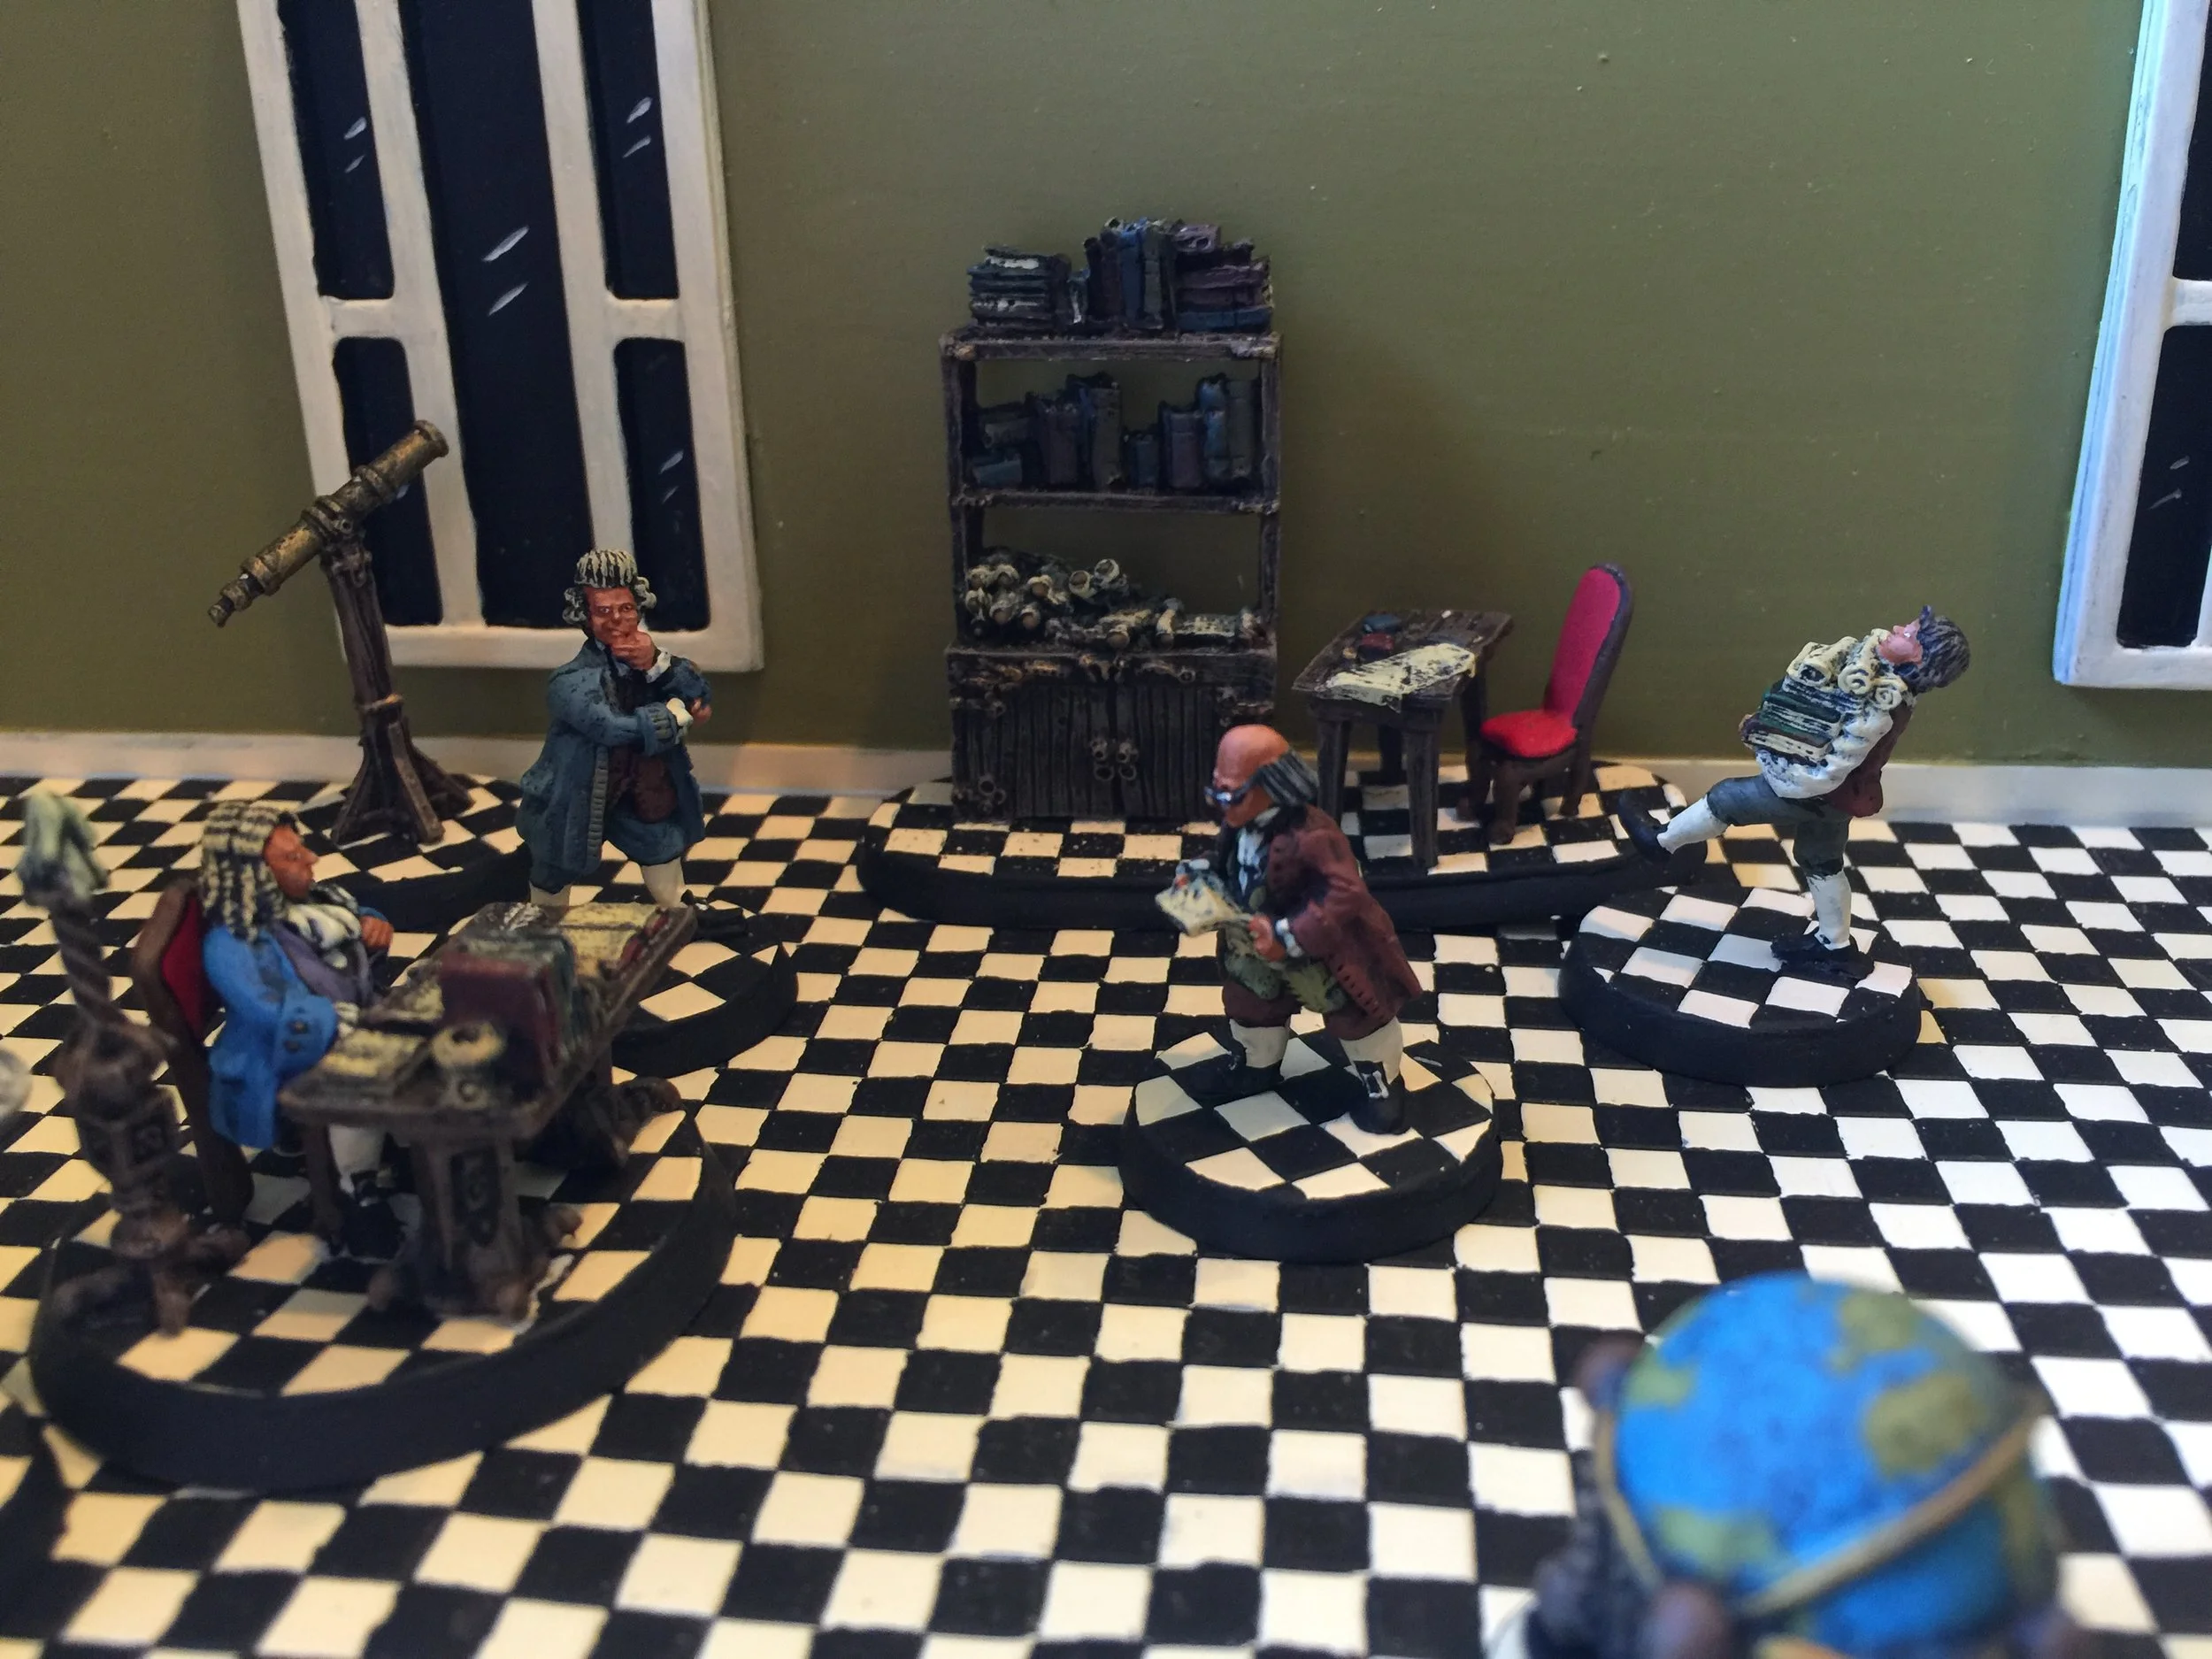
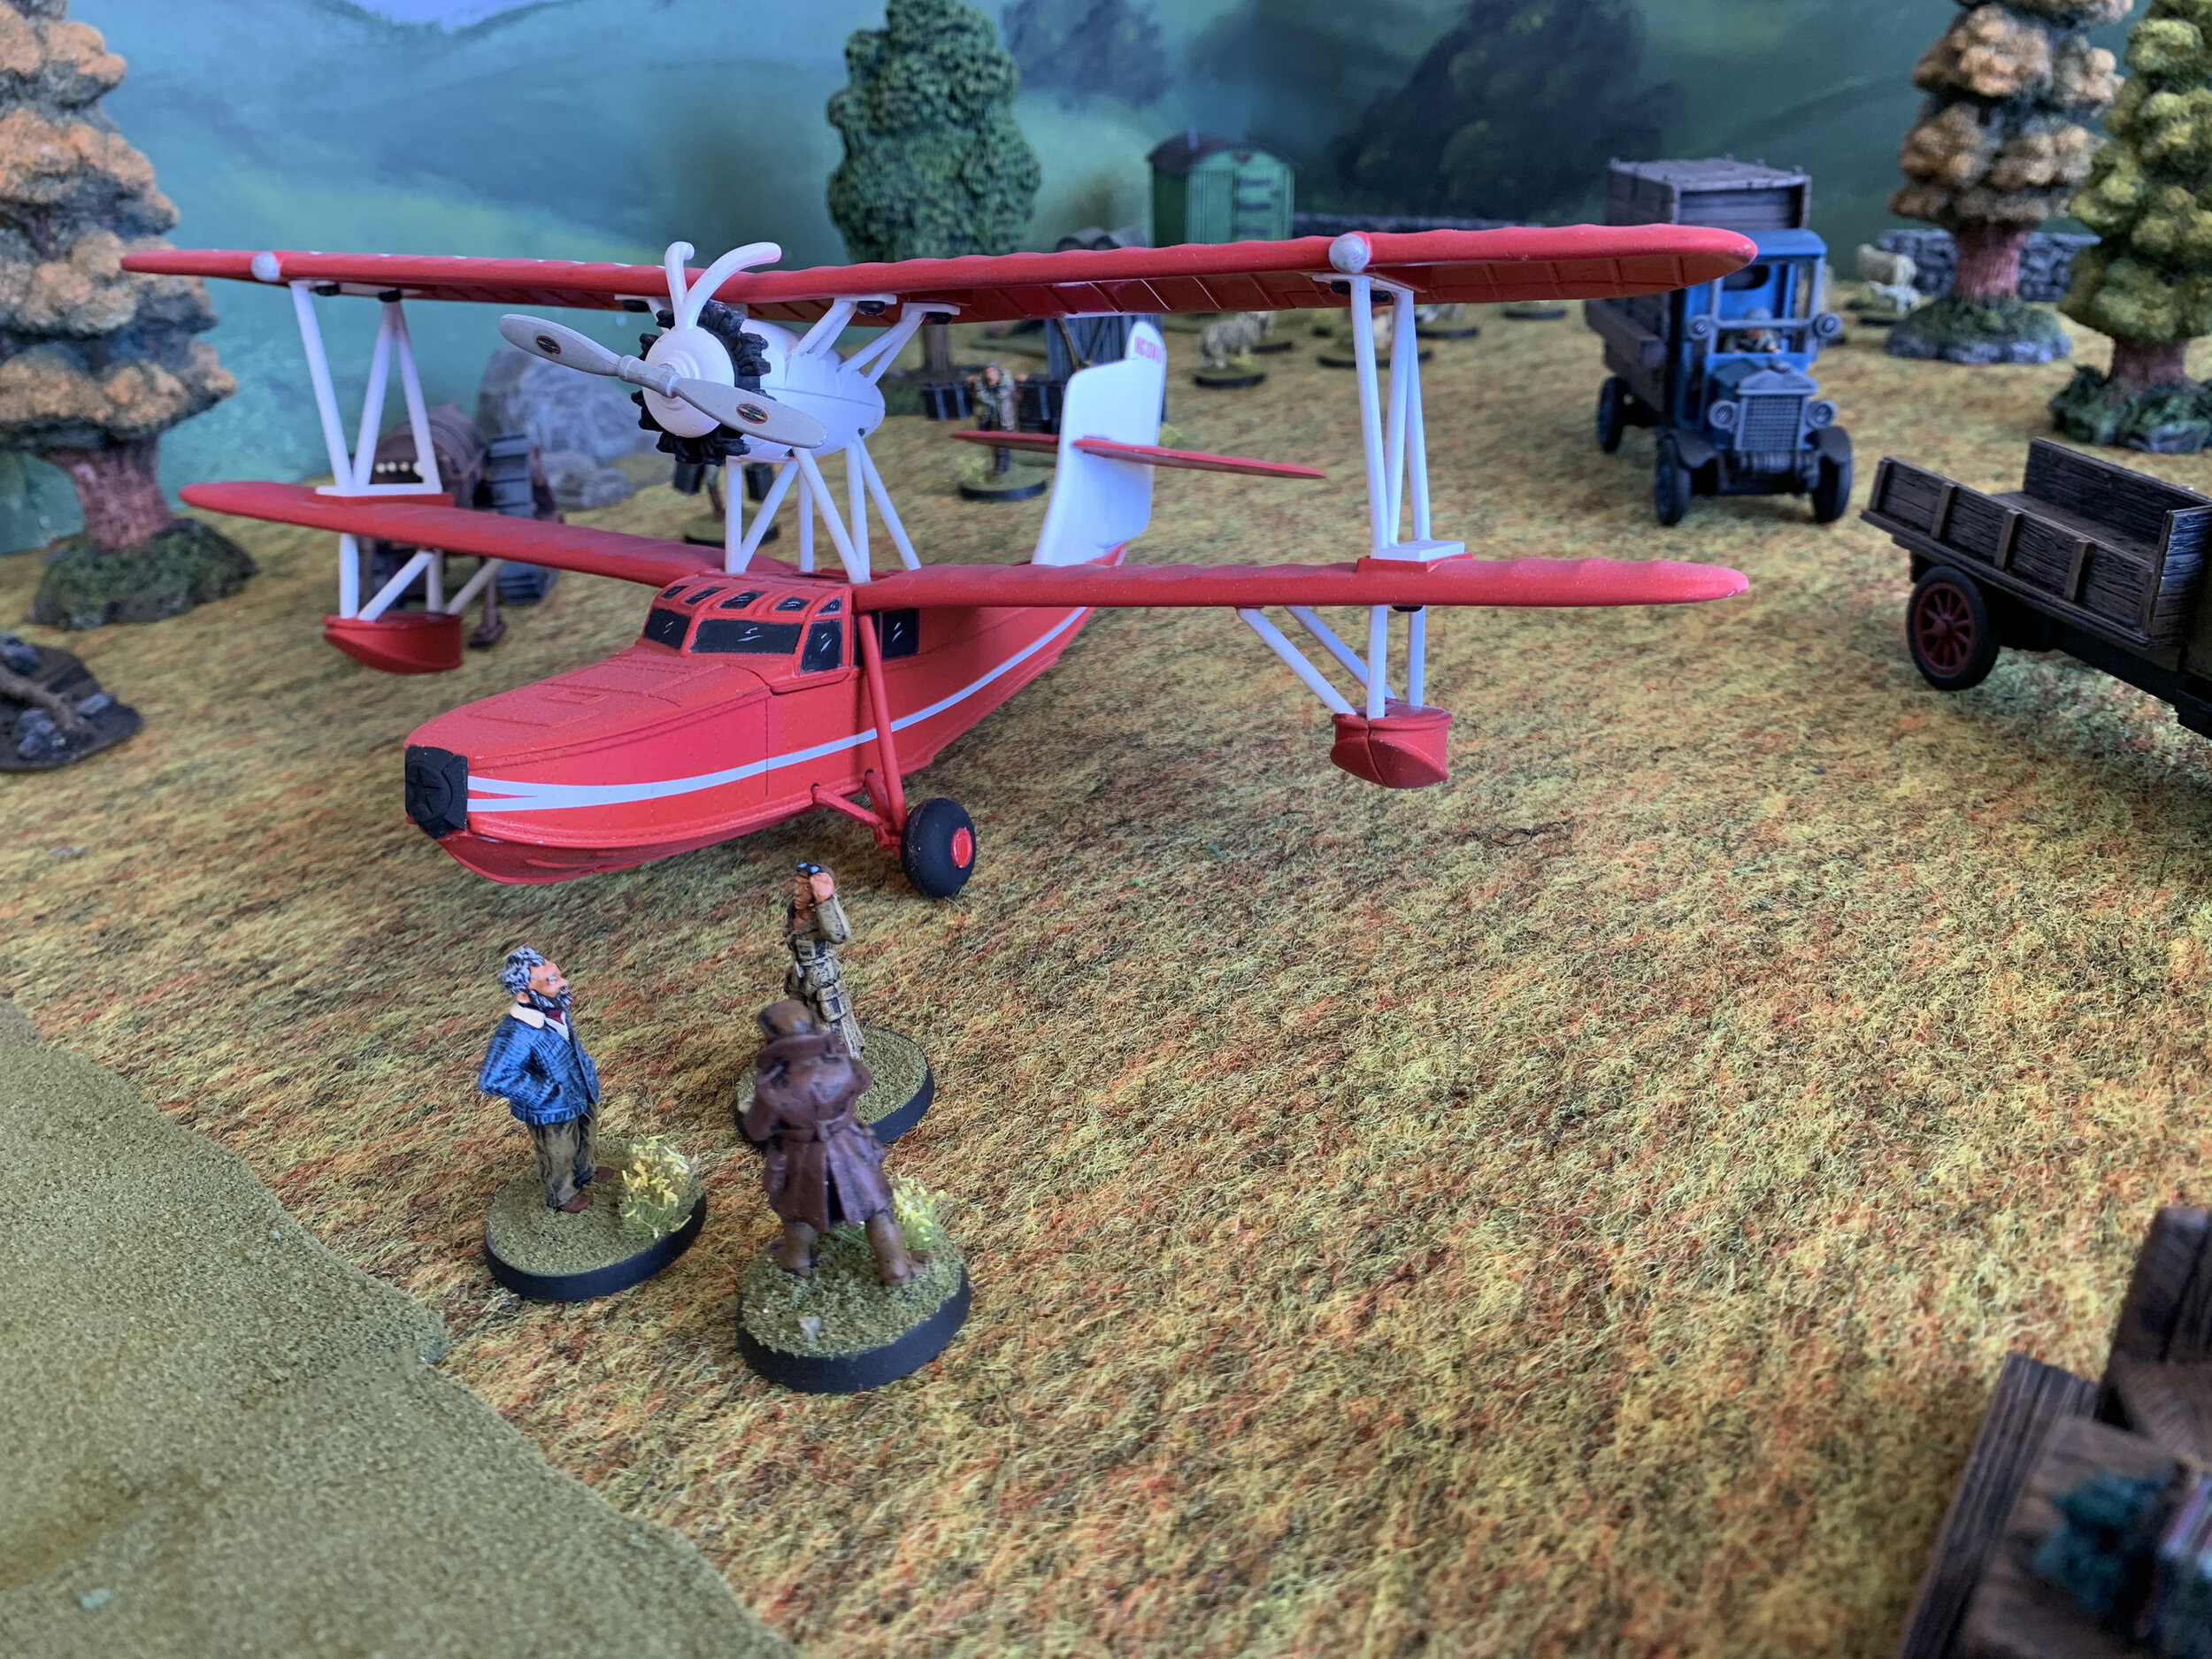
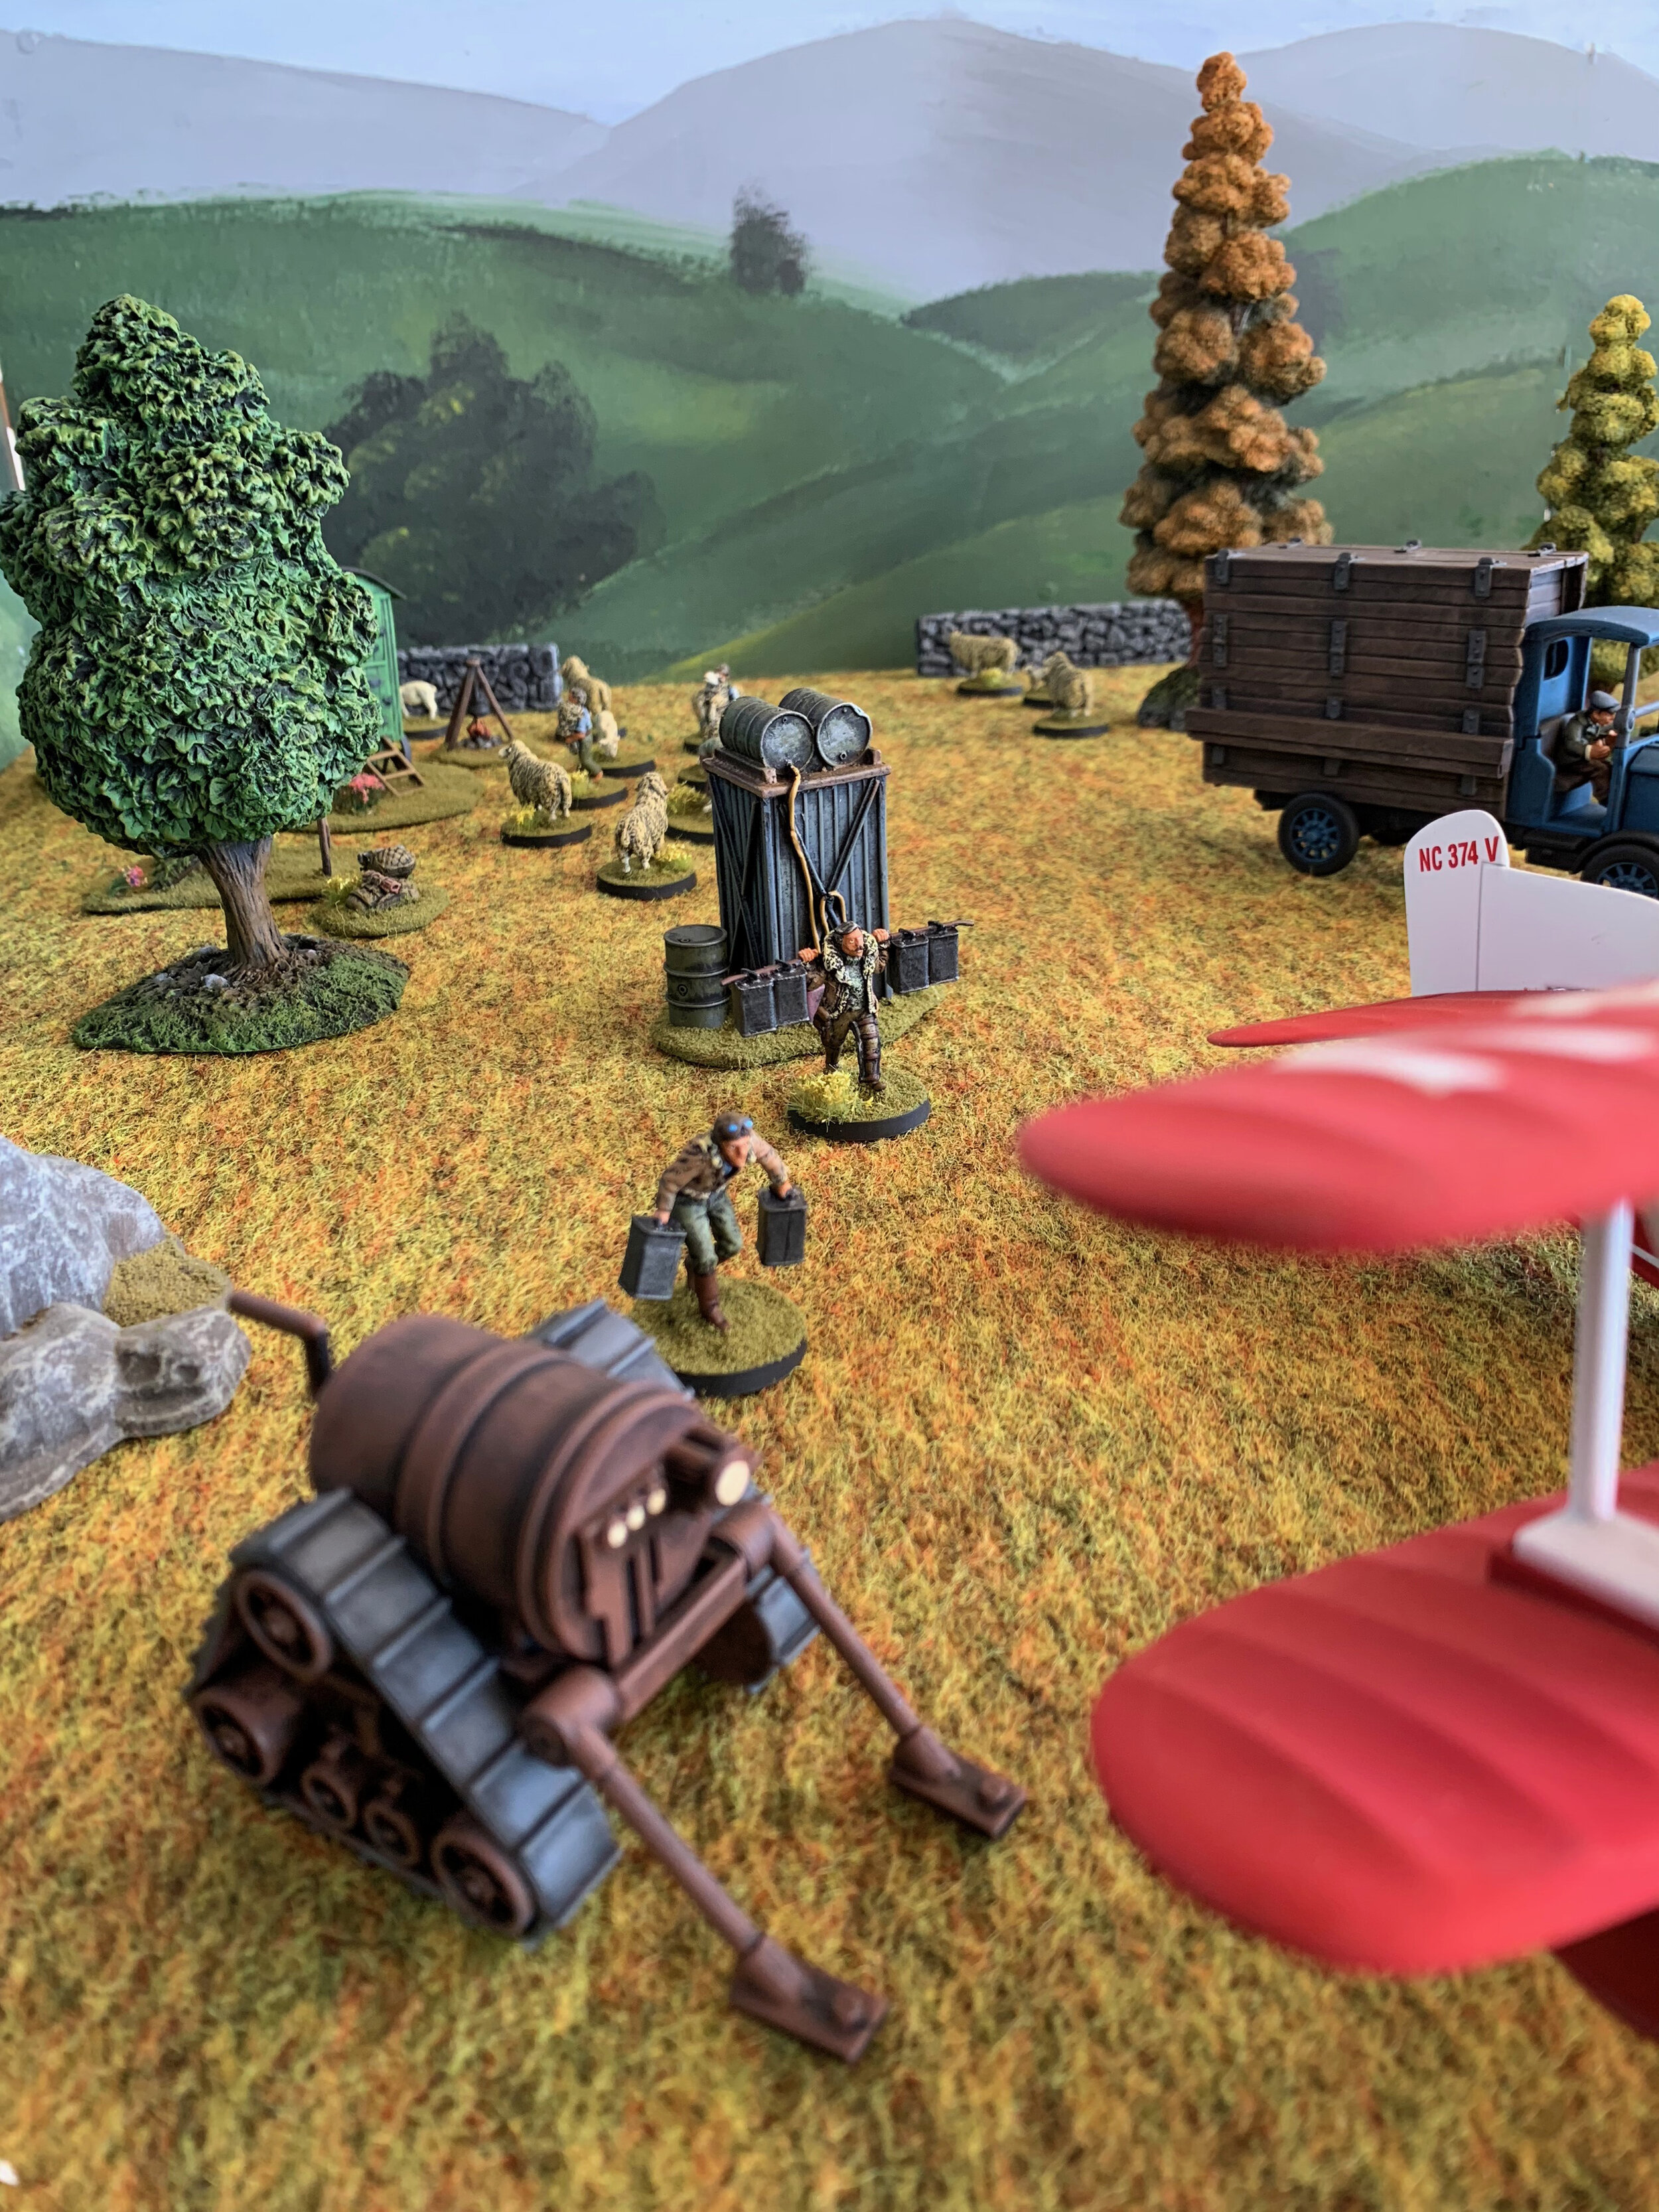
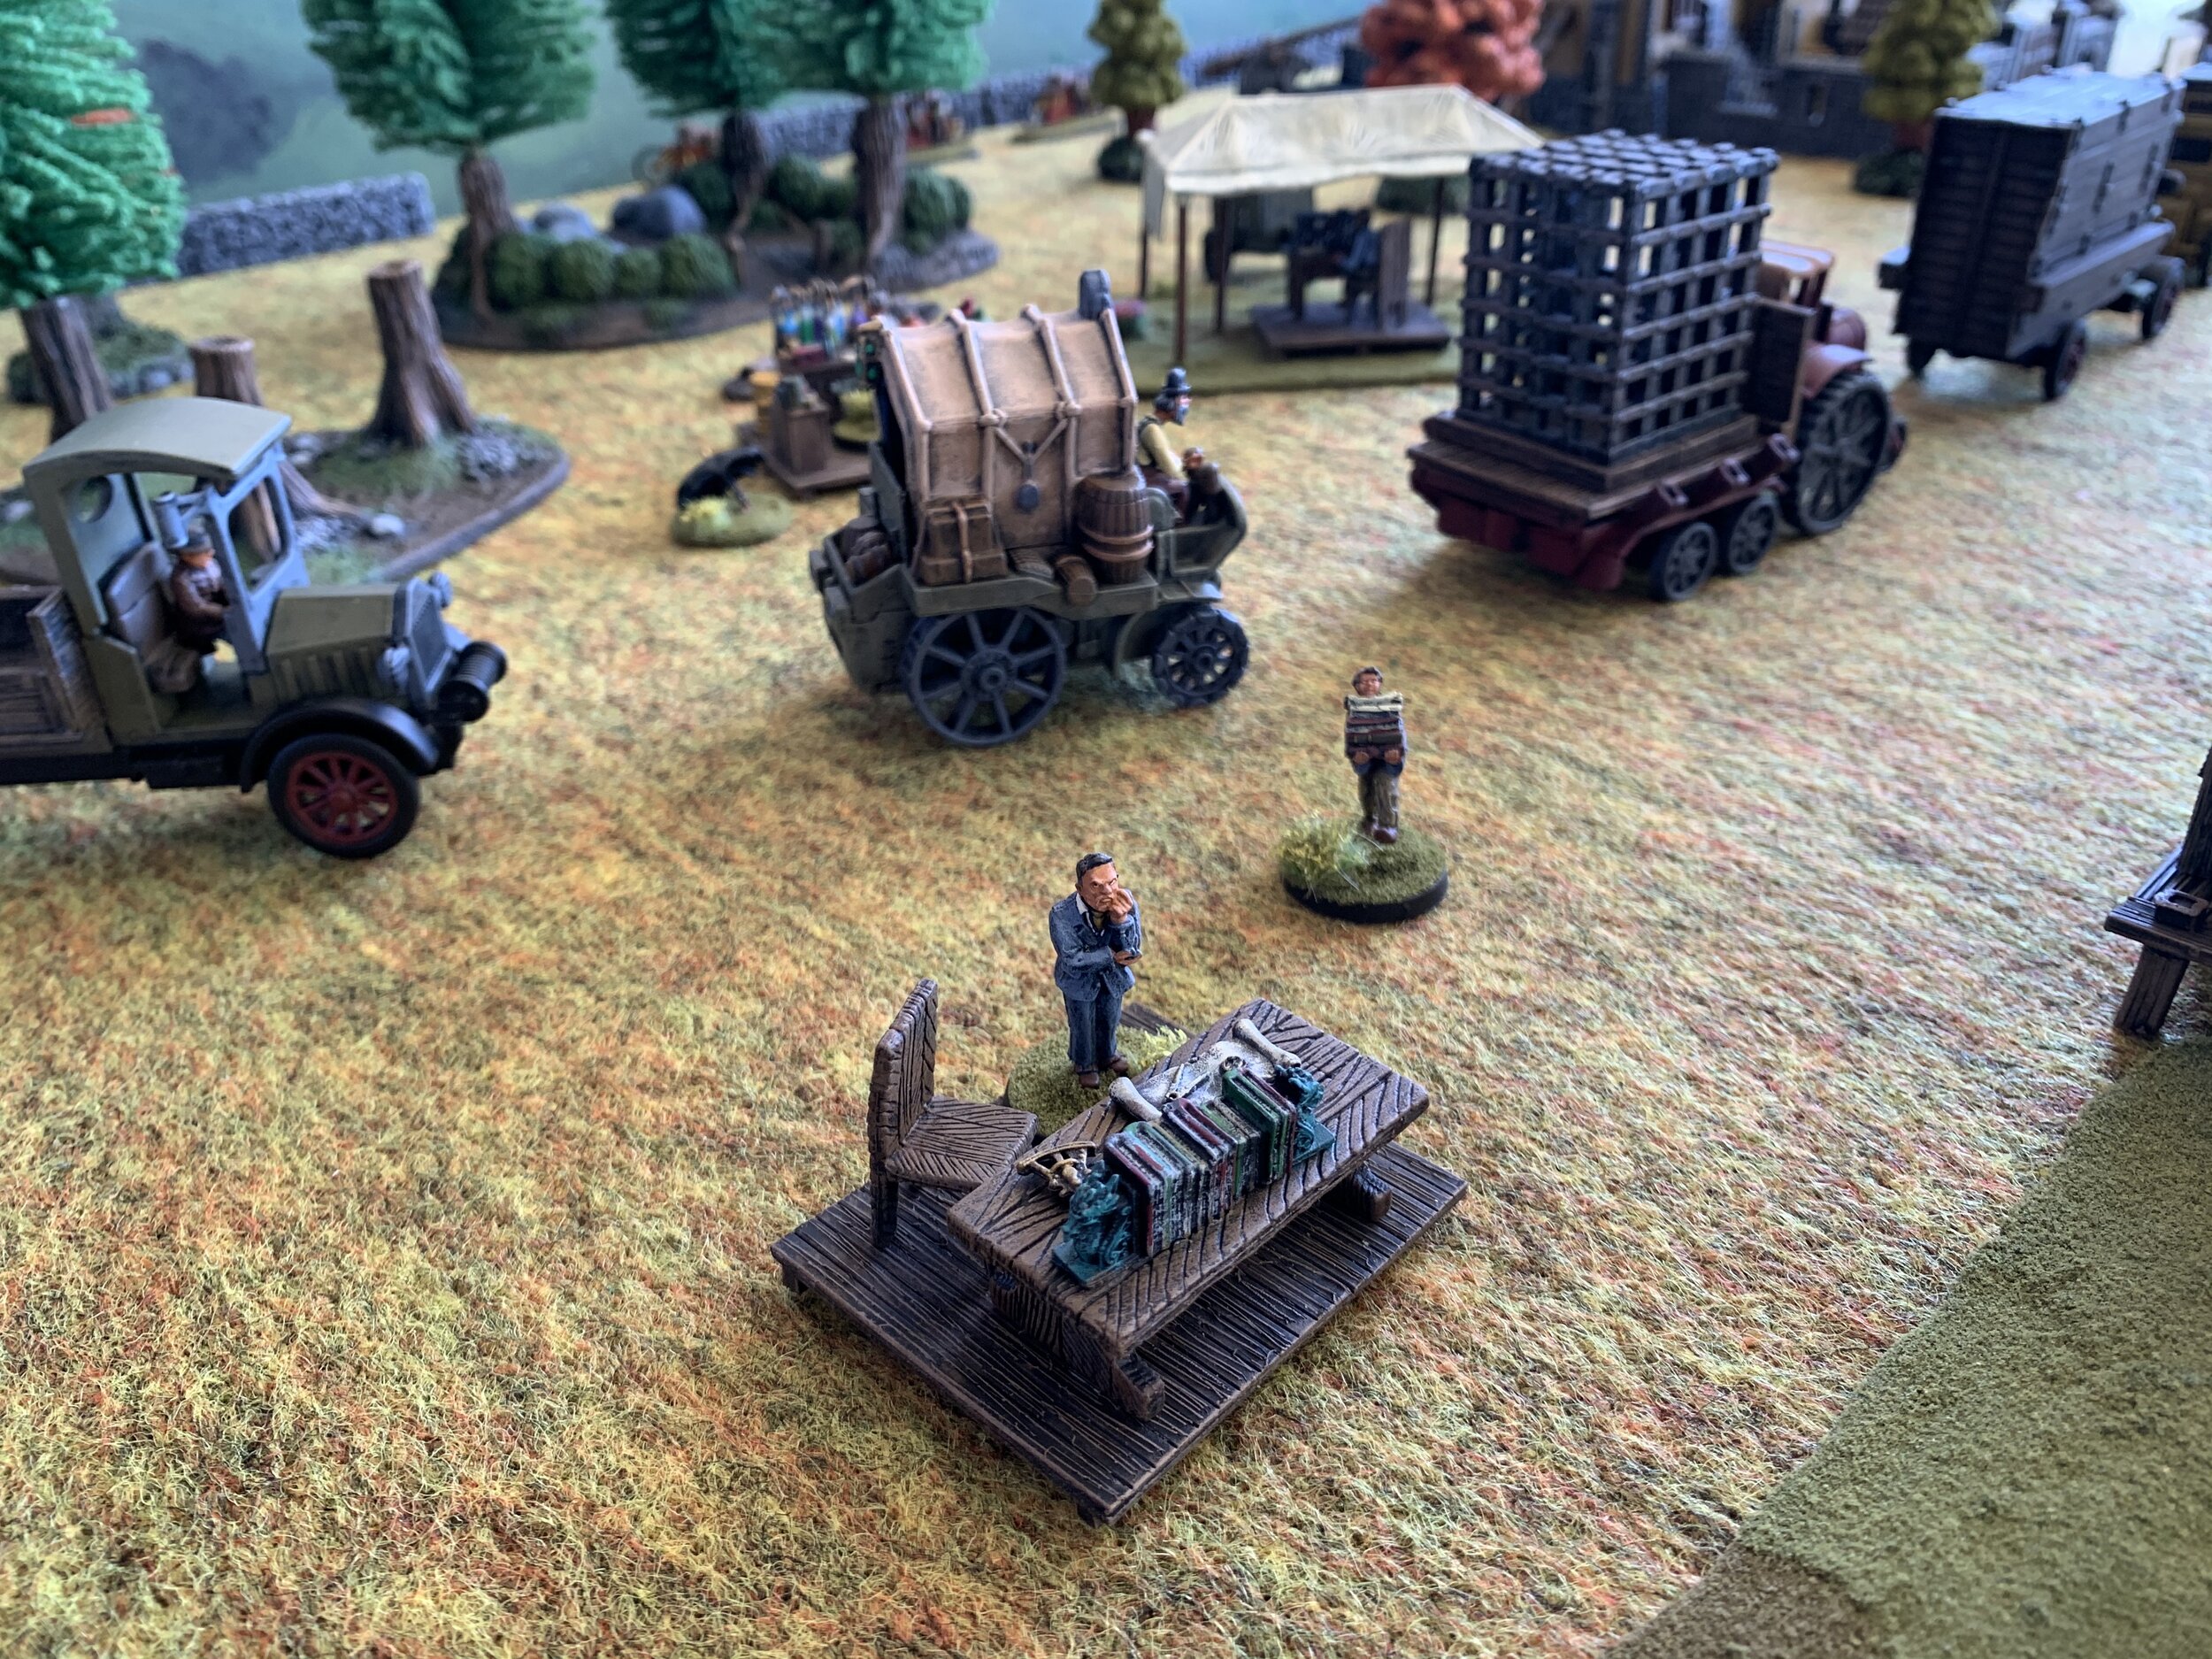
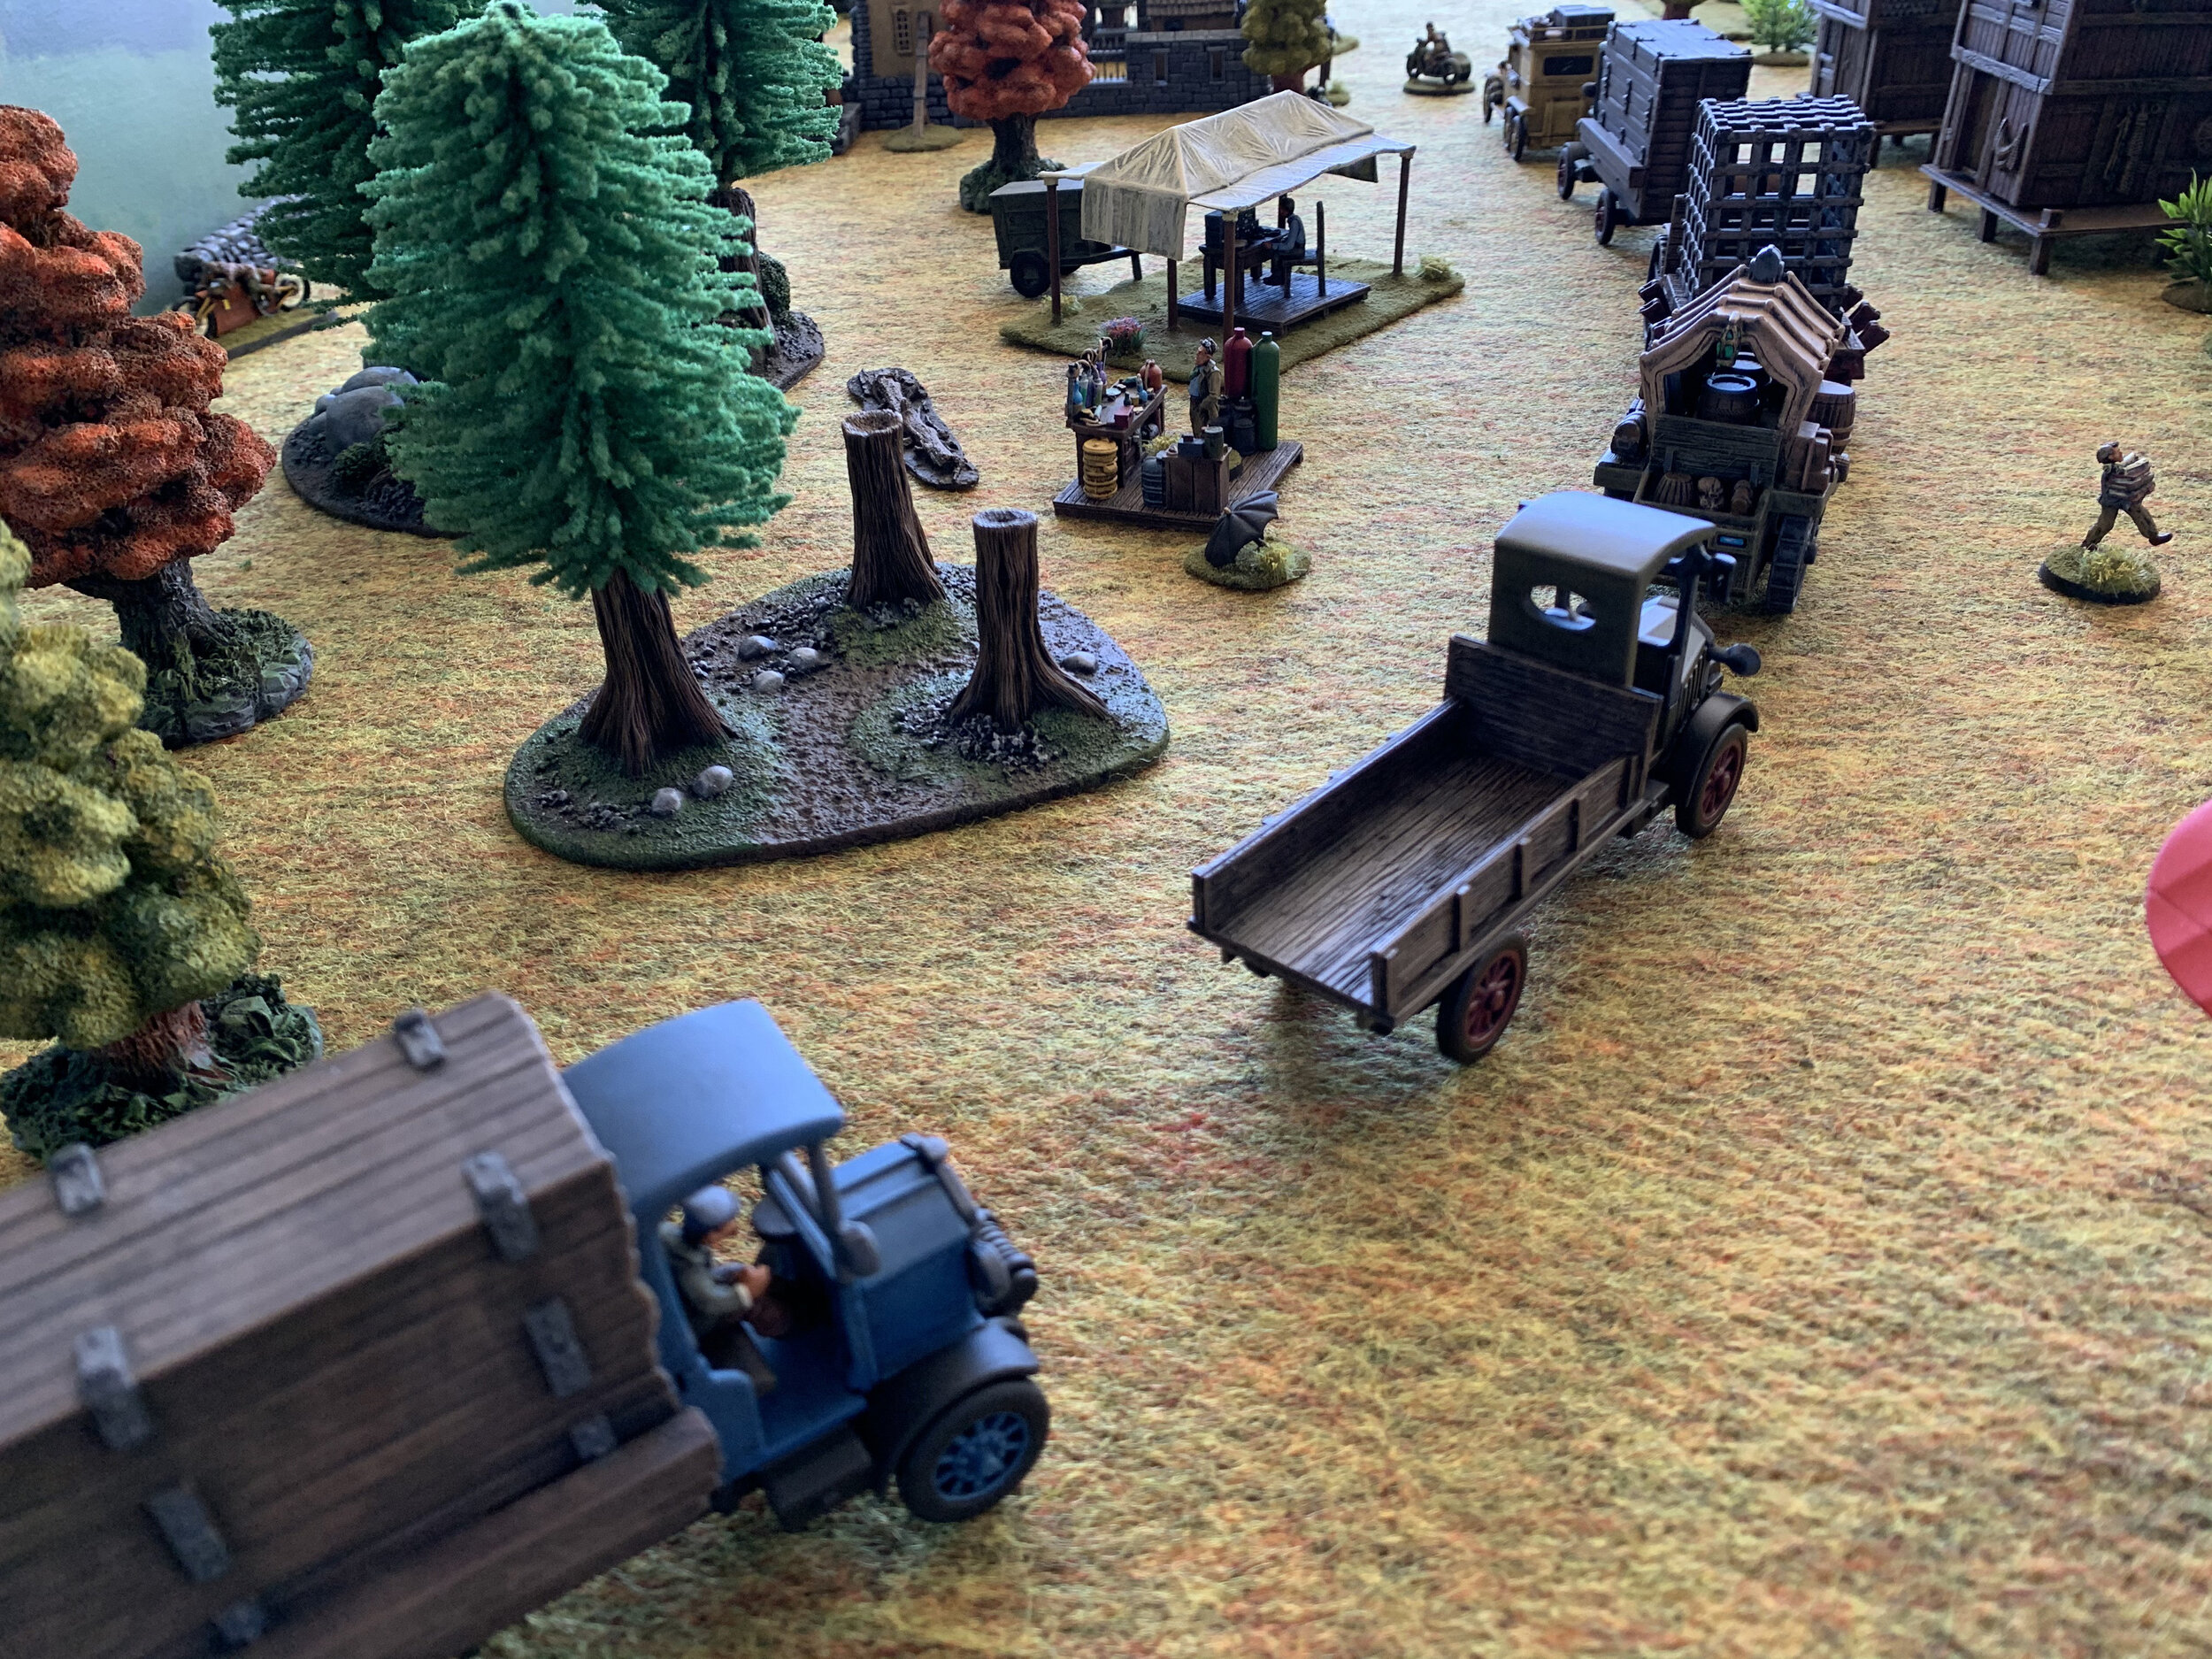
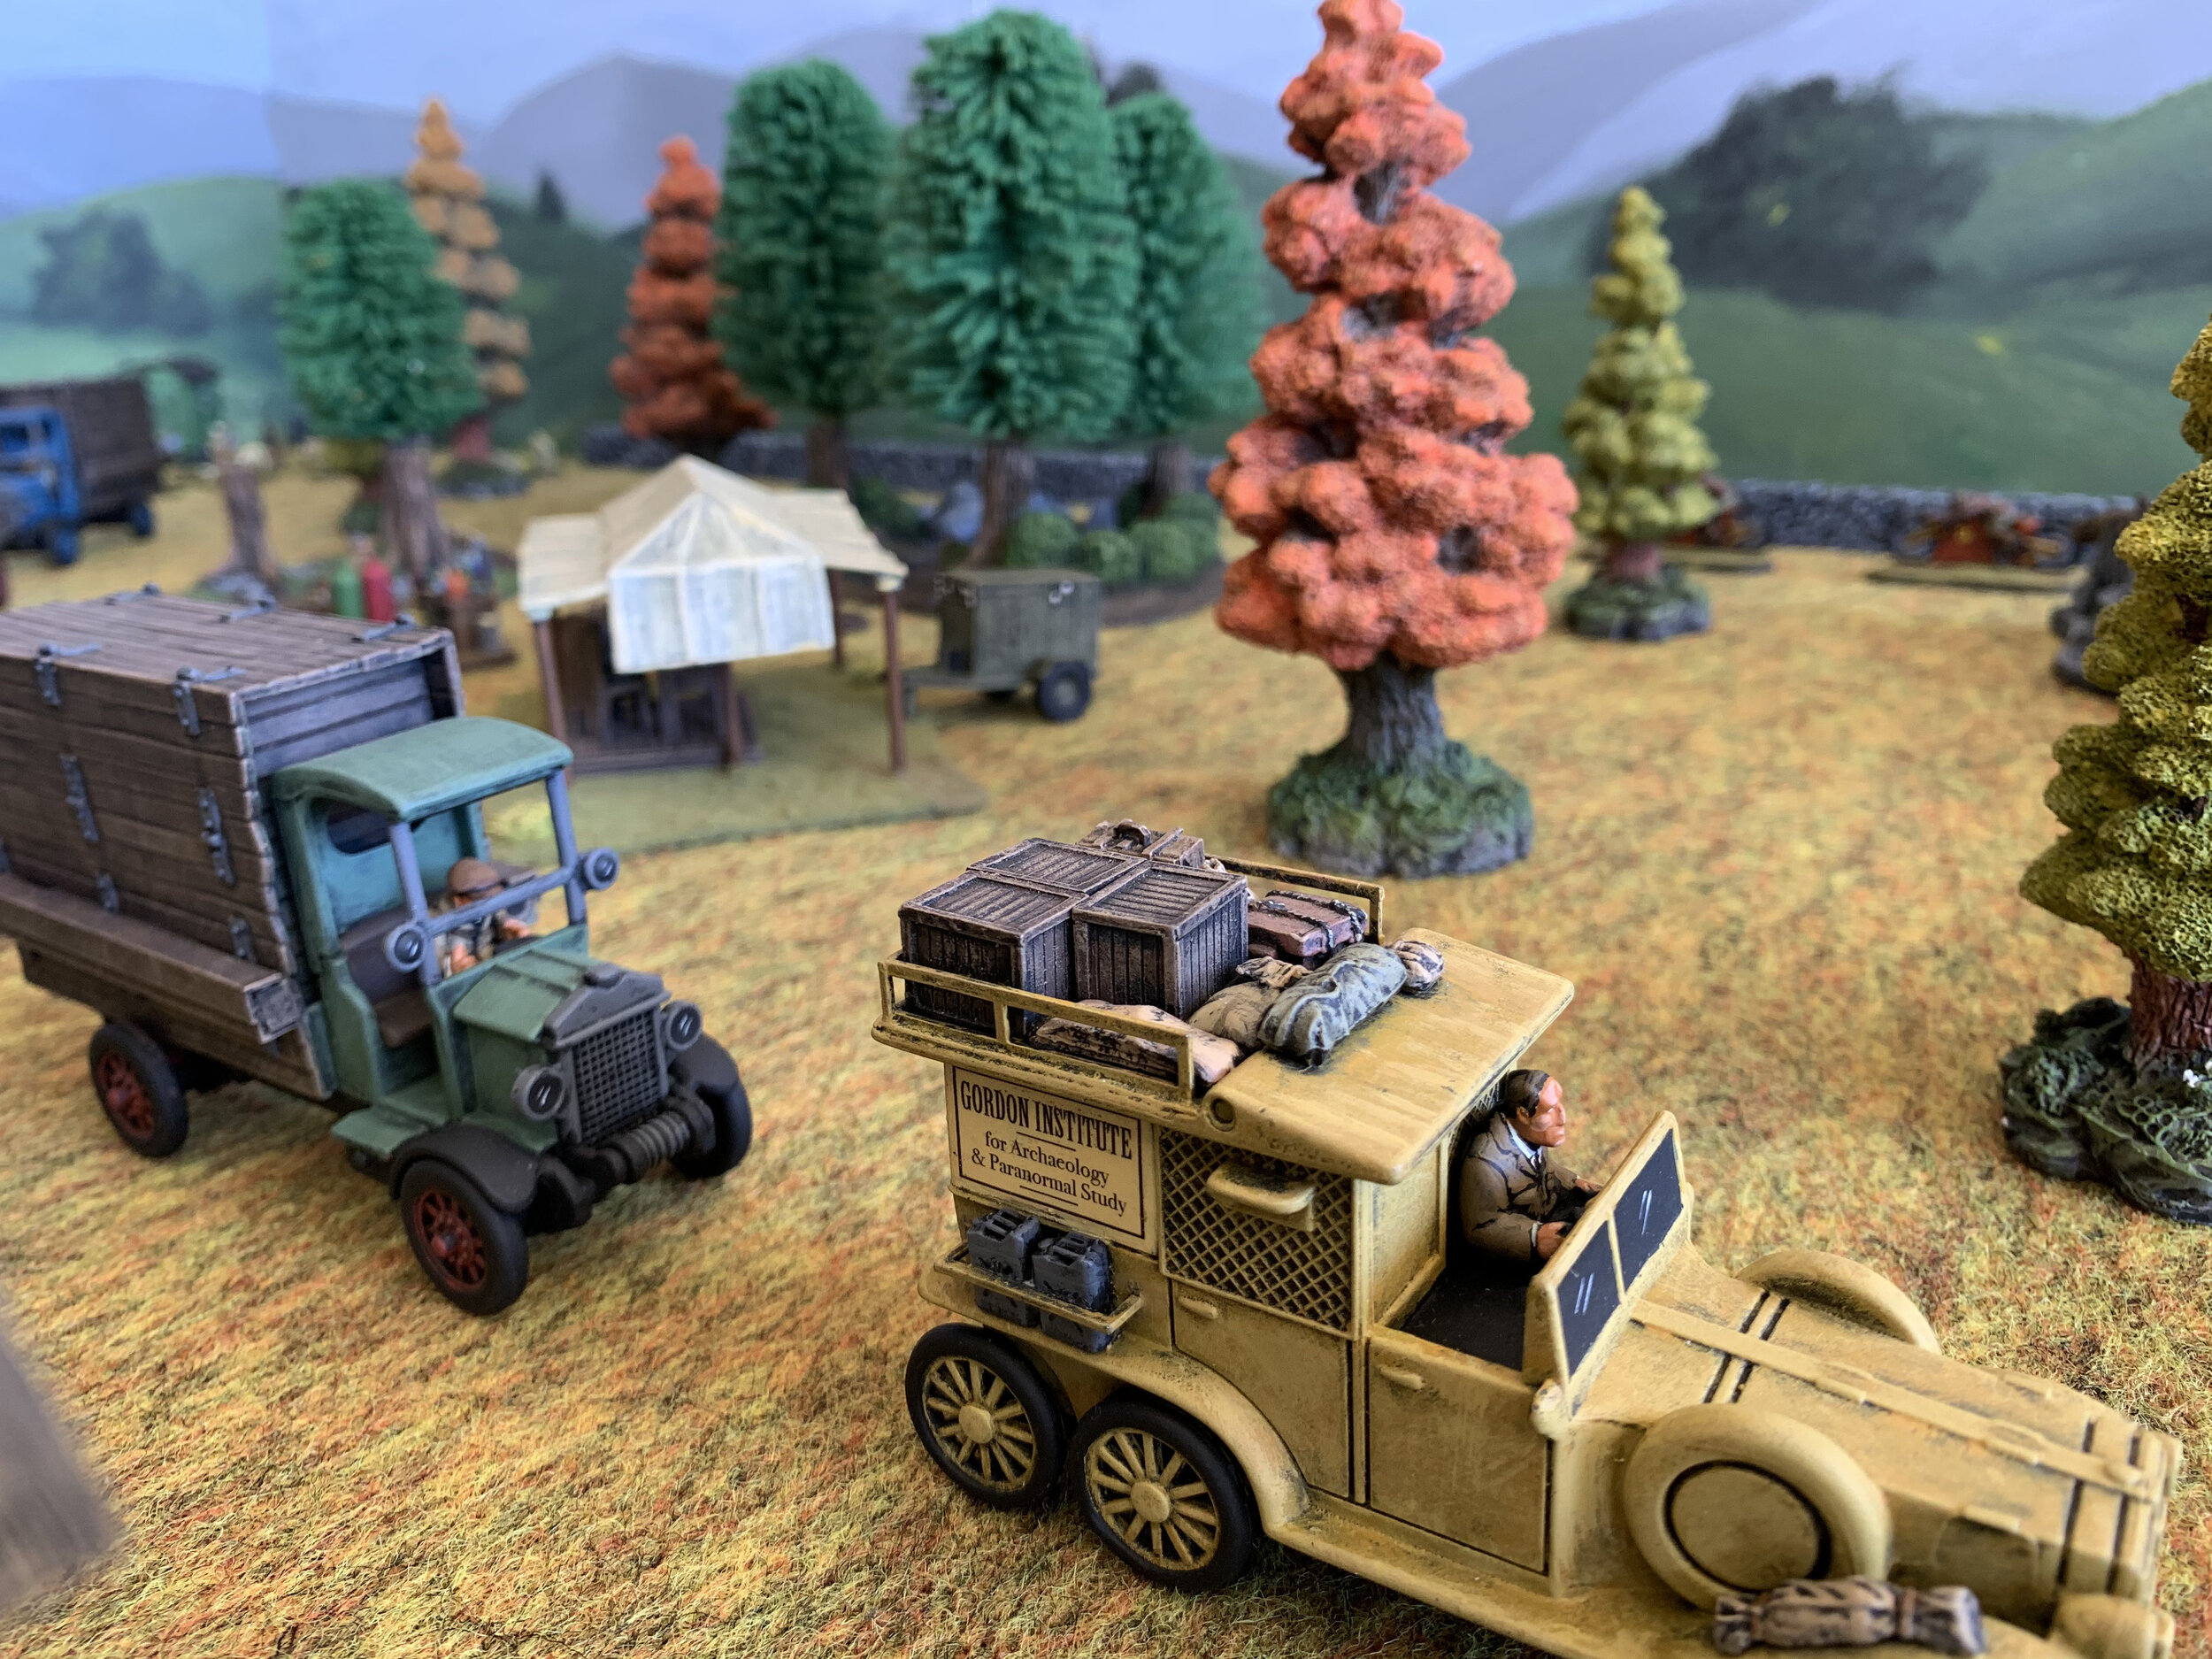
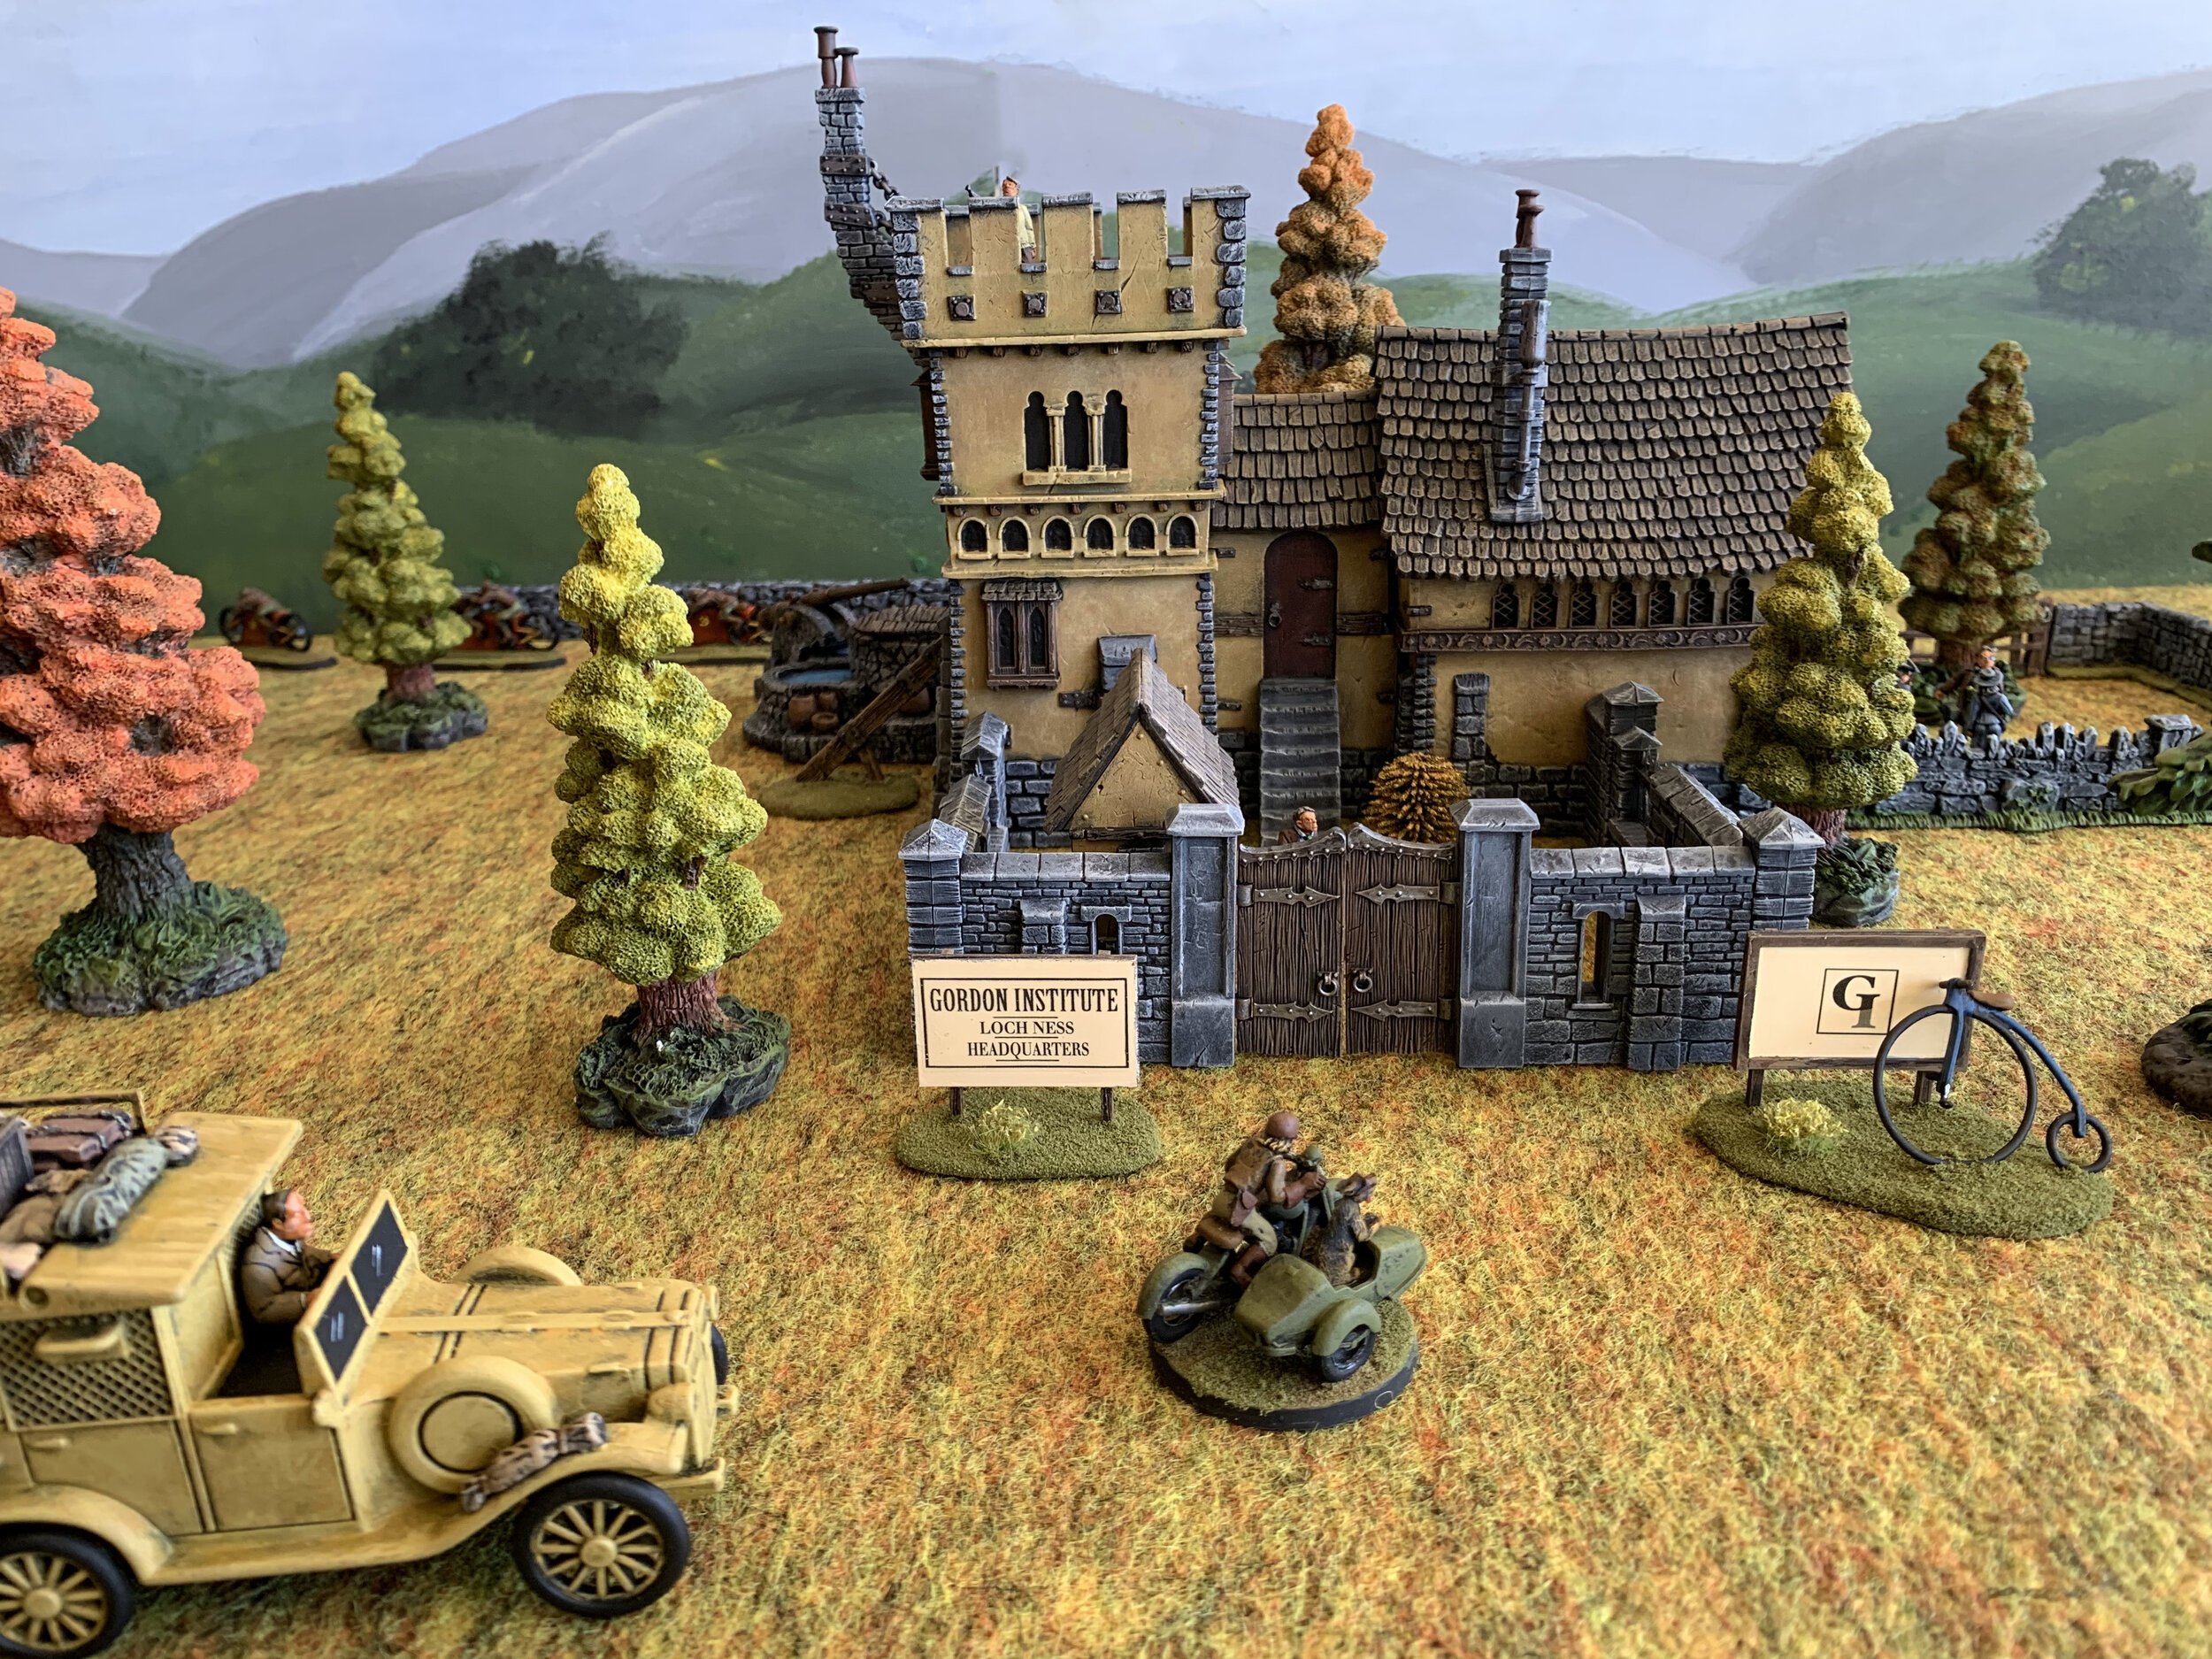
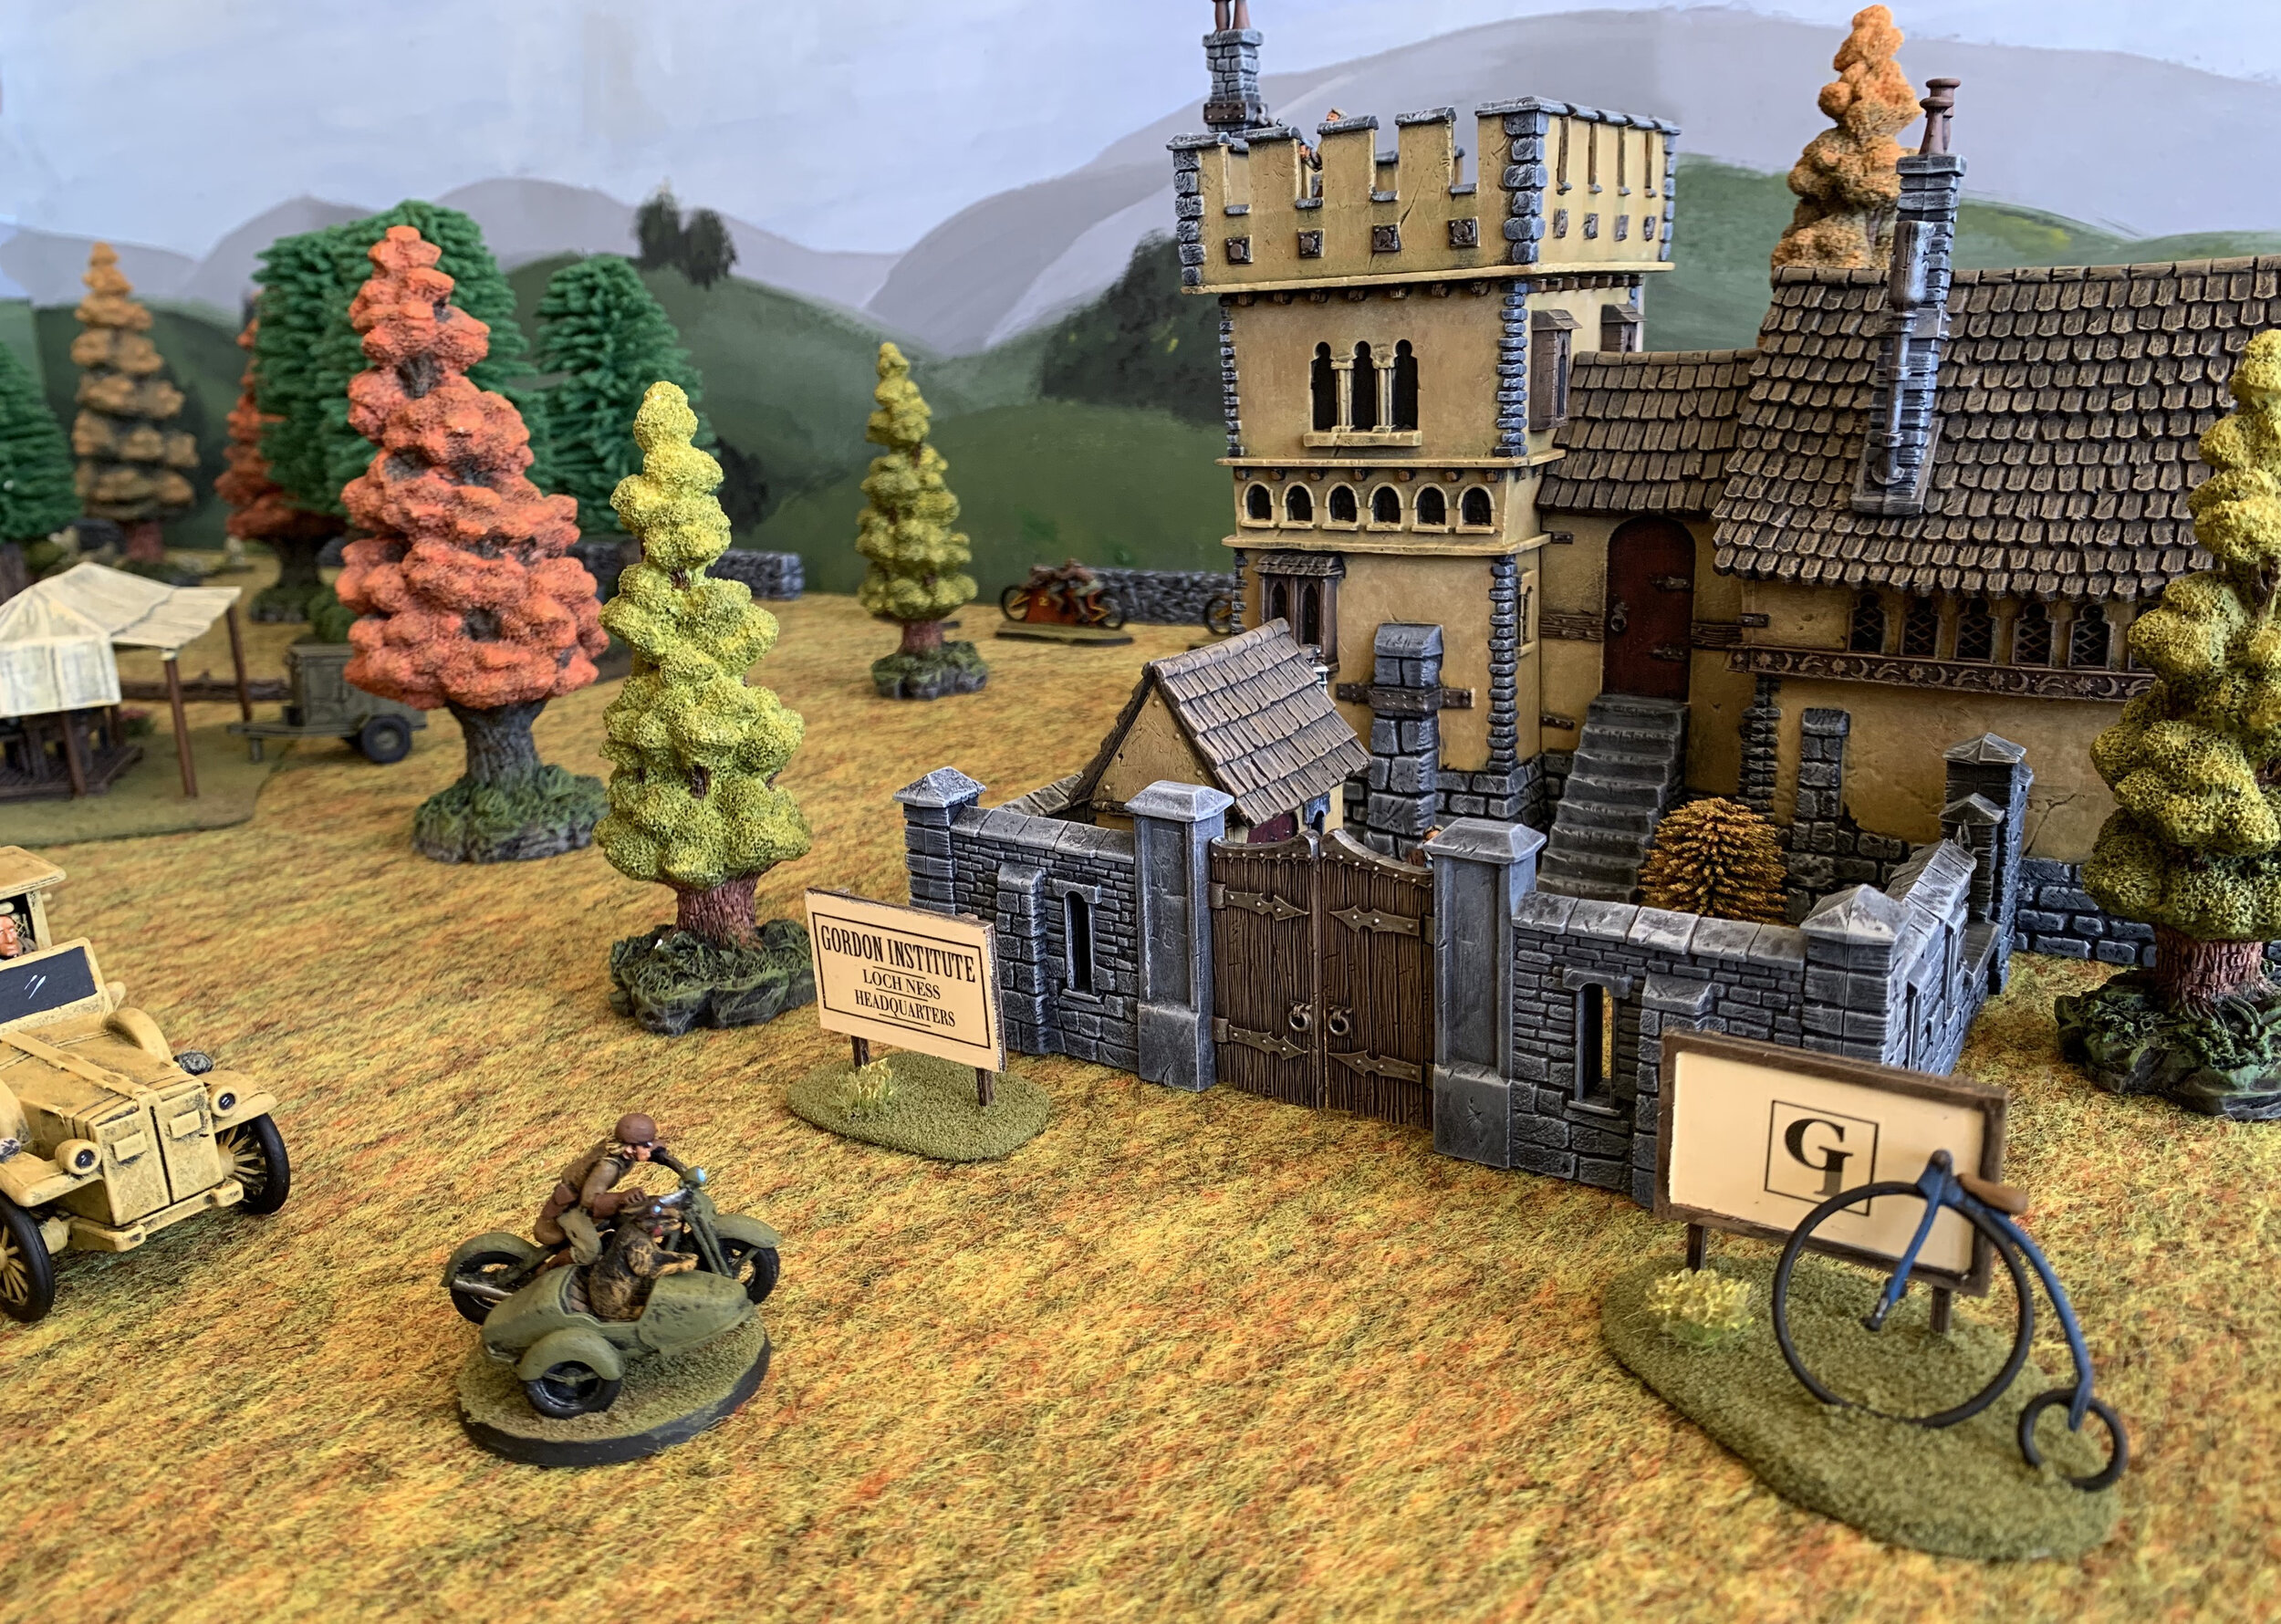
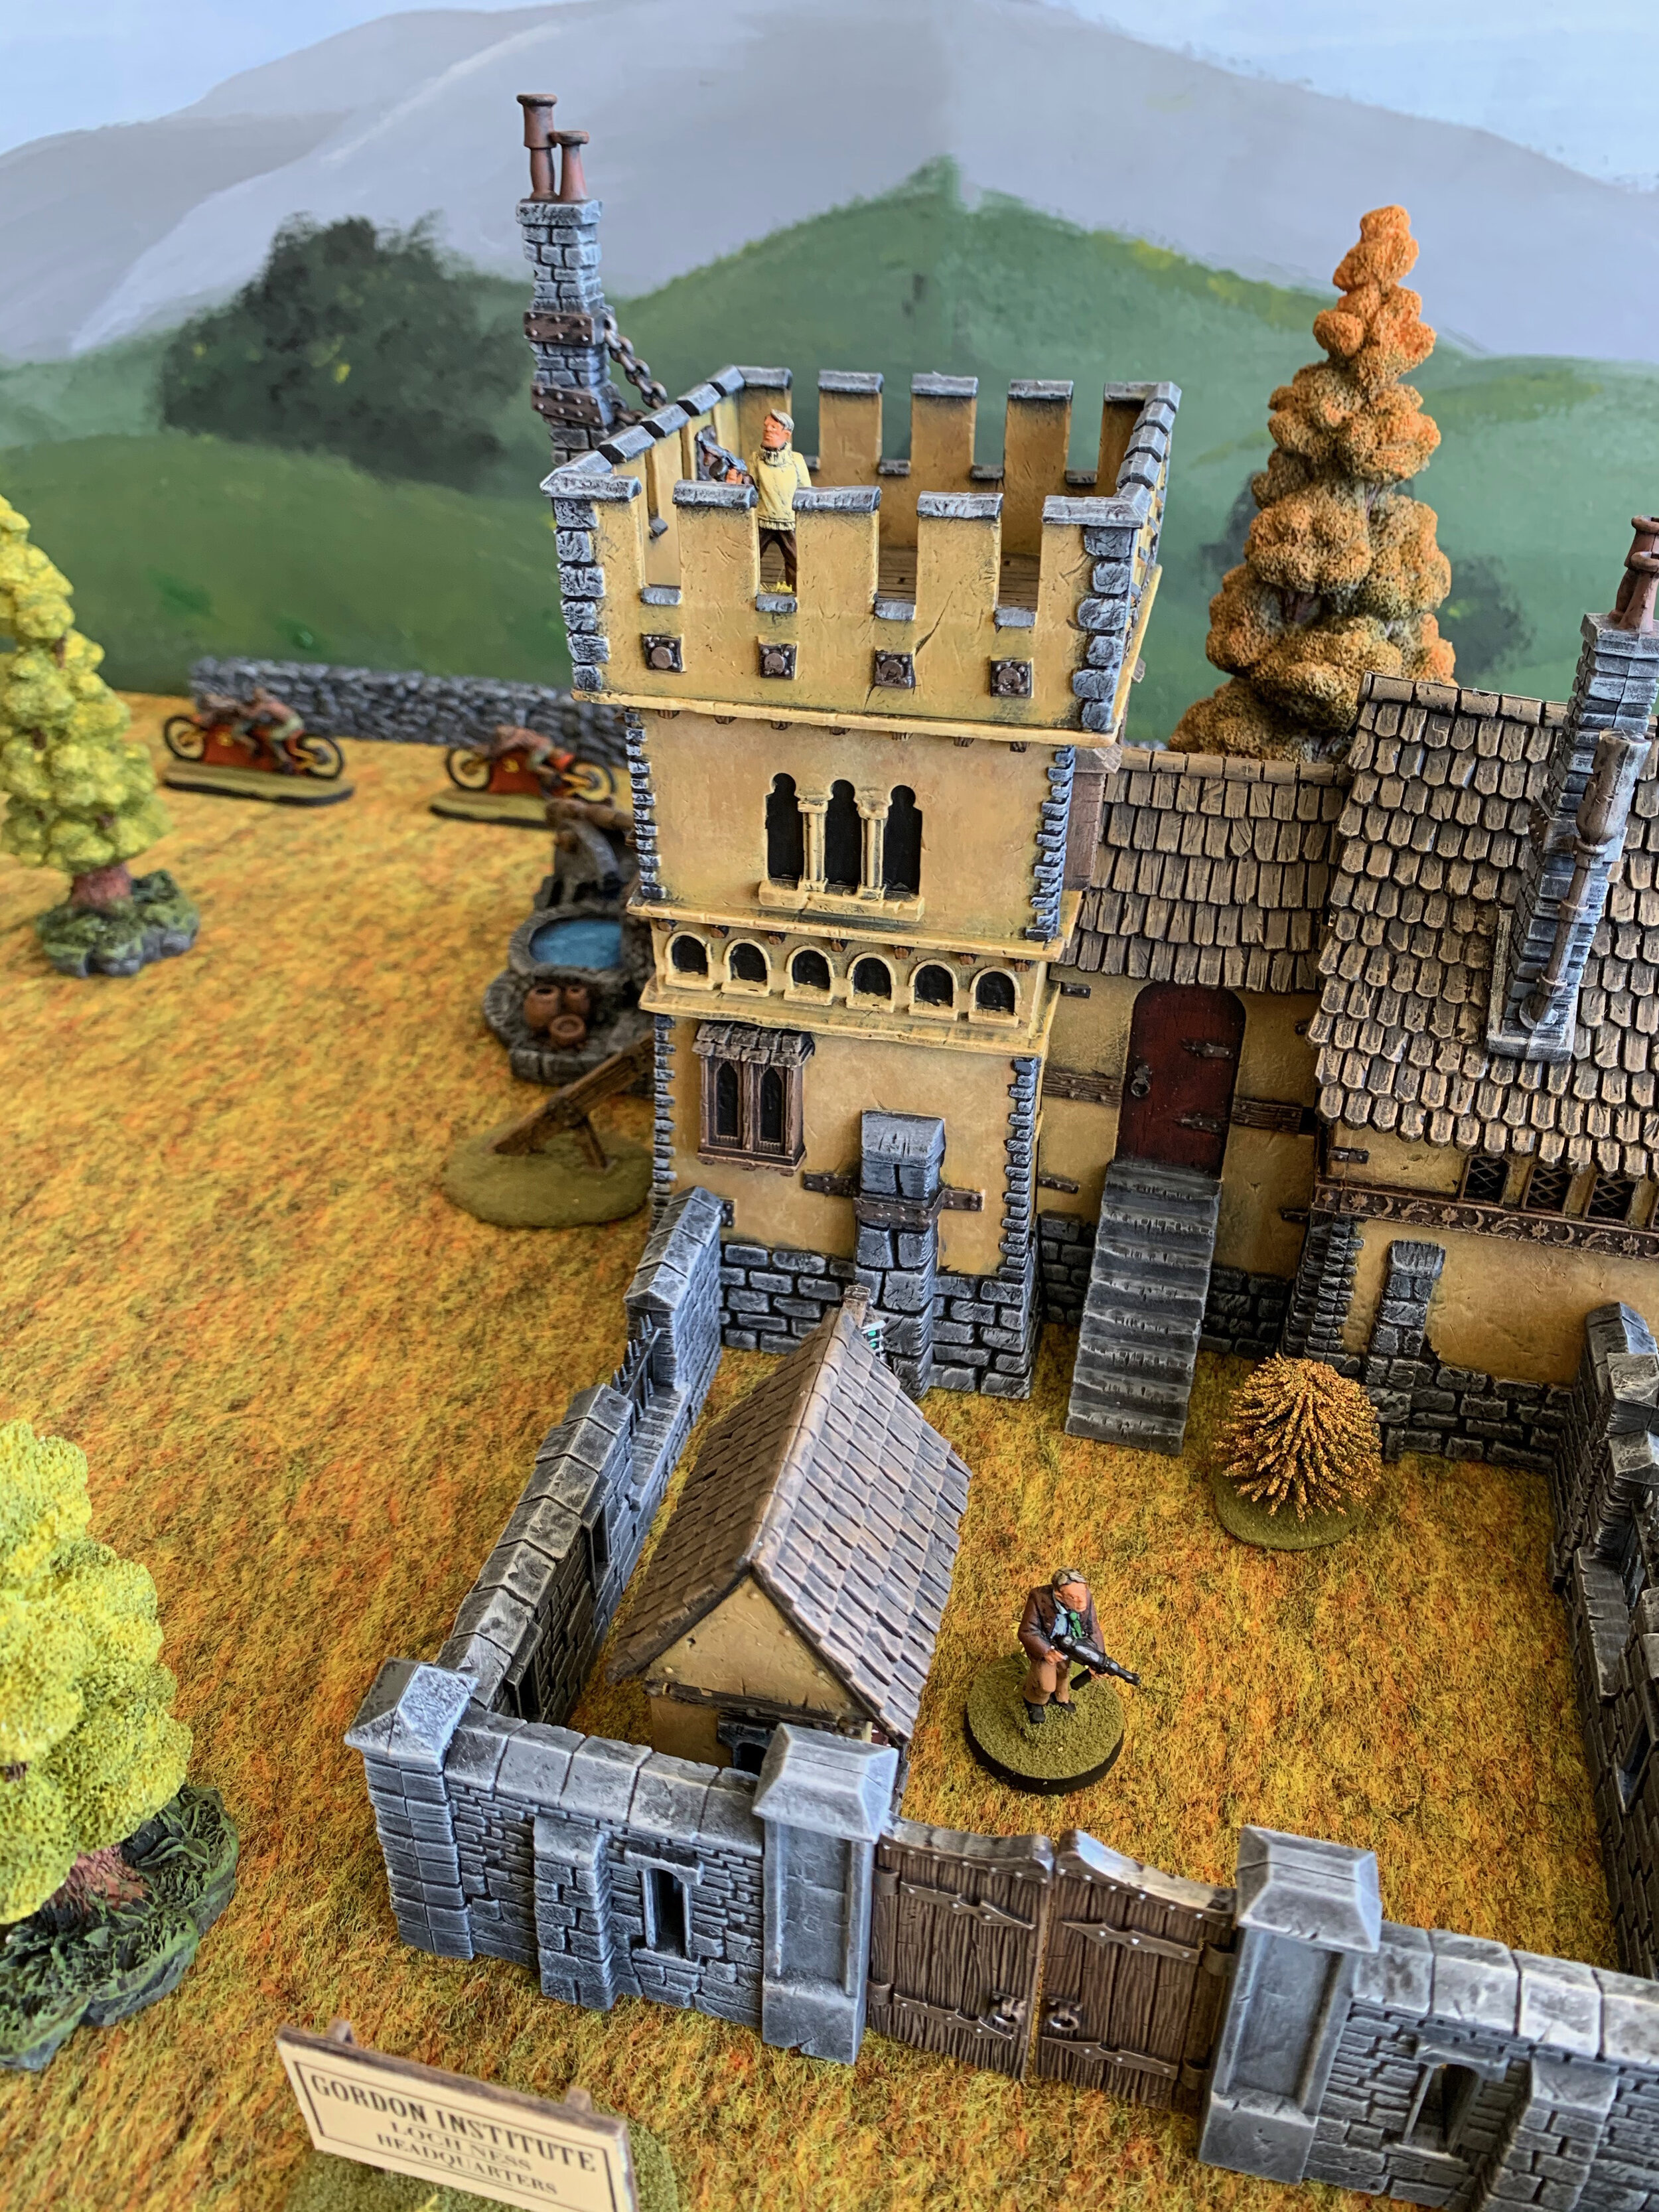
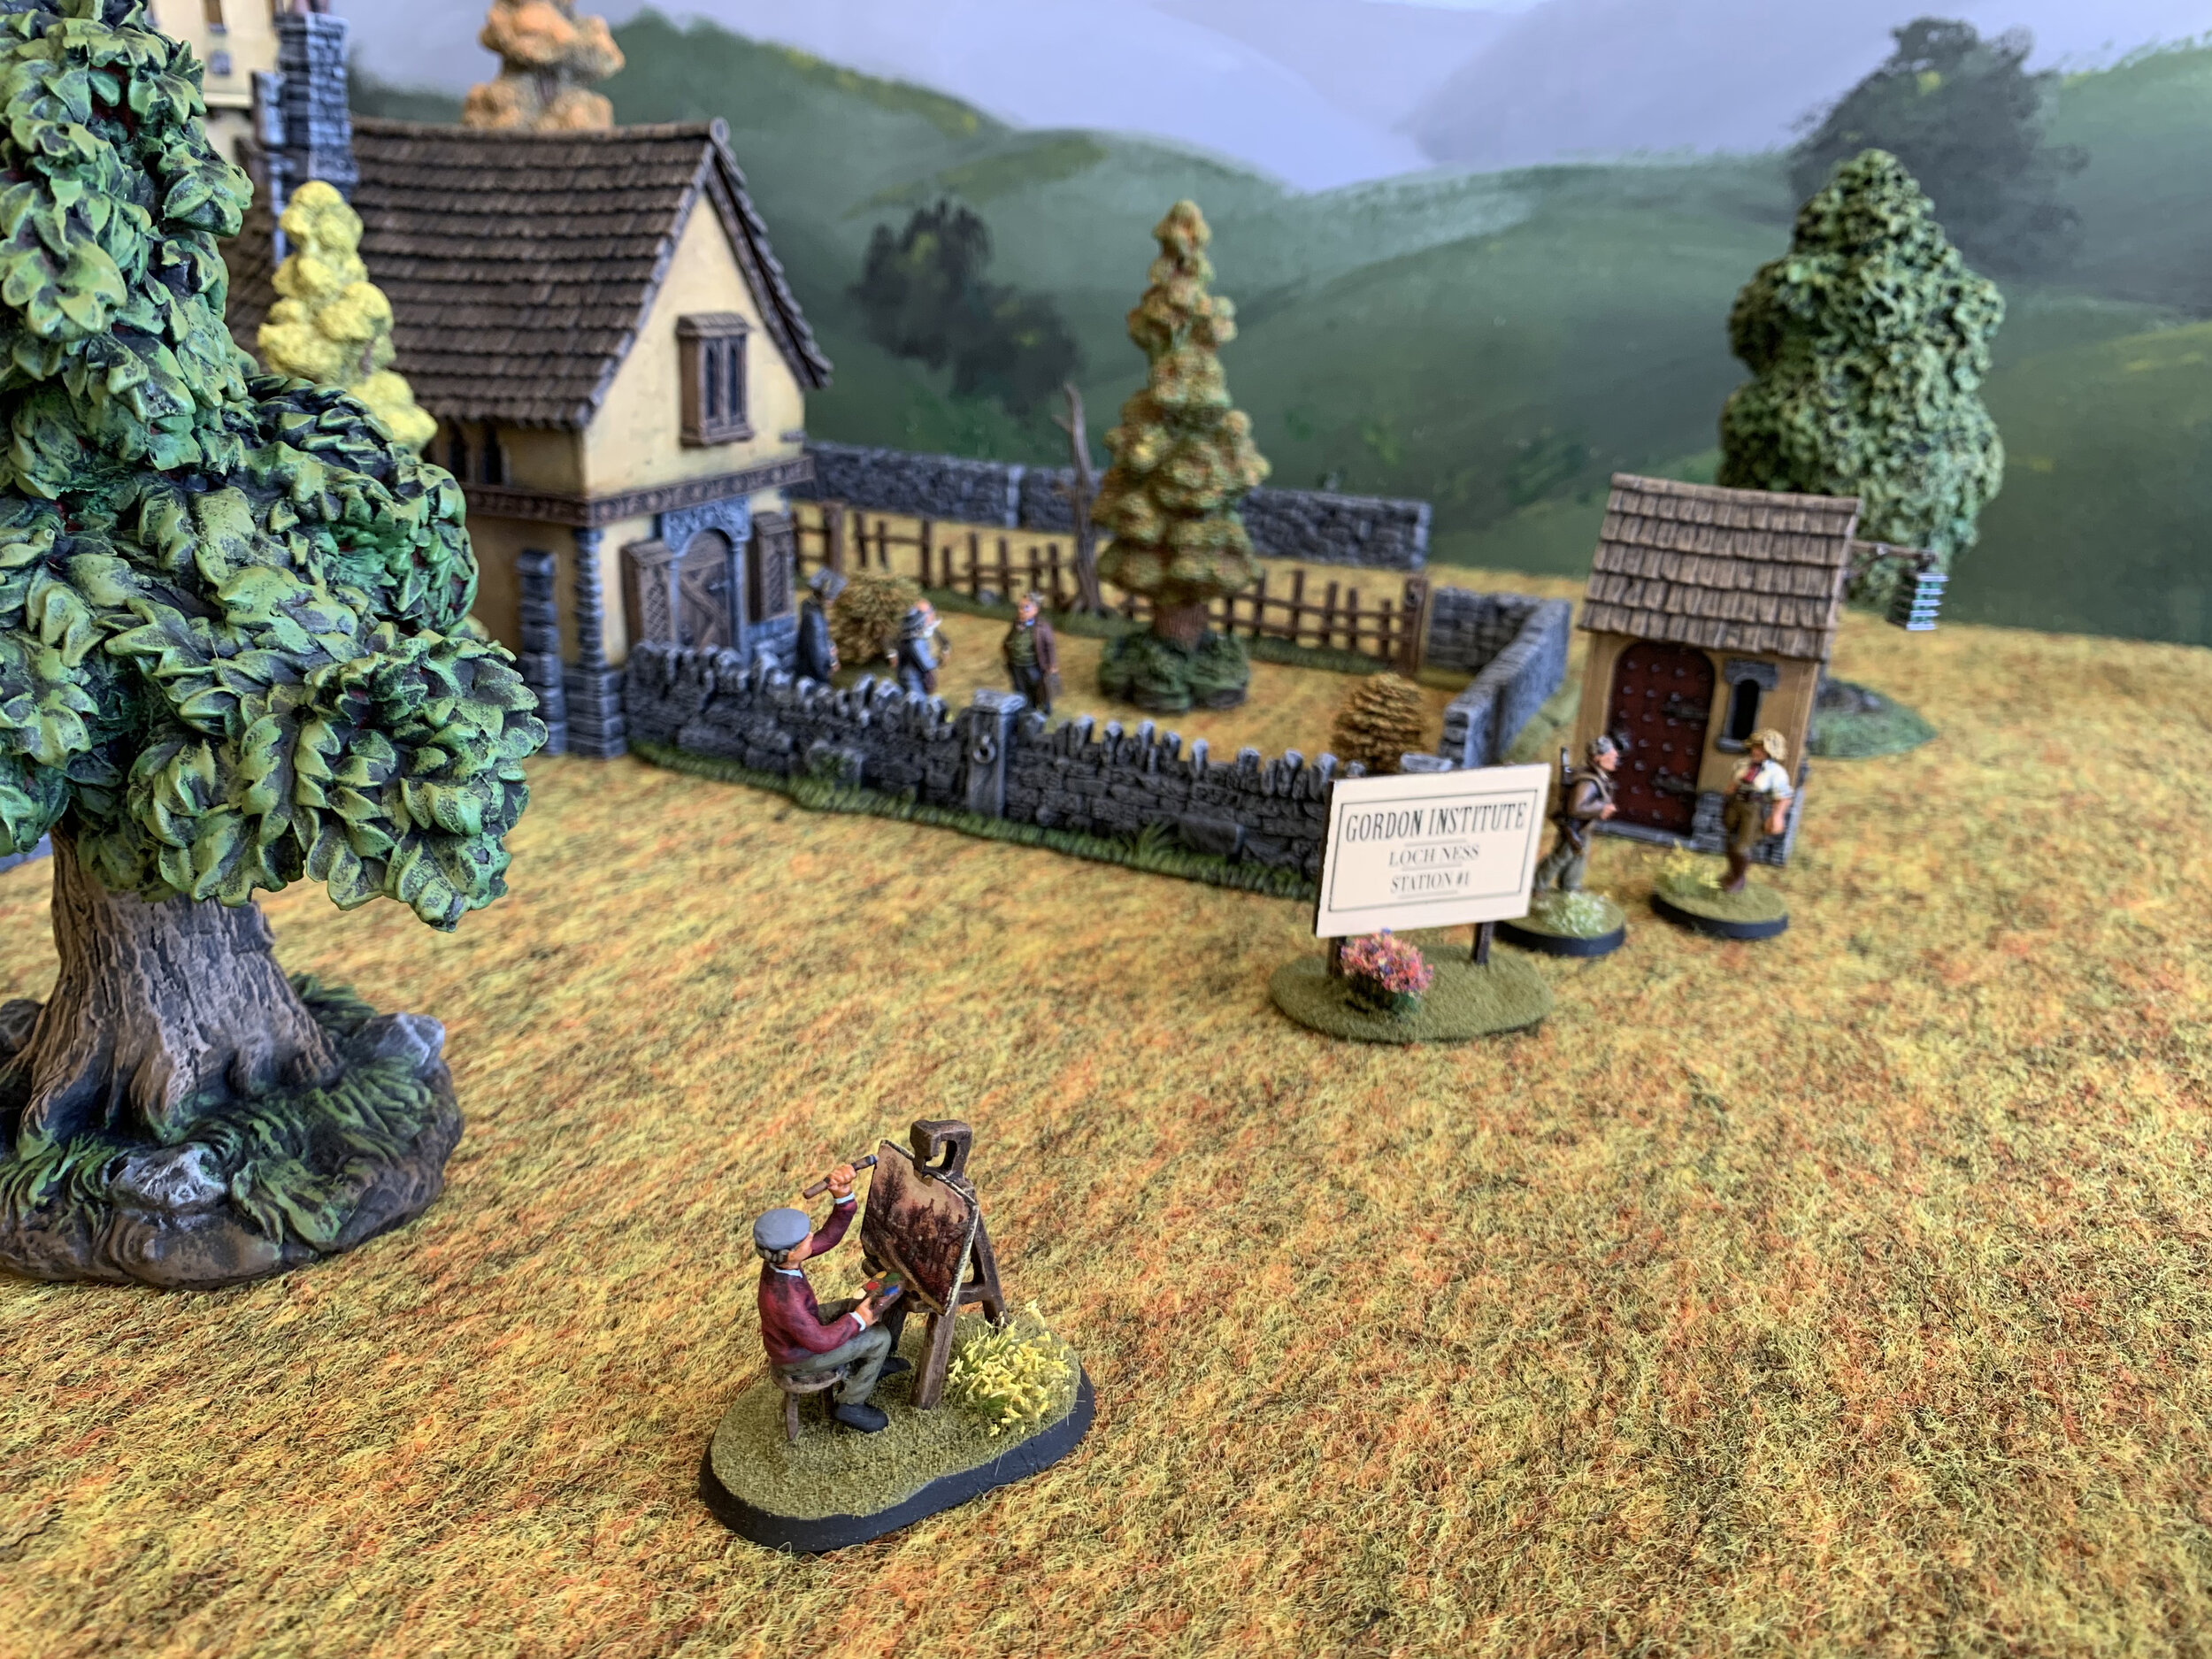
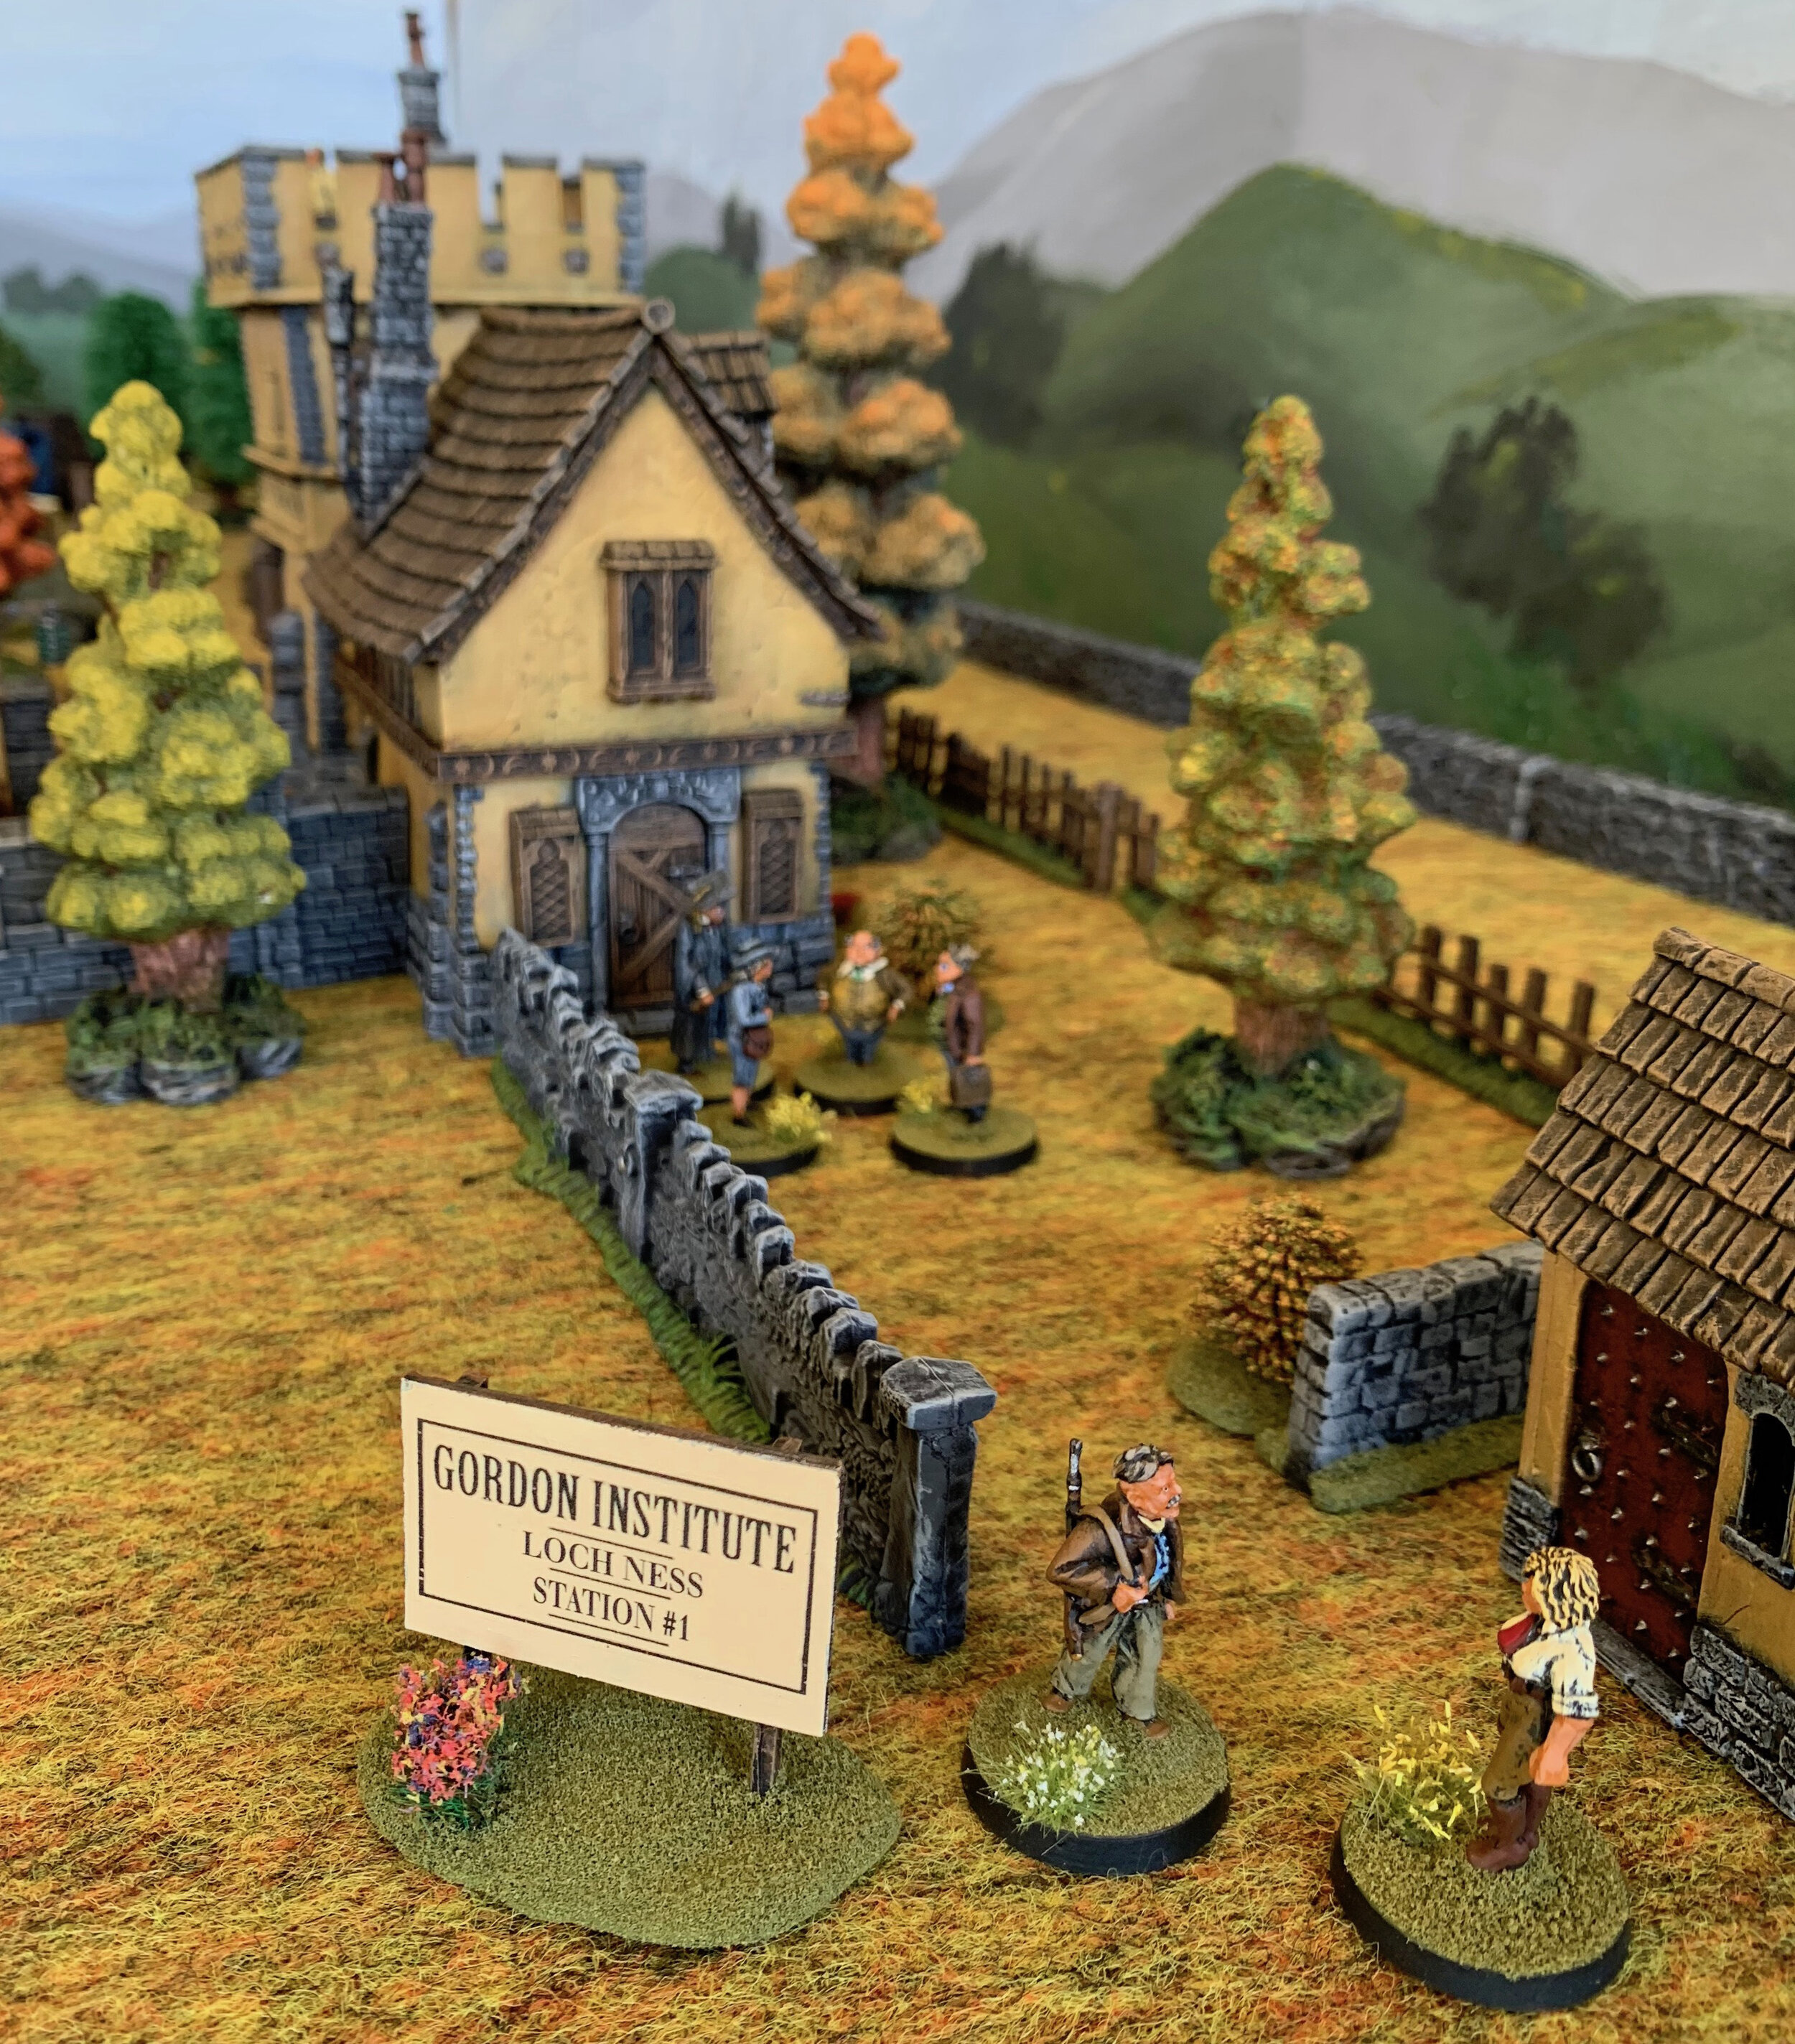
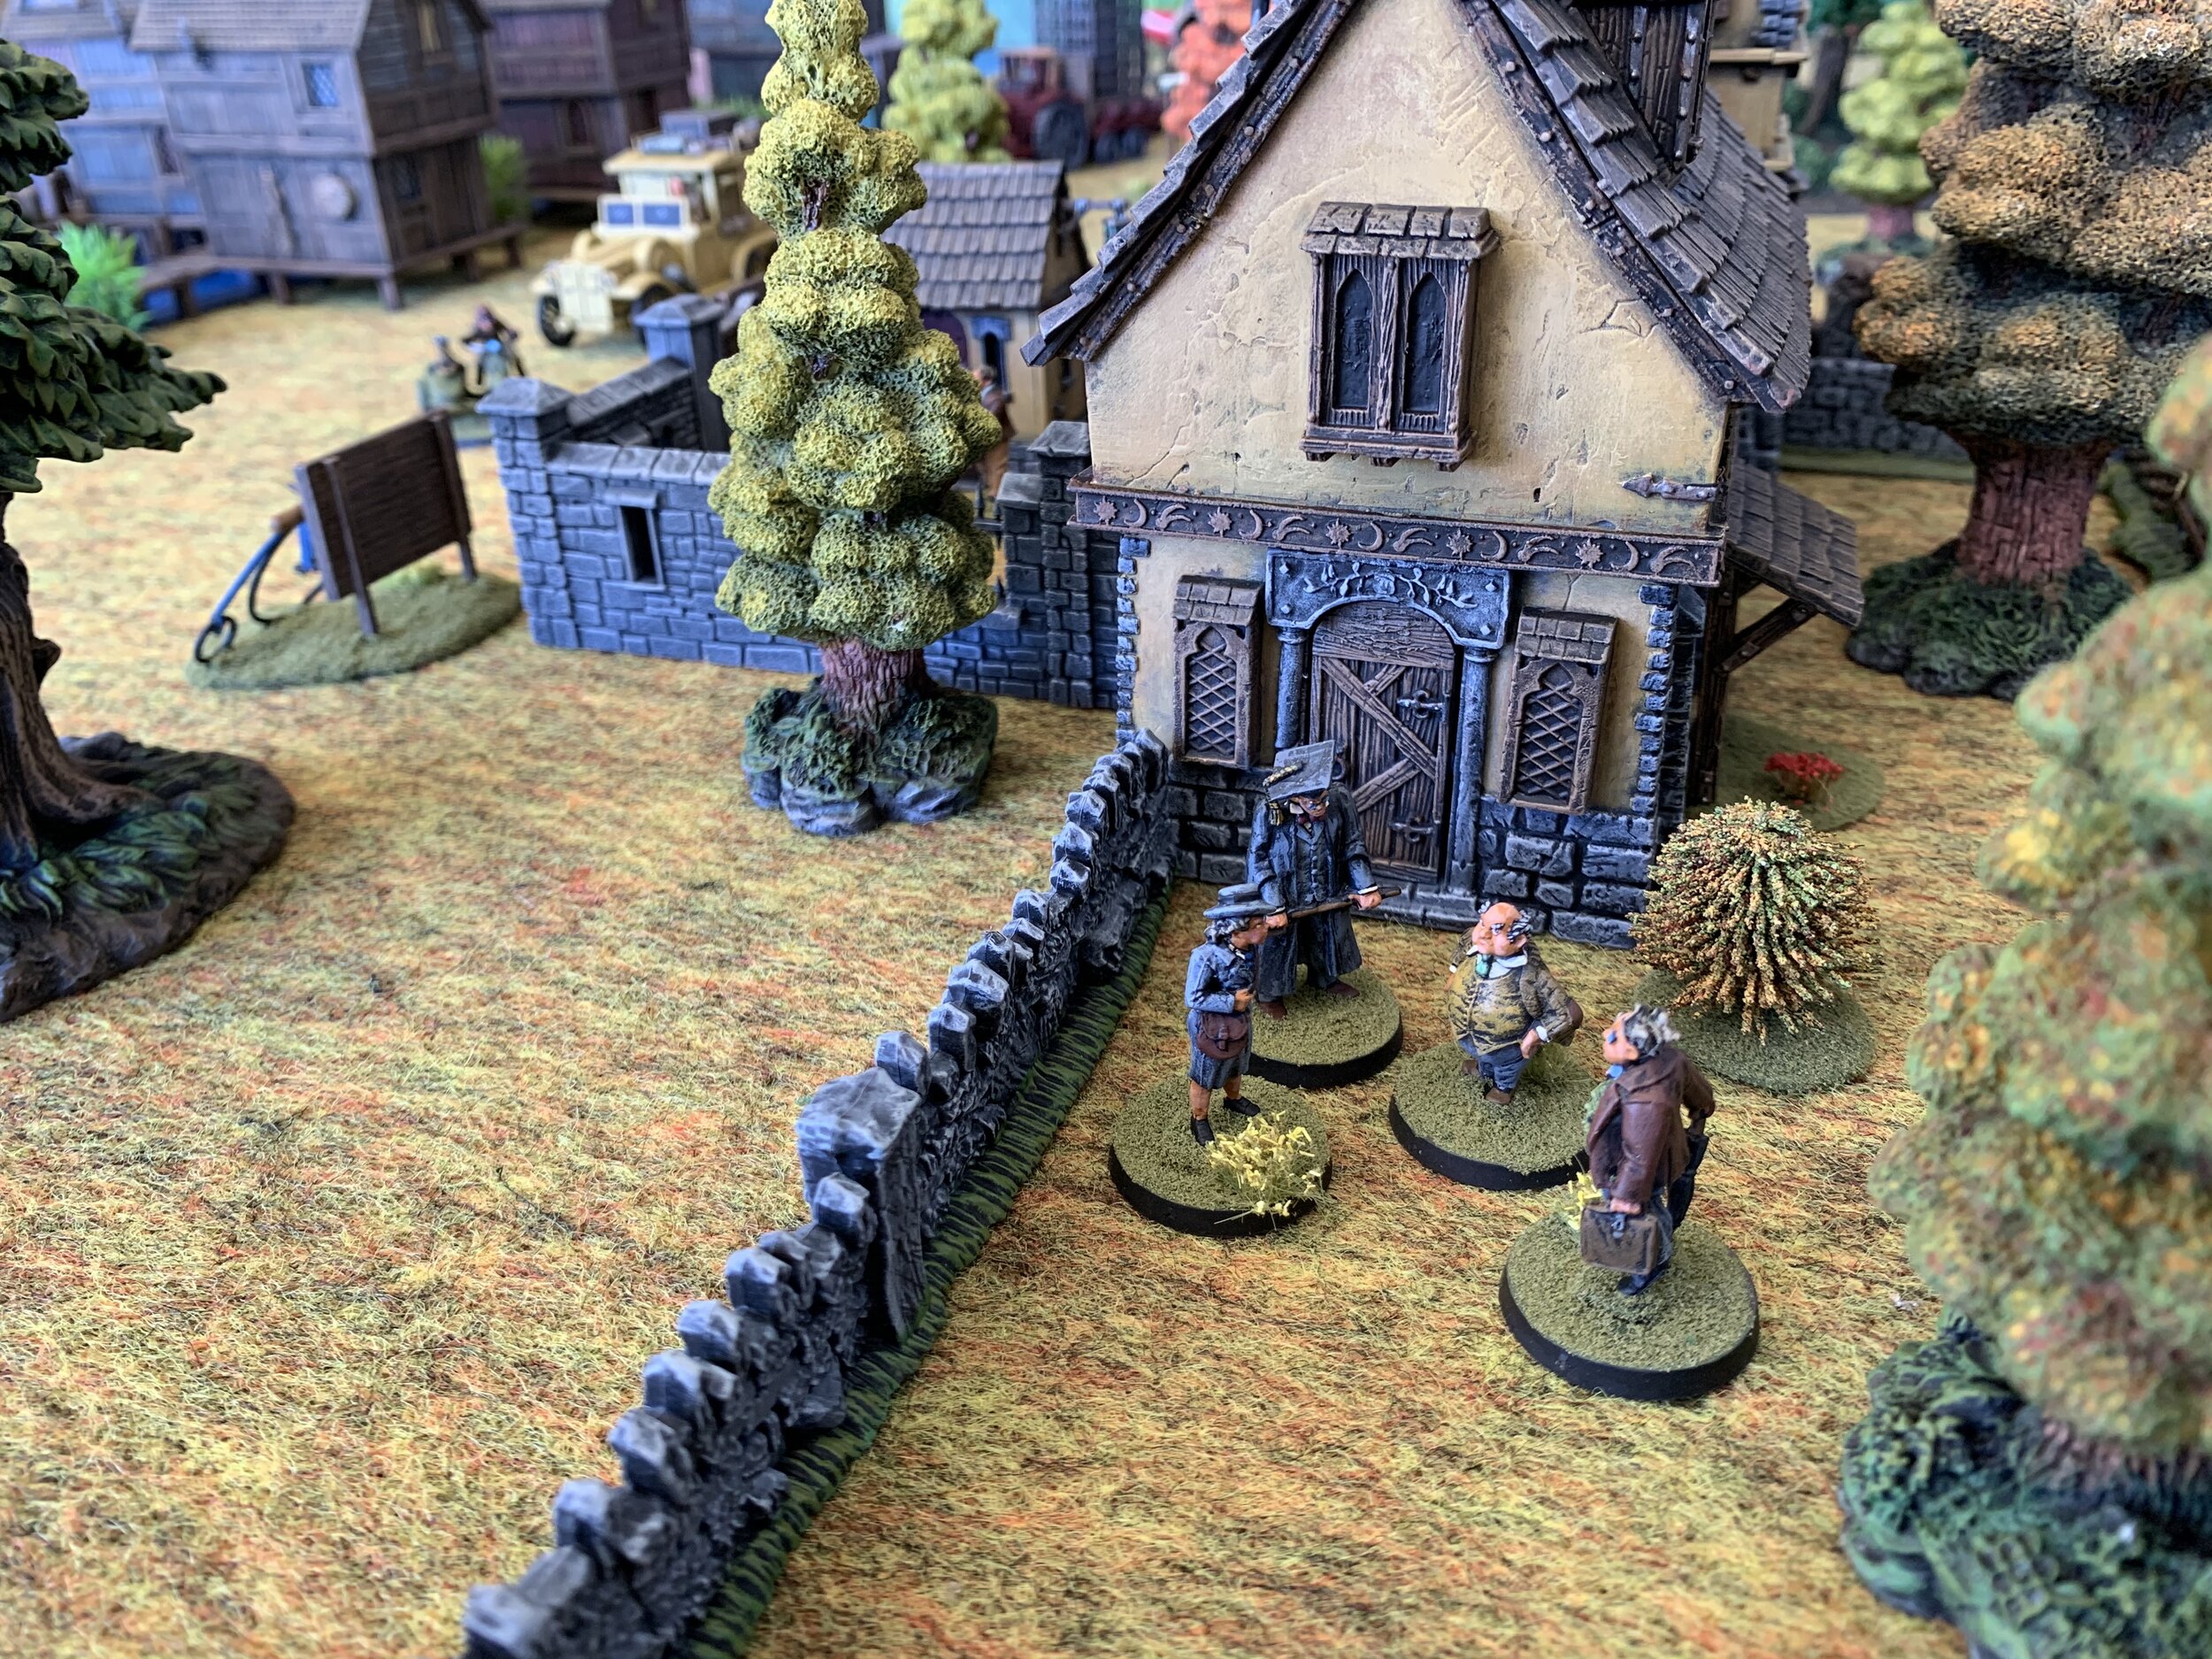
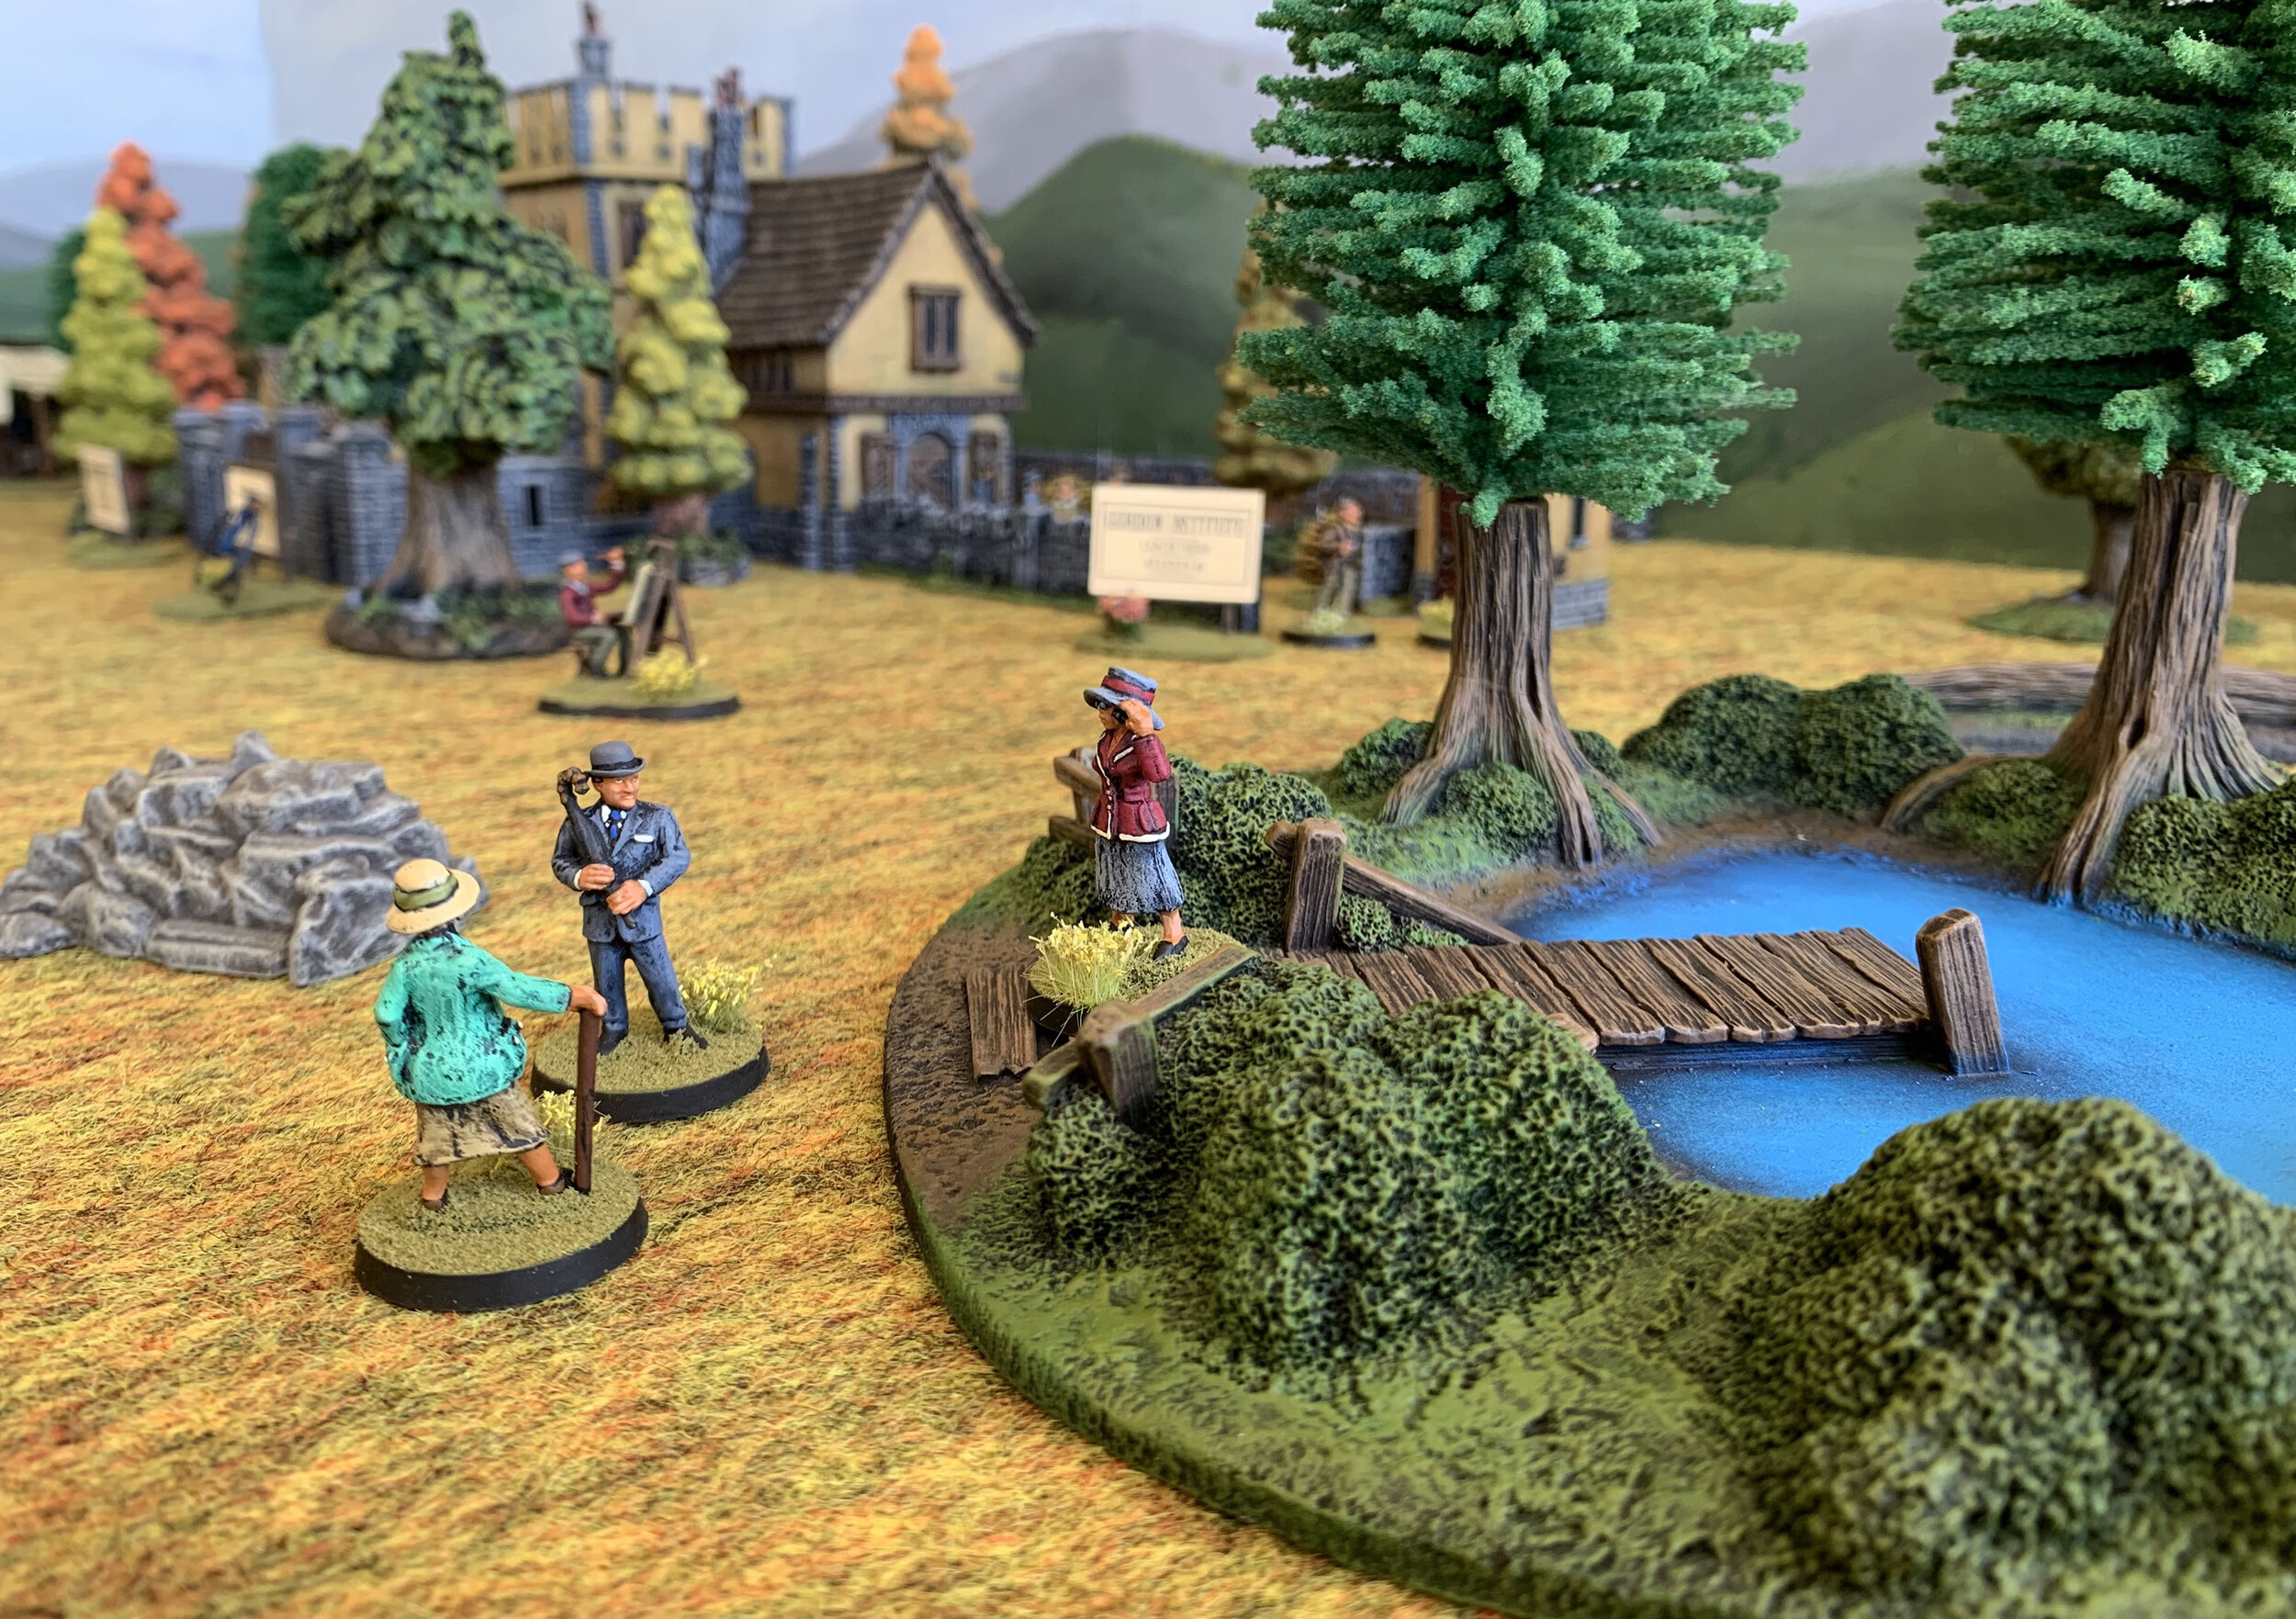
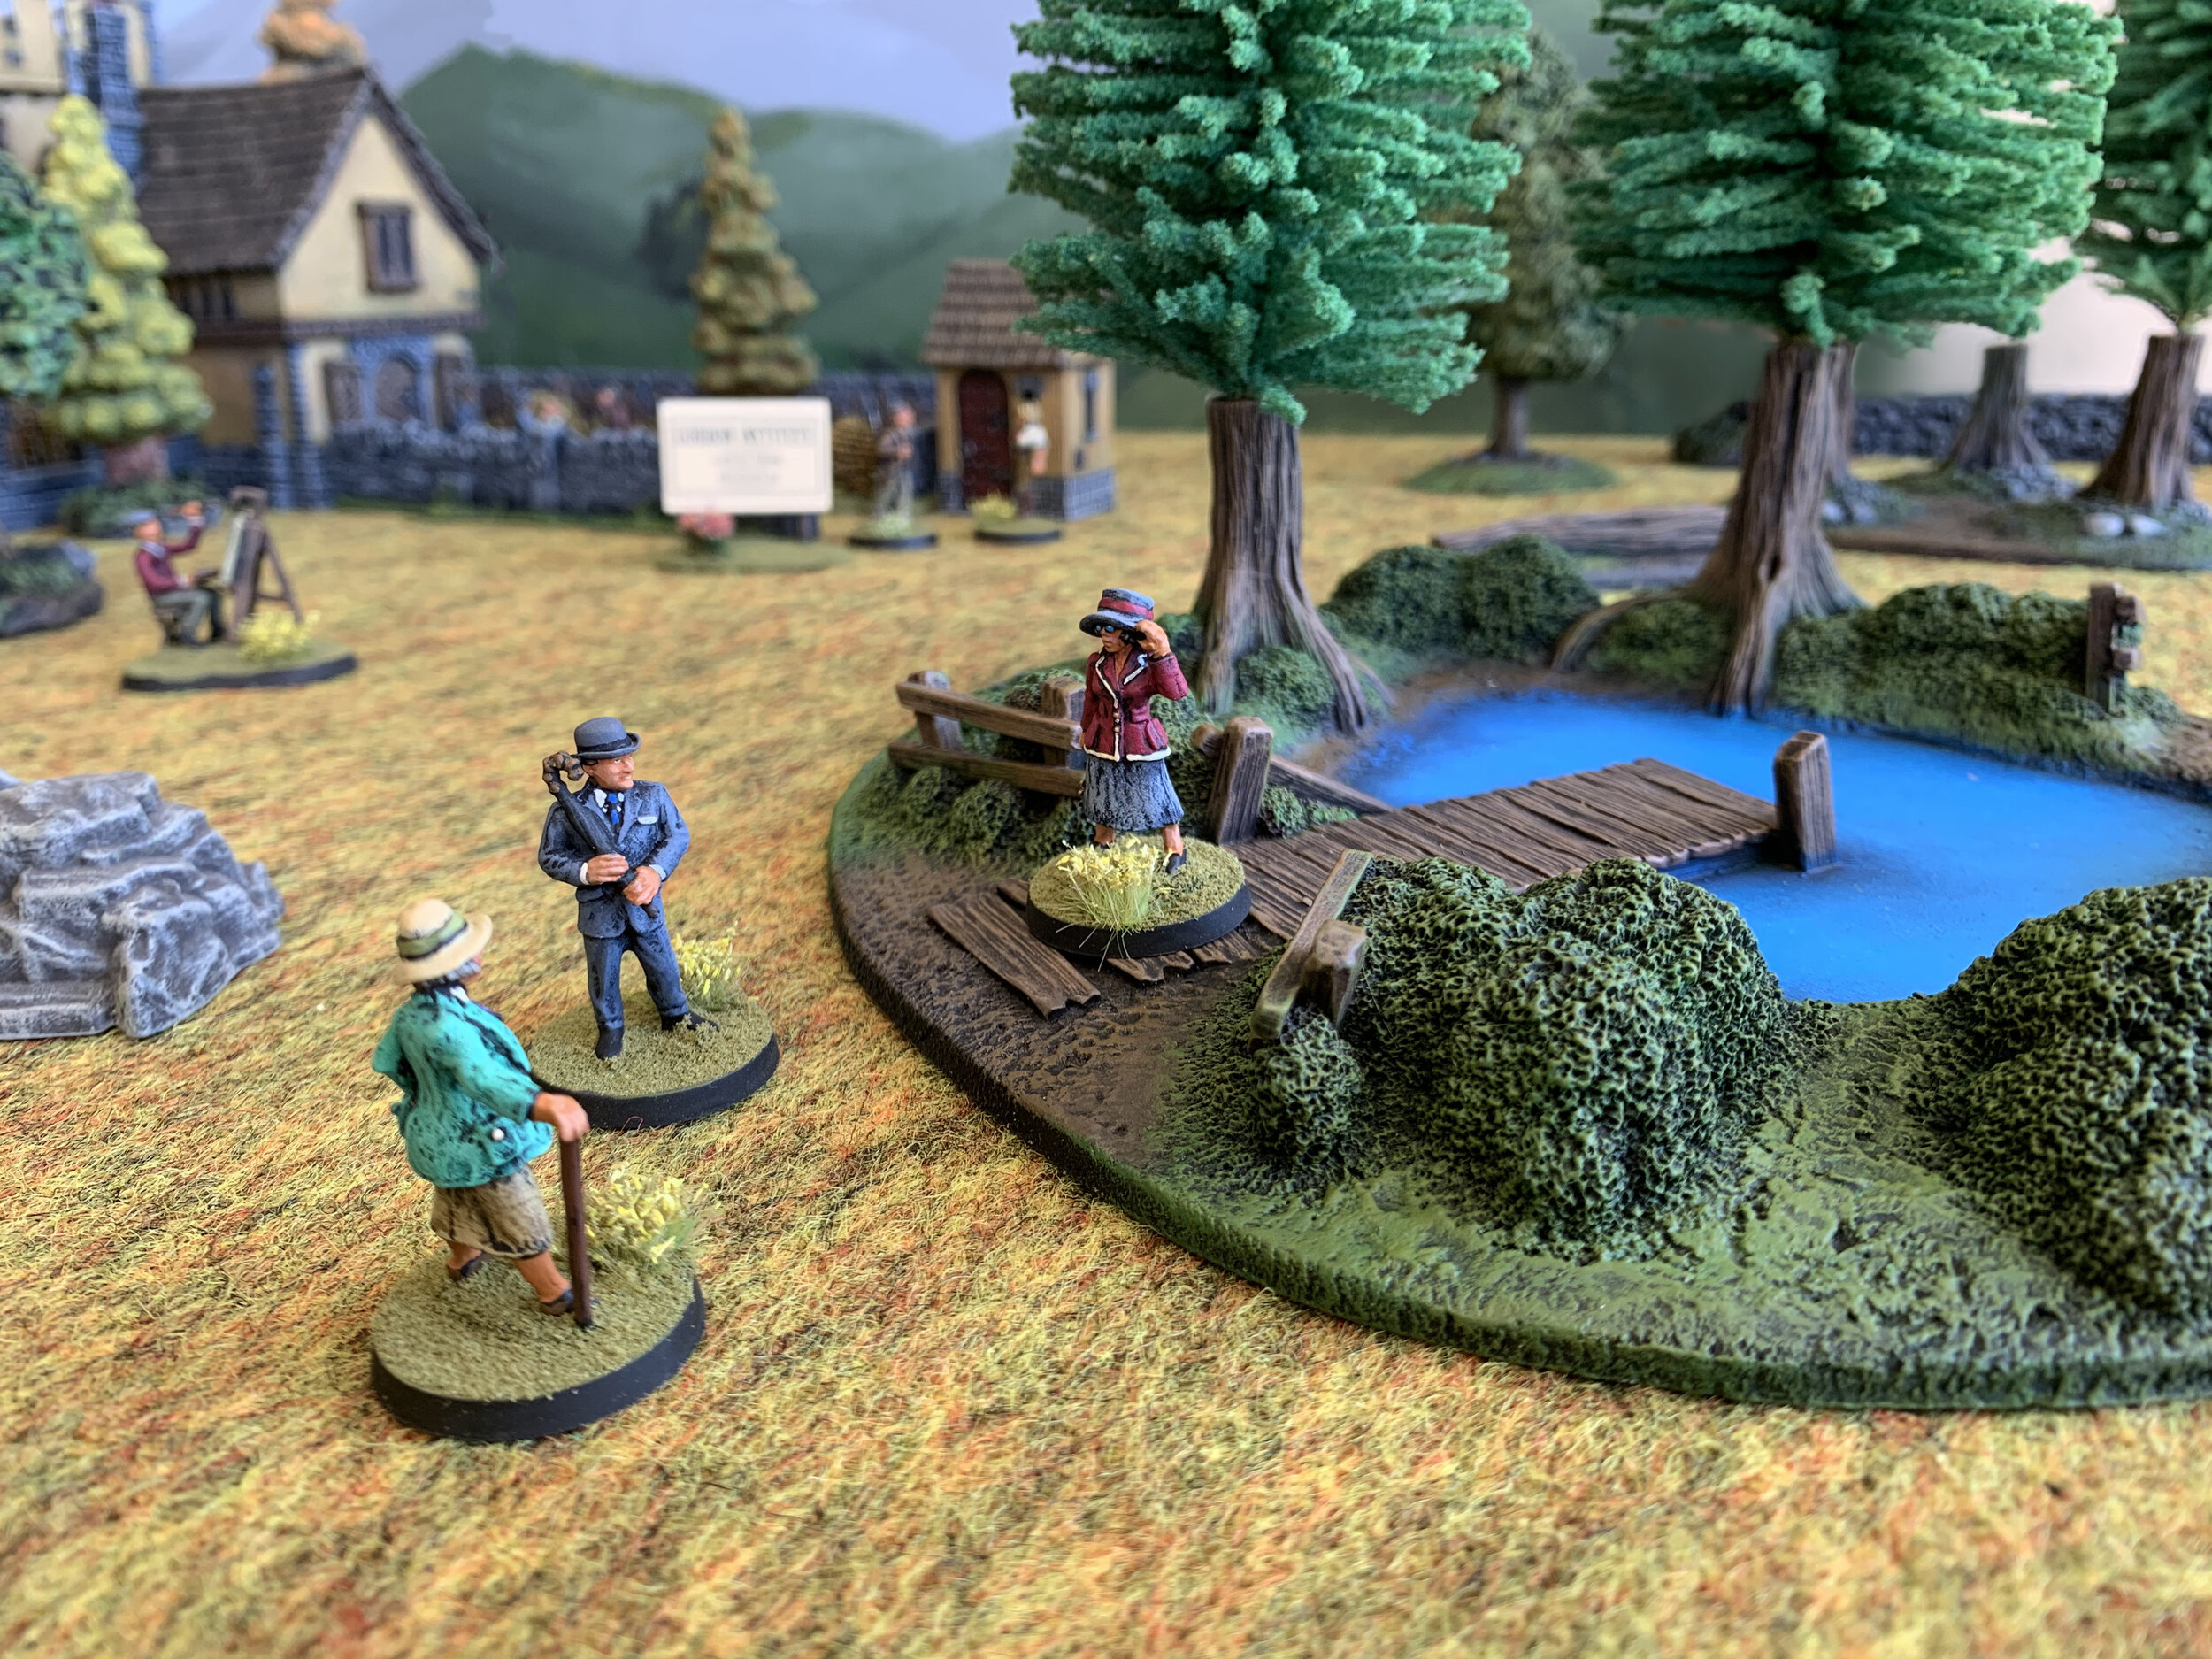
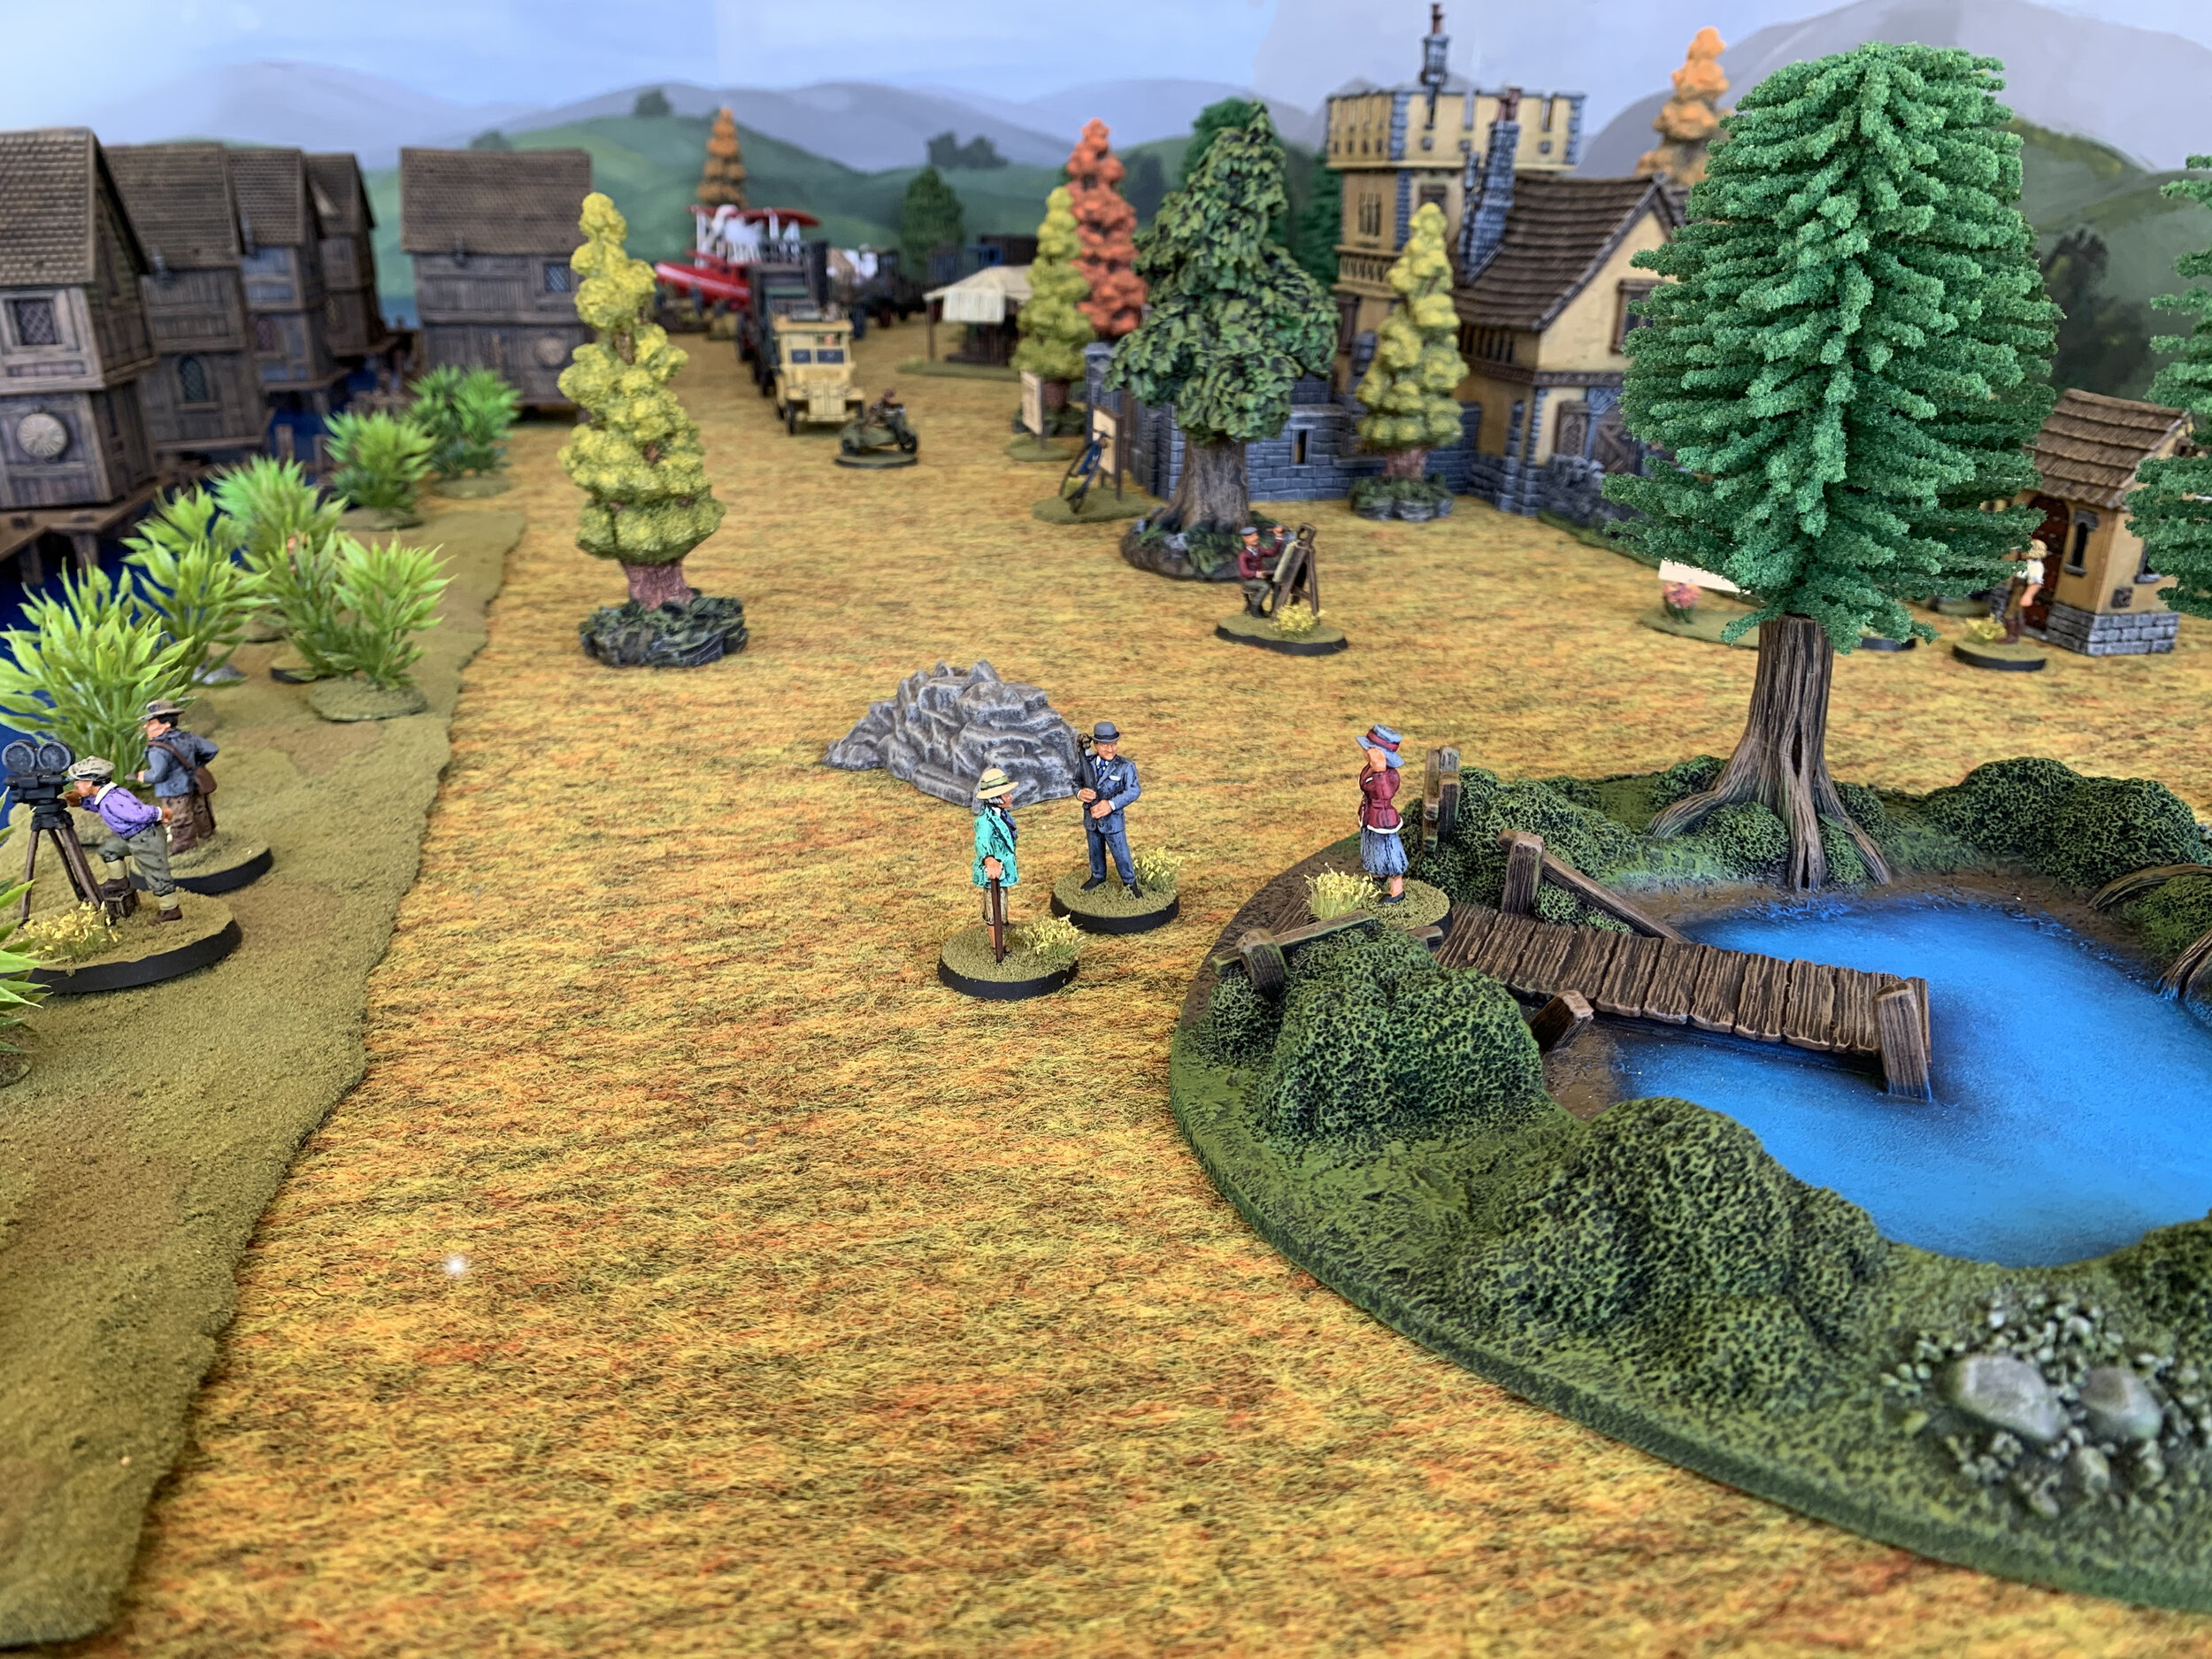
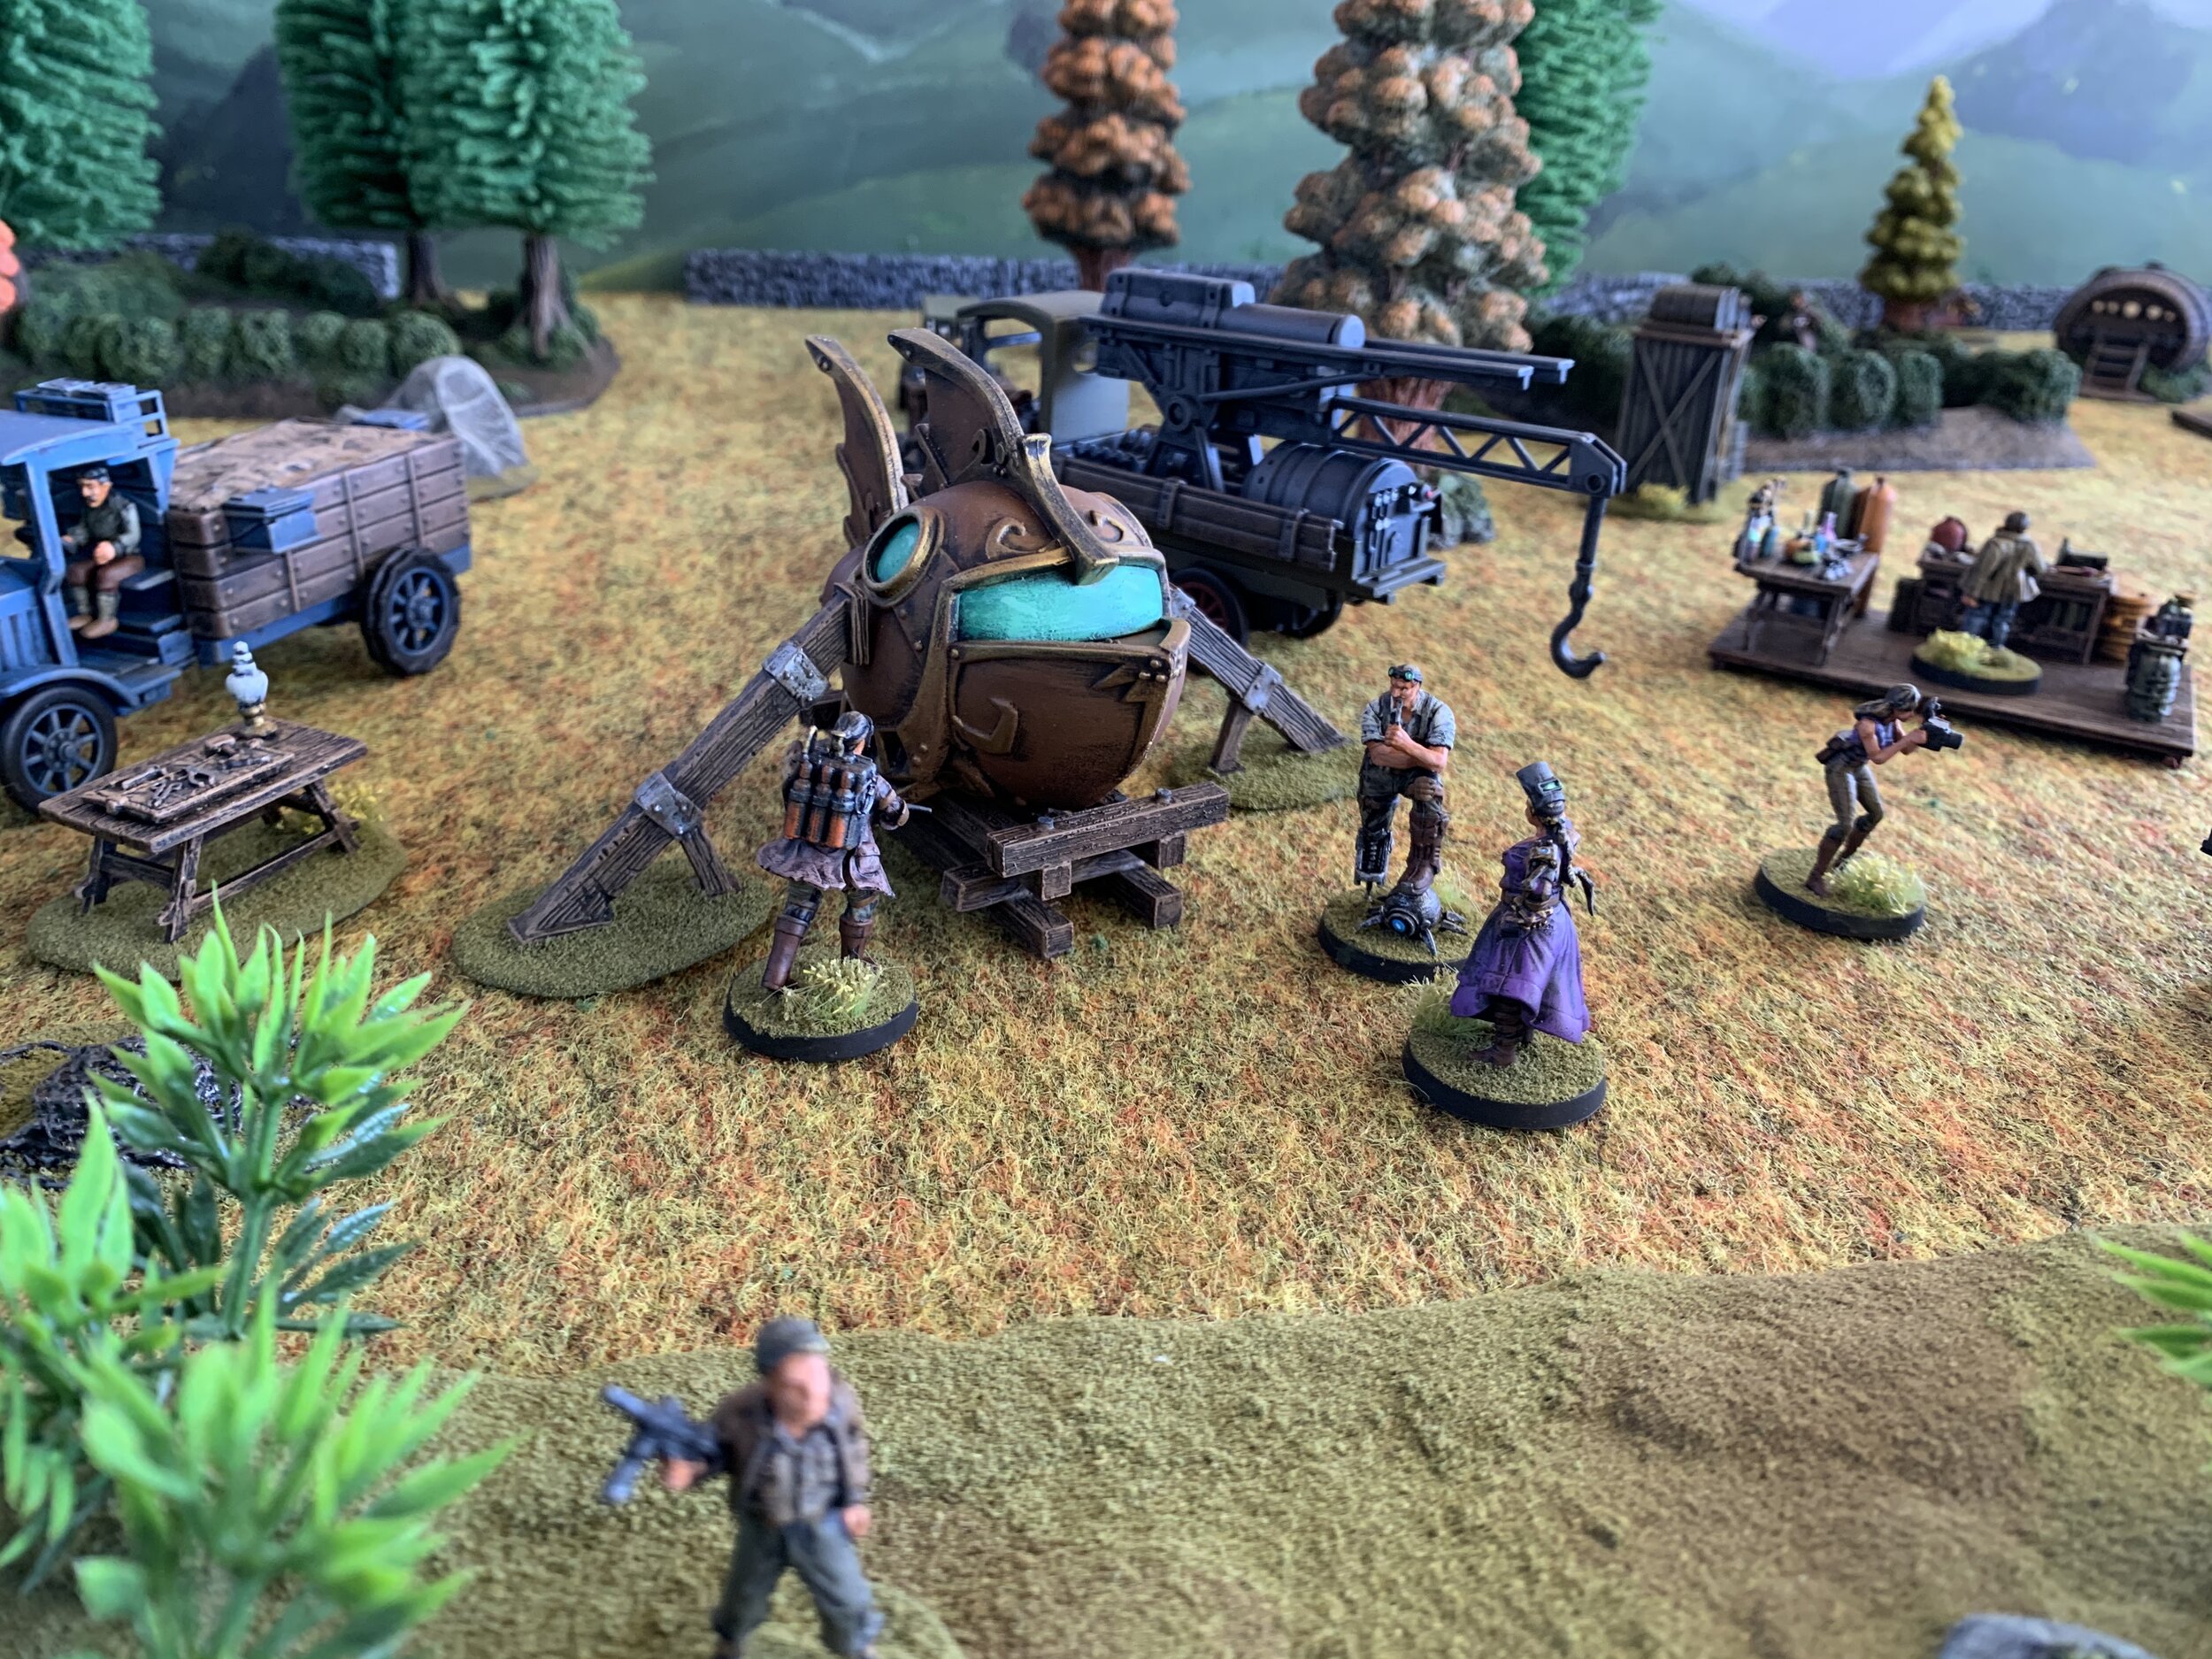
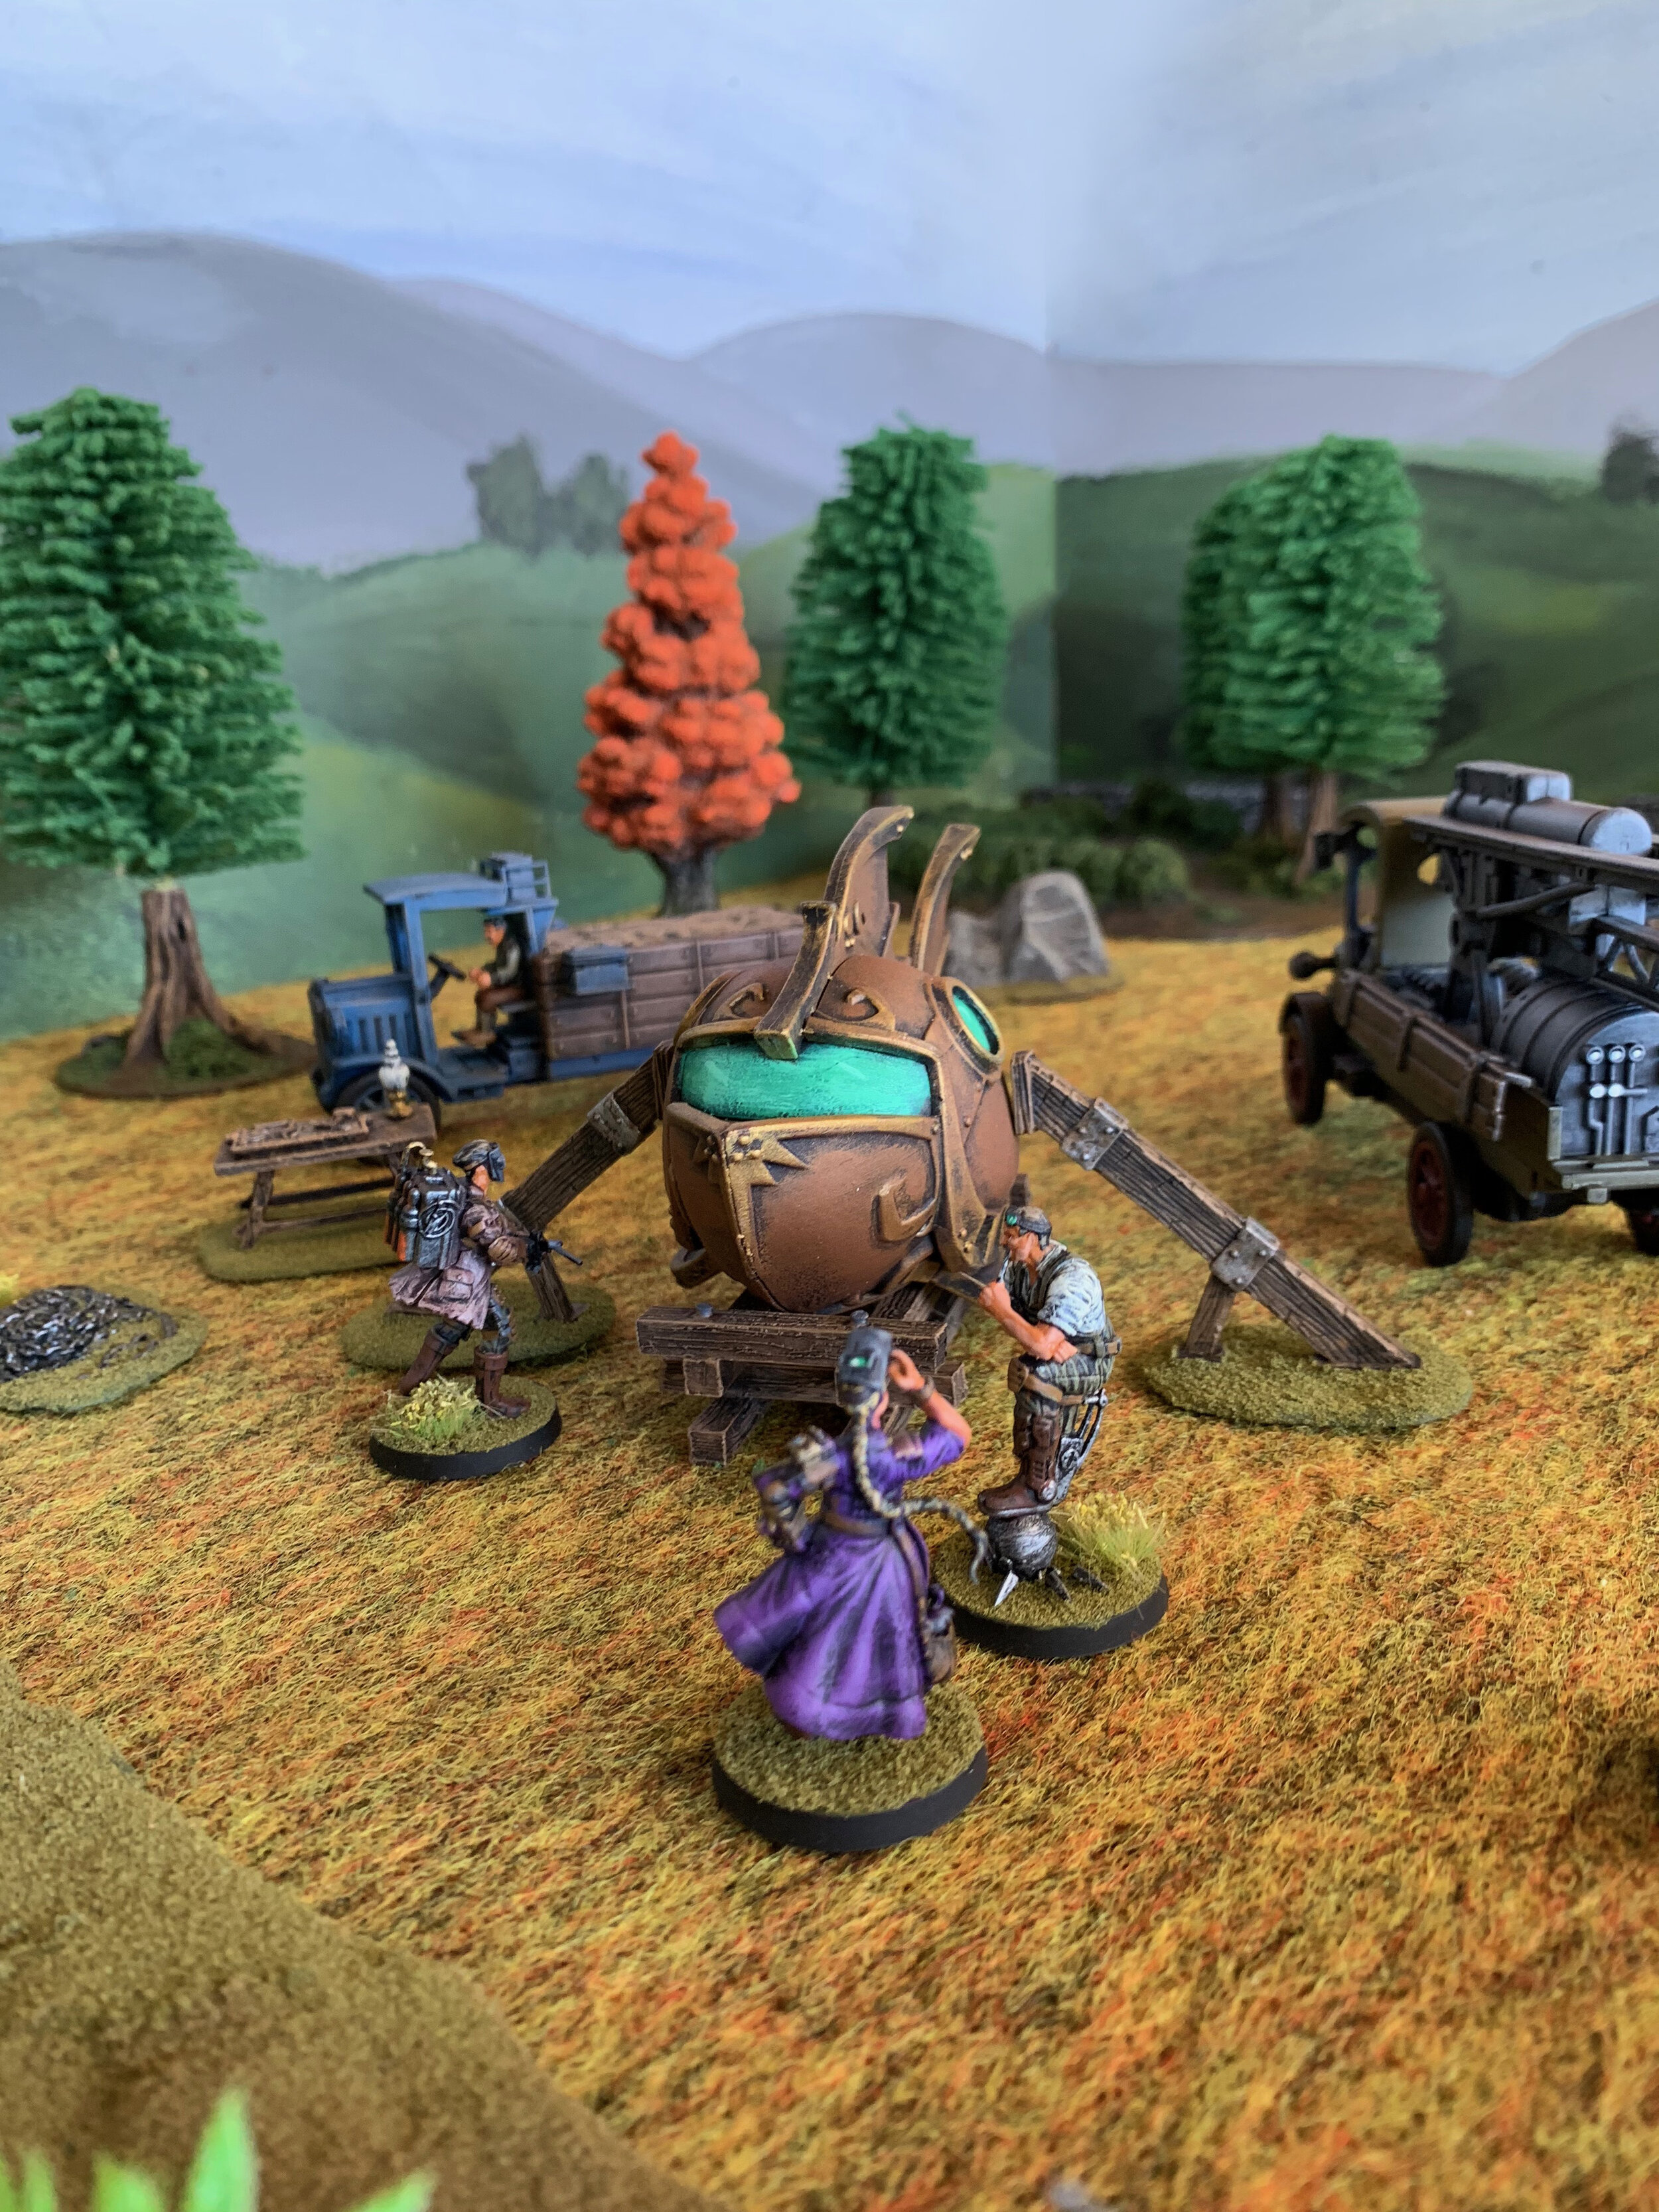
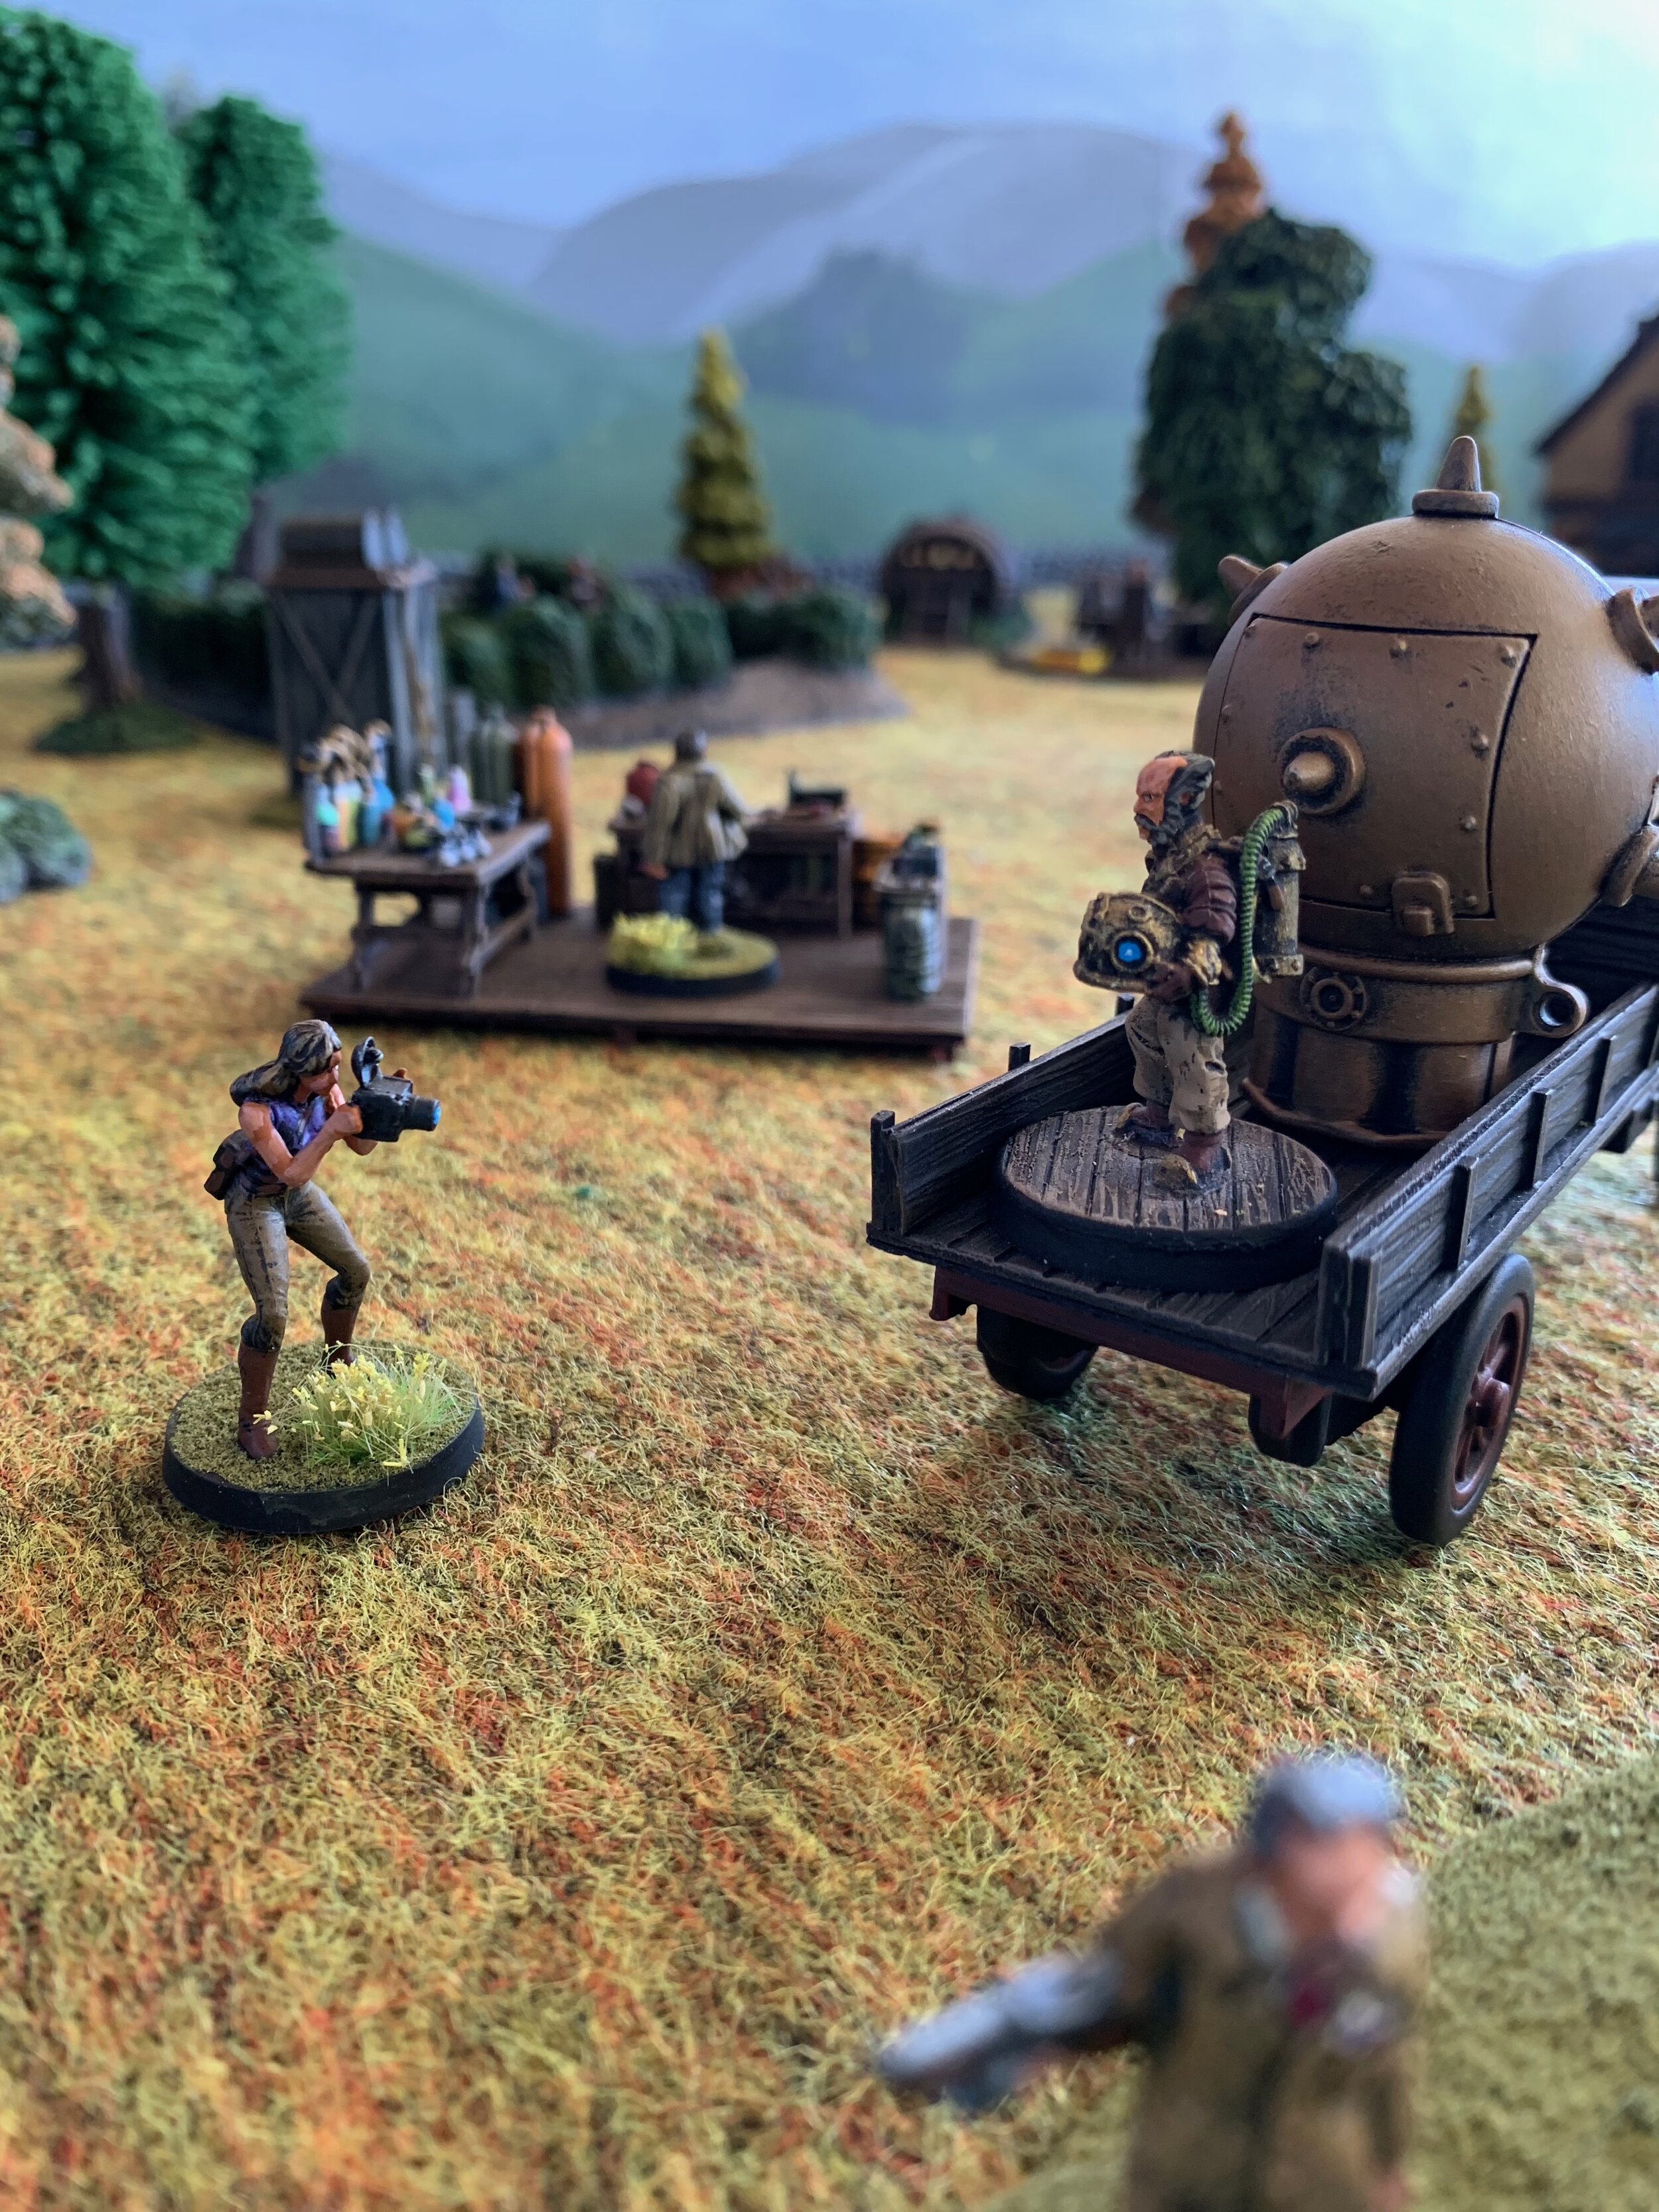
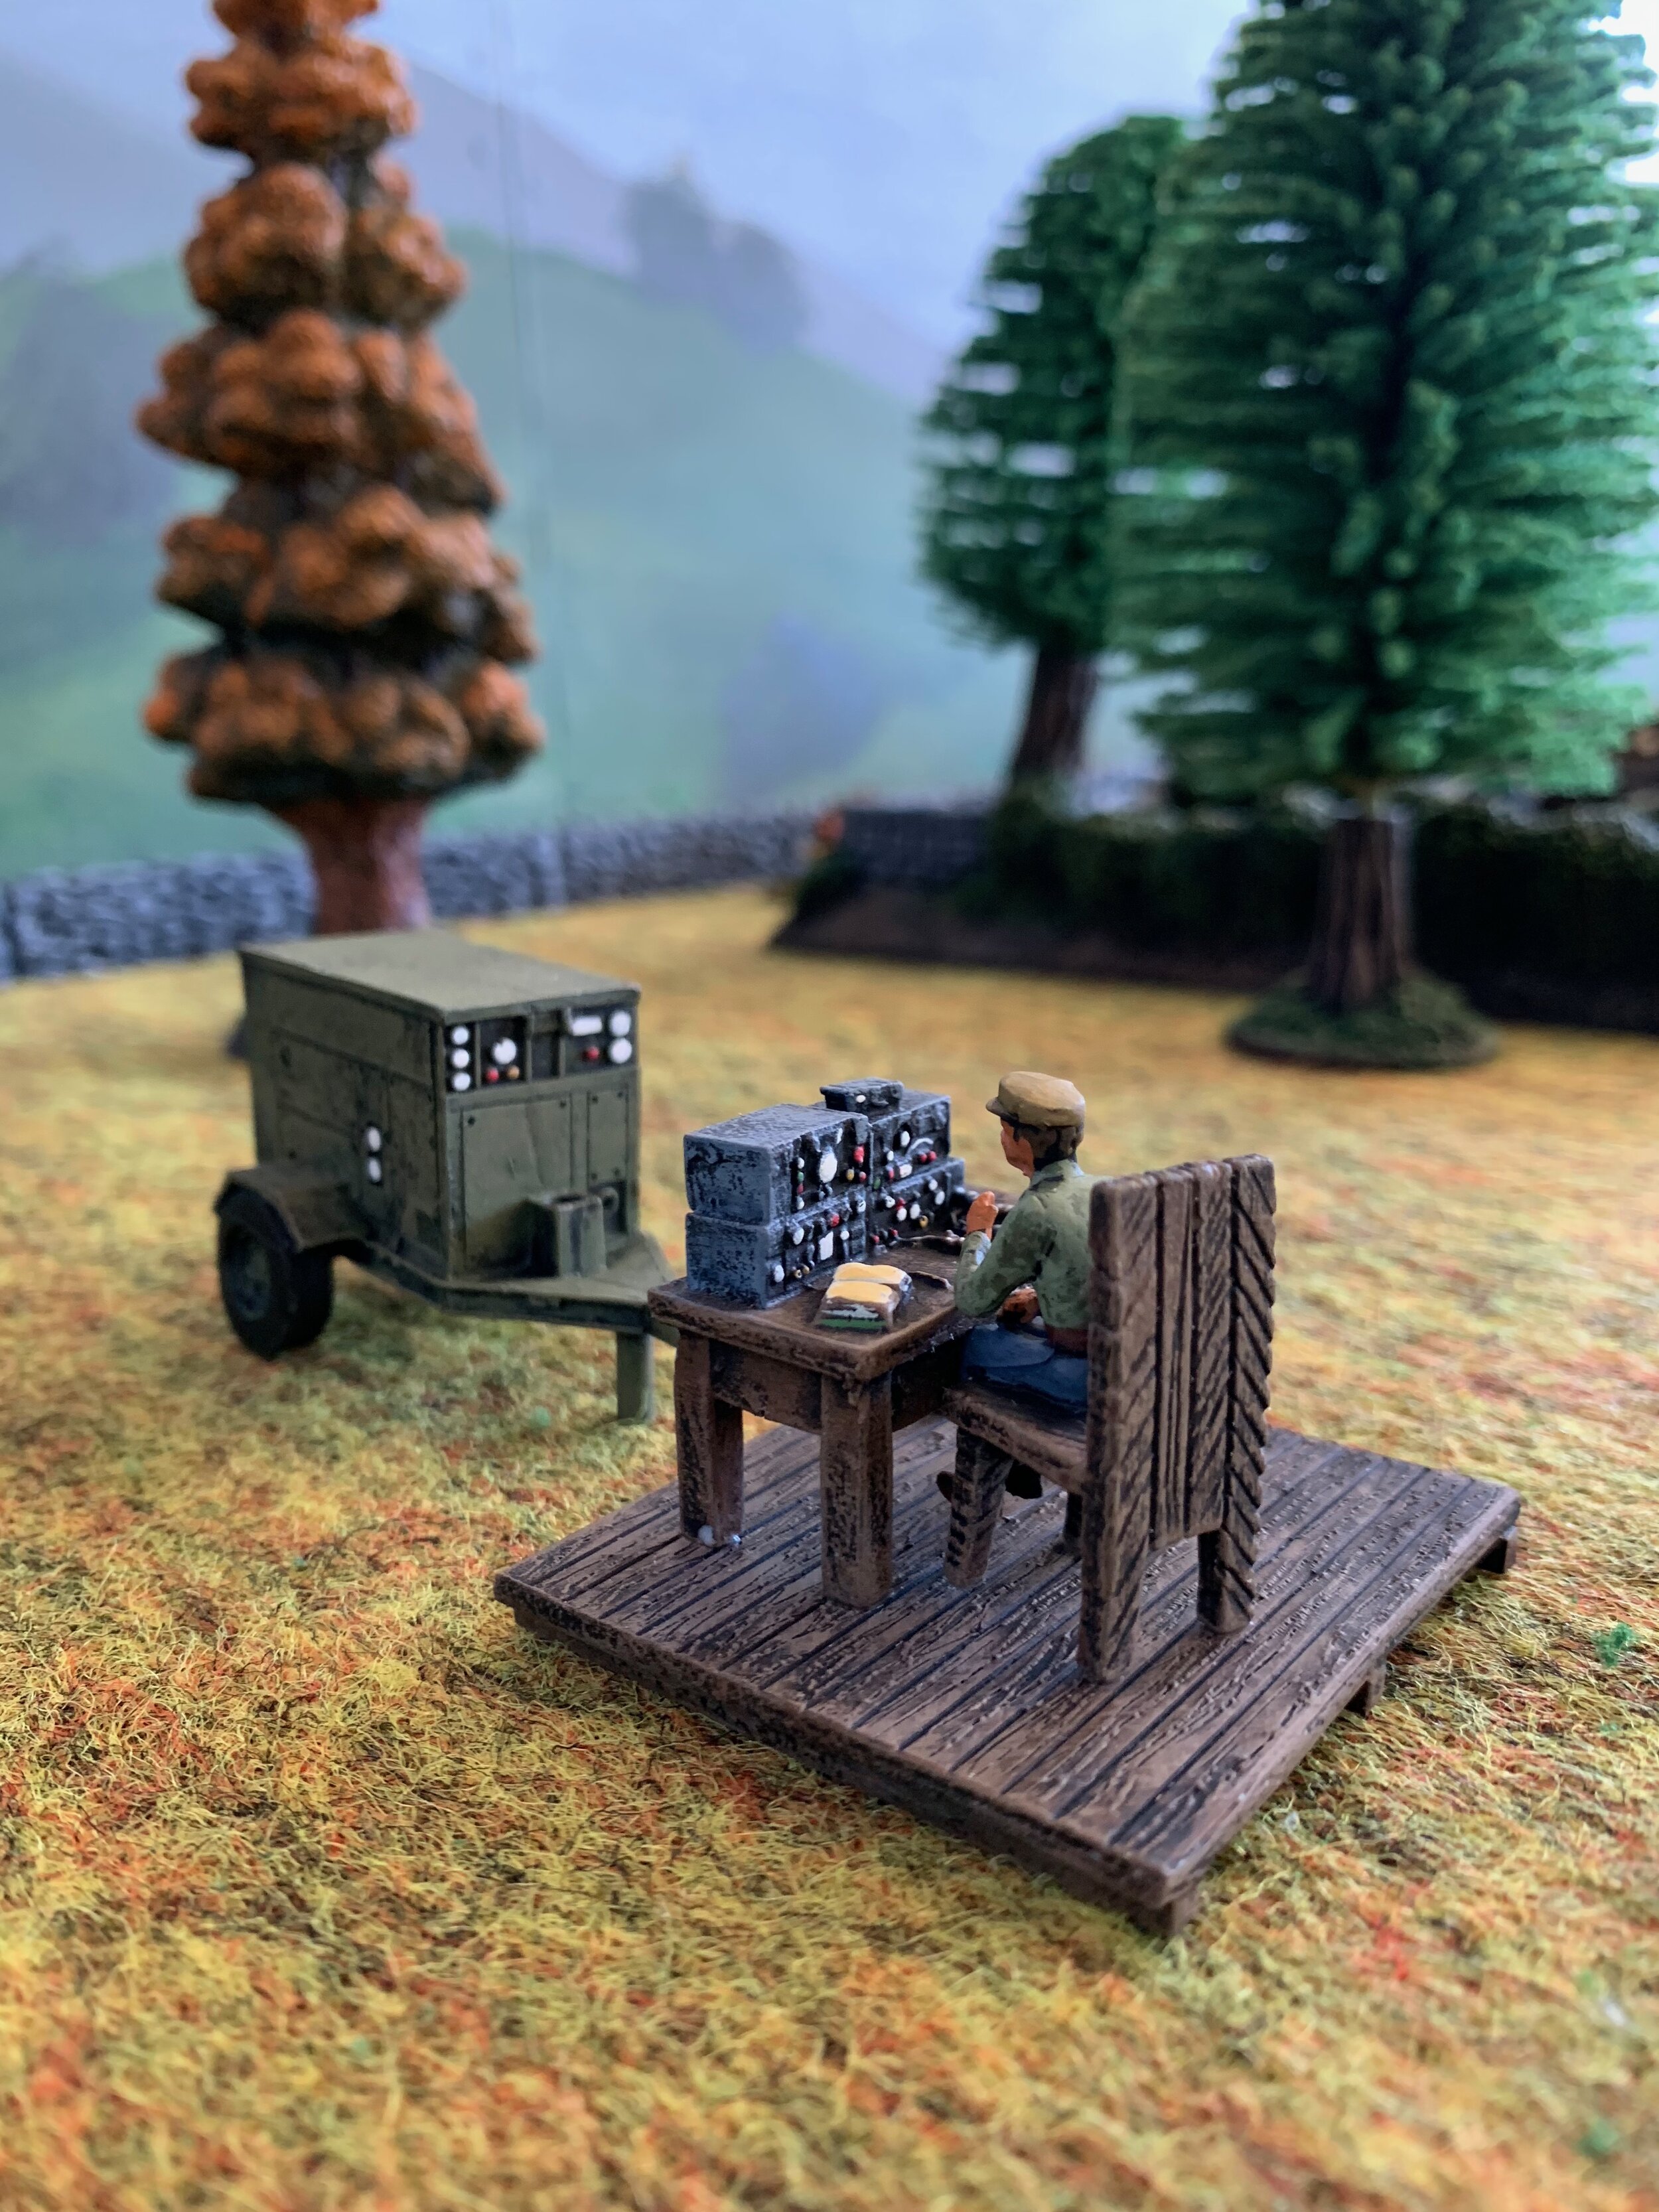
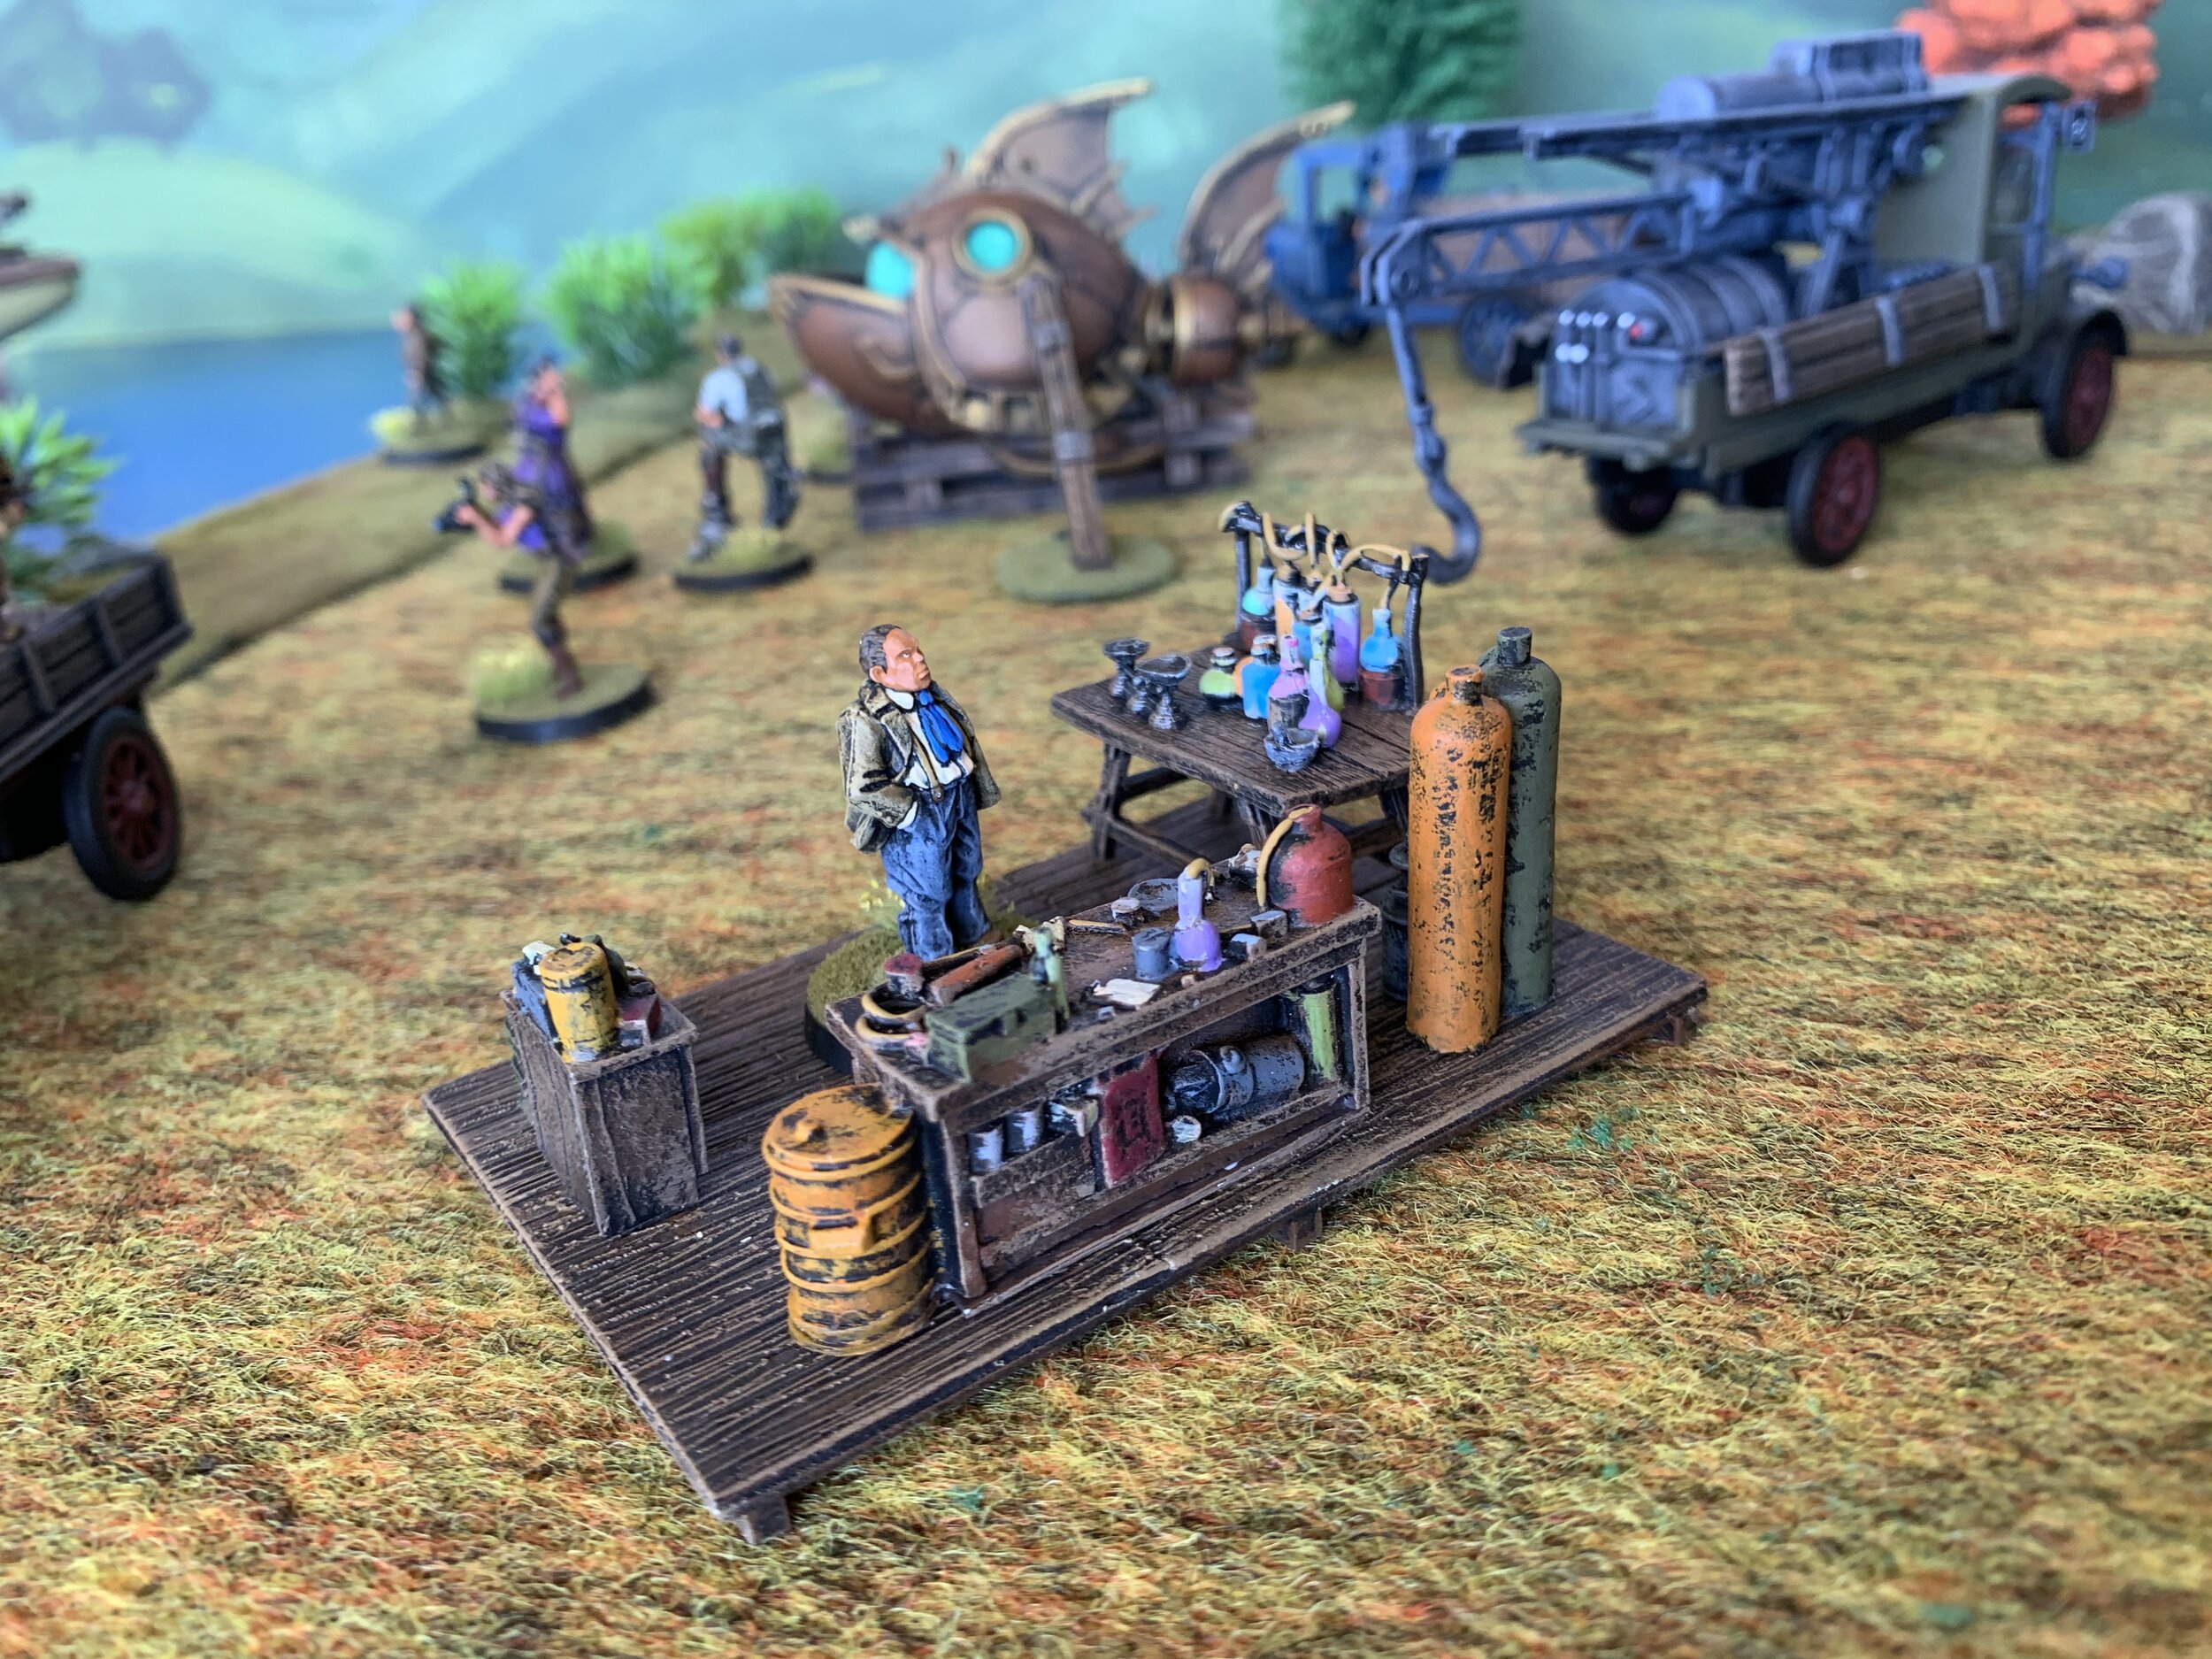
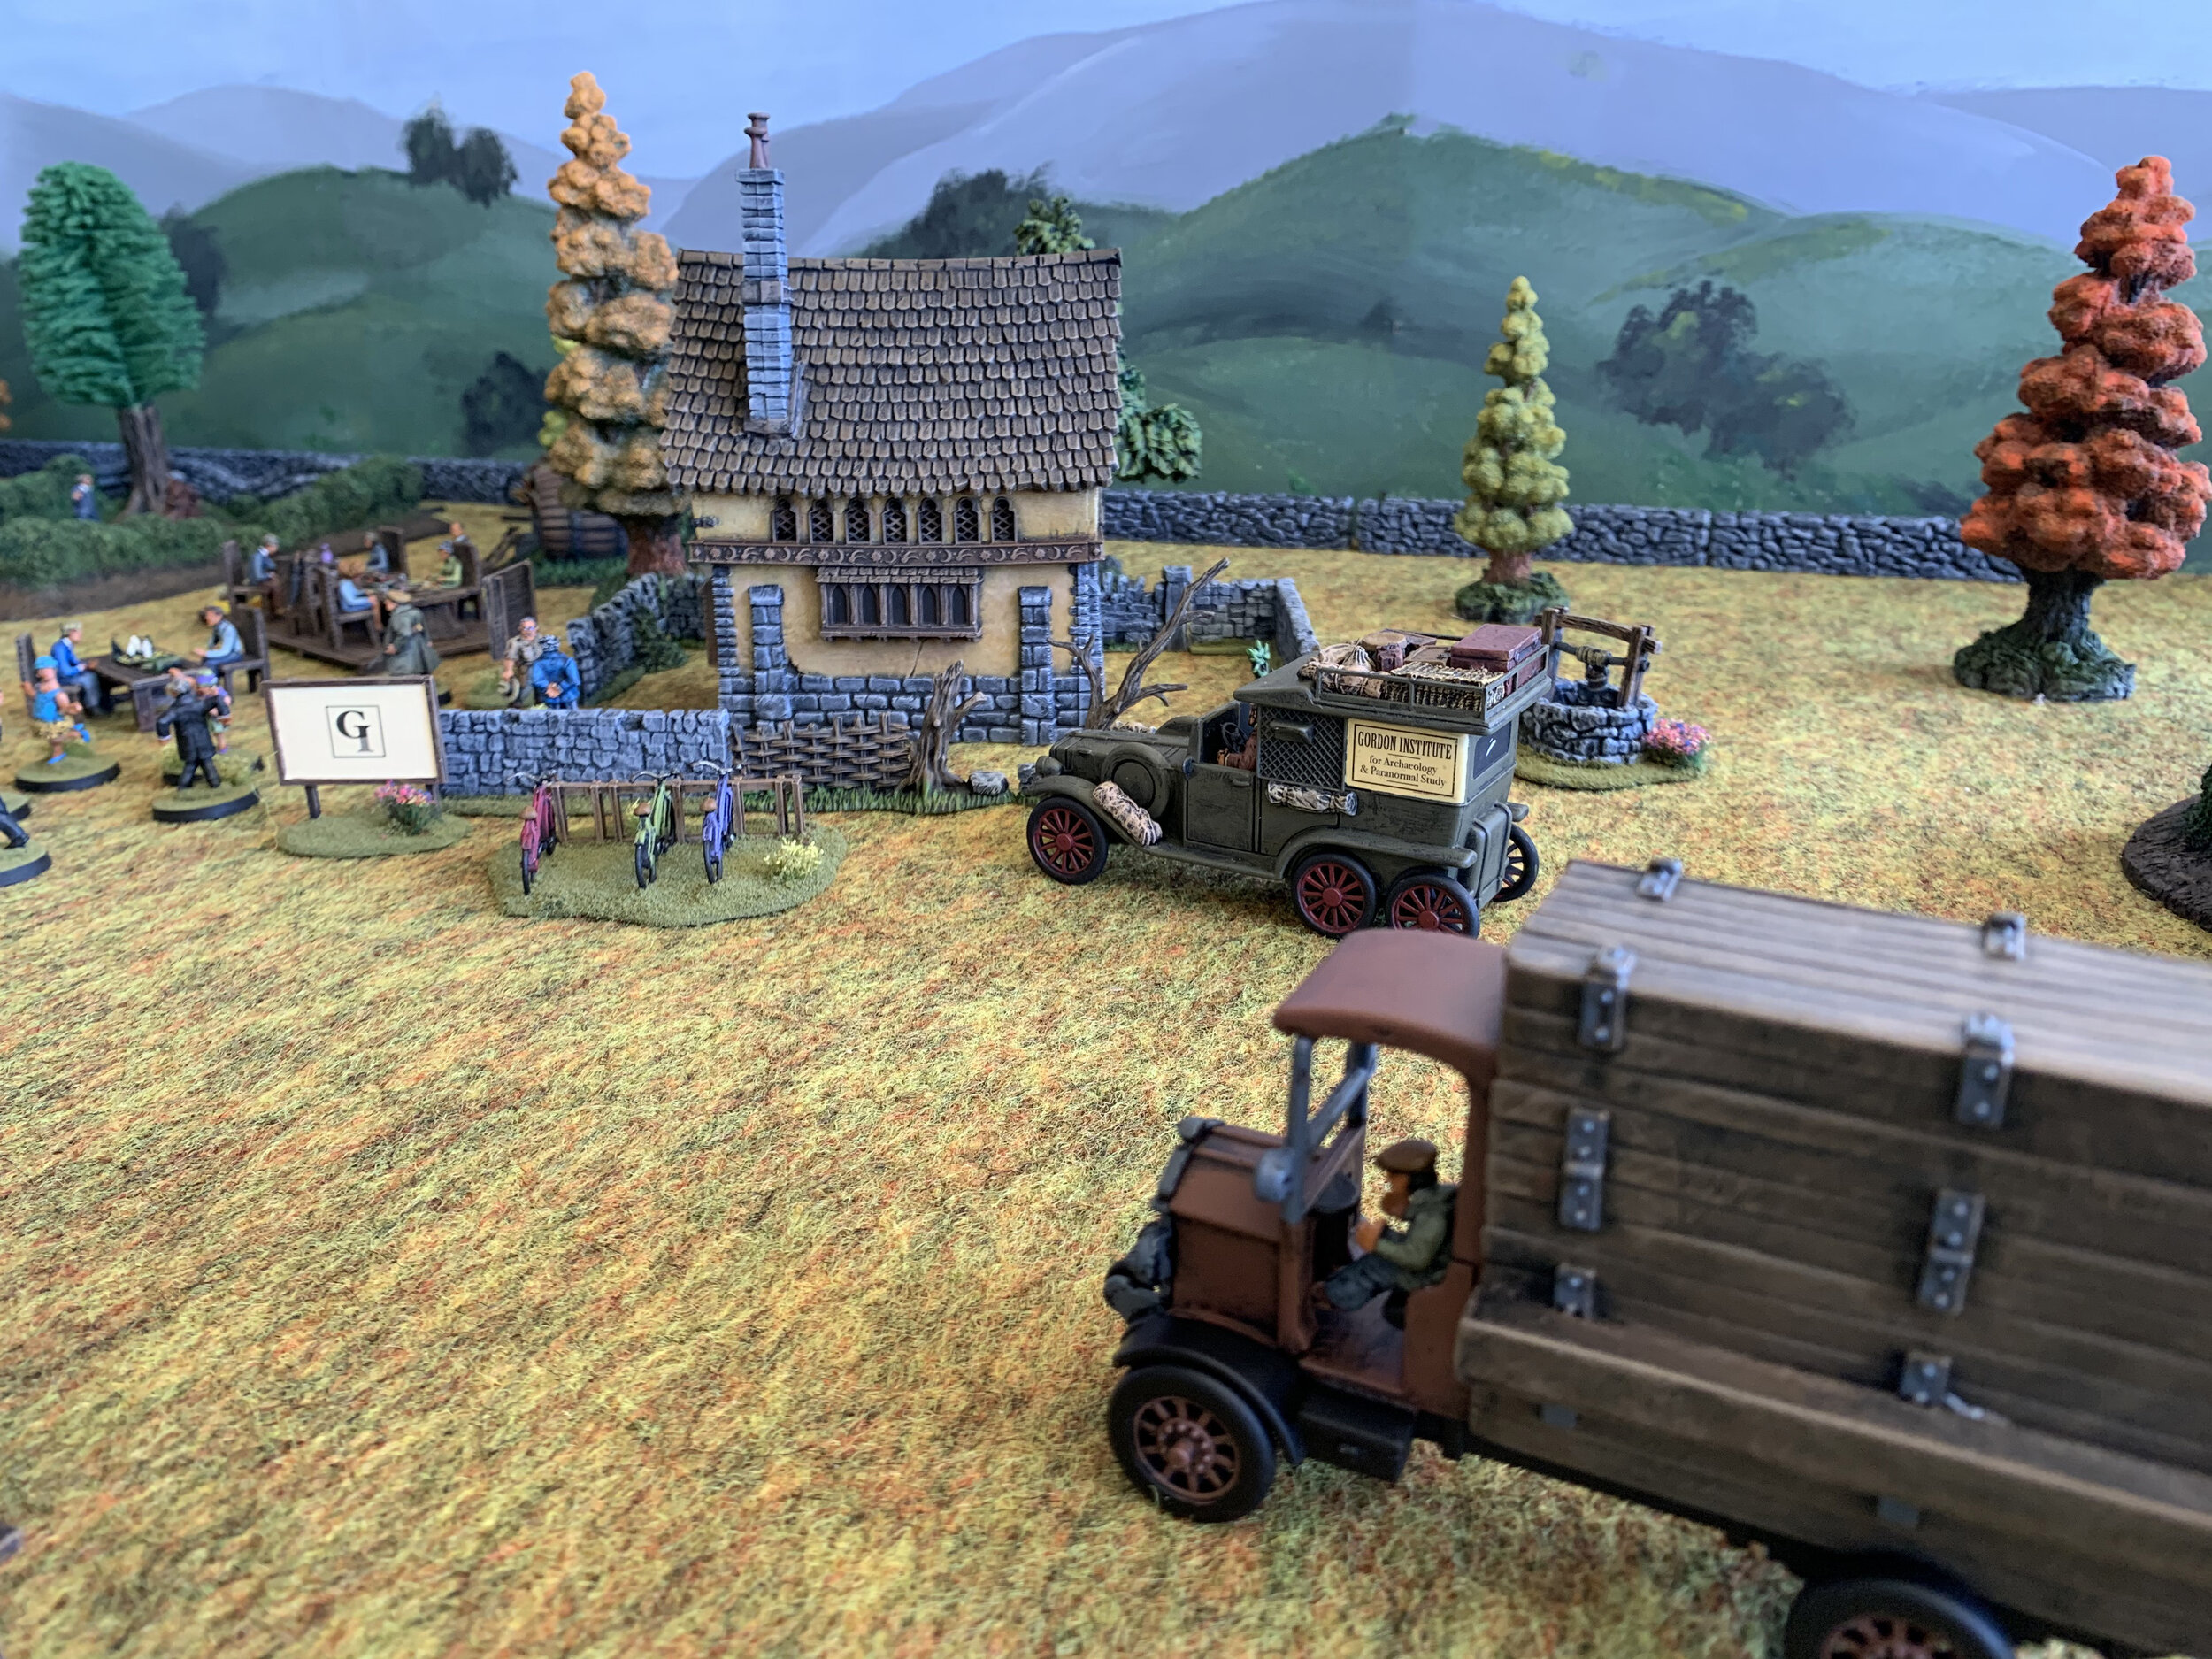
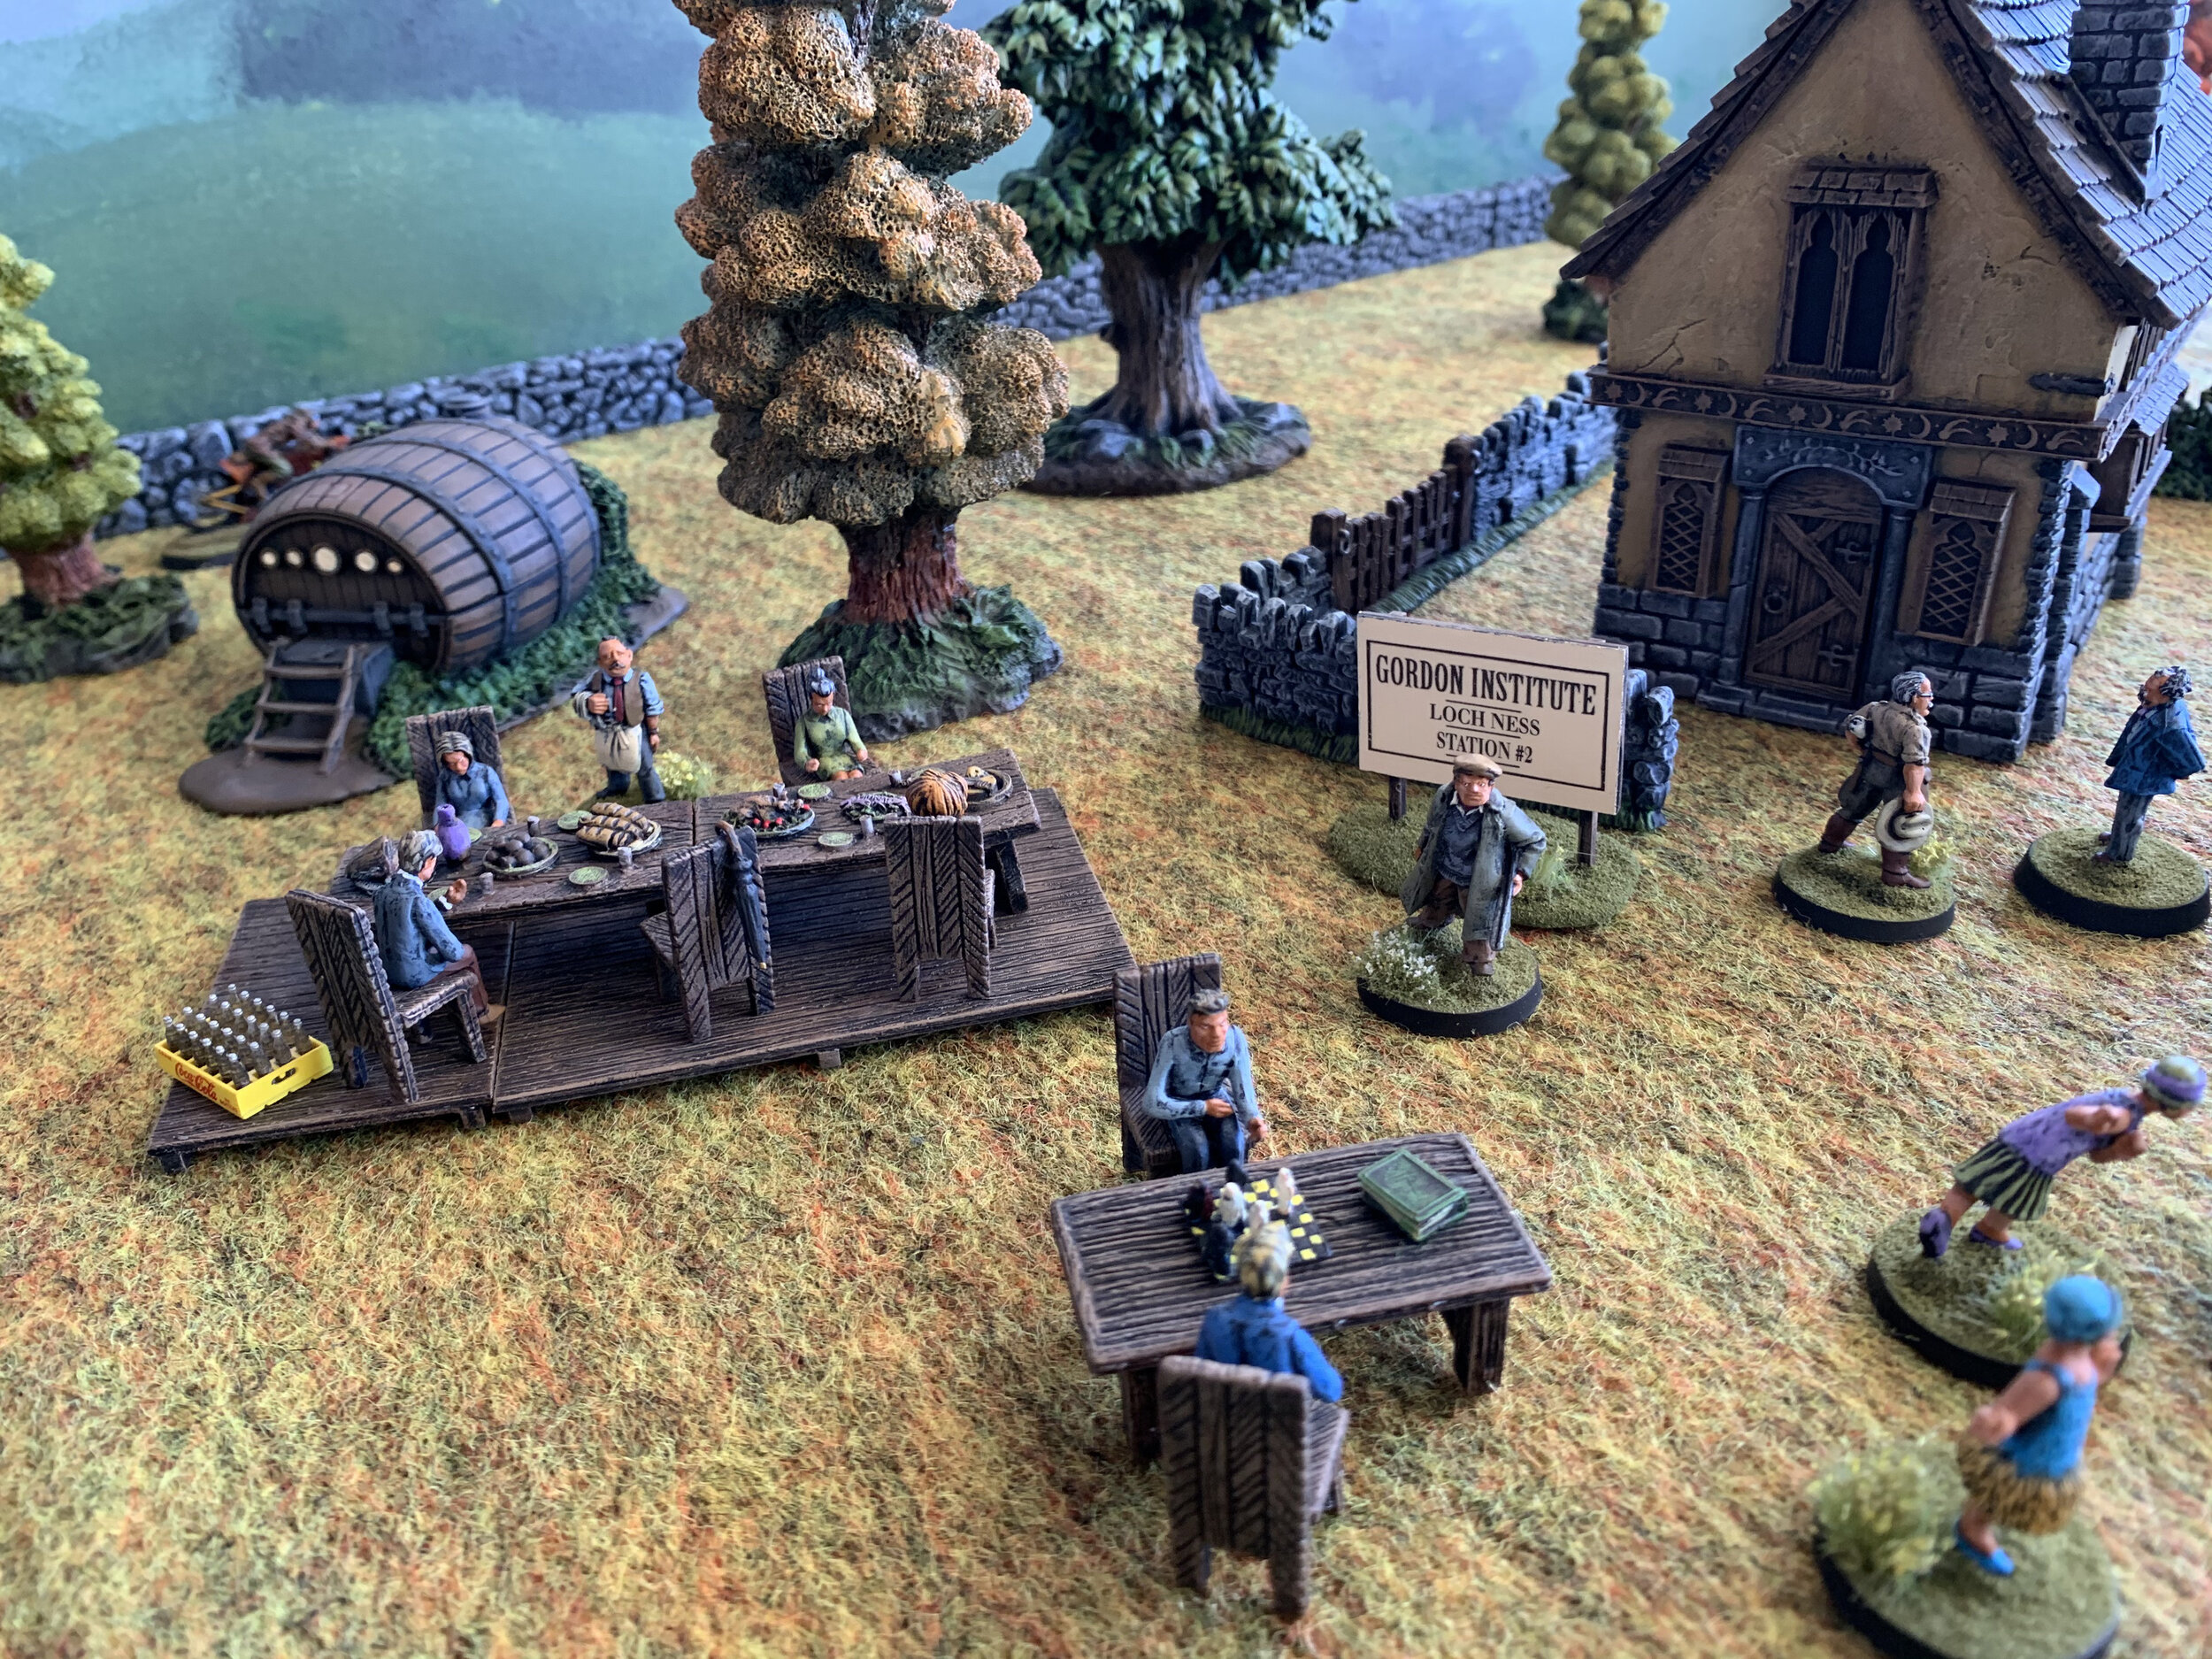
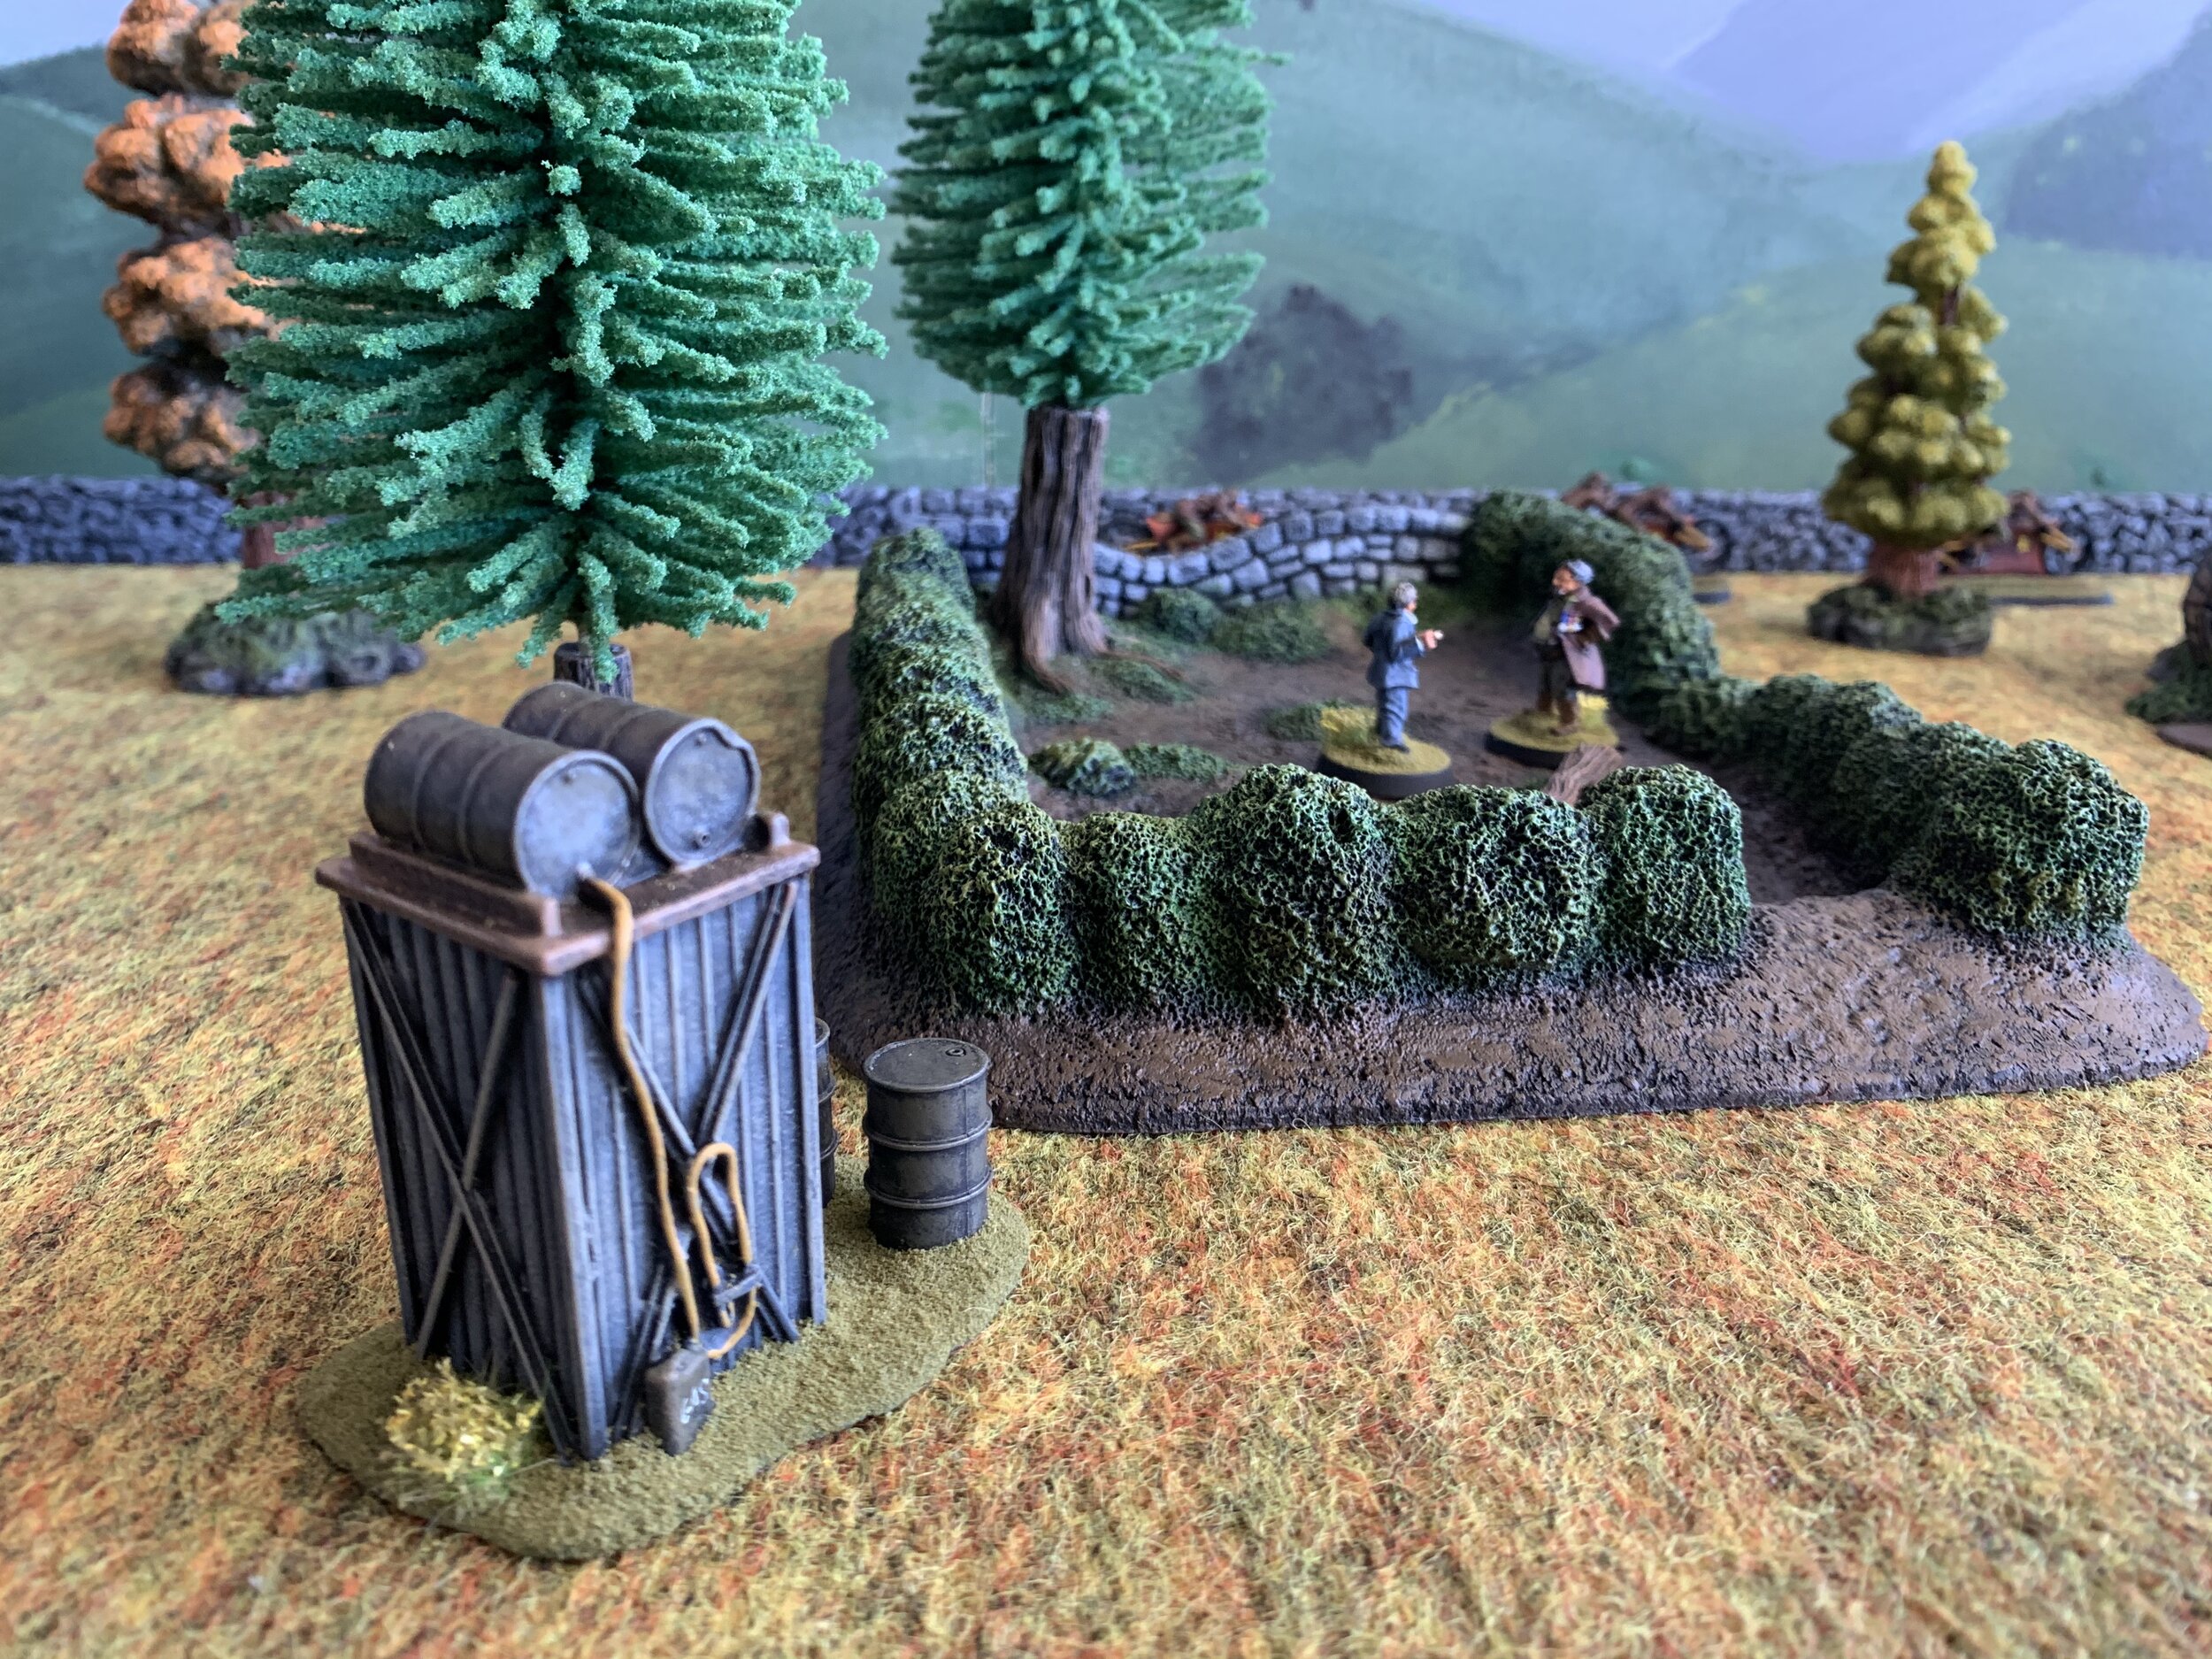
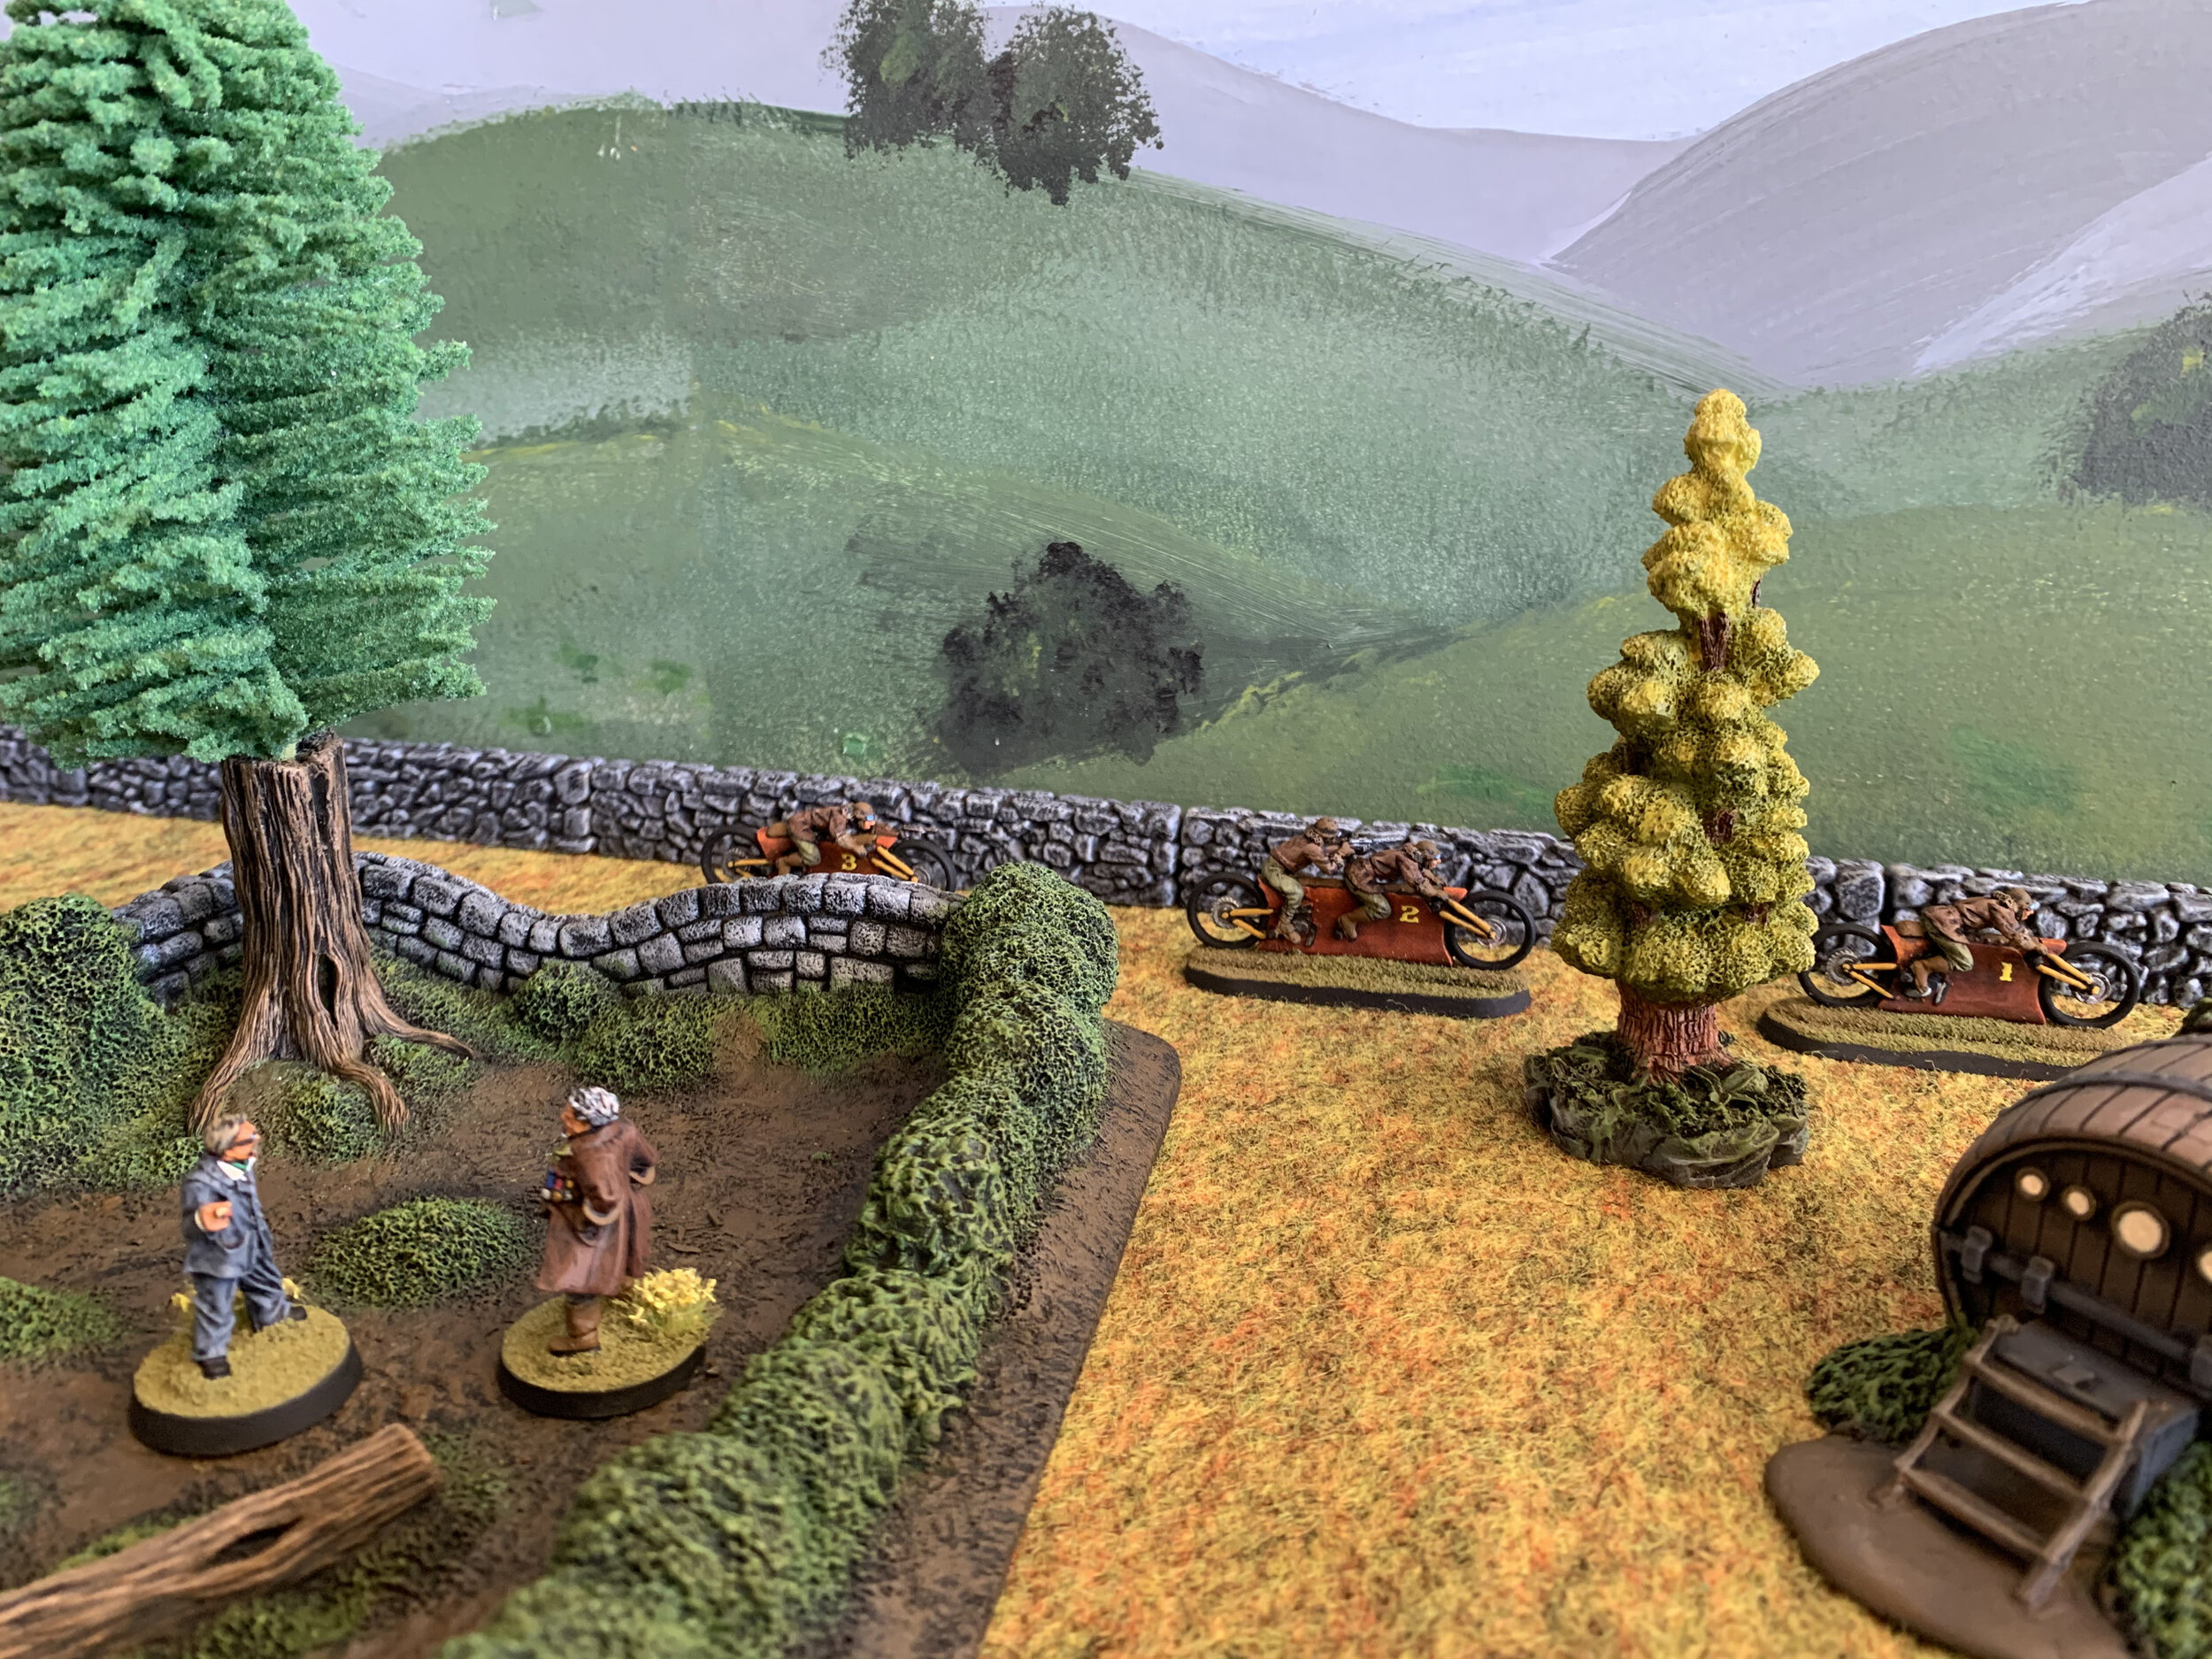
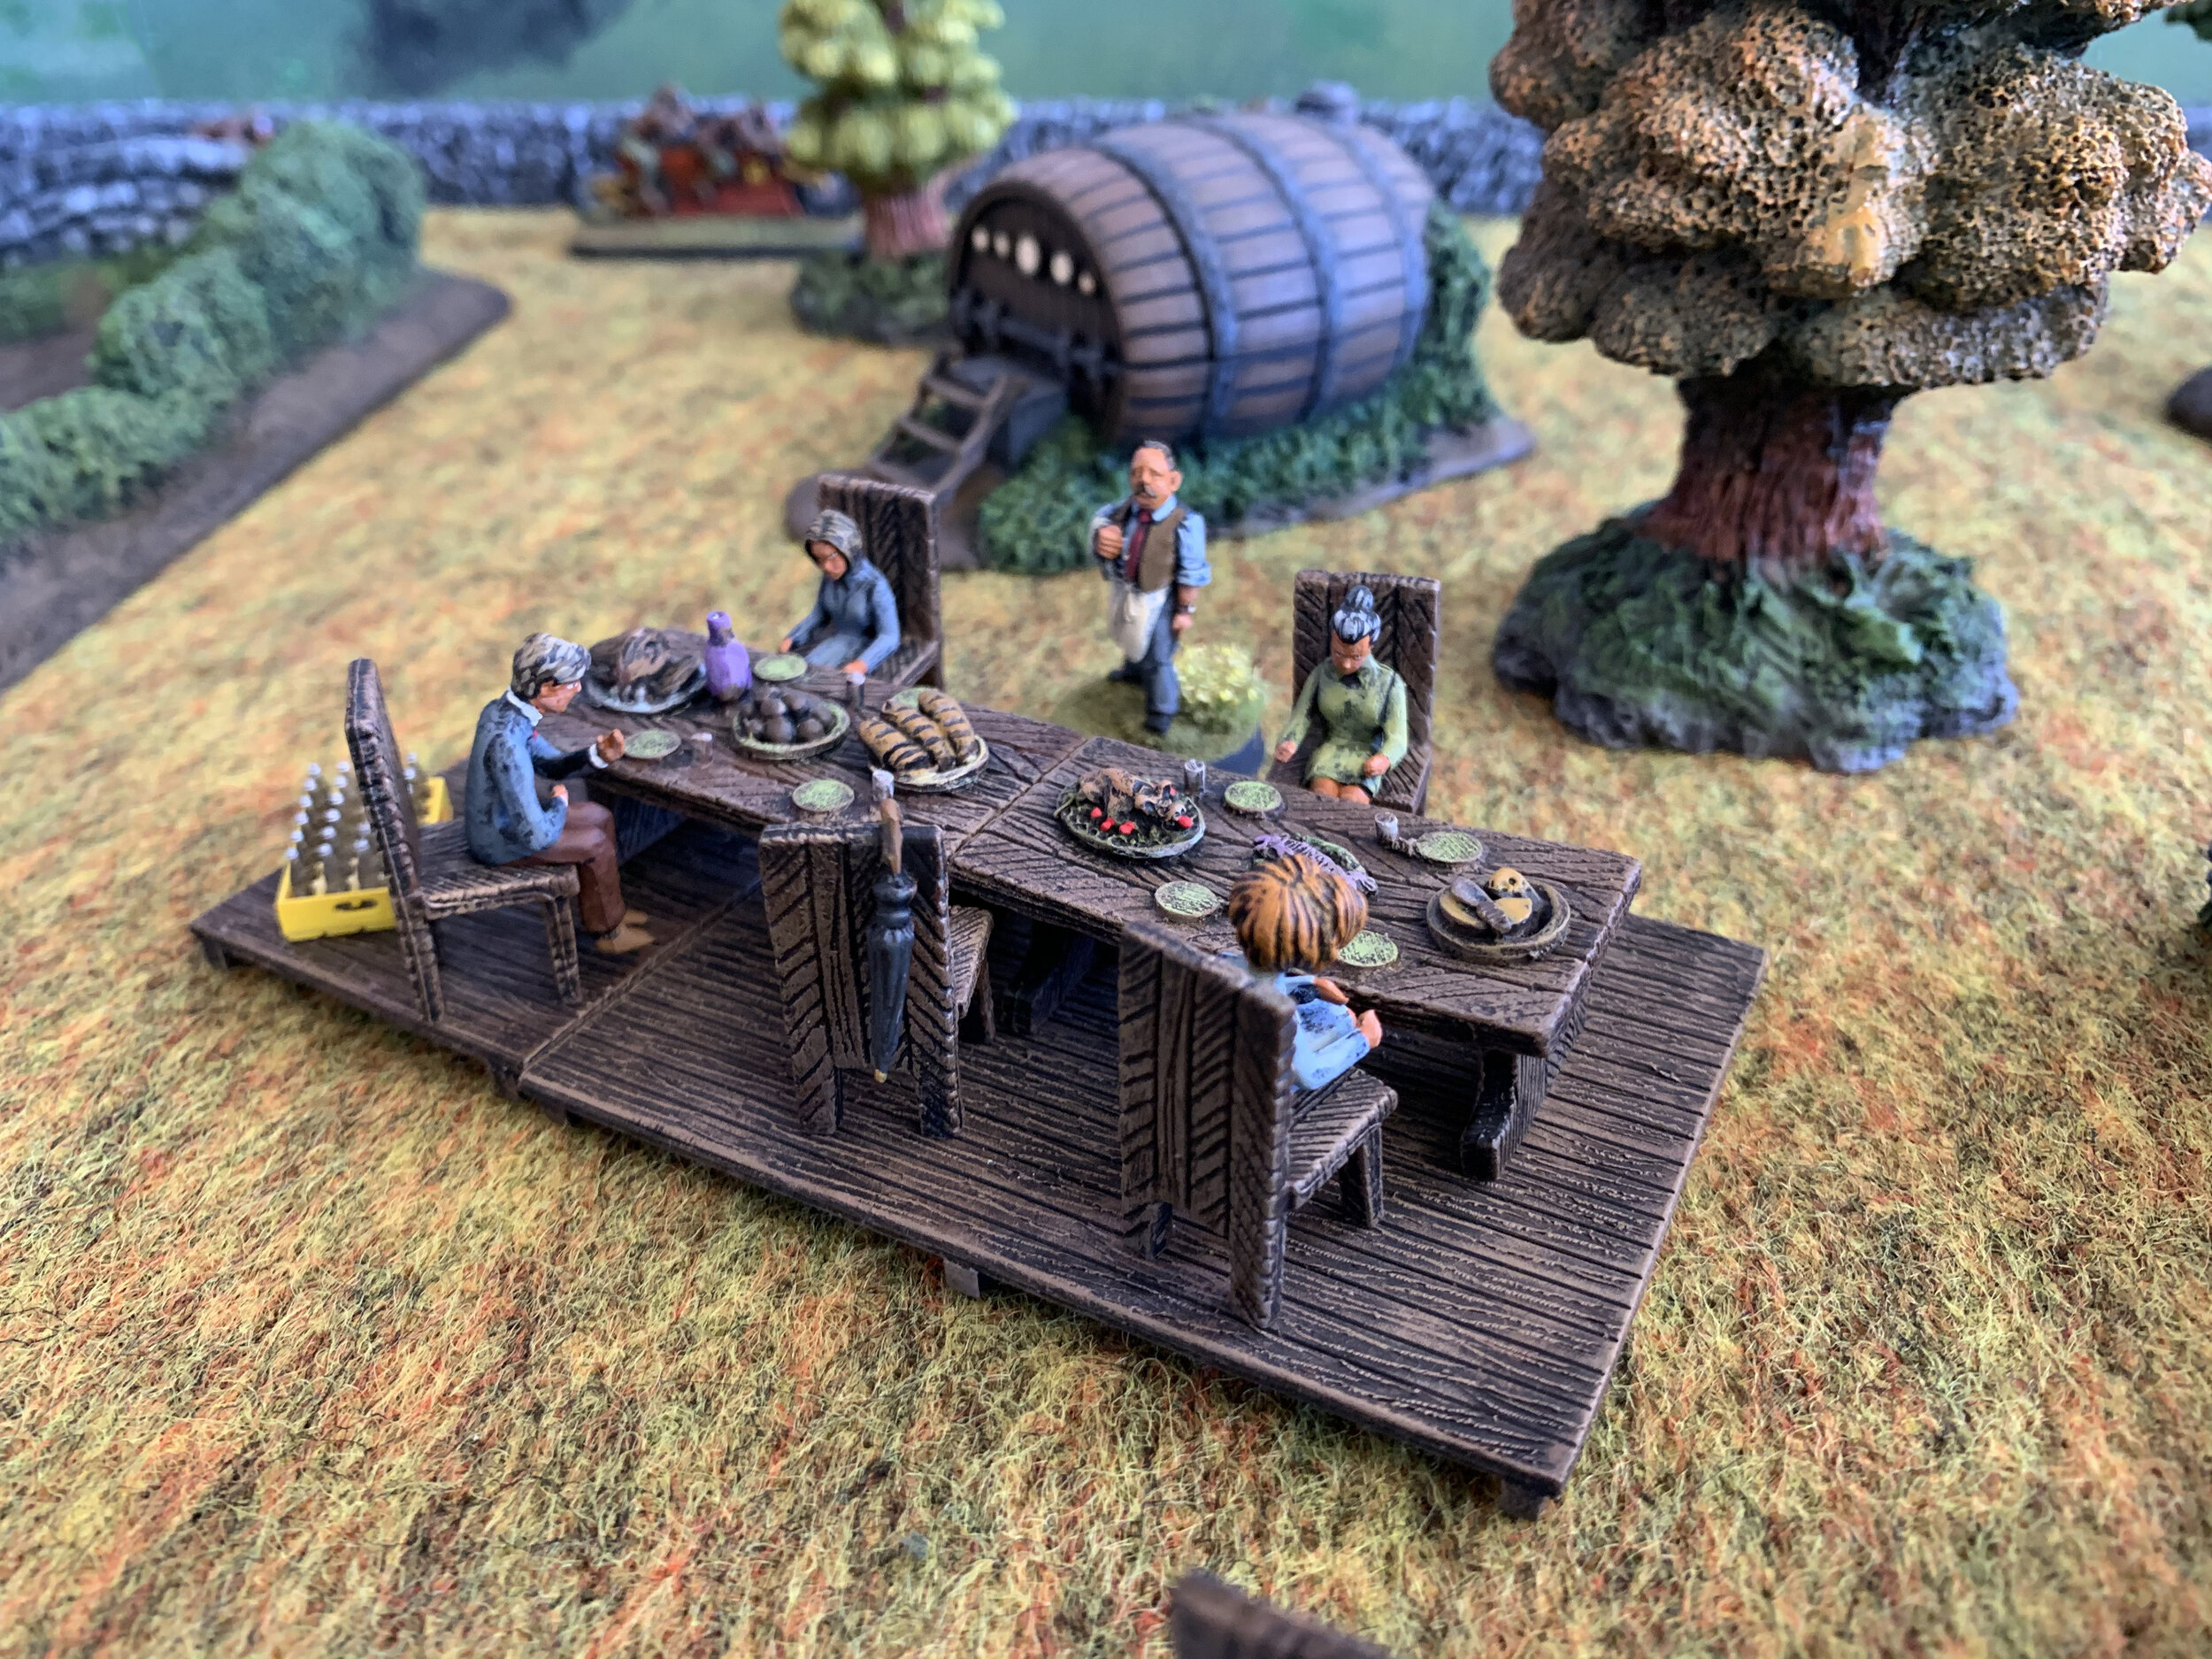
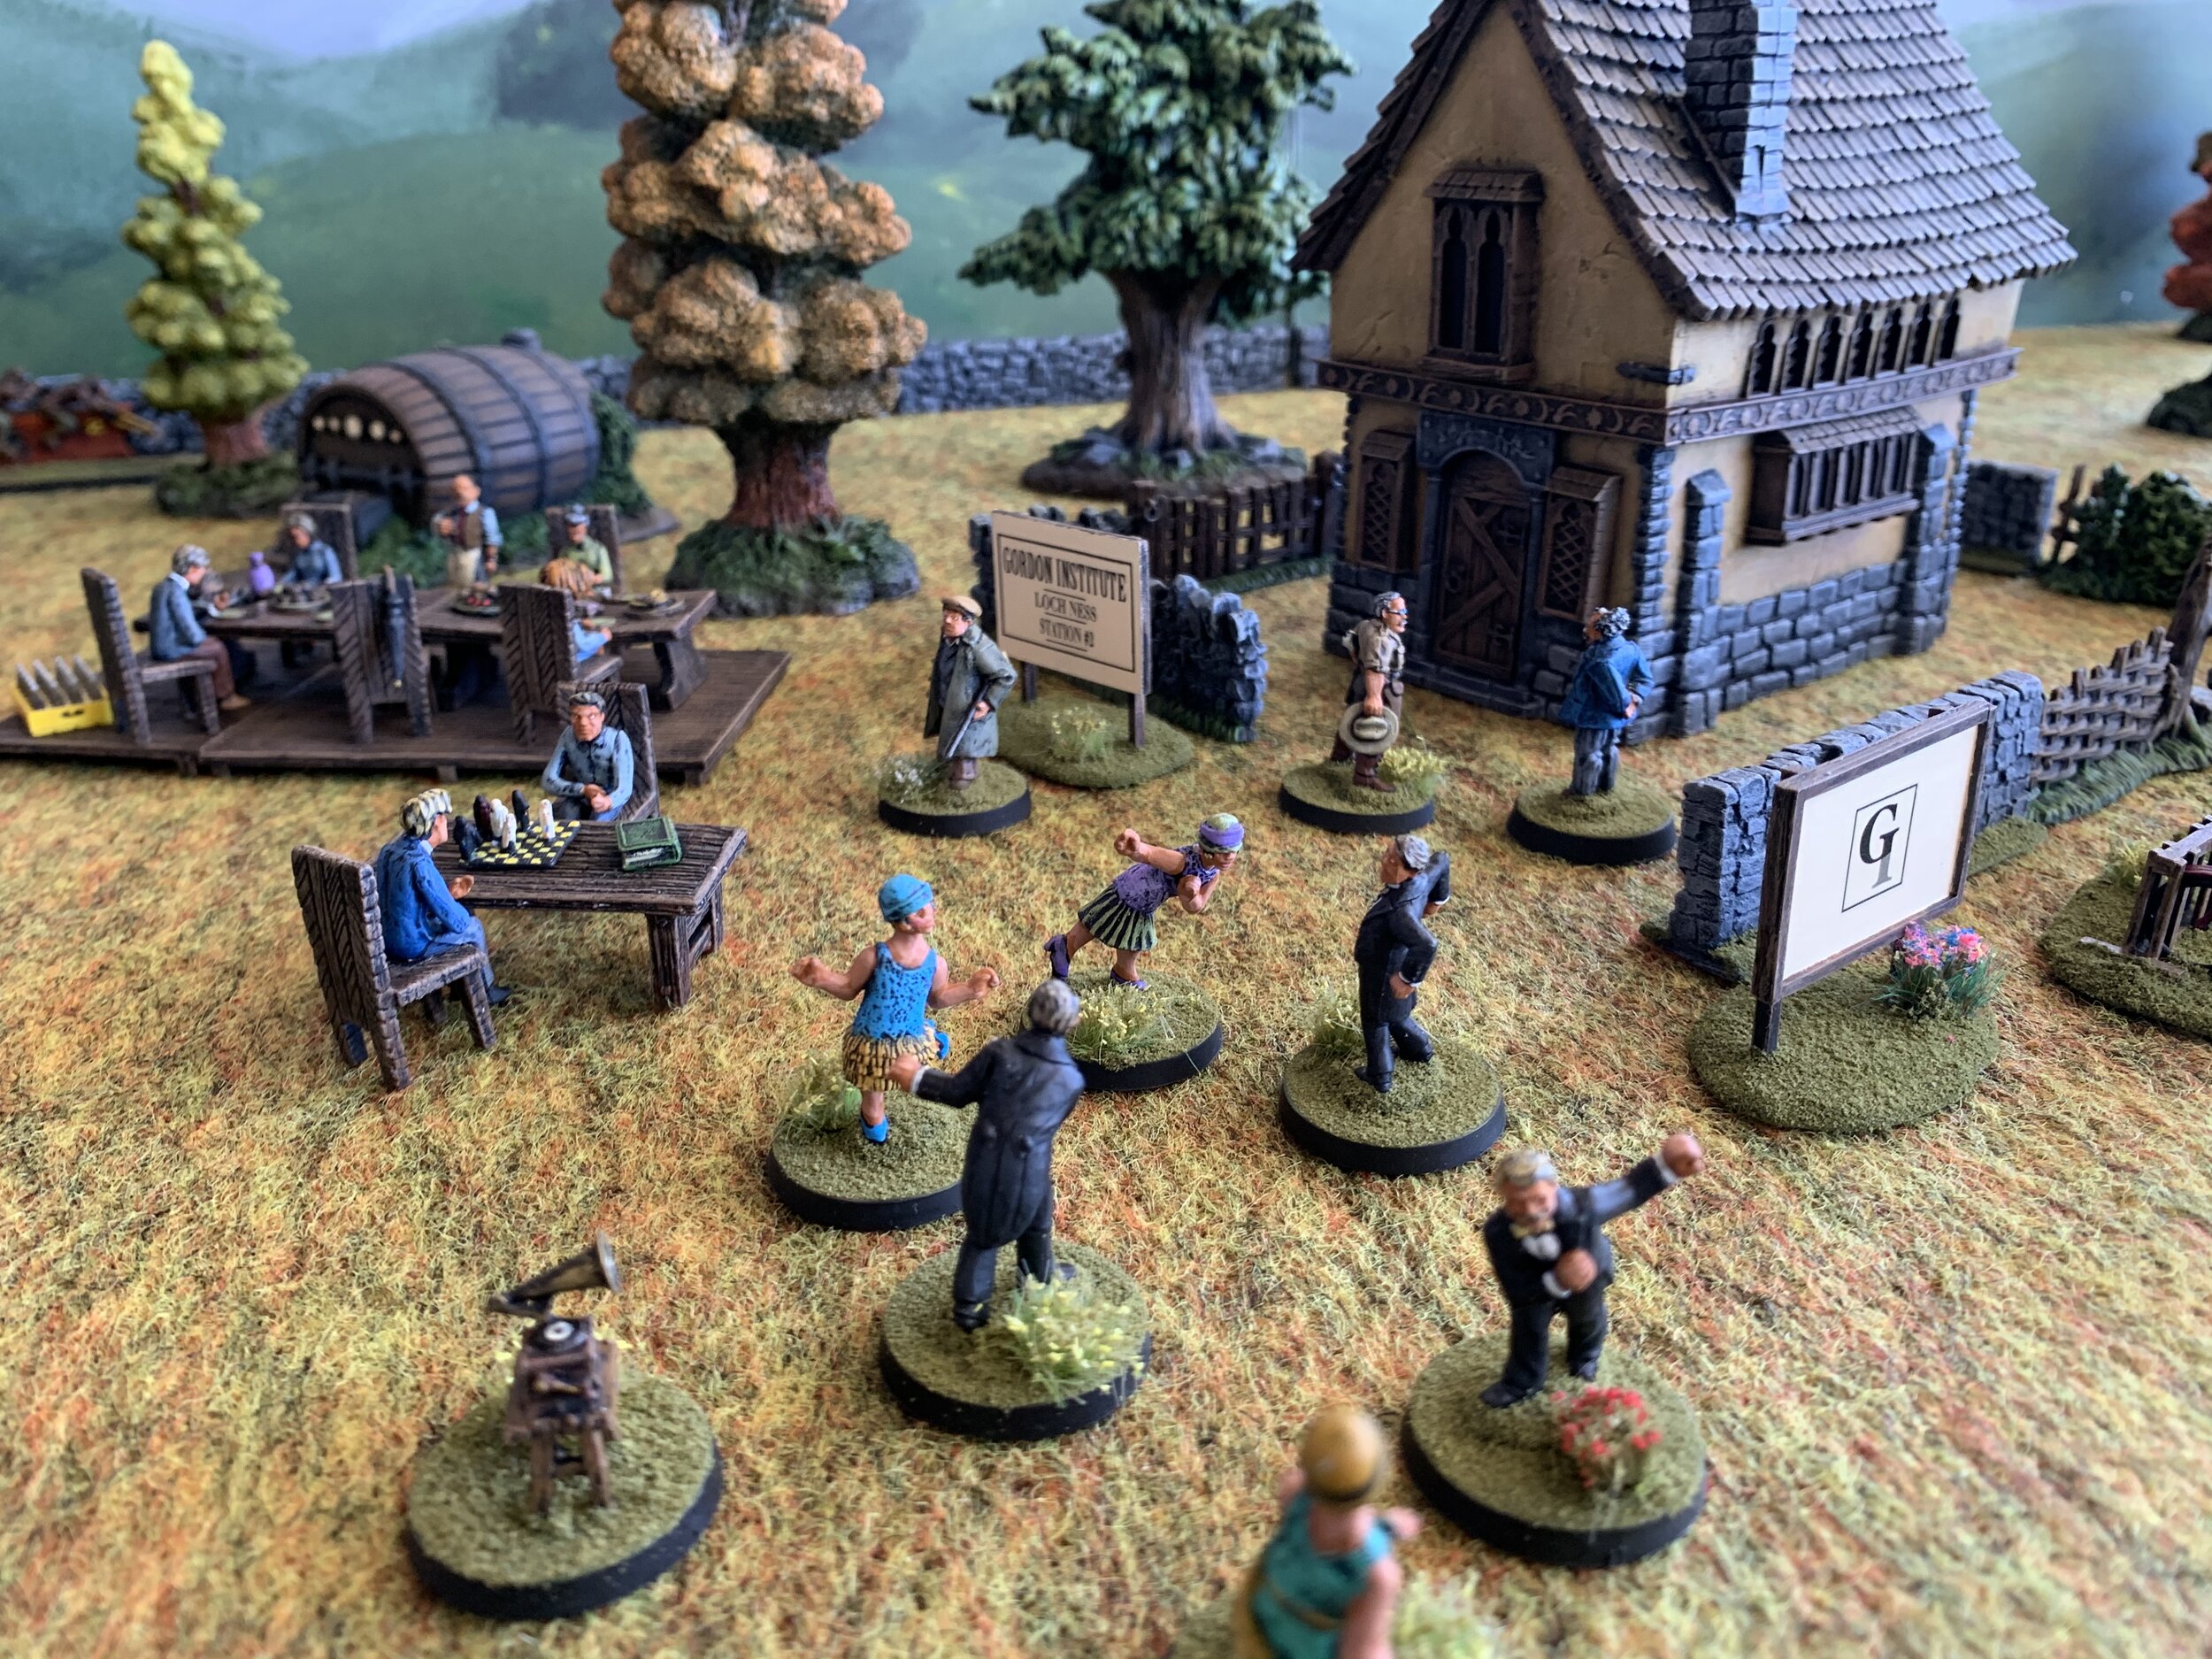
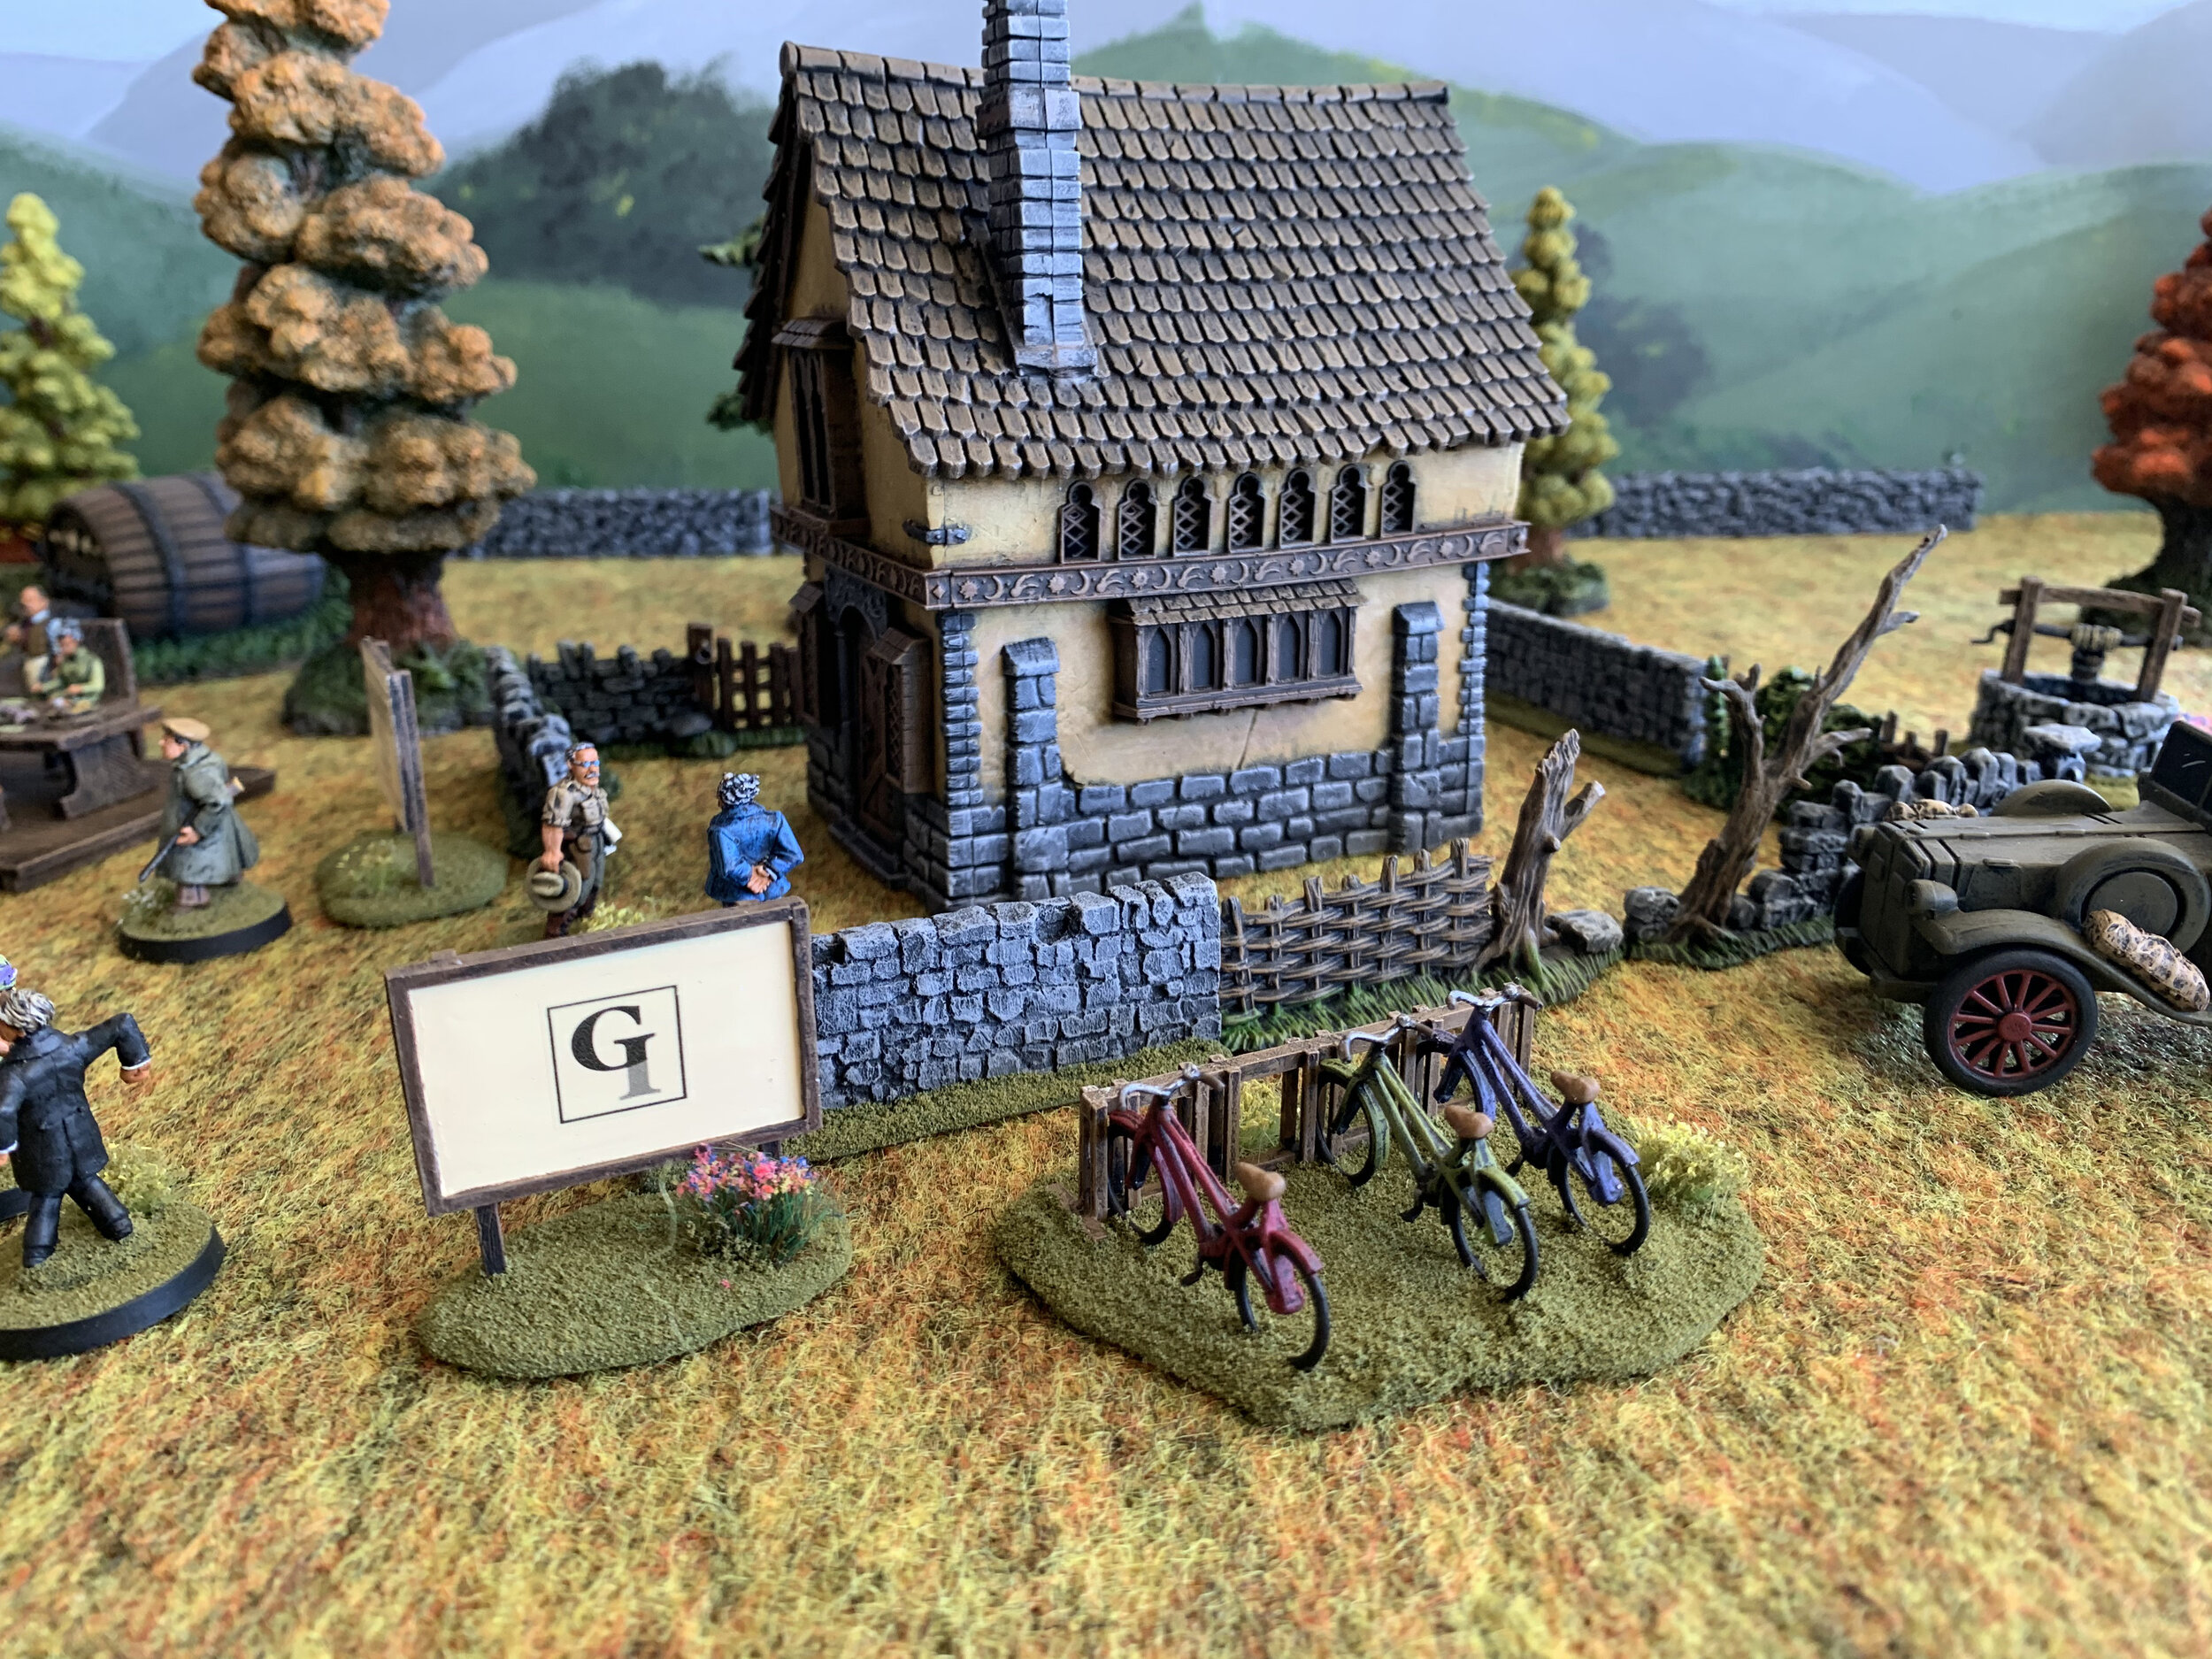
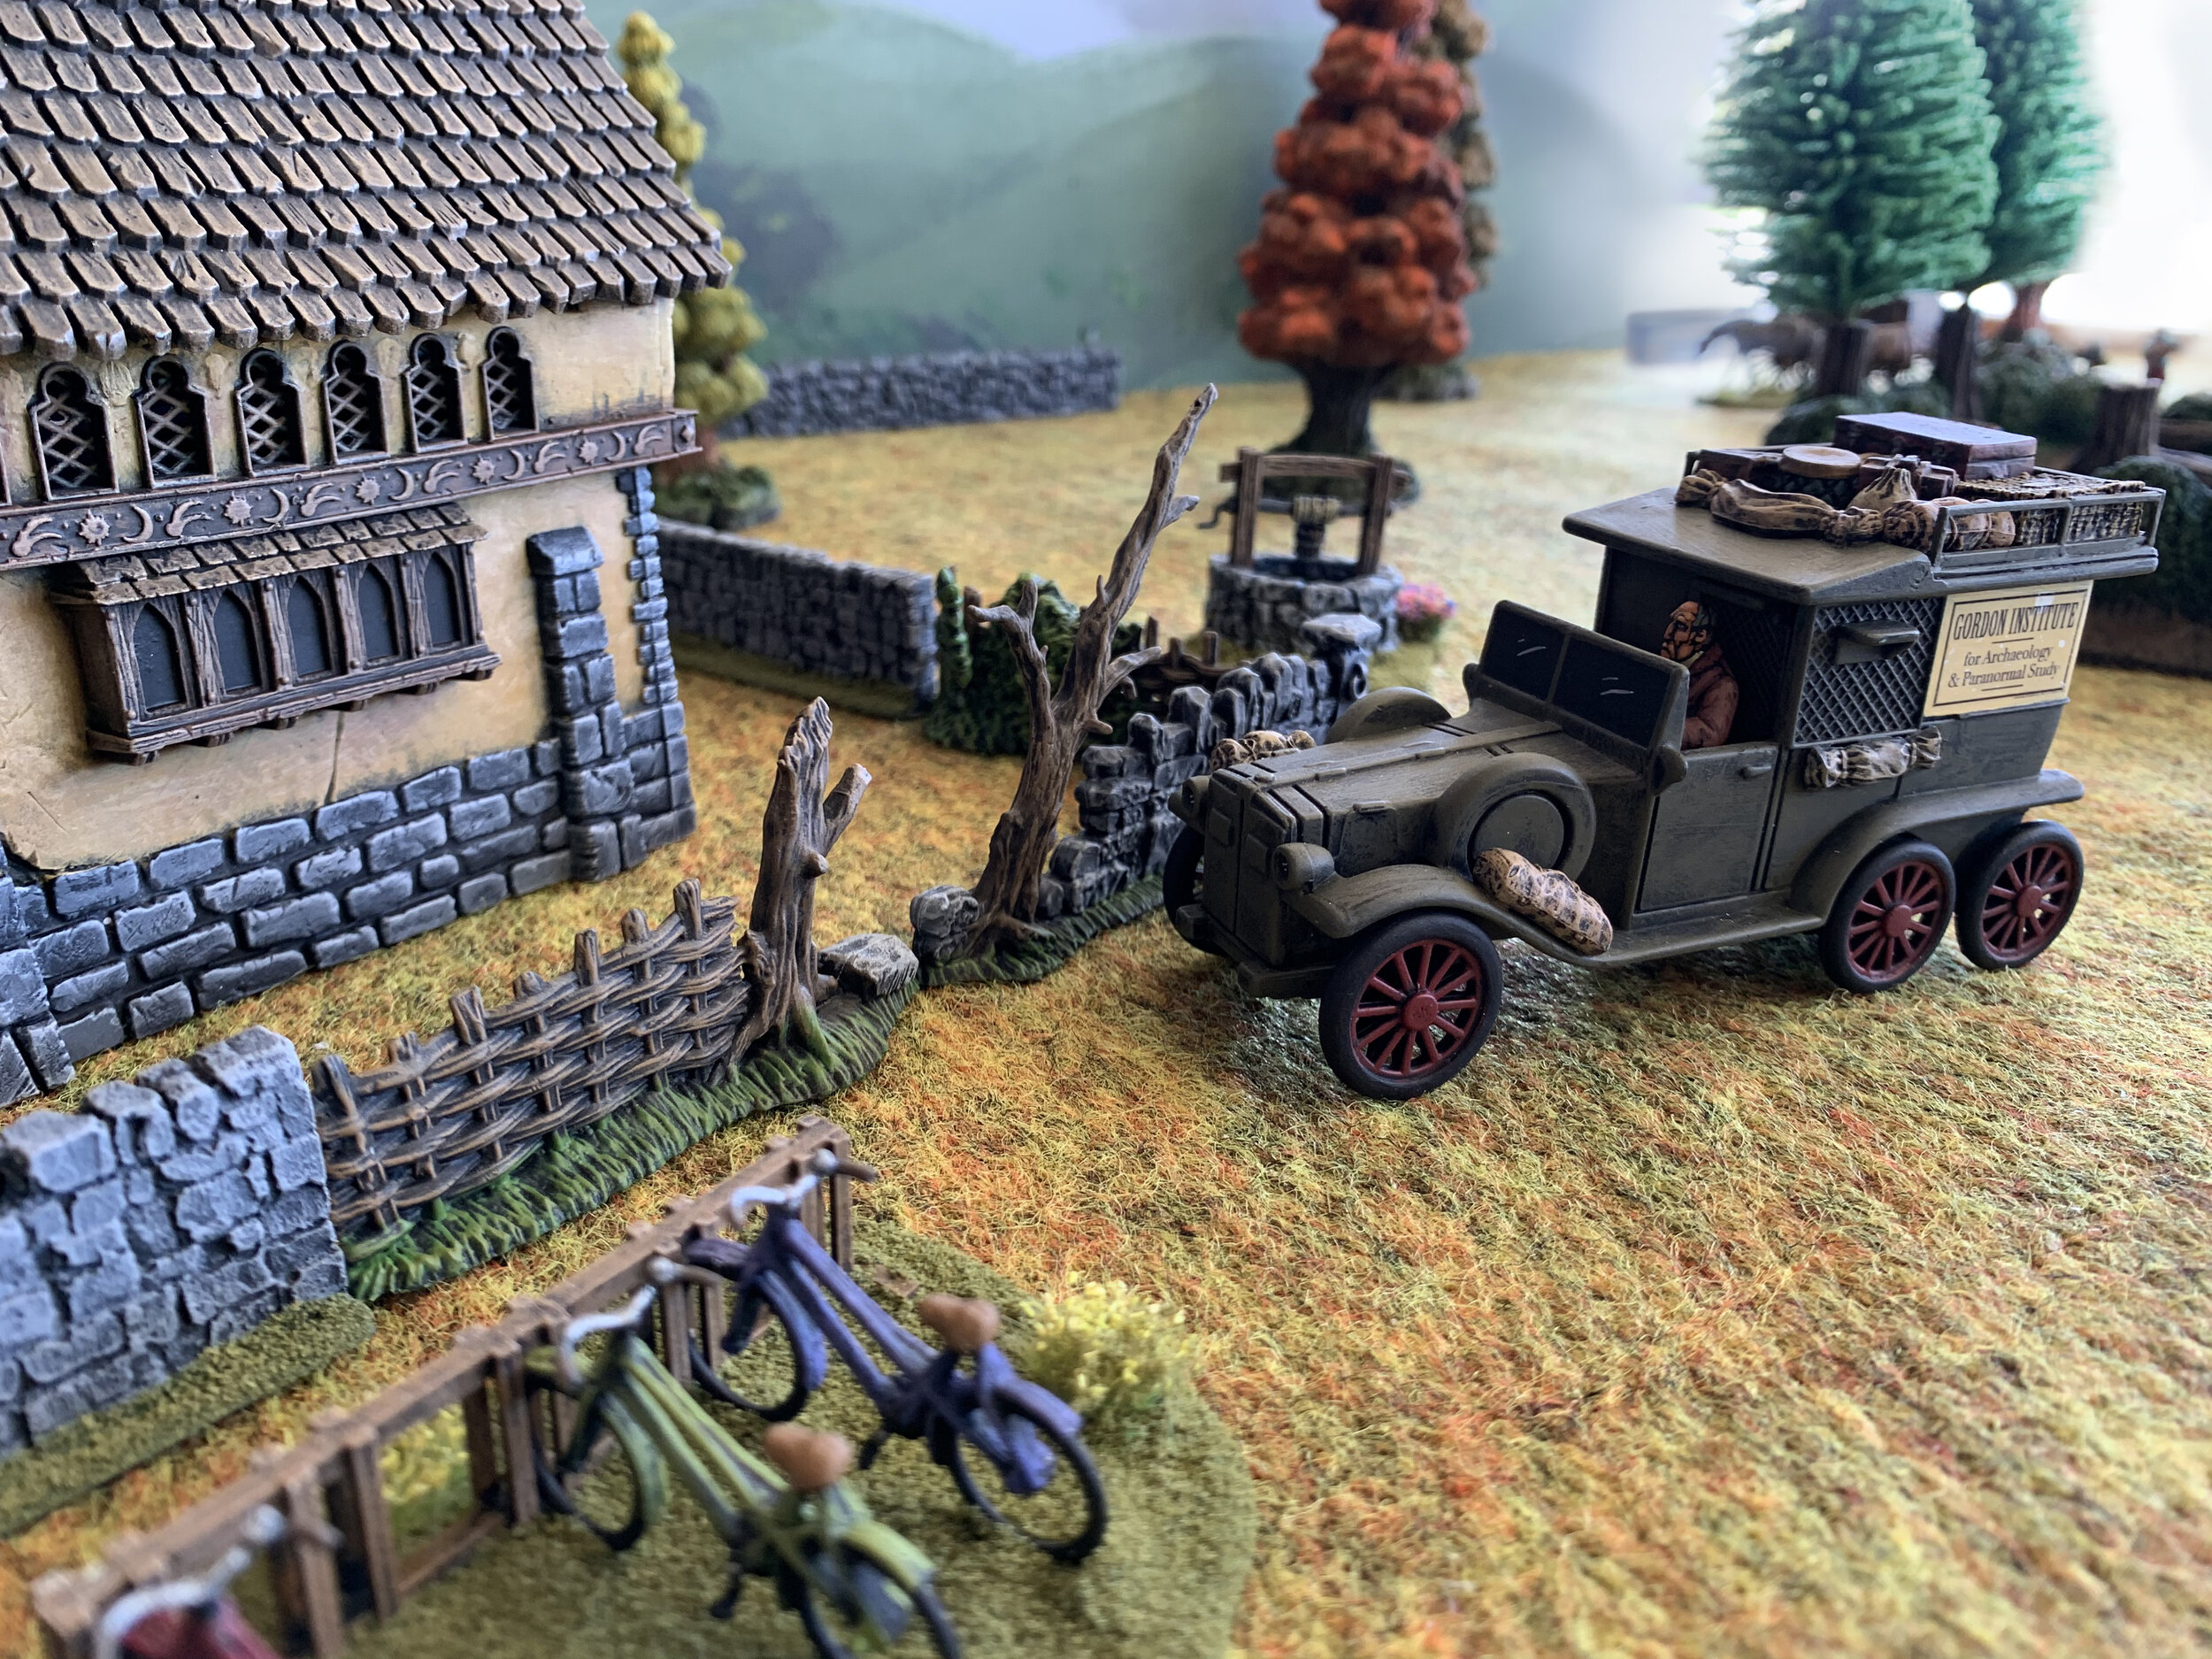
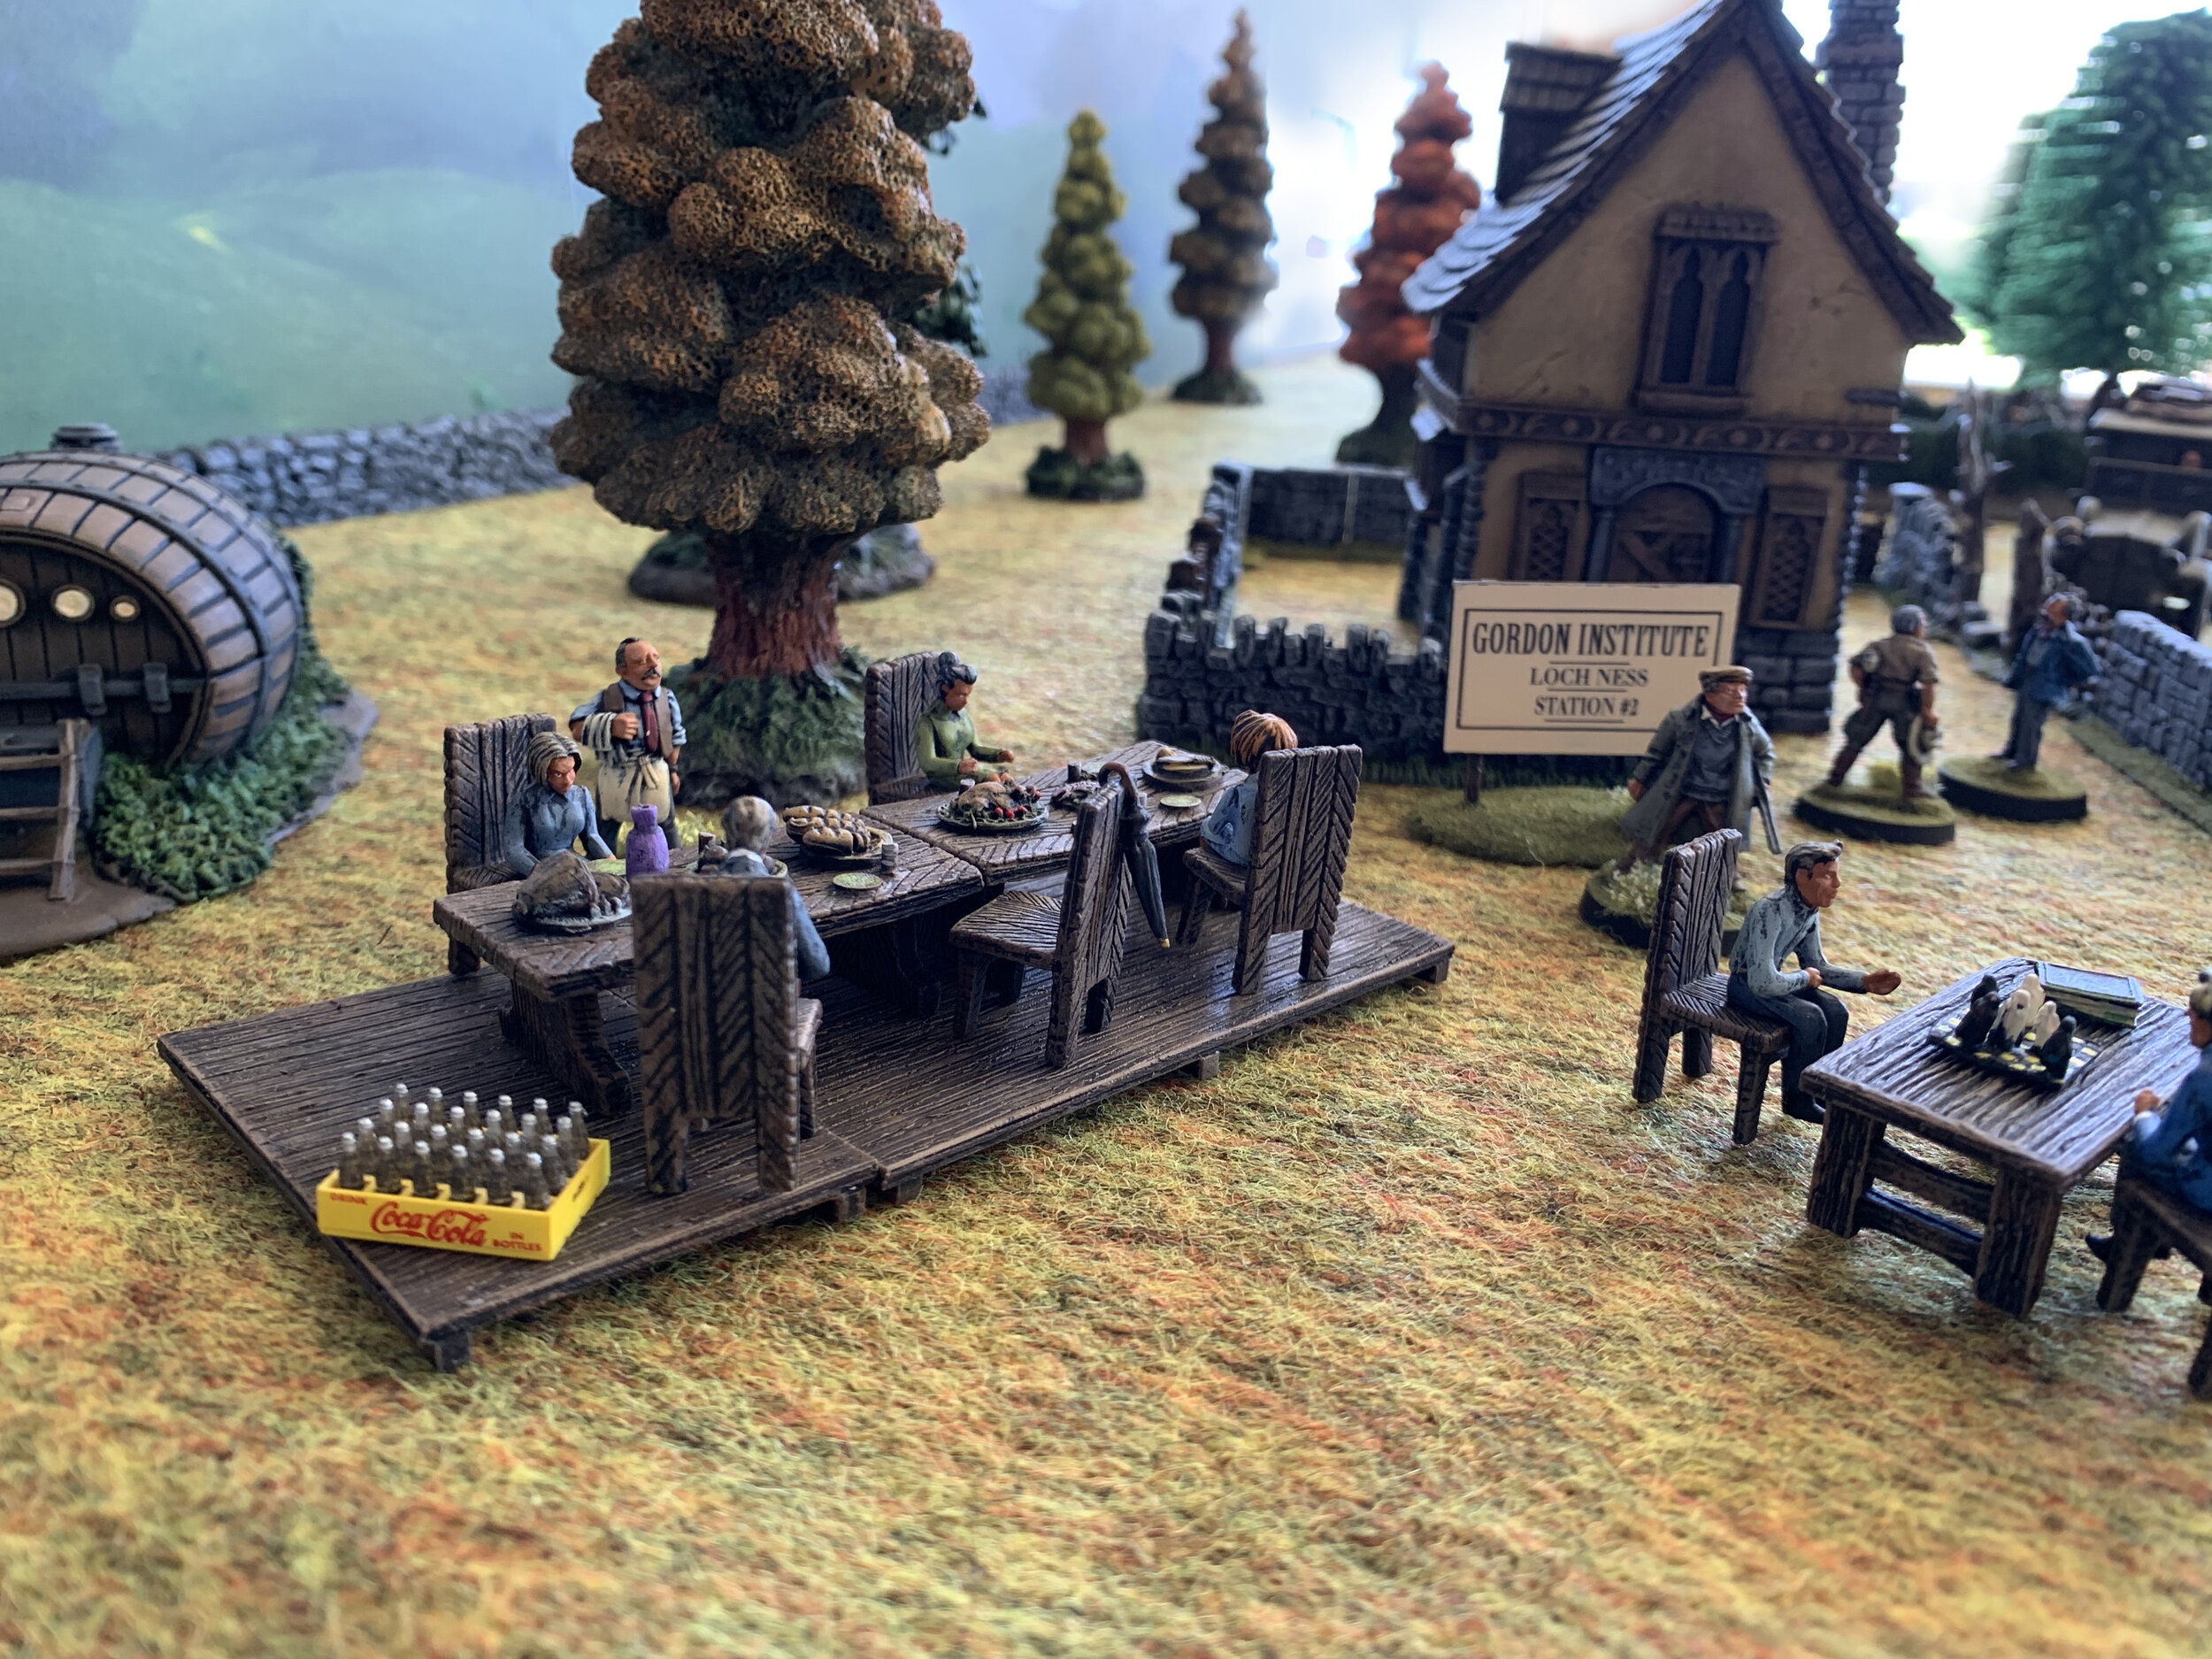
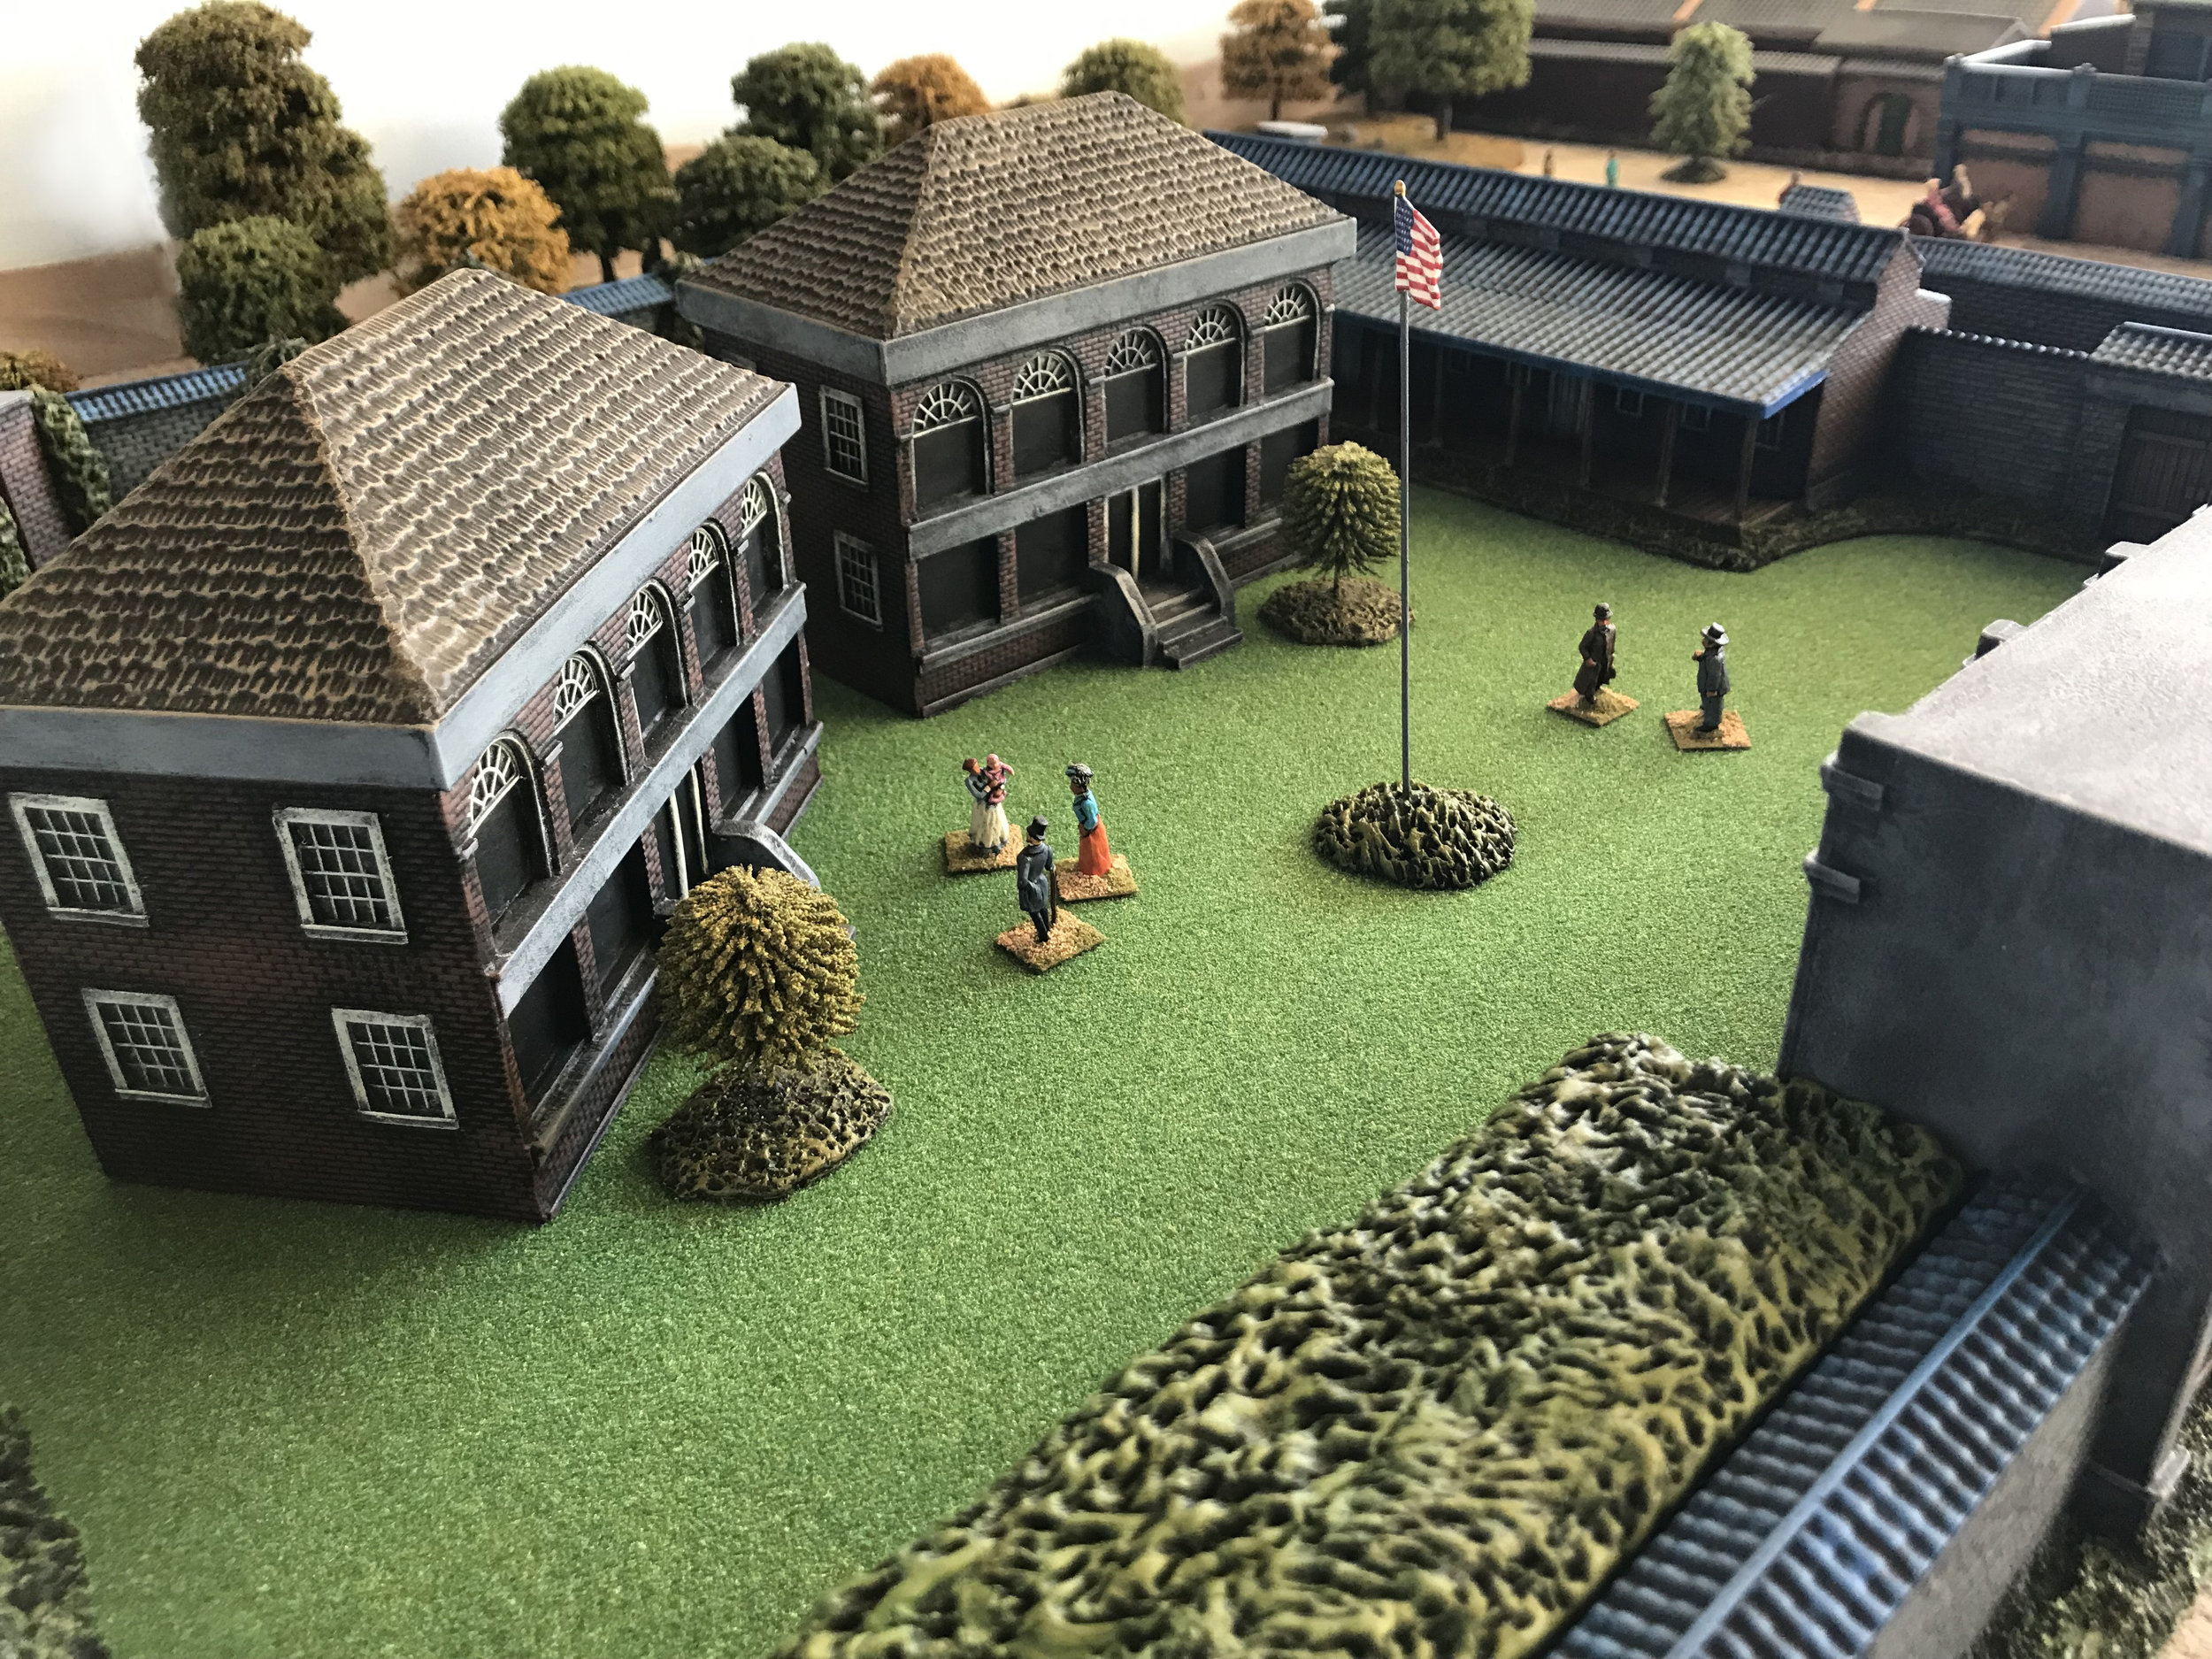
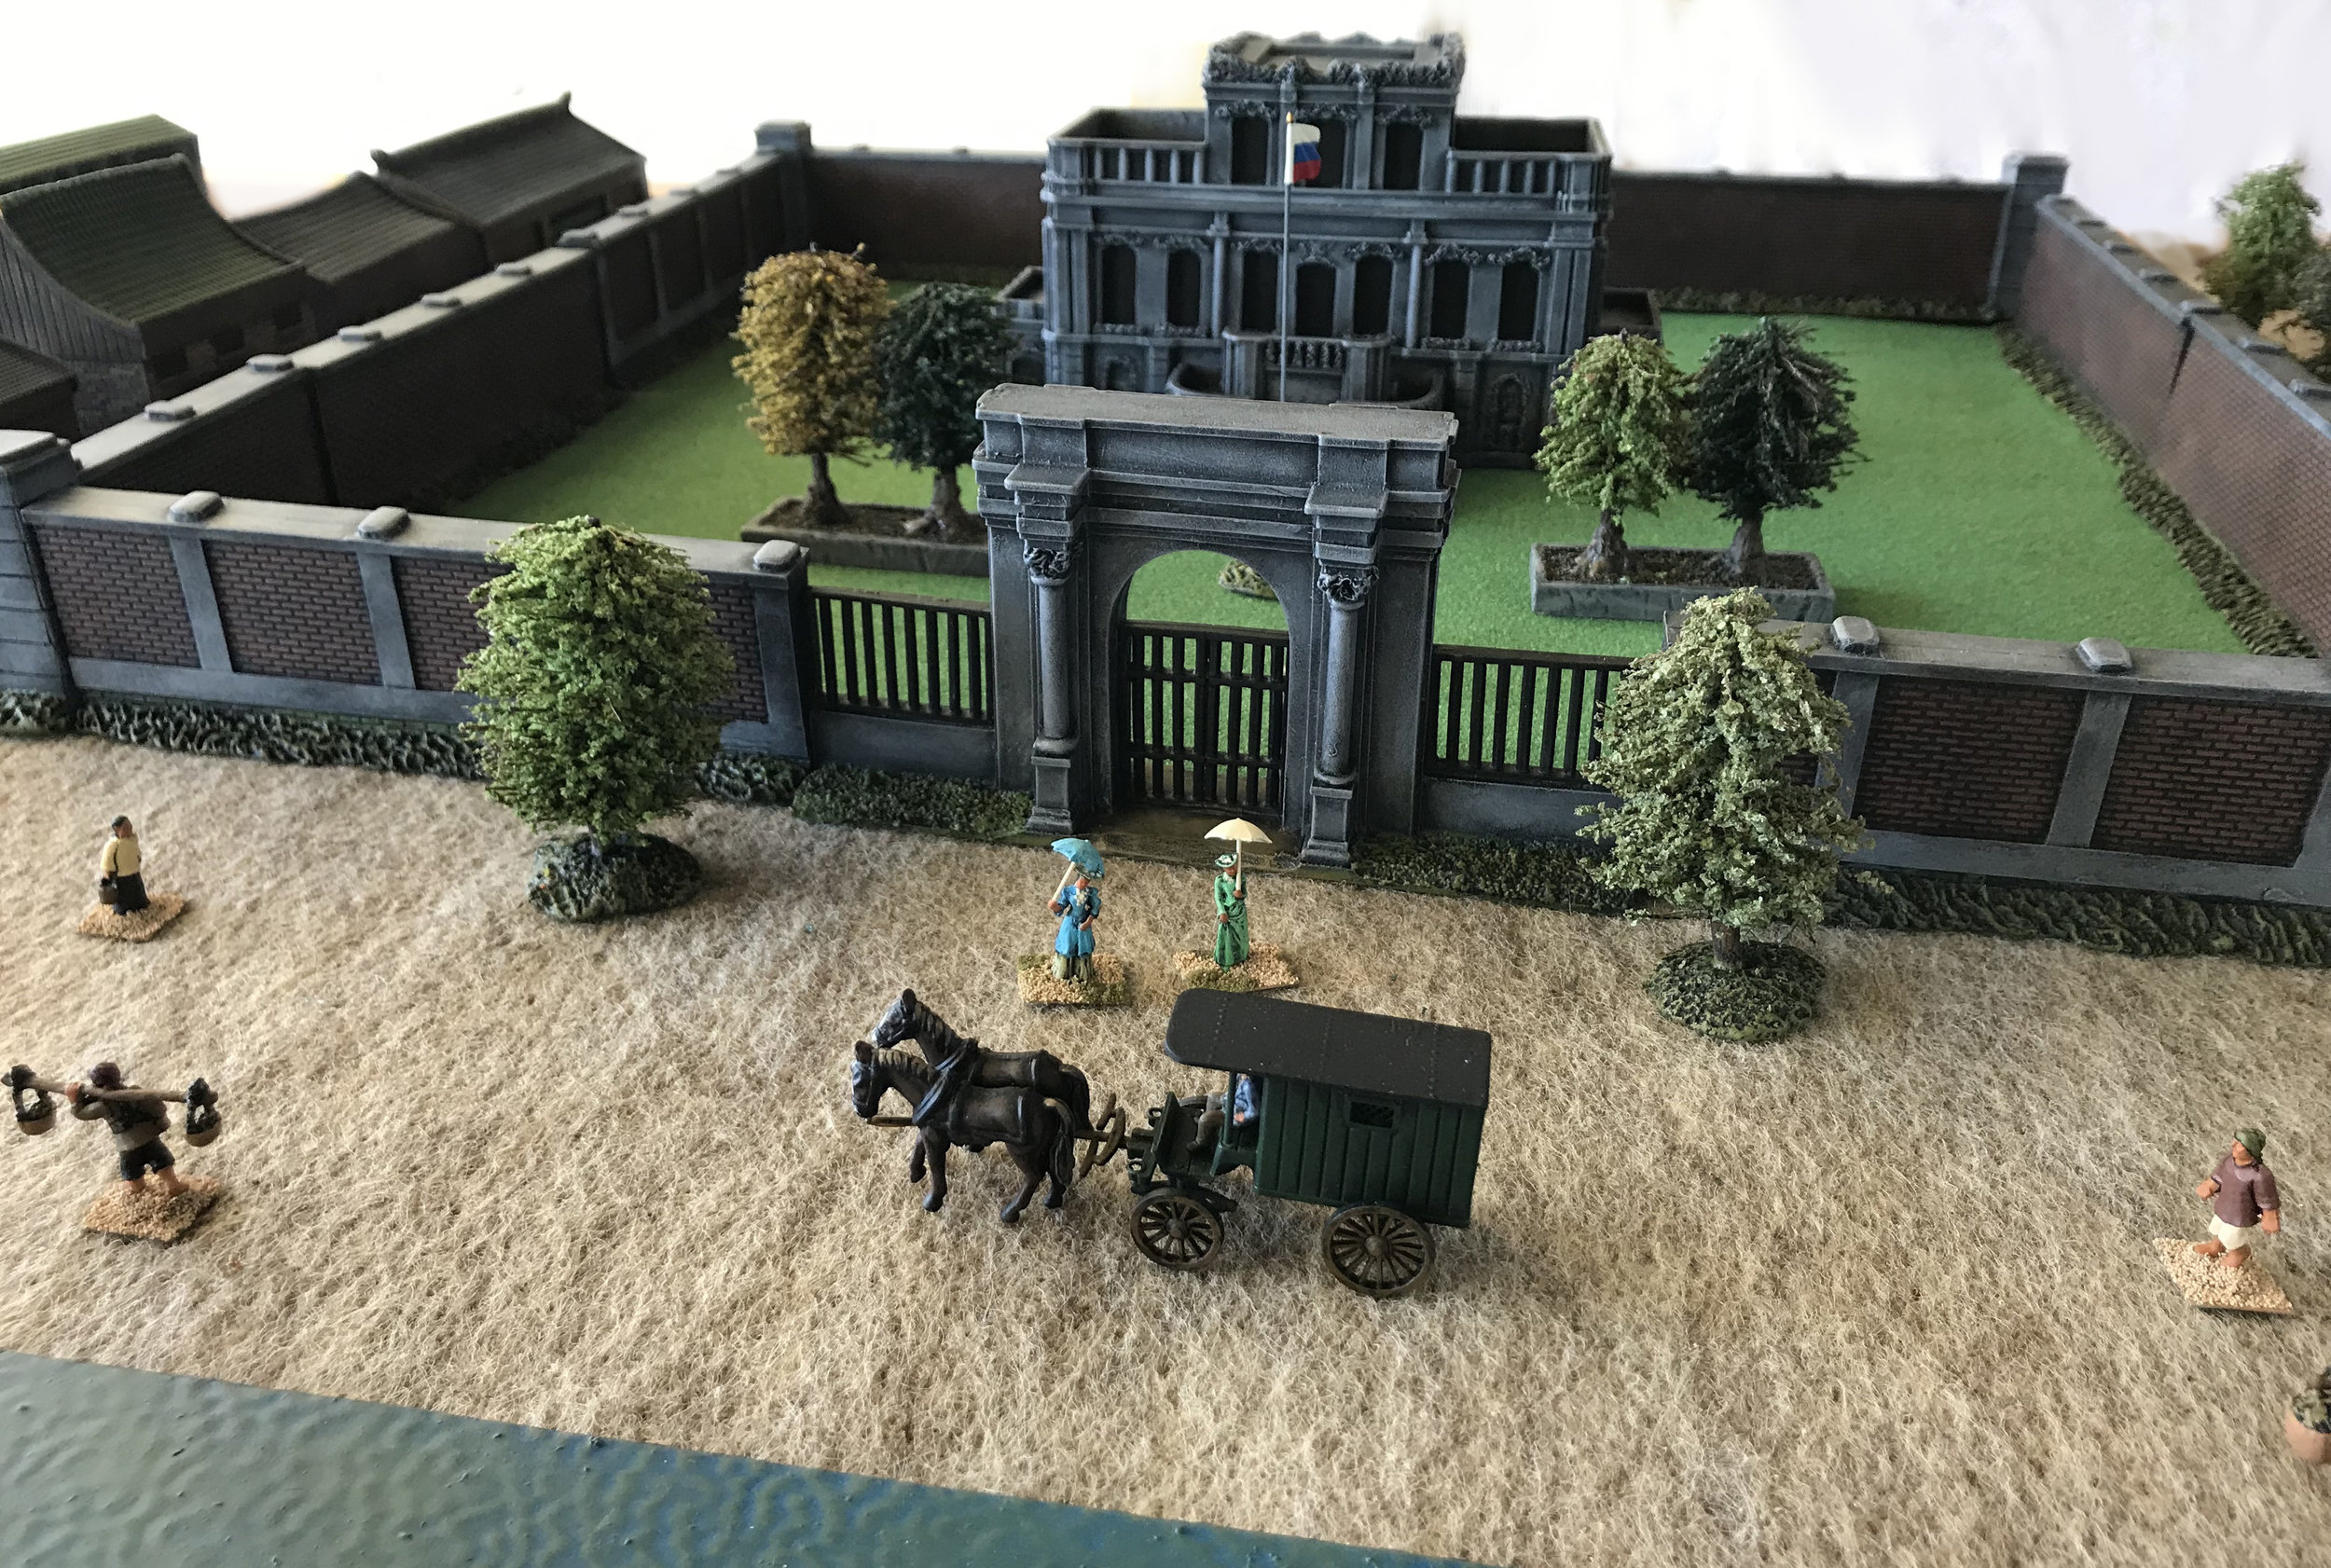
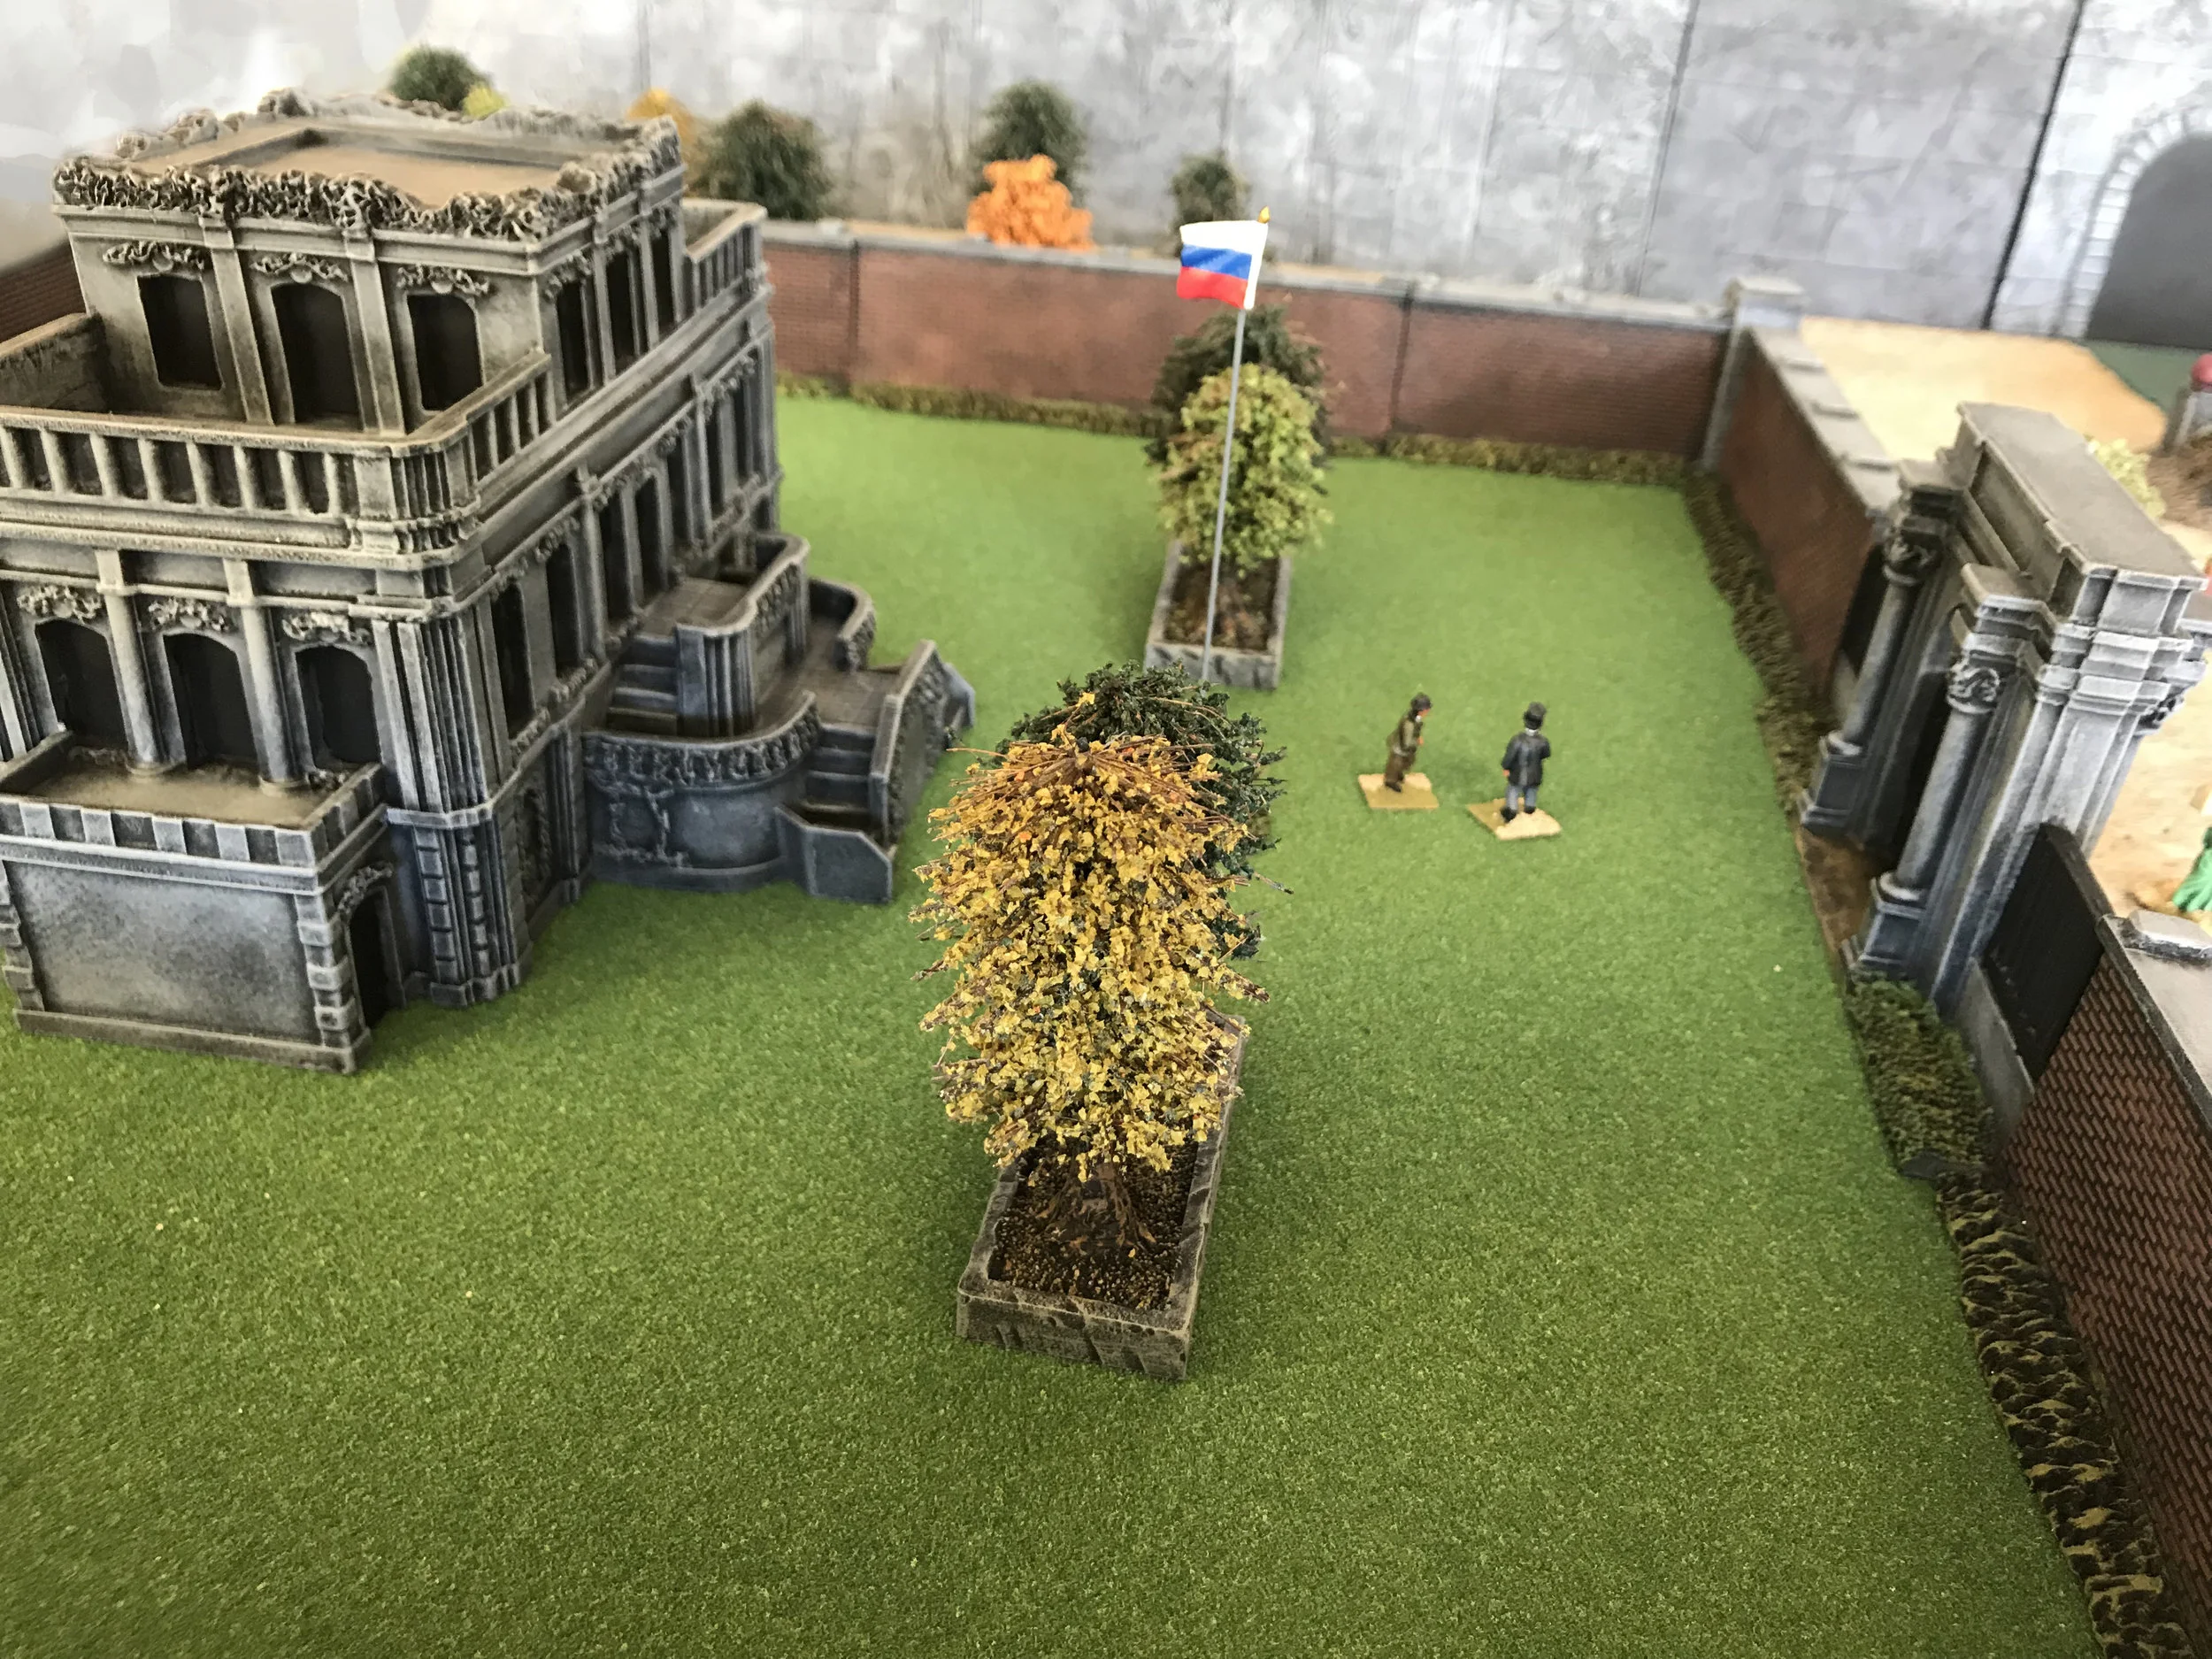
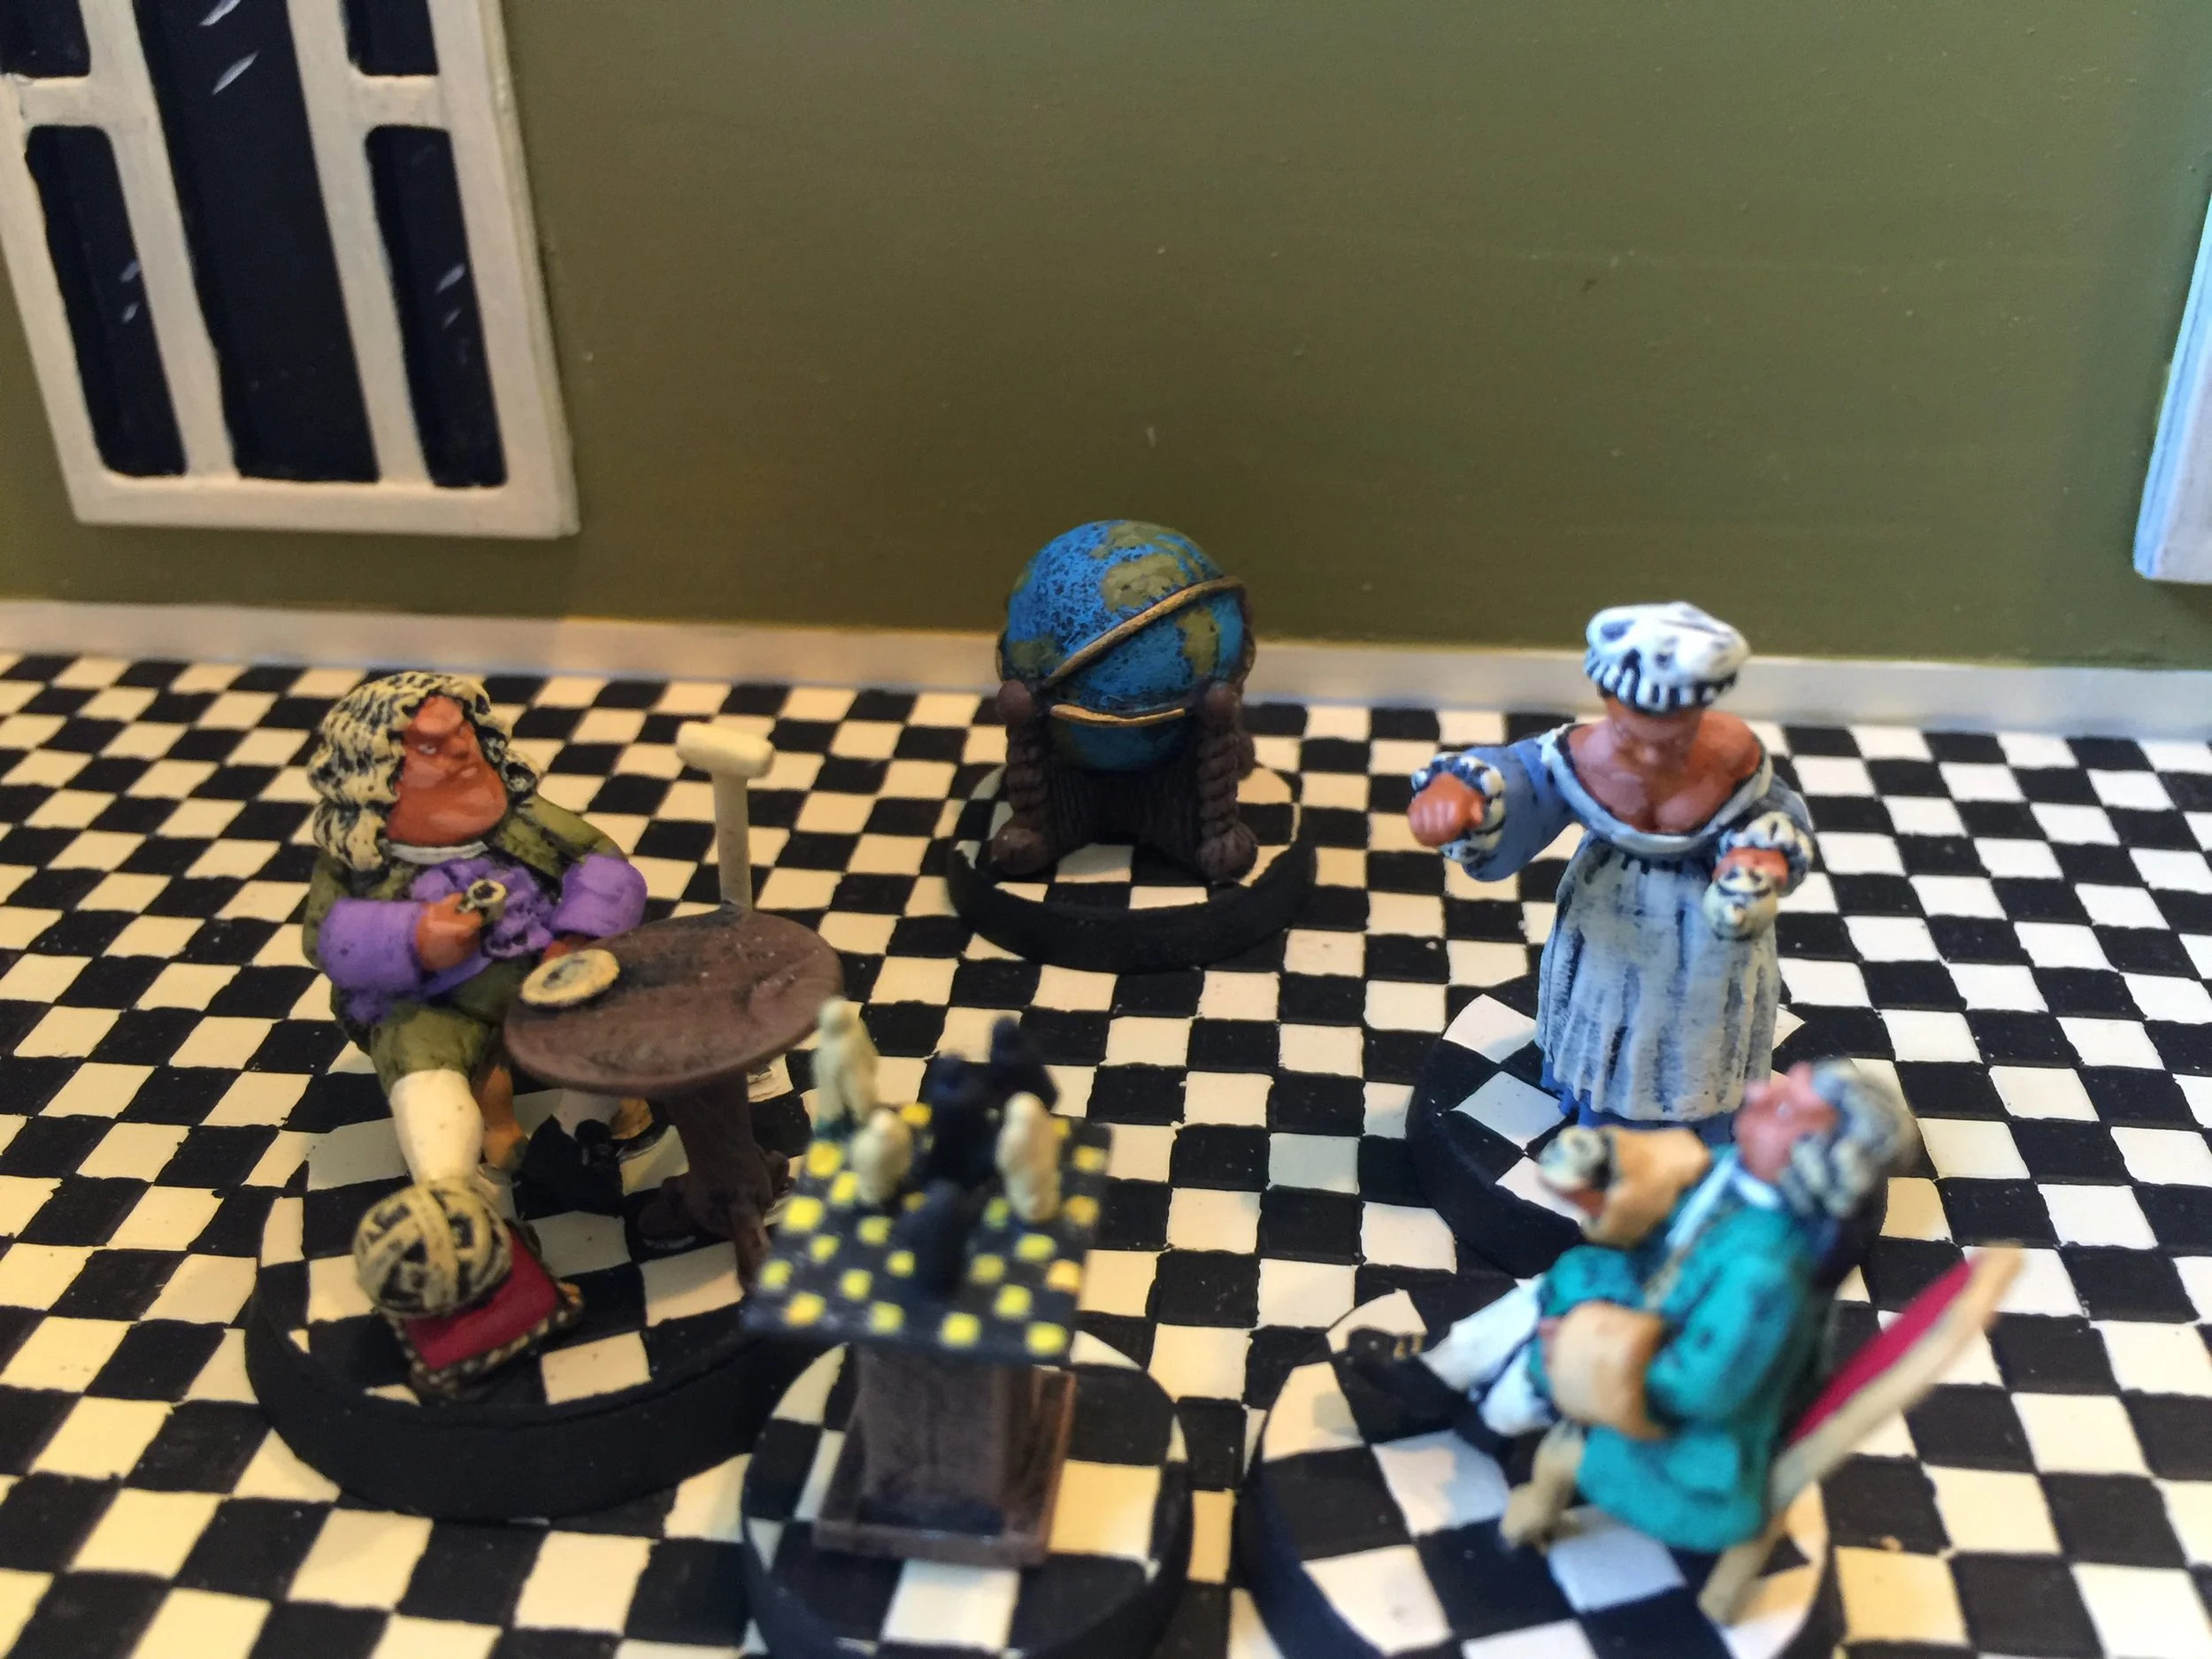
One of the “And Stuff” elements of this gallery is the Gordon Institute for Archeology and Paranormal Study. The Gordon Institute has been on my miniatures radar for years. It first showed itself in my Pulp Egyptian gallery where one of the vehicles at the archeological dig site has a Gordon Institute sign on it. The name of the Institute is a result of my being so old that as a child I watched Buster Crabbe as Flash Gordon on TV Saturday mornings. The Gordon Institute is a practical research and teaching institute in the fields of archeology and paranormal study (obviously). For this gallery I have created the Gordon Institute campus consisting of six of the now out-of-production Pegasus resin buildings: the large mansion-like structure, the large domed structure, and three of the towers (2 of the two-story towers and 1 of the three-story towers). The three-story tower has my observatory on its roof. The telescope element of the observatory is made of a telescope-like tube from a broken toy and an orange juicer modified for my purposes. The Gothic ruin was included because it was a gift and a wonderful piece, and since archeology is central to the institute’s purpose, a ruin seemed appropriate. The Institute includes a classroom interior complete with seated students (modified Reaper figures) and desks taken from 4 or 5 Hogwarts playsets I have been lucky to find at my local swap meet for a $1 or $2 per playset. On the campus grounds I have fenced and covered areas protecting the golden fleece and flesh-eating plants. The grounds also sport several Egyptian, African, Pacific Island, and pre-Columbian artifacts as well as some other crazy odds and ends I liked. A few of the professors are engaged in playing the game “Life” which I found at the swap meet (originally a Christmas decoration), and inside the ruins a staff member gazes at a table representing an ancient siege (a toy found at the swap meet for a dollar that I just had to include somewhere on the Institute’s grounds). In addition to the classroom interior setting there also is a store room which holds rare artifacts such as a small model of the Temple of Ramses III (from the History In Stone collection) similar in size to the model found in the Well of Souls in Raiders of the Lost Ark and Victorian era space capsule, or could it be a deep sea capsule… oh, the mysteries. Anyway, lots of treasure can be found stored behind the doors of the Institute.
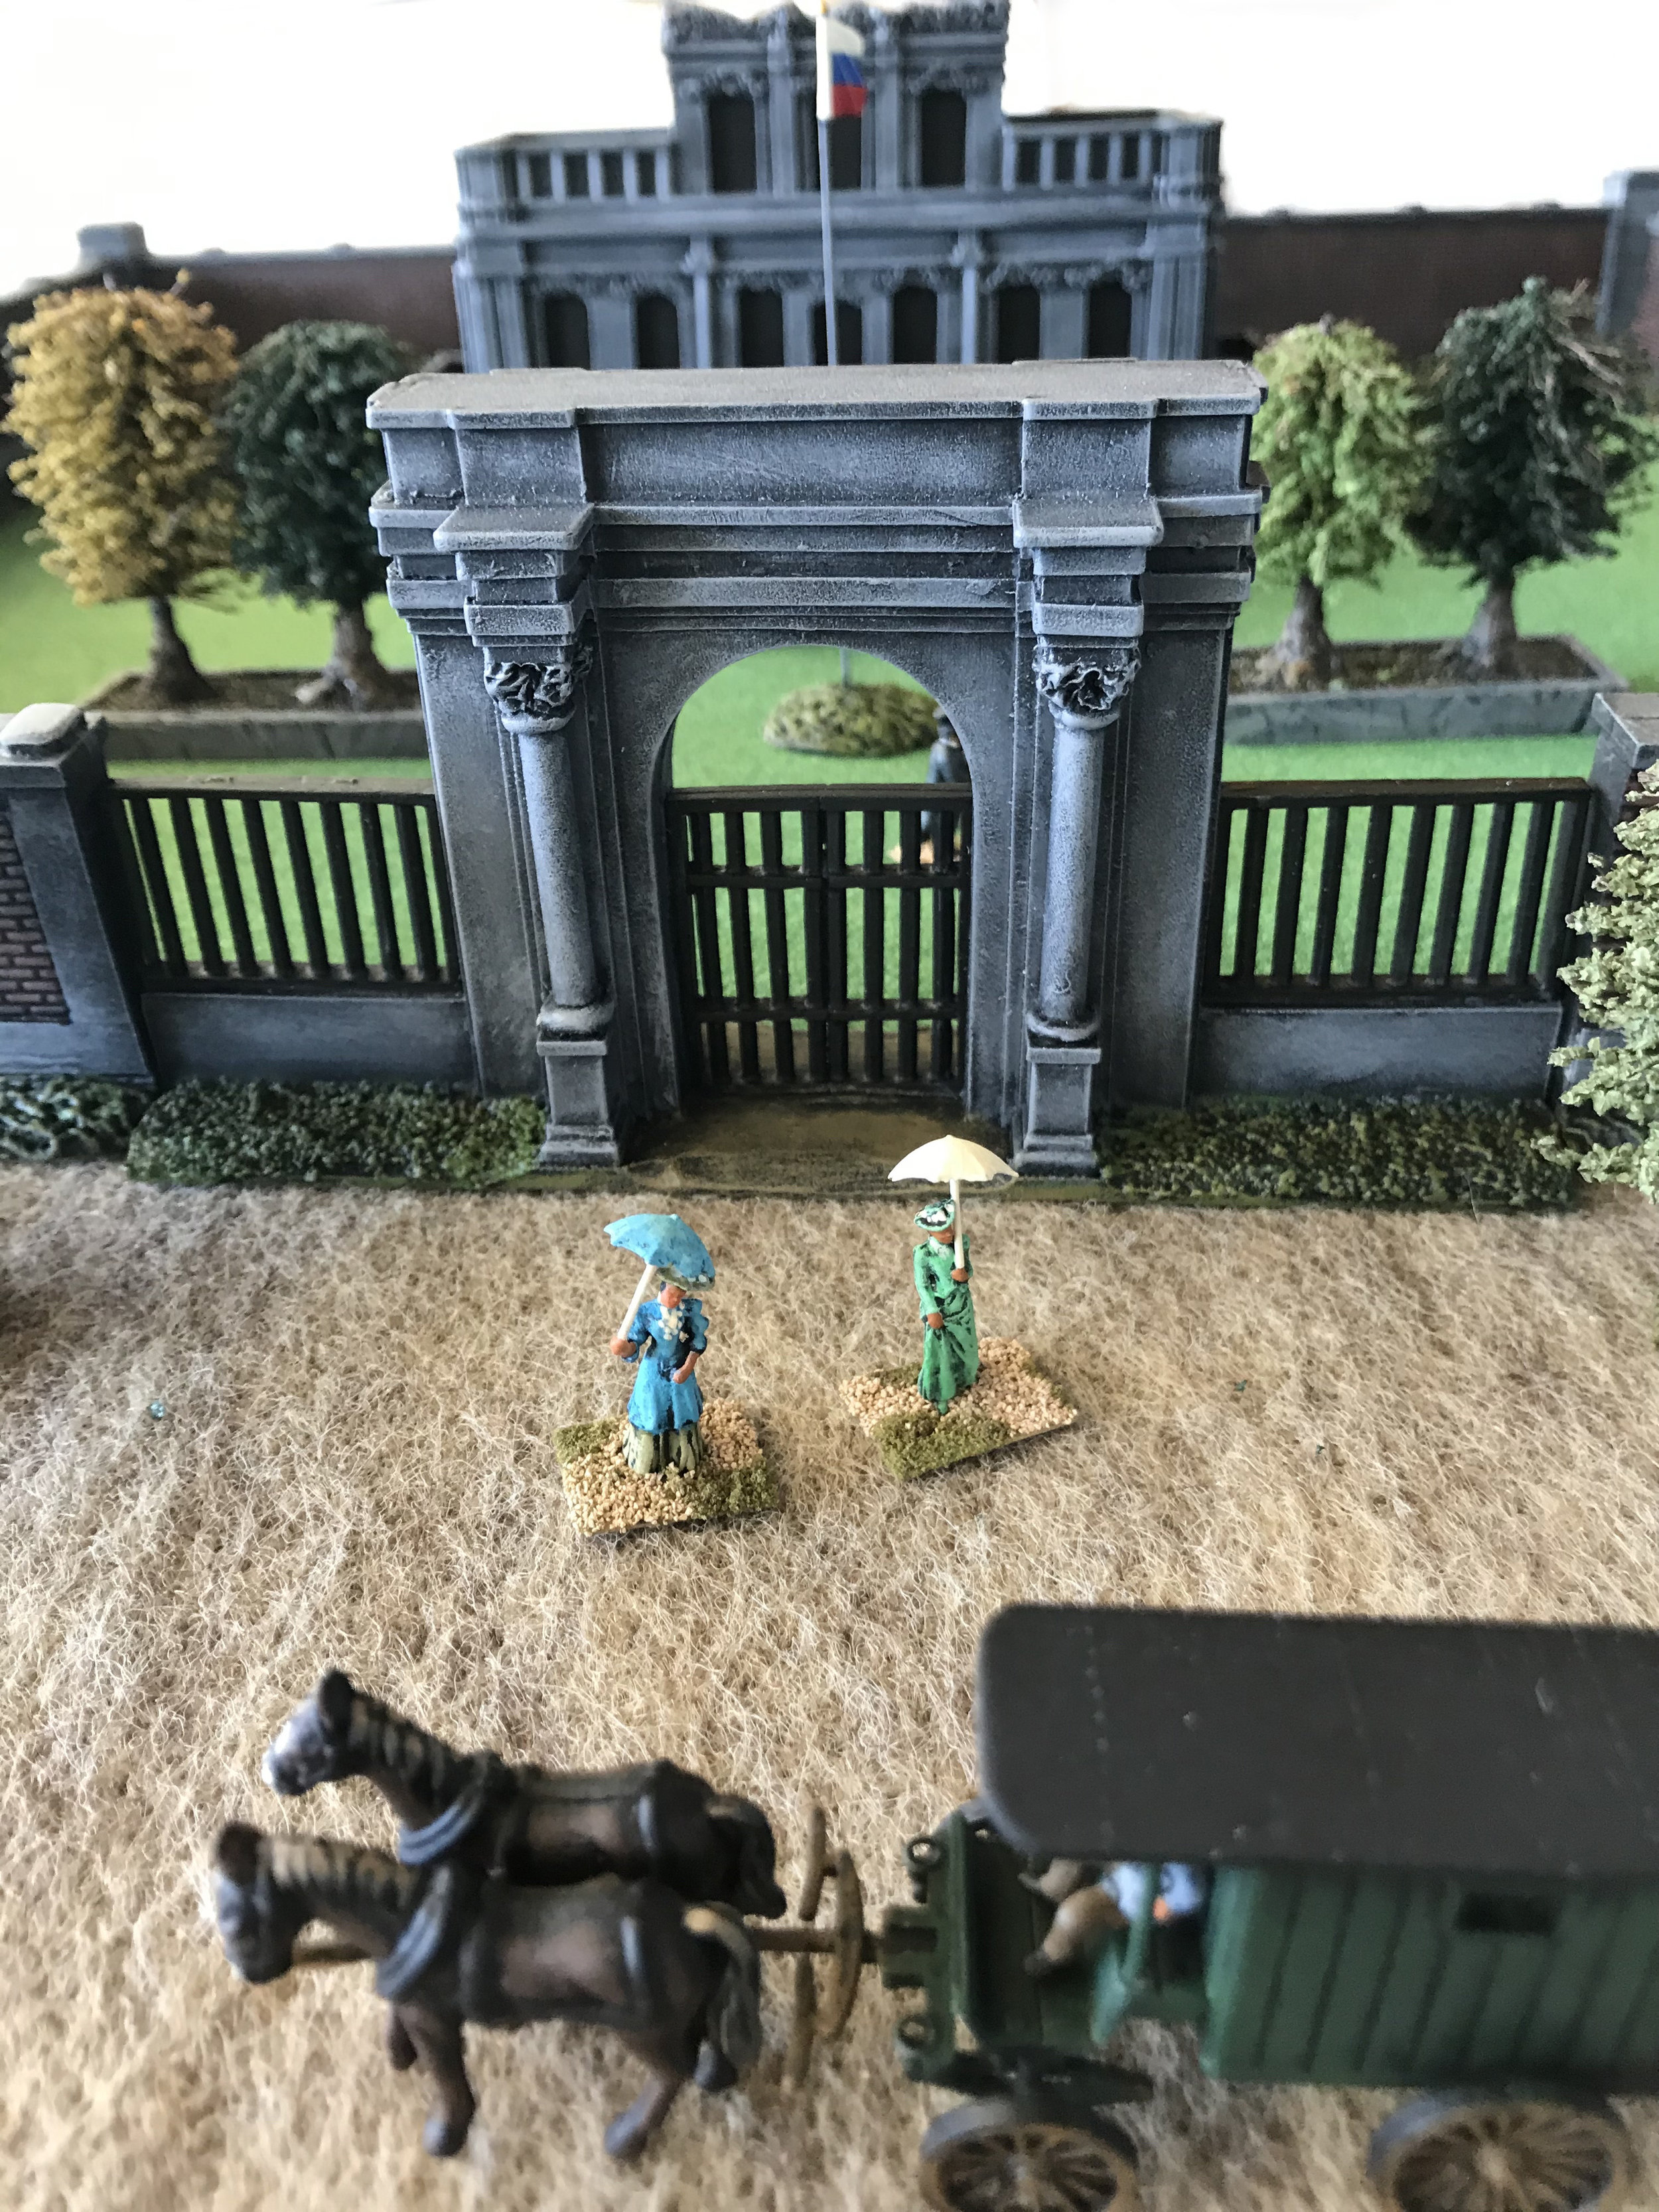
One of the unique elements of the campus is the fact that among its teaching staff are three witches who serve as adjunct professors and conduct classes in magic outdoors. The witches’ class is held in front of one of the Pegasus towers and that building changes shape through magic thus shifting from being the traditional campus structure to the shoe house of the Old Lady Who Lived In A Shoe fame and finally to a gingerbread house… I had them and wanted some way to use them. Students for the witches’ class are seated in desks on the campus lawn. The campus itself is surrounded by a stone wall made of Pegasus stone walls. The original Pegasus stone walls are 6” long and 1” tall. The 1” height was a problem so to increase their height I glued them on top of three levels of Legos which I then covered with Milliput and shaped to look like an ivy wall covering. The Institute entrance gate is by Lion Roar and entitled European Style Park Gate. I bought it on the clearance table at Brookhurst Hobbies years ago. The Institute has its own version of Ghostbusters. The Institute’s “Ghostbuster” team is a specialized team of paranormal investigators. The Crooked Dice paranormal exterminators provide the figures for the team, and they are supported by a modified version of the command car from Atlantis the Lost Empire. I have lots of demons, spooks and monsters from Reaper, Games Workshop, Horrorclix and Foundry to test their skills against within the city and below its surface in the city’s sewer (from Old Glory 25s).
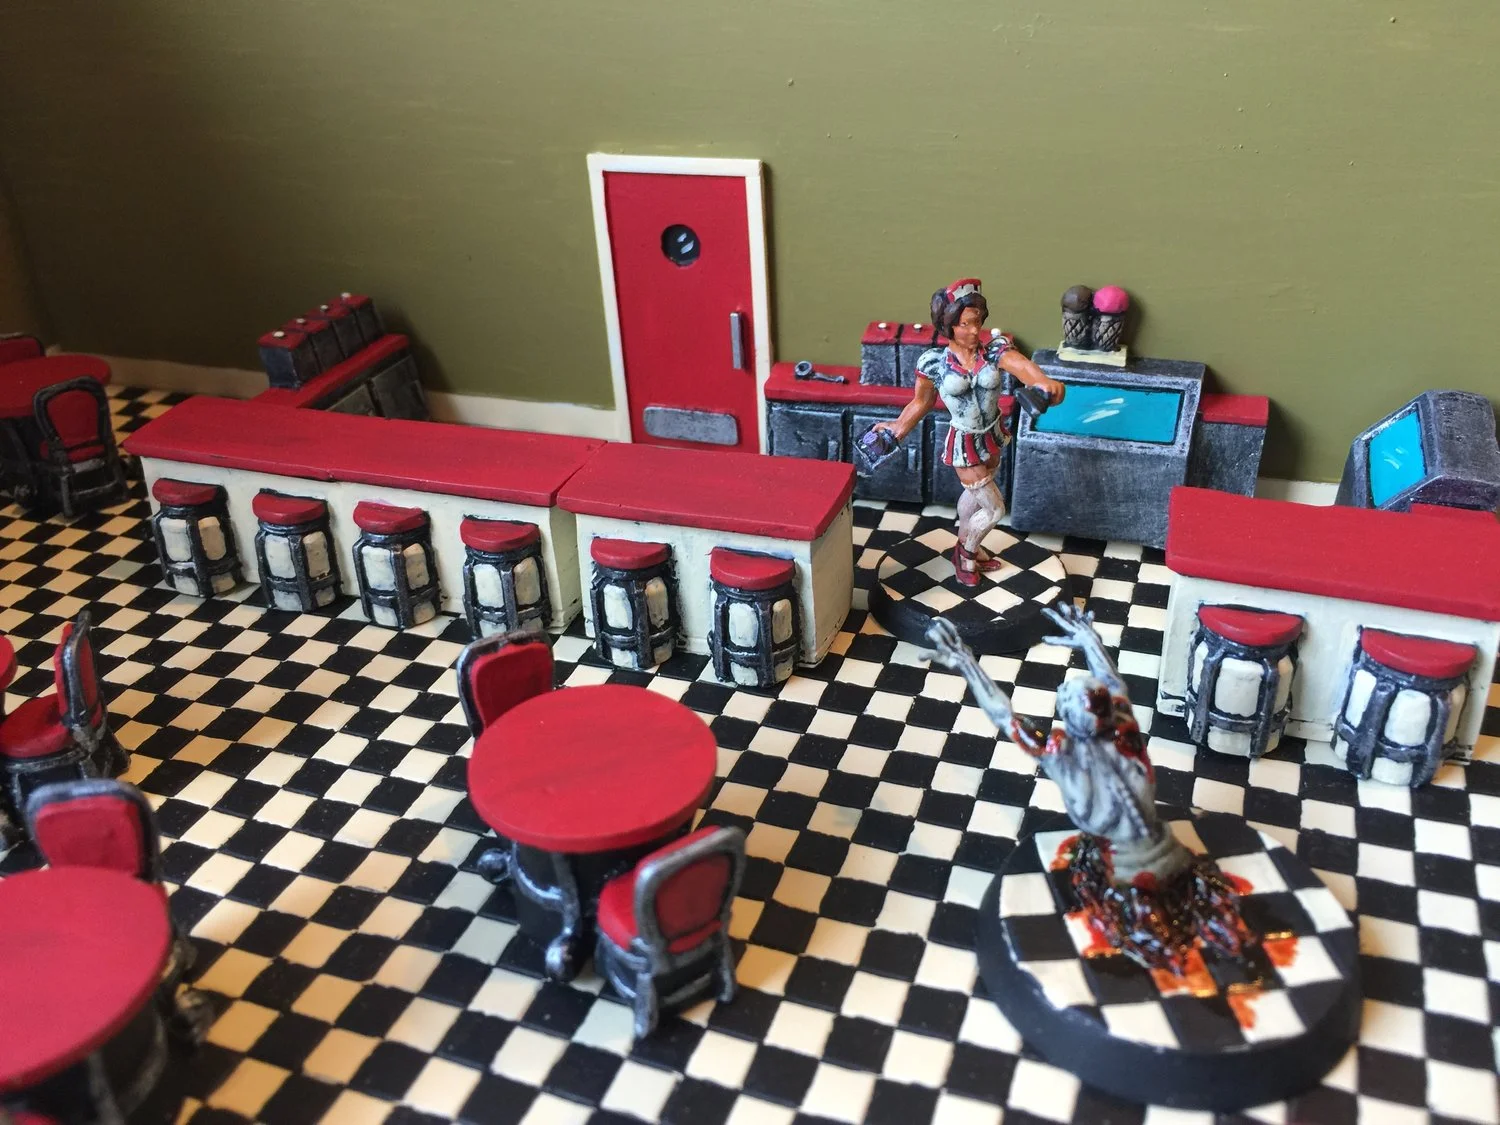
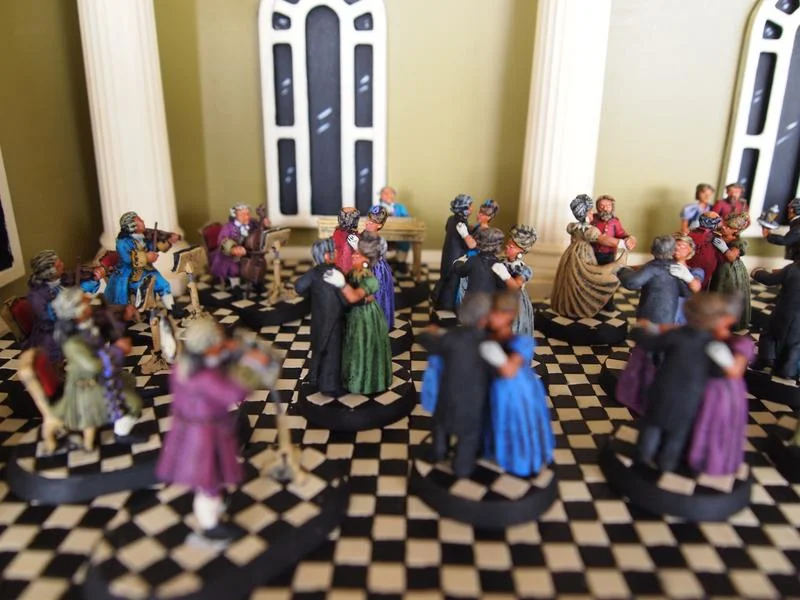
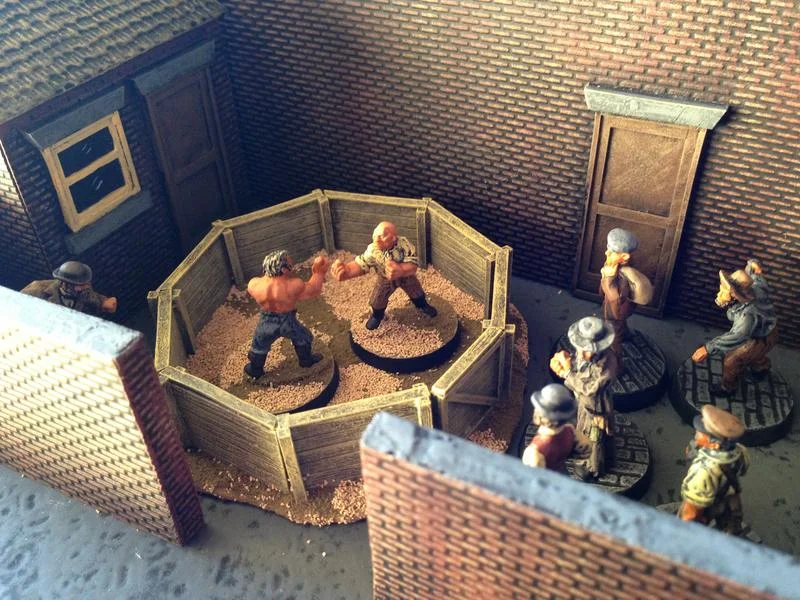
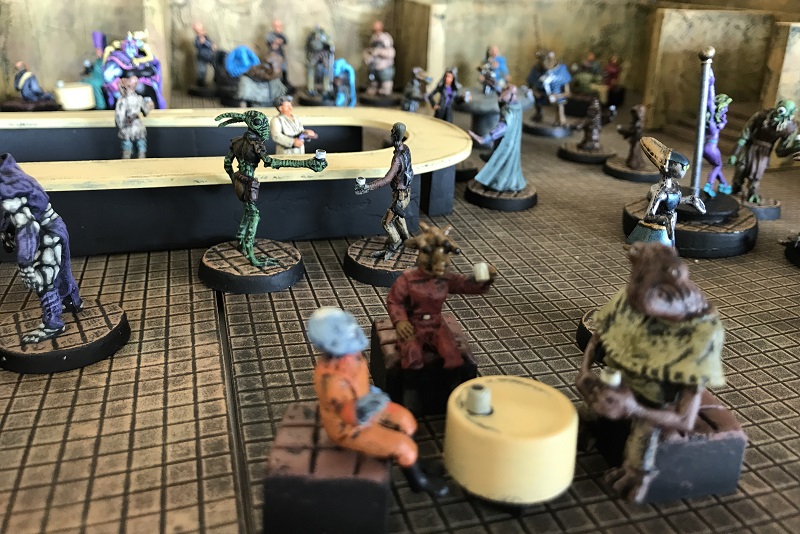
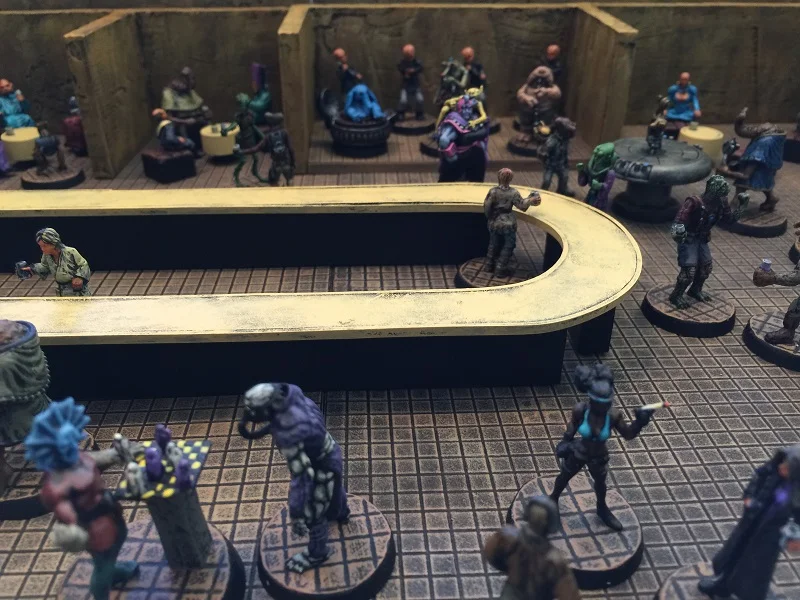
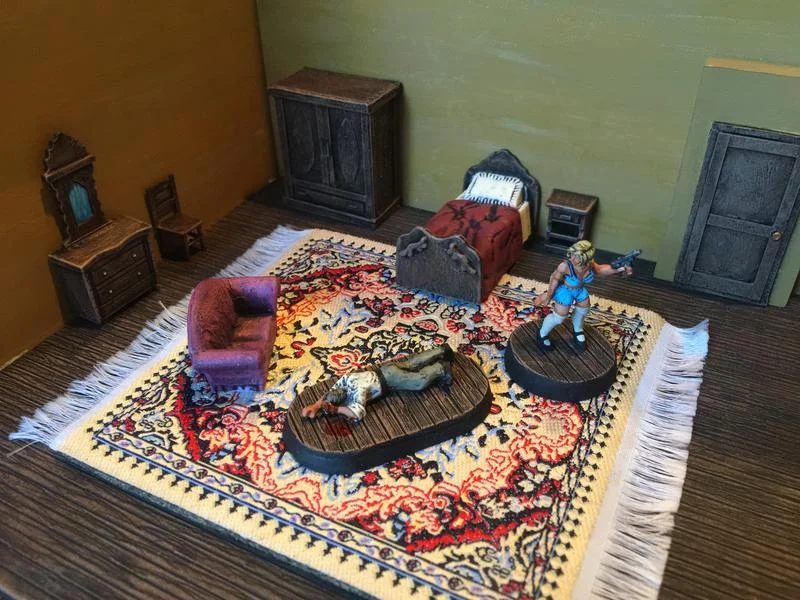
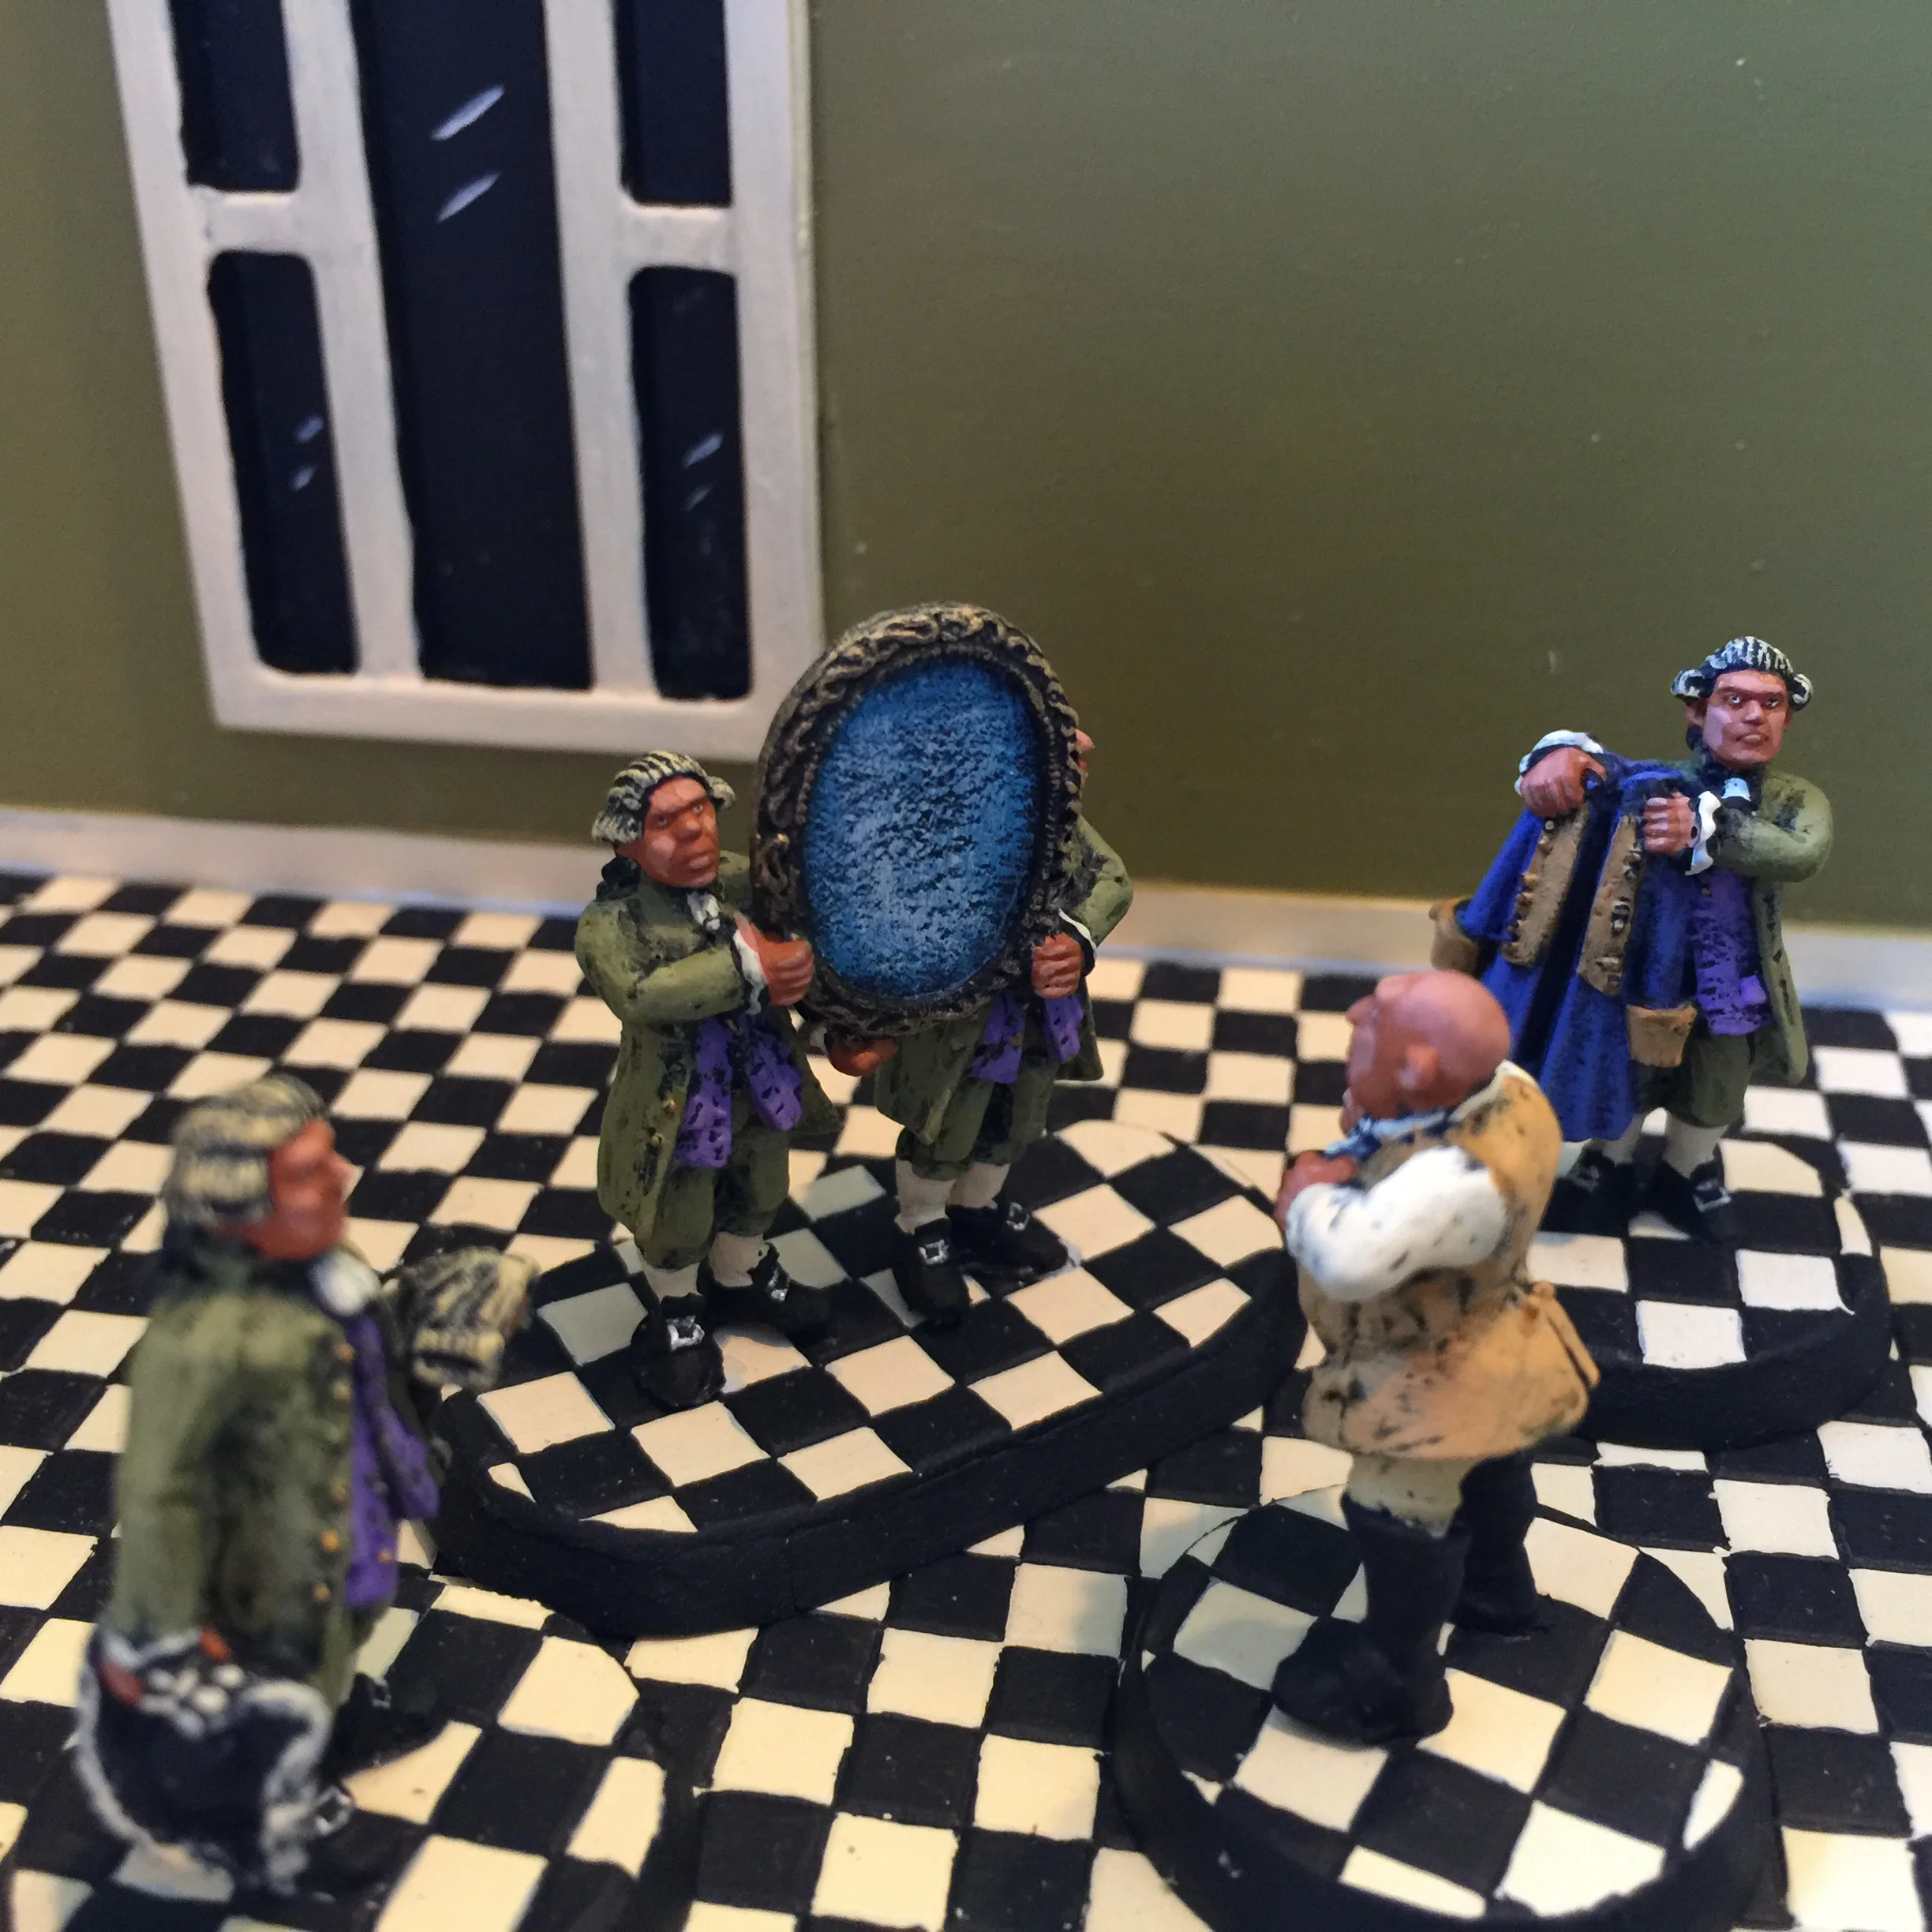
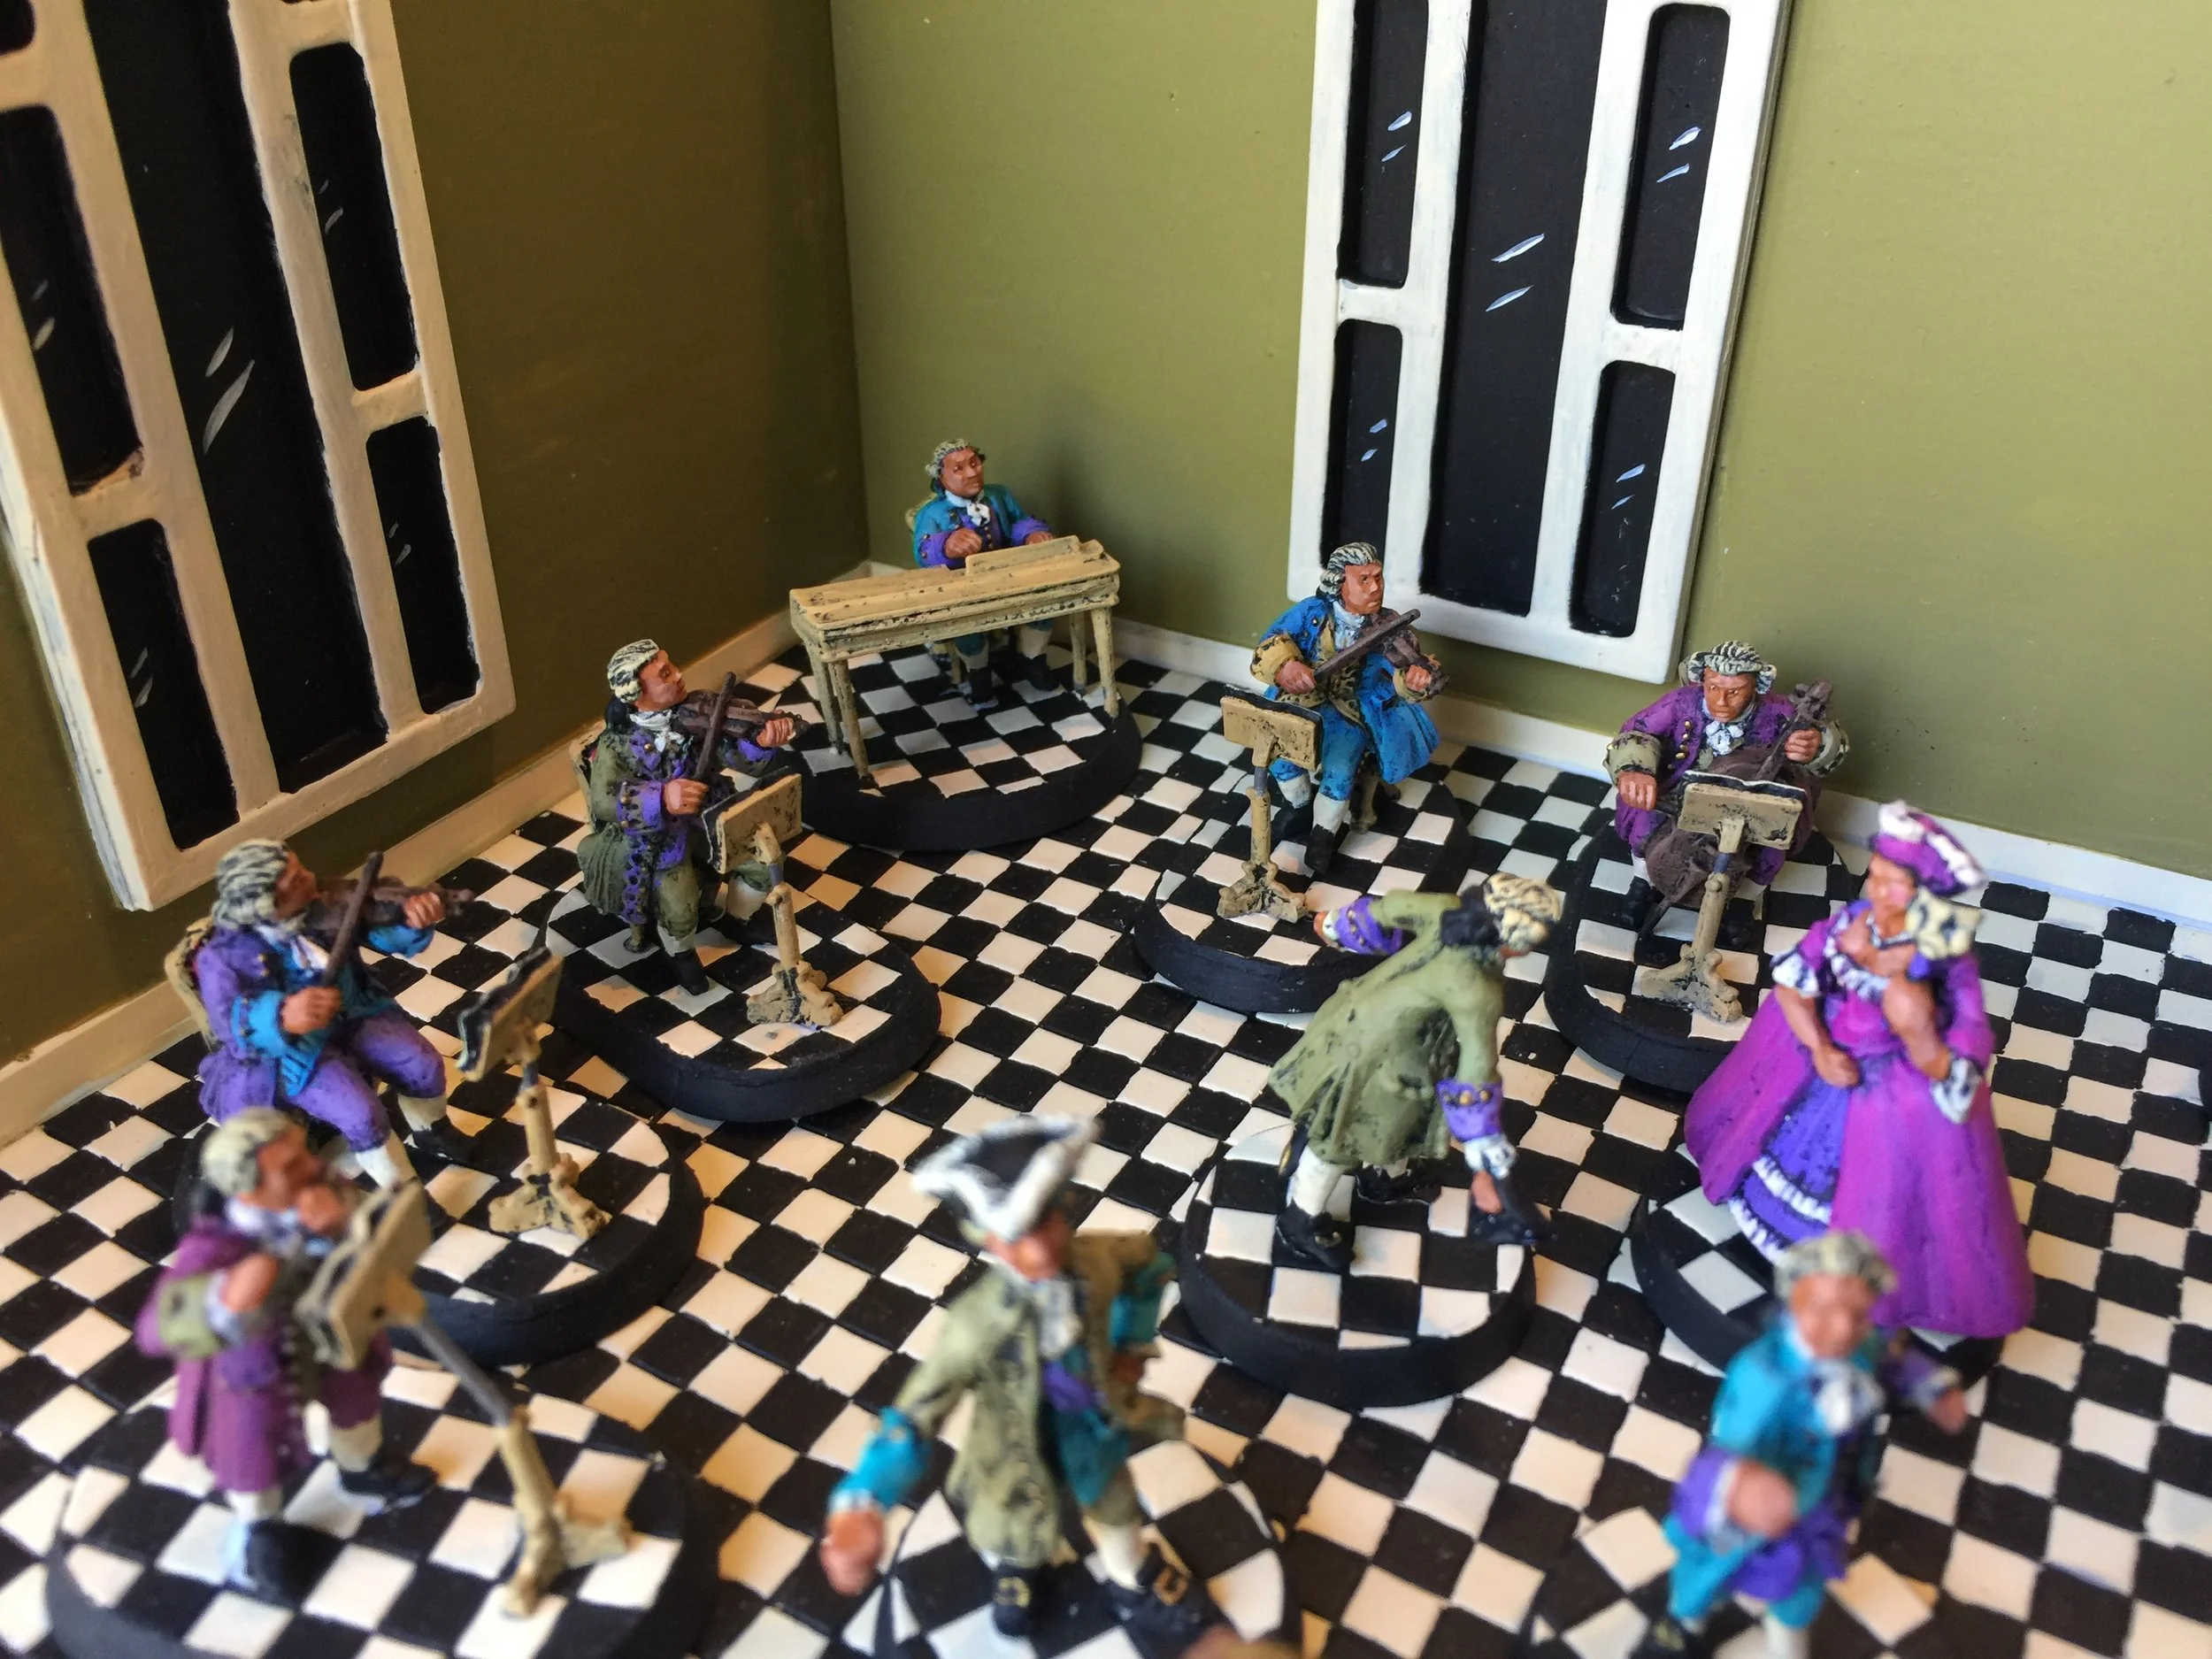
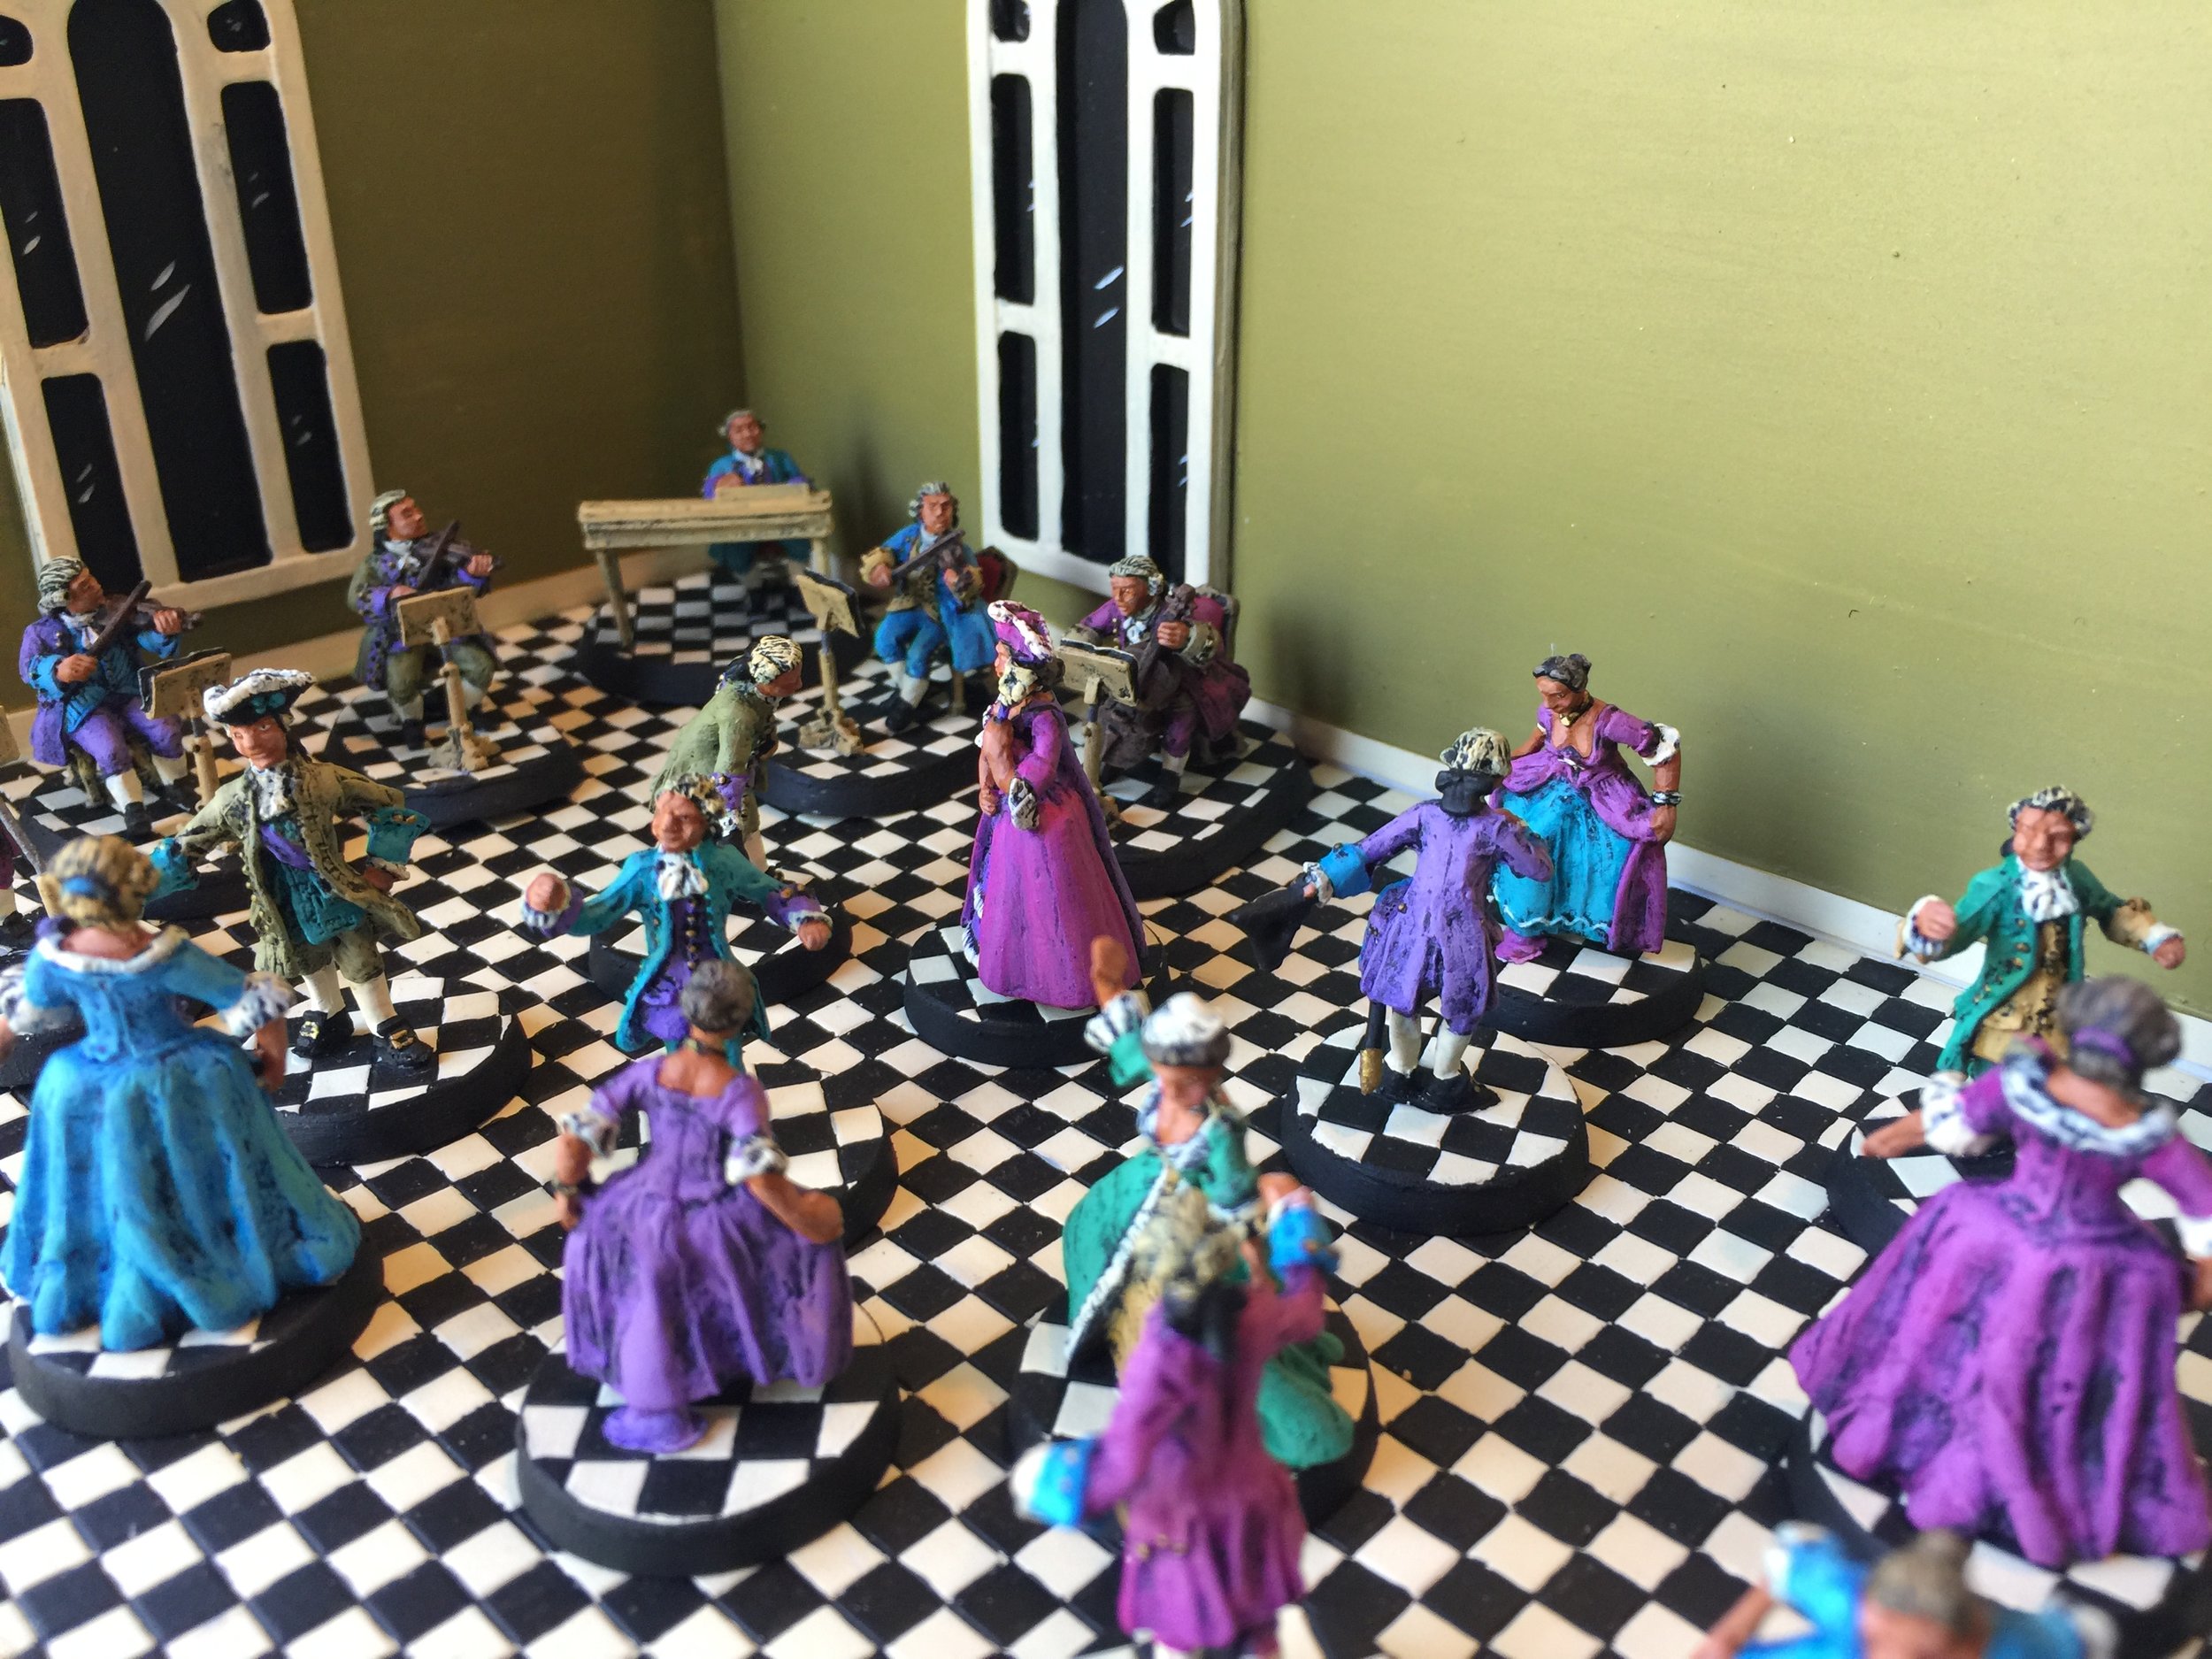
This collection includes a total of seven interior settings: a boxing arena, a speakeasy, a bank, a hotel lobby, a hotel room, a classroom, and a storeroom for rare artifacts held by the Gordon Institute. The structure of these interiors is generally based on two walls and a floor although the speakeasy has three walls. These interior settings are built in such a fashion that they can be taken apart for easy storage. The main construction material that goes into the making of these interiors is Duplos, Evergreen Plastic and JTT Plastic. As indicated previously, the exception to the 2-wall structure is my speakeasy. Because I wanted to retain the end wall with the entrance, I added a second wall at the opposite end of the room for the stage. Discarded/broken toys are key elements to both the bank and the speakeasy in the form of a large bank vault door and the stage curtain in the speakeasy.
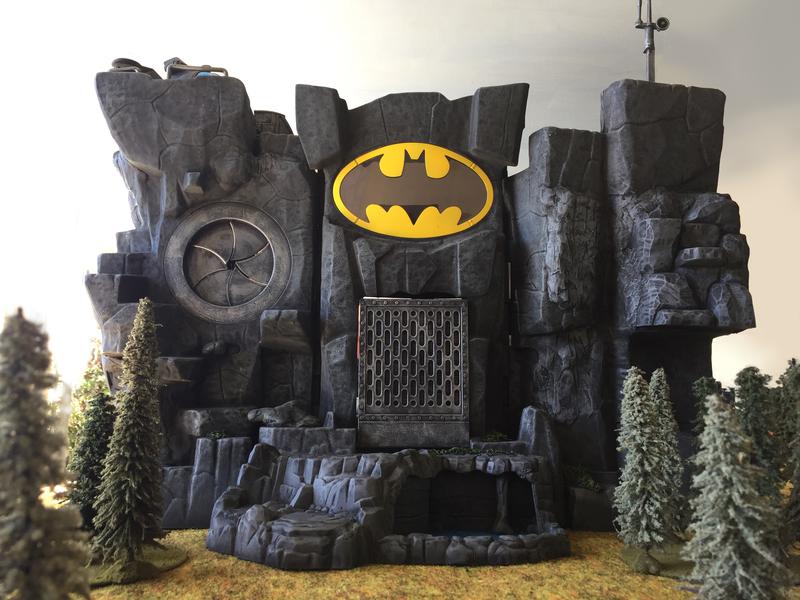
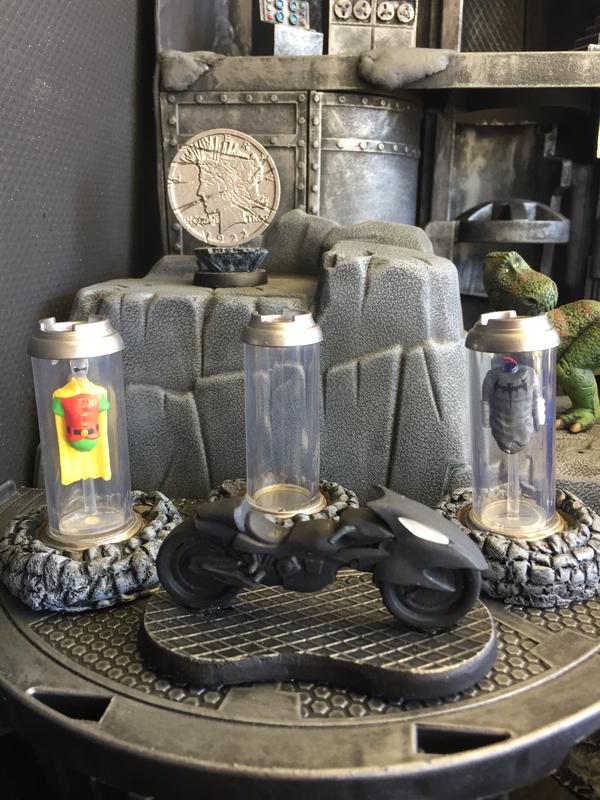
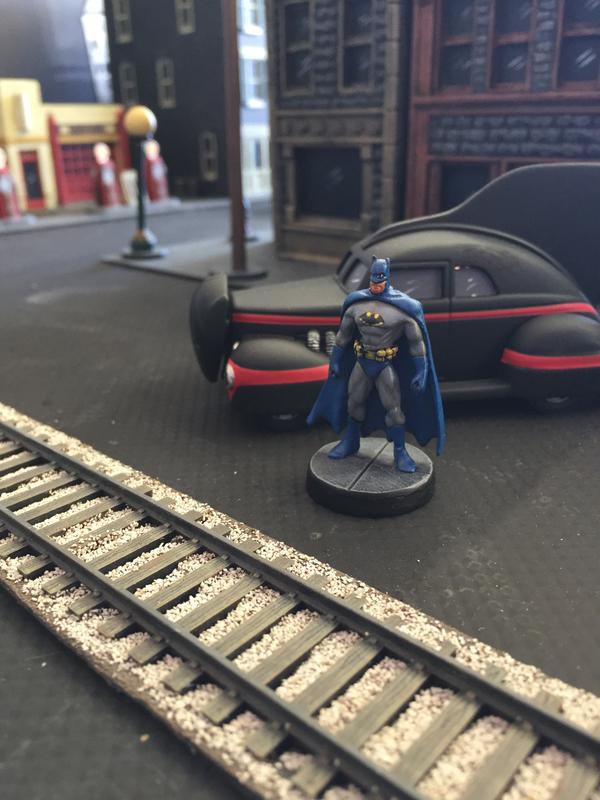
Somewhere during my year of working on this project I fell in love with the Batman cast of characters, and when I found that Fisher Price made several versions of the Batcave and one of those versions could be repurposed for use with 28mm figures, I couldn’t resist including Batman in the collection. This attraction was further enhanced when I found that Corgi made an early Batcar (late 30’s or early 40’s version). Once I had the Batcave repurposed, I needed a Wayne Manor, and that was made possible through the Pegasus plastic modular Gothic buildings. The grounds of Wayne Manor also include a beautiful fountain from the Hawthorne miniatures’ line found at the swap meet. The Wayne Manor and Gordon Institute driveways are by Lemax (50% off sale). I hadn’t tried these before, and they worked really well.
As always, my daughter was the photographer. We completed the photographing of this collection Sunday (Dec. 4, 2016). The initial set up of the first two tables (the city and harbor) was done on Friday, Dec. 2 and took 7 hours. My daughter came over on Saturday to photograph the first two tables and that lasted about 5 hours. I then did the initial set up of the second two tables (Wayne Manor, the Batcave, and the Gordon Institute). That took about 2 hours, and my daughter came over again on Sunday to do the final photo session which lasted another 5 hours, and included the additional set up photographing of the sewer and the seven room interiors (the boxing arena, the speakeasy, the bank, the hotel lobby, the hotel room, a Gordon Institute classroom, and a Gordon Institute storeroom for artifacts). The immediate after- photographing takedown lasted about 2 hours. Normally the only Photoshop work we do on these projects is to hide background joints/seams and similar issues in terms of ground cover or water so they don’t become distractions. This time I must admit that we’re using Photoshop to correct an error I made due to exhaustion from this long, long project. Near the end of an 11-hour day on Saturday (I began before my daughter arrived and worked long after she left), I accidently used a Cobblestone Corners’ piece that hadn’t had the Christmas wreath removed… it was sitting next to the one I had modified, and I simply grabbed the wrong one. I saw the problem during the takedown phase on Sunday, and so we are using Photoshop to hide it. At the time of this writing, the picture selection is complete. I have watched it a couple dozen times in slideshow form while listening to Tony Bennett in the background. I’m a very happy guy. Hope you enjoy it, too.

